
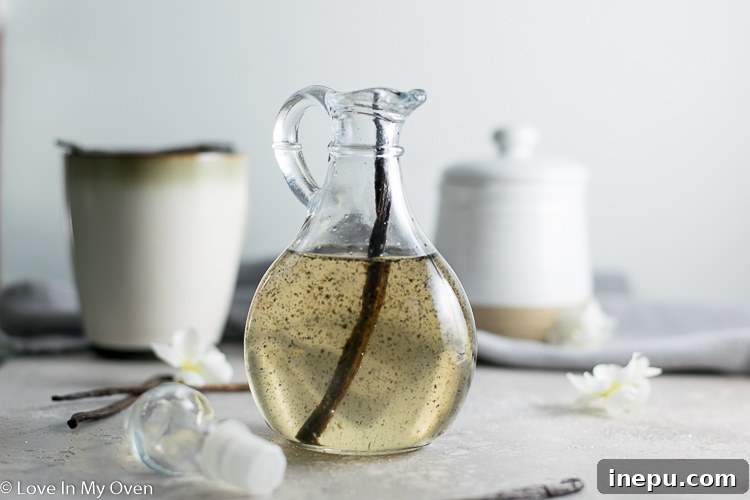
Vanilla bean latte enthusiast? Discover how to craft your own exquisite vanilla bean syrup at home with just three simple ingredients. Elevate your morning latte, drizzle it over fluffy pancakes, or integrate it into countless other culinary creations.
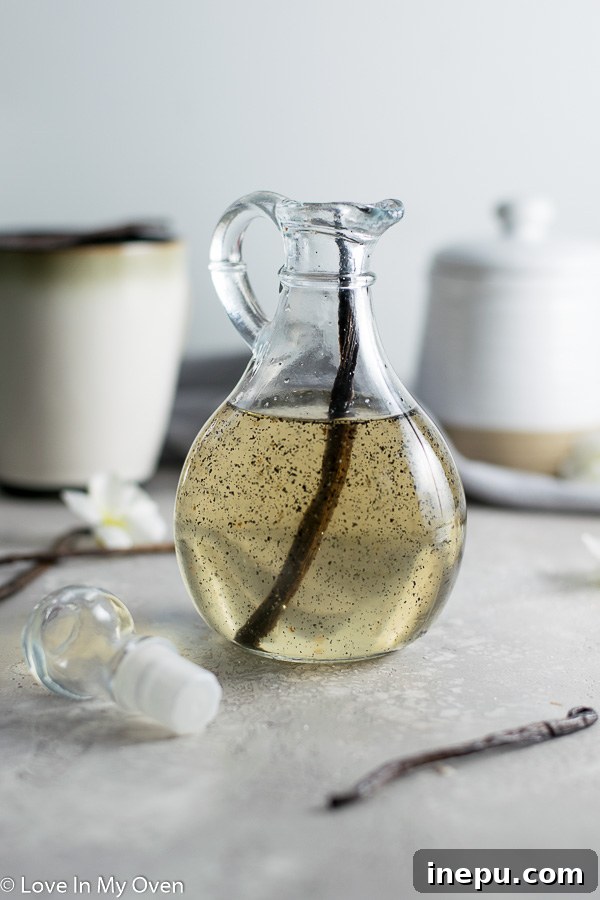
The allure of a perfectly crafted vanilla bean latte from your favorite coffee shop is undeniable. That rich, creamy texture combined with the warm, aromatic notes of real vanilla is a treat many of us crave. However, regularly indulging in these café-quality beverages can quickly add up, both in terms of cost and the time spent waiting in line. What if we told you that achieving that gourmet coffee shop experience is remarkably simple and budget-friendly, right in your own kitchen?
You don’t need a super ridiculously expensive automated espresso machine to enjoy the finer things in life (though the desire for one is certainly understandable – perhaps a holiday wish list item!). Whether you’re a seasoned barista at home or just starting your journey into homemade coffee creations, mastering a simple vanilla bean syrup recipe is a game-changer. This essential concoction will transform your everyday drinks and desserts, bringing a touch of luxury without the hefty price tag.
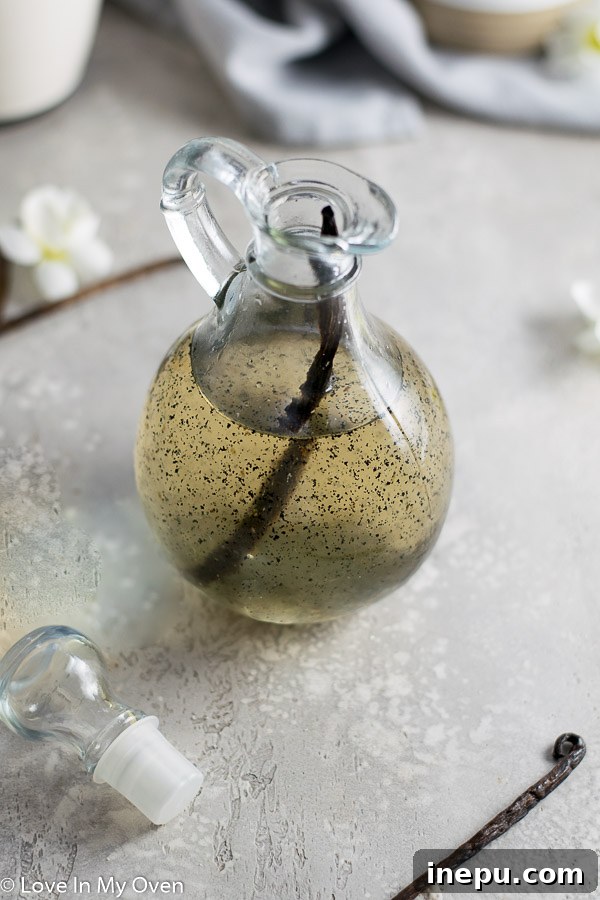
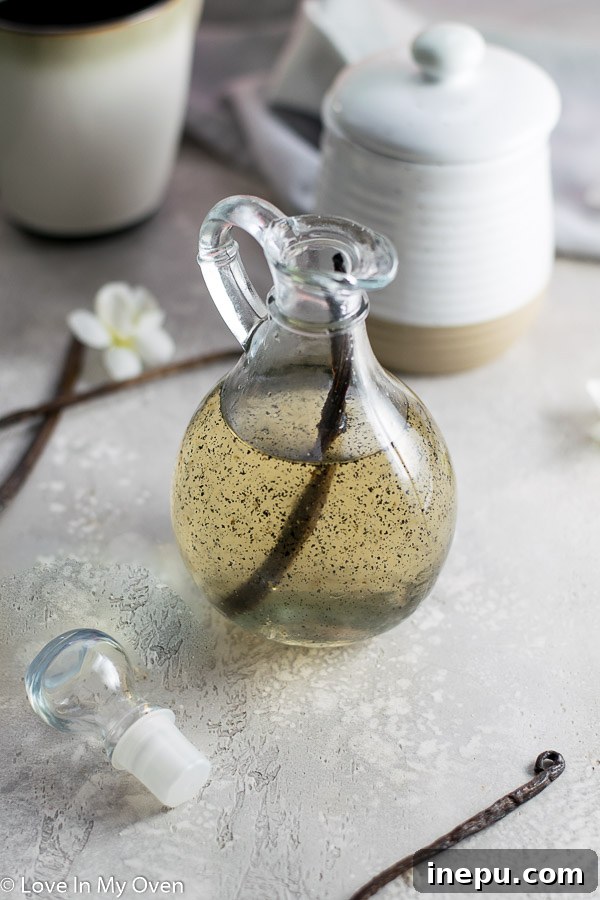
There’s a distinct difference between the subtle sweetness of vanilla extract and the profound, intense flavor derived directly from the plump, fragrant vanilla bean. The tiny specks of vanilla caviar suspended in a homemade syrup not only offer an unrivaled taste but also add a sophisticated visual appeal to your creations. And the best part? It’s incredibly easy to make, requiring minimal effort and just a handful of ingredients.
Why Make Homemade Vanilla Bean Syrup? The Benefits Unveiled
Opting for a homemade vanilla bean syrup over store-bought alternatives offers a plethora of advantages:
- Unmatched Flavor Profile: The star of this recipe is the vanilla bean itself. Unlike artificial vanilla flavorings or even some extracts, real vanilla beans deliver a complex, nuanced aroma and taste that is simply unparalleled. You’ll notice earthy, floral, and sweet undertones that elevate any dish or drink.
- Cost-Effective Indulgence: While a single vanilla bean might seem pricey at first glance, making your own syrup dramatically cuts down on the cost of specialty coffee drinks. A batch of this syrup can last for weeks, providing multiple servings for a fraction of what you’d pay at a café.
- No Artificial Ingredients: With homemade syrup, you have complete control over what goes into it. Say goodbye to high-fructose corn syrup, artificial colors, or preservatives. You’re getting pure, natural flavor from simple, wholesome ingredients.
- Ultimate Versatility: This syrup isn’t just for coffee. Its uses extend far beyond your morning brew, making it a valuable staple in your pantry.
- Customization at Your Fingertips: Adjust the sweetness level or vanilla intensity to perfectly suit your preferences. You can experiment with different types of vanilla beans (Madagascar for classic sweetness, Tahitian for floral notes) to create your signature flavor.
The Simple Ingredients for Pure Vanilla Bliss
You’ll be amazed at how such an exquisite flavor can come from just three basic components. For this super simple recipe, all you need is:
- Vanilla Beans: These are the true essence of this syrup. Opt for plump, moist beans that are pliable, indicating freshness and rich flavor. Madagascar Bourbon vanilla beans are a popular choice, known for their classic, rich, and creamy aroma.
- Granulated Sugar: The sweetness base. Regular white granulated sugar works perfectly, dissolving easily and allowing the vanilla flavor to shine.
- Water: The liquid component that combines with sugar to form the simple syrup base.
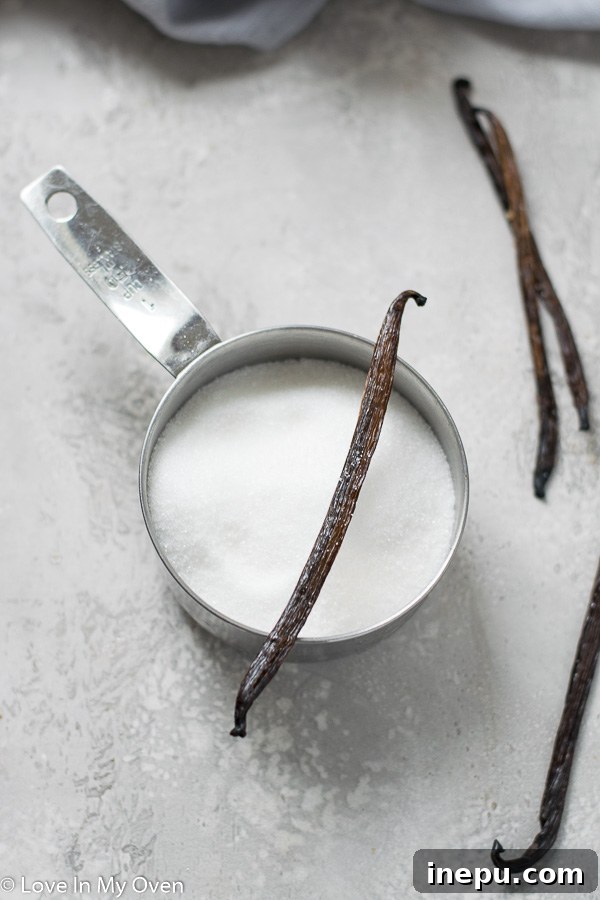
At its core, vanilla bean syrup is essentially a flavored simple syrup. Many people use simple syrups primarily for cocktails, but their utility extends beautifully to flavoring coffees, teas, desserts, and much more. The addition of real vanilla beans transforms a basic sweetener into a luxurious, aromatic indulgence.
How to Craft Your Own Homemade Vanilla Bean Syrup: A Step-by-Step Guide
The process of making this delightful syrup is straightforward and takes less than 10 minutes of active time. Follow these steps for perfect results every time:
- Prepare Your Vanilla Bean: Lay a vanilla bean on a cutting board. Using a sharp paring knife, carefully slice the bean open lengthwise, from end to end, without cutting all the way through the other side. You want to expose the fragrant inner seeds, often referred to as “vanilla caviar.”
- Scrape the Seeds: Gently open the split bean and use the dull side of your knife (or a small spoon) to scrape out the tiny, dark, aromatic seeds. These seeds hold the most concentrated vanilla flavor and will infuse beautifully into your syrup. Don’t discard the scraped pod – it still contains plenty of flavor!
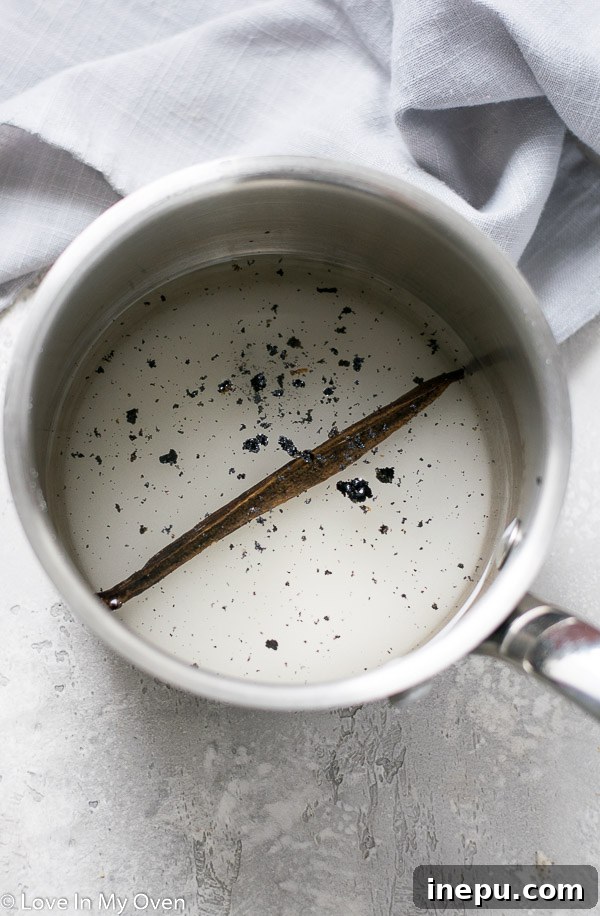
- Combine Ingredients: In a small saucepan, combine the granulated sugar and water. Add both the scraped vanilla seeds and the empty vanilla bean pod to the mixture. The pod will continue to infuse flavor as the syrup cooks and cools.
- Simmer to Perfection: Place the saucepan over medium-high heat. Stir occasionally until the sugar completely dissolves and the mixture begins to boil. Once boiling, reduce the heat to a gentle simmer and let it cook for 2-3 minutes. This brief simmer allows the flavors to meld and the syrup to thicken slightly.
- Cool and Infuse: Remove the saucepan from the heat. Allow the syrup to cool completely to room temperature. This cooling period is crucial, as it allows the vanilla bean and its seeds to continue infusing their rich flavor into the syrup, intensifying its aroma and taste.
- Strain and Store: Once fully cooled, you have the option to strain the syrup through a fine-mesh sieve to remove the vanilla bean seeds and pod, resulting in a clear syrup. However, many prefer to leave the seeds in for visual appeal and a more intense flavor. Carefully pour the vanilla bean syrup into a clean, airtight container, such as a glass bottle or jar.
How Long Does Homemade Vanilla Bean Syrup Last?
Proper storage is key to maximizing the shelf life of your homemade vanilla bean syrup. When stored in an airtight container in the refrigerator, the syrup will typically last for 2-3 weeks, or even longer. The high sugar content acts as a natural preservative, inhibiting bacterial growth. While some people might store simple syrups at room temperature, for flavored syrups containing fresh ingredients like vanilla beans, refrigeration is highly recommended to err on the side of caution and ensure freshness. Always check for any signs of spoilage, such as cloudiness or an off smell, before use.
What Can You Use Vanilla Bean Syrup For? Endless Possibilities!
The versatility of homemade vanilla bean syrup is truly astounding. Beyond being a delightful addition to your coffee, it opens up a world of culinary applications:
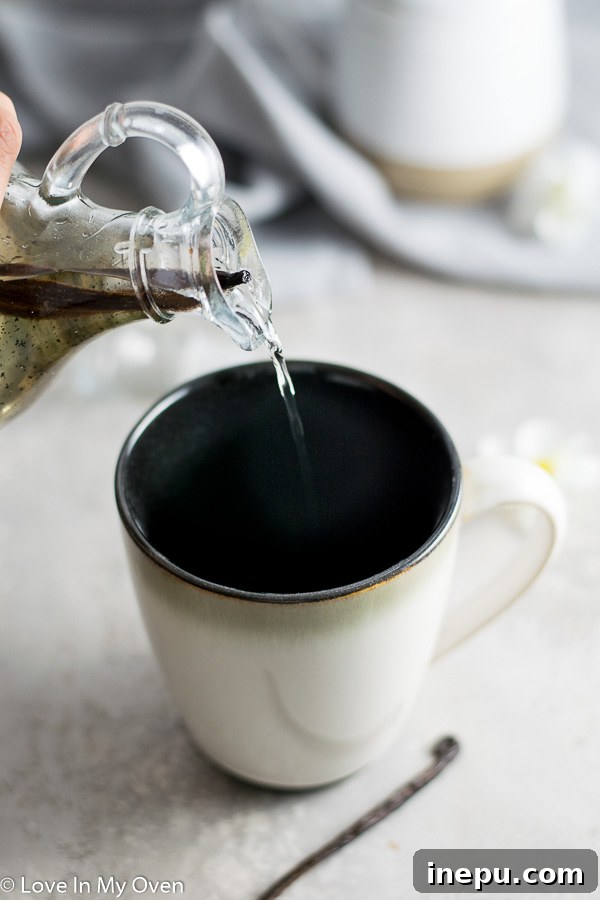
- Elevate Your Coffee & Lattes: This is arguably its most popular use. Add a spoonful to your hot or iced coffee for an instant flavor upgrade. For a luxurious vanilla bean latte, combine a shot of espresso (or strong coffee) with steamed milk and a generous splash of your homemade syrup.
- Irresistible Breakfast & Brunch: Drizzle it generously over stacks of fluffy pancakes, crisp waffles, or golden French toast. Stir it into oatmeal or yogurt for a flavorful start to your day. You can even whisk it into whipped cream for an extraordinary topping.
- Divine Desserts: Use it to sweeten and flavor homemade whipped cream, adding elegant vanilla bean flecks. It’s perfect for sweetening fruit salads, glazes for cakes and pastries, or even as a base for a no-churn vanilla ice cream recipe, as I plan to do with some of mine. Consider brushing it onto cake layers for added moisture and flavor.
- Sophisticated Beverages: Beyond coffee, try incorporating it into cocktails. A simple yet elegant option is to combine vodka, a splash of vanilla bean syrup, fresh lemon juice, and top with soda water for a refreshing and aromatic drink. It’s also fantastic in non-alcoholic sparkling water, iced tea, or as a sweetener for homemade lemonade.
Tips for Success and Sourcing Vanilla Beans
Finding quality vanilla beans is crucial for the best flavor. I often purchase mine from Amazon for convenience, but you can also find them at specialty cooking shops, gourmet food stores, and sometimes even in the spice aisle of well-stocked regular grocery stores. Look for beans that are plump, soft, and fragrant. If they are dry and brittle, they won’t yield as much flavor.
Can you reuse vanilla pods? Absolutely! After infusing your syrup, rinse and dry the vanilla bean pod. You can then add it to a jar of sugar to create vanilla sugar, use it to make homemade vanilla extract (by steeping it in alcohol), or even add it to a simmering pot of milk for custards or ice cream bases for another round of flavor extraction.
Take a few minutes this week to treat yourself to the simple luxury of homemade vanilla bean syrup. Imagine slipping on some cozy slippers, settling into your favorite armchair, and savoring a warm, comforting vanilla bean latte made just the way you like it. And if you decide to top it off with some vanilla bean-infused whipped cream, consider it a well-deserved indulgence – I certainly won’t judge!
Looking for more super easy recipes to try at home?
- Homemade Eggnog Latte
- Decadent Salted Caramel Sauce
- Simple Homemade Nutella
- Low Carb Caramel Latte
Print Recipe
Vanilla Bean Syrup
★
★
★
★
★
5 from 12 reviews
Author: Katherine | Love In My Oven
Total Time: 10 minutes
Yield: 1 cup
Description
Vanilla bean latte lover? Make your own vanilla bean syrup at home with just 3 simple ingredients. Use it in your morning latte, or even over some pancakes!
Ingredients
Scale
- 1 cup granulated sugar
- 1 cup water
- 1 vanilla bean
Instructions
- In a small saucepan, stir together the sugar and water. Use a sharp paring knife to slice open a vanilla bean lengthwise, then gently scrape out the vanilla bean seeds from the pod using the side of the knife. Add the seeds and the scraped vanilla pod to the sugar water and give it a stir. Heat the mixture up over medium-high heat until it begins to boil, then lower the temperature to a simmer for 2-3 minutes.
- Allow the syrup to cool completely before pouring it into an airtight container and storing it in the fridge for up to 2-3 weeks.
- Prep Time: 5 minutes
- Cook Time: 5 minutes
- Category: syrups
- Method: stovetop
- Cuisine: american