
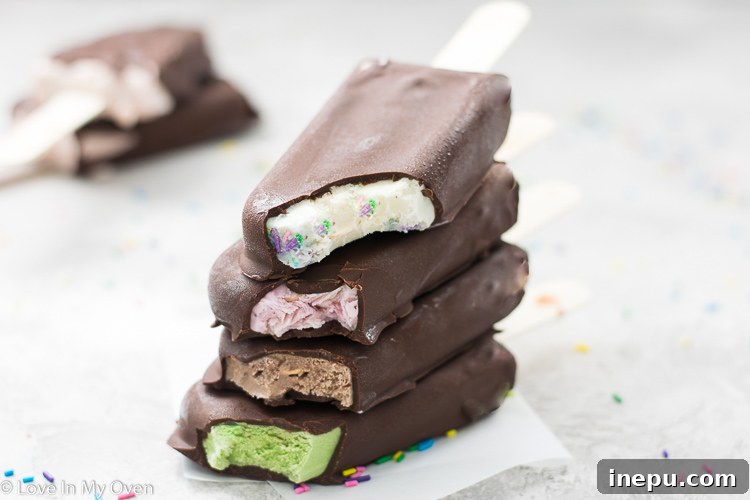
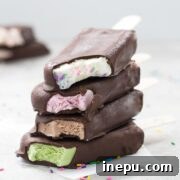
Everything tastes better on a stick! Give these 3 ingredient chocolate dipped ice cream bars a try and you’ll love it! Try this technique with any flavor of ice cream!
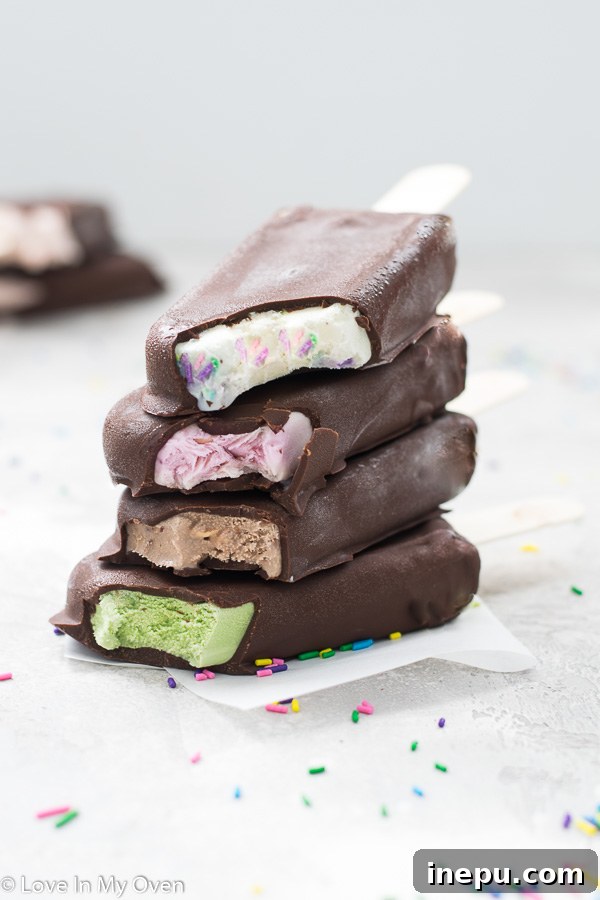
Easy 3-Ingredient Chocolate Dipped Ice Cream Bars: Your Ultimate Summer Treat
As the sun climbs high and days stretch long, there’s nothing quite like a cool, refreshing treat to beat the heat. For many, childhood summers were defined by simple pleasures – the vibrant burst of an orange creamsicle, the icy sweetness of a slushie, or perhaps, for those in certain regions, the delightful ‘revel.’ These nostalgic frozen desserts, especially ice cream on a stick enrobed in a crisp chocolate shell, hold a special place in our hearts. While the commercial versions are undeniably delicious, imagine the joy and satisfaction of crafting your own personalized chocolate dipped ice cream bars right in your kitchen!
The beauty of making these at home lies not just in their incredible simplicity – requiring only three core ingredients – but also in the endless possibilities for customization. Forget plain vanilla if that’s not your style! With this technique, you become the artisan, choosing any ice cream flavor your heart desires and pairing it with your preferred chocolate. Whether you’re a fan of classic dark chocolate, creamy milk chocolate, or even a vibrant white chocolate, this recipe provides the perfect canvas for your frozen dessert dreams.
What’s your ultimate ice cream fantasy? Are you drawn to the rich indulgence of chocolate and caramel with chunky mix-ins, like a Rolo-inspired creation? Or do you lean towards more adventurous tastes, perhaps a unique licorice swirl, as I sometimes do? The wonderful thing about these homemade bars is that your favorite flavor can take center stage, creating a truly bespoke treat that perfectly suits your palate and preferences.
The Magic Behind These 3-Ingredient Homemade Ice Cream Bars
You heard that right – only three ingredients stand between you and these delectable frozen delights! This minimalist approach makes the recipe incredibly accessible, perfect for a spontaneous summer project with the kids, a quick craving satisfaction, or even an impressive dessert for your next gathering. The secret lies in understanding how these simple components come together to create a treat that rivals any gourmet store-bought alternative, offering both convenience and superior taste.
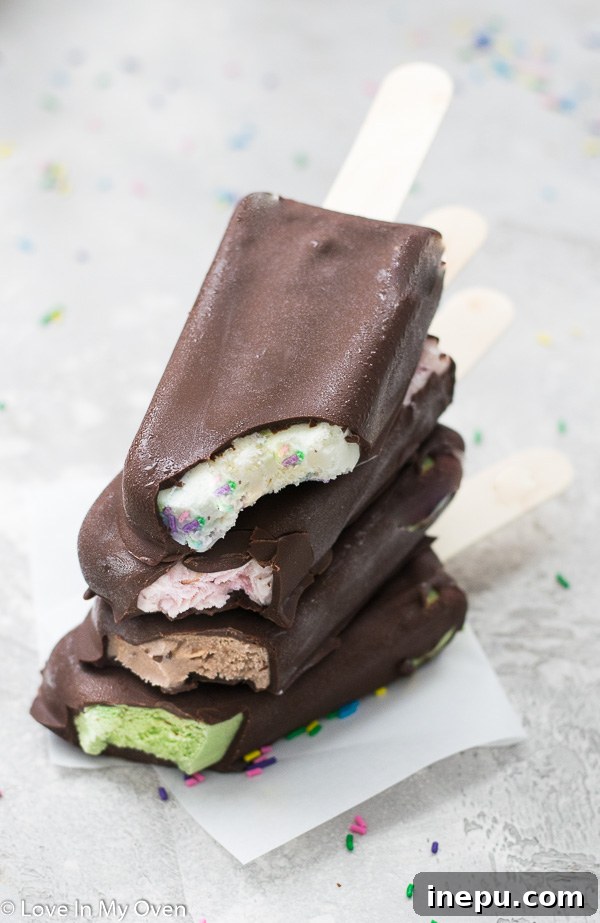
Crafting Your Own Chocolate Dipped Ice Cream Bars: A Simple Guide to Perfection
The process of creating these delightful frozen desserts is surprisingly straightforward and can be broken down into two main stages: preparing your ice cream base, and then expertly applying that irresistible chocolate coating. Let’s dive into each step with helpful tips and tricks for guaranteed success, ensuring every bar is a masterpiece of texture and flavor.
Step 1: Preparing Your Ice Cream Base – Choosing Your Flavor and Foundation
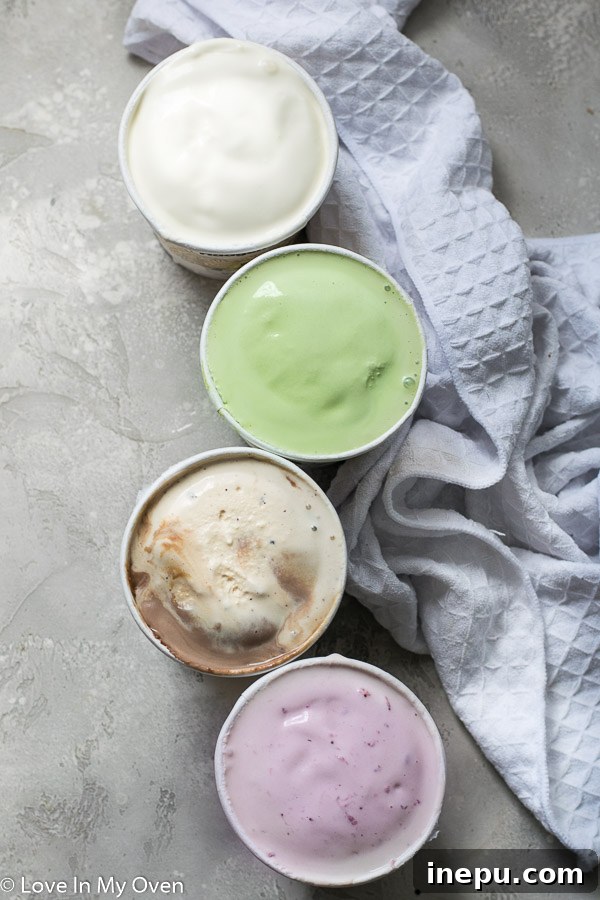
When it comes to the ice cream itself, you have two fantastic options, allowing for flexibility based on your time, preference, and desired level of involvement:
- From Scratch with No-Churn Ice Cream: If you enjoy the profound satisfaction of homemade goodies and prefer to control every aspect of your dessert, a no-churn ice cream recipe is an excellent choice. This method brilliantly eliminates the need for an expensive ice cream maker, making it incredibly convenient for home cooks. Simply prepare your chosen no-churn recipe, and instead of freezing it in a regular container, pour the soft, unfrozen mixture directly into your popsicle molds. This technique ensures a perfectly smooth and consistent bar shape, ready for dipping.
- Using Store-Bought Ice Cream: For ultimate ease and speed, store-bought ice cream works wonderfully and is a fantastic shortcut. The key here is proper thawing. You want the ice cream to be soft enough to scoop and easily fill the molds without creating air bubbles, but not so melted that it’s watery or separates. Typically, about 10-15 minutes at room temperature should achieve the ideal scoopable consistency. Resist the urge to microwave, as this can create uneven melting and an undesirable texture.
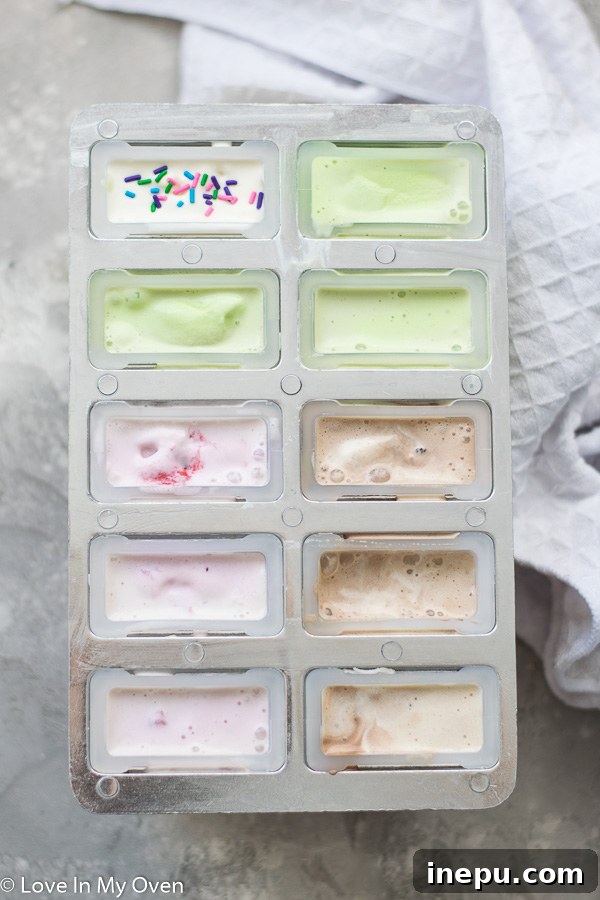
For a truly exciting array of flavors, don’t be afraid to experiment beyond the conventional! We’ve had great success exploring classic vanilla bean, vibrant matcha, rich salted caramel, and the ever-popular strawberry. The salted caramel, in particular, was a definite crowd-pleaser, showcasing just how versatile and adaptable this basic recipe truly is. Consider flavors like mint chocolate chip, coffee, cookie dough, or even fruit sorbets for a lighter, dairy-free option!
Step 2: Freezing and Shaping Your Bars – The Foundation for Success
Once your chosen ice cream is at the perfect consistency, it’s time to fill the molds. Carefully scoop or pour the ice cream mixture into your chosen popsicle molds, filling them completely to the top. It’s crucial to gently tap the molds on the counter a few times to release any trapped air bubbles; this ensures your bars are solid, smooth, and free of unsightly pockets. After filling, place the molds into the freezer for approximately 40 minutes. This initial freeze is just enough to firm up the ice cream so you can easily insert the popsicle sticks without them flopping over or moving out of place.
After inserting the sticks firmly into the semi-frozen ice cream, return the molds to the freezer for a much longer, crucial freeze. The ice cream bars must become *very* frozen – ideally for at least 4-5 hours, or even overnight, to ensure they are rock-solid. This extreme cold state is absolutely essential to prevent the bars from melting too quickly when they make contact with the warm chocolate coating, ensuring a clean, even dip and a perfect, unmarred chocolate shell.
Any standard popsicle mold will work wonderfully for this recipe. Silicone molds are particularly convenient as their inherent flexibility makes removing the frozen bars an absolute breeze. If you don’t have a specific popsicle mold, don’t despair! Small paper cups with wooden sticks can also serve as a creative and perfectly functional workaround.
Step 3: The Perfect Chocolate Shell – Achieving That Signature Snap
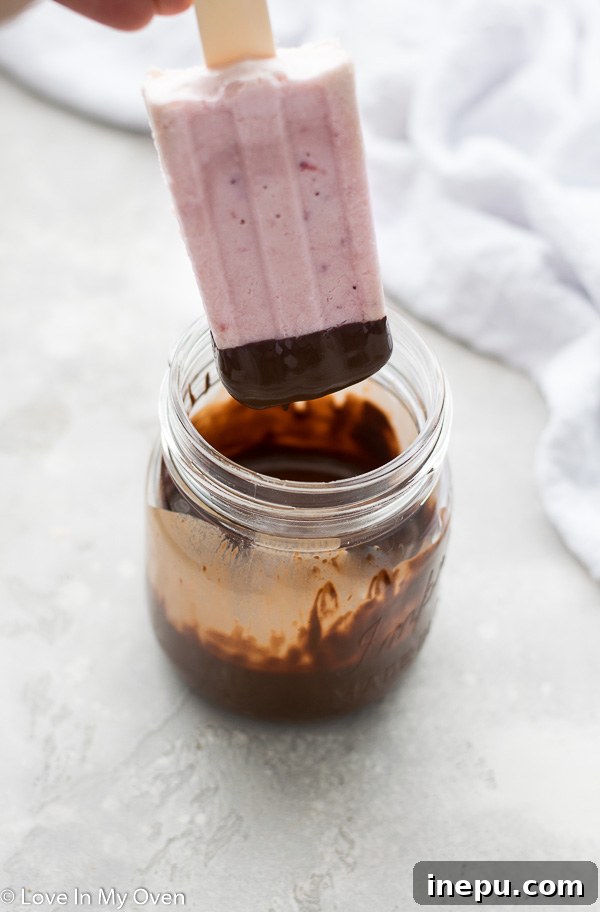
This is where the true magic of the chocolate dipped ice cream bars happens! The secret to that delightful, crisp, and incredibly snappy chocolate shell lies in one key ingredient: coconut oil. When melted with chocolate, coconut oil serves multiple critical functions. Firstly, it helps thin the chocolate to a perfect, smooth dipping consistency, ensuring an even coating. More importantly, it allows the chocolate to harden quickly and smoothly upon contact with the super-cold ice cream, creating that satisfying ‘snap’ sensation when you bite into it. Without coconut oil, the chocolate would likely be too thick and prone to cracking or becoming overly brittle.
To prepare your luscious chocolate shell, simply melt your chosen chocolate chips together with the specified amount of coconut oil in a microwave-safe dish. Heat the mixture in short, 30-second intervals, stirring thoroughly after each burst, until the chocolate is completely smooth, glossy, and free of any lumps. Alternatively, you can use a double boiler for a more controlled and gentle melting process, which can prevent scorching. Once melted, allow the chocolate to cool slightly to room temperature; dipping extremely hot chocolate onto frozen bars can cause them to melt too quickly, leading to a less-than-perfect shell.
Before you begin dipping, remove the *very* frozen ice cream bars from their molds. A quick, helpful trick is to run the molds under warm water for a few seconds; this gently loosens the edges and makes extraction effortless. Place the extracted bars on a baking tray lined with wax paper (note: parchment paper can cause sticking!) and return them to the freezer immediately. It is vital to keep them as cold as possible until you’re ready to dip.
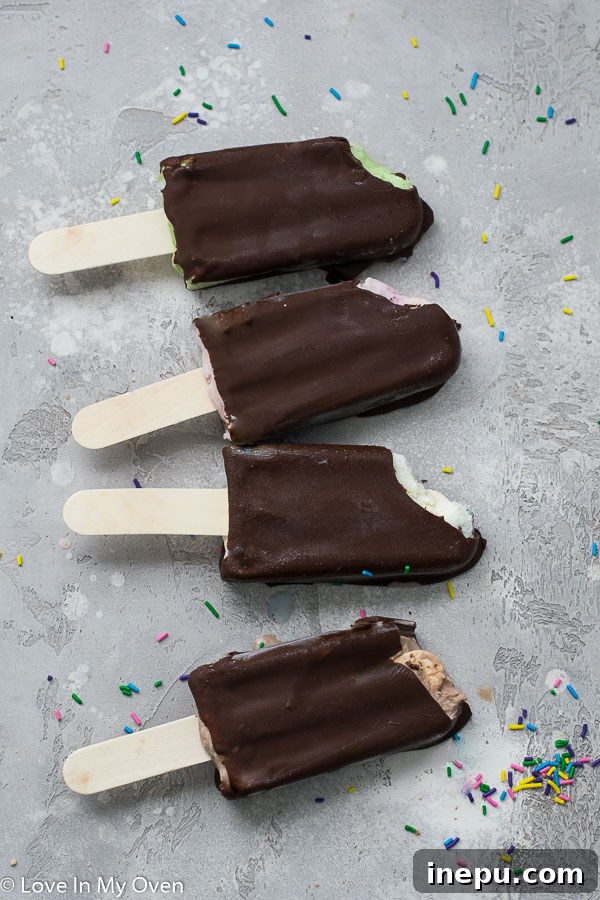
Work quickly and efficiently, one bar at a time. Remove an ice cream bar from the freezer, dunk it into the melted chocolate, ensuring it’s fully coated up to the stick. The chocolate will harden almost instantly upon contact. Immediately place the freshly dipped bar back onto the wax paper-lined tray in the freezer. Repeat this process with the remaining bars. For the best snap, texture, and overall experience, freeze the dipped bars for at least an additional hour before serving.
Choosing Your Chocolate: Quality Matters (But Not Strictly Necessary!)
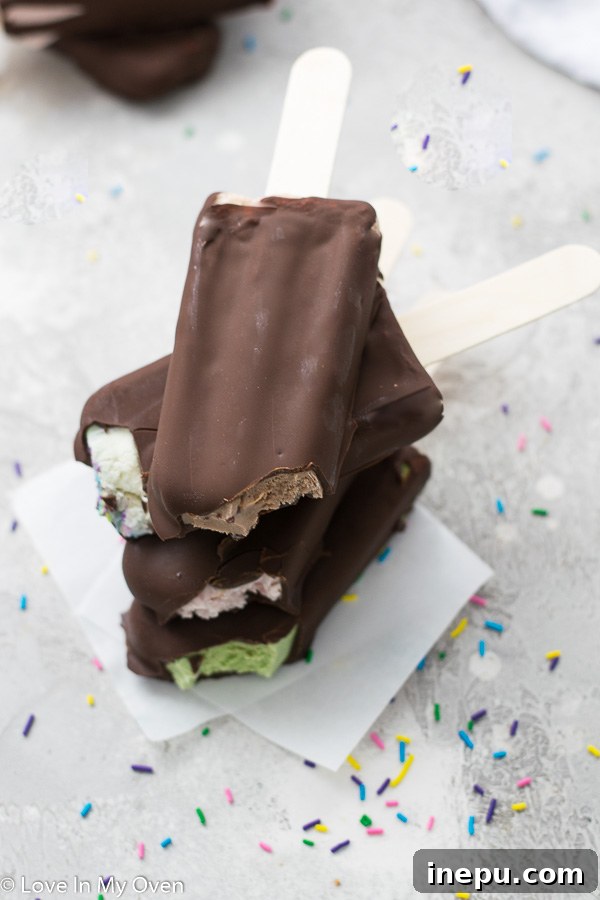
While this recipe works beautifully with standard semi-sweet chocolate chips, don’t hesitate to elevate your experience with higher-quality chocolate if you wish. Brands like Callebaut or Lindt, for example, can offer a richer, more nuanced flavor profile, transforming your homemade treat into a truly gourmet experience. However, the beauty and versatility of this recipe mean that any chocolate you genuinely enjoy will be delicious – from dark to milk to even white chocolate! Experiment with different types to find your perfect match. For an extra touch of flair and flavor, you can even add a sprinkle of flaky sea salt, chopped nuts, or colorful sprinkles immediately after dipping, before the chocolate fully sets.
How Long Do These Homemade Ice Cream Bars Last in the Freezer?
Once your chocolate-dipped ice cream bars are fully frozen and the chocolate shell is completely firm, you can transfer them from the baking tray to an airtight freezer bag or a rigid freezer-safe container. Properly stored, these delightful homemade treats can maintain their quality for up to two months in the freezer without suffering from freezer burn or loss of flavor. However, if your family is anything like ours, these irresistible frozen snacks likely won’t last more than a few days before they’re all happily devoured!
With a hot summer week on the horizon or simply a desire for a joyful, satisfying dessert, these homemade chocolate-dipped ice cream bars are the perfect solution for keeping cool and satisfying those sweet cravings. They’re incredibly simple to make, endlessly customizable, and immensely rewarding. So, gather your ingredients, pick your favorite ice cream flavor, and get ready to enjoy the absolute best frozen treat on a stick!
Enjoy every delightful bite!
Explore More Frozen Delights from Our Kitchen!
If you’ve enjoyed the creative process and delicious results of making these chocolate dipped ice cream bars, we encourage you to explore some of our other favorite ice cream recipes. There’s always a new frozen adventure waiting!
- No-Churn Matcha Ice Cream: A unique and refreshing twist on classic ice cream, made without an ice cream machine.
- Tiger Tail No-Churn Ice Cream: A nostalgic and flavorful treat with an orange and licorice swirl.
- Birthday Cake Ice Cream Sandwiches: Celebrate any day with these fun, festive, and utterly delicious ice cream sandwiches.
Print Recipe
Chocolate Dipped Ice Cream Bars
★★★★★
4.8 from 17 reviews
- Author: Katherine | Love In My Oven
- Total Time: 20 minutes (plus freezing)
- Yield: 10 bars
Description
Everything tastes better on a stick! Give these 3 ingredient chocolate dipped ice cream bars a try and you’ll love it! Try this technique with any flavor of ice cream!
Ingredients
- 2 cups ice cream, any flavor OR 1 no-churn ice cream recipe*
- 12 oz semi-sweet chocolate chips
- 2 tbsp coconut oil
Instructions
- Scoop the softened ice cream/prepared no-churn ice cream mixture into a popsicle mold, filling up to the top. Ensure there are no gaps/air bubbles in each mold by gently tapping the mold on the counter. Place the mold into the freezer for 40 minutes and then insert a popsicle stick into each one. Freeze the bars for 4-5 hours (or preferably overnight) until very firm and solid.
- In a microwave-safe dish, melt the chocolate chips together with the coconut oil in 30-second increments, stirring until smooth and glossy. Alternatively, melt over a double boiler. Allow the melted chocolate to cool to room temperature.
- Remove the popsicle mold from the freezer. Run warm water over the base of the mold for a few seconds to loosen the edges, then carefully extract each ice cream bar by pulling on the popsicle stick. Place the bars on a baking tray lined with wax paper** and return the tray to the freezer to keep them very cold while you prepare for dipping.
- One at a time, remove an ice cream bar from the freezer, quickly dunk it into the chocolate, ensuring full coverage up to the top of the stick. The chocolate will harden almost instantly. Immediately place the dipped bar back onto the wax paper-lined tray in the freezer. Repeat with the remaining bars. Freeze for at least 1 hour before enjoying. For longer storage, transfer the hardened bars to an airtight freezer bag, sealing it tightly and storing in the freezer for up to 2 months.
Bars should keep well for up to 2 months when stored in an airtight freezer bag.
Notes
*If using pre-made ice cream, let it sit at room temperature for 10-15 minutes before scooping to achieve a soft, scoopable consistency. If using a no-churn ice cream recipe, prepare the recipe as instructed up until the freezing stage; you will pour the mixture directly into the molds instead of a freezer-safe container.
**Make sure you use wax paper to prevent sticking. The ice cream will stick to parchment paper!
- Prep Time: 20 minutes
- Category: Dessert, Ice Cream
- Method: Freezer