
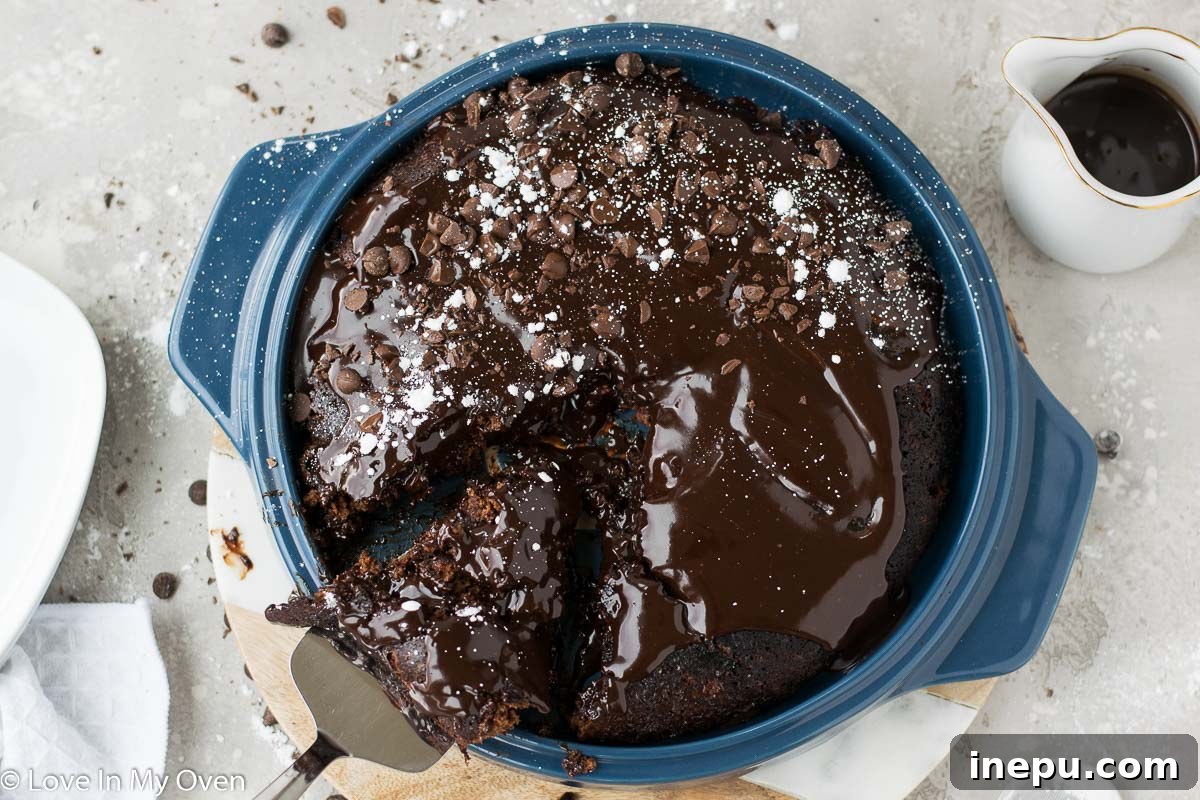
Delicious & Easy Chocolate Upside Down Cake (Stovetop or Oven!)
You’ve heard of pineapple upside down cake, but prepare to be amazed by this rich and incredibly moist chocolate version! This unique recipe offers the flexibility of being made either on your stovetop or baked in the oven, promising a delightful gooey chocolate top every time.
There’s something truly magical about a cake that defies tradition and presents its best side, quite literally, upside down. While the classic pineapple upside-down cake holds a special place in many hearts, it’s time to introduce you to its decadent chocolate cousin. This isn’t just any chocolate cake; it’s an experience in rich, deep chocolate flavor, crowned with a wonderfully gooey, self-saucing topping that will have everyone asking for more.
I recently perfected this chocolate upside down cake recipe, and I’m thrilled to share it. It’s been a labor of love, testing various methods and ingredients to ensure it delivers on both flavor and ease. The most exciting discovery during this process was realizing how beautifully this cake can be made right on the stovetop! If you’ve never tried stovetop baking, you’re in for a treat – it’s a surprisingly simple and efficient way to bake, especially when you want to avoid heating up your entire kitchen.
Unveiling the Magic: What is a Chocolate Upside Down Cake?
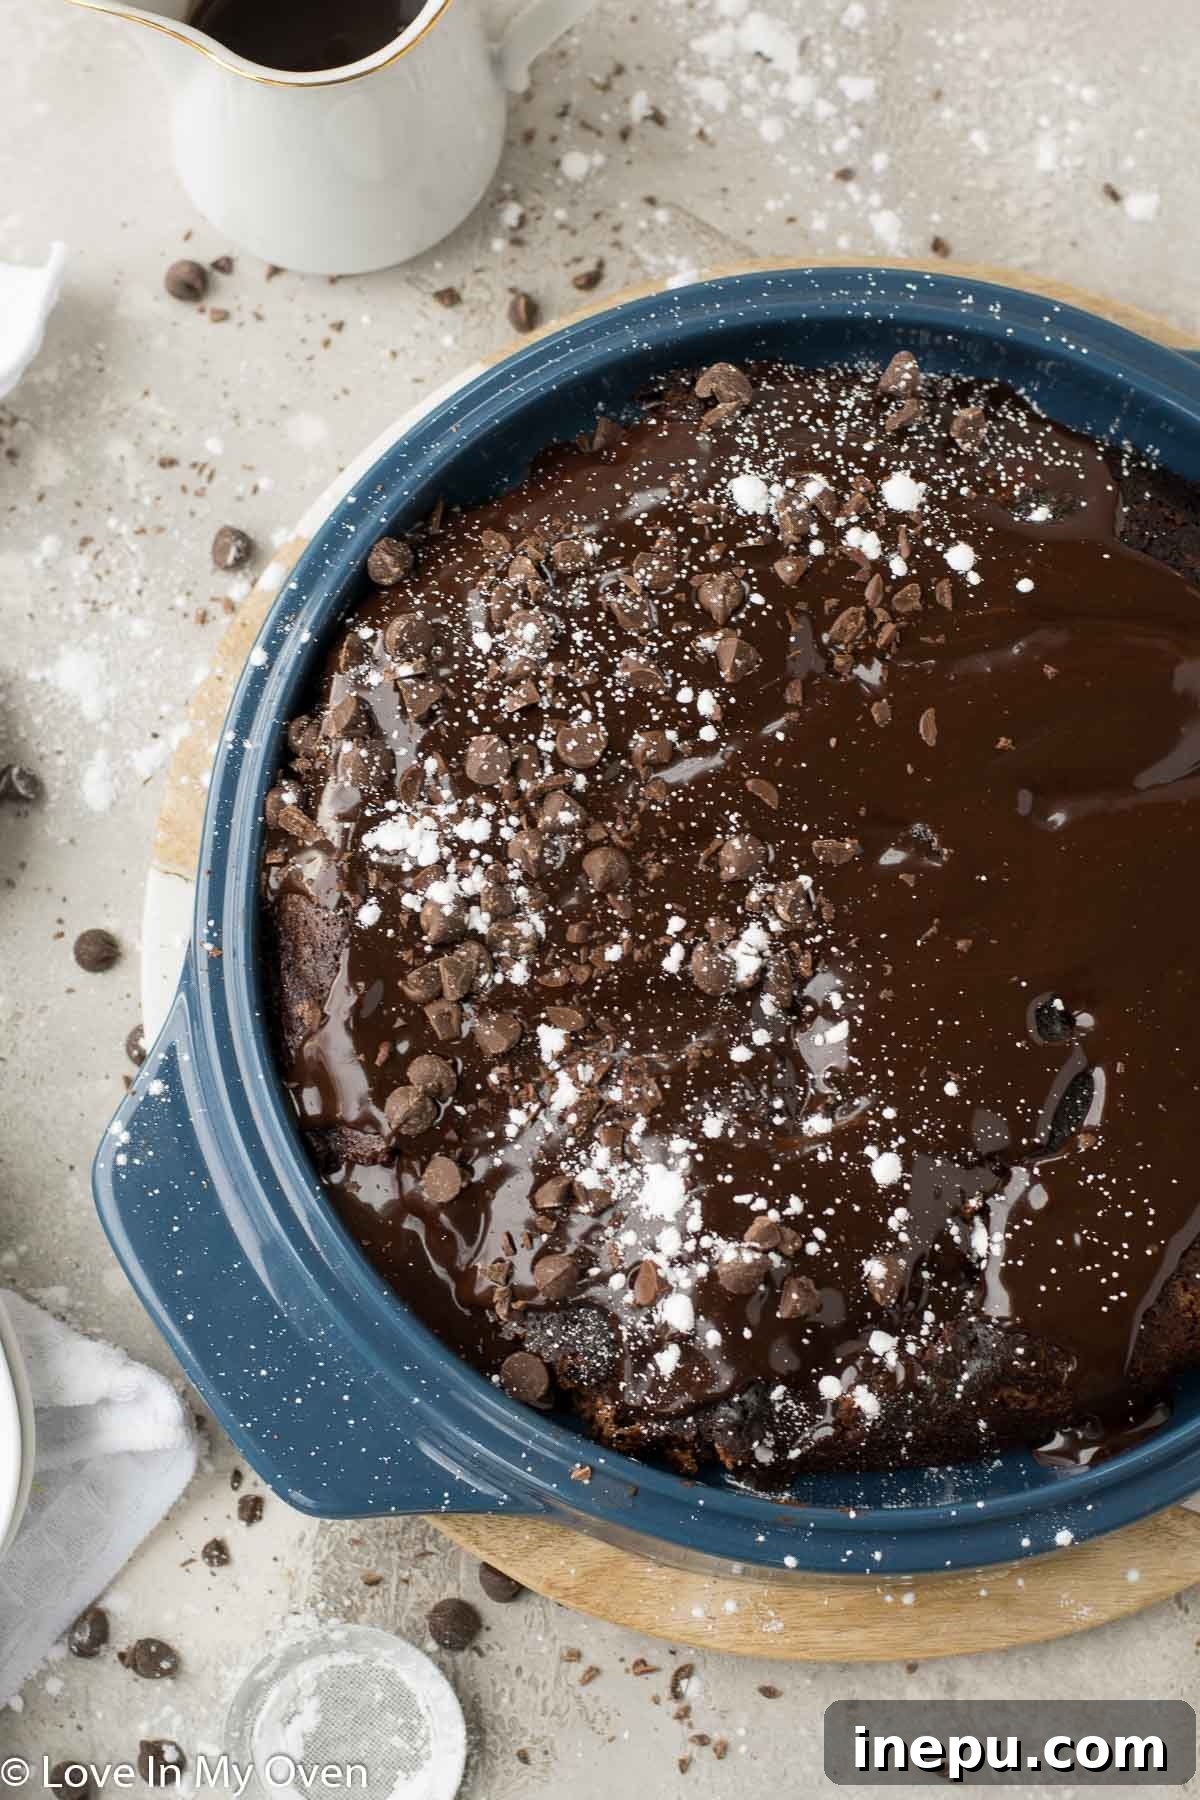
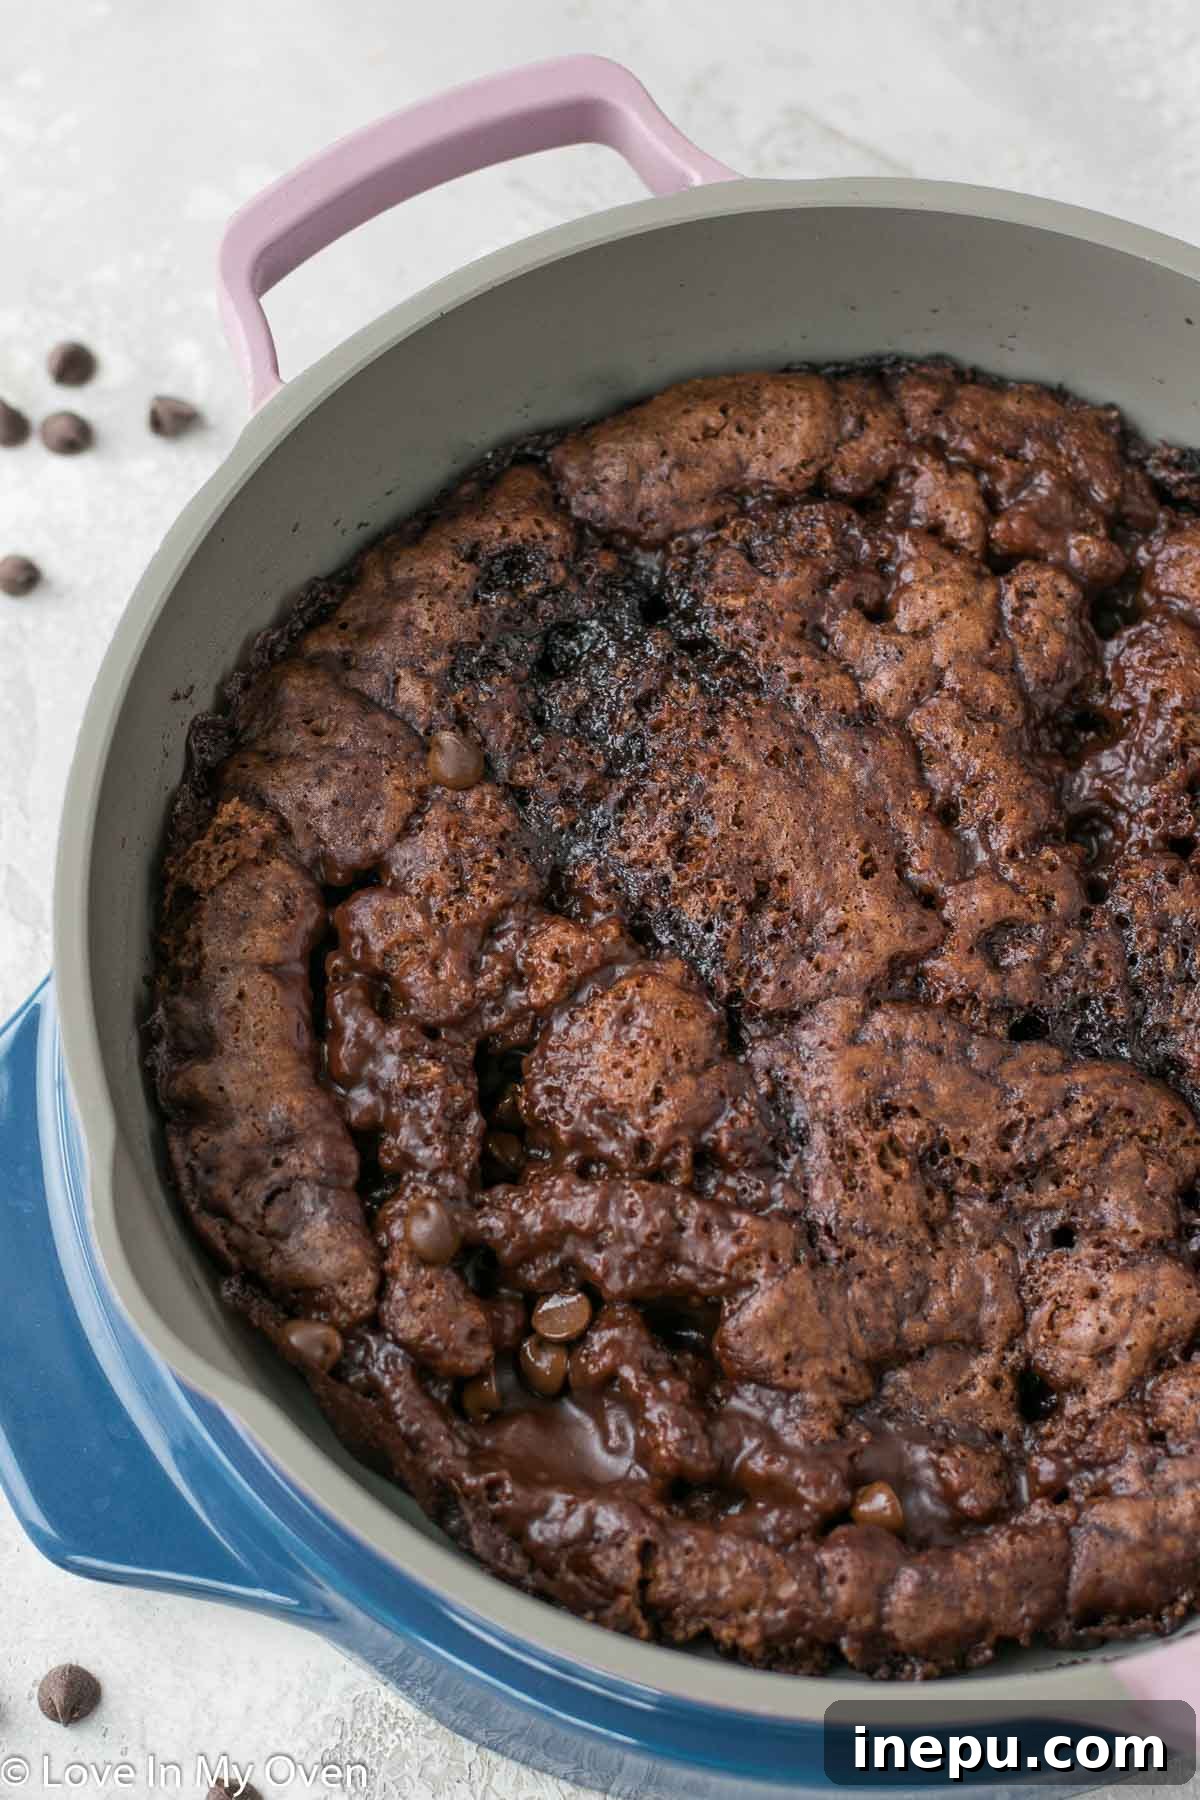
At its heart, a chocolate upside down cake is a beautifully moist chocolate cake that, after baking, is flipped onto a serving platter. The real magic, however, lies in its signature “gooey top” – a delightful, sticky chocolate sauce that forms during the baking process. This luscious topping is created by pouring boiling water over the cake batter and a special topping mixture just before it bakes. As the cake cooks, the water transforms into a rich, self-saucing layer that sinks to the bottom of the pan, only to become the glorious, sticky top once the cake is inverted.
This method doesn’t just create an incredible texture; it also ensures that every slice is infused with deep chocolate goodness and a burst of moisture. The contrast between the tender cake and the warm, gooey topping makes for an unforgettable dessert that’s perfect for any occasion, from a casual family dinner to a festive celebration.
Innovative Baking: How to Bake a Cake on the Stovetop
Baking a cake on the stovetop might sound unconventional, but it’s a technique that has been used for generations, particularly in regions where ovens are not common or during hot weather when you want to keep your kitchen cool. Before developing this recipe, I hadn’t ventured into stovetop baking myself, but now I’m a complete convert! It’s an ingenious method that utilizes steam to gently cook the cake, resulting in an incredibly moist and tender crumb.
The process is surprisingly straightforward: you simply prepare your cake in a deep, lidded pan directly on your stovetop. The simmering water around or within the pan creates a steamy environment, mimicking the moist heat of a conventional oven. This gentle cooking prevents the cake from drying out and helps achieve that characteristic soft texture. Once baked and allowed to cool slightly, the cake is ready to be flipped out onto a serving dish, revealing its spectacular gooey chocolate topping. It’s a game-changer for summer baking or for anyone looking for a more energy-efficient way to bake.
For the flipping process, I personally love using my specialized flipping platter, but any sturdy serving platter will work beautifully. Just ensure it’s large enough to accommodate your cake pan.
Crafting Perfection: How to Make This Stovetop Chocolate Upside Down Cake
Despite its impressive appearance and decadent flavor, this chocolate upside down cake relies on a surprisingly simple list of common pantry ingredients. You likely have most of these on hand already, making it an accessible treat to whip up whenever a chocolate craving strikes.
Key Cake Ingredients:
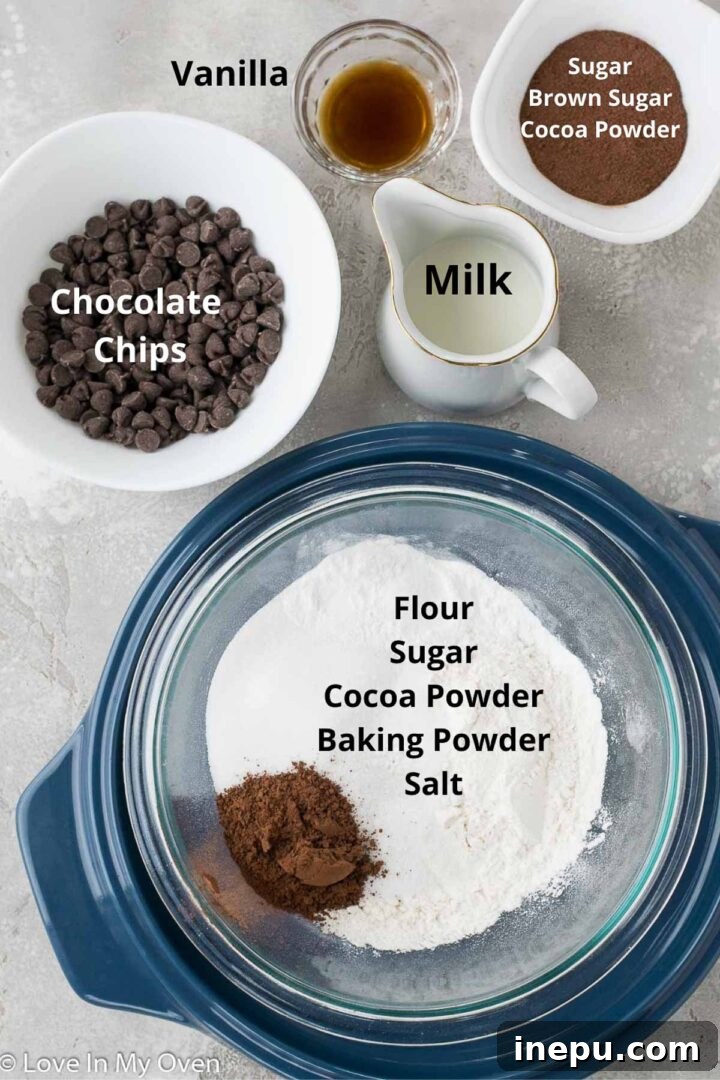
- All-Purpose Flour: Provides the structure for our cake, ensuring it holds together beautifully.
- Granulated Sugar: Sweetens the cake and contributes to its moist texture.
- Cocoa Powder: The star of the show, delivering that rich, deep chocolate flavor. Opt for unsweetened natural cocoa powder for the best results.
- Baking Powder: Our leavening agent, responsible for giving the cake a light and airy lift.
- Salt: A crucial ingredient that balances the sweetness and enhances all the other flavors.
- Milk: Adds moisture and richness to the batter.
- Vanilla Extract: A touch of vanilla always complements chocolate perfectly, adding depth to the flavor profile.
- Melted Chocolate Chips: These are incorporated directly into the batter for an extra boost of intense chocolate flavor and a more fudgy texture.
The Signature Topping Ingredients:
- Granulated Sugar: Contributes to the sticky, sweet foundation of the gooey topping.
- Brown Sugar: Adds a hint of caramel-like depth and extra moisture to the topping, creating a truly irresistible glaze.
- Cocoa Powder: Ensures the topping is just as chocolatey as the cake itself.
Step-by-Step Instructions for Your Perfect Chocolate Upside Down Cake:
Creating this cake is a rewarding process, and following these steps will ensure a flawless, delicious result every time. Precision and a little patience are your best friends here!
- Begin by preparing your dry ingredients. In a large mixing bowl, combine the all-purpose flour, granulated sugar, cocoa powder, baking powder, and salt. It’s highly recommended to sift these ingredients together. This extra step prevents any lumps of cocoa powder, ensuring a smooth, uniform batter and a beautifully textured cake.
- Next, incorporate the wet ingredients into your dry mixture. Add the milk and vanilla extract, stirring gently until just combined. For the chocolate chips, microwave them on high in 30-second intervals, stirring thoroughly after each interval, until they are completely smooth and glossy. Be careful not to overheat! Fold this melted chocolate into your batter, stirring just enough to integrate it. Overmixing can lead to a tough cake, so stop as soon as no streaks of flour remain.
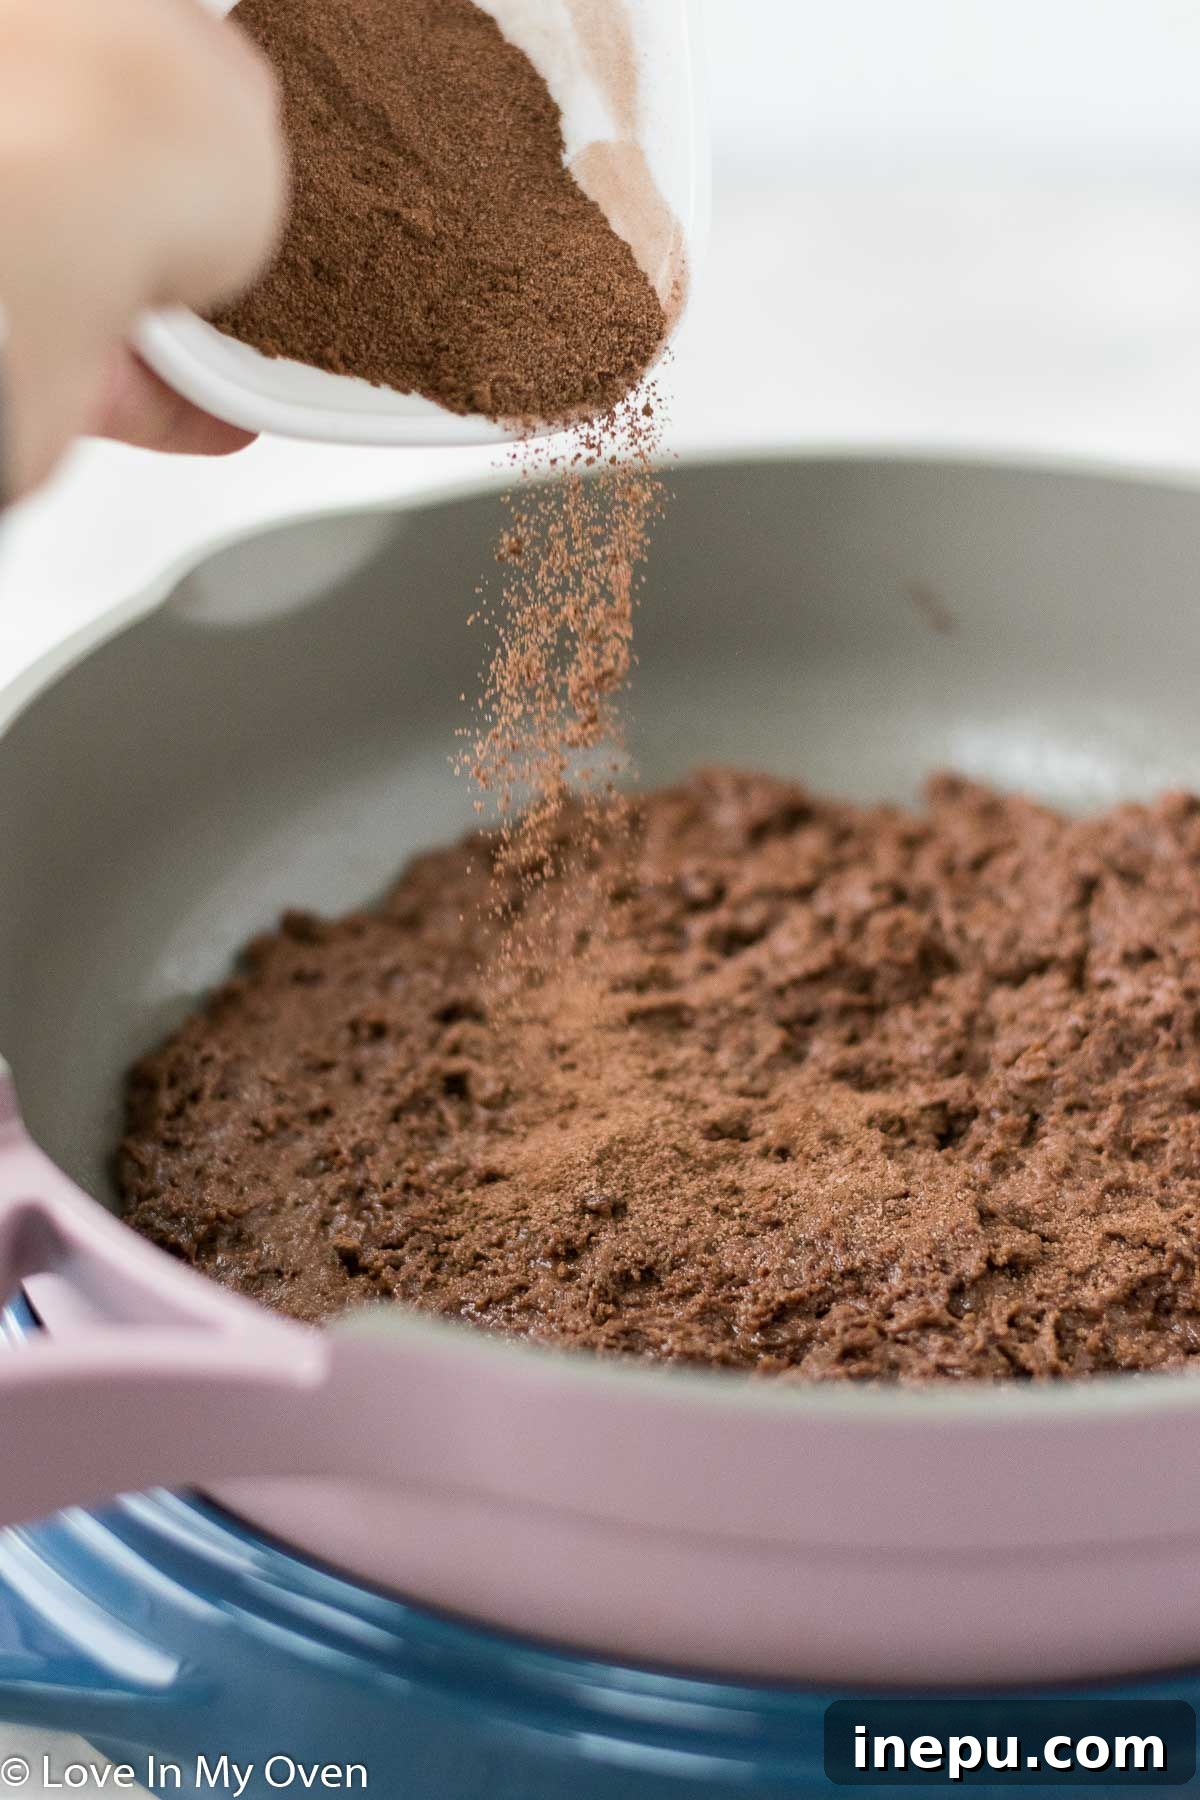
- Prepare your baking pan: lightly spray a 10-11 inch pan (preferably one with a lid, suitable for stovetop use) with nonstick spray. Carefully empty the thick chocolate batter into the bottom of the pan. Since the batter will be quite dense, use a spoon or a spatula to gently spread it evenly across the bottom of the pan. In a separate small bowl, whisk together the topping ingredients (granulated sugar, brown sugar, and cocoa powder), then evenly sprinkle this mixture over the surface of the cake batter. This forms the base of our magical gooey topping.
- Now for the crucial step that creates the “upside down” effect: carefully pour boiling water all around the edges of the cake and gently over the top. Don’t stir! This hot water will interact with the topping and batter during cooking, forming the gooey layer. Securely place a lid on your pan, then position it on your stovetop over medium heat. It’s essential to maintain a consistent low-to-medium temperature throughout the cooking process to ensure the cake bakes evenly and prevents the bottom from burning. A heat diffuser can be helpful if your stovetop tends to have hot spots.
- Allow the cake to cook for approximately 20-25 minutes. To check for doneness, gently insert a toothpick into the center of the cake. It should come out clean. You’ll also notice the edges of the cake beginning to pull slightly away from the sides of the pan. Once done, remove the pan from the heat and let the cake cool for about 10 minutes. This cooling period is important as it allows the cake to set slightly, making the flipping process much easier.
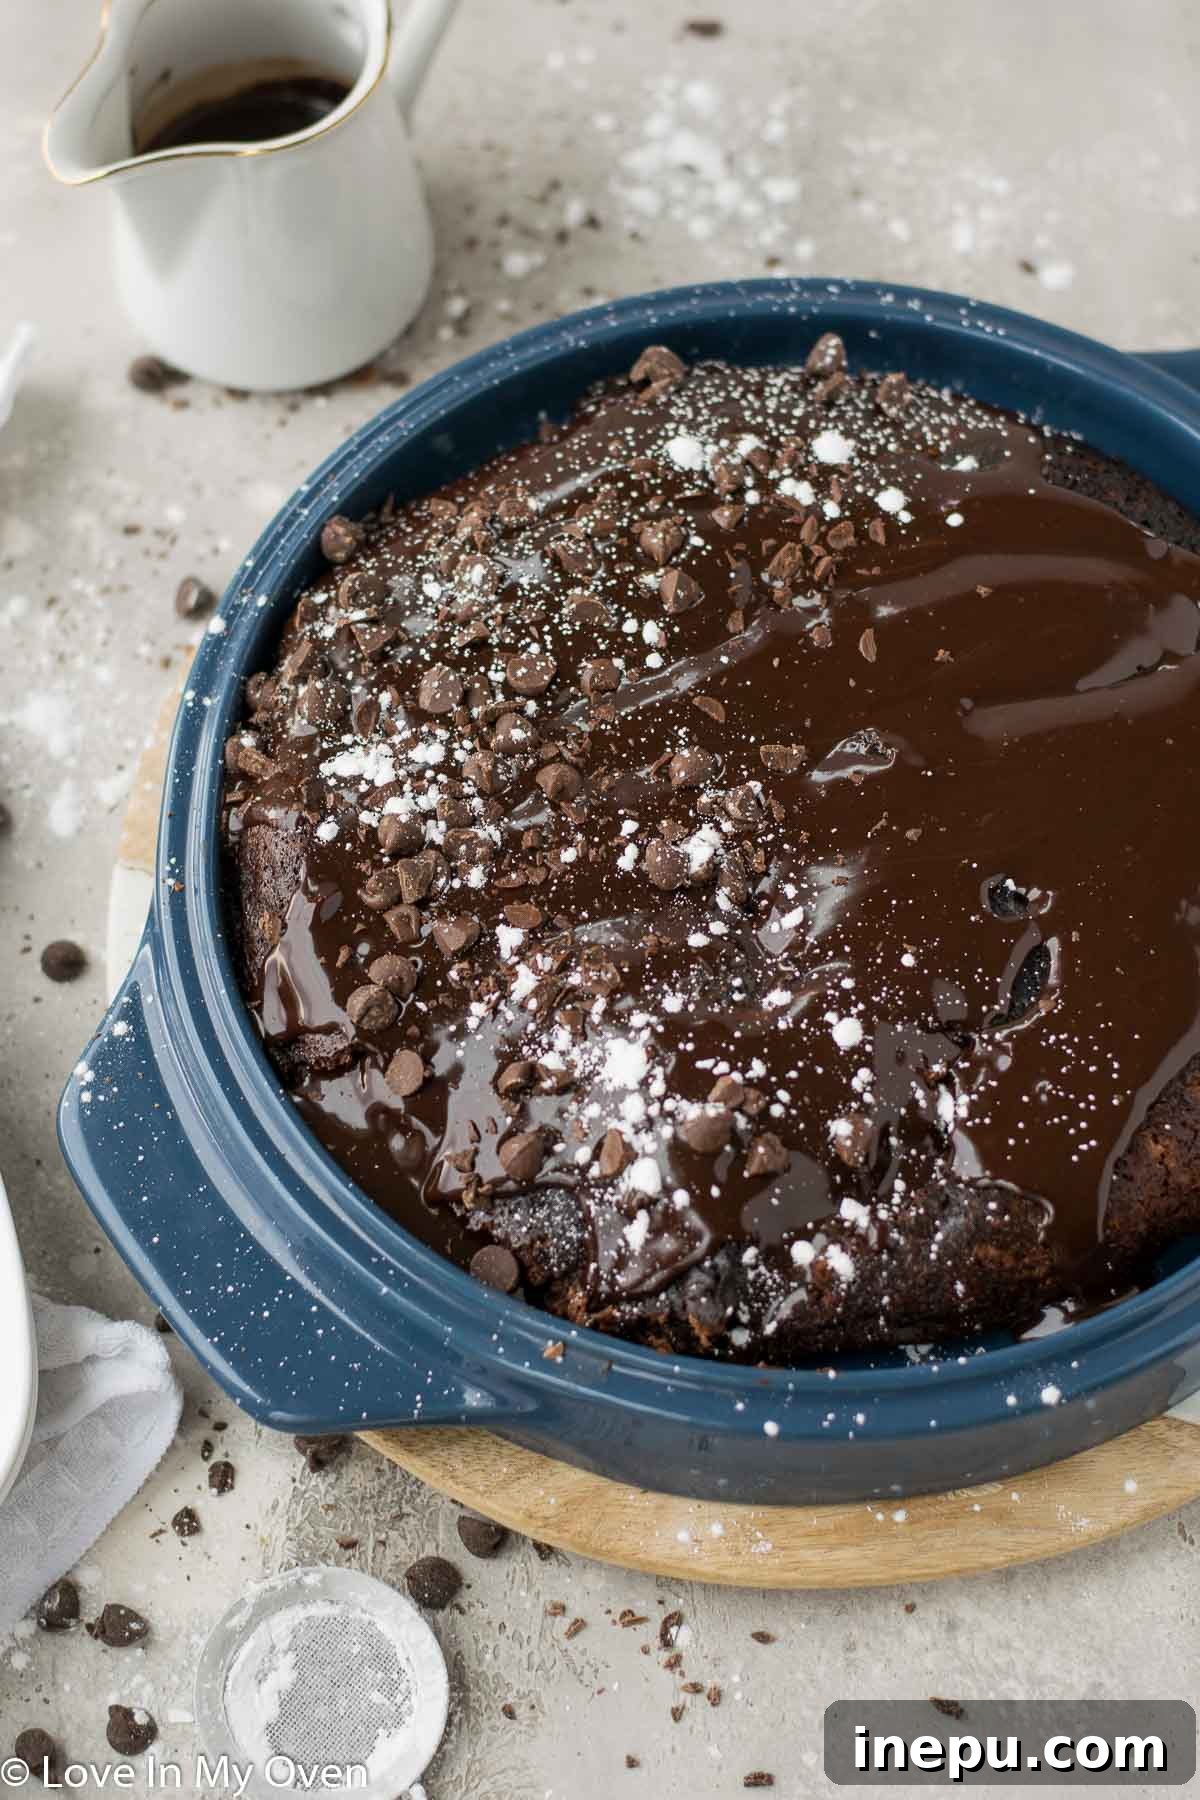
- The exciting part: flipping the cake! Place your chosen serving platter (or a specialized flipping platter) firmly on top of the pan. With a swift, confident motion, carefully flip the pan upside down onto the platter. Give the bottom of the pan a few gentle thumps to ensure the cake has fully released. Then, slowly lift the pan away, revealing your perfectly formed chocolate upside down cake with its shimmering, gooey top.
- To elevate this cake to true dessert heaven, prepare a rich chocolate ganache. Heat 1/2 cup of heavy cream either in a small saucepan over medium heat or in the microwave until it’s warm but not boiling. Remove from heat and add 1 cup of chocolate chips to the warmed cream. Let it sit undisturbed for about 1 minute, allowing the chocolate to melt. Then, continuously stir with a whisk until the chocolate ganache is completely silky smooth and glossy. Pour this decadent ganache generously over the top of your warm cake. Serve immediately for an intensely gooey experience, or allow it to cool slightly at room temperature for a firmer ganache and easier slicing.
Customizing Your Treat: Is This Chocolate Upside Down Cake Recipe Vegan?
Absolutely! This recipe is incredibly versatile and can be easily adapted to be completely vegan without sacrificing any of its rich flavor or wonderful texture. The main changes involve substituting dairy products with plant-based alternatives.
To make this a vegan chocolate upside down cake, you’ll need to use dairy-free milk for the cake batter. Almond milk, soy milk, or oat milk all work beautifully. Additionally, ensure you use vegan chocolate chips for both the melted chocolate in the batter and the ganache topping. For the ganache, full-fat coconut milk is an excellent choice as it provides a similar richness and creamy texture to heavy cream when warmed with chocolate. The result will be a delightfully decadent vegan dessert that everyone can enjoy.
Serving and Storing Your Chocolate Upside Down Cake
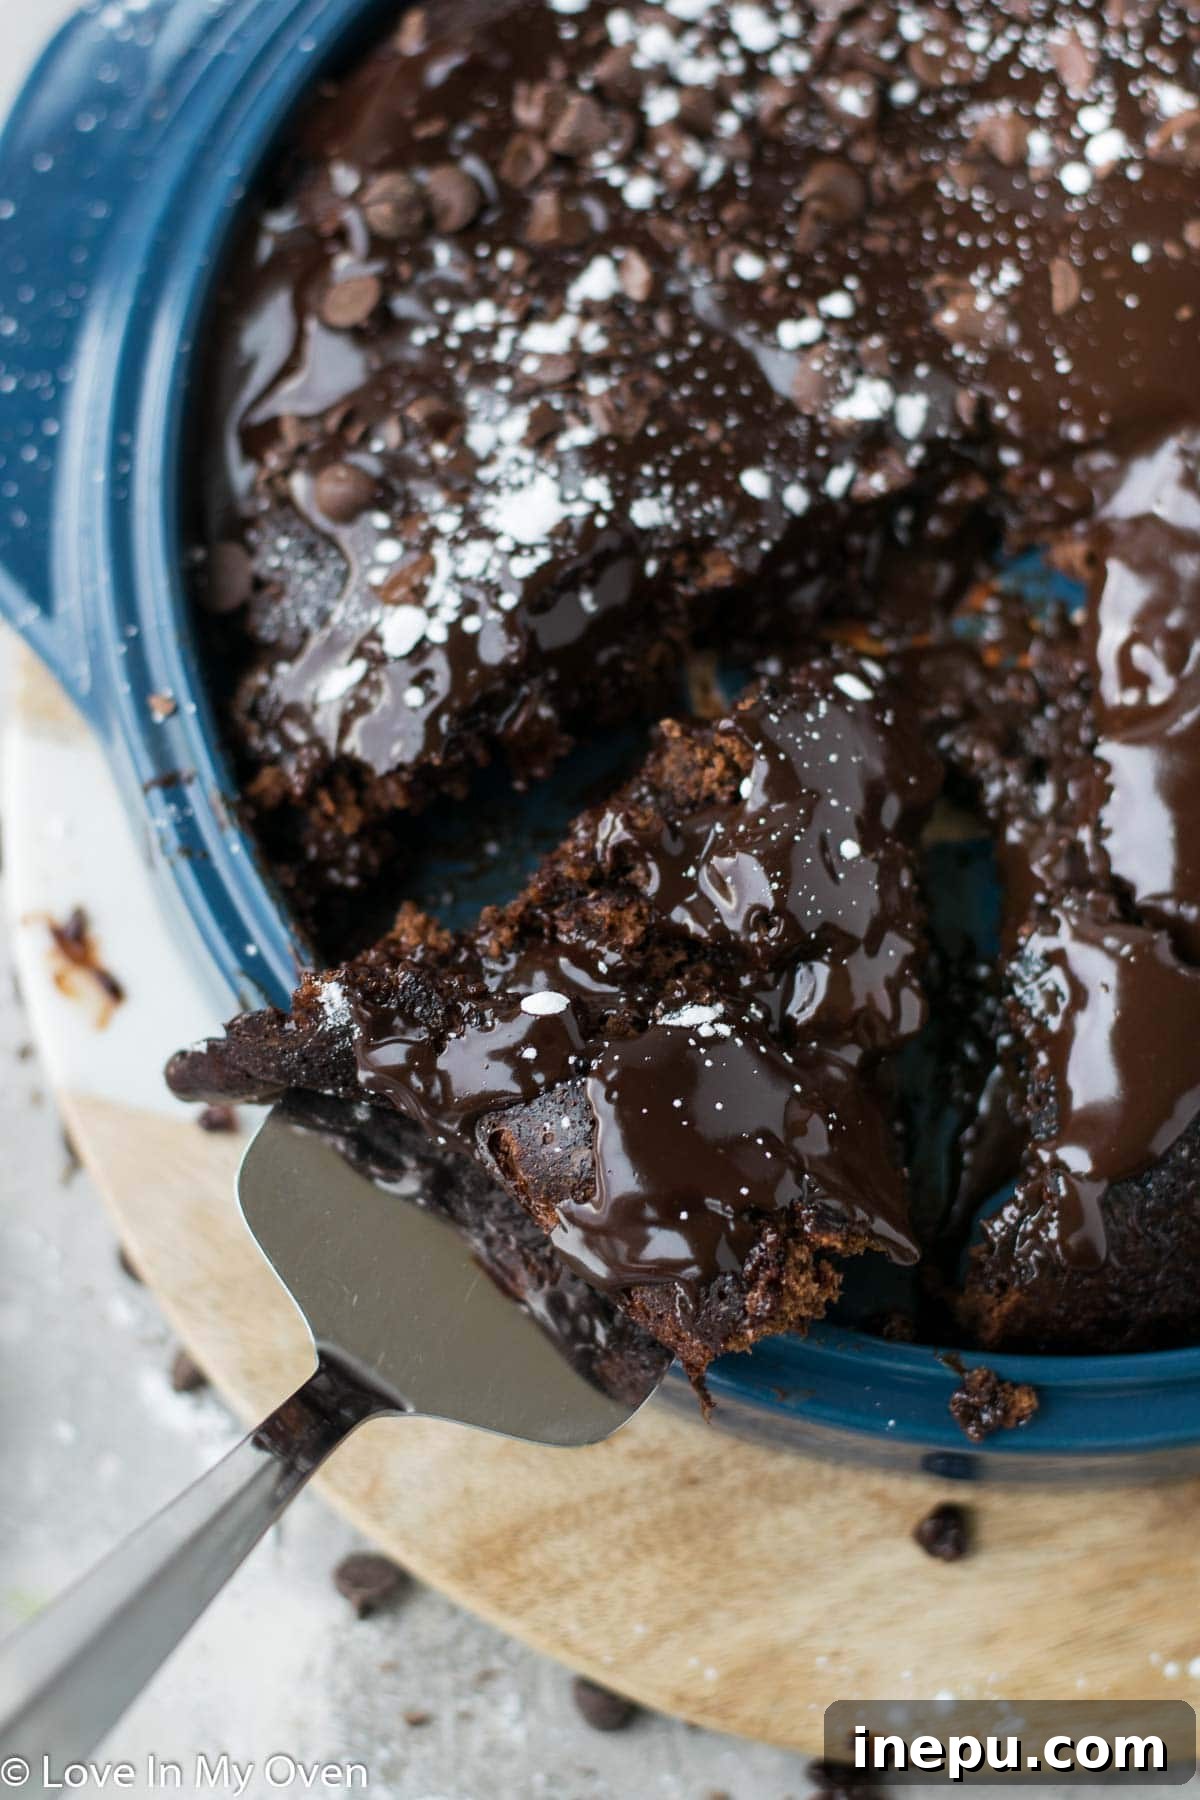
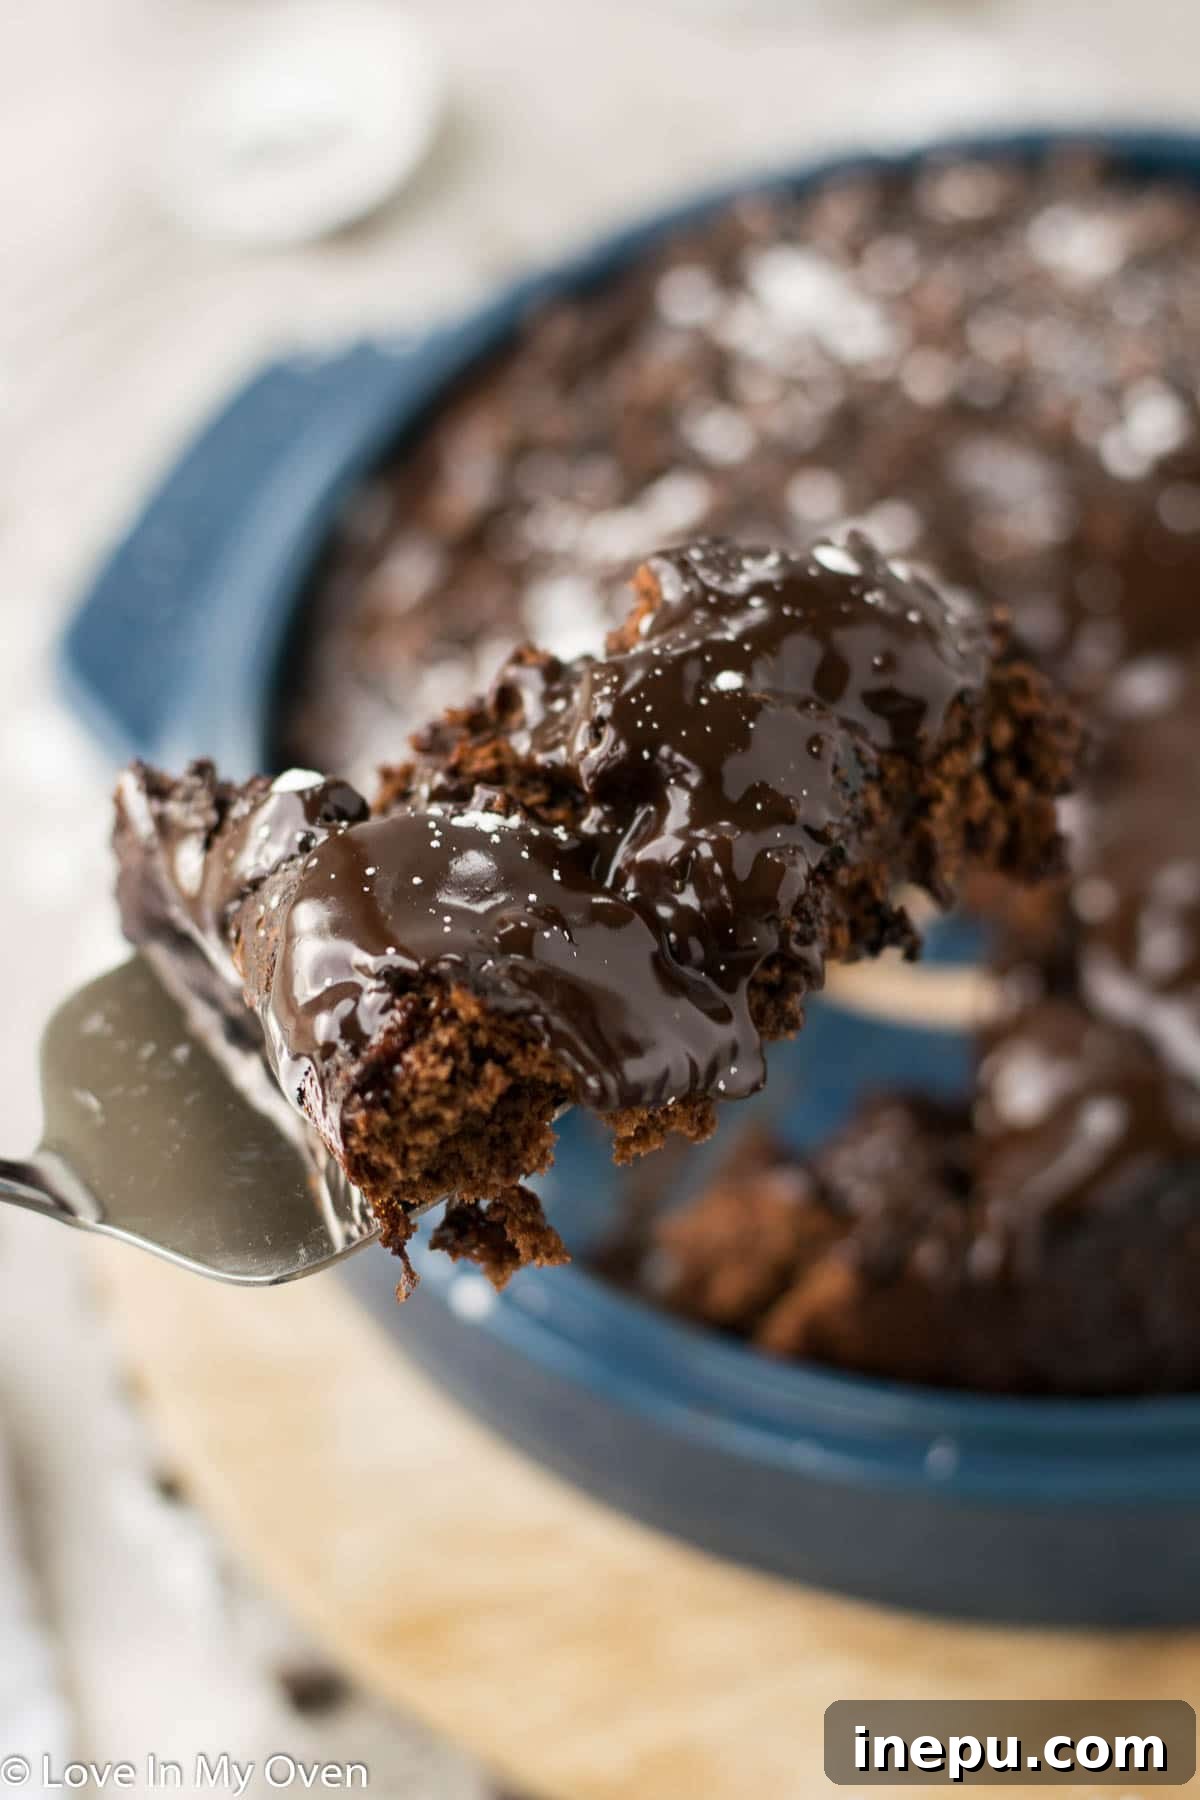
The question of whether to serve this cake warm or at room temperature often comes down to personal preference, as both offer unique experiences. When served warm, especially with the freshly poured ganache, the cake is incredibly gooey, almost like a molten lava cake. This provides an intensely rich and comforting experience, perfect for a cozy evening. However, the extreme gooeyness can make it a bit challenging to cut into neat slices.
If you prefer a cake that holds its shape better and is easier to slice, allow it to cool completely to room temperature before serving. At this point, the ganache will have firmed up slightly, and the gooey topping will be more set, making for cleaner cuts. Either way, the flavor is phenomenal!
For leftovers, store the cake in an airtight container at room temperature for approximately 2-3 days. This helps maintain its moisture and prevents it from drying out. If you’re planning ahead or have a larger batch, this chocolate upside down cake freezes wonderfully. Before adding the ganache, allow the baked cake to cool completely, then wrap it tightly in plastic wrap and foil. It can be frozen for up to 2 months. Thaw in the refrigerator overnight, then warm slightly and prepare the ganache fresh before serving.
Frequently Asked Questions (FAQs)
Can I make this chocolate upside down cake in the oven?
Yes, while the instructions detail the stovetop method, you can adapt this recipe for the oven. Prepare the batter and topping as instructed, pour into an oven-safe 10-11 inch pan (like a springform or cast-iron skillet), then pour the boiling water over the top. Bake in a preheated oven at 350°F (175°C) for about 25-35 minutes, or until a toothpick inserted comes out clean. Keep an eye on it as oven times can vary.
What kind of pan is best for stovetop baking?
A heavy-bottomed, non-stick pan with a tight-fitting lid is ideal for stovetop baking. Cast iron skillets or deep, oven-safe frying pans work exceptionally well as they distribute heat evenly. The lid is crucial for trapping steam and ensuring the cake cooks through.
My cake topping isn’t very gooey, what went wrong?
A few factors could affect the gooeyness: ensure the water was boiling when poured over, maintain a consistent low-medium heat during cooking (too high or too low can affect the sauce formation), and don’t overbake the cake. The shorter baking time helps preserve that wonderful gooey texture.
Can I add nuts or other mix-ins to the batter?
Absolutely! Feel free to experiment. Chopped walnuts, pecans, or even a sprinkle of mini marshmallows can be added to the batter or topping for extra flavor and texture. Just be mindful not to overcrowd the batter.

Chocolate Upside Down Cake
5 Stars
4 Stars
3 Stars
2 Stars
1 Star
5 from 2 reviews
- Author: Katherine | Love In My Oven
- Total Time: 40 minutes
- Yield: 5–6 servings
Description
You’ve heard of pineapple upside down cake, but have you ever tried a chocolate upside down cake? This rich and delicious chocolate upside down cake recipe can be made either on the stovetop or in the oven!
Ingredients
- 1 cup all-purpose flour
- 3/4 cup granulated sugar
- 1 tbsp cocoa powder
- 2 tsp baking powder
- 1/2 tsp salt
- 3/4 cup milk*
- 1 tsp vanilla extract
- 1/2 cup chocolate chips, melted
- 3/4 cup boiling water
Topping
- 1/4 cup granulated sugar
- 2 tbsp brown sugar
- 2 tbsp cocoa powder
Ganache
- 1/2 cup heavy cream
- 1 cup chocolate chips
Instructions
- Spray a 10-11″ pan with nonstick spray and set aside. Whisk together the flour, sugar, cocoa powder, baking powder and salt. Sift the ingredients to ensure there are no big lumps of cocoa powder.
- Add the milk and vanilla to the mixture and gently stir. Microwave the chocolate chips on high, for 30 seconds at a time, stirring in between until smooth and glossy. Add the melted chocolate to the batter and stir until just combined.
- Empty the batter into the bottom of the pan. The batter will be thick, so use a spoon to gently spread the batter around. Mix together the topping ingredients in a small bowl, then sprinkle the top of the cake with the topping.
- Pour the boiling water all around the edges of the cake and over the top. Place a lid on the pan, then place the pan on the stove over medium heat. Keep the heat consistent at low-medium temperature to ensure the bottom of the cake does not burn.
- The cake will be done after about 20-25 minutes, or until a toothpick inserted in the center comes out clean. The edges should be slightly pulling away from the sides. Remove the cake from the heat then allow it to cool for 10 minutes.
- Place a serving platter (or flipping platter) on top of the cake, then with one swift motion, flip the pan upside down on to the serving platter. Give it a few thumps on the bottom of the pan to make sure it has released from the pan, then lift the pan away.
- Make the ganache. Heat up the heavy cream either in a saucepan on medium heat or in the microwave, then add the chocolate chips to the warmed cream. Let it sit for 1 minute, then continuously stir until the chocolate ganache is silky smooth. Pour the ganache over the top of the cake, then serve immediately or allow it to come to room temperature completely before serving.
Leftover cake can be stored in an airtight container, for 2-3 days. You can also store the completely cooled cake (prior to the ganache) in the freezer, in an airtight container, for up to 2 months.
Notes
*Use dairy free milk and dairy free chocolate chips for a vegan version of this cake. Coconut milk is best for the ganache.
- Prep Time: 15 minutes
- Cook Time: 25 minutes
- Category: cake
- Method: stovetop
- Cuisine: american
More Decadent Cake Recipes You’ll Love:
If you’re a fan of rich, satisfying desserts, be sure to explore some of my other favorite cake recipes from the blog. Each one is designed to bring joy to your kitchen and your taste buds:
- 3-Ingredient Flourless Chocolate Cake: An incredibly simple yet deeply rich and fudgy cake, perfect for a quick indulgence or when you need a gluten-free option.
- Zesty Orange Upside Down Cake: If you loved the concept of an upside-down cake, try this bright and vibrant orange version, bursting with citrus flavor.
- Mini Chocolate Cake (Anniversary Cake for Two): A perfectly portioned chocolate cake for those moments when you want something special without making a huge batch. Ideal for romantic dinners or small celebrations.
This chocolate upside down cake is more than just a dessert; it’s a delightful adventure in baking, offering both convenience and an explosion of flavor. Whether you’re a seasoned baker or new to the kitchen, this recipe promises to deliver a truly memorable treat. Happy baking!