
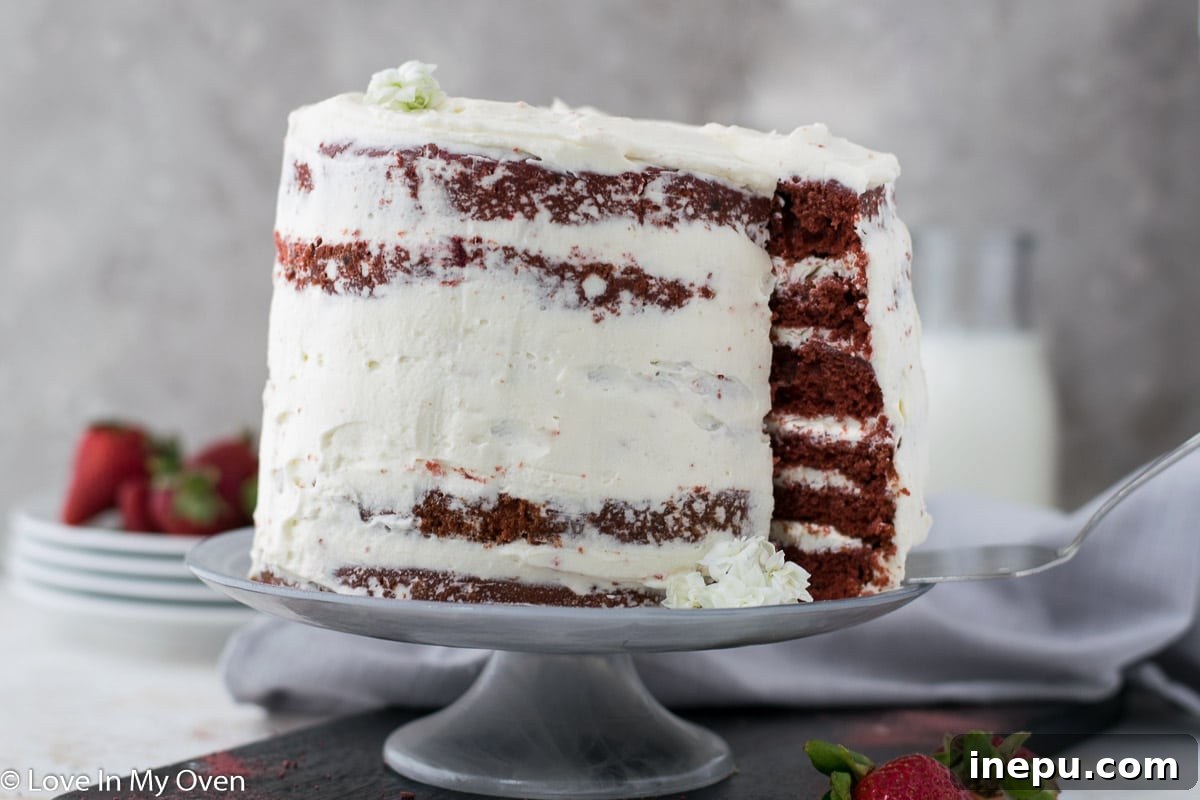
Delicious Mini Red Velvet Cake with Natural Coloring
Indulge in a truly exquisite red velvet experience! This mini red velvet cake is made with vibrant natural coloring, delivering an incredible taste and a visually stunning appearance without a single drop of artificial food dye.
As the seasons shift, so do our cravings for comforting yet elegant treats. While others might be celebrating with green, we’re embracing the bold and beautiful crimson hue of a perfectly baked mini red velvet cake. This particular recipe holds a special place, as it was crafted to celebrate a significant occasion – my Dad’s birthday. I wanted to create something truly decadent, something that transcended the ordinary. For a long time, I viewed red velvet as merely a chocolate cake artificially colored red, and as someone who prefers to minimize artificial ingredients, it wasn’t a cake I often considered. However, I discovered a fantastic, all-natural method to achieve that iconic vibrant red!
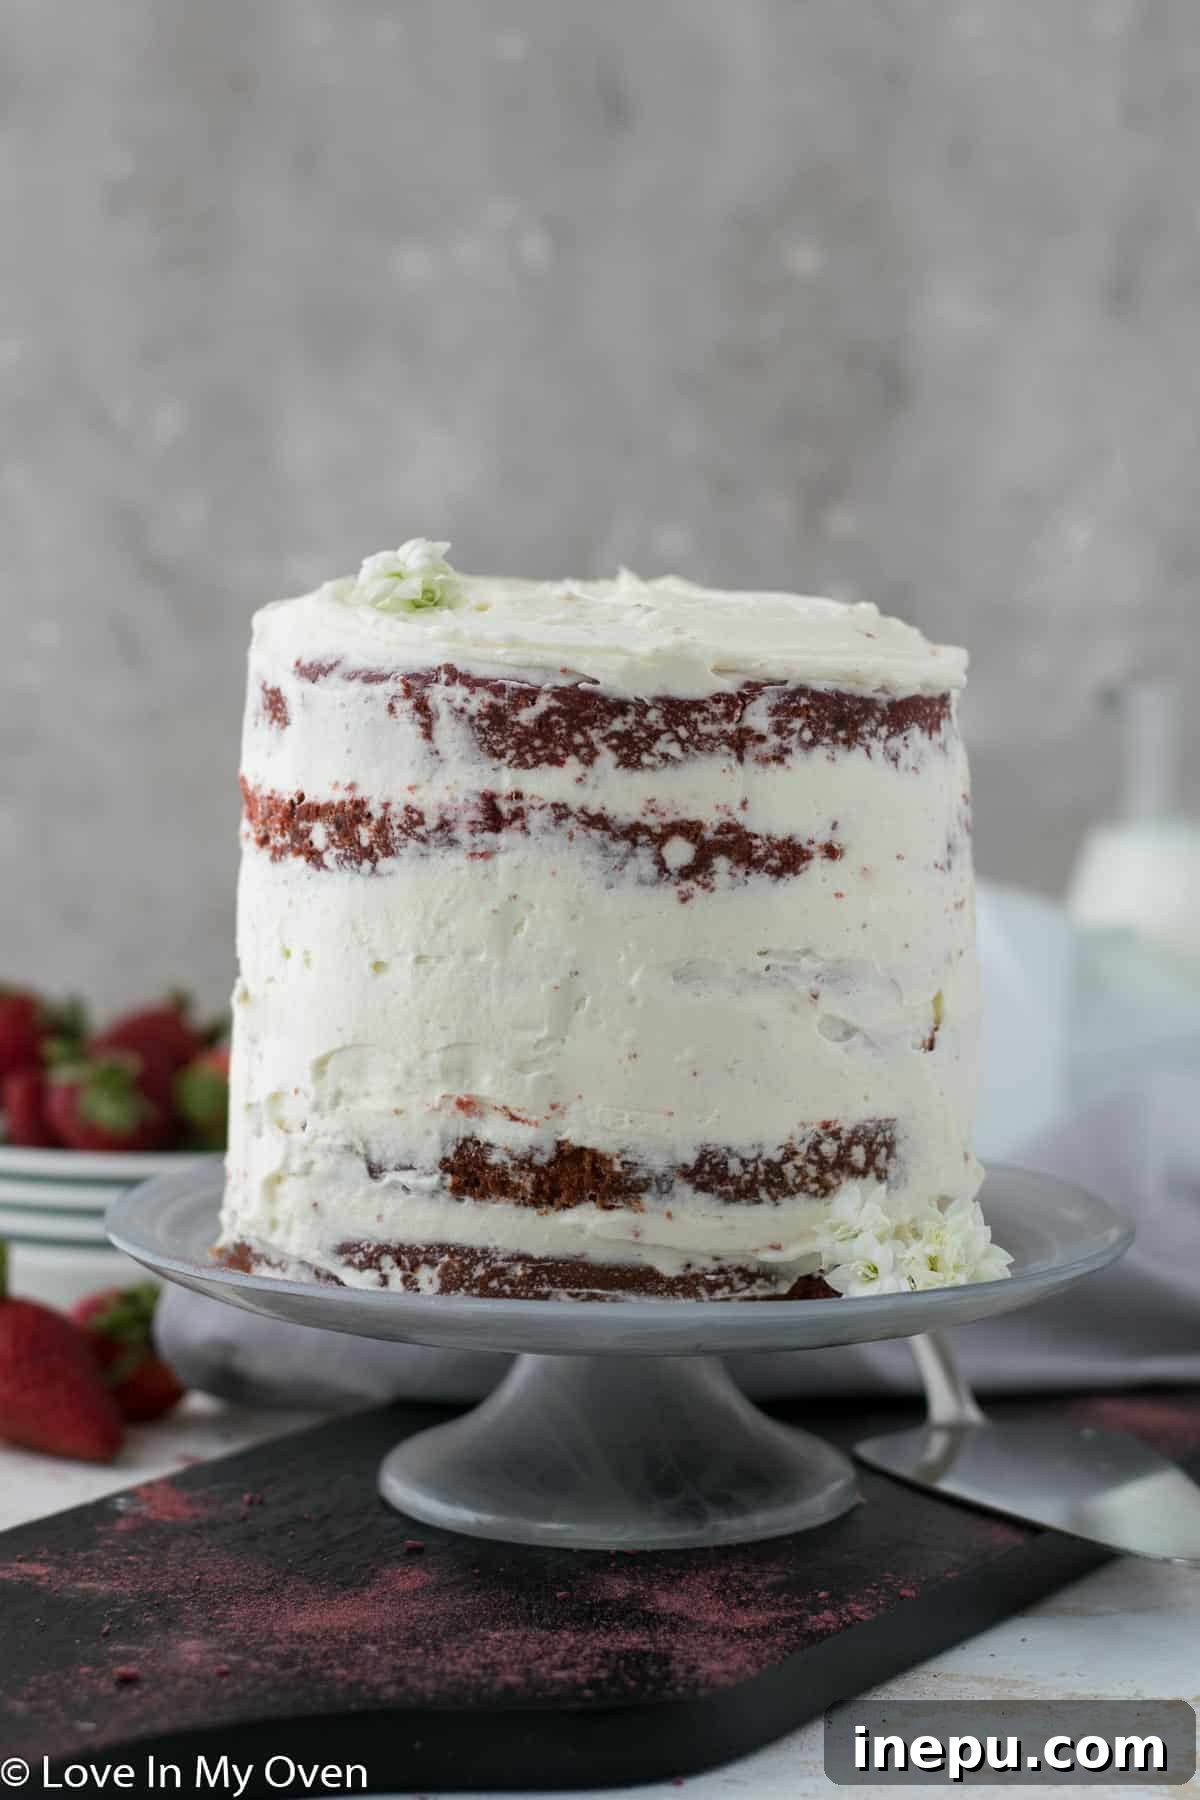
Unveiling the True Essence of Red Velvet Cake
For those who, like me, once wondered what all the fuss was about with this much-loved crimson dessert, let me assure you, red velvet cake is far from just a “regular cake.” It possesses a distinct character, a unique symphony of flavors and textures that sets it apart. The magic lies in a precise combination of key ingredients that work in harmony to create its signature taste and the coveted “velvety” crumb:
- Buttermilk: Adds a subtle tang and contributes to the cake’s tenderness.
- Vinegar: Reacts with baking soda to create lift and a finer crumb.
- Unsweetened Cocoa Powder: Provides the delicate chocolate flavor and, historically, reacted with acidic ingredients to enhance the reddish tint.
This particular acidic combination of buttermilk and vinegar, when paired with cocoa powder and baking soda, initiates a mild chemical reaction. This reaction helps tenderize the cake, giving it that characteristic “velvety” texture. While traditional recipes would yield a reddish-brown cake through this reaction, the intense, bright red hue seen in most modern bakeries and on blogs is often achieved with the addition of a significant amount of red food coloring. But fear not, we’re going the natural route without compromising on color or taste!
Achieving Vibrant Red Velvet Without Artificial Dyes
The quest for a naturally colored red velvet cake is a delightful culinary adventure. For this recipe, my secret weapon is dried beetroot powder by Suncore Foods. They offer a fantastic range of naturally colored powders made from wholesome ingredients, and while this isn’t a sponsored post, I genuinely adore their products! Beetroot powder is an excellent choice as it provides a deep, earthy red hue that perfectly mimics the traditional color, often enhancing the cake’s overall depth of flavor with a subtle sweetness. You can typically find this vibrant ingredient in natural food stores, health food sections of larger supermarkets, or online.
If beetroot powder isn’t readily available, don’t worry! Other natural alternatives can also be explored. Dried pomegranate powder can offer a lovely reddish tint, though it might lean slightly more towards a pinkish-red depending on its concentration. Even some berry powders, like raspberry or cranberry, can contribute a beautiful natural color, though they might introduce a fruitier flavor profile. Experimentation is key to finding your perfect natural shade, but for that classic red velvet look and feel, beetroot powder remains my top recommendation.
Embracing Alternatives: Beetroot Powder vs. Traditional Food Coloring
I completely understand that natural food powders might not be for everyone, or perhaps you simply have red food coloring on hand and prefer to use it. That’s perfectly fine! If you opt for traditional red food coloring, I highly recommend using a high-quality red gel colorant over liquid food coloring. Gel colors are far more concentrated and effective, meaning you’ll need significantly less to achieve a vibrant shade, preventing excessive moisture or unwanted flavors in your batter. Liquid food coloring, on the other hand, often requires large quantities, which can affect the batter’s consistency and introduce a synthetic taste.
When using red food gel, incorporate it into the batter at the same point you would add the beetroot powder, which is in Step 2 of the recipe instructions. Start with approximately 1/8th of a teaspoon of the gel colorant, mixing it thoroughly. Gradually add more in tiny increments, mixing after each addition, until you achieve your desired shade of red. This allows you to control the intensity and prevent over-coloring your beautiful red velvet creation.
Crafting Your Mini Red Velvet Masterpiece: Step-by-Step Guide
The journey to a perfect mini red velvet cake begins with careful preparation and attention to detail. Follow these steps for a moist, tender, and beautifully colored cake.
Step 1: Prepare Your Baking Environment
Start by preheating your oven to 350°F (175°C). This ensures the oven is at a consistent temperature when the cake batter goes in, promoting even baking. Next, prepare three 6-inch round cake pans. Generously spray them with a nonstick baking spray, ensuring all surfaces are covered. For an extra layer of non-stick insurance and easy cake removal, line the bottoms of the pans with parchment paper circles. Finally, give the lined and greased pans a light dusting of all-purpose flour, tapping out any excess. This creates a perfect non-stick surface, guaranteeing your cake layers release effortlessly after baking.
Step 2: Sift Your Dry Ingredients for a Velvety Texture
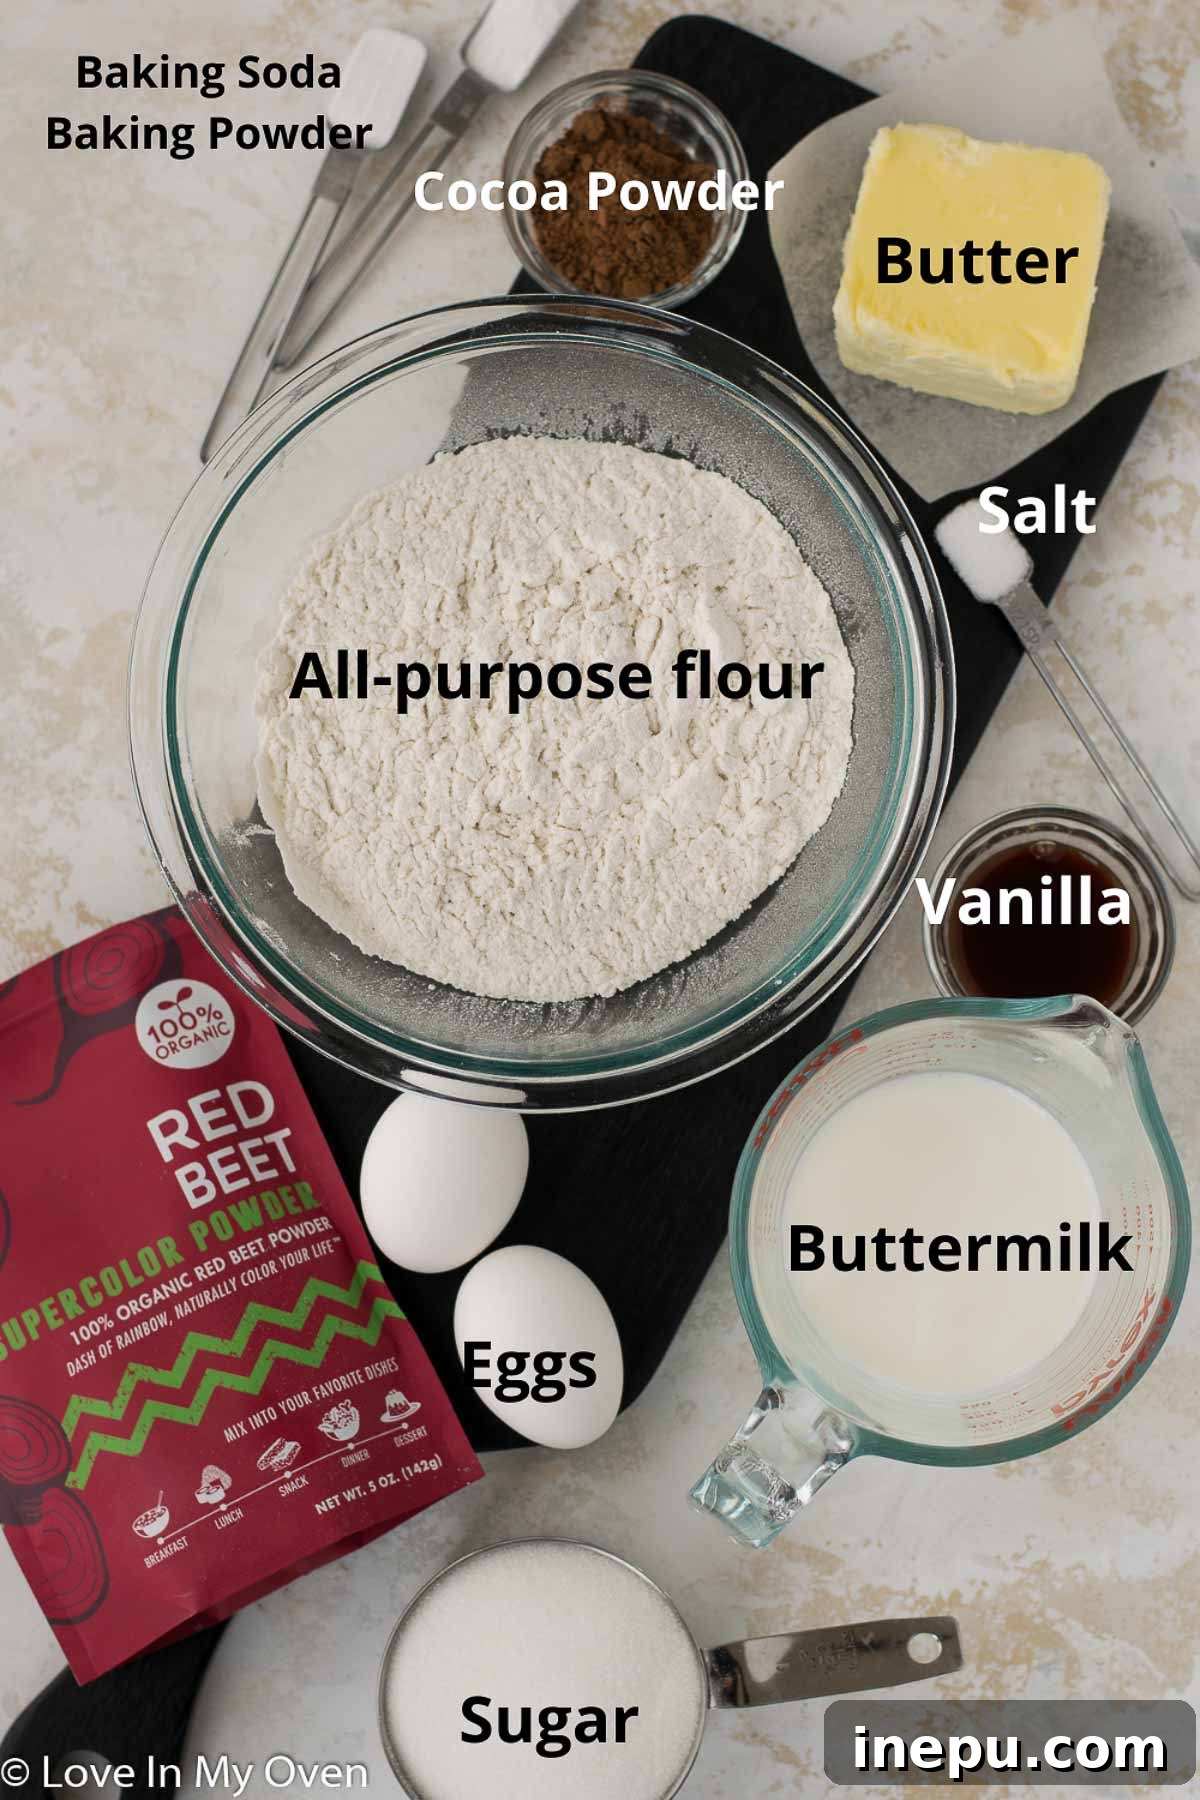
In a large mixing bowl, the foundation of our cake begins to take shape. Sift together the following dry ingredients:
- All-purpose flour
- Natural cocoa powder
- Baking soda
- Baking powder
- Salt
Sifting is a crucial step that helps to aerate the flour, break up any lumps, and ensure the leavening agents and cocoa powder are evenly distributed throughout the mixture. This contributes significantly to the cake’s light and velvety texture.
Step 3: Creaming the Wet Ingredients to Perfection
In the bowl of a stand mixer fitted with the paddle attachment (or using a handheld electric mixer), begin by creaming the room temperature unsalted butter on high speed for about one minute. Room temperature butter is essential for achieving a light and airy batter, as it creams more effectively with sugar. Add the granulated sugar and continue to mix on high for another one to two minutes until the mixture is light and fluffy. Reduce the mixer speed to low, then add the eggs one at a time, allowing each egg to fully incorporate before adding the next. This prevents the batter from curdling. Follow with the pure vanilla extract. Remember to pause and scrape down the sides of the bowl with a spatula periodically to ensure all ingredients are thoroughly combined.
Now is the perfect moment to introduce our natural red coloring! Add two tablespoons of red beetroot powder to the mixture and continue to mix for another minute until the color is evenly distributed. You can always adjust the color slightly later if needed, but this initial incorporation is key. If you’re using red food gel, add it now following the instructions in the section above.
Step 4: Combining Wet and Dry for a Smooth Batter
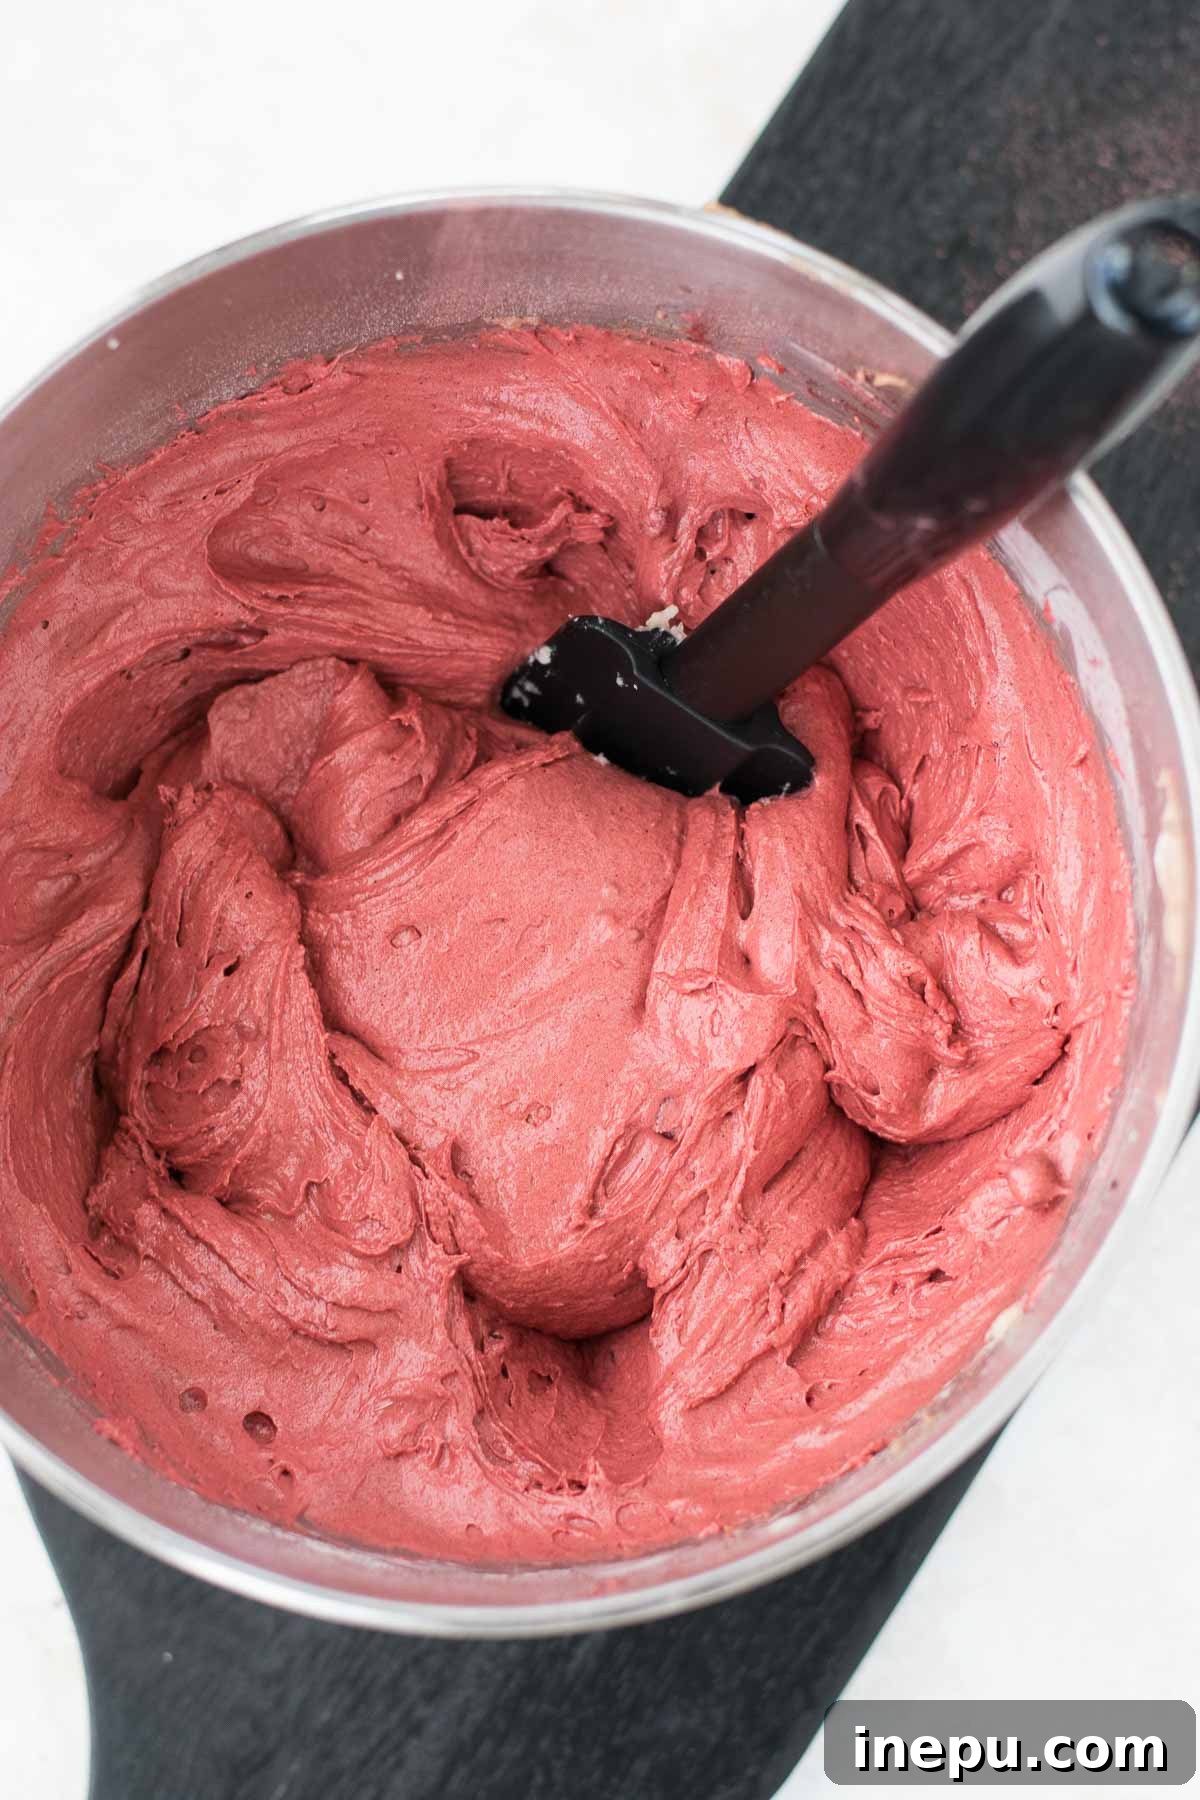
With the mixer still running on low speed, begin adding the dry ingredients alternately with the buttermilk and vinegar. Start by adding half of the sifted dry ingredients, mixing just until almost combined. Next, add half of the buttermilk, followed by the white vinegar. Then, add the remaining dry ingredients, and finally, the rest of the buttermilk. Mix on low speed just until everything is combined and no streaks of dry ingredients remain. Be careful not to overmix, as this can lead to a tough cake. Overmixing develops the gluten in the flour too much, compromising the desired tender, velvety crumb. If you decide you’d like a more intense red hue, now is the time to add a tiny bit more natural colorant or food gel.
Step 5: Baking Your Red Velvet Layers
Once your batter is perfectly mixed, divide it evenly among the three prepared 6-inch cake pans. For precision, I highly recommend using a kitchen scale to ensure each pan receives the exact same amount of batter, which promotes even baking and uniform cake layers. Place the pans into your preheated oven and bake for approximately 26-27 minutes. The cakes are done when a toothpick inserted into the center of each layer comes out clean, indicating no wet batter remains. Avoid opening the oven door too frequently during baking, as this can cause the cakes to sink.
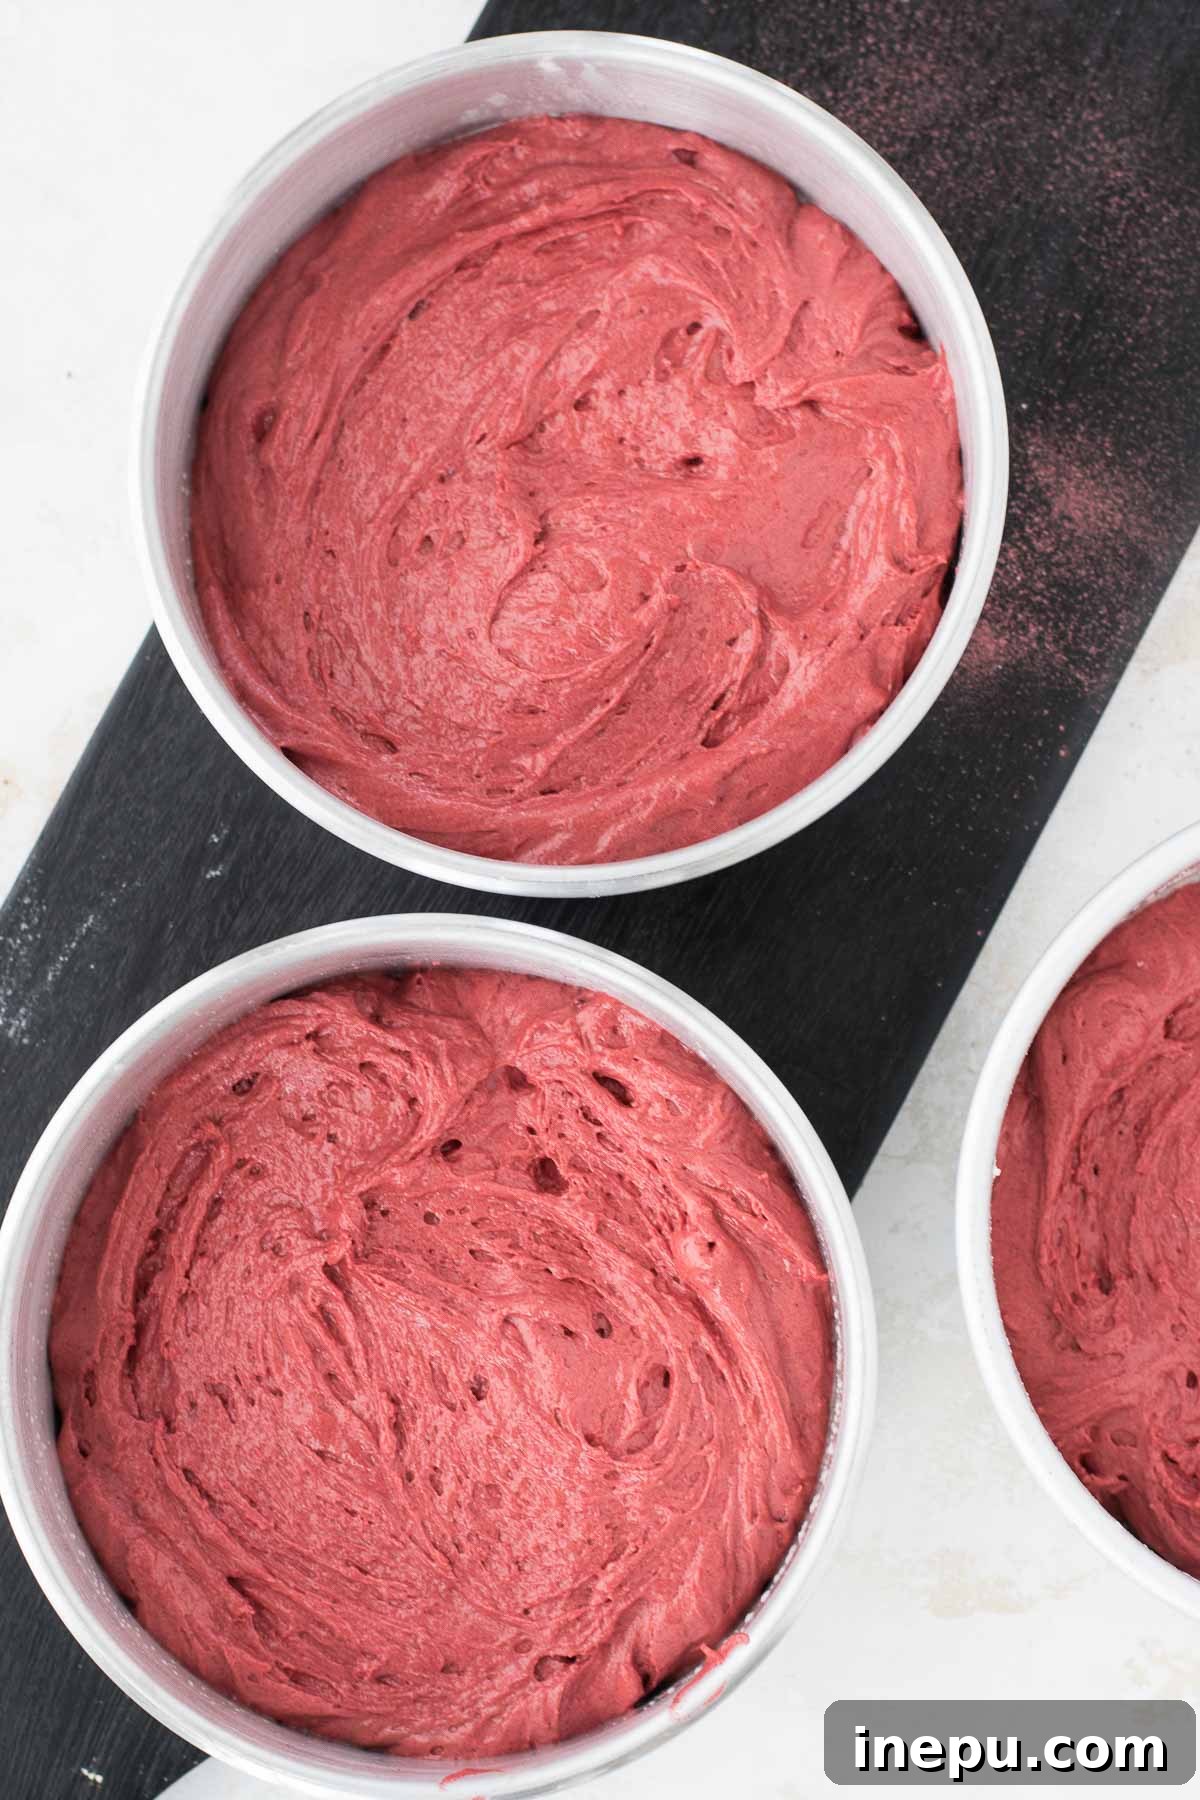
Step 6: Cooling for Perfect Frosting
Once baked, allow the cake layers to cool in their pans for about 10 minutes. This allows them to firm up slightly, making them less prone to breaking. After 10 minutes, carefully run a knife around the edges of each pan to loosen the cakes. Invert them onto a wire rack to cool completely. It’s crucial that the cake layers are entirely cool before you even think about frosting them. Attempting to frost warm cakes will result in melted, messy frosting and a frustrating experience. Patience here pays off!
The Essential Companion: Whipped Cream Cheese Frosting
Red velvet cake finds its soulmate in cream cheese frosting. While I adore classic cream cheese frosting, I have an even greater affection for whipped cream cheese frosting! It’s a game-changer for layer cakes – lighter, less intensely sweet, and incredibly fluffy. This delicate texture allows the subtle chocolate and tangy notes of the red velvet cake to truly shine, without being overpowered by a dense, sugary frosting.
Preparing Your Whipped Cream Cheese Frosting:
To achieve this ethereal frosting, begin with a cold block of full-fat cream cheese (always full-fat for the best stability and flavor!). In the bowl of a stand mixer fitted with the whisk attachment, whip the cold cream cheese on high for about one minute until it’s smooth and creamy. Gradually add the granulated sugar, mixing for another one to two minutes until fully incorporated. Reduce the mixer speed to low and slowly stream in the pure vanilla extract, followed by the cold heavy whipping cream. Once all the cream is added, sprinkle in the salt (this balances the sweetness beautifully). Increase the mixer speed to high and whip the mixture until stiff peaks form and the frosting is incredibly light, airy, and fluffy. Be careful not to over-whip, as heavy cream can quickly turn to butter!
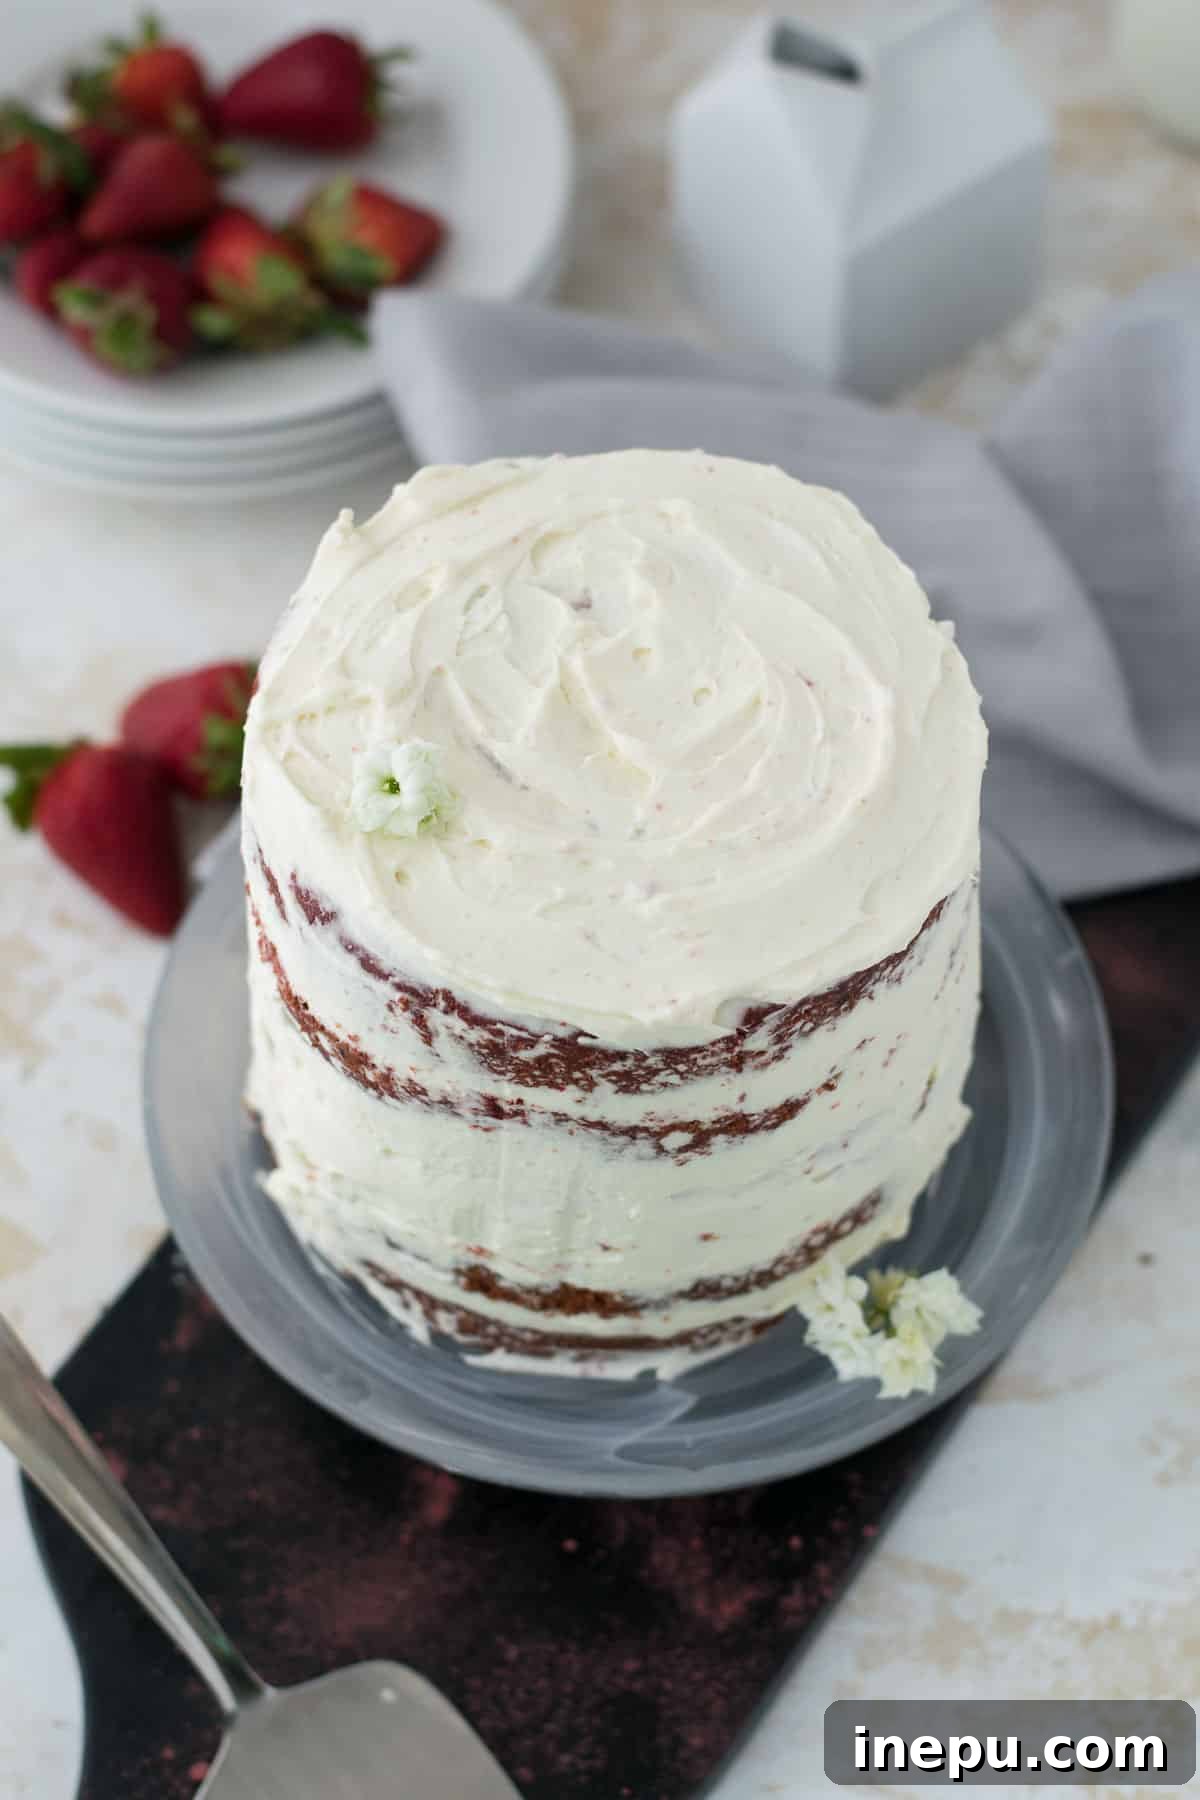
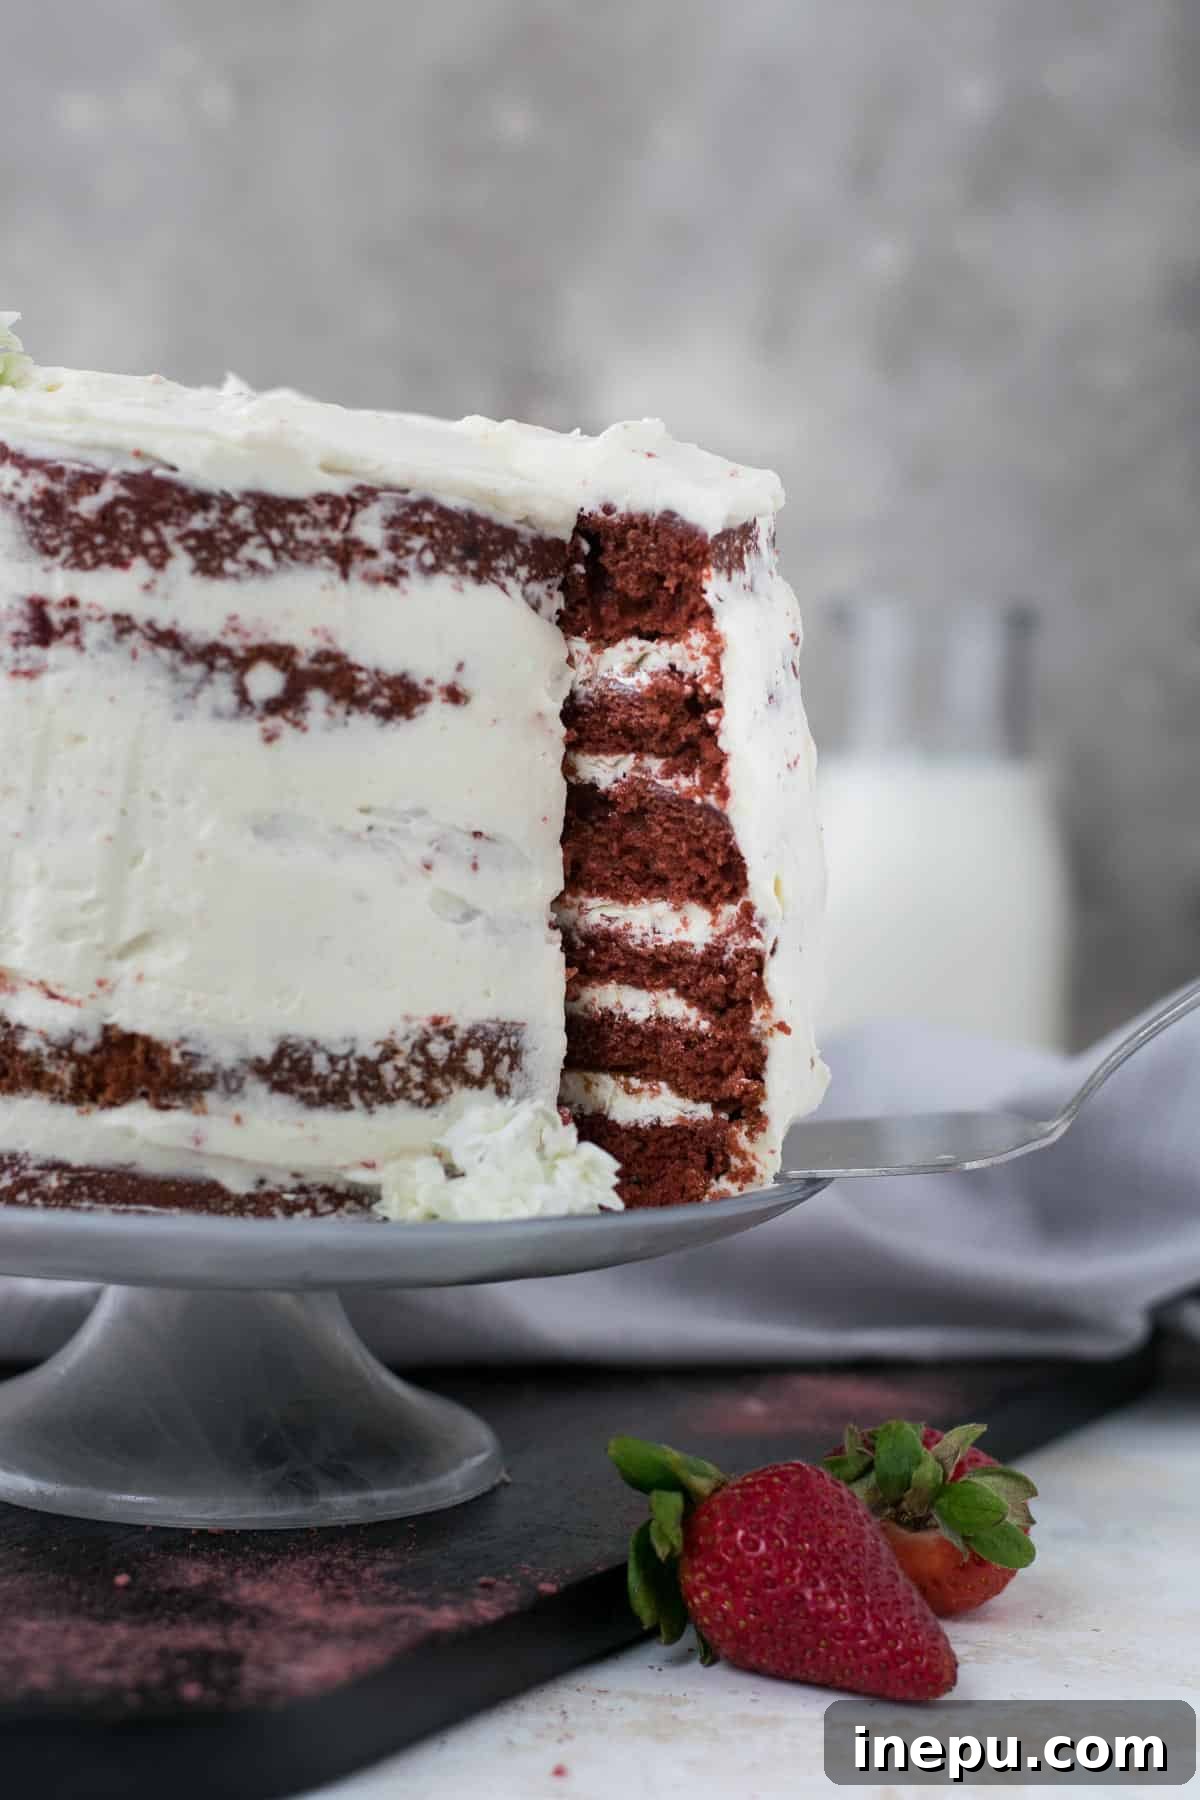
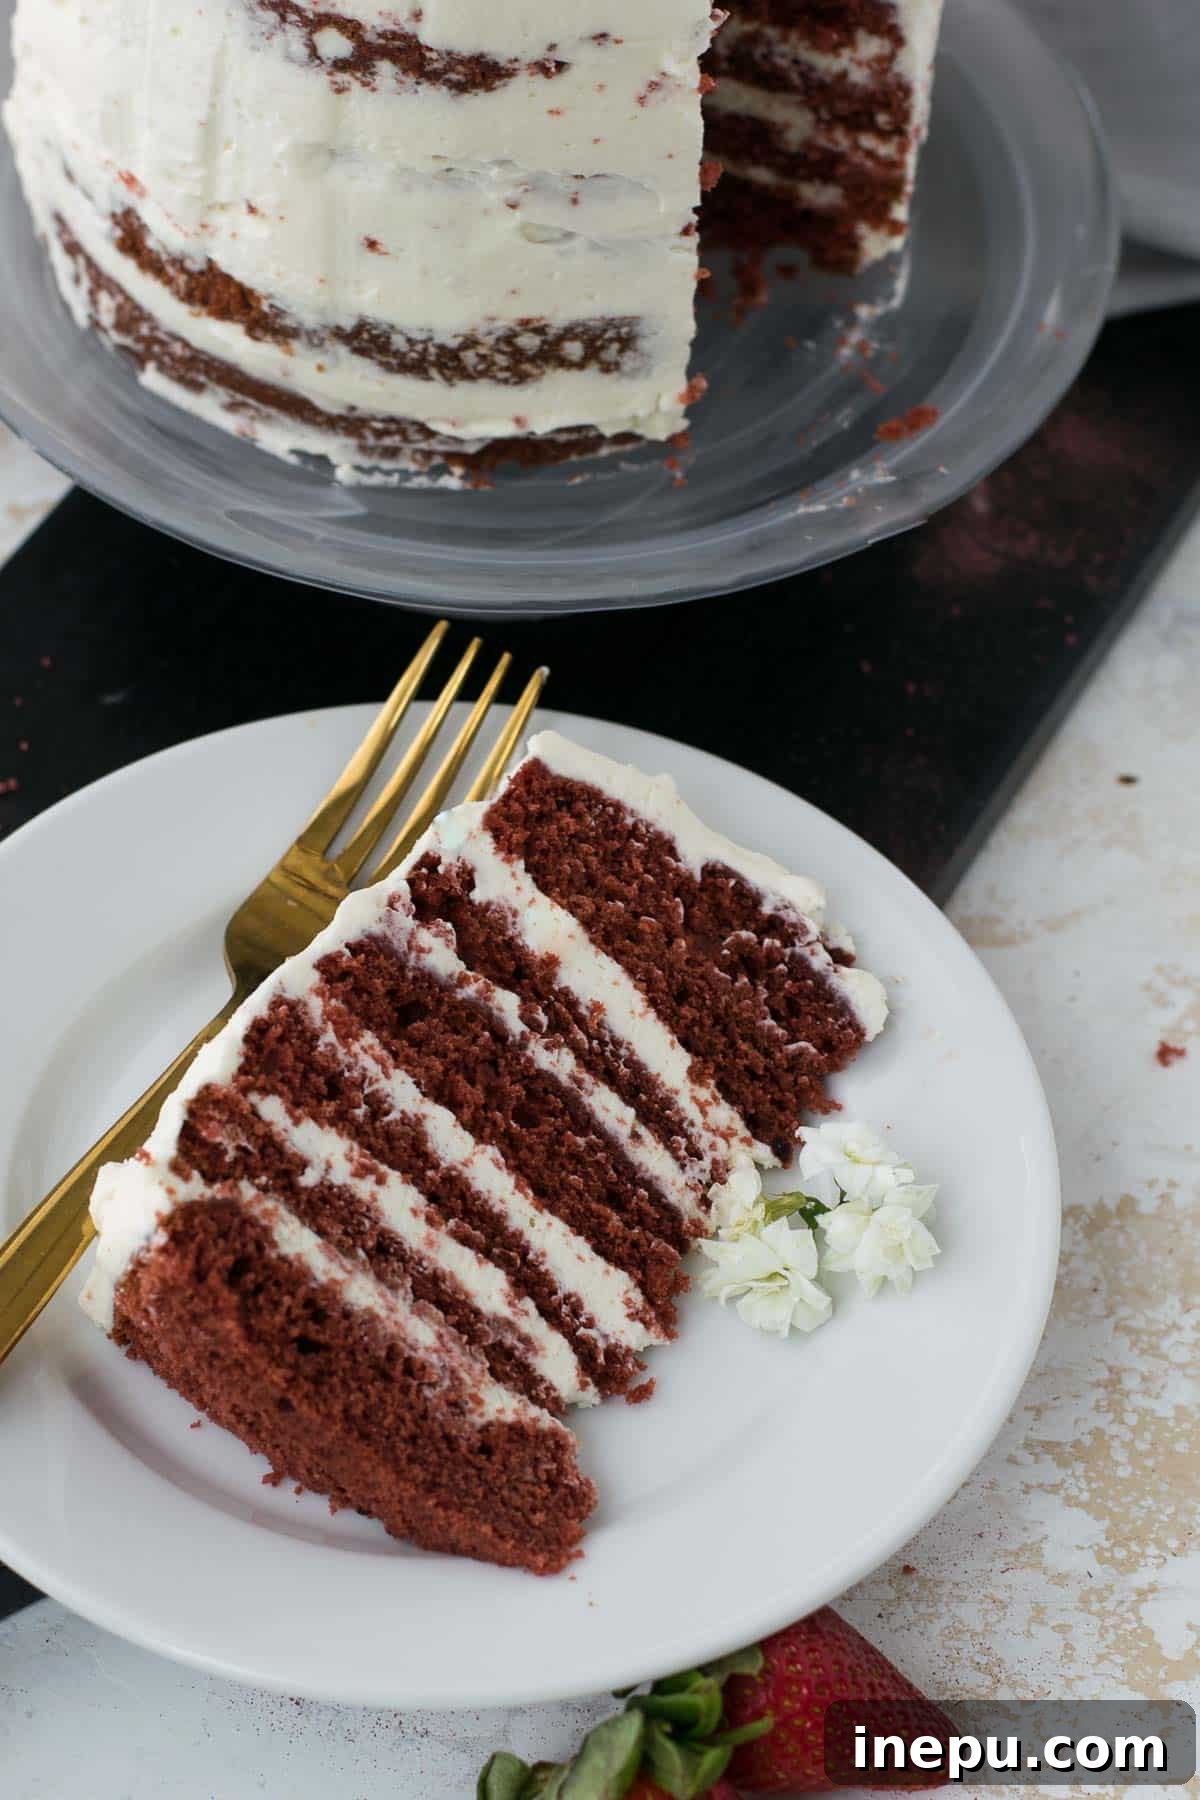
For an even more impressive presentation and a delightful cake-to-frosting ratio, I chose to slice each of my three cake layers in half horizontally, yielding a total of six thinner layers. This step is entirely optional, but it creates a stunning visual effect when the cake is sliced. Whether you opt for three layers or six, this whipped cream cheese frosting is wonderfully versatile and holds its shape beautifully, making it perfect for both spreading and piping intricate designs.
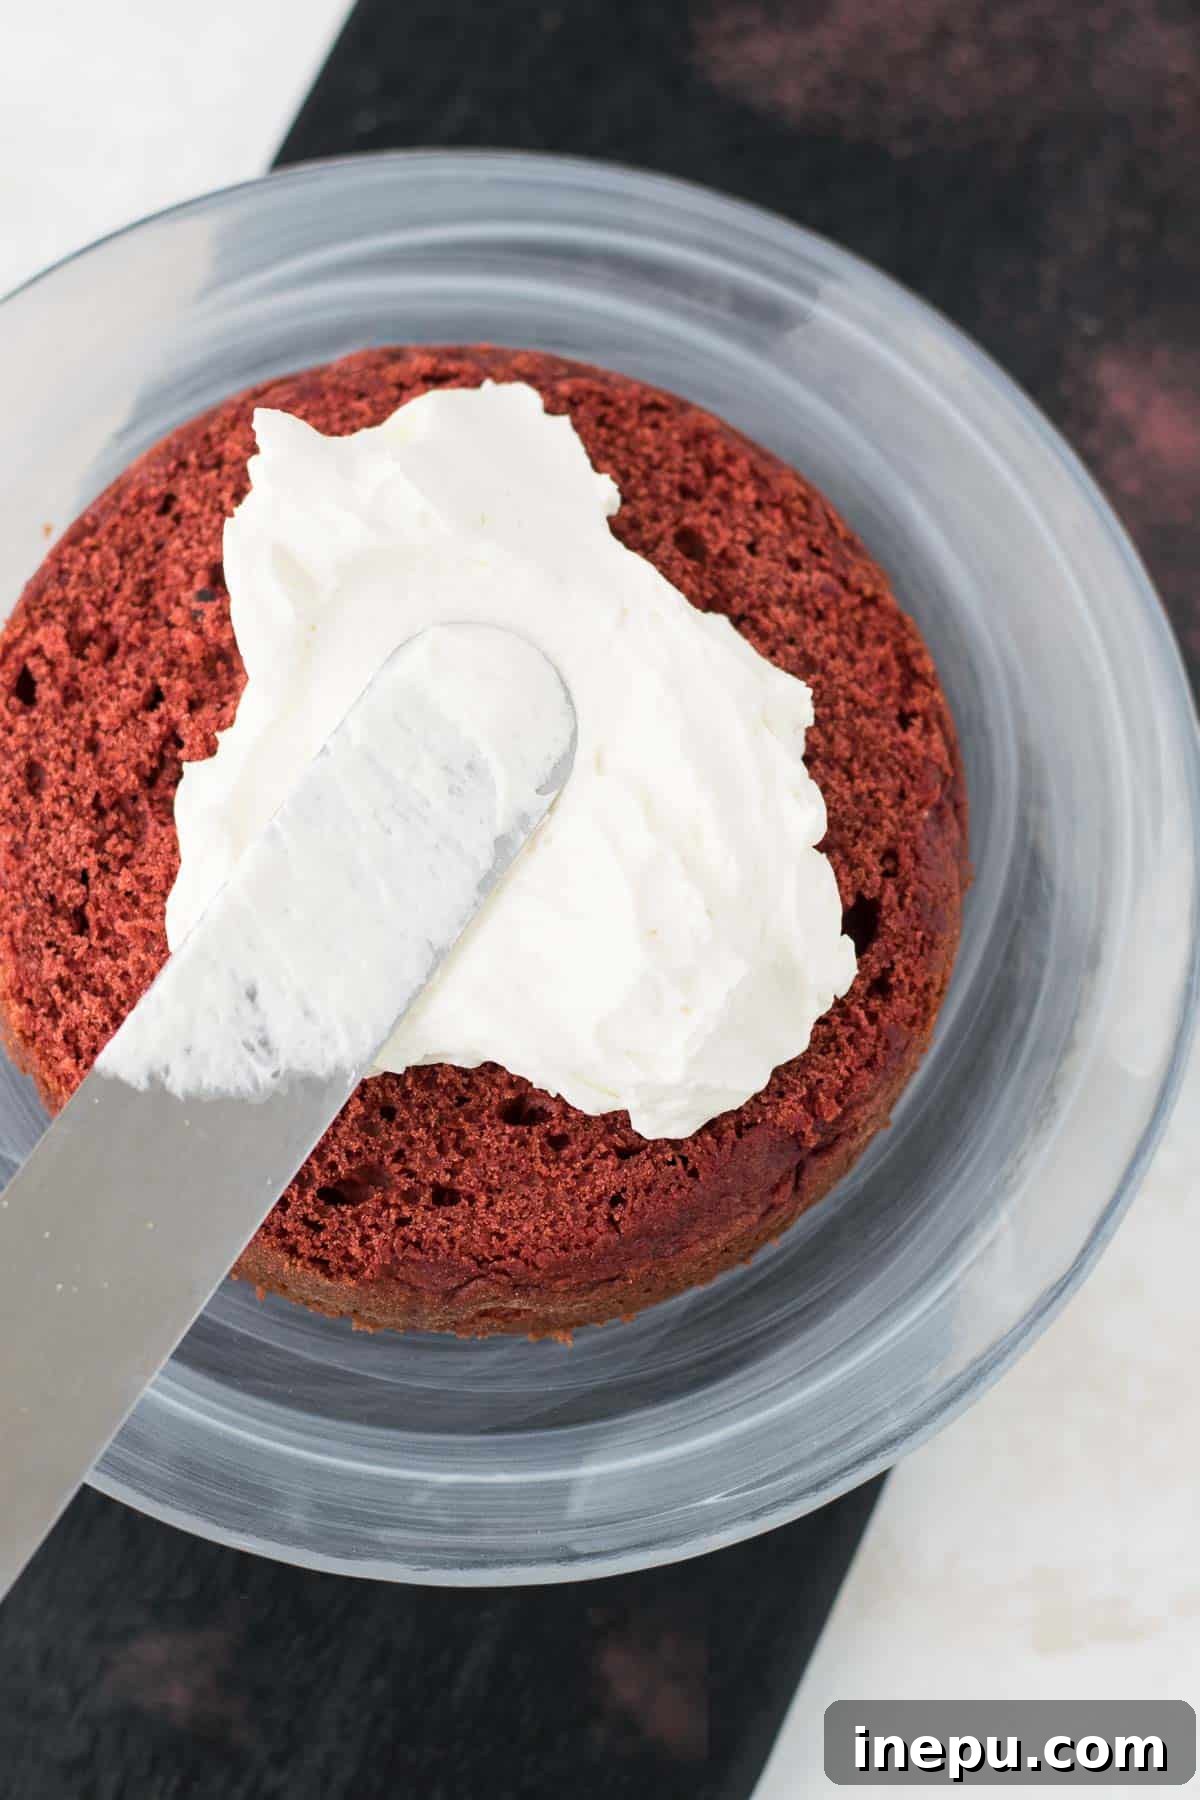
PS – Don’t let my slightly imperfect layers and occasional crumbs deter you! Cake decorating is an art that takes practice, and the most important thing is the incredible taste of this homemade treat.
This mini cake is perfectly portioned to serve approximately 6-8 people. It’s an ideal choice when you want a show-stopping dessert without an overwhelming amount of leftovers. Mini cakes truly are the way to go for intimate gatherings or when you simply crave a delightful indulgence that won’t linger in your fridge for days.
Transforming Your Mini Cake Recipe into Cupcakes
Yes, absolutely! This versatile recipe can easily be adapted to make delicious red velvet cupcakes. This particular batch yields about 14 standard-sized cupcakes. The preparation steps remain exactly the same: prepare the batter as instructed. Instead of pouring into cake pans, line a muffin tin with paper cupcake liners. Fill each liner approximately two-thirds full with the red velvet batter. The baking time will be significantly shorter for cupcakes, typically around 15-16 minutes. As always, use the toothpick test to confirm doneness – a toothpick inserted into the center of a cupcake should come out clean.
Mini cakes offer such charming appeal and practicality! If you’ve enjoyed making this red velvet delight, you might also love exploring a few of my other favorite small-batch desserts:
- Healthy Birthday Cake
- Mini Chocolate Cake
- Healthy Smash Cake
Pro Tip: Many cupcake recipes are surprisingly adaptable and can be converted into a mini 6-inch cake. This opens up a world of possibilities for small-batch baking and exploring new flavors!
Mini Red Velvet Cake
Rated 5 Stars from 2 reviews
- Author: Katherine | Love In My Oven
- Total Time: 1 hour
- Yield: 6–8 servings
Description
Craving a rich red velvet cake without artificial colors? This mini red velvet cake features natural red coloring from beetroot powder and an incredible taste that will impress everyone!
Ingredients
For the Cake:
- 1 2/3 cups all-purpose flour
- 3 tsp natural cocoa powder
- 1/2 tsp baking soda
- 1 tsp baking powder
- 1/4 tsp salt
- 1/2 cup unsalted butter, room temperature
- 1 cup granulated sugar
- 2 eggs, room temperature
- 1 tbsp pure vanilla extract
- 2 tbsp red beetroot powder*
- 3/4 cup buttermilk
- 1 tsp white vinegar
For the Whipped Cream Cheese Frosting:
- 8 oz full-fat cream cheese, cold
- 3/4 cup granulated sugar
- 1 tsp pure vanilla extract
- 1 1/2 cups heavy cream, cold
- 1/8 tsp salt
Instructions
- Preheat the oven to 350°F (175°C). Thoroughly spray three 6-inch cake pans with nonstick spray and line the bottoms of the pan with parchment paper. Lightly flour the bottoms of the pan and set aside.
- In a large mixing bowl, sift together the flour, cocoa powder, baking soda, baking powder, and salt. In the bowl of a stand mixer fitted with the paddle attachment (or using a handheld electric mixer), beat the softened butter on high for 1 minute. Add in the sugar and beat for another 2 minutes. With the mixer running on low, add the eggs, one at a time, scraping down the sides with a spatula. Add in the vanilla extract and beetroot powder and mix for another minute.
- With the mixer running on low, add in half of the sifted dry ingredients, followed by half of the buttermilk, then the remaining dry ingredients, the vinegar, then the last of the buttermilk. Mix just until combined.
- Divide the cake batter evenly between the three prepared pans and place them in the oven for 26-27 minutes or until a toothpick inserted in the center of the pan(s) comes out clean. Let the cakes cool for 10 minutes before running a knife around the edges of the pan and inverting the cakes onto a wire rack to cool completely before frosting.
- Prepare the whipped cream cheese frosting: In the bowl of a stand mixer fitted with the whisk attachment, whip the cold cream cheese for 1 minute on high until smooth. Add in the sugar and mix again for 1-2 minutes.
- With the mixer running on low, add in the vanilla, followed by cold whipping cream. Once all the whipping cream is added, add in the salt, then turn the mixer to high and whip the mixture until stiff peaks form and the frosting is light and fluffy. Frost the cooled cake layers and serve!
Cake can be stored at room temperature, covered, for 1-2 days. Leftover cake can be stored in the fridge, in an airtight container, for 3-4 days, or in the freezer for up to 2 months. Unfrosted cake layers can be tightly wrapped in plastic wrap and placed in the freezer for up to 3 months.
Notes
*If you do not want to use red beet powder or cannot find it, please refer to the blog post above for other substitutions. If using red food gel, add it in Step 2 in place of the beet powder. I would recommend using about 1/8th of a teaspoon of the colorant to start with, and adding more slowly until you achieve the desired shade of red.
- Prep Time: 30 minutes
- Cook Time: 30 minutes
- Category: Cakes
- Method: Oven Bake
- Cuisine: American
Did you make this recipe?
Tag @loveinmyoven on Instagram and hashtag it #loveinmyoven