
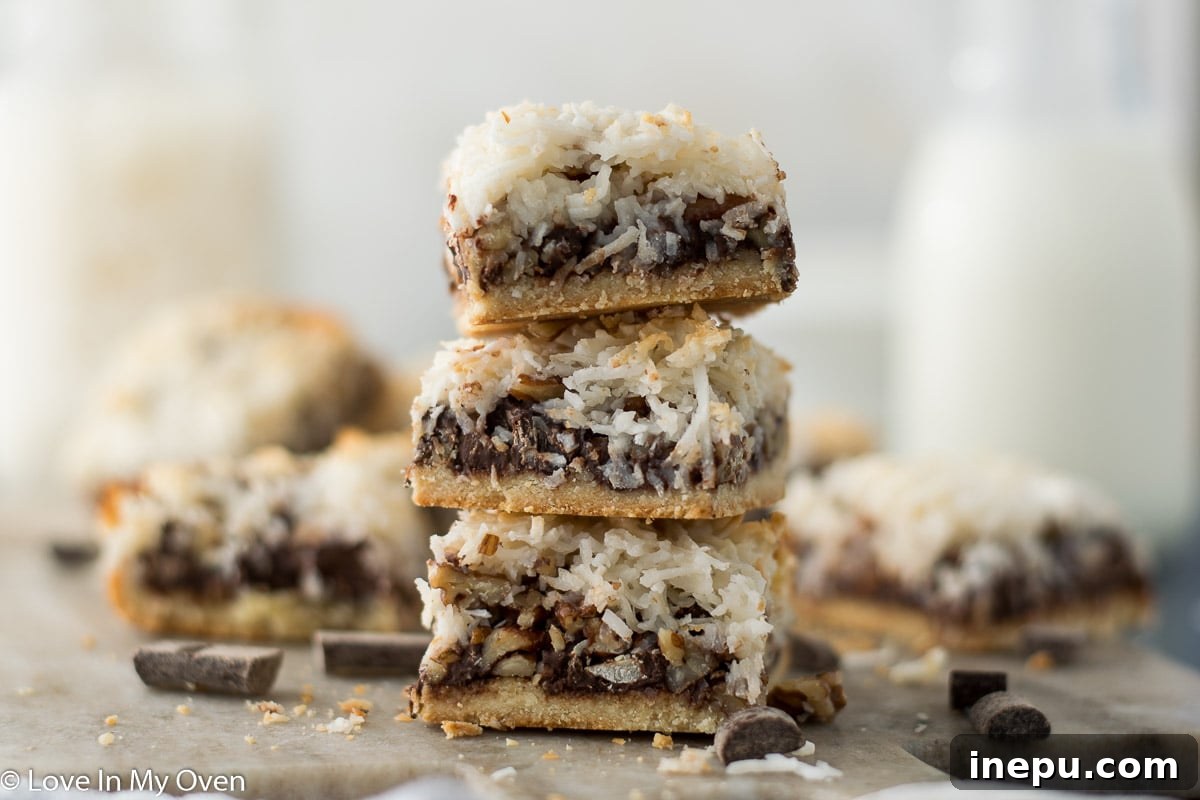
Irresistibly Delicious Vegan Magic Bars: Your New Favorite 7-Layer Treat!
Indulge in the pure joy of these delectable vegan magic bars, meticulously crafted with wholesome almond flour, rich maple syrup, and decadent vegan chocolate chips. Experience all the beloved flavors and textures of traditional 7-layer bars, but with a plant-based twist that’s a little lighter and truly better for you!
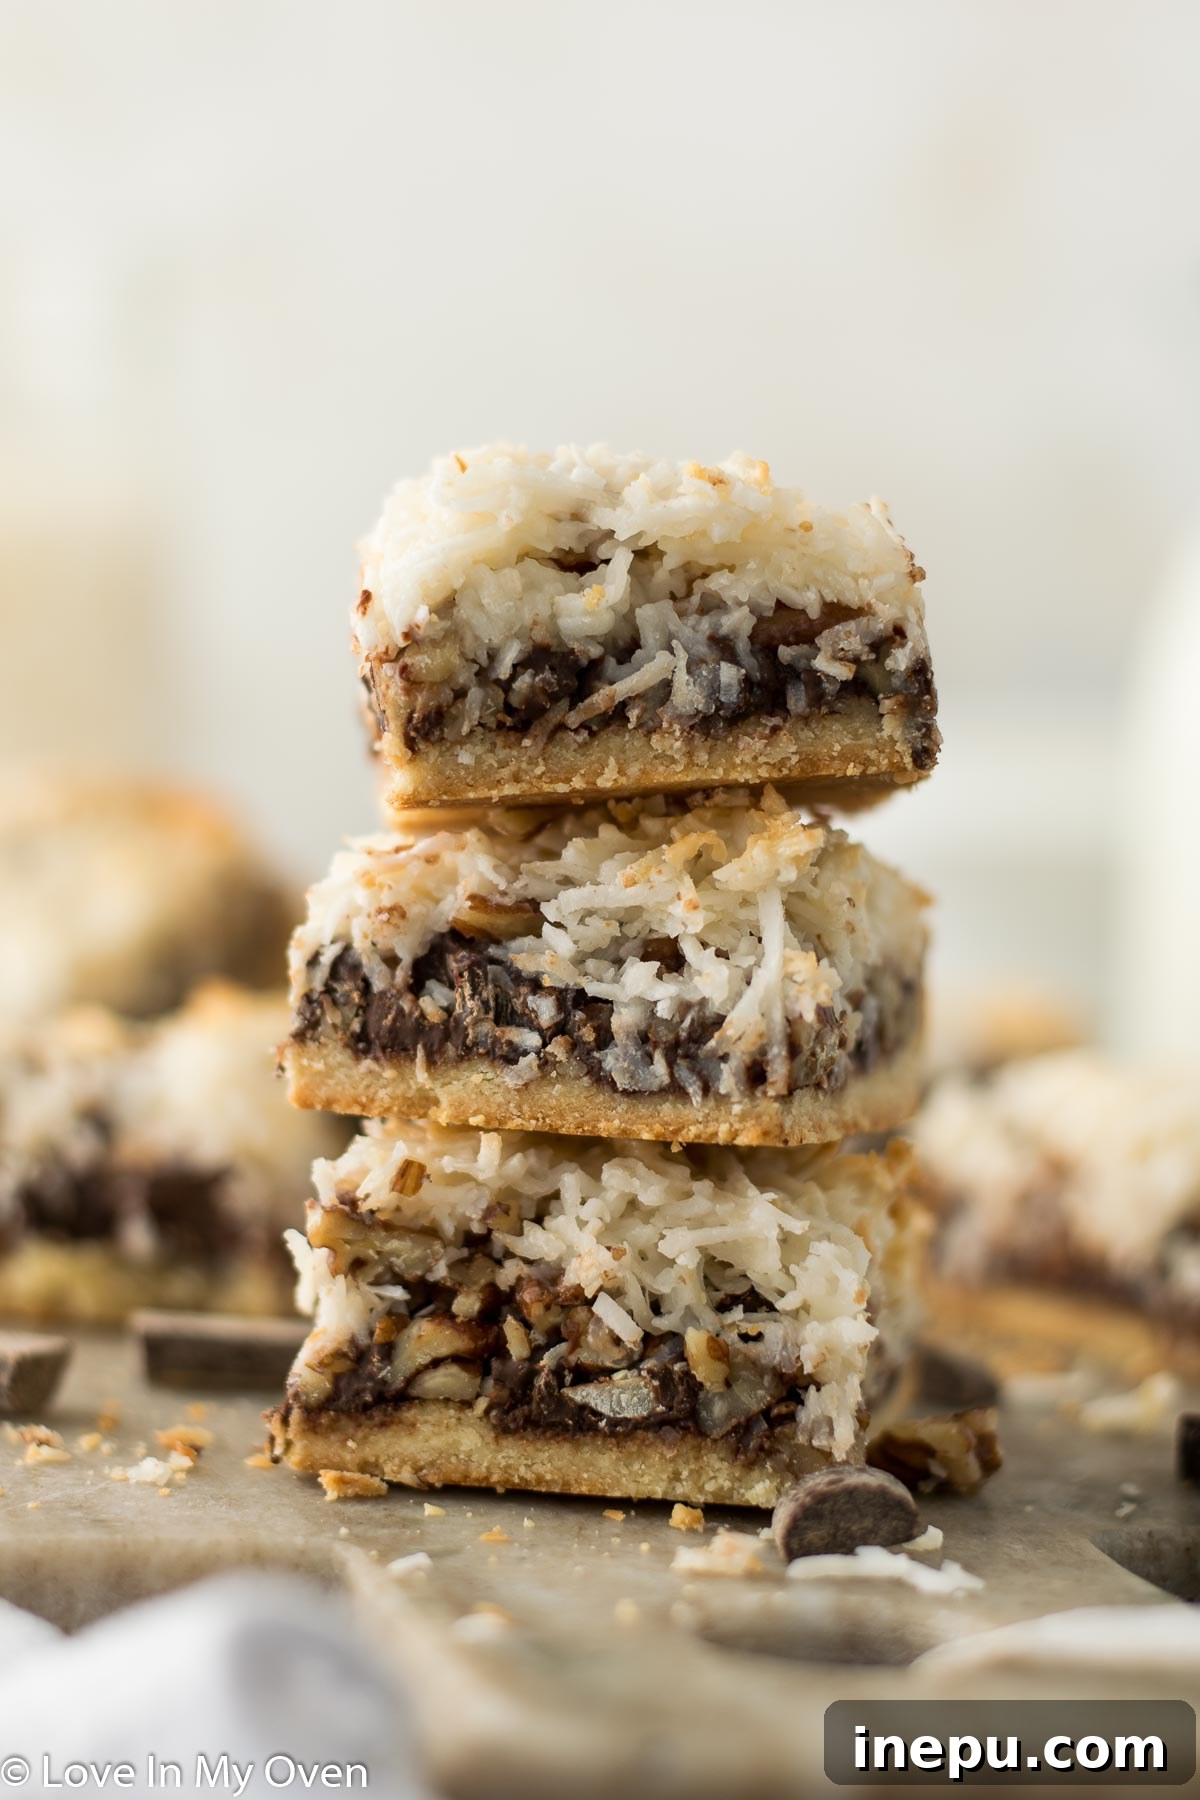
There are some desserts so universally loved, they acquire a multitude of names. Whether you call them Hello Dolly bars, magic bars, or classic 7-layer bars, one thing remains constant: their utterly irresistible charm. These layered confections are a staple at holiday gatherings, potlucks, and simply when you crave something extraordinary. And no, we’re not talking about millionaire bars – that’s a different, equally amazing story! What we’re focusing on today is transforming that timeless favorite into a spectacular vegan treat that sacrifices nothing in terms of flavor or indulgence.
My own journey with these wondrous bars began just a few years ago at a lively holiday cookie exchange. From the very first bite, I was hooked. The combination of textures – crunchy crust, gooey chocolate, chewy coconut, and nutty pecans – all bound together by a sweet, caramelized topping, was pure bliss. It quickly became an annual tradition in my kitchen. This year, however, I embarked on an exciting new mission: to create a vegan version that could stand proudly alongside its traditional counterpart. And let me tell you, the results were nothing short of dynamite! They offer the same decadent experience, perhaps with a touch less “naughtiness,” but absolutely bursting with flavor.
I’m incredibly grateful I experimented and perfected these bars early this season. As fate would have it, December has unfolded into an unexpected adventure! Just last week, my partner Etienne and I enjoyed a fantastic, kid-free escape to a luxurious 5-star resort in Cabo, a wonderful perk from his company. Feeling a little guilty about our solo Mexican getaway, we spontaneously booked another trip, this time with the kids, for next week! So, it appears we’ll be spending a good portion of our month soaking up the sunshine in Mexico – certainly not the worst way to end the year!
This delightful turn of events only reinforced my gladness that my holiday baking was mostly completed in advance. My freezer is now wonderfully stocked with these vegan magic bars, ready to be enjoyed as a sweet treat or shared with loved ones. It’s a true testament to their versatility and convenience, proving that preparing delicious, wholesome desserts doesn’t have to be a last-minute scramble.
What Exactly Are Magic Bars?
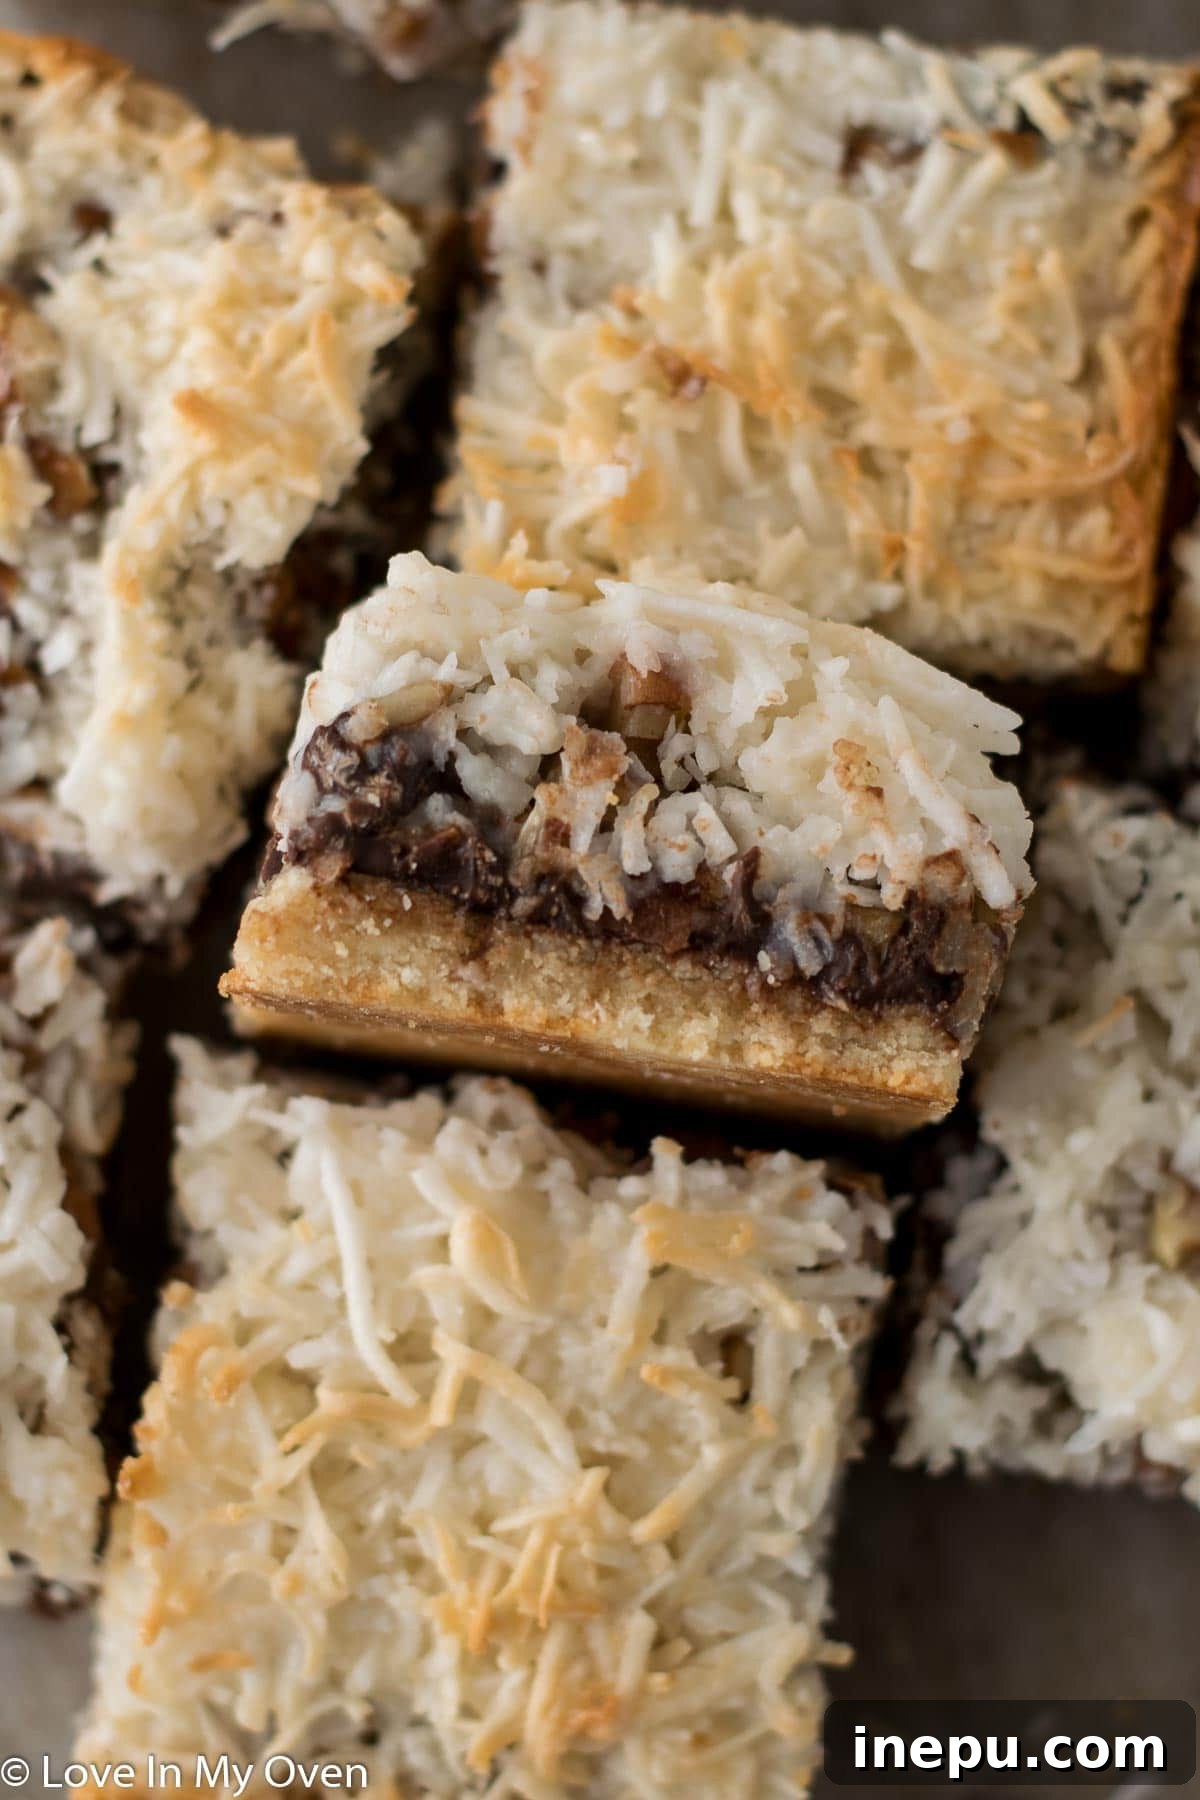
If you’ve yet to experience the joy of magic bars, prepare to be amazed! These classic dessert bars are renowned for their incredible layered structure, each layer contributing to a symphony of flavors and textures. Traditionally, they begin with a rich, buttery graham cracker crust, which provides a satisfying crunch and a hint of spice. This base is then generously topped with a delightful combination of pecans, shredded coconut, and chocolate chips or chunks. The magic truly happens when a generous pour of sweetened condensed milk cascades over these layers, permeating every nook and cranny, and baking into a wonderfully gooey, caramelized topping that binds everything together.
The beauty of the vegan version lies in its ability to replicate this beloved structure and taste profile with clever, plant-based substitutions. Our vegan magic bars maintain the same irresistible layers, ensuring that every bite delivers that familiar comfort and complexity, but without any dairy or animal products. Instead of traditional graham crackers, we opt for an almond flour crust, which offers a naturally gluten-free and nutty foundation. The binding agent shifts from dairy condensed milk to its equally luscious coconut-based counterpart, providing that signature sticky sweetness and caramelization. The essential components of nuts, coconut, and chocolate chips remain, ensuring that classic “magic” in every square. These bars prove that going vegan doesn’t mean compromising on deliciousness.
Why Choose Vegan Magic Bars?
Embracing vegan baking isn’t just a trend; it’s a delicious choice that offers numerous benefits without sacrificing flavor. These vegan magic bars are a perfect example. By opting for plant-based ingredients, we create a dessert that is inherently dairy-free, making it suitable for those with dairy allergies or intolerances, as well as anyone following a vegan lifestyle. The use of almond flour in the crust not only eliminates gluten, but also adds a wonderful nutty depth and a dose of healthy fats and protein, contributing to a more satisfying treat.
Maple syrup, a natural sweetener, replaces refined sugars in the crust, offering a nuanced sweetness with beneficial minerals. Coconut oil stands in for butter, providing a rich, tropical flavor and a smooth texture. The star, condensed coconut milk, delivers that signature gooey, caramelized binding, but with a delightful coconut essence and without any animal products. Beyond the dietary benefits, these bars are a fantastic option for inclusive entertaining. You can share them with confidence, knowing they cater to a wider range of preferences and dietary needs, ensuring everyone at your table can enjoy a truly magical dessert.
Crafting Your Vegan Magic Bars: A Step-by-Step Guide
Creating these delightful vegan magic bars is a straightforward and rewarding process. Each layer builds upon the last, culminating in a dessert that’s greater than the sum of its parts. Let’s walk through the steps to achieve perfection:
The Foundation: Building the Perfect Crust
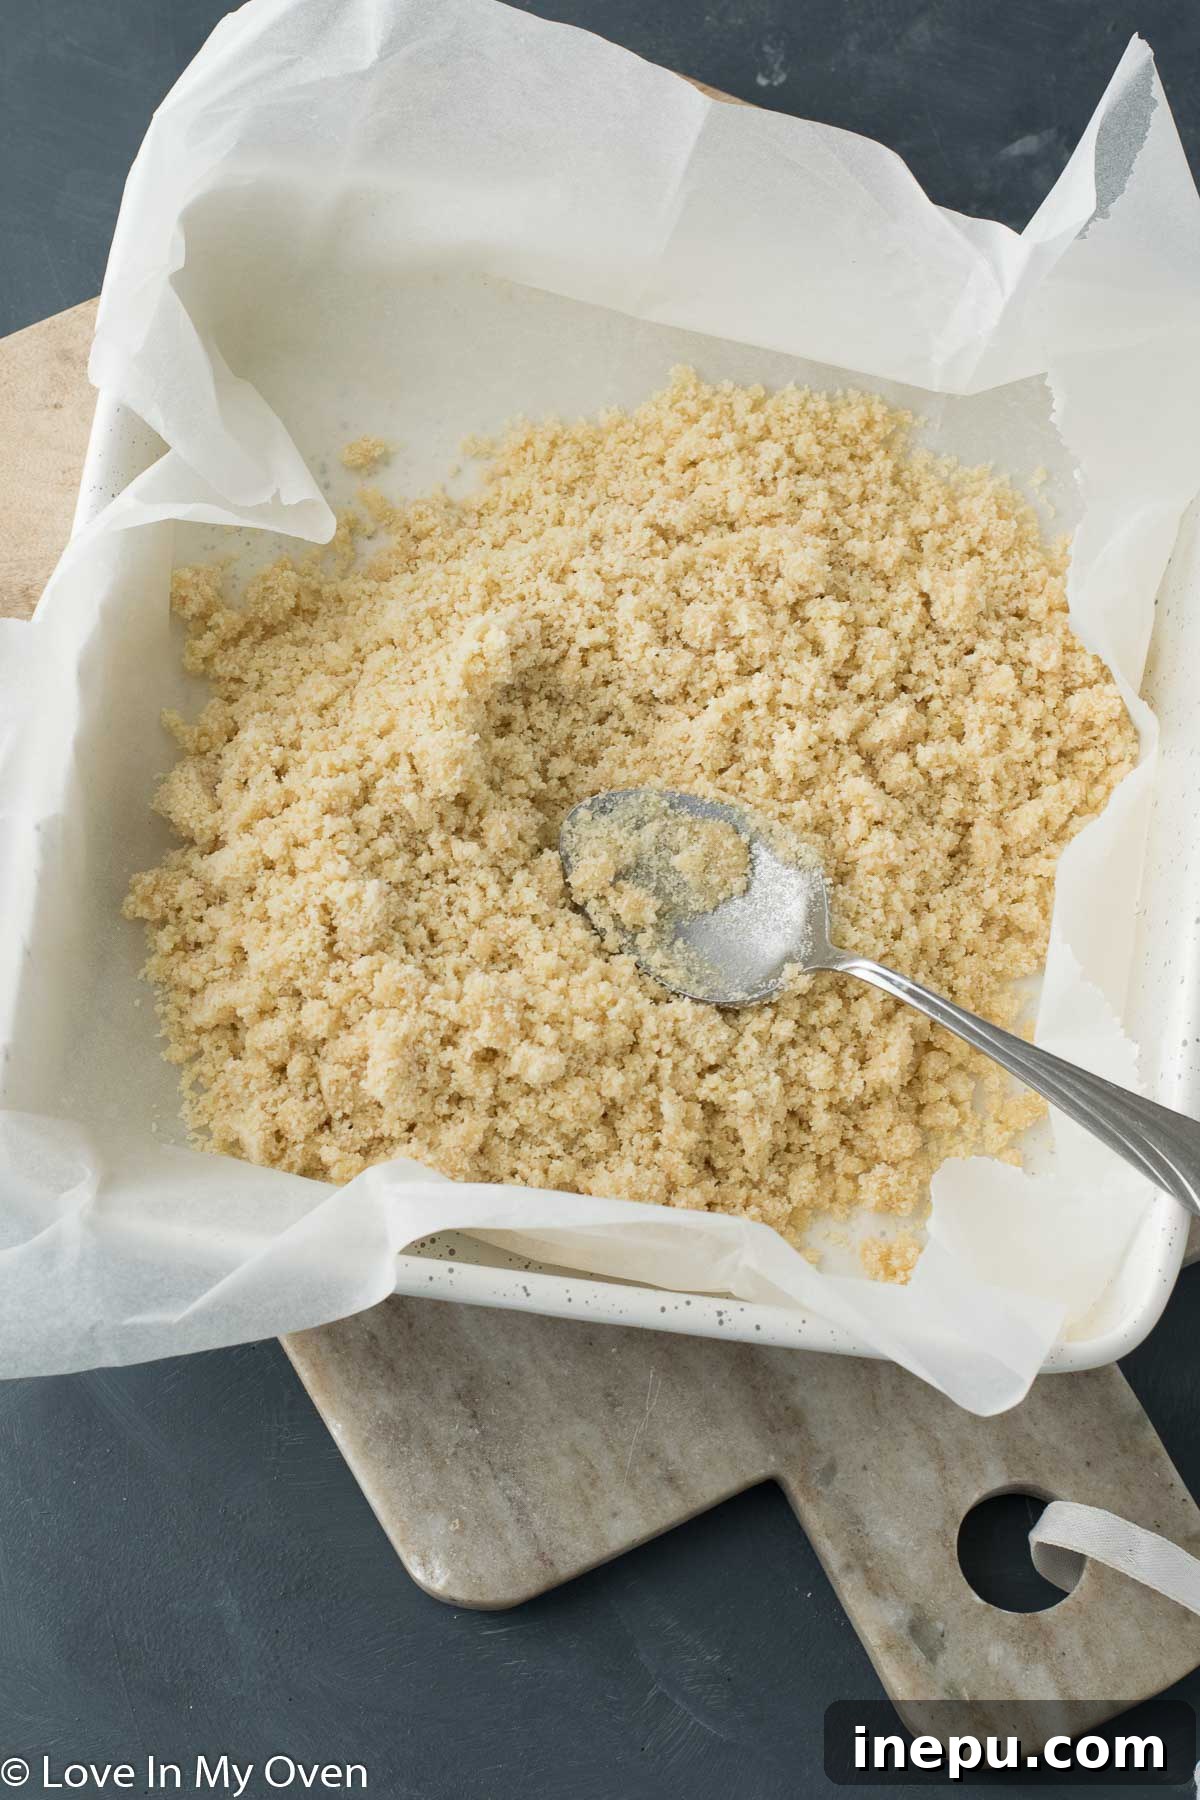
Begin by preparing your baking pan. Line an 8×8 inch baking pan with parchment paper, leaving an overhang on the sides. This thoughtful step creates “handles” that will make it incredibly easy to lift the entire batch of bars out of the pan once they’re cooled and set, allowing for clean, precise cuts. In a medium mixing bowl, combine the almond flour, maple syrup, and melted coconut oil. Stir these ingredients together until they form a cohesive, slightly crumbly mixture. The maple syrup adds sweetness and a beautiful binding quality, while the coconut oil ensures the crust is rich and tender. Once combined, spread this mixture evenly across the bottom of your prepared pan. This is a crucial step: use the back of a spoon or the bottom of a measuring cup to pack the crust down as firmly as possible. A well-compacted crust provides a sturdy base for your layers and prevents crumbling when sliced.
Layering the Decadence: Chocolate, Nuts, and Coconut
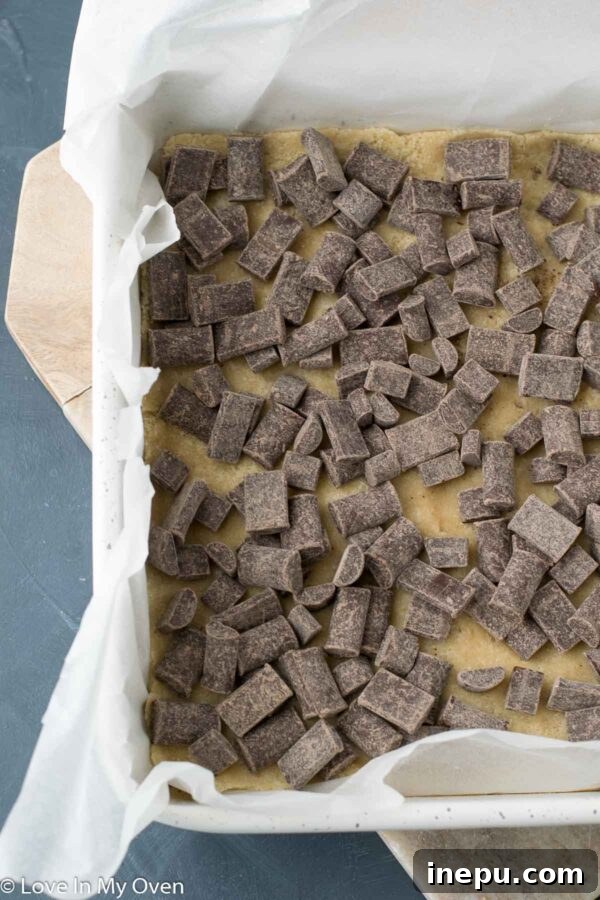
With your crust firmly in place, it’s time to add the first layer of pure indulgence: vegan chocolate. You have the choice of vegan chocolate chips or chunks. While chocolate chips tend to melt more smoothly and evenly, creating a consistent layer, I personally adore the dramatic pockets of gooey, molten chocolate that chunks provide. Whichever you choose, sprinkle them generously and evenly over the packed crust. This layer will soften beautifully in the oven, contributing rich flavor and a luxurious texture.
Next comes the nutty crunch of pecans! Take your pecans and chop them into smaller, uniform pieces. Aim for a size that provides a noticeable texture without being too fine or turning into a powder. The ideal chop will ensure the pecan flavor and crunch are distributed throughout the bars. Scatter these chopped pecans evenly over the chocolate layer, creating a delightful contrast in texture and flavor.
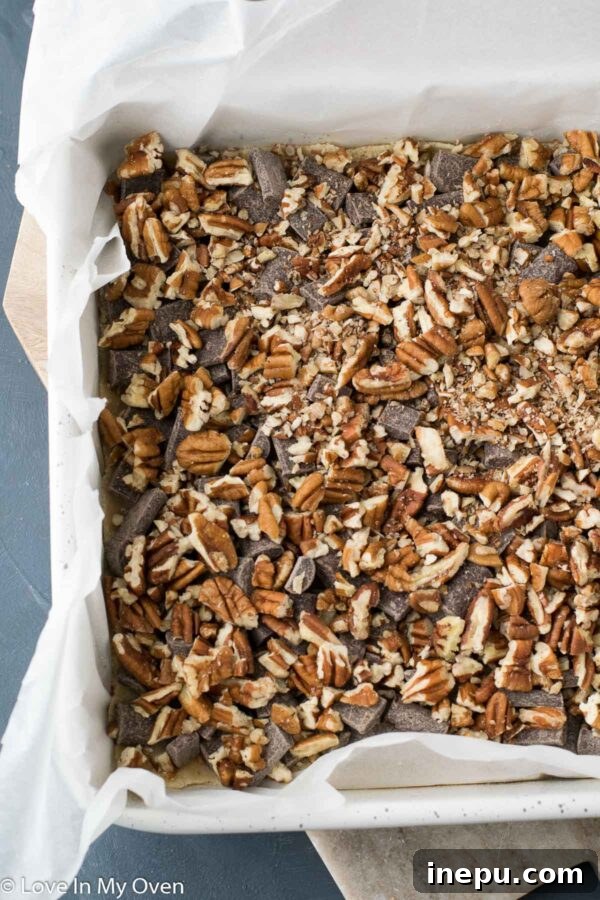
The final dry layer is the shredded coconut. I typically opt for unsweetened shredded coconut to balance the overall sweetness of the bars, allowing the natural coconut flavor to shine through. However, if you have an extra sweet tooth, sweetened shredded coconut can provide an even more indulgent punch. Cover the pecans and chocolate thoroughly with the coconut, ensuring a generous and even blanket across the entire surface. This layer will toast beautifully in the oven, adding a golden crispness and irresistible aroma.
The Magical Pour: Condensed Coconut Milk
Now for the truly magical component: the sweetened condensed coconut milk! This ingredient is paramount to achieving that classic gooey, caramelized texture that makes magic bars so famous. While you can readily find sweetened condensed coconut milk online, for example, on Amazon, it’s also becoming increasingly common to find it in the organic or international aisles of larger grocery stores. For this recipe, you’ll need two small cans, which typically amounts to about 22 ounces in total. Ensure you have the sweetened variety, as this provides the necessary sweetness and viscosity for the bars to properly set and caramelize.
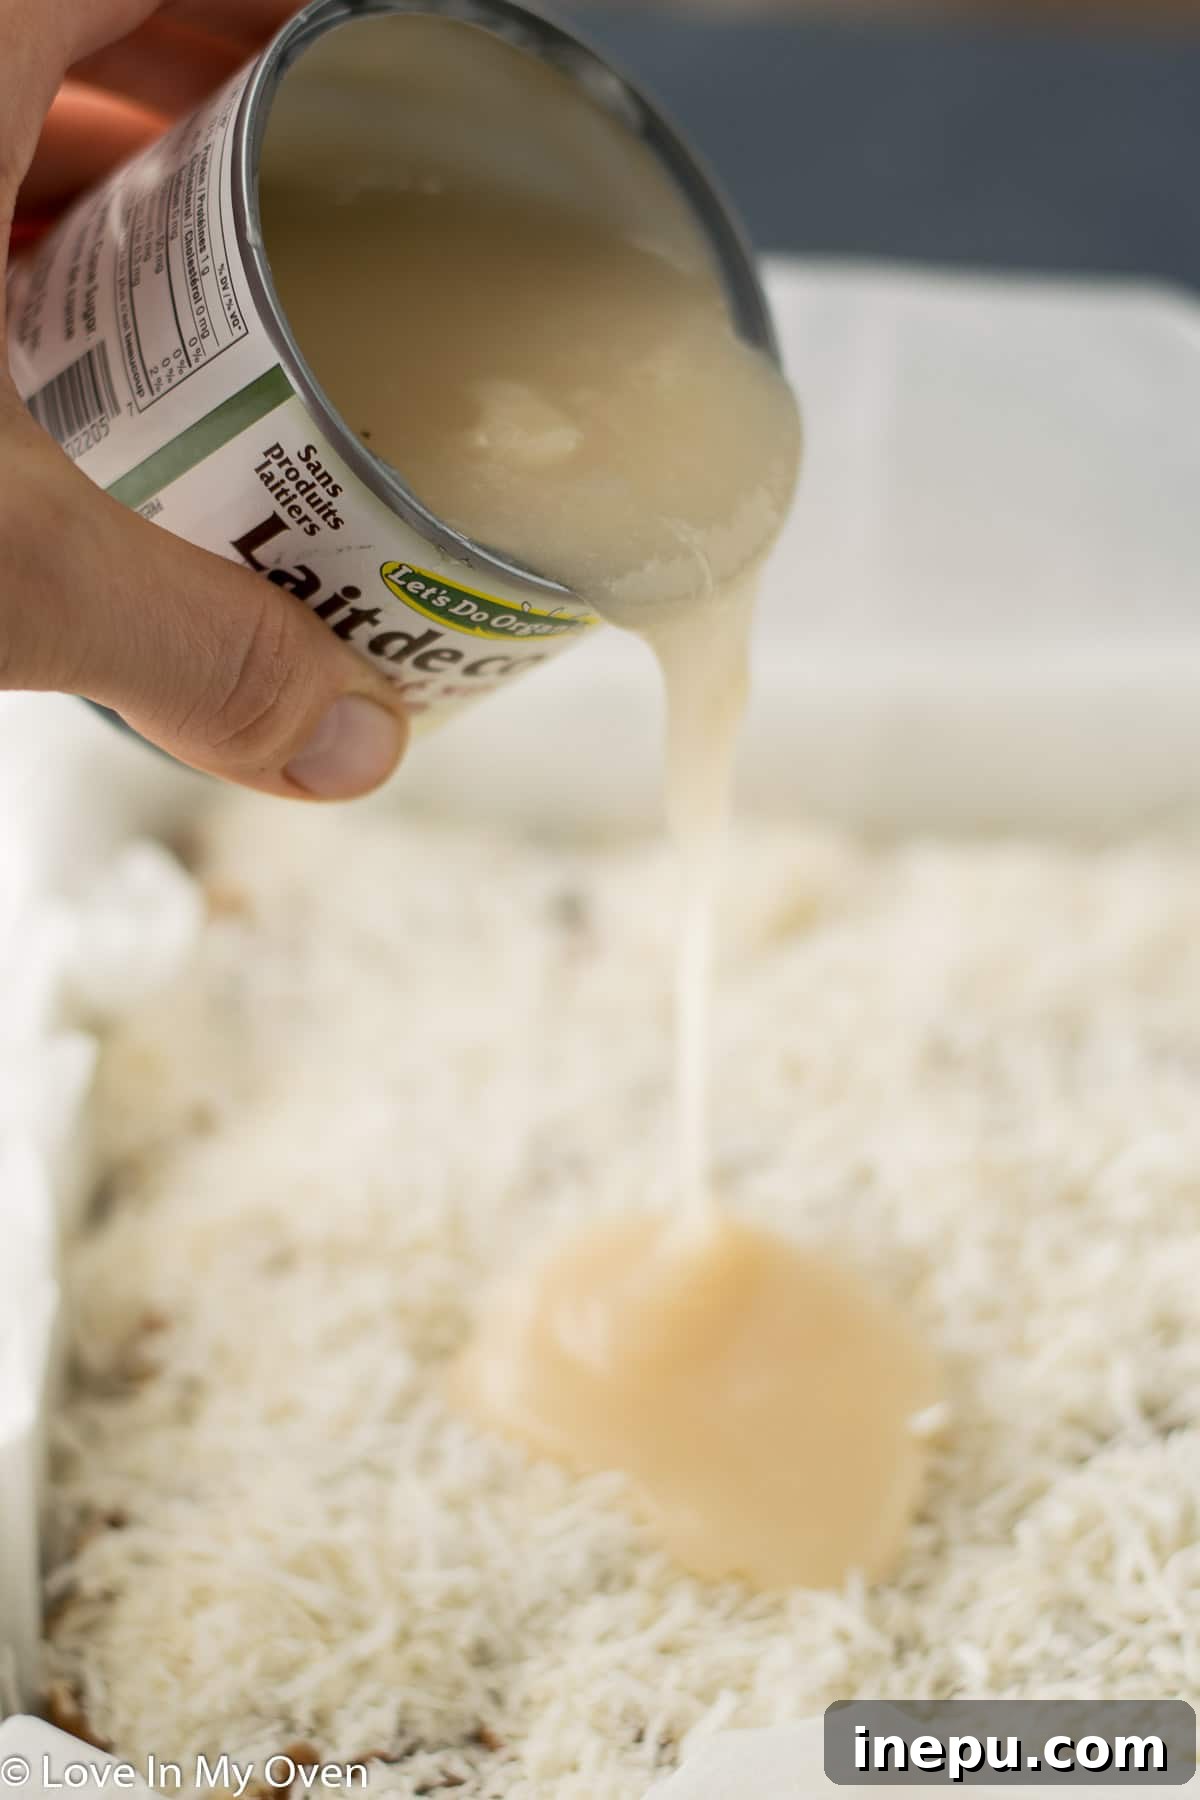
Carefully pour the condensed coconut milk all over the coconut layer, ensuring it covers the entire surface. Use a spatula to gently spread it evenly, making sure every corner is coated. This milky layer will seep down through the dry ingredients during baking, creating an incredibly moist and chewy texture while caramelizing on top. Place the assembled bars into your preheated oven and bake for 28-30 minutes. Keep a close eye on them; you’re looking for the edges of the coconut to turn a beautiful light golden brown, indicating that the condensed milk has caramelized perfectly and the bars are set.
The Crucial Cool Down
Once your vegan magic bars emerge from the oven, fragrant and golden, resist the urge to cut into them immediately! Cooling is an essential step for these bars to achieve their proper texture. Allow them to cool completely at room temperature for at least one hour. This initial cooling allows the warm layers to begin setting. After the room temperature cool, transfer the pan to the refrigerator for an additional hour. Chilling the bars solidifies the condensed coconut milk and chocolate, making them firm enough to slice cleanly without crumbling. This patient waiting period ensures perfect, clean-edged squares that hold their shape beautifully.
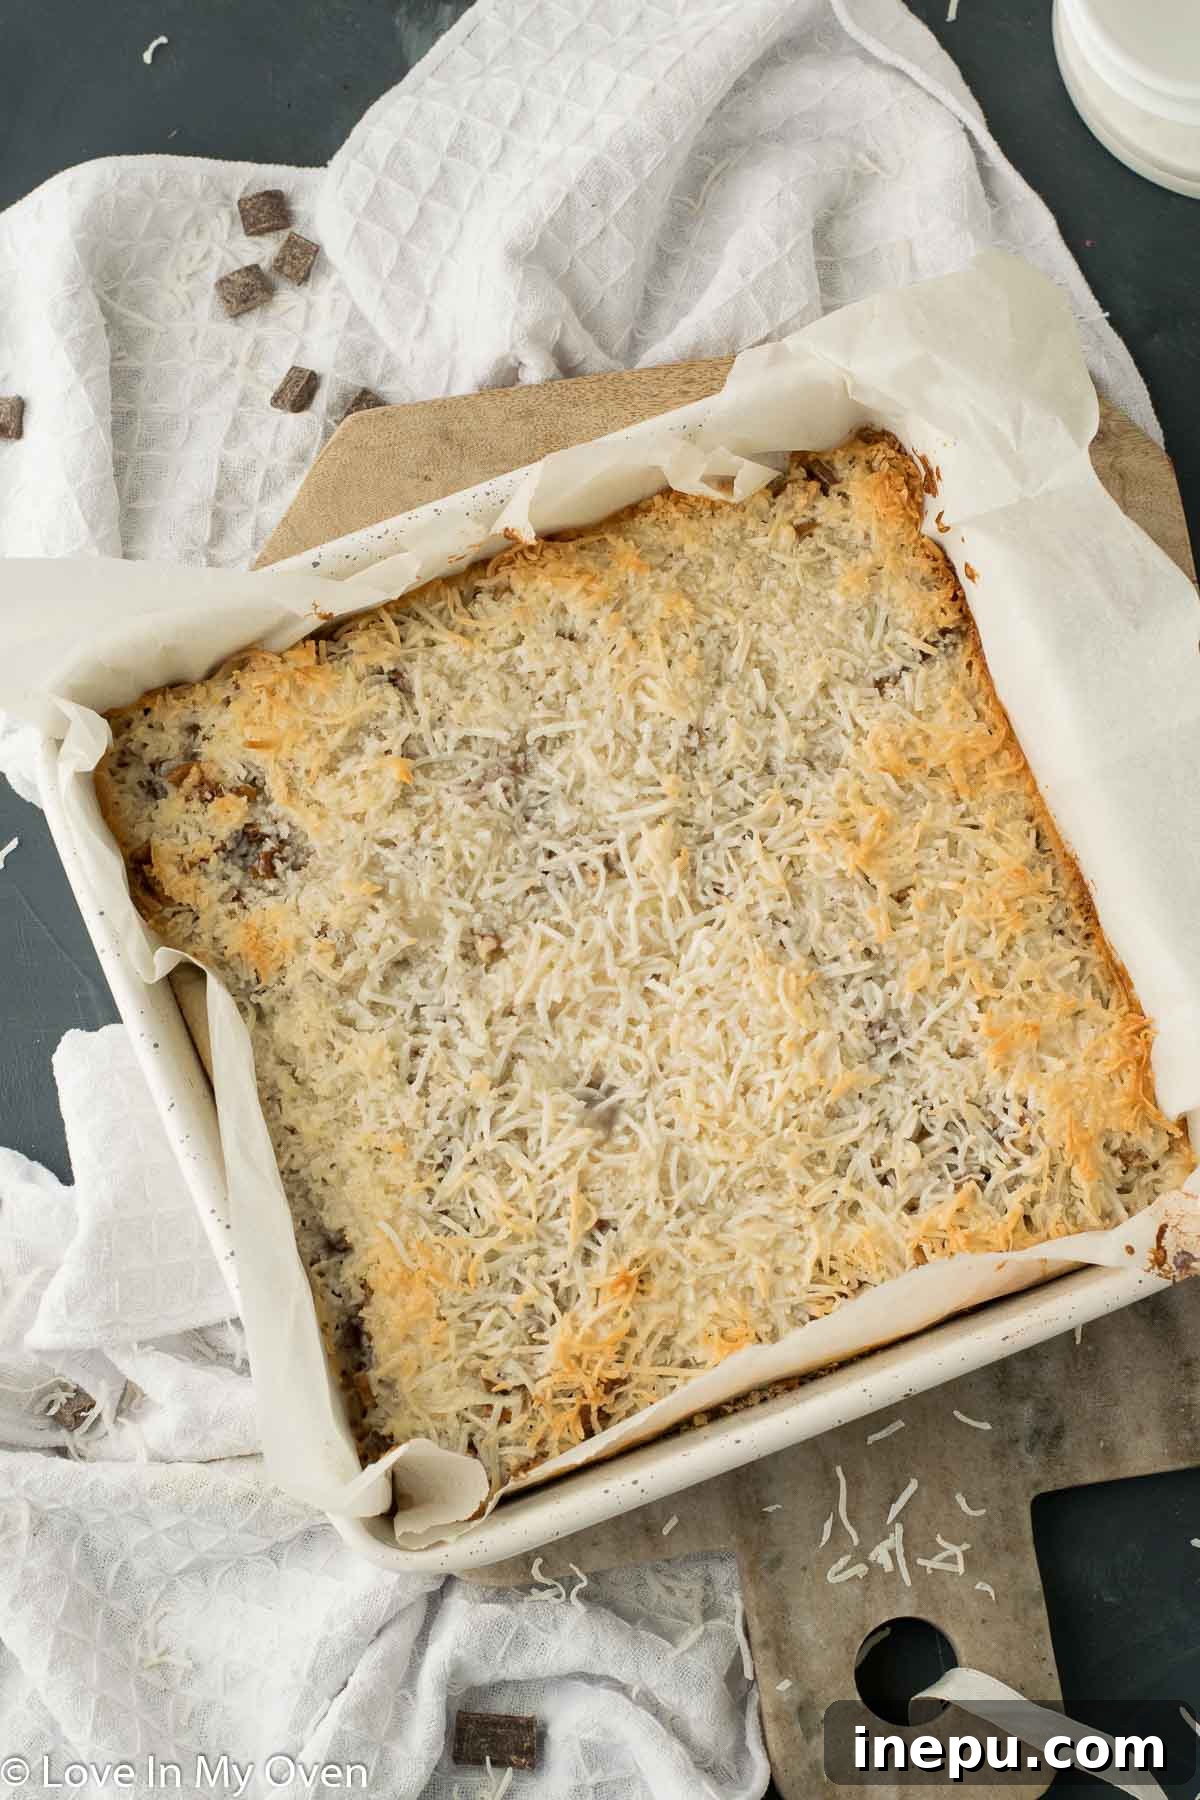
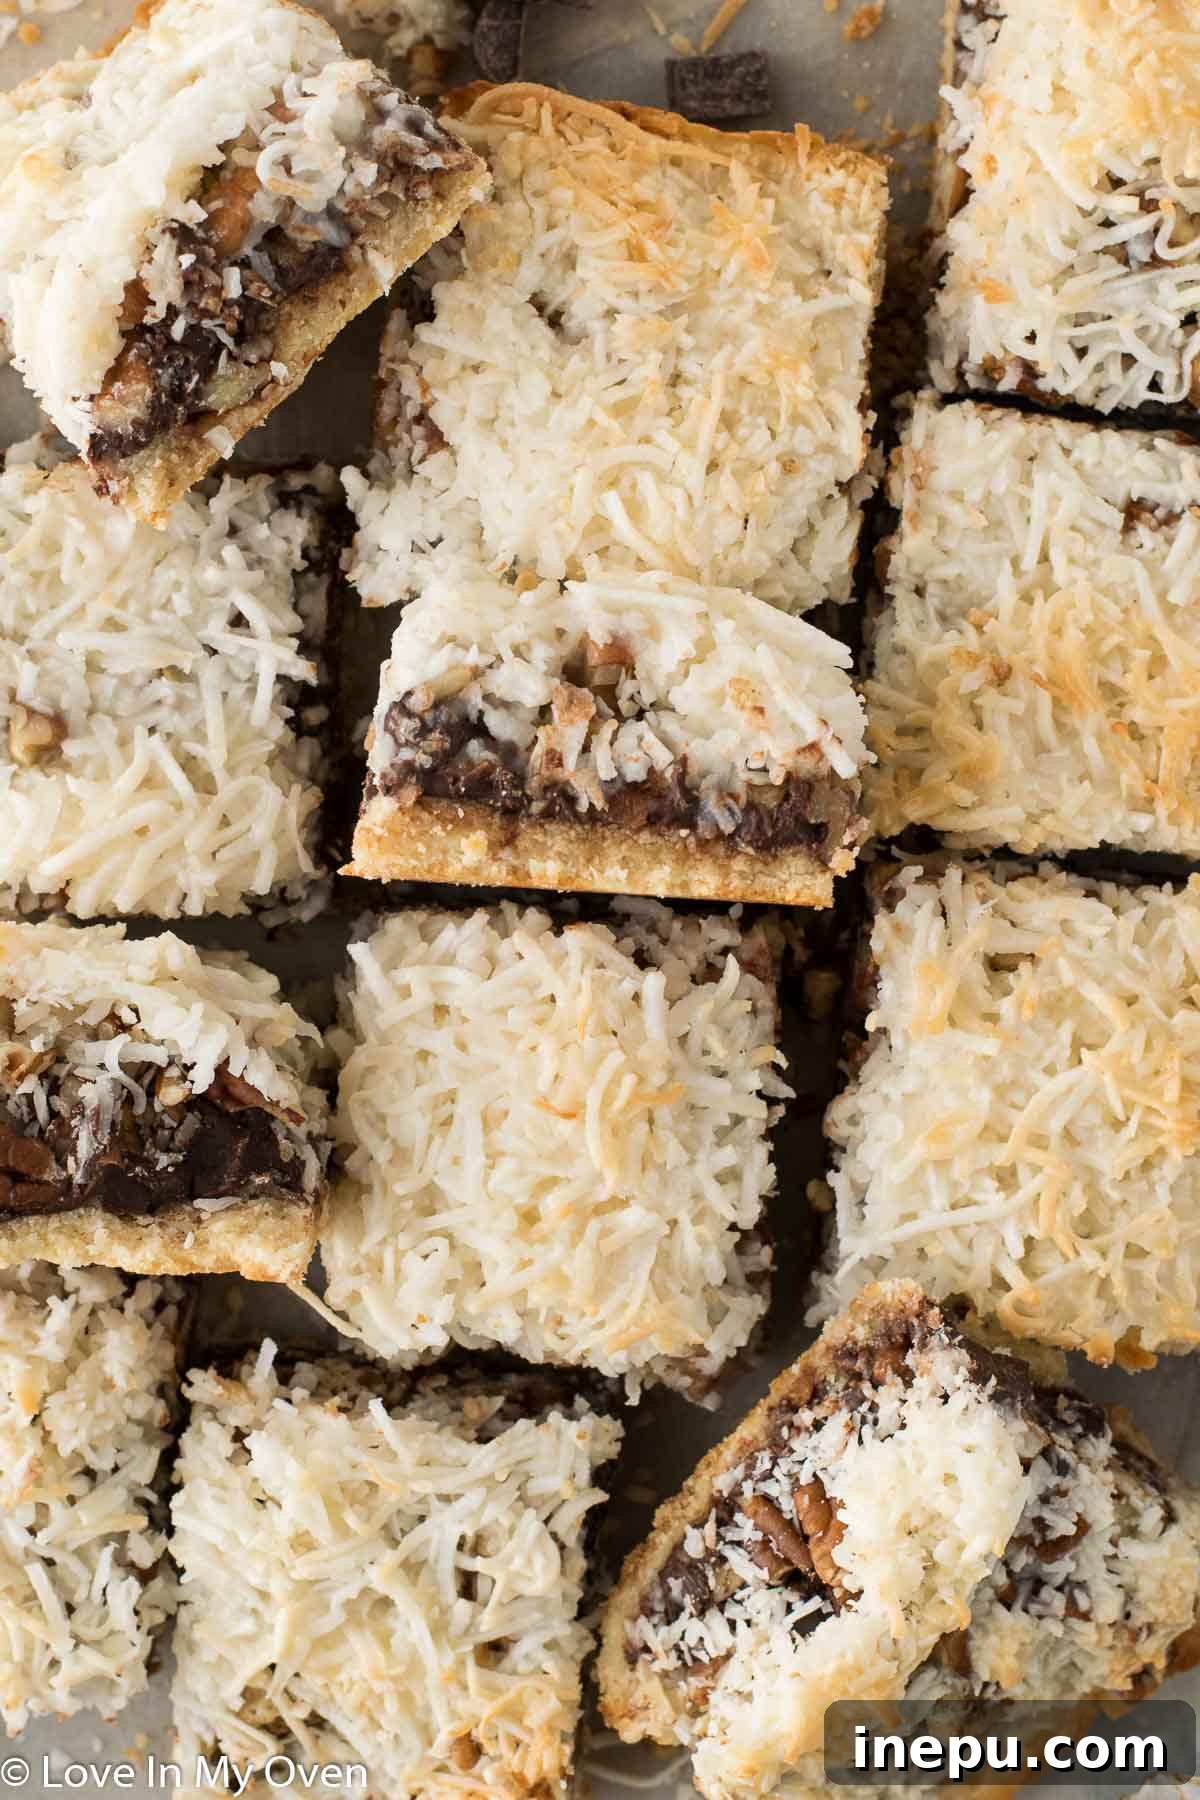
Once thoroughly firmed up, use the parchment paper overhang to lift the entire slab of bars out of the pan. Place it on a cutting board and slice into 12 equal pieces. These beautiful, ready-to-serve bars are perfect for any occasion. Pack them into a festive box for a holiday cookie exchange, arrange them on a platter for a party, or simply enjoy them as a delightful treat for yourself. Their rich flavor and satisfying texture make them a guaranteed crowd-pleaser.
Tips for Perfect Vegan Magic Bars Every Time
Achieving bakery-quality magic bars at home is easier than you think with a few helpful tips:
- Pack the Crust Firmly: This cannot be overstressed. A well-compacted crust is key to preventing a crumbly base. Use a flat-bottomed glass or measuring cup to press down firmly and evenly.
- Even Layers: Distribute your chocolate, pecans, and coconut as evenly as possible. This ensures every bite has a harmonious blend of textures and flavors.
- Sourcing Condensed Coconut Milk: While readily available online, check your local health food stores, larger supermarkets in the organic or international aisles, or even specialty Asian grocery stores. Quality can vary, so stick to reputable brands for the best results.
- Don’t Overbake: Keep an eye on the bars during the last few minutes of baking. The coconut should be lightly golden, and the condensed milk visibly bubbly and caramelized, but not burnt. Overbaking can lead to a dry, brittle texture.
- Patience with Cooling: Resist the temptation to cut the bars too soon. The cooling and chilling steps are crucial for the layers to set properly, ensuring clean slices and a firm texture.
Variations and Customizations
One of the best things about magic bars is their versatility. Feel free to get creative with your vegan versions!
- Nut Alternatives: If pecans aren’t your favorite, try walnuts, almonds, or even a mix of different nuts. For a nut-free version, consider pumpkin seeds or sunflower seeds.
- Chocolate Choices: Experiment with different types of vegan chocolate. Dark chocolate chips will offer a richer, more intense flavor, while vegan white chocolate chunks could add a creamy, sweet contrast.
- Dried Fruits: For an extra layer of flavor and chewiness, sprinkle in some dried cranberries, chopped apricots, or even golden raisins over the pecan layer.
- Spices: A pinch of cinnamon or a tiny dash of cardamom mixed into the crust or over the coconut layer can add a warm, inviting aroma, especially for holiday baking.
Storage and Freezing Instructions
These vegan magic bars are excellent keepers, making them perfect for meal prepping desserts or stocking up for unexpected cravings. Once cut, store the bars in an airtight container in the refrigerator for up to one week. The chilled environment helps maintain their firm, chewy texture and keeps them fresh.
As I discovered, these bars also freeze beautifully! Place the cut bars in a single layer in an airtight freezer-safe container or wrap them individually in parchment paper and then foil before placing them in a freezer bag. They will keep well in the freezer for up to two months. When you’re ready to enjoy one, simply pull it out of the freezer and let it thaw at room temperature for about 15-20 minutes, or enjoy it straight from the freezer for a delightful, chewy, frozen treat. This makes them ideal for satisfying those sudden sweet cravings without having to bake a whole new batch!
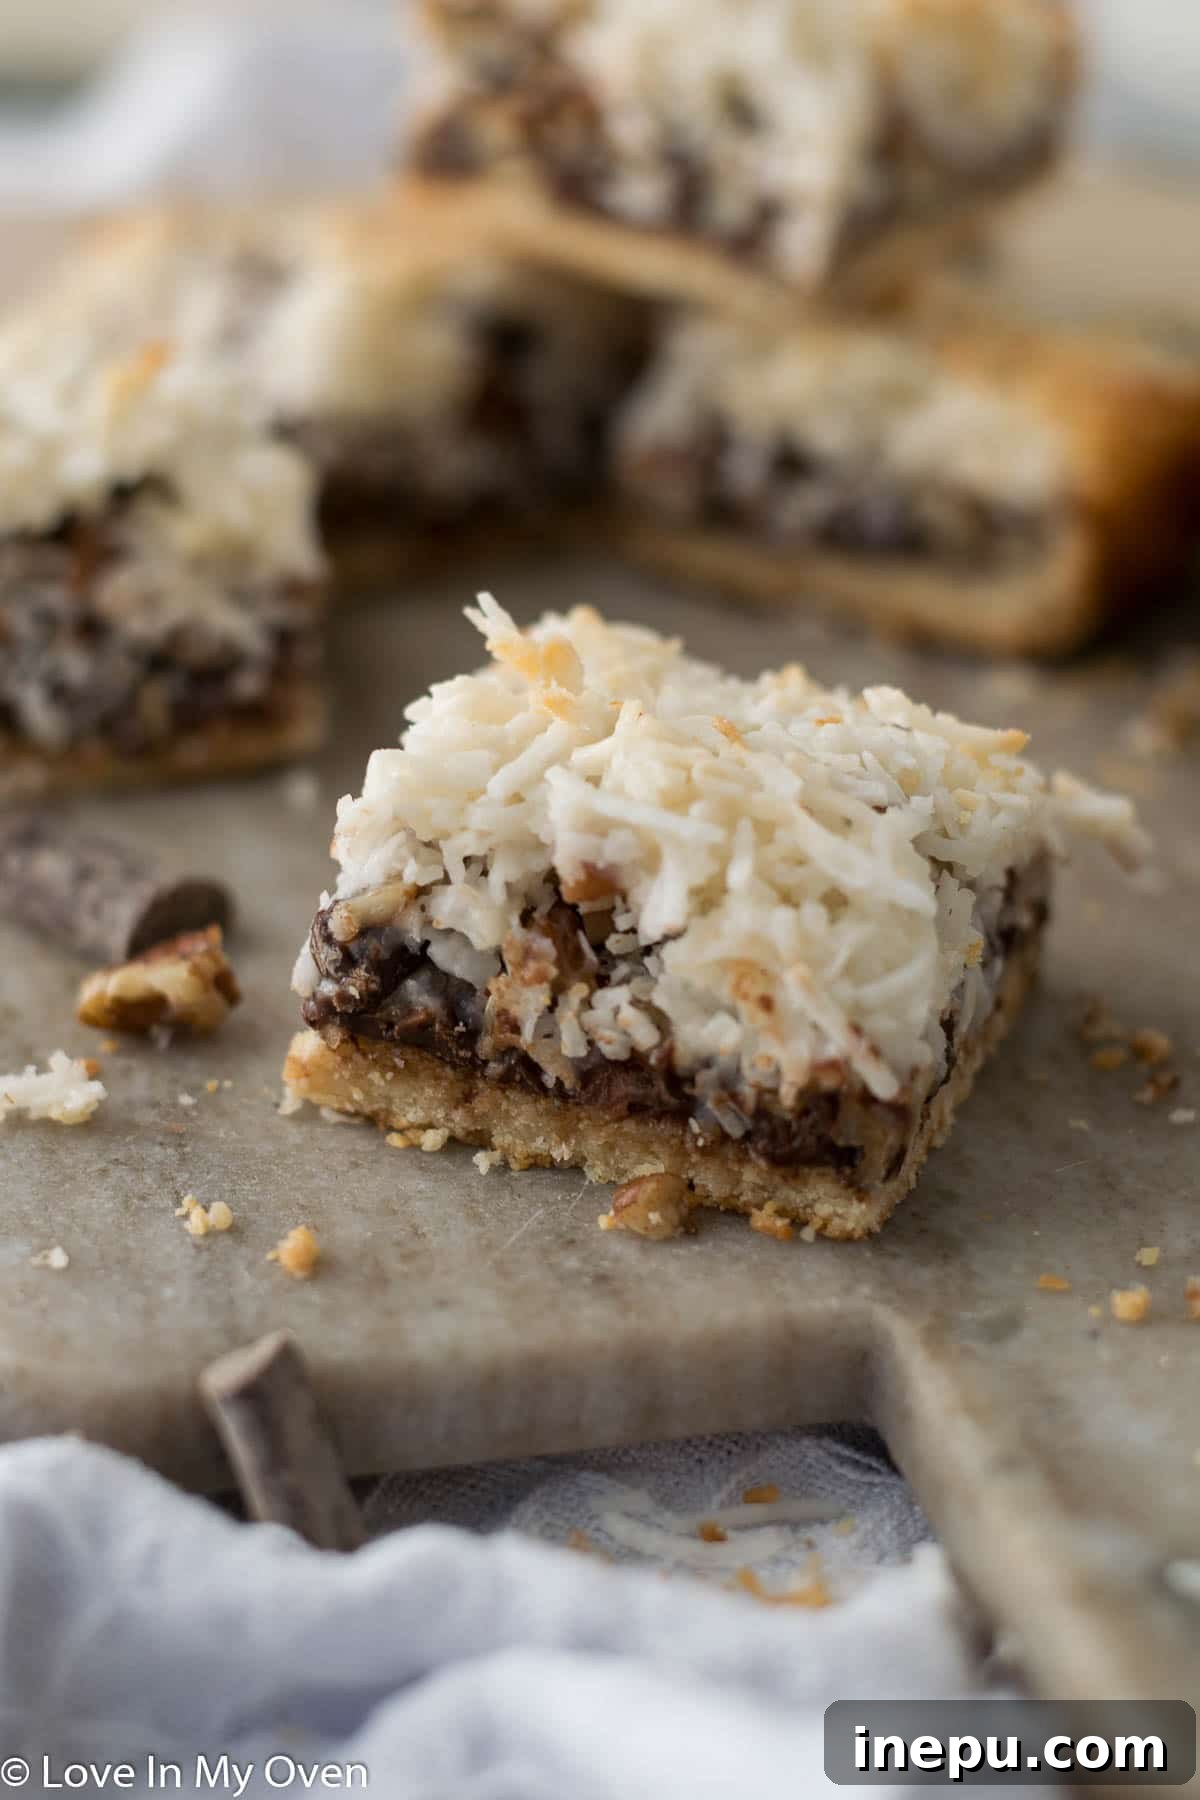
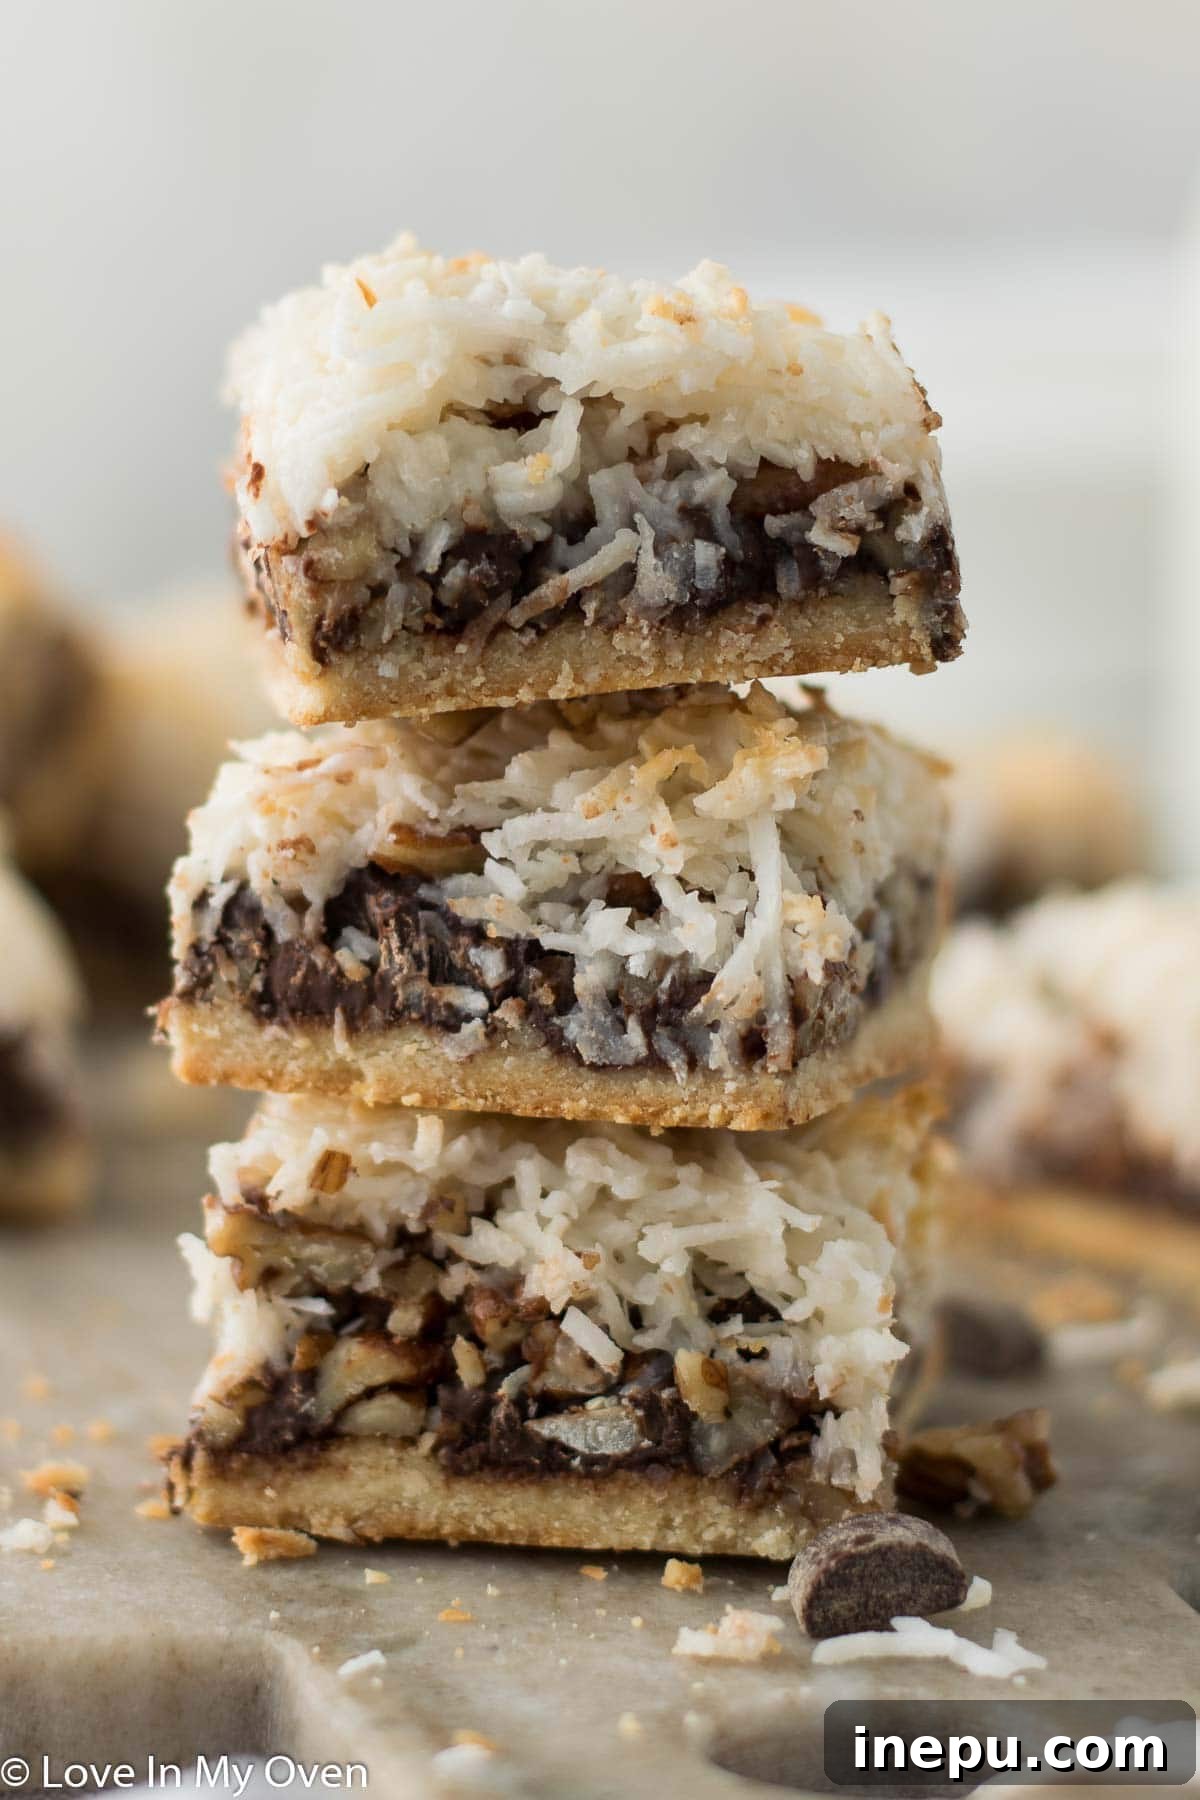
Whether you’re dedicated to a vegan lifestyle or simply looking for a deliciously satisfying dessert that’s a little lighter, these healthier vegan magic bars are guaranteed to be a hit. Their rich flavors, delightful textures, and effortless preparation will make them a staple in your dessert repertoire. So go ahead, whip up a batch, and say “Hello, Dolly!” to your new favorite treat!
You’ll love these other vegan treats from the blog:
- Vegan Chocolate Beet Cake: A surprisingly moist and rich chocolate cake with a secret healthy ingredient.
- Chocolate No-Churn Vegan Ice Cream: Creamy, dreamy chocolate ice cream without an ice cream maker.
- Caramel-Chocolate Pretzel Tart: A perfect balance of sweet and salty in a stunning vegan tart.
Print Recipe
Vegan Magic Bars
5 Stars 4 Stars 3 Stars 2 Stars 1 Star
5 from 7 reviews
- Author: Katherine | Love In My Oven
Total Time: 45 minutes
Yield: 12 bars 1x
Diet: Vegan
Description
These vegan magic bars are made with almond flour, maple syrup and vegan chocolate chips! All the flavor of your favorite 7 layer bars but a little better for you!
Ingredients
Scale
- 2 cups almond flour
- 1/4 cup pure maple syrup
- 1 tbsp coconut oil
- 2 cups vegan chocolate chips or chunks
- 1 1/2 cups pecans, chopped
- 2 cups shredded, unsweetened coconut
- 2 cans (11.5oz each) sweetened coconut condensed milk
Instructions
- Preheat the oven to 350 F (175 C) and line an 8×8 inch baking pan with parchment paper, leaving an overhang on the sides. In a bowl, mix together the almond flour, maple syrup, and melted coconut oil until well combined. Spread the mixture out evenly in the pan and pack everything down as firmly as possible to form the crust.
- Add the vegan chocolate (chips or chunks) to the pan, spreading it evenly on top of the crust. Then, sprinkle the chopped pecans over the chocolate layer, followed by the shredded coconut. Ensure the coconut thoroughly covers the pecans and chocolate for an even bake.
- Pour the sweetened condensed coconut milk all over the coconut layer. Use a spatula to gently smooth and spread the milk evenly across the surface. Place the baking dish in the preheated oven and bake for 28-30 minutes, or until the edges of the coconut turn a light golden brown and the filling is bubbly.
- Once out of the oven, allow the bars to cool completely at room temperature for at least one hour. After this initial cooling, transfer the pan to the fridge for an additional hour to allow the bars to fully solidify. Once chilled, use the parchment paper overhang to lift the entire slab of bars from the pan and cut them into 12 equal squares. Serve immediately or store in the fridge in an airtight container for up to 1 week.
The bars store well in the freezer for up to 2 months. Thaw at room temperature or enjoy frozen.
- Prep Time: 15 minutes
- Cook Time: 30 minutes
- Category: Desserts
- Method: Oven Bake
- Cuisine: American