
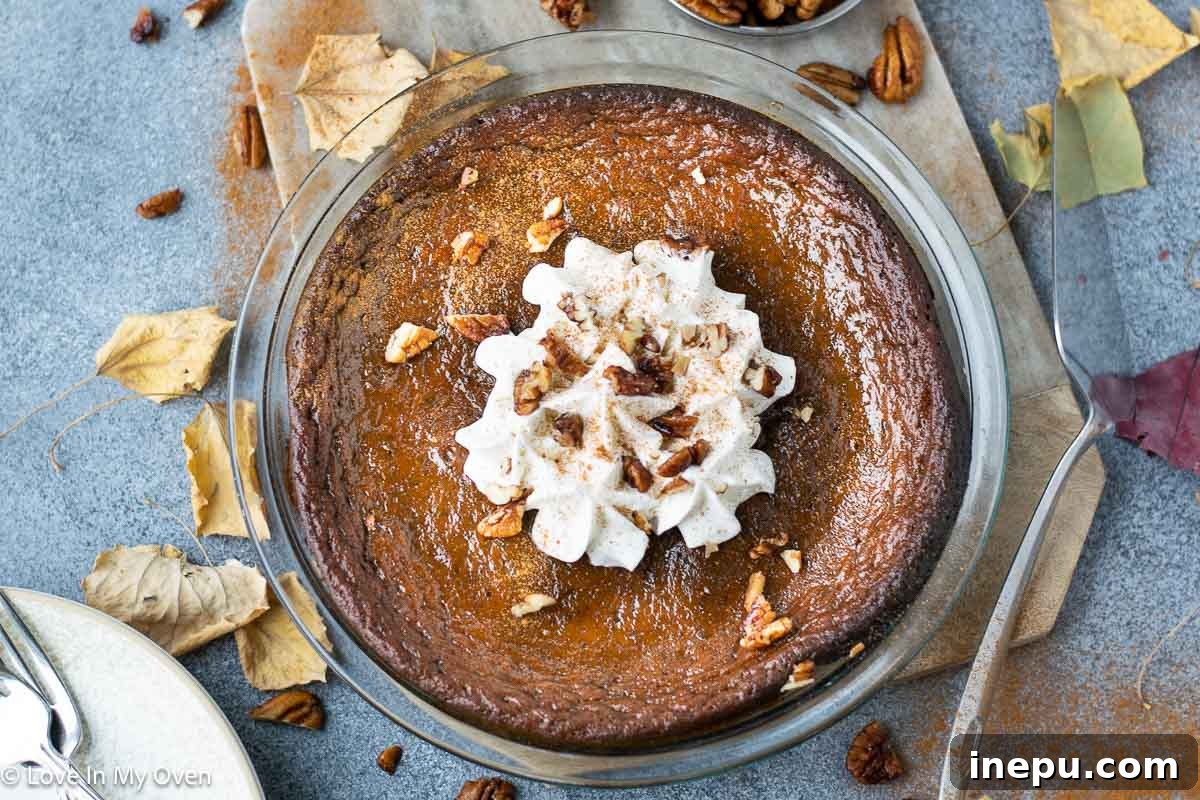
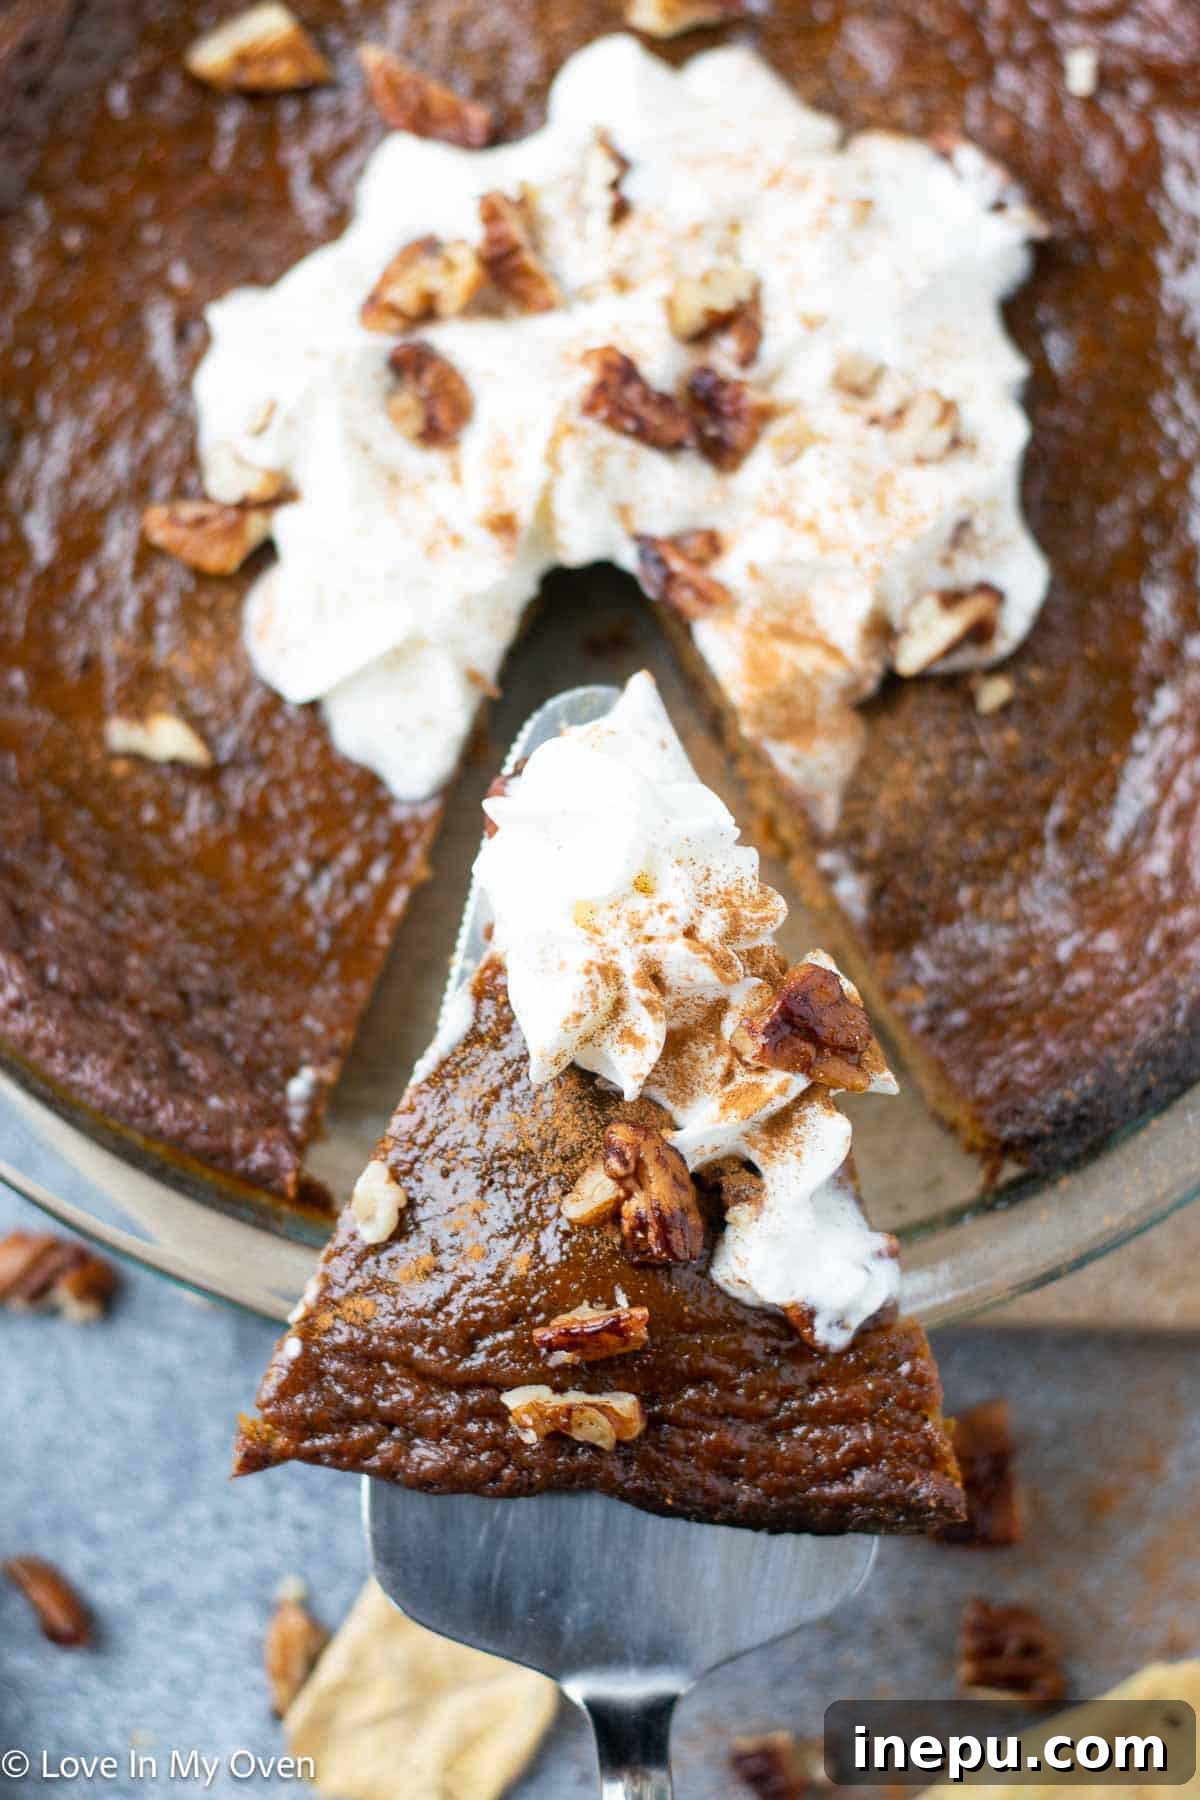
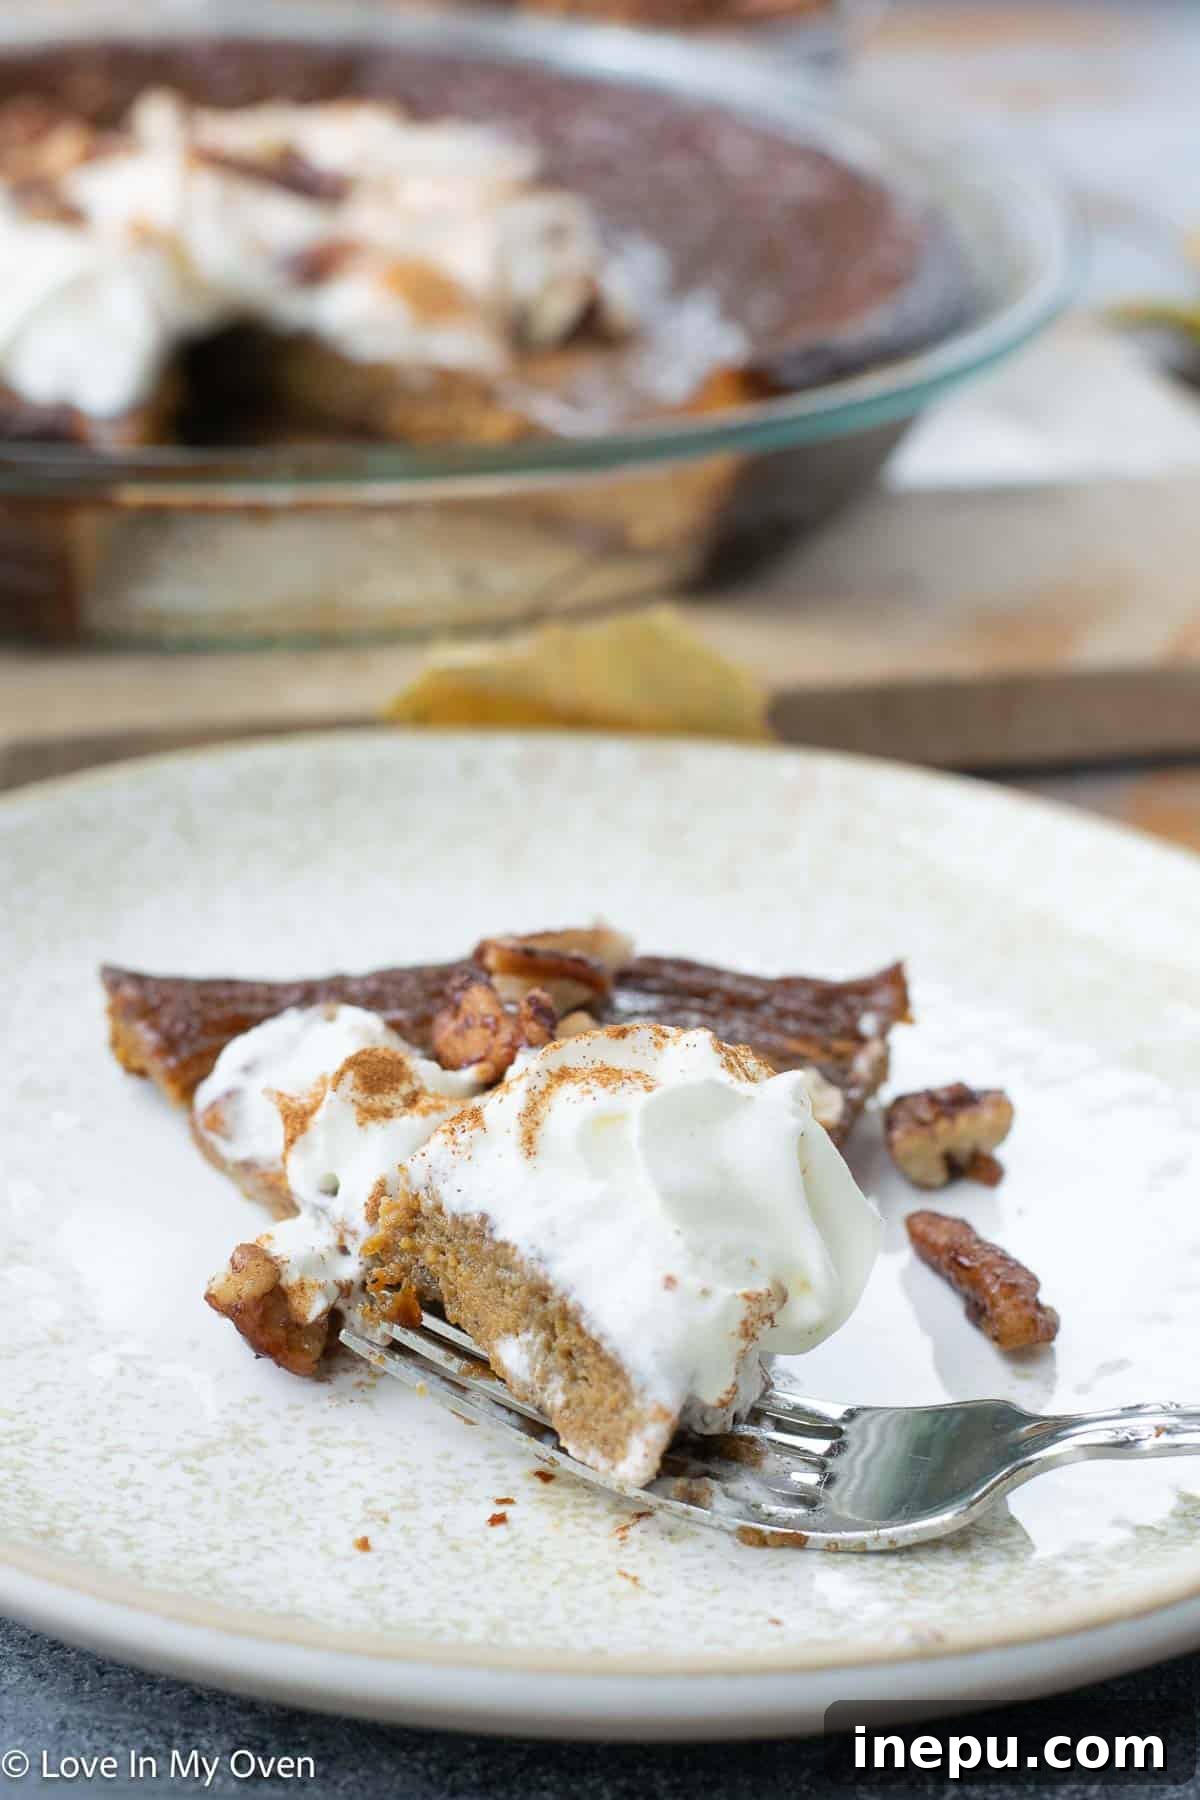
Why fuss with a crust when you can enjoy all the irresistible flavors and comforting textures of pumpkin pie without the extra effort? This healthy crustless pumpkin pie is thoughtfully sweetened with natural maple syrup and coconut sugar, delivering a taste reminiscent of the cherished pies Grandma used to bake. You truly won’t miss the crust!
The concept of creating a delicious, fuss-free crustless pumpkin pie has been on my mind ever since the last Thanksgiving celebration. The vibrant flavors of pumpkin are simply too good to be confined to a single season. While pumpkin-infused treats often disappear after the holidays, making way for other festive sweets like Christmas cookies, the idea of an easy, guilt-free pumpkin pie remained a persistent inspiration. I absolutely adore traditional pumpkin pie, complete with its golden, flaky crust. However, there are many occasions when the craving for that warm, spiced pumpkin goodness strikes, but the time or inclination to meticulously prepare a pie crust simply isn’t there. This recipe aims to bridge that gap, offering a delightful and convenient solution for any time you desire a taste of autumn’s best.
My eldest son, Oscar, shares my profound love for pumpkin pie, making him the perfect enthusiast to help taste-test this simplified, crustless version. Served with a generous dollop of light whipped cream or a scoop of creamy vanilla ice cream, this effortlessly prepared pie is guaranteed to satisfy even the most intense pumpkin pie cravings. It’s a wonderful way to enjoy the classic dessert more frequently, without the elaborate preparation typically associated with it. This pie truly embodies comfort and deliciousness, proving that you don’t always need a crust to enjoy a truly magnificent dessert.
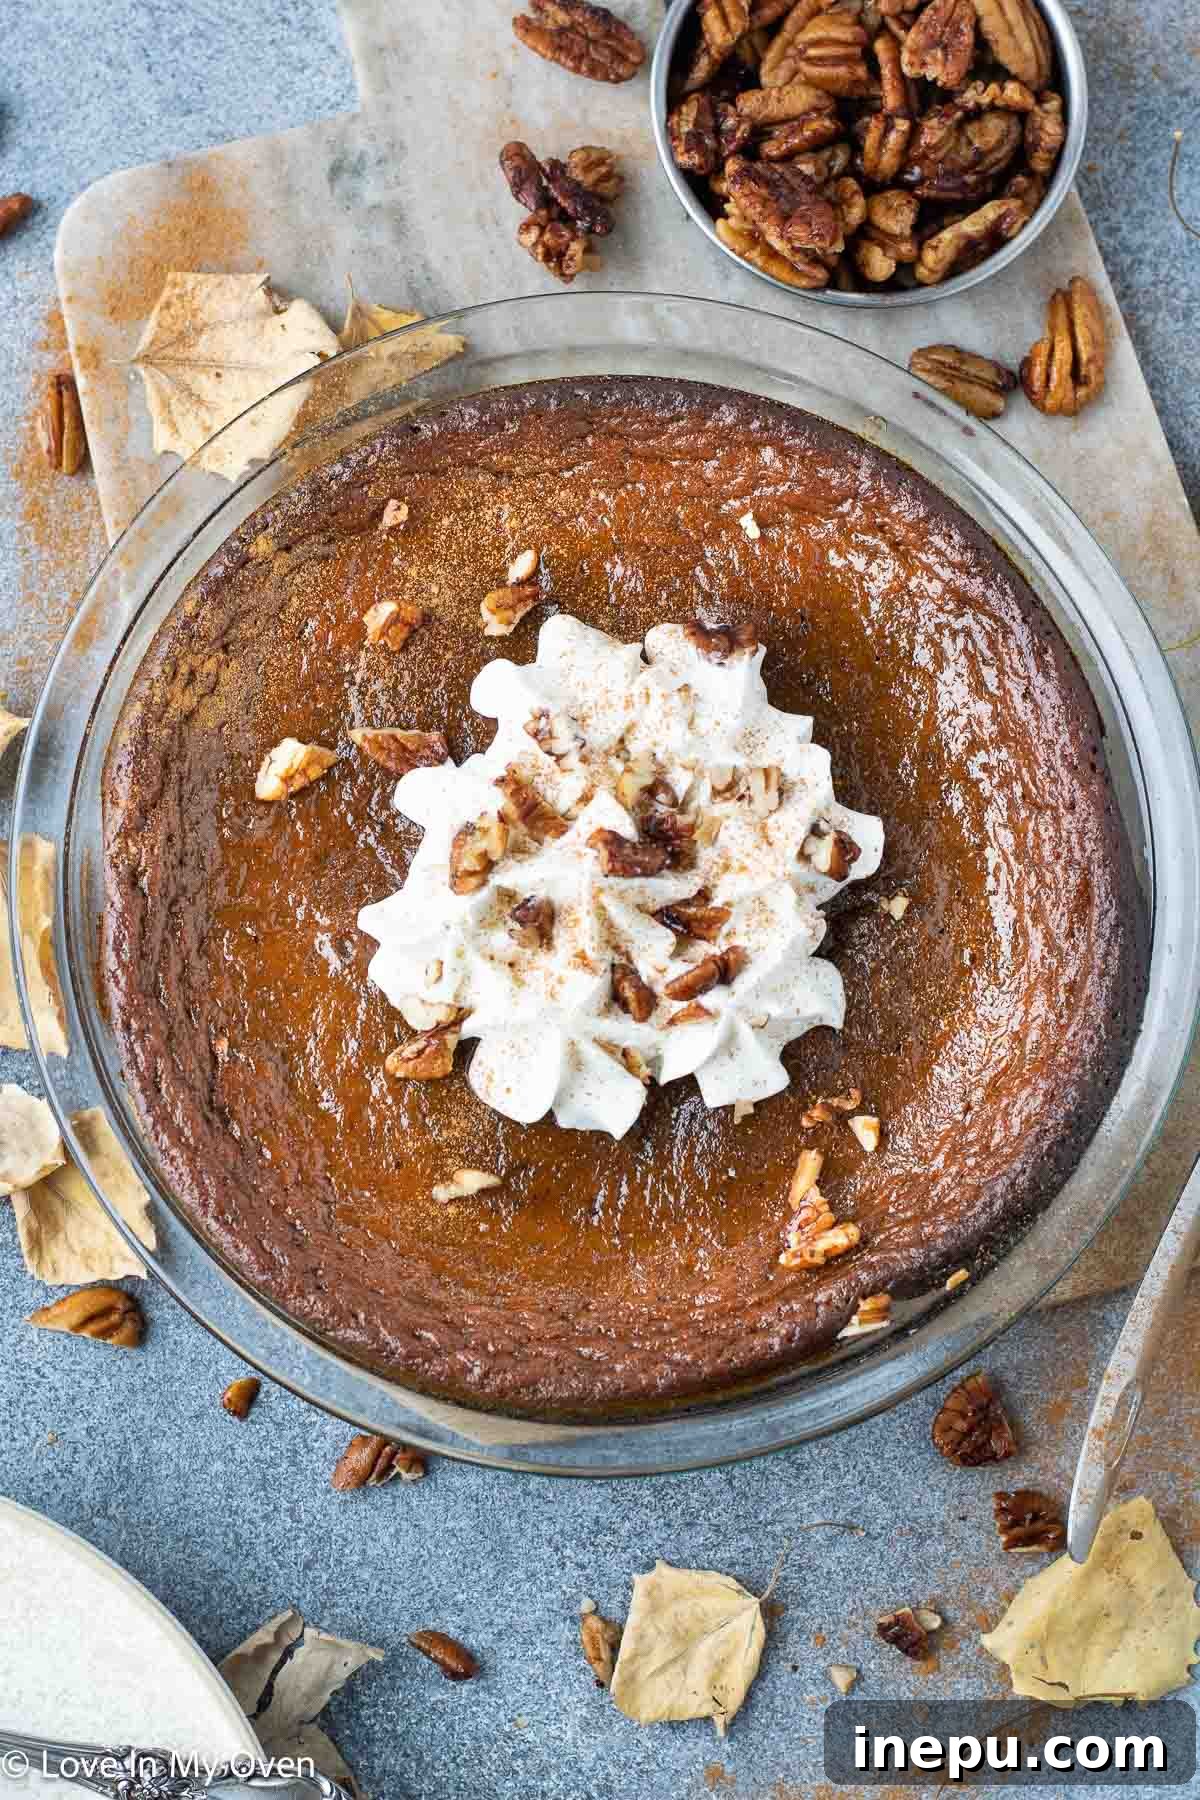
The Irresistible Appeal of a Crustless Pumpkin Pie
Beyond its incredible flavor, a crustless pumpkin pie offers numerous advantages that make it a standout dessert choice. It simplifies the baking process significantly, eliminating the need for rolling dough, blind baking, or worrying about a soggy bottom crust. This alone makes it a fantastic option for beginner bakers or anyone looking to save time during busy holidays or weeknights.
Unmatched Convenience and Simplicity
The primary draw of a crustless pie is its sheer simplicity. Baking a traditional pie can be daunting for some, often involving multiple steps for the crust alone. By removing this element, you streamline the entire process, turning a potentially complex dessert into a straightforward, one-bowl affair. This ease of preparation doesn’t just save time; it reduces stress, making baking more enjoyable and accessible. Imagine being able to whip up a homemade pumpkin pie from scratch in under 10 minutes of active prep time!
A Healthier Indulgence
Opting for a crustless version naturally makes this pumpkin pie a lighter dessert choice. Traditional pie crusts, while delicious, are often high in butter and refined flour. By skipping the crust, you significantly reduce the calorie and fat content, making it a healthier option without sacrificing flavor. This recipe further enhances its wholesome profile by using natural sweeteners like maple syrup and coconut sugar instead of refined white sugar. These alternatives not only provide a delightful sweetness but also contribute subtle caramel notes and offer a slightly lower glycemic impact, allowing you to indulge a little more freely.
Focusing on Pure Pumpkin Flavor
Without a crust to compete, the star of the show — the pumpkin filling — truly shines. Every spoonful is an unadulterated burst of creamy pumpkin, warm spices, and natural sweetness. This intense focus on the filling highlights the rich, earthy flavors of pumpkin complemented by the fragrant blend of cinnamon and pumpkin pie spice. For those who prioritize the custardy, spiced interior of a pumpkin pie above all else, the crustless version offers an elevated sensory experience, letting the true essence of autumn dance on your palate.
Essential Ingredients for Your Perfect Pie
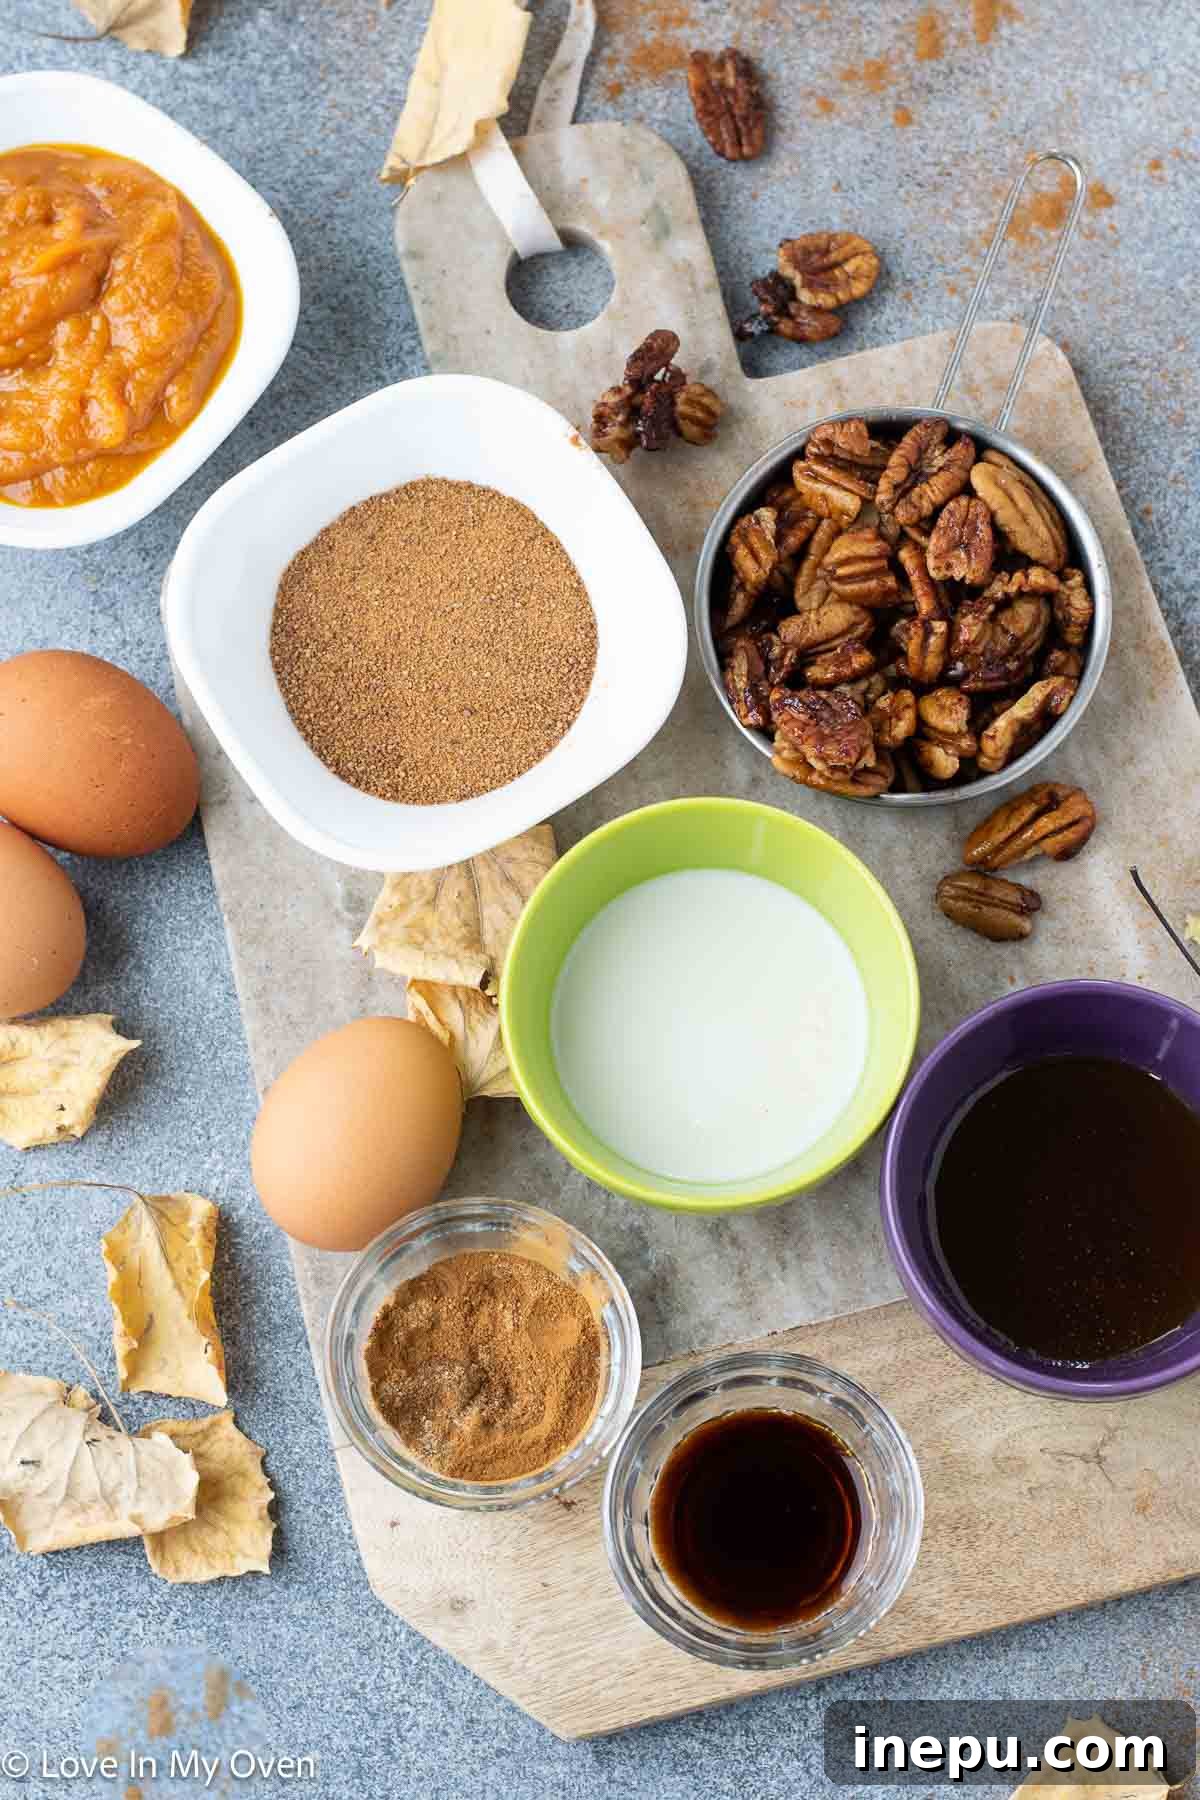
Keeping my recipes straightforward is always a priority, and this crustless pumpkin pie is no exception. You’ll likely find most, if not all, of these ingredients already stocked in your pantry, especially if you, like me, always keep a can of pure pumpkin on hand for spontaneous baking adventures. The beauty of this recipe lies in its minimal and wholesome components.
For this delightful pie, gather these simple ingredients:
- Pure pumpkin puree
- Large eggs
- Almond milk (or your preferred milk)
- Maple syrup
- Coconut sugar
- Pumpkin pie spice
- Ground cinnamon
- A pinch of salt
It is absolutely crucial to use pure pumpkin puree from the can, not canned pumpkin pie filling. I’ve made that mistake before, and the results are noticeably different! Pie filling is pre-sweetened and spiced, often containing a stronger, sometimes artificial, flavor profile that will alter the delicate balance of this recipe. Always look for “100% pure pumpkin” on the label. I frequently opt for the high-quality canned pumpkin from ED Smith for consistent results.
Regarding sweeteners, if coconut sugar isn’t readily available in your pantry, don’t fret! You can easily substitute it with an equal amount of brown sugar, which will lend a similar deep, molasses-like flavor. Alternatively, if you’re managing sugar intake, a sugar substitute could also work, though adjust to taste. I personally love the subtle caramel notes that coconut sugar imparts in this specific recipe, enhancing the overall warmth and richness of the pie.
If you don’t have a pre-made pumpkin pie spice blend on hand, crafting your own is incredibly easy and ensures the freshest, most aromatic spices. In a small bowl, simply combine the following:
- 1 tablespoon ground cinnamon
- 1/2 teaspoon ground ginger
- 1/2 teaspoon ground nutmeg
- 1/8 teaspoon ground allspice
- 1/8 teaspoon ground cloves
This blend creates a wonderfully fragrant and balanced spice mix. Measure out the amount required for this recipe and store any remaining blend in an airtight container for future fall baking endeavors!
Crafting Your Easy Pumpkin Pie: Step-by-Step
Not only is this pumpkin pie a breeze to make because it’s crustless, but its simplicity is further amplified by the fact that the entire filling can be mixed together in a single bowl! With just one whisk, you can achieve a perfectly smooth and flavorful batter. Honestly, making this pie couldn’t be any easier, making it perfect for both novice and experienced bakers alike. The active prep time is an astonishing 5 minutes – a true win for any busy day!
Follow these straightforward steps to create your delectable crustless pumpkin pie:
- Prepare Your Baking Environment: Begin by preheating your oven to 350°F (175°C). Next, take a standard 9-inch pie plate and generously spray it with a nonstick cooking spray. Alternatively, you can grease it thoroughly with butter or coconut oil to prevent sticking. This initial step ensures your pie releases easily after baking.
- The One-Bowl Filling: In a large mixing bowl, combine the entire can of pure pumpkin puree with the three large eggs. Whisk these two ingredients together vigorously until they are thoroughly combined and there are no visible streaks or large pieces of egg yolk remaining. The mixture should be smooth and uniform.
- Add the Sweeteners and Spices: To the pumpkin and egg mixture, add the almond milk, maple syrup, coconut sugar, pumpkin pie spice, ground cinnamon, and a pinch of salt. These ingredients will infuse the pie with its signature fall flavors and sweetness.
- Whisk to Perfection: Continue to whisk all the ingredients together until the mixture is completely homogeneous. Ensure that the sweeteners and spices are evenly distributed throughout the pumpkin base. The filling should be silky smooth and free of lumps.
- Fill and Bake: Carefully pour the prepared pumpkin mixture into your greased 9-inch pie pan. Use the back of a spoon or a small spatula to gently smooth out the top for an even finish. Place the pie into the preheated oven and bake for approximately 55-65 minutes.
- Check for Doneness: Around the 50-minute mark, it’s time to check your pie. Using an oven mitt, gently give the pie plate a slight shake. If the center is still quite jiggly, similar to unset gelatin, continue baking for another 10-15 minutes, checking its consistency every 5 minutes. The pie is done when the edges are set and lightly golden, and the center has a slight wobble but is no longer liquid. It will firm up considerably as it cools.
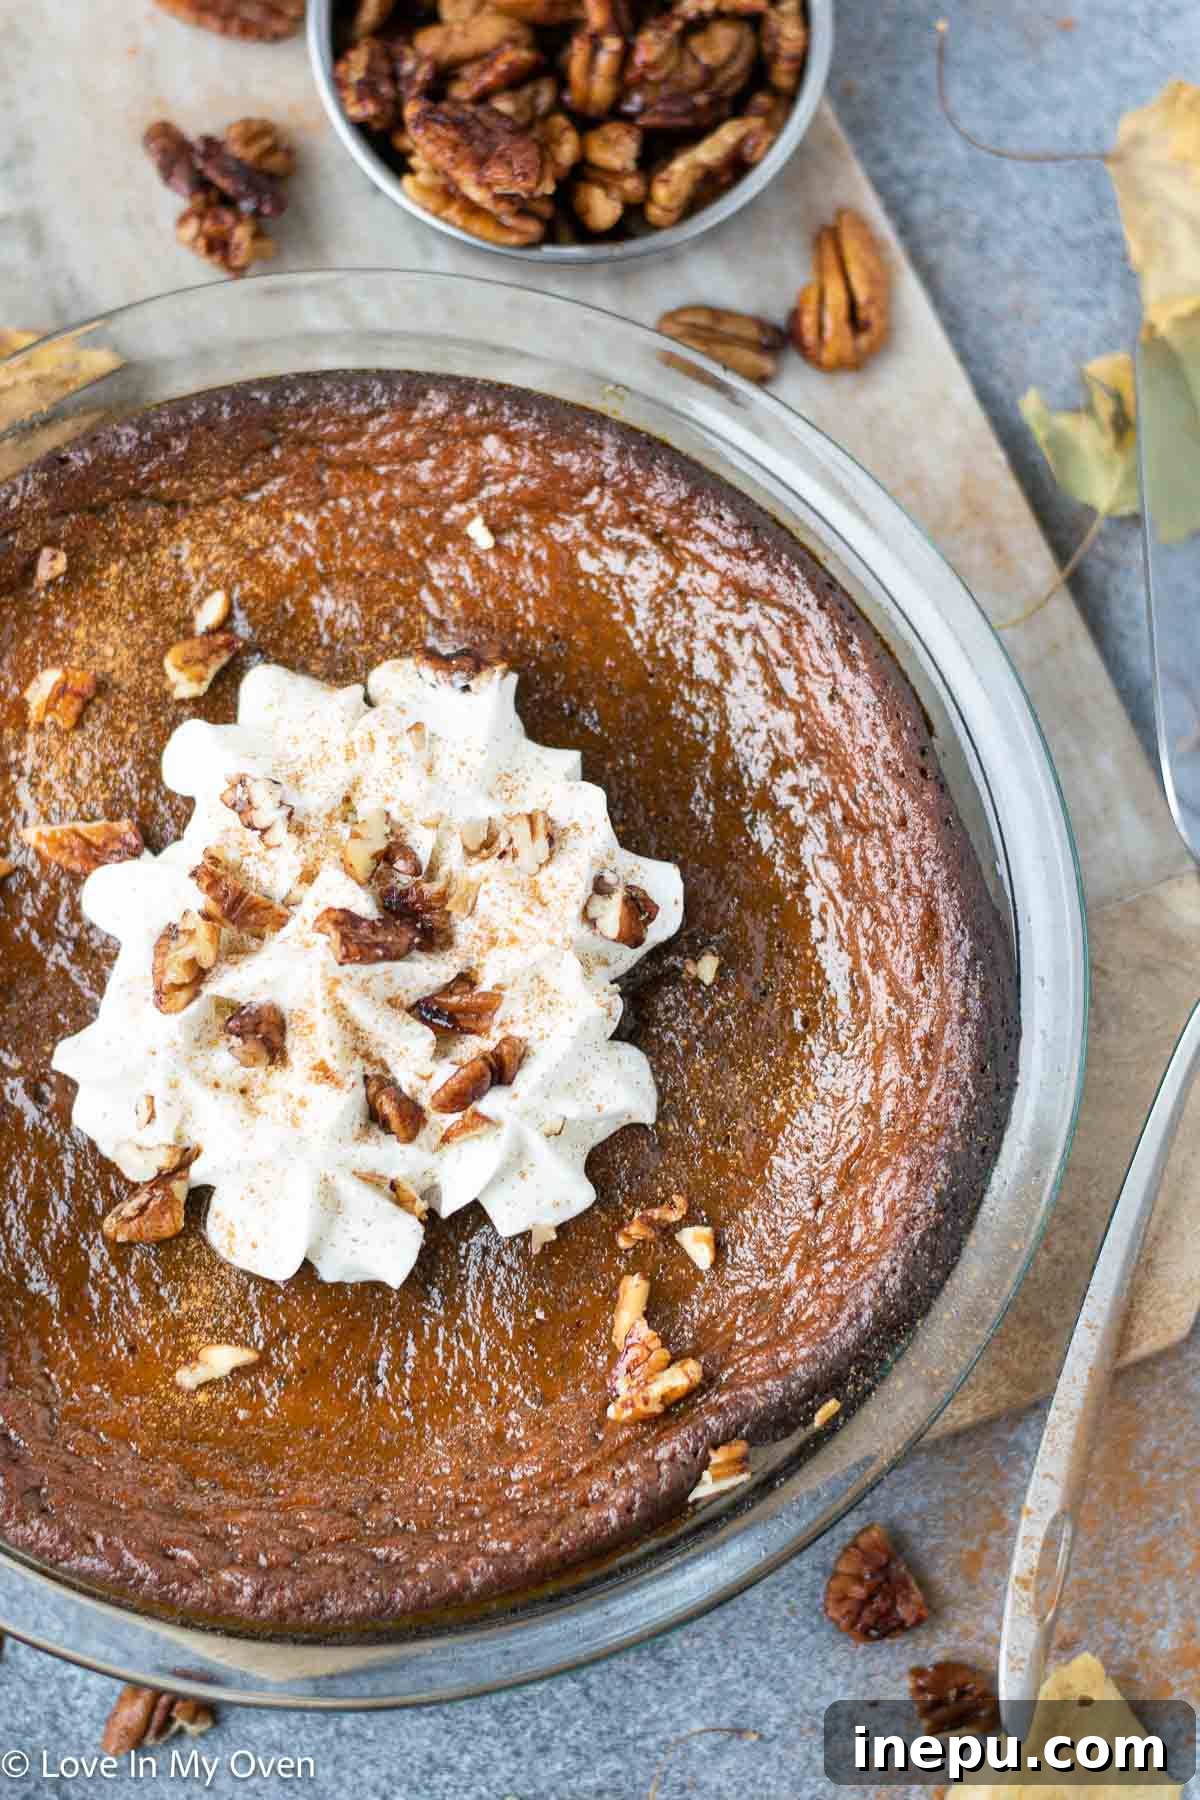
- Cool and Serve: Once removed from the oven, allow the pie to cool on a wire rack for at least 20 minutes before attempting to slice and serve. This cooling period is crucial as it allows the custard to set completely, ensuring clean slices. For an even firmer texture and a delightful chilled treat, you can place the cooled pie in the refrigerator for a few hours. Slice into generous portions, and top with a cloud of whipped cream, a scoop of vanilla ice cream, or for an extra special touch, sprinkle with candied pecans or candied walnuts. Enjoy!
Any leftover pie can be stored wonderfully in the refrigerator. Simply transfer it to an airtight container, and it will keep fresh and delicious for 2-3 days. For longer storage, this pie also freezes exceptionally well for up to 2 months. Just be sure to wrap it tightly to prevent freezer burn.
Serving Suggestions, Customization, and Storage
A simple dessert can often be elevated with thoughtful garnishes and smart storage. This crustless pumpkin pie is no exception, offering versatility in how it’s enjoyed and preserved.
How Many People Does This Pie Serve?
Because there’s no heavy crust to fill you up, I often find that you can easily enjoy a second slice of this lighter crustless pie! Typically, a 9-inch pie is the perfect size to generously serve 5-6 people. In our home, we absolutely adore pumpkin pie, so it’s not uncommon for the five of us to finish an entire pie in one sitting!
If you’re hosting a larger gathering or simply want more delicious pie, consider baking two pies. This recipe is incredibly easy to double; just use two 9-inch pie plates and bake them one after the other. Two pies are always better than one, ensuring everyone gets a generous slice (or two!).
Toppings and Customizations
While delicious on its own, a few simple additions can take your crustless pumpkin pie to the next level. Classic choices include a generous dollop of freshly whipped cream or a scoop of creamy vanilla ice cream, which provide a lovely contrast in temperature and texture. For an extra touch of gourmet elegance, consider sprinkling your slices with candied pecans or my healthy candied walnuts. A dusting of extra cinnamon or nutmeg also adds a beautiful finish and enhanced aroma.
Is This Crustless Pumpkin Pie Gluten-Free and Dairy-Free?
One of the fantastic attributes of this crustless pumpkin pie is its inherent dietary friendliness. It is naturally 100% gluten-free and can be easily made dairy-free, making it an excellent choice for entertaining guests with specific dietary restrictions or sensitivities. This thoughtful design allows everyone to enjoy a slice of this comforting dessert.
Being naturally **gluten-free** is a huge bonus, as many traditional desserts require special flour blends to accommodate gluten sensitivities. Here, with no crust, there’s no need for any gluten-containing ingredients, ensuring a safe and delicious treat for those avoiding gluten.
For a **dairy-free** version, simply ensure you use almond milk, or any other plant-based milk alternative like oat milk or soy milk. The recipe as written already calls for almond milk, so you’re likely set! If dairy isn’t a concern for you or your guests, you can certainly substitute the almond milk with regular cow’s milk without altering the baking process or final texture.
Can You Make This Pie with a Crust?
Absolutely! If you’re a traditionalist at heart or simply prefer the added texture of a crust, this pumpkin pie filling works beautifully in a standard pie shell. My personal favorite for ease and taste is my simple 3-ingredient pie crust. You can pour this luscious pumpkin filling directly into your prepared (and optionally pre-baked) pie crust.
When baking with a crust, the baking time will remain similar, but it’s important to keep a close eye on the crust to prevent it from burning. Around the 30-minute mark, you might want to loosely cover the edges of the pie crust with aluminum foil to protect them from over-browning while the center of the pie continues to bake to perfection. Of course, feel free to use your own cherished pie crust recipe or opt for a convenient store-bought pie crust for even quicker preparation.
Can the Pumpkin Pie Filling Be Prepared Ahead of Time?
One of the many benefits of this quick and easy recipe is its minimal preparation time, which usually means I don’t feel the need to make the filling in advance. However, I understand that busy periods, especially around holidays like Thanksgiving, can demand maximum efficiency in the kitchen. In such cases, you can absolutely prepare the pumpkin pie filling ahead of time.
Simply mix all the ingredients together in your bowl, just as instructed. Once thoroughly combined, cover the bowl tightly with plastic wrap and store it in the refrigerator. The filling will keep beautifully for 3-4 days. When you’re ready to bake, just give the mixture a quick whisk to recombine any separated ingredients, then pour it into your prepared pie plate and bake as directed. This make-ahead option adds an extra layer of convenience to an already simple recipe!
Explore More Delicious Pie Recipes from the Blog
If you’re looking to expand your pie-making repertoire, here are some other cherished recipes from my blog that you might enjoy:
- Healthy Pecan Pie
- Strawberry Rhubarb Crumble Pie
- Strawberry Apple Pie
Happy Thanksgiving to all my Canadian friends, and happy baking to everyone!
Crustless Pumpkin Pie
Author: Katherine | Love In My Oven
Total Time: 1 hour 10 minutes
Yield: 5–6 servings
Description
Why fuss with a crust when you can enjoy all the flavours and textures of pumpkin pie without the crust? This healthy crustless pumpkin pie is sweetened with maple syrup and coconut sugar, and tastes just like the pie that Grandma made. You won’t miss the crust!
Ingredients
- 1 can pure pumpkin (15 oz)
- 3 large eggs
- 1/4 cup maple syrup
- 3 tbsp coconut sugar*
- 1/4 cup almond milk**
- 1/2 tsp pure vanilla extract
- 2 tsp ground cinnamon
- 1 tsp pumpkin pie spice***
- 1/4 tsp salt
Instructions
- Preheat the oven 350 F and spray a 9″ pie plate with nonstick spray, or grease it well with butter or coconut oil. In a large mixing bowl, whisk together the canned pumpkin with the 3 large eggs until there is no visible egg left. Next, add in the maple syrup, coconut sugar, almond milk, vanilla extract, cinnamon, pumpkin pie spice and salt. Whisk everything to combine thoroughly.
- Pour the contents into the prepared pie pan and smooth out the top with the back of a spoon. Place the pie into the preheated oven, and bake for 55-65 minutes. Check the pie around 50 minutes, and give it a gentle shake using an oven mitt. If the middle is still quite jiggly, bake it for another 10-15 minutes, checking every 5 minutes. Remove the pie from the oven once the inside is no longer jiggly.
- Allow the pie to cool for at least 20 minutes before serving. You can also place the pie in the fridge after 20 minutes to completely cool, then serve the pie chilled. Slice the pie, top with whipped cream or vanilla ice cream, and serve!
Leftovers can be stored in the fridge, in an airtight container, for 3-4 days.
Notes
*If you don’t have or want to use coconut sugar, you can substitute with brown sugar.
**Please feel free to substitute with regular dairy milk or any other milk you prefer.
***To make your own pumpkin pie spice, reference the blog post above for instructions.
Other Details
- Prep Time: 10 minutes
- Cook Time: 1 hour
- Category: pie
- Method: oven bake
- Cuisine: american
Did you make this recipe?
Tag @loveinmyoven on Instagram and hashtag it #loveinmyoven