
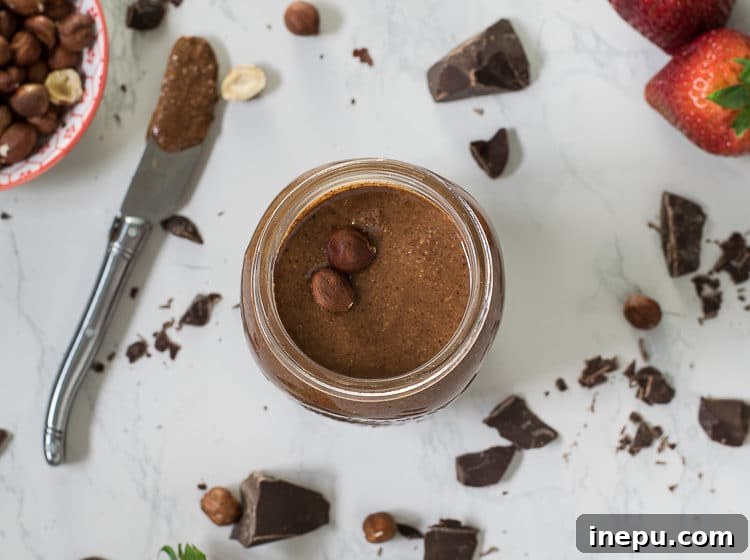
Tired of store-bought hazelnut spreads packed with unknown ingredients? Discover how to make your own “NOTella” – a truly delicious, homemade chocolate hazelnut spread that’s incredibly easy to prepare with just a few wholesome ingredients. In under 30 minutes, you can have a rich, creamy, and undeniably healthier alternative ready for spreading, dipping, or simply enjoying by the spoonful!
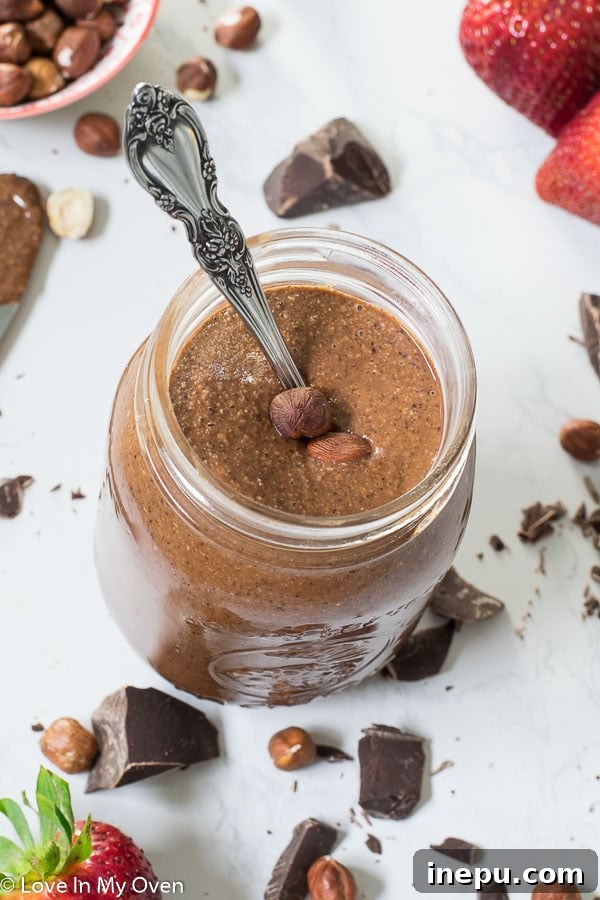
The Secret to a Better Chocolate Hazelnut Spread: Meet NOTella!
You read that right – we’re talking about NOTella. Not the famous jar from the grocery store, but a homemade chocolate hazelnut spread that, dare I say, surpasses the commercial kind in both flavor and wholesomeness. The best part? It uses only 4 core ingredients, giving you complete control over what goes into your family’s favorite sweet treat.
For years, store-bought Nutella was a regular purchase in my home. Despite knowing it contained a list of ingredients I couldn’t quite pronounce and an abundance of sugar, its irresistible taste kept me coming back. It’s just so incredibly good on pancakes, waffles, toast, or, let’s be honest, straight from the jar with a spoon. No judgment here – that’s often the most popular method!
It honestly never occurred to me to make my own until I spotted a jar of homemade hazelnut spread on a friend’s counter (shout-out to Gina!). A lightbulb moment! I regularly make my own nut butters in a food processor, so why had I never applied that same principle to a chocolate hazelnut version? It’s surprisingly simple, and once you try it, you might never go back to the store-bought version.
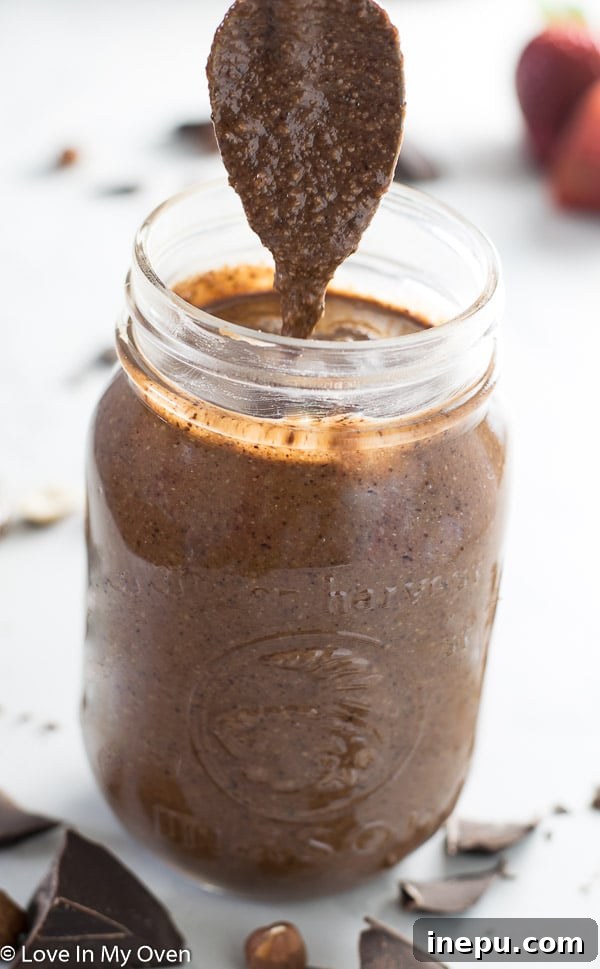
After that inspiration, I delved into various online recipes. I noticed a wide array of ingredients being used – some included cocoa powder, others powdered milk, or even whole milk. I decided to keep it pure and simple: just hazelnuts, unsweetened chocolate, and a touch of vanilla for depth of flavor. My initial attempt was good, but the real game-changer came when I tried roasting the hazelnuts first. That subtle step elevated the flavor profile immensely, yielding a richer, nuttier, and more complex spread. Winner, winner, hazelnut dinner! Yes, I just said that. But seriously, the difference is remarkable.
While this homemade Notella doesn’t taste *exactly* like the ultra-processed store-bought kind – it has a slightly more rustic, almost peanut-buttery texture rather than the intensely silky smoothness of the original – it is incredibly delicious, and I feel significantly less guilty indulging in it. It’s still perfectly spreadable, wonderfully chocolatey, and delightfully sweet, making it a truly satisfying treat you can feel good about.
How to Make Your Own Delicious Notella: A Step-by-Step Guide
Crafting your own Notella is surprisingly straightforward, and the result is a rich, flavorful spread that far outshines anything from a store shelf. The entire process takes less than 30 minutes of active time, making it an ideal project for a lazy weekend morning or a quick sweet fix.
The Essential First Step: Roasting Hazelnuts for Optimal Flavor
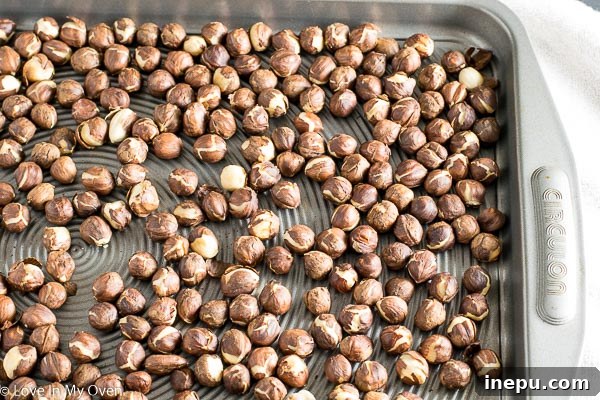
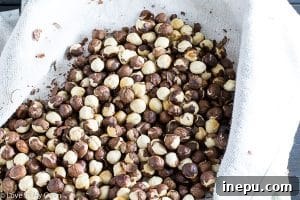
The secret to a truly outstanding chocolate hazelnut spread lies in the initial roasting of the hazelnuts. This crucial step not only enhances their natural nutty flavor but also helps to loosen their skins, which is key for a smoother final product. Preheat your oven to 400°F (200°C) and spread your raw, unsalted hazelnuts evenly on a large baking sheet. Roast them for about 10-12 minutes, keeping a close eye on them to prevent burning. You’ll know they’re ready when your kitchen fills with a delightful, warm, nutty aroma. Trust me, it’s a smell you won’t want to forget!
Removing the Skins for Ultimate Creaminess
While not strictly mandatory, removing as many hazelnut skins as possible will result in a significantly creamier and more refined Notella. Once the hazelnuts are roasted and slightly cooled (but still warm enough to handle), transfer them to a clean kitchen towel. Fold the towel over them and gently rub and roll the nuts together. This friction will cause the skins to flake off. Don’t worry if you can’t get every single speck – a few lingering skins won’t ruin your spread, but aiming for as much removal as possible will yield the best texture.
Transforming Hazelnuts into Luxurious Butter
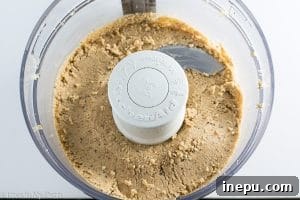
Now comes the magic! Add the skinned, roasted hazelnuts to a powerful food processor or high-speed blender. Begin blending on a low setting and be patient. The nuts will go through several stages: first, they’ll become coarse crumbs, then finer meal, and finally, after about 10-15 minutes of continuous blending, the natural oils will release, transforming them into a smooth, creamy hazelnut butter. You might need to pause occasionally to scrape down the sides of the processor bowl to ensure everything blends evenly. If, after several minutes, your butter isn’t as smooth as you’d like, you can add a tablespoon or two of melted coconut oil, one at a time, to help achieve that velvety consistency.
At this point, you have exquisite roasted hazelnut butter – an absolute delicacy on its own! Feel free to stop here and enjoy it as a standalone spread if you wish.
The Grand Finale: Adding Chocolate and Vanilla
If you’re continuing on the Notella journey, the next step is to introduce the chocolate and vanilla. While the hazelnuts are busy blending, gently melt your chopped semi-sweet baking chocolate in a microwave-safe bowl. Heat it in 30-second intervals, stirring after each, until it’s smooth and fully melted. Pour the warm melted chocolate and the vanilla extract into the food processor with the hazelnut butter. Blend for another minute or two, until all the ingredients are thoroughly incorporated and the mixture is uniformly creamy and chocolatey.
Taste the spread and adjust sweetness if desired. If you prefer a sweeter Notella, you can add 1-2 tablespoons of agave, honey, or maple syrup. Just be aware that adding more liquid sweetener can slightly stiffen the final spread, so add gradually and blend well after each addition.
Your homemade, hazelnutty, chocolatey spread is now ready! All this deliciousness created in under 30 minutes, with ingredients you know and trust. I’d love to hear how you enjoy your Notella – let me know in the comments below if you tried this homemade version and what your favorite ways to eat it are!
Does Homemade Notella Need to Be Refrigerated?
This is a common question, and I would actually advise *against* refrigerating your homemade Notella. Because it contains real chocolate, the spread will become very hard and difficult to spread once chilled. Unlike commercial spreads with various stabilizers, our pure Notella is best kept at room temperature.
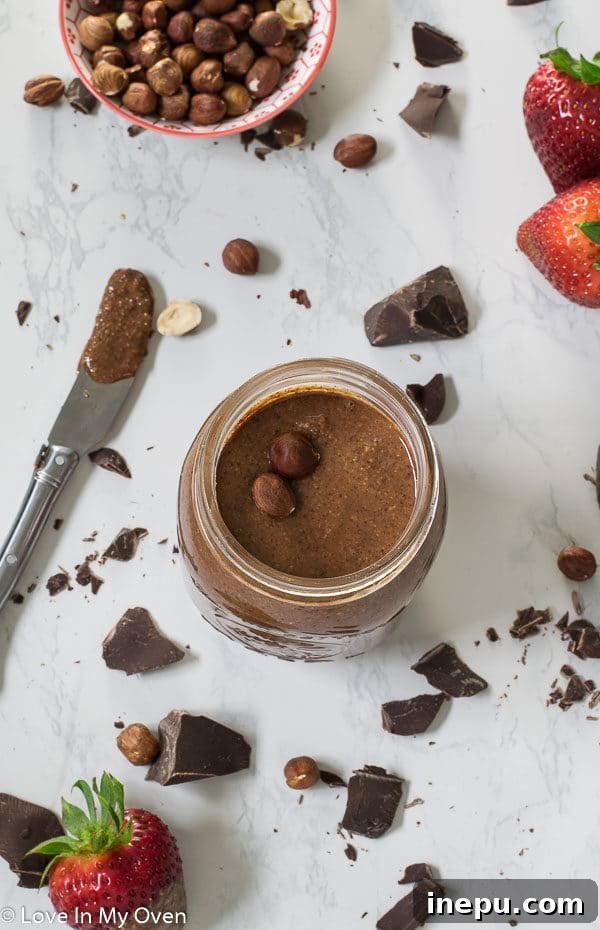
Stored in an airtight container on your counter, your Notella will remain wonderfully creamy and smooth. Since it’s made primarily of nuts and chocolate, you don’t need to worry about it spoiling quickly. It will stay fresh and utterly delicious for a few weeks, though I highly doubt it will last that long in most households!
Creative Ways to Enjoy Your Notella
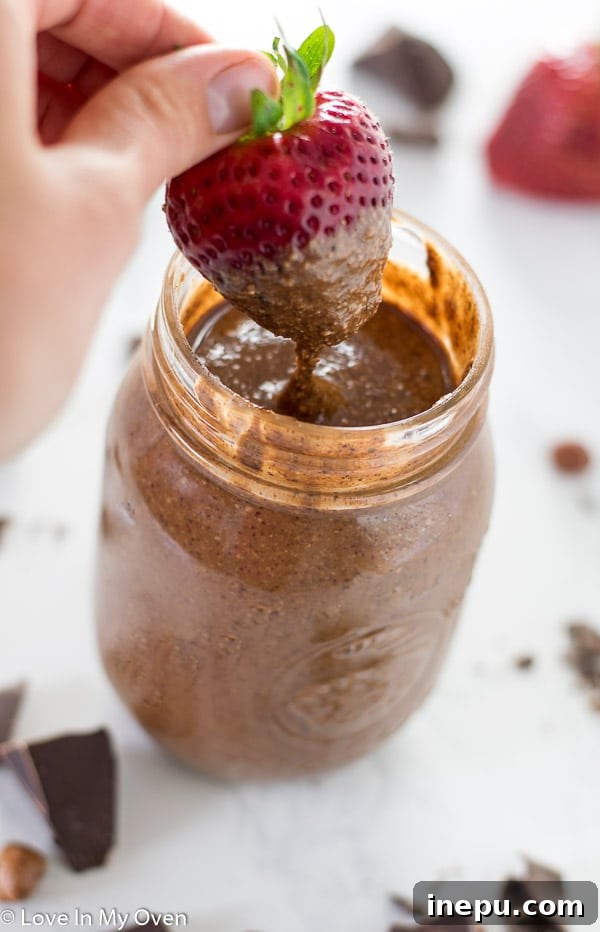
While a spoon is always an acceptable utensil, this versatile homemade chocolate hazelnut spread can elevate countless dishes. Spread it generously on warm toast, croissants, or bagels for a decadent breakfast. Swirl it into your morning oatmeal or yogurt for an added layer of flavor and richness. Drizzle it over fresh fruit, particularly strawberries or bananas, for a simple yet elegant dessert. Use it as a dip for pretzels, apple slices, or graham crackers. For a truly indulgent experience, warm it slightly and pour it over ice cream. The possibilities are endless!
If you fall in love with this Notella as much as I have, you’ll adore incorporating it into these other delightful recipes from the blog:
- Strawberry Nutella Galette
- Nutella Walnut Granola
- Nutella-Pear French Toast Bake
Or get inspired to try it in these easy Nutella bars from my friend Kelsie at The Itsy Bitsy Kitchen!

Notella (Homemade Chocolate Hazelnut Spread)
5 Stars 4 Stars 3 Stars 2 Stars 1 Star
5 from 4 reviews
Author: Katherine
Total Time: 30 minutes
Yield: 2 cups 1x
Description
Wondering how to make a healthier chocolate hazelnut spread at home? Try my NOTella! This easy homemade Nutella alternative requires only 3 core ingredients and can be yours for spreading (or dipping) in under 30 minutes. It’s a rich, creamy, and wholesome treat perfect for any occasion.
Ingredients
Scale
- 4 cups raw, unsalted hazelnuts
- 125 grams semi-sweet baking chocolate, chopped
- 1 tsp vanilla extract
- optional: 1-2 tbsp maple syrup (for added sweetness)*
- optional: 1-2 tbsp coconut oil, melted (for smoother texture)**
Instructions
- Preheat the oven to 400°F (200°C). Spread the raw hazelnuts evenly on a large baking sheet and roast for 10-12 minutes, until fragrant and skins begin to loosen. Remove from the oven and immediately transfer the warm nuts to a large, clean tea towel. Roll the nuts vigorously around inside the towel for about one minute to help flake off the skins. Use your fingers to remove any remaining stubborn skins as much as possible for a creamier result.
- Place the skinned, roasted hazelnuts in a food processor or a powerful blender. Blend continuously on a low setting. The nuts will progress from crumbs to a fine meal, and then, as their natural oils release, they will form a smooth butter. This process takes approximately 10-15 minutes, requiring patience. Scrape down the sides of the bowl periodically to ensure even blending.
- While the hazelnuts are blending, melt the chopped semi-sweet chocolate. Place it in a microwave-safe bowl and heat in 30-second increments, stirring after each, until the chocolate is completely smooth and melted. Once the hazelnuts have formed a butter, add the melted chocolate and vanilla extract to the food processor. Blend for another 1-2 minutes, or until all ingredients are thoroughly combined and the spread is uniformly creamy.
- Taste the Notella and, if desired, add 1-2 tablespoons of maple syrup for extra sweetness. Blend briefly to incorporate. If the spread is not as smooth as you’d like, add 1-2 tablespoons of melted coconut oil, one at a time, and blend until desired consistency is reached. Transfer the finished Notella to an airtight container and store at room temperature for up to 3-4 weeks. Do not refrigerate, as it will harden significantly.
Notes
*You may add up to 2 tbsp of agave, honey, or maple syrup if you’d like the Notella to be sweeter, but note that the more liquid sweetener you add, the stiffer the Notella will become. Add gradually and adjust to taste.
**If the hazelnuts are not blending into a smooth butter after 10-15 minutes, you can add 1-2 tbsp of melted coconut oil, one tablespoon at a time, to help smooth things out. This is especially helpful if your food processor isn’t very powerful.
- Prep Time: 30 minutes