
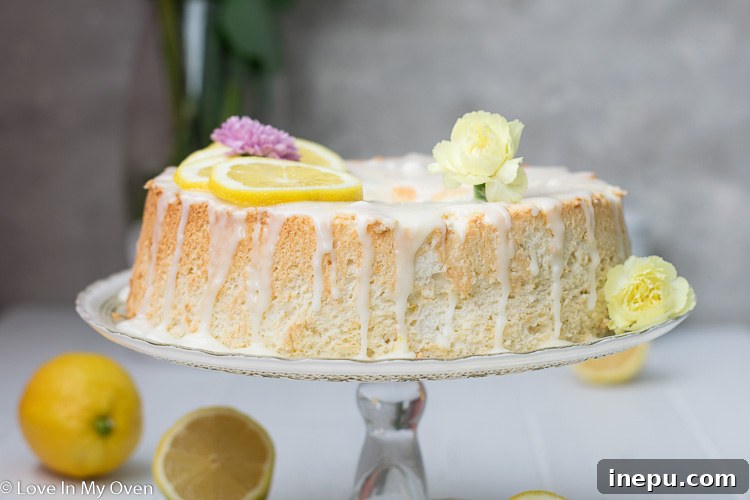
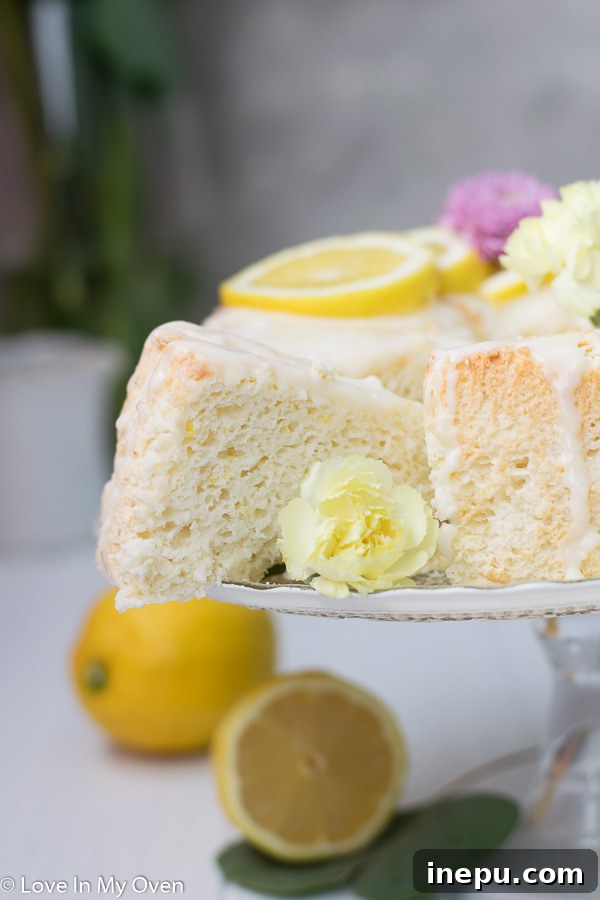
Discover the joy of baking a truly homemade angel food cake! This delightful, light, and fluffy lemon angel food cake is the quintessential spring dessert, offering a taste of sunshine without leaving you feeling weighed down.
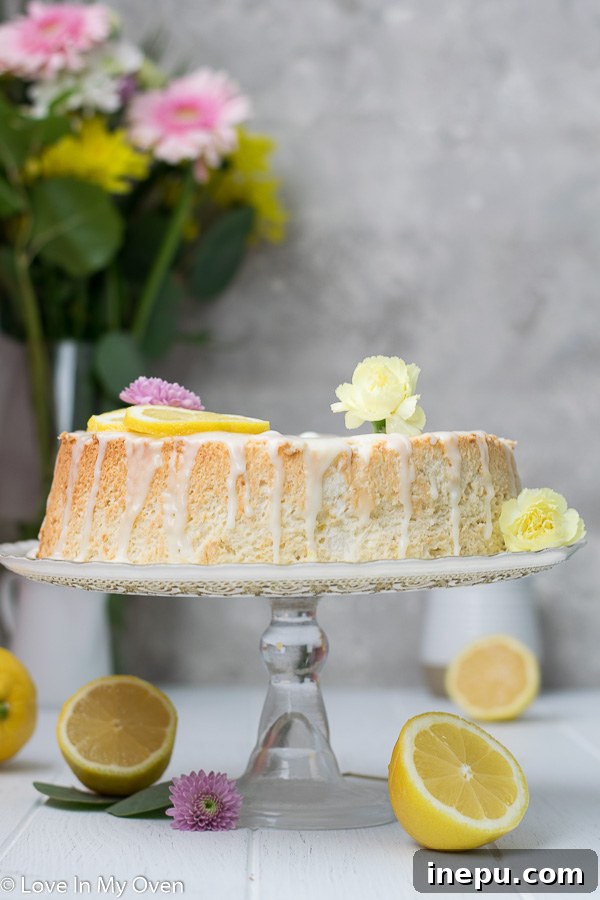
For many, a slice of angel food cake evokes cherished memories of childhood celebrations and family gatherings. There’s an undeniable nostalgia associated with its cloud-like texture and delicate sweetness. For me, this particular Lemon Angel Food Cake holds a special place, as it’s a recipe I annually prepare in loving memory of my Dad’s birthday. It’s a tradition that brings immense joy to our family, especially the kids, who are always eager to enjoy a special birthday cake for dessert, regardless of whose birthday it actually is! This year, his birthday conveniently fell on my regular posting day, making it the perfect occasion to share this incredible recipe with you all. He would have been 65 today, and it’s truly hard to believe how quickly time passes.
My Dad absolutely adored angel food cake! Its signature lightness and airiness were always a source of amusement. We often joked about being able to “scrunch up the whole cake and stuff it into our mouths all at once” – a testament to its uniquely ethereal quality. Growing up, our angel food cakes always came from a box mix, a convenient shortcut that yielded decent results. However, as my passion for baking grew, I discovered the immense satisfaction and superior flavor that comes from making one from scratch. This homemade lemon angel food cake recipe is surprisingly simple, yet it delivers an unparalleled taste and texture that a box mix simply cannot replicate. The secret? A generous quantity of fresh egg whites! Don’t worry, I’ve included some fantastic ideas further down for how to utilize all those leftover yolks.
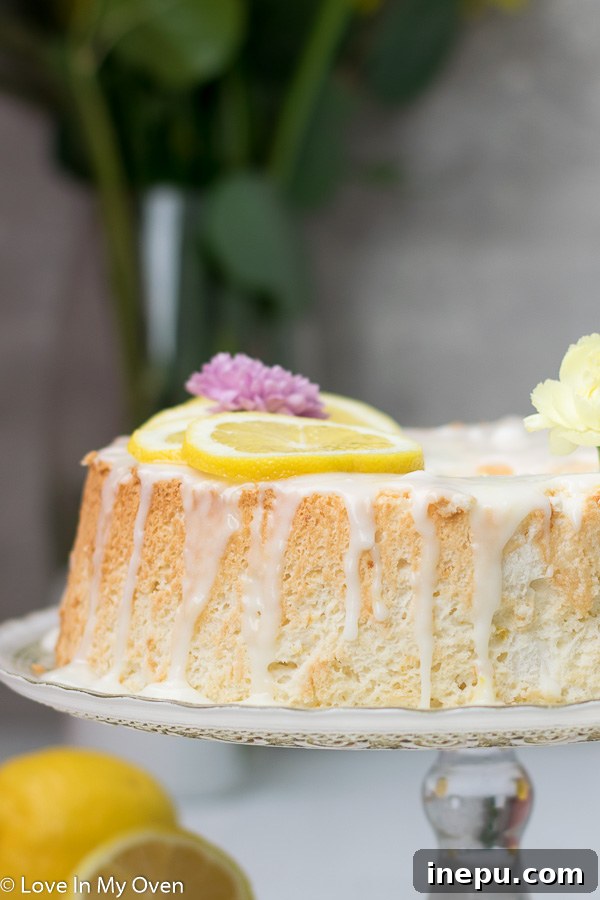
Mastering the Art of Homemade Lemon Angel Food Cake
Creating an angel food cake from scratch might seem daunting, but with a few key techniques and careful attention to detail, you can achieve a bakery-quality result right in your own kitchen. The beauty of this cake lies in its simplicity, relying on the proper preparation of just a few core ingredients. The most crucial component, as mentioned, is the egg whites. You’ll need about 1 1/2 cups of egg whites, which typically translates to about 11-12 large eggs. For the best possible rise and fluffiness, resist the urge to use boxed egg whites. The real deal, separated fresh, makes all the difference in achieving that signature angel food texture.
The Essential Egg Whites: Your Cake’s Foundation
To ensure your angel food cake reaches its full, sky-high potential, it is absolutely vital to use egg whites that are at room temperature. This isn’t just a recommendation; it’s a non-negotiable step. Room temperature egg whites whip up more easily and incorporate more air, leading to a much more stable and voluminous meringue. Plan ahead by separating your eggs a few hours before baking, allowing the whites to sit out and warm up gently. This small step has a significant impact on the final texture of your cake.
The Sweet Secret: Super-Fine Sugar for Heavenly Fluffiness
Another critical element in achieving the delicate structure of angel food cake is the sugar. Regular granulated sugar can be too coarse, potentially weighing down the delicate meringue. For this recipe, you need very fine sugar, such as castor sugar (also known as berry sugar). Its superfine granules dissolve quickly and evenly, contributing to a smooth, glossy meringue and a tender crumb. If you don’t have castor sugar on hand, you can easily make your own by pulsing regular granulated sugar in a food processor a few times until it reaches a finer consistency. Be careful not to over-process, as you don’t want to create powdered sugar.
Feather-Light Flour: Sifting for Perfection
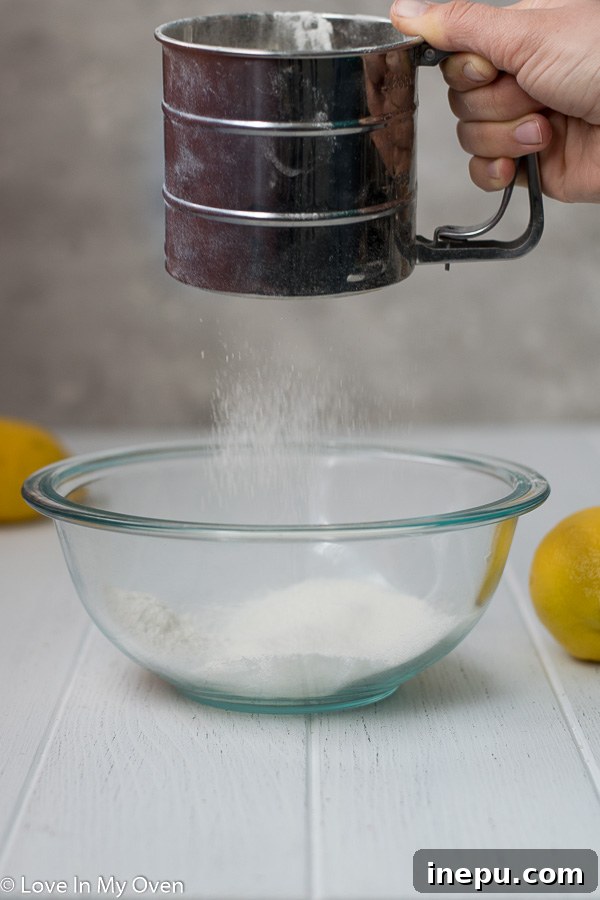
Just like the sugar, the flour also plays a crucial role in the cake’s light and airy texture. It needs to be incredibly fine and free of clumps. The secret here is repeated sifting. Measure out your all-purpose flour precisely, then sift it at least four times over a mixing bowl. This process aerates the flour, breaking up any lumps and ensuring it distributes evenly throughout the batter without deflating the carefully whipped egg whites. Skipping this step can result in a heavier, denser cake, so don’t underestimate its importance!
Whisking to Heavenly Heights: The Meringue Process
The journey to a perfect angel food cake begins with the meringue. In the bowl of a stand mixer fitted with the whisk attachment (or using a powerful handheld electric mixer), combine your room temperature egg whites with a pinch of salt and cream of tartar. Cream of tartar is a crucial stabilizer, helping the egg whites achieve maximum volume and maintaining their structure. Whip the whites on high speed until they begin to form medium-soft peaks – they should hold their shape but still be somewhat pliable. Gradually add the superfine sugar, sprinkling it in slowly while the mixer runs on a low speed. Once all the sugar is incorporated, increase the mixer speed to high and continue whipping until the mixture is incredibly thick, smooth, and glossy, forming firm, stiff peaks. This indicates a well-developed and stable meringue, ready for the next step.
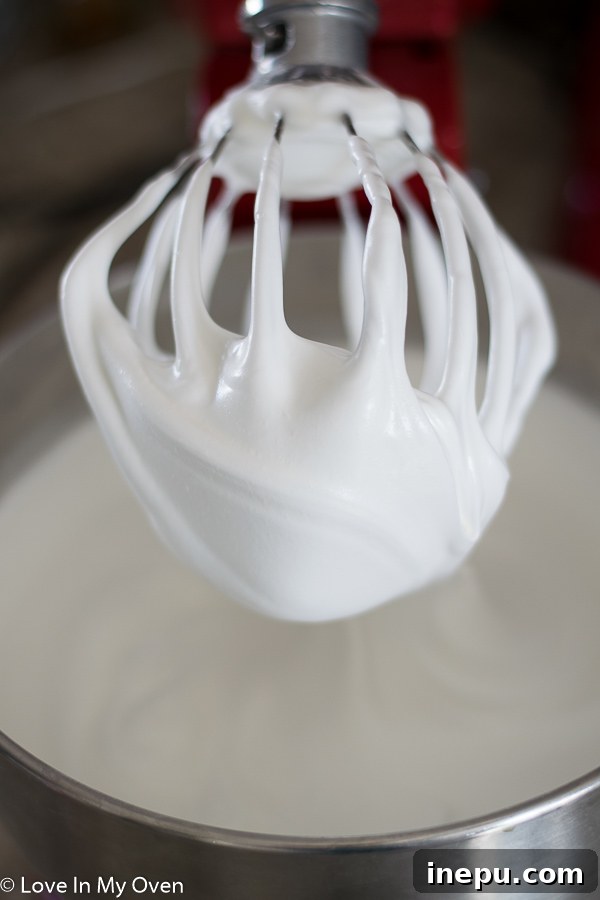
Infusing Zesty Lemon and Vanilla Flavors
Once your meringue is perfectly whipped, it’s time to introduce those bright, invigorating flavors that make this cake truly special. Gently fold in the fresh lemon zest, followed by the pure vanilla extract and lemon extract. The zest provides a vibrant, natural lemon flavor, while the extracts intensify both the citrus and a hint of classic sweetness. Whisk again on high for a short period, just until these flavorings are fully incorporated and the mixture becomes even thicker and more luxurious. At this stage, you’ve achieved incredible volume and airiness, and the subsequent steps are all about preserving that delicate structure.
Gentle Folding: Preserving the Airiness
Now comes perhaps the most crucial step: incorporating the sifted flour without deflating the voluminous meringue. Using a large, flexible spatula, add the flour in three separate additions. After each addition, gently fold the flour into the meringue using an upward motion, turning the bowl as you go, until just combined. The key word here is “gently.” You absolutely do not want to stir or mix the batter vigorously, as this will knock out all the air you’ve so painstakingly whipped in. The goal is to incorporate the flour with as little disruption to the meringue’s structure as possible, ensuring your cake remains incredibly light and tender.
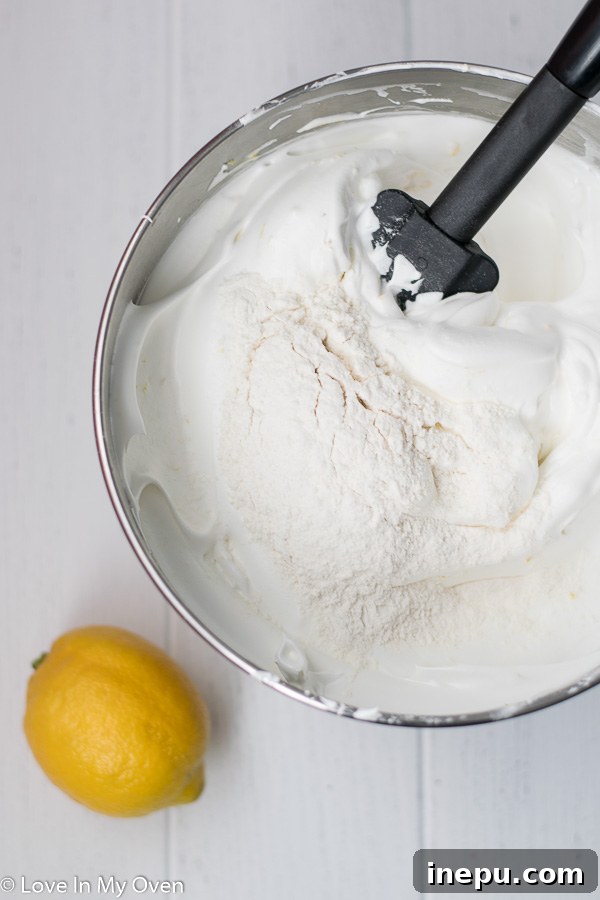
Baking to Golden Perfection and Cooling Techniques
Carefully pour the delicate batter into an ungreased tube cake pan. Give the pan a gentle shake or two to help the batter settle evenly, but avoid tapping it forcefully. Bake the cake in a preheated oven for approximately 40-45 minutes, or until the top is golden brown and springs back when lightly poked with your finger. A toothpick inserted into the center should also come out clean. The moment the cake emerges from the oven, immediately invert the pan onto a wire rack or securely over the neck of a glass bottle. This unconventional cooling method is essential for angel food cake; it prevents the delicate structure from collapsing and losing its impressive height as it cools. Allow it to cool completely upside down for at least an hour before carefully running a thin knife around the edges to release the cake from the pan.
Elevate Your Cake: Delightful Toppings for Lemon Angel Food Cake
While this homemade lemon angel food cake is absolutely divine on its own, its delicate flavor and airy texture make it a perfect canvas for various delightful toppings. The options are endless, allowing you to customize it to your preference or the season.
The Irresistible Lemon Glaze
One of the most popular and complementary toppings for this cake is a simple yet vibrant lemon glaze. It enhances the cake’s citrus notes and adds a beautiful, shiny finish. This easy glaze requires just a few pantry staples: powdered sugar, fresh lemon juice and zest, and a touch of unsalted butter. Simply whisk these ingredients together, warm them slightly in the microwave to create a pourable consistency, and then generously drizzle it over the fully cooled cake. The glaze will set into a delicate, tangy coating that perfectly complements the cake’s sweetness.
Beyond the Glaze: Fresh Berries and Cream
For a lighter, fresher approach, consider serving your lemon angel food cake with a dollop of freshly whipped cream and an assortment of seasonal berries. Strawberries, blueberries, raspberries, or a mix of all three add bursts of natural sweetness and a beautiful contrast of color and texture. The tartness of the berries pairs wonderfully with the subtle lemon flavor of the cake, creating a refreshing and elegant dessert that’s perfect for spring and summer gatherings. A light dusting of powdered sugar over the berries can add an extra touch of sophistication.
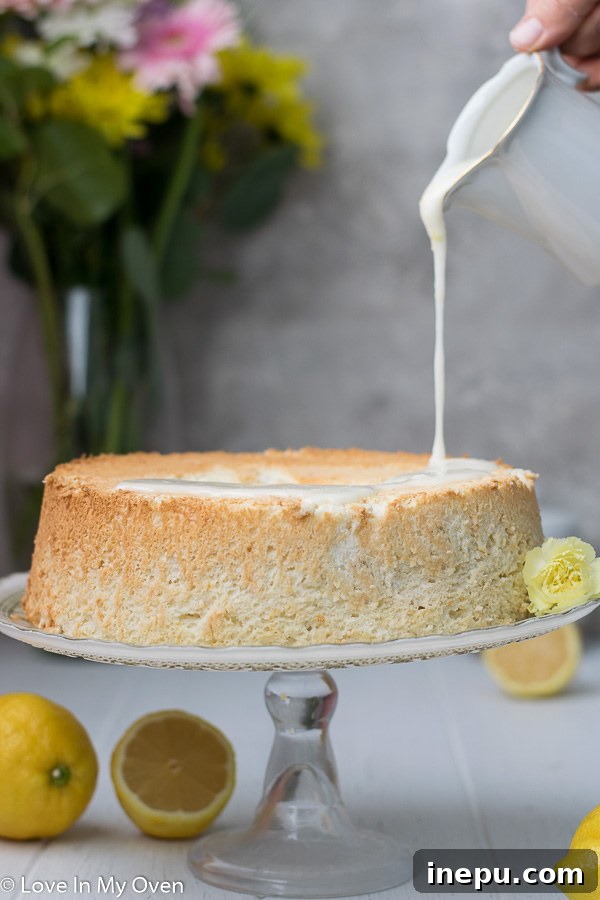
Once frosted or topped, this magnificent cake will maintain its delicious freshness at room temperature for 2-3 days when stored in an airtight container – if it manages to last that long, that is!
Essential Baking Tools: The Indispensable Tube Pan
When it comes to baking an angel food cake, the choice of pan is not merely a suggestion; it’s a fundamental requirement for success. An ungreased tube pan is absolutely essential for achieving the cake’s characteristic towering height and airy texture. While you might be tempted to use a regular bundt pan or a different type of cake tin, these will not yield the same results.
Why a Tube Pan is Non-Negotiable
The specific design of a tube pan – typically featuring a removable bottom and sometimes small “feet” on top – serves several critical purposes for angel food cake. First, the ungreased sides allow the delicate egg white batter to cling and climb as it bakes, providing structural support for its impressive rise. Greasing the pan would cause the batter to slip down, resulting in a significantly flatter cake. Second, the central tube allows heat to penetrate the center of the cake more efficiently, ensuring even baking throughout the thick batter. Finally, the ability to invert the entire pan immediately after baking is crucial for preventing the cake from collapsing under its own weight as it cools, maintaining its cloud-like volume. Without these features, an angel food cake simply wouldn’t be an angel food cake.
Clever Alternatives for the Missing Tube Pan
Don’t fret if you don’t own a specialized tube pan! While it is ideal, there are some clever workarounds that can help you achieve a decent angel food cake without it. For instance, you can create a makeshift tube in a regular round cake pan using parchment paper and aluminum foil, or utilize other heat-safe items to create a central column. This article from Epicurious offers excellent guidance and creative solutions for adapting various cake pans into suitable vessels for angel food cake. Remember, the key is to provide a central heat source and a surface for the batter to cling to as it rises.
What to Do with Leftover Egg Yolks: Creative Culinary Ideas
Baking an angel food cake means you’ll end up with a significant number of leftover egg yolks. While some bakers might feel a bit stumped about what to do with them, I certainly don’t! Wasting them is out of the question, and luckily, there are numerous delicious ways to put those rich yolks to good use. Here are a couple of my favorite recipe ideas that ensure no part of your eggs goes to waste:
- Lemon Curd: This is a no-brainer! The richness of egg yolks is precisely what gives lemon curd its luxurious, creamy texture. My Meyer lemon curd recipe is fantastic and would be absolutely delicious served right over a slice of this very angel food cake. It adds another layer of bright lemon flavor and a beautiful, silky consistency.
- Cranberry Curd: For a slightly different twist, a cranberry curd is equally delightful. Its vibrant color and tart-sweet flavor make it a wonderful spread for toast, a filling for tarts, or a topping for other desserts. You can find a great recipe for cranberry curd here.
- Custards and Puddings: Egg yolks are the star of many classic custards and puddings. Think crème brûlée, crème anglaise, or even a rich vanilla or chocolate pudding. They provide incredible richness and a smooth, velvety texture.
- Homemade Pasta: Fresh pasta dough often calls for a generous amount of egg yolks, giving the pasta a beautiful golden hue and a tender, flavorful bite.
- Hollandaise Sauce: Elevate your brunch game with a classic hollandaise sauce. It’s perfect over eggs Benedict or asparagus, and egg yolks are its primary emulsifier.
Hopefully, you’ll fall in love with this lemon angel food cake as much as I have, especially as spring unfolds. The sunny weather calls for bright, zesty flavors, and lemon is truly what you need to brighten up any day!
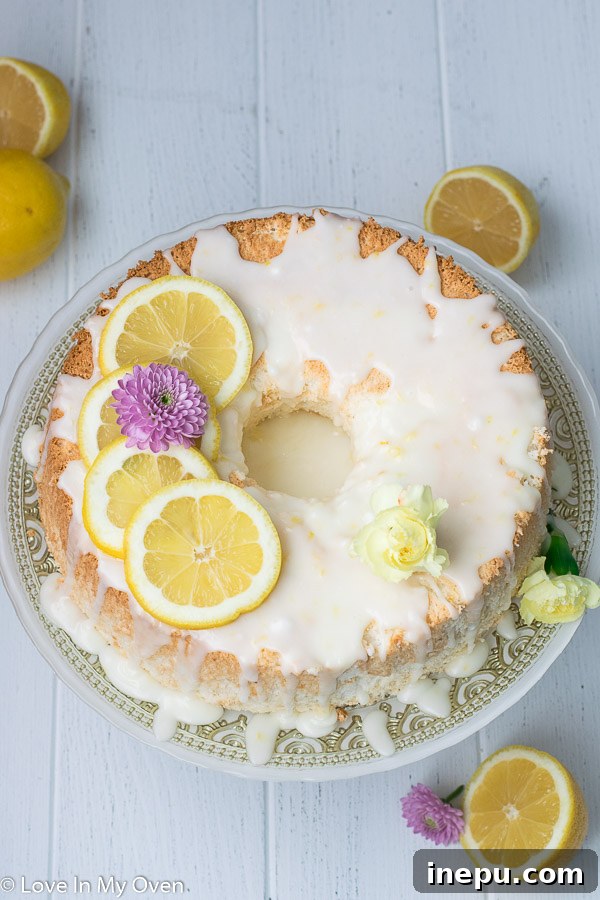
Some of my other favorite cake recipes from the blog:
- Matcha Vanilla Cake
- Lemon Layer Cake
- Funfetti Crepe Cake
Print Recipe

Lemon Angel Food Cake
5 Stars 4 Stars 3 Stars 2 Stars 1 Star
5 from 5 reviews
Author: Katherine | Love In My Oven
Total Time: 1 hour
Yield: 1 cake
Description
Homemade angel food cake without a box mix! This light and fluffy lemon angel food cake is the perfect spring time cake that won’t leave you feeling loaded down!
Ingredients
- 1 3/4 cups castor sugar*
- 1 1/4 cups all-purpose flour
- 1/2 tsp salt
- 1 1/2 tsp cream of tartar
- 1 1/2 cups egg whites**, room temperature
- zest of 2 lemons
- 1 tsp pure vanilla extract
- 1 tsp pure lemon extract
Lemon Glaze
- 2 cups powdered sugar
- juice and zest of 1 lemon
- pinch of salt
- 1 tsp unsalted butter
Instructions
- Preheat the oven to 325 F. Begin by running the sugar through a food processor a few times (pulsing it) to make it extra fine. You can also use a high-powered blender. Set aside.
- Over a mixing bowl, sift the flour 4 times. You want it to be extra light and fluffy! To the bowl of a stand mixer fitted with the whisk attachment, or using a handheld electric mixer, add the salt, cream of tartar and egg whites. Whisk on high for a couple of minutes until the mixture thickens up and begins to form soft peaks. With the mixer running on low, sprinkle the sugar over the egg whites. Turn up the mixer to high and beat for an additional few minutes until the mixture is thick, shiny and forming stiff peaks. Add in the lemon zest, vanilla and lemon extract, and continue to beat until very thick, about 3-4 minutes.
- Using a spatula, add in the flour 1/3 at a time, folding it gently in between additions to incorporate. Do not mix the batter too thoroughly. Once all the flour is added, pour the batter into an angel food tube pan and smooth out the top with the spatula. Give the pan a little shake to even things out. Bake the cake for 40-45 minutes. Check it at 40 minutes by lightly poking it with a finger. If it springs back, the cake is done. You can also use a toothpick!
- Remove the cake from the oven, then immediately invert the pan, either on to a wire rack or on top of a glass. This will keep the cake’s height while it cools. Let the cake cool upside down for at least 1 hour, then run a knife gently around the outside edge of the pan before releasing the cake out on to a cake stand.
- Prepare the glaze. In a glass measuring cup, add the powdered sugar, lemon juice and zest, and salt. Stir to combine. Add the butter, then heat the entire mixture in the microwave for 30 seconds. Give the glaze a stir, then pour it all over the cake. Serve immediately!
The cake (and glaze) will keep at room temperature for 2-3 days in an airtight container.
Notes
*Castor sugar is also known as berry sugar
**1 1/2 cups egg whites is equal to about 11-12 eggs. Do not use boxed egg whites for this recipe!
Cake recipe adapted from the Ina Garten lemon angel food cake recipe on the Food Network.
- Prep Time: 20 minutes
- Cook Time: 40 minutes
- Category: cakes
- Method: oven bake
- Cuisine: american