
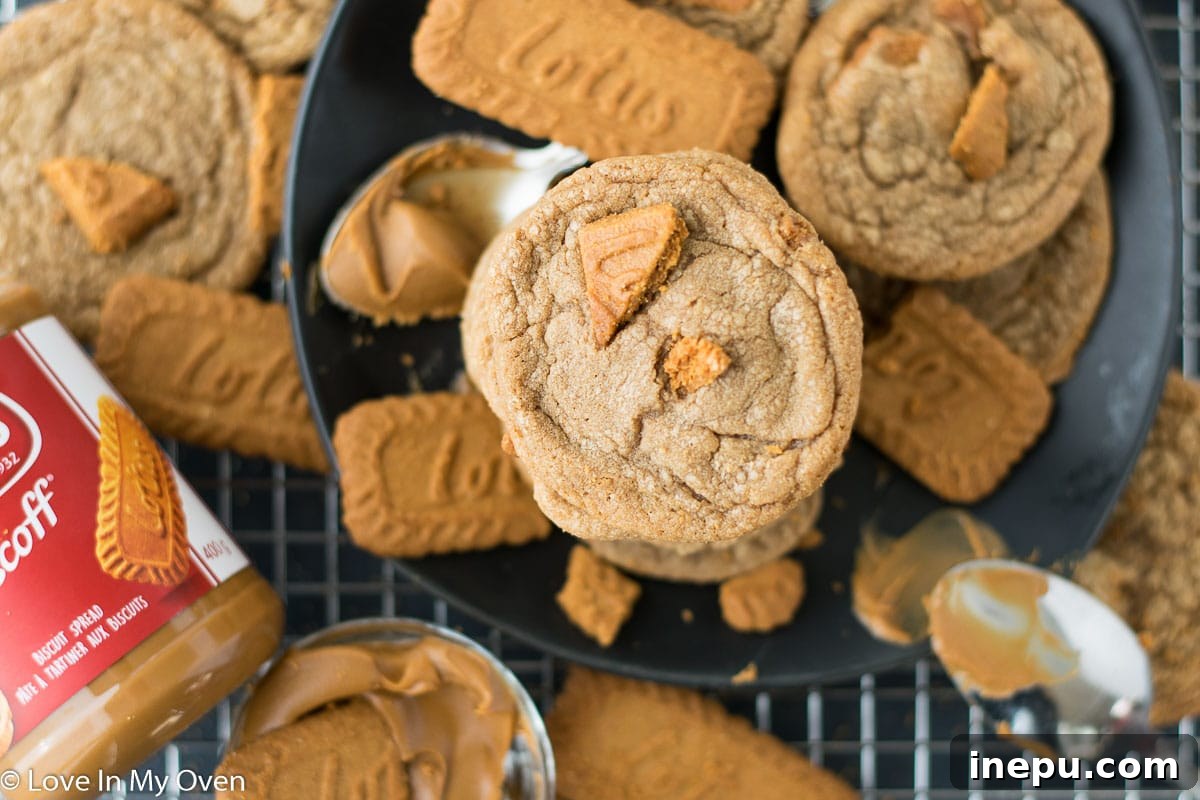
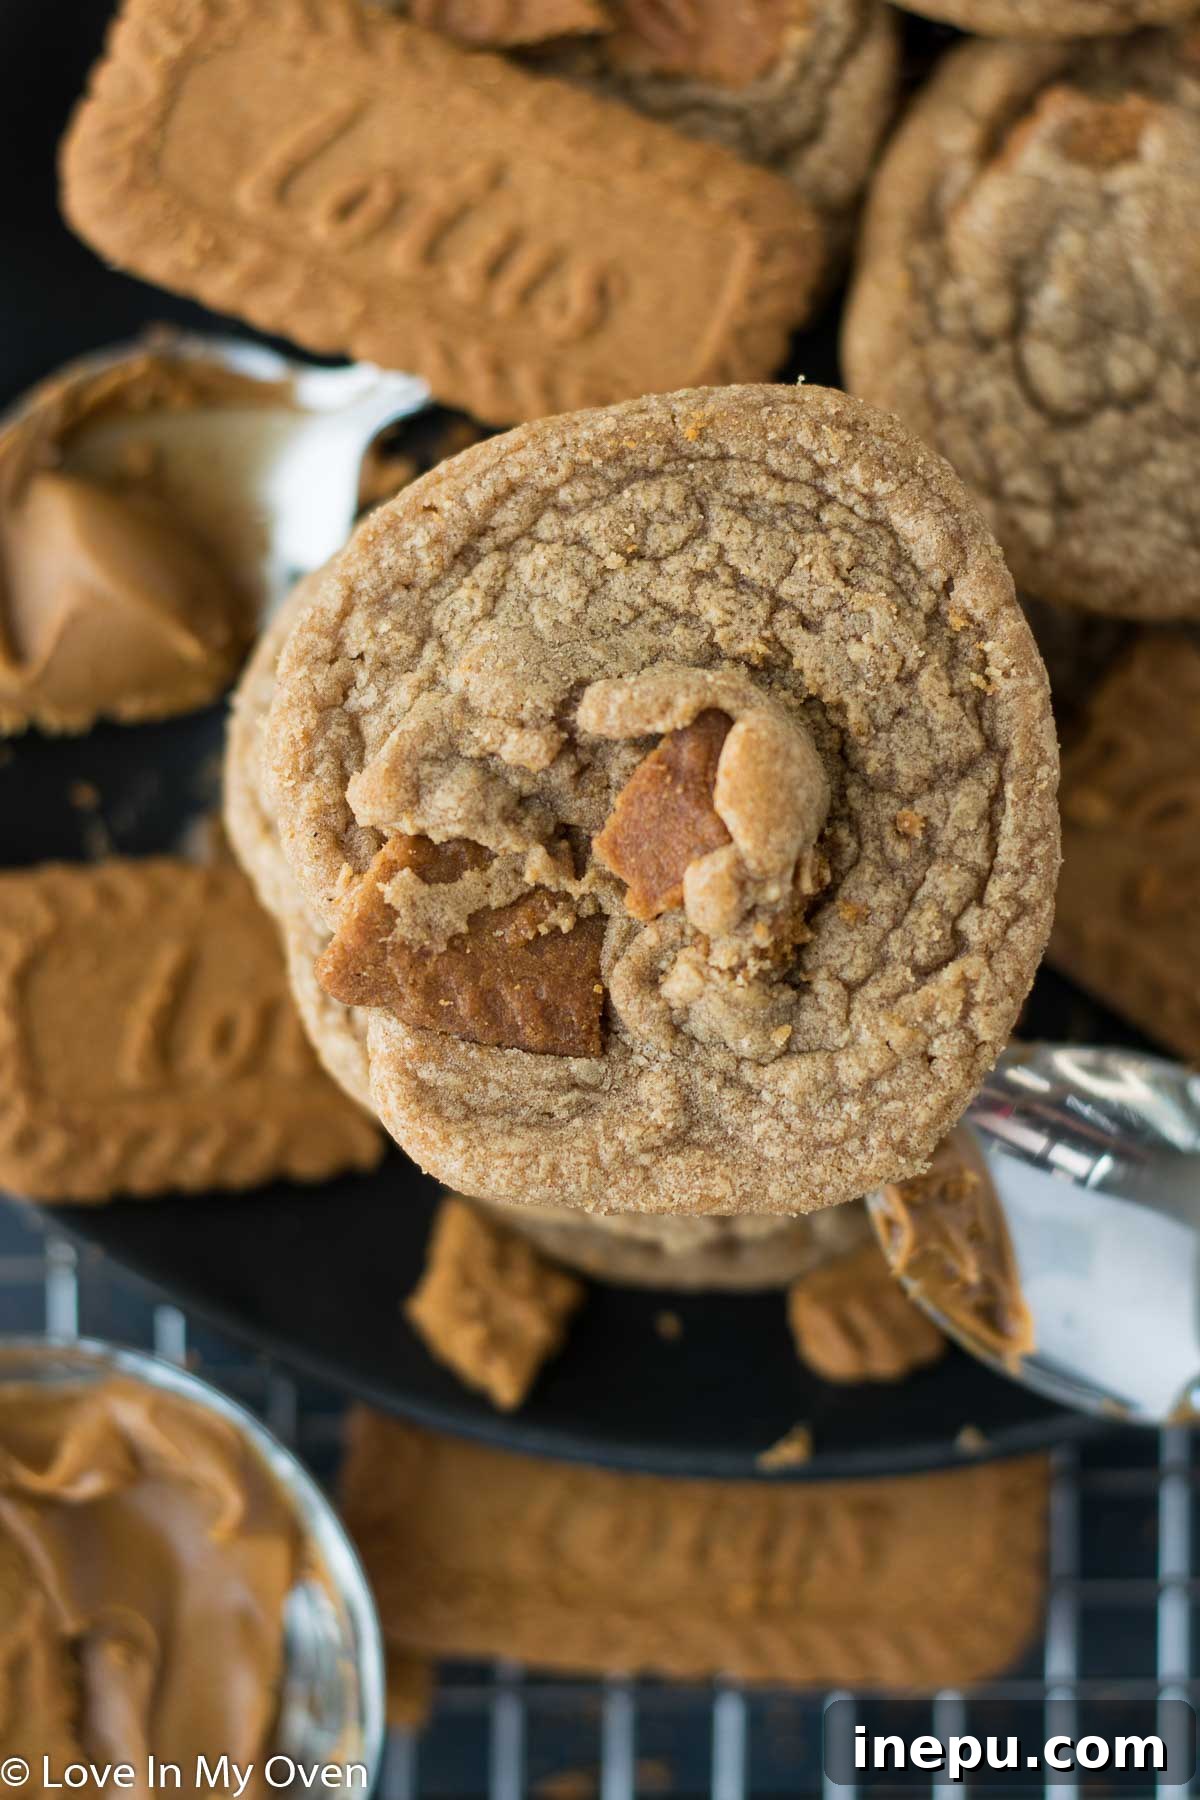
Soft, incredibly chewy, and bursting with the unmistakable flavor of Biscoff, these cookie butter cookies are pure magic! They’re not only delicious but also wonderfully simple to make, perfect for satisfying any sweet craving.
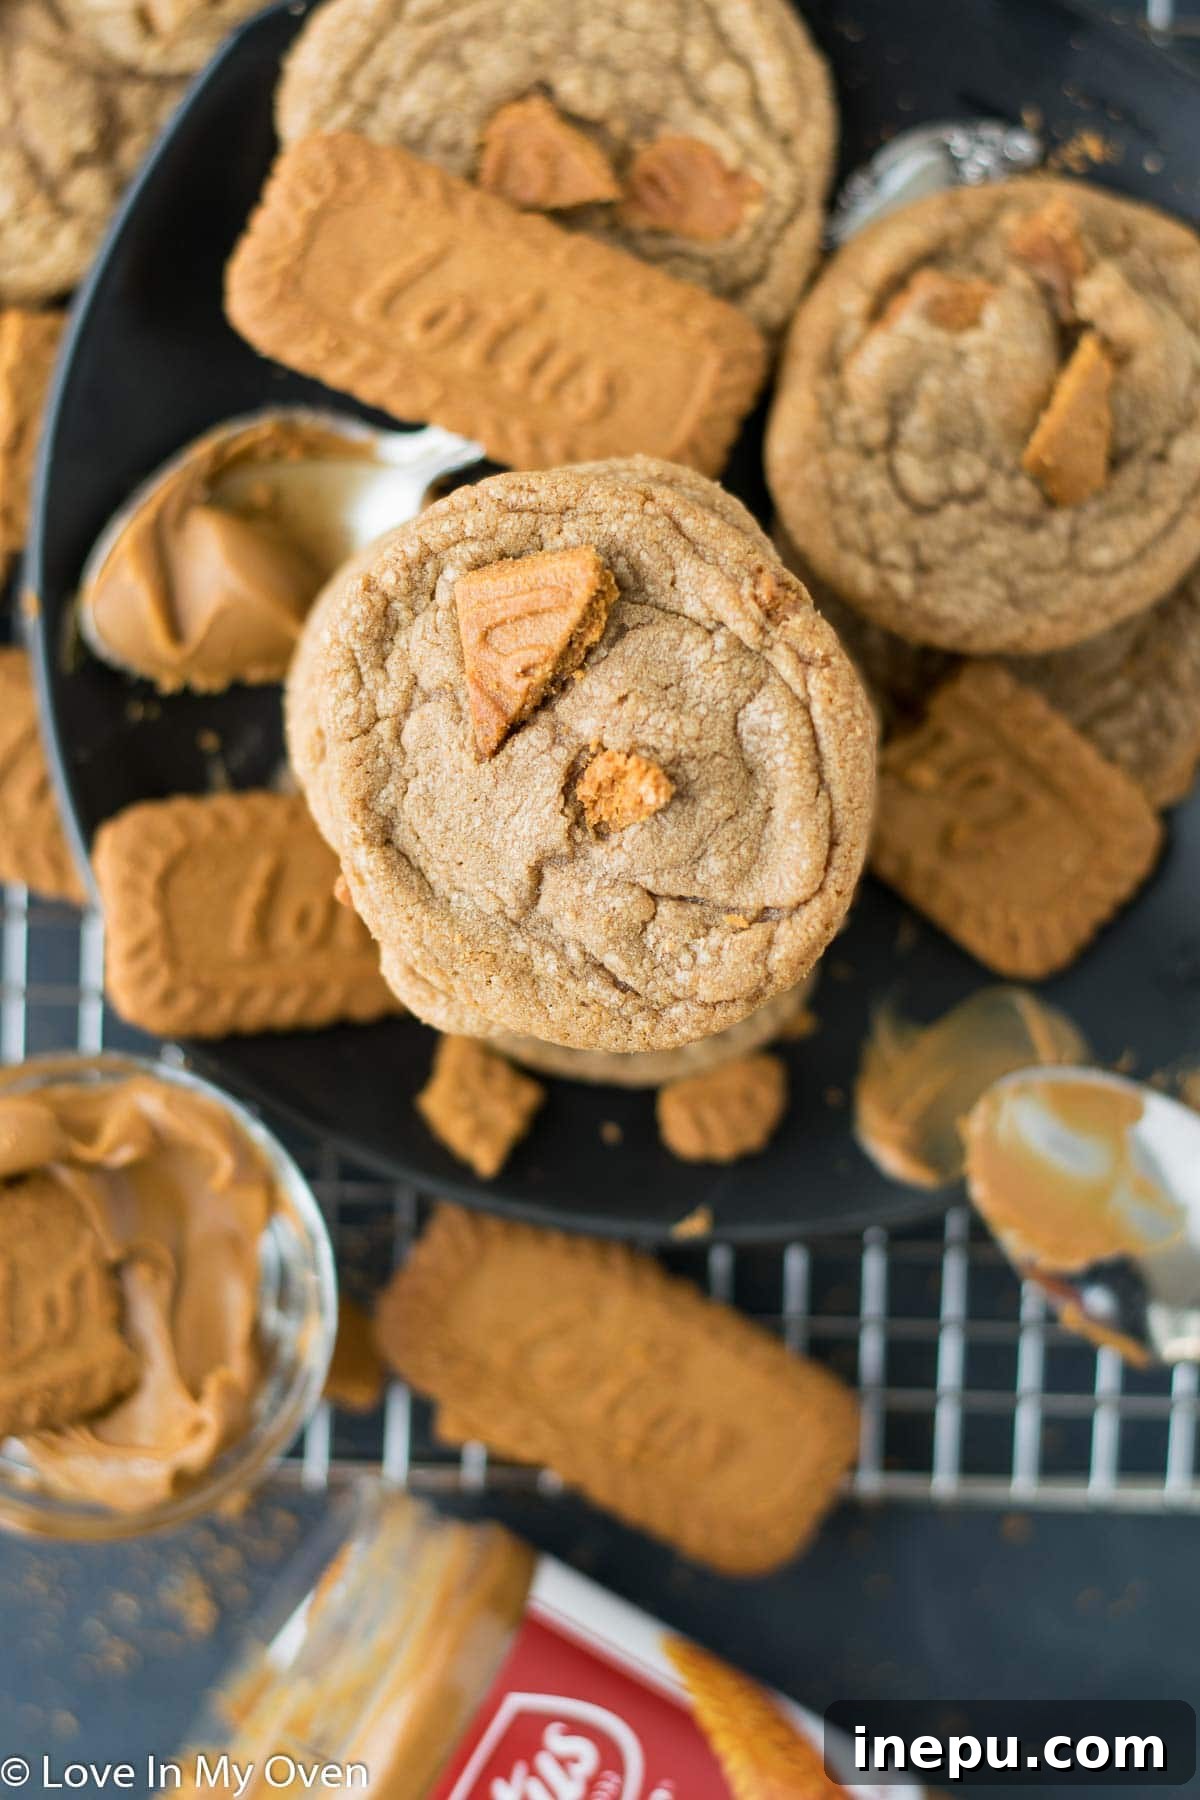
Irresistibly Soft and Chewy Cookie Butter Cookies: Your New Favorite Indulgence
The moment you’ve been waiting for is finally here – the ultimate cookie butter cookie recipe! After teasing these delightful treats on Instagram, my inbox has been overflowing with requests, and I couldn’t possibly make you wait any longer. Prepare yourself for a baking experience that’s as fun as it is rewarding, resulting in cookies that are nothing short of spectacular.
When I was first experimenting with this recipe, my partner, Etienne, looked at me with a puzzled expression after I explained the ingredients: “cookie butter” and “chopped Biscoff cookies.” He asked, “So, you’re making cookies out of cookies?” And yes, I had to pause and consider the delicious absurdity of it all. We are indeed crushing up delicious Biscoff biscuits to fold into a dough enriched with rich, creamy cookie butter. But don’t overthink it – the outcome is a truly delicious, uniquely flavored cookie that will have everyone asking for more.
What Exactly is Cookie Butter, and Why Is It So Addictive?
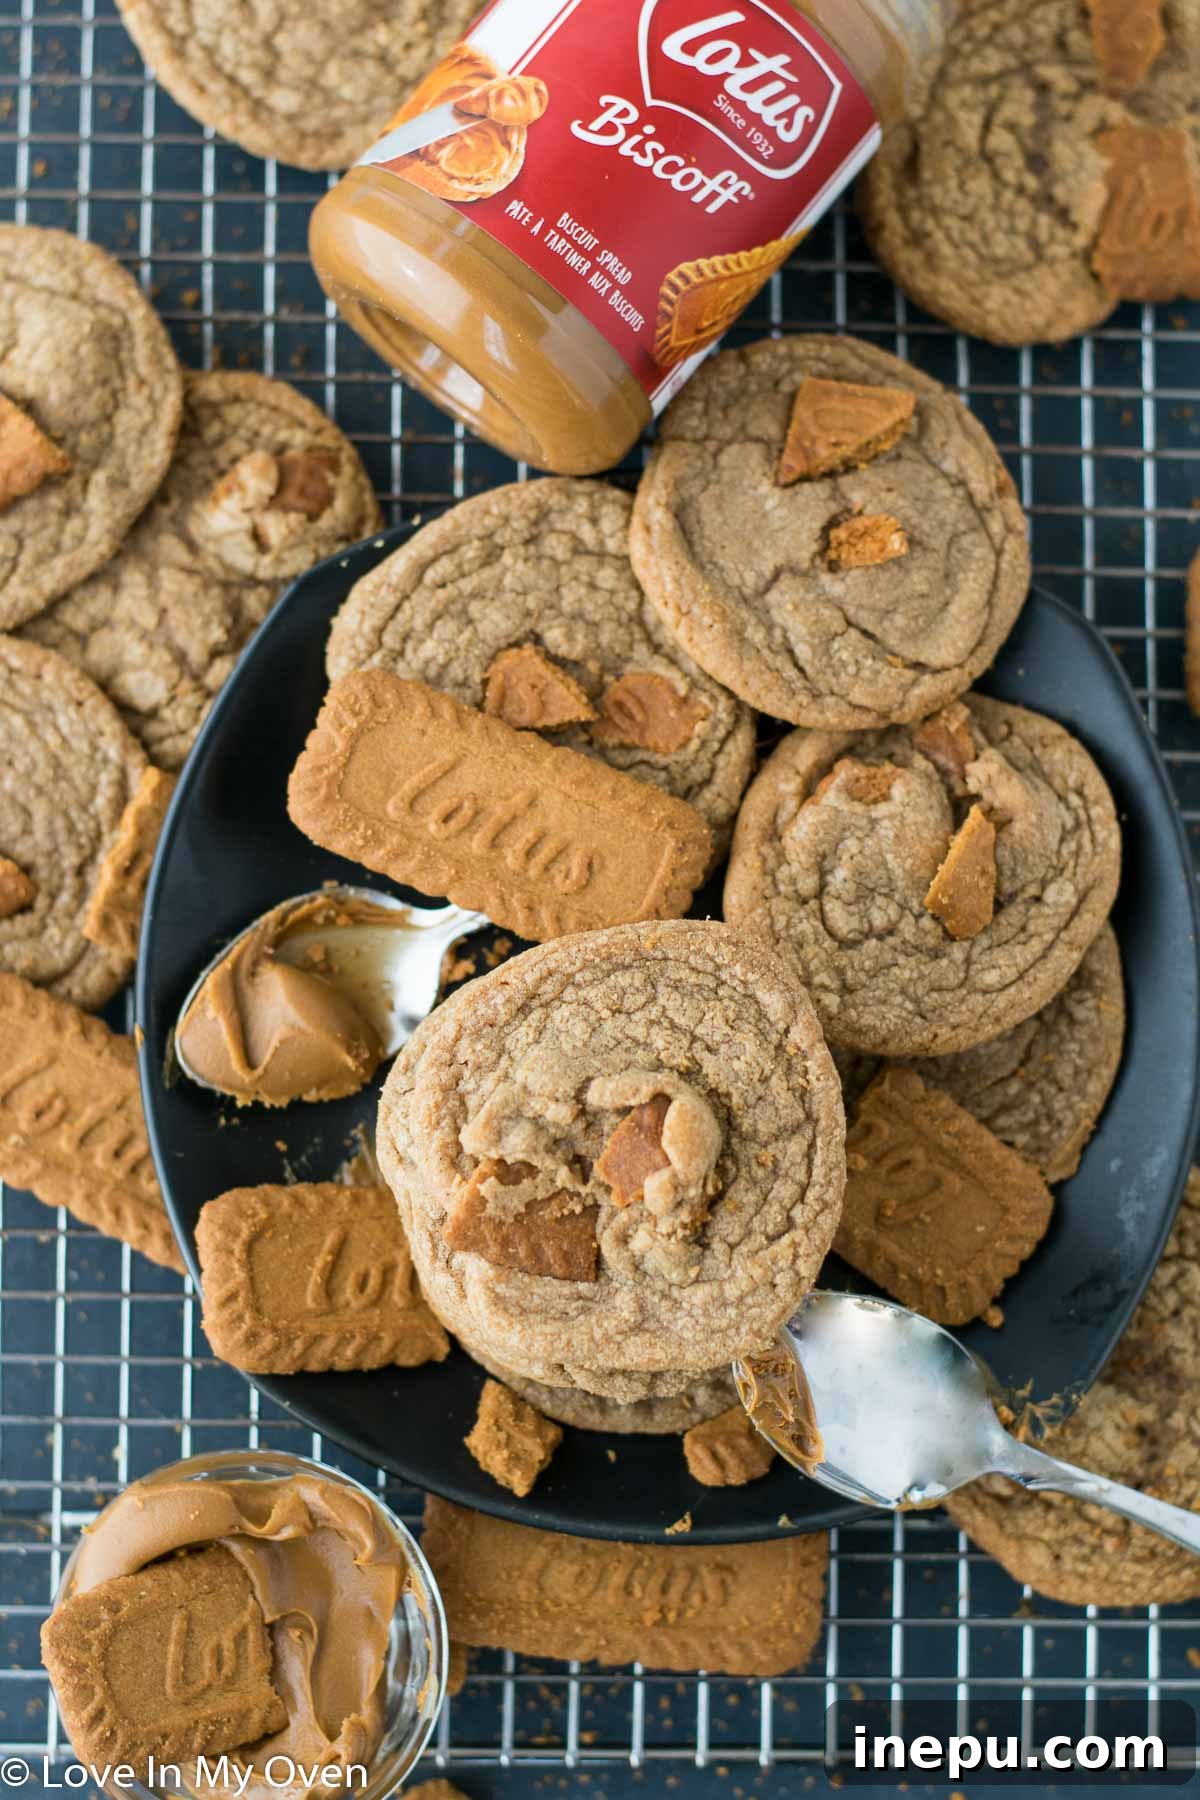
If you haven’t yet experienced the sheer joy of cookie butter, prepare to have your world changed! This spread is incredibly addictive, and once you try it, you’ll want to incorporate it into everything from breakfast to dessert. Cookie butter, often referred to as Speculoos spread, is a sweet, creamy spread made from crushed Biscoff cookies (or similar spiced shortbread biscuits). It shares a similar consistency to peanut butter or Nutella but boasts a distinct caramel and spiced flavor profile that is utterly unique and delicious.
Imagine the taste of a crispy Biscoff cookie, but in a smooth, spreadable form. That’s cookie butter! It’s perfect for slathering on toast, swirling into oatmeal or yogurt, spooning directly from the jar (no judgment here!), or, as we’re doing today, baking it into the most incredible cookies you’ll ever taste. You can typically find cookie butter in most major grocery stores, usually located in the aisle with other spreads like peanut butter and Nutella.
Why These Cookie Butter Cookies Will Become Your Go-To Recipe
These aren’t just any cookies; they are an experience. Here’s why this recipe will quickly become a cherished favorite in your kitchen:
- Unmatched Flavor: The rich, spiced caramel notes of cookie butter permeate every bite, creating a depth of flavor that’s both comforting and exciting. Adding chopped Biscoff cookies takes the experience to another level with delightful texture and an extra boost of that signature taste.
- Perfect Texture: Expect a cookie that is perfectly soft and chewy in the center with slightly crispy edges. The combination of brown sugar and cornstarch helps achieve this desirable texture, ensuring each cookie melts in your mouth.
- Surprisingly Simple: Despite their gourmet taste, these cookies are incredibly easy to make. With straightforward steps and common baking ingredients, even novice bakers can achieve spectacular results.
- Crowd-Pleaser: From casual gatherings to holiday parties, these cookie butter cookies are always a hit. Their unique flavor profile stands out, making them a memorable treat for friends and family.
- Versatile: Enjoy them warm from the oven, with a glass of milk, or as a delightful afternoon pick-me-up. They also make fantastic gifts!
Mastering the Art of Cookie Butter Cookies: A Step-by-Step Guide
Creating these magical cookies is a delightful process. Let’s break it down into simple, manageable steps to ensure your baking success.
Gathering Your Ingredients: The Foundation of Flavor
Before you begin mixing, it’s always best to measure out all your ingredients. This practice, known as mise en place, makes the baking process smoother and helps prevent errors.
Wet Ingredients:
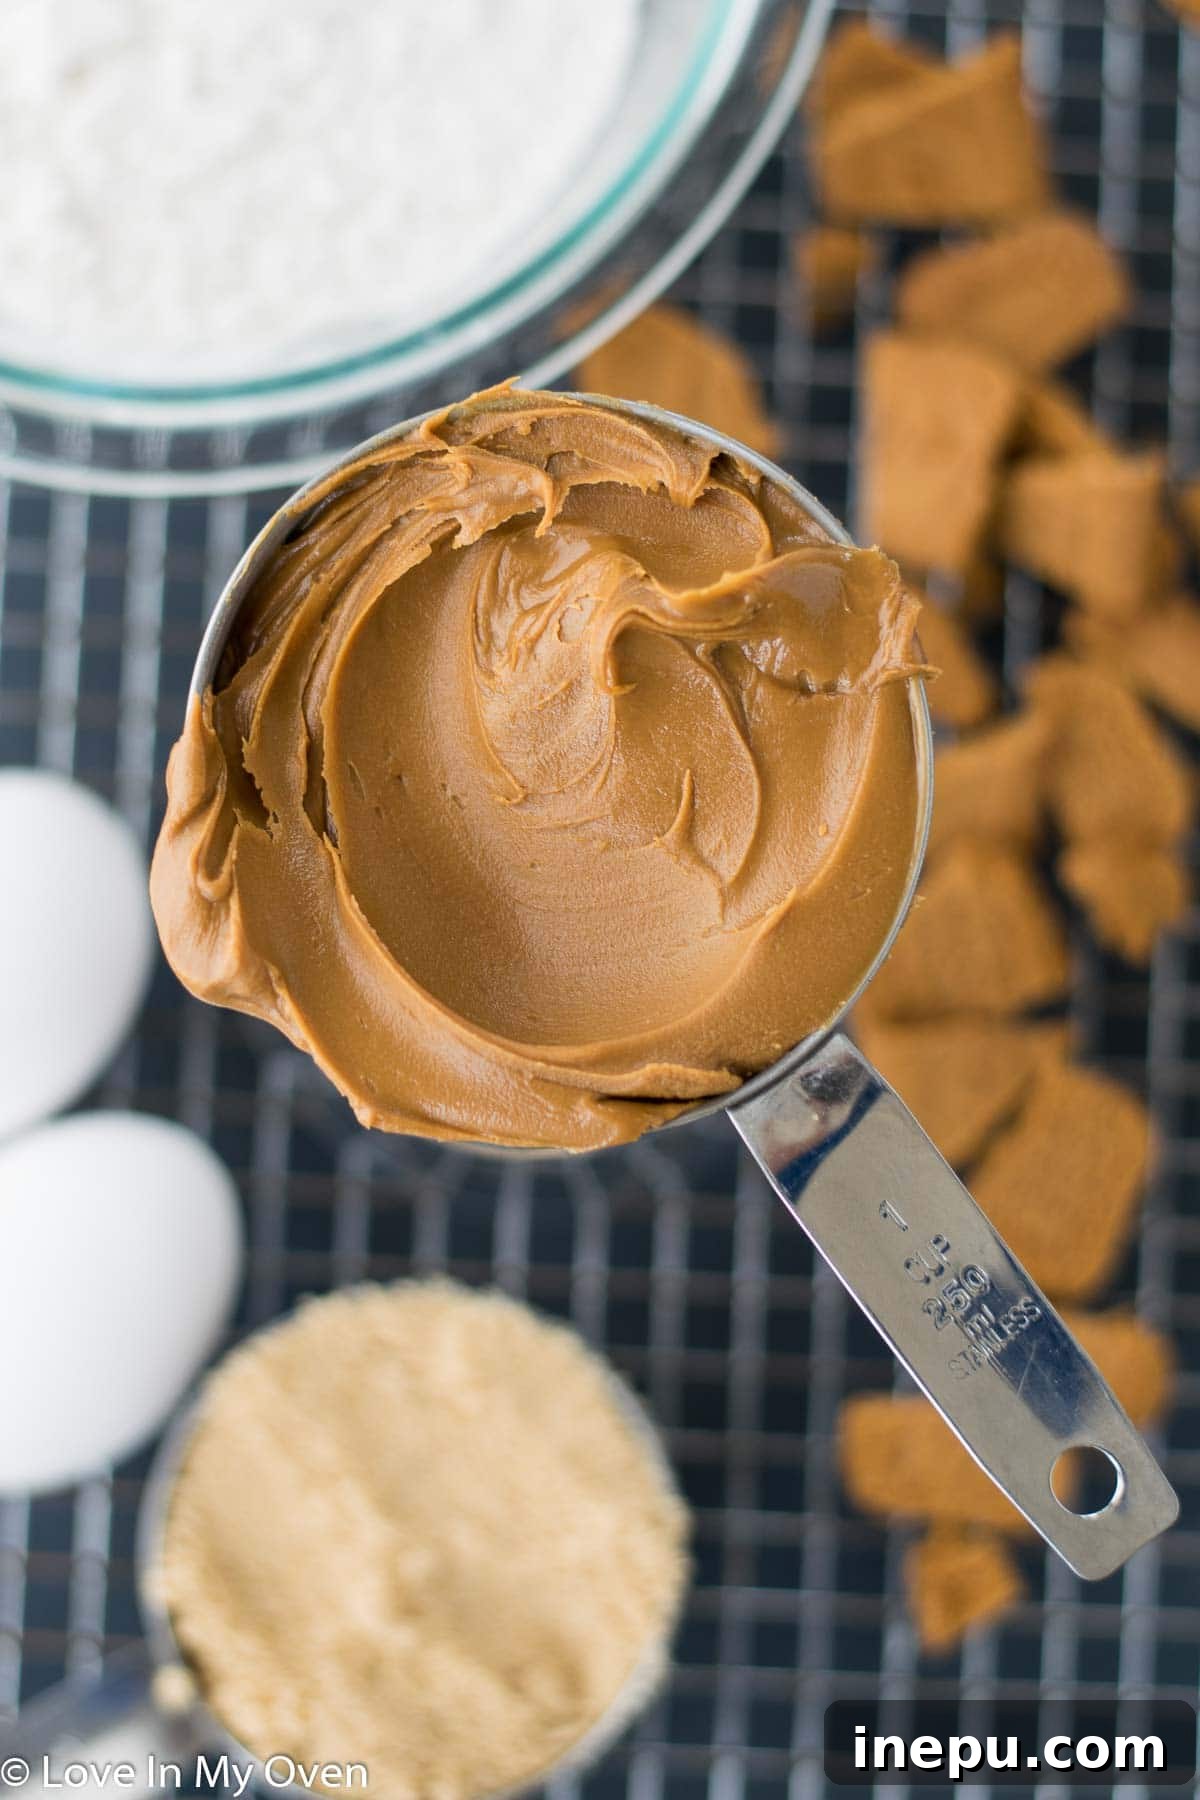
- Cookie Butter: The star of the show! Ensure it’s at room temperature for easy blending.
- Unsalted Butter: Softened to room temperature, this creates a light and fluffy base when creamed with sugar.
- Brown Sugar (packed): Adds moisture, chewiness, and a lovely caramel note.
- Granulated White Sugar: Contributes to crisp edges and overall sweetness.
- Egg + 1 Egg Yolk: The whole egg binds the dough, while the extra yolk adds richness and helps create that coveted chewy texture.
- Pure Vanilla Extract: Enhances all the other flavors.
Dry Ingredients:
Sifting your dry ingredients together ensures they are well combined and free of lumps, leading to a more uniform cookie texture. This step also helps evenly distribute leavening agents.
- All-Purpose Flour: The primary structural component of our cookies.
- Baking Soda: Our leavening agent, which helps the cookies rise and spread.
- Cornstarch: A secret ingredient for extra tenderness and chewiness, preventing the cookies from becoming too cakey.
- Ground Cinnamon: Complements the Biscoff flavor beautifully, enhancing the spice notes.
- Salt: Balances the sweetness and amplifies the overall flavor.
The Mixing Process: Building the Perfect Dough
- Cream the Butter and Sugars: In the bowl of a stand mixer fitted with the paddle attachment (or using a handheld electric mixer), beat the softened unsalted butter with both the brown and white sugars on high speed. Continue mixing for about 1-2 minutes until the mixture is light, fluffy, and pale in color. This creaming process incorporates air, which is crucial for a soft, tender cookie.
- Add Eggs and Vanilla: Scrape down the sides of the bowl with a spatula. Add the egg and egg yolk, mixing until just combined. Follow with the pure vanilla extract, mixing briefly. Be careful not to overmix at this stage.
- Incorporate Cookie Butter: Add the room temperature cookie butter to the mixture. Beat on high speed until it is thoroughly combined and the mixture is smooth and creamy.
- Fold in Dry Ingredients: With the mixer running on low speed, gradually add the sifted dry ingredients to the wet mixture. Mix until just combined. It’s important to stop mixing as soon as no dry streaks of flour remain to avoid developing too much gluten, which can lead to tough cookies.
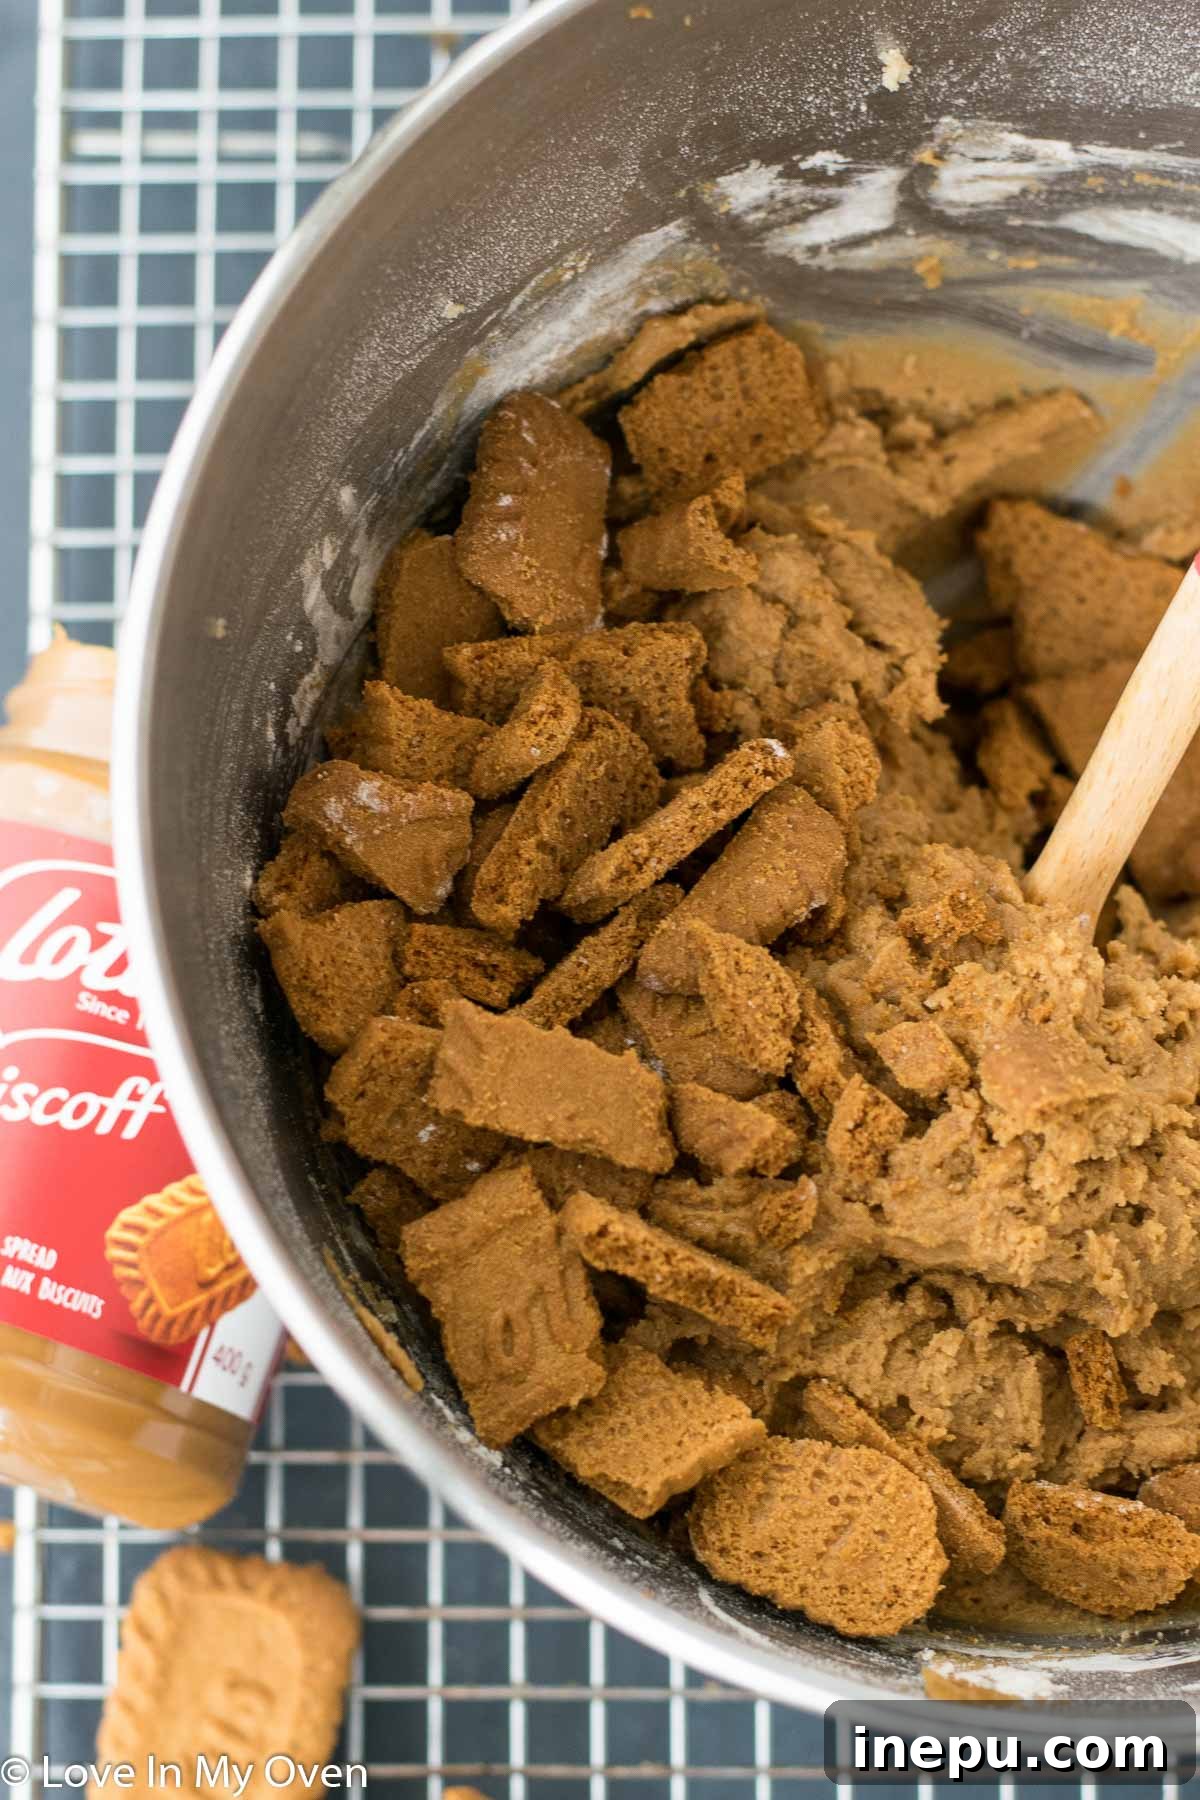
- Stir in Biscoff Chunks: Use a large wooden spoon or spatula to gently fold in the broken Biscoff cookies. These chunks will add an incredible textural contrast and a delightful extra burst of Biscoff flavor.
Chill, Scoop, and Bake: The Final Steps to Cookie Perfection
- Chill the Dough: Cover the cookie dough and chill it in the refrigerator for at least 30 minutes, and up to 1 hour. Chilling the dough is a vital step that helps prevent excessive spreading, deepens the flavors, and results in a thicker, chewier cookie.
- Prepare for Baking: While the dough chills, preheat your oven to 350°F (175°C). Line two baking sheets with parchment paper or silicone baking mats.
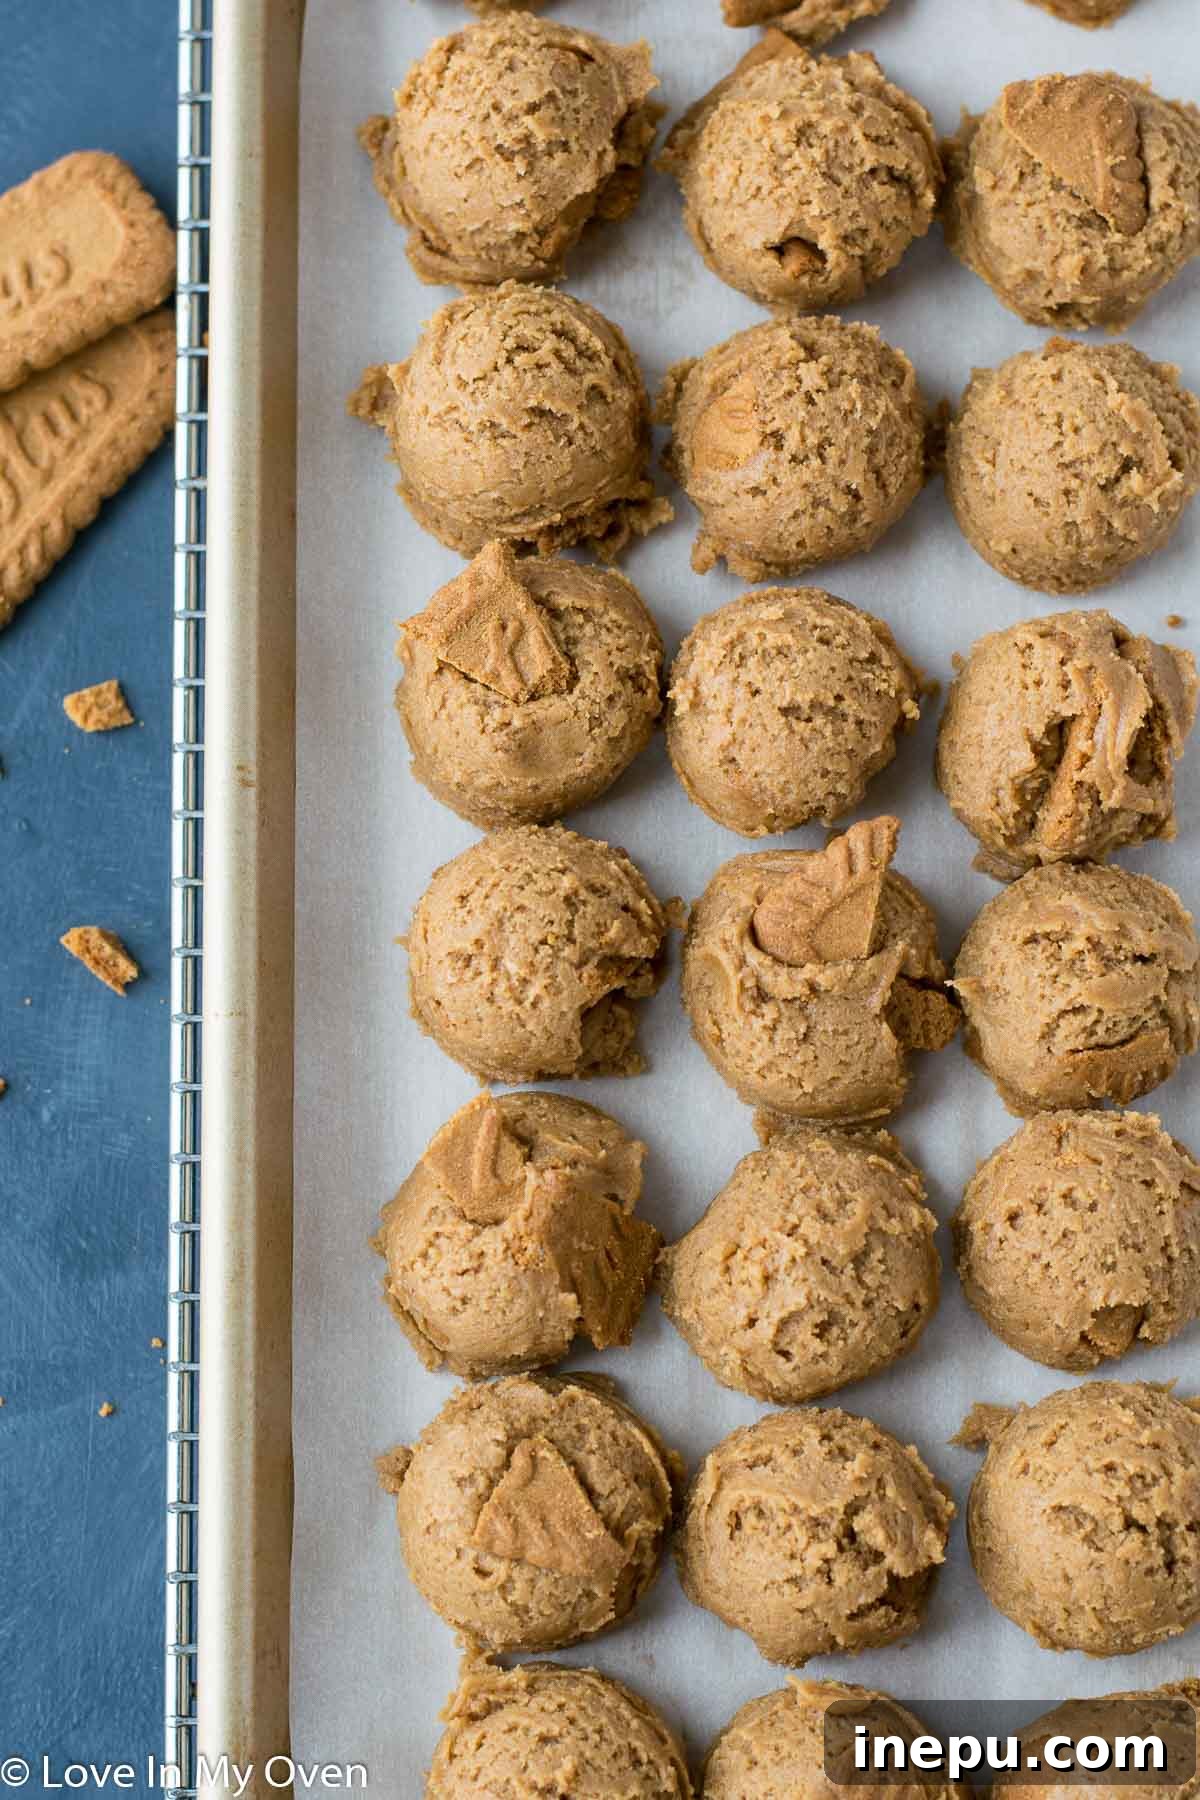
- Scoop the Dough: Remove the chilled dough from the fridge. Use a large cookie scoop (about 2 tablespoons per cookie) to portion out uniform balls of dough. This ensures even baking.
- Space Them Out: Place the cookie dough balls a few inches apart on the prepared baking sheets. While the image might show them closer together for aesthetic purposes, proper spacing is key to allow the cookies to spread without merging.
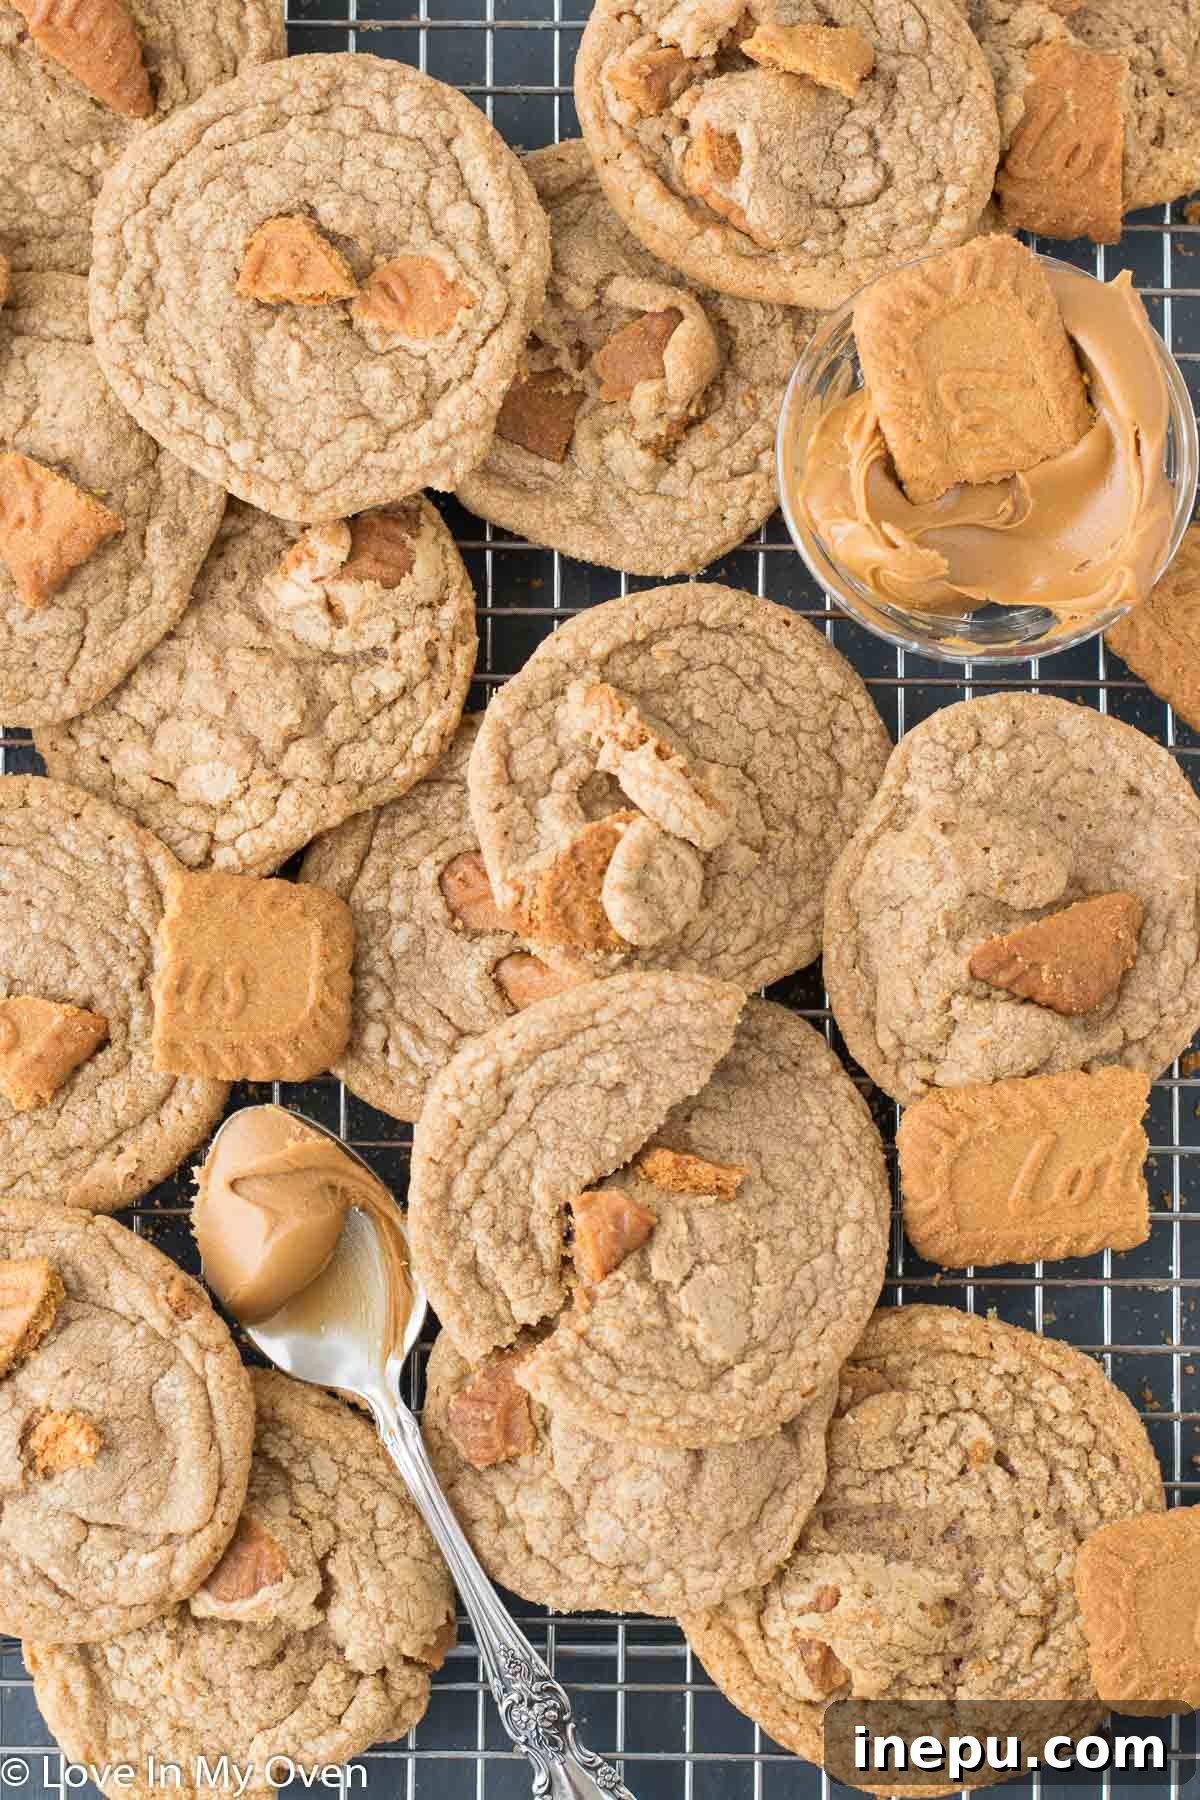
- Bake to Perfection: Bake the cookies for 9-10 minutes. When you remove them from the oven, they will appear slightly underbaked in the center and puffed up. This is exactly what you want! The edges should be lightly golden brown.
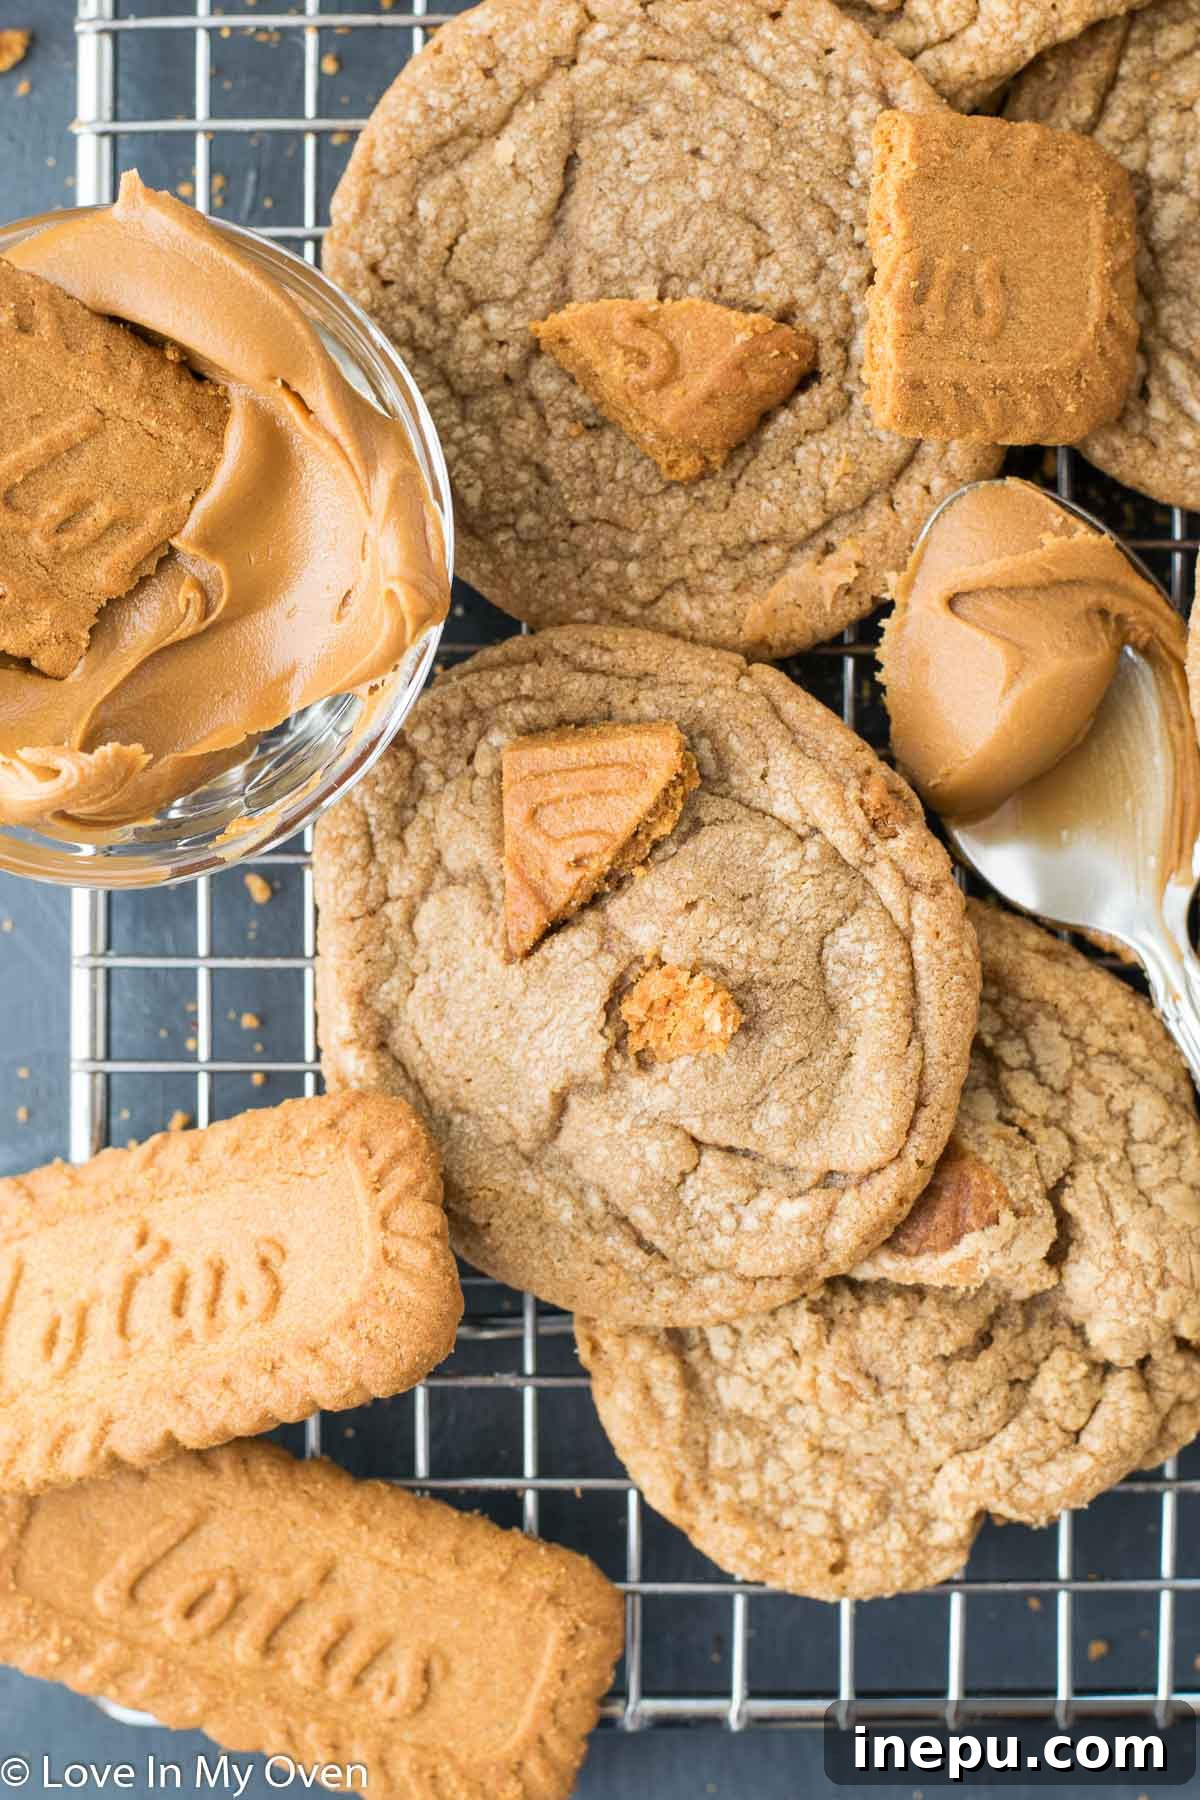
- Cool and Enjoy: Allow the cookies to rest on the hot baking sheet for 5-10 minutes after removing them from the oven. During this time, they will continue to set, firm up, and flatten slightly, achieving that perfect chewy texture. Then, carefully transfer them to a wire rack to cool completely. This resting period on the hot tray is crucial for their final texture. Try your best to resist devouring them all while they’re still warm and wonderfully soft!
Tips for Achieving the Best Cookie Butter Cookies
Even though this recipe is straightforward, a few expert tips can elevate your baking game and ensure consistently perfect results every time:
- Room Temperature Ingredients are Key: Ensure your unsalted butter, egg, and cookie butter are all at room temperature. This allows for proper emulsification, creating a smooth, evenly mixed dough and preventing a lumpy texture.
- Don’t Overmix the Flour: Once you add the dry ingredients, mix only until just combined. Overmixing develops gluten, which can lead to tough, dense cookies instead of soft and chewy ones.
- Chill the Dough Religiously: Do not skip the chilling step! It’s essential for allowing the flavors to meld, the butter to firm up, and preventing the cookies from spreading too much during baking. A well-chilled dough results in a thicker, chewier cookie.
- Use a Cookie Scoop: A cookie scoop ensures uniform sizing, which leads to even baking. All your cookies will be perfectly done at the same time.
- Underbake Slightly: Cookies continue to cook on the hot baking sheet even after they’re removed from the oven. Baking them until the edges are just set and the centers still look slightly soft will result in that wonderfully chewy texture once cooled.
- Add a Pinch of Sea Salt: A sprinkle of flaky sea salt on top of the warm cookies just after they come out of the oven can enhance the caramel and spice notes, adding a gourmet touch.
- Embrace the Optional Biscoff Chunks: While optional, the chopped Biscoff cookies add an incredible crunch and intensify the signature flavor. Don’t skip them if you want an extra layer of texture and taste!
Storage and Freezing Instructions
One of the best things about these cookie butter cookies is how well they keep, allowing you to enjoy their deliciousness for days or even weeks!
- Room Temperature Storage: Once completely cooled, store the cookies in an airtight container at room temperature. They will remain beautifully soft and chewy for 4-5 days. After this period, they’ll still be delicious but may start to crisp up a bit.
- Freezing Cookie Dough: For future indulgence, you can freeze individual cookie dough balls. Scoop the dough onto a parchment-lined baking sheet and freeze until solid. Once frozen, transfer the dough balls to a freezer-safe bag or container. They can be stored for up to 2 months. When you’re ready to bake, simply place the frozen dough balls on a baking sheet and increase the bake time by a few minutes (typically 12-14 minutes total).
- Freezing Baked Cookies: Baked and completely cooled cookies can also be frozen. Place them in a single layer on a baking sheet to flash freeze, then transfer them to a freezer-safe bag or container, separating layers with parchment paper to prevent sticking. They’ll keep well for up to 2 months. Thaw at room temperature or gently warm in the microwave for a few seconds.
This recipe typically yields around 25-27 cookies, depending on the size of your cookie scoop. You might want to double the batch, as they disappear quickly!
Variations and Enhancements
While these cookies are perfect as is, you can always get creative and customize them to your liking:
- White Chocolate Chip Cookie Butter Cookies: Fold in 1/2 to 1 cup of white chocolate chips along with the Biscoff cookie chunks for an extra layer of sweetness and a creamy contrast.
- Drizzle with Melted Cookie Butter: Once the cookies are cooled, melt a few tablespoons of cookie butter and drizzle it over the tops for an elegant finish and an extra punch of flavor.
- Stuffed Cookie Butter Cookies: For an ultimate indulgence, place a small dollop of cookie butter in the center of each dough ball before baking. This creates a delightful gooey center.
Frequently Asked Questions About Cookie Butter Cookies
Here are answers to some common questions you might have about this recipe:
- Can I use crunchy cookie butter? Absolutely! If you prefer a more pronounced crunch, crunchy cookie butter works wonderfully in this recipe and adds an interesting textural element.
- What can I substitute for Biscoff cookies? If you don’t have Biscoff cookies, you can omit them, or use other similar spiced shortbread cookies for a similar flavor profile and crunch. Gingersnaps could also work if you enjoy a stronger ginger spice.
- How do I prevent my cookies from spreading too much? Ensure your butter is softened, not melted. Chilling the dough is critical, as is not overworking the flour. Also, make sure your oven temperature is accurate; an oven that isn’t hot enough can cause excessive spreading.
- Is cookie butter suitable for nut allergies? Generally, most cookie butter brands are nut-free, but always check the label carefully if you have severe allergies, as manufacturing processes can vary.
We absolutely adore cookies around here, and these cookie butter cookies have quickly become a staple. If you’re looking for more delightful cookie recipes, be sure to check out some of my other favorites from the blog:
- Oatmeal Caramel Stuffed Cookies
- Raspberry Filled Sugar Cookies
- Pumpkin Cake Cookies

Cookie Butter Cookies
-
Author:
Katherine | Love In My Oven -
Total Time:
1 hour -
Yield:
26–27 cookies
Description
Soft and chewy with all of that Biscoff cookie flavor, these cookie butter cookies are magical! They taste delicious and are very simple to make.
Ingredients
- 1 1/4 cup all-purpose flour
- 1 tsp baking soda
- 1 tsp cornstarch
- 1 tsp ground cinnamon
- 1/4 tsp salt
- 1/2 cup unsalted butter, softened to room temperature
- 1/2 cup brown sugar, packed
- 1/4 cup granulated white sugar
- 1 egg + 1 yolk
- 2 tsp pure vanilla extract
- 1 cup cookie butter, room temperature
- 1/2 cup chopped Biscoff cookies*
Instructions
- Preheat the oven to 350 F (175 C) and line two baking sheets with parchment paper. In a large mixing bowl, sift together the flour, baking soda, cornstarch, ground cinnamon, and salt. Set aside.
- In the bowl of a stand mixer fitted with the paddle attachment, or using a handheld electric mixer, beat the unsalted butter with the brown and white sugars on high speed for about a minute, until light and fluffy. Add the egg and egg yolk and beat again for another minute, scraping down the sides of the bowl with a spatula as needed. Add in the vanilla extract and combine. Next, add in the cookie butter and mix on high until thoroughly combined and creamy.
- With the mixer running on low speed, gently add in the dry ingredients until everything is just combined. Be careful not to overmix. Use a large wooden spoon or spatula to stir in the chopped Biscoff cookies. Place the cookie dough in the fridge, covered, for 30 minutes to an hour.
- Remove the cookie dough from the fridge, and using a large cookie scoop (about 2 tablespoons per cookie), place the cookie dough balls about 2 inches apart on the prepared baking sheets. Bake the cookies for 9-10 minutes, until the edges are lightly browned and the centers still look slightly soft.
- Remove the cookies from the oven, and allow them to rest on the baking pan for 5-10 minutes before removing them to a wire rack to cool completely. This resting period is crucial for achieving the perfect chewy texture.
Place cooled cookies in a sealed container to store. They’ll stay fresh at room temperature for 4-5 days. For longer storage, or if you prefer them crispier, keep them sealed or freeze for up to 2 months.
Notes
*The chopped Biscoff cookies are optional but highly recommended for added texture and flavor! I simply break them up with my hands into approximate 1/2-inch pieces.
- Prep Time: 20 minutes
- Cook Time: 10 minutes
- Category: cookies
- Method: oven bake
- Cuisine: american