
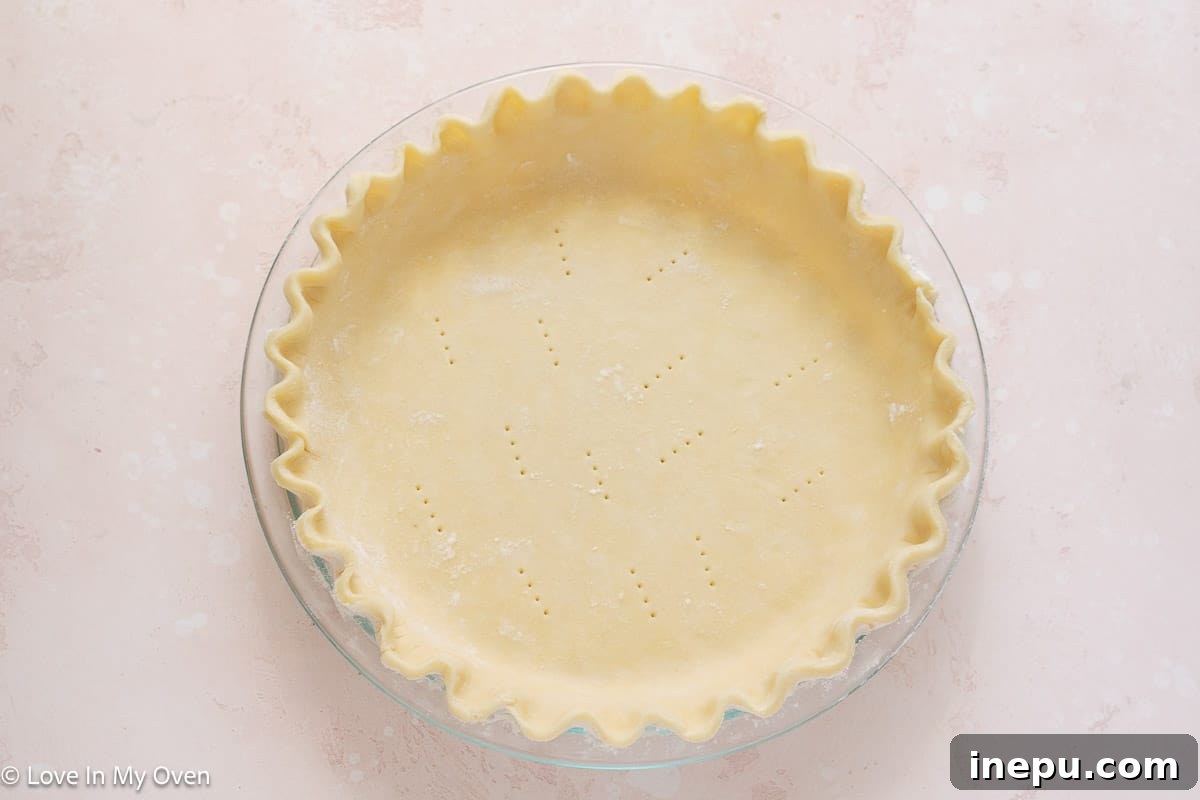
Searching for the ultimate all-butter pie crust recipe? Your quest ends here! Discover our incredibly simple 3-ingredient pie crust, crafted exclusively with pure butter for an unbeatable flavor and irresistibly flaky texture. This is a truly no-fail recipe, guaranteeing a perfect foundation for both your cherished sweet fruit pies and hearty savory creations.
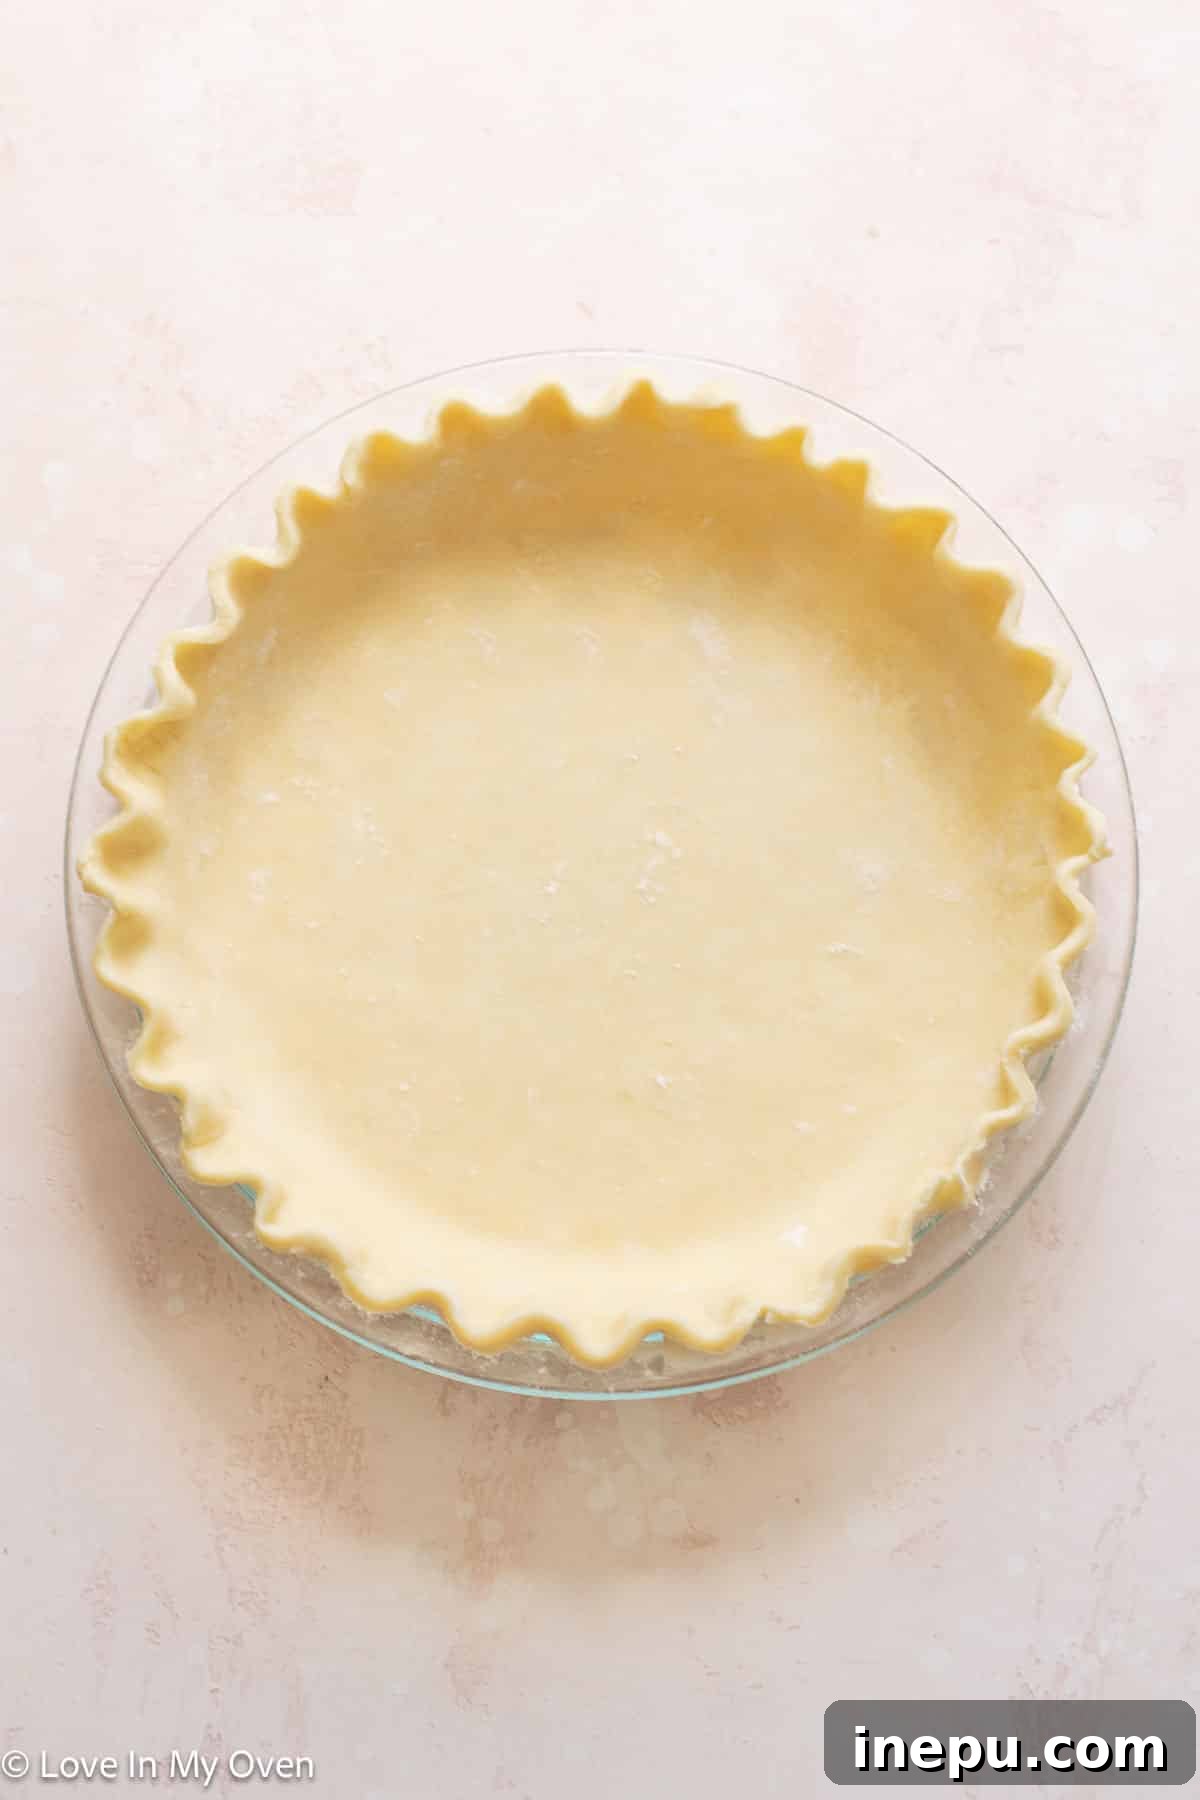
*A quick note:* This comprehensive guide was initially published in 2021. We’ve recently refreshed the content with updated text and a brand-new video tutorial to enhance your baking experience. Rest assured, the core recipe for this phenomenal 3-ingredient pie crust remains precisely the same.
Table of Contents
- Butter vs. Shortening: The Great Pie Crust Debate
- Unlocking the Magic: The Essential 3 Ingredients for Pie Crust
- Mastering the Technique: How to Make a Butter Pie Crust from Scratch
- Sizing, Storage, and Serving Your Perfect Pie Crust
- Easy 3-Ingredient All-Butter Pie Crust Recipe Card
As the days lengthen and the sun graces us with its warmth, we eagerly anticipate the arrival of berry season! For many home bakers, this delightful transition signals the unofficial beginning of pie season. While a warm, comforting pie is a welcome treat at any time of year—especially during festive holidays or cozy winter evenings—there’s an undeniable charm to pies overflowing with the vibrant bounty of fresh summer fruits. Picture a glorious pie bursting with juicy strawberries, tart cherries, succulent blueberries, or a harmonious blend of all these seasonal delights! To truly showcase these natural treasures, we need an equally exceptional foundation: the perfect homemade pie crust.
For a long time, I was a devoted proponent of the shortening and butter combination for my pie crusts, convinced it offered the ideal balance of flakiness and ease of handling. However, a culinary revelation occurred in the past year, leading to my complete conversion to the philosophy of an all-butter pie crust. The profound, rich, and utterly delicious flavor that pure butter imparts is simply unparalleled. It creates a crust that is not only exquisitely flaky but also incredibly tender, practically melting in your mouth with every bite. The added bonus? Embracing an all-butter approach simplifies the ingredient list, transforming this into an astonishingly easy 3-ingredient pie crust recipe. Trust me, it truly doesn’t get much simpler, or more satisfying, than this for a perfect pie crust from scratch!
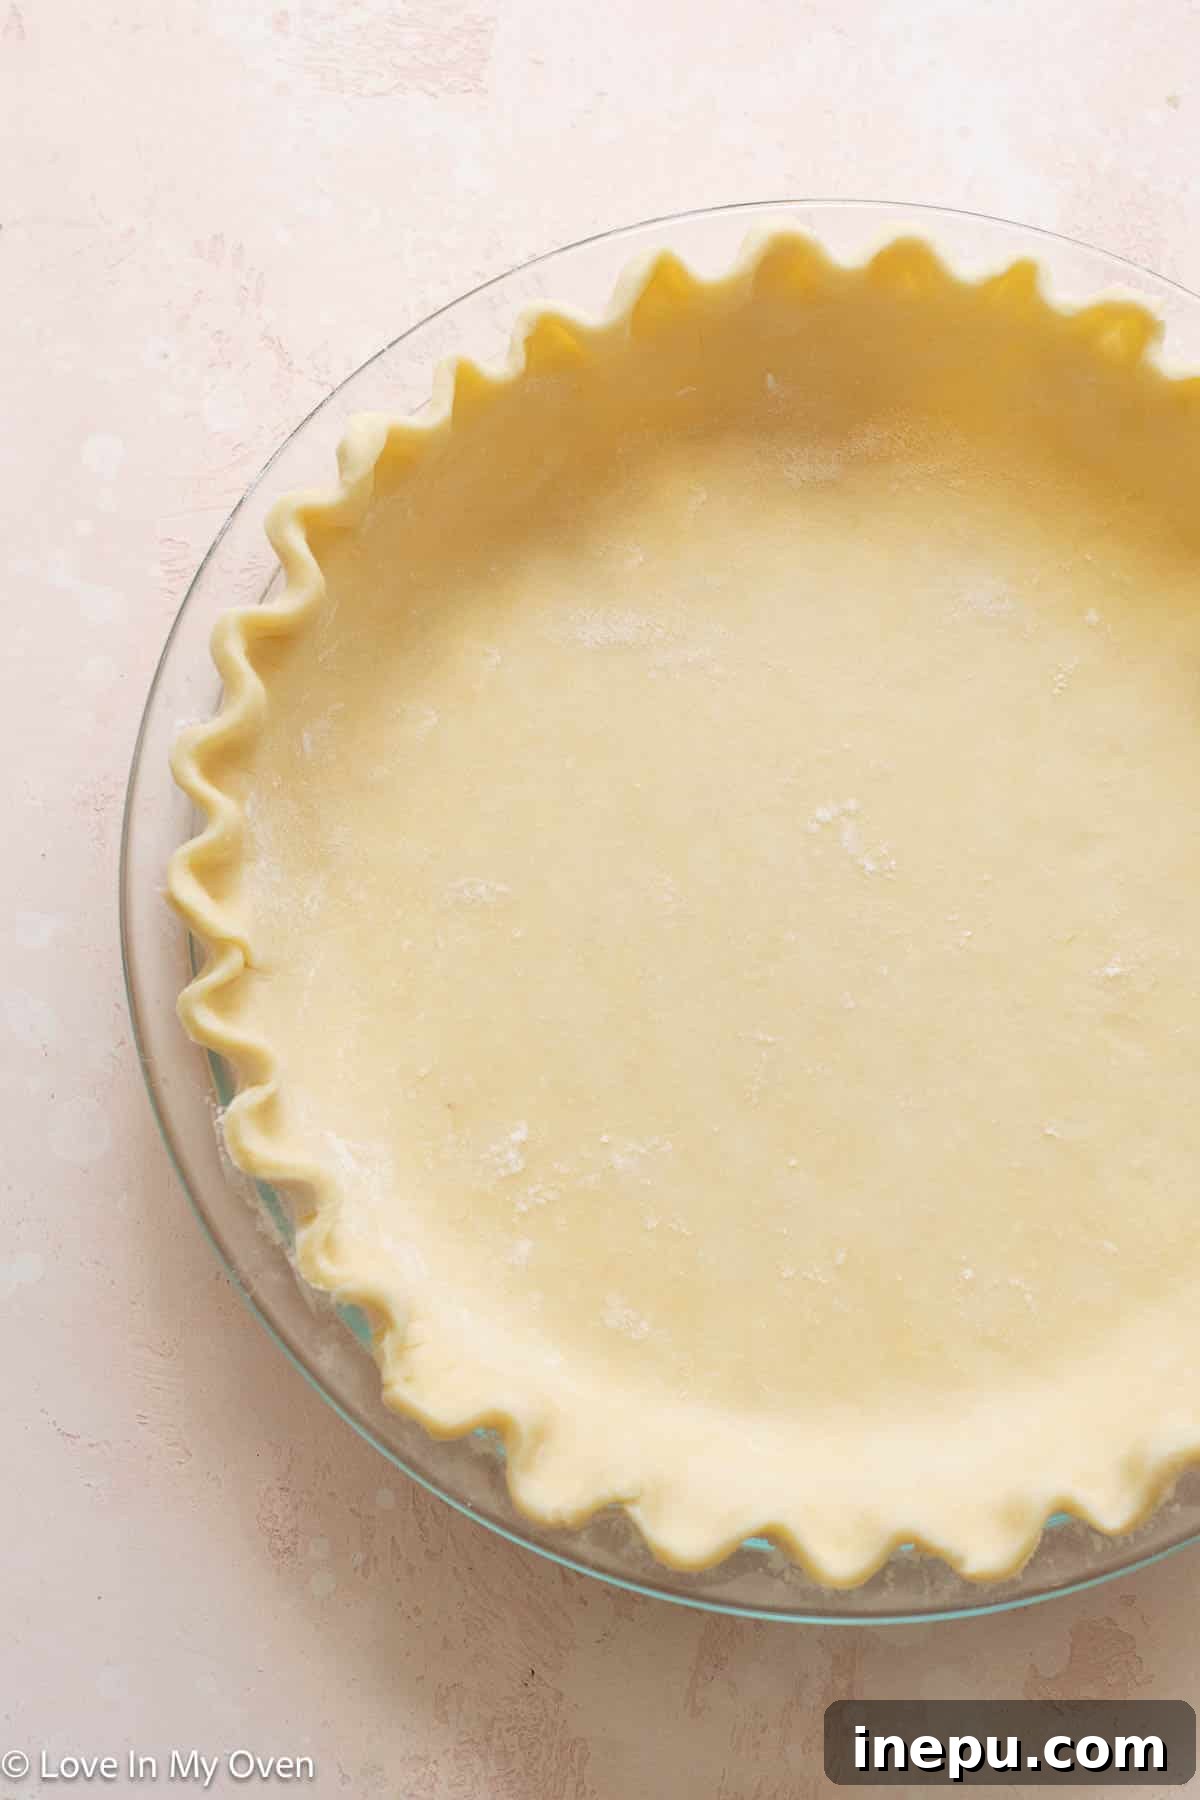
Butter vs. Shortening: The Great Pie Crust Debate
The culinary world has long debated the merits of butter versus shortening in pie crusts. This isn’t just about ingredients; it’s about achieving specific textures, flavors, and handling properties. While many factors influence the outcome, from a home baker’s perspective, the choice often boils down to personal preference and the desired characteristics of your finished pie. Understanding the distinct roles each fat plays can help you make an informed decision and create your ideal homemade pie crust.
For an excellent deep dive into this topic, I highly recommend this informative article from Epicurious, which thoroughly explores the different reasons for using various fats in pie crusts. It’s a truly insightful read for anyone serious about mastering pie making! In essence, utilizing an all-butter pie crust guarantees the most superior FLAVOR. Butter delivers a rich, creamy, and undeniably delicious taste that perfectly complements a wide array of sweet and savory fillings. Beyond flavor, butter is key to creating an exceptionally light, tender, and gloriously flaky texture, producing those signature delicate layers that are the hallmark of a truly magnificent pie.
However, it’s worth noting butter’s inherent characteristics. With a lower melting point compared to shortening, butter warms up more quickly. This means an all-butter dough can be a bit more challenging to work with, especially for intricate decorative elements like lattice tops or elaborate crimping. If your pie vision includes complex designs, a combination of butter and shortening (a hybrid crust) might offer greater stability and ease of manipulation. For this fantastic 3-ingredient pie crust, the most critical factor for success is maintaining consistently COLD ingredients throughout every step of the process. This meticulous attention to temperature ensures the butter remains in solid, distinct pieces, which then melt during baking to release steam, creating those coveted, airy, flaky layers in your perfect pie crust.
Unlocking the Magic: The Essential 3 Ingredients for Pie Crust
You might be surprised by how few ingredients are truly necessary to create an astonishingly flaky and flavorful pie crust. While I affectionately refer to this as a “3-ingredient pie crust,” in full transparency, there are technically four if you count water. However, water is often considered a solvent rather than a primary ingredient in many recipes! Regardless of whether you call it a 3 or 4-ingredient pie crust, the brilliance lies in the quality and precise handling of these simple components. This minimalist approach allows the natural richness of the butter to shine through, creating the best all-butter pie crust you’ll ever make.
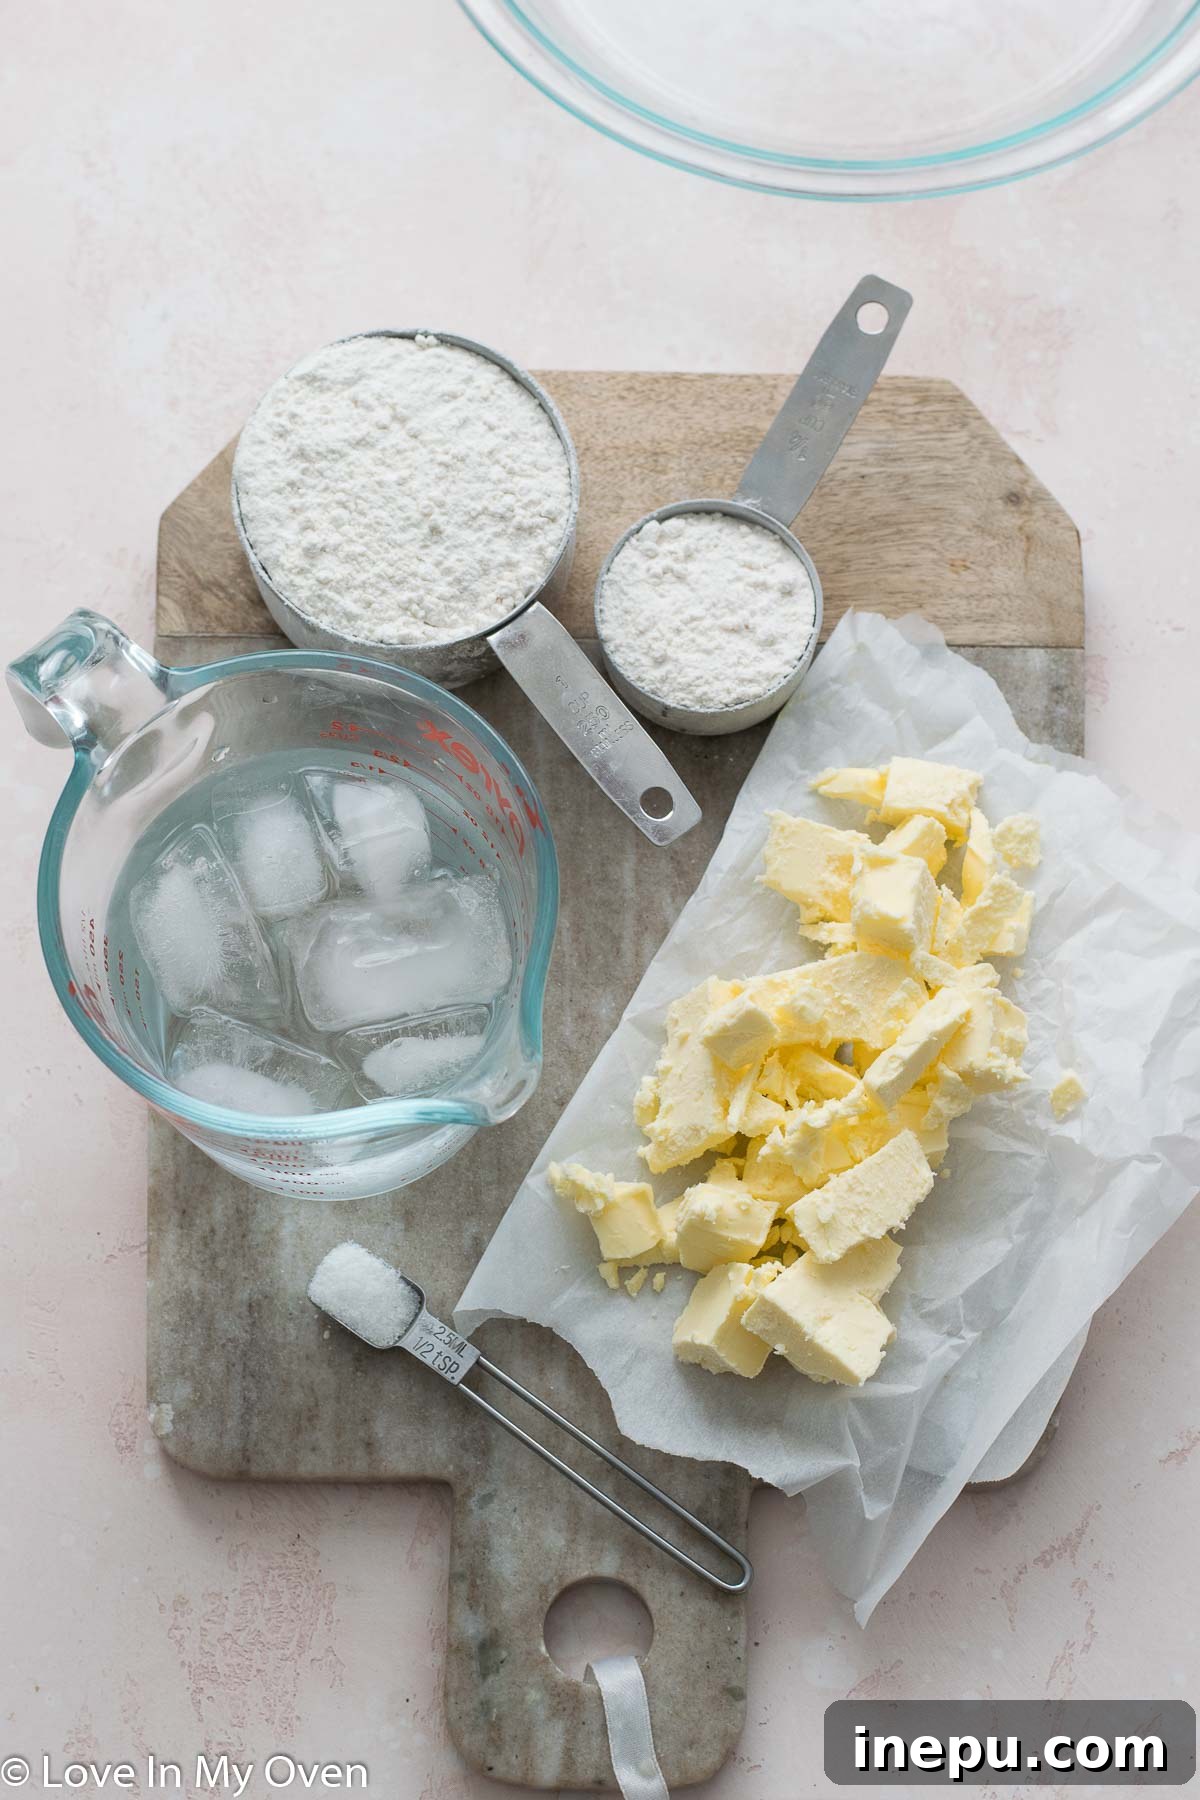
Here are the fundamental ingredients required for this easy and delicious homemade pie crust:
- All-purpose flour: The structural backbone of our perfect pie crust.
- Salt: A crucial flavor enhancer that balances and brightens the overall taste.
- Unsalted butter: The star ingredient, responsible for the incredible flavor and flakiness.
- Ice water: The binding agent, essential for hydrating the dough while keeping it cold.
Ingredient Spotlight: Tips for Optimal Results
- All-purpose flour: Standard all-purpose flour is perfectly suited for achieving a tender and flaky crust. The single most important tip for flour is accurate measurement. Avoid scooping flour directly from the bag with your measuring cup, as this compacts it and leads to too much flour. Instead, gently spoon the flour into your measuring cup until it overflows, then level it off with the back of a knife or a straight edge. This “spoon and level” technique ensures you use the correct amount, preventing a tough or dry crust.
- Unsalted butter: For an authentic all-butter pie crust, unsalted butter is non-negotiable. It allows you precise control over the overall salt content of your recipe, which can significantly impact the final flavor. The butter must be exceptionally cold—ideally, straight from the freezer for a few minutes after cubing. Cut it into small, uniform 1/2-inch cubes. The goal is to keep the butter as cold and solid as possible throughout the mixing process. These tiny, solid butter pieces are what create steam when baked, resulting in those coveted flaky layers.
- Salt: Do not underestimate the power of salt in baking. In this recipe, it’s not just about seasoning; it actively enhances the rich flavor of the butter and provides a crucial balance against the sweetness of your pie filling (if making a dessert pie). Ensure it’s evenly distributed with the flour.
- Ice Water: Just like the butter, your water must be ice cold. This is vital for maintaining the low temperature of the dough, preventing the butter from melting prematurely, and inhibiting excessive gluten development. Prepare a measuring cup with the specified amount of water, then add several ice cubes to it. Keep this cup in the freezer until the exact moment you’re ready to use it, adding the water one tablespoon at a time as directed.
Follow on Instagram for more delicious recipes!
Follow
Mastering the Technique: How to Make a Butter Pie Crust from Scratch
Creating a truly magnificent homemade pie crust might seem intimidating, but with this straightforward all-butter pie crust recipe and a few crucial techniques, you’ll be baking with confidence. The undisputed secret to achieving an incredibly flaky crust lies in one golden rule: keeping every component and tool as COLD as humanly possible. This isn’t just a suggestion; it’s the foundation for preventing the butter from fully melting into the flour, thus preserving those tiny pockets of fat that will transform into glorious steam and airy flakes during baking.
Crucial Pre-Preparation Steps: Embracing the Cold
- Super Chill Your Butter: Before you begin any mixing, take your very cold unsalted butter and cut it into uniform 1/2-inch cubes. Immediately transfer these cubes to a small plate or shallow bowl and place them in the freezer for at least 15 to 20 minutes. This extra chilling step ensures the butter is rock-hard and ready to create those essential flaky layers.
- Prepare Your Ice Water Reservoir: Fill a measuring cup with the required amount of cold water, then add several ice cubes. Place this measuring cup directly into the freezer alongside your butter. Having genuinely ice-cold water is paramount, as you’ll be adding it gradually, and any warmth could compromise the dough’s temperature.
- Consider Chilling Your Equipment (Optional but Recommended): For an added advantage, especially on warmer days, you can briefly chill your mixing bowl (if using the hand method), the blade of your food processor, or your pastry cutter in the freezer for about 10 minutes. Every degree of coldness helps maintain the integrity of the butter.
You have two primary methods for preparing this perfect pie crust: by hand (using a pastry cutter or two forks) or with the aid of a food processor. Both techniques can yield excellent results, but I personally find the food processor method to be exceptionally efficient and remarkably consistent for an easy pie crust recipe. While detailed instructions for both approaches are provided in the recipe card below, this explanation will primarily focus on the food processor technique for clarity.
Food Processor Method: Step-by-Step Guide for Flaky Perfection
- Combine Dry Ingredients: Into the bowl of your food processor, measure and add the all-purpose flour and salt. Secure the lid and give them a quick pulse (2-3 seconds) to ensure these dry ingredients are thoroughly combined and the salt is evenly distributed. This uniformity is key for a balanced flavor profile.
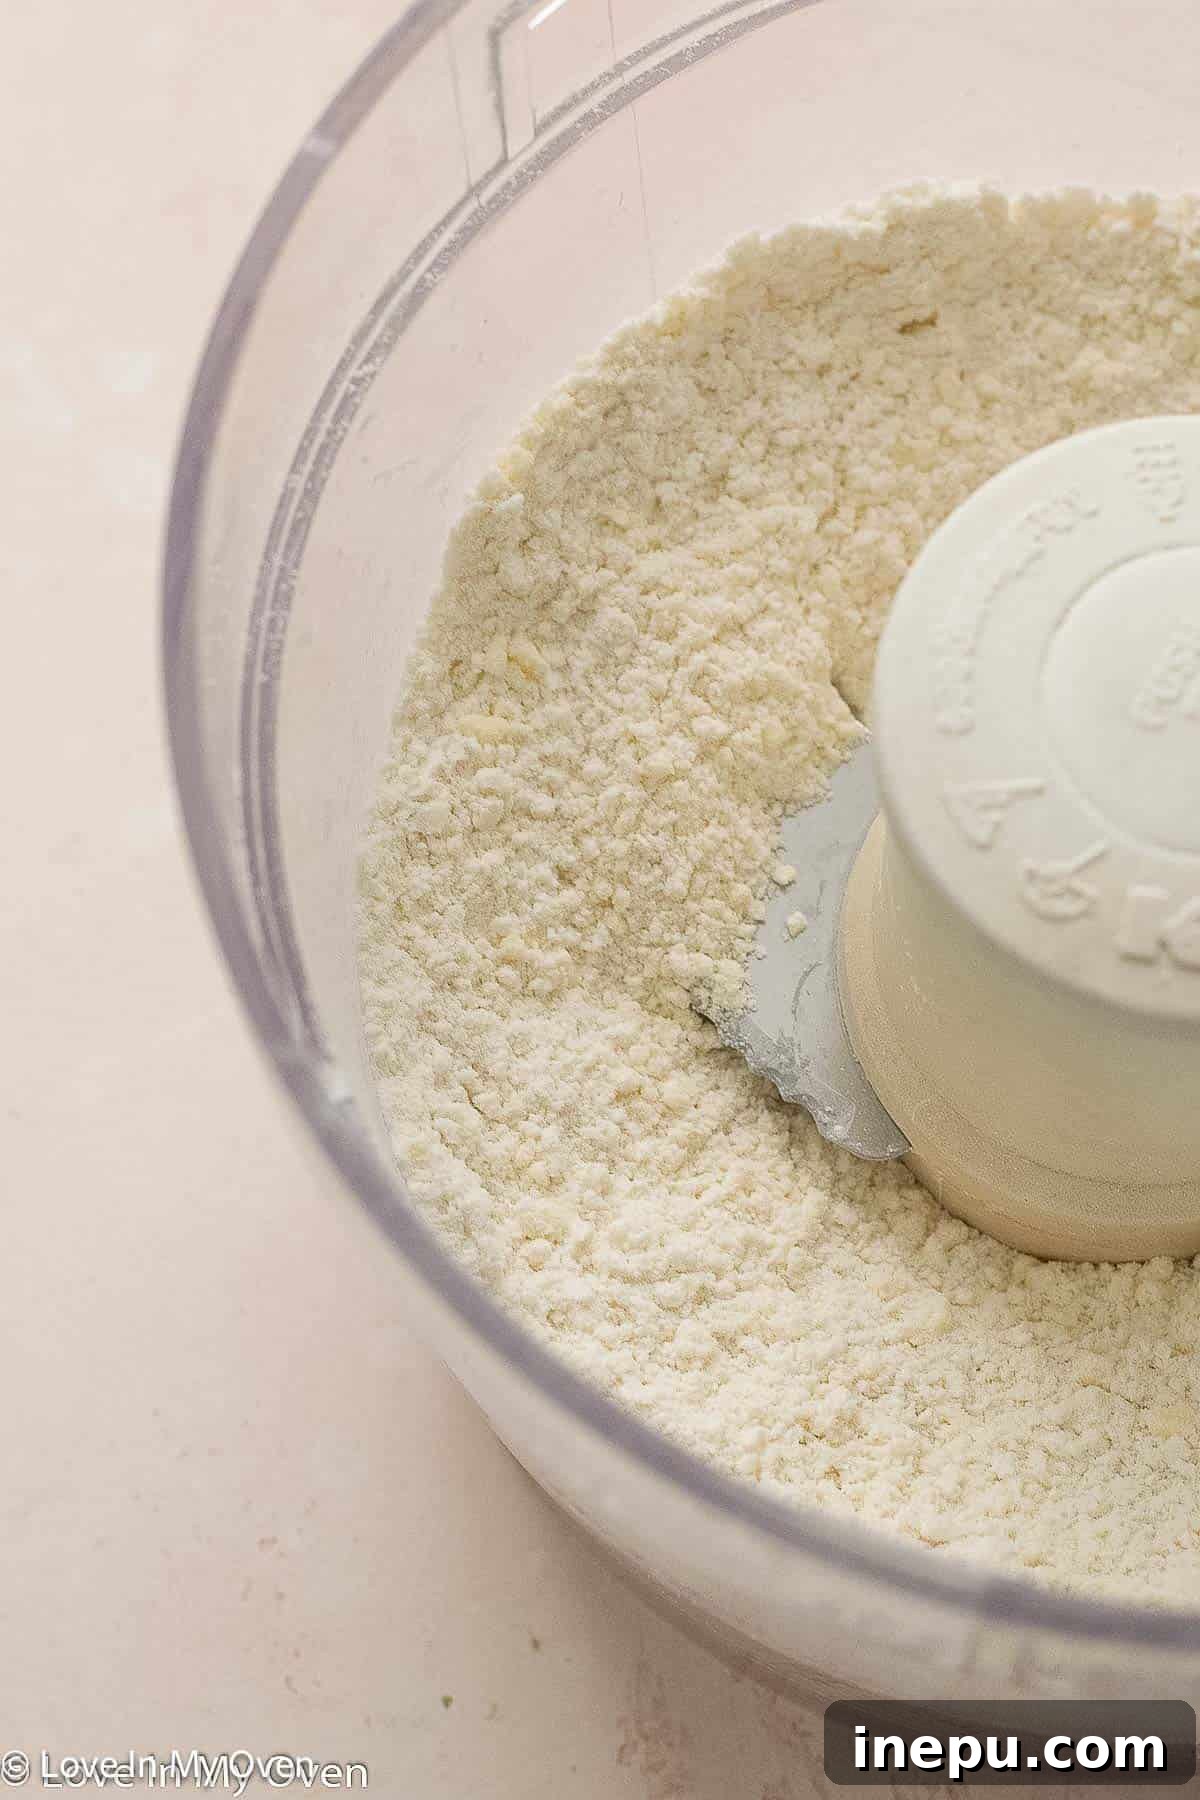
- Incorporate the Cold Butter: Now, add all of your super-chilled, cubed butter to the flour mixture at once. Process the mixture using short, sharp bursts (1-second pulses). Continue pulsing until the mixture resembles coarse crumbs, with some distinct pea-sized pieces of butter still clearly visible. It’s crucial to avoid over-processing here; the goal is to break down the butter into small pieces, not to create a smooth paste. These visible butter chunks are fundamental to achieving that incredible flaky texture in your all-butter pie crust.
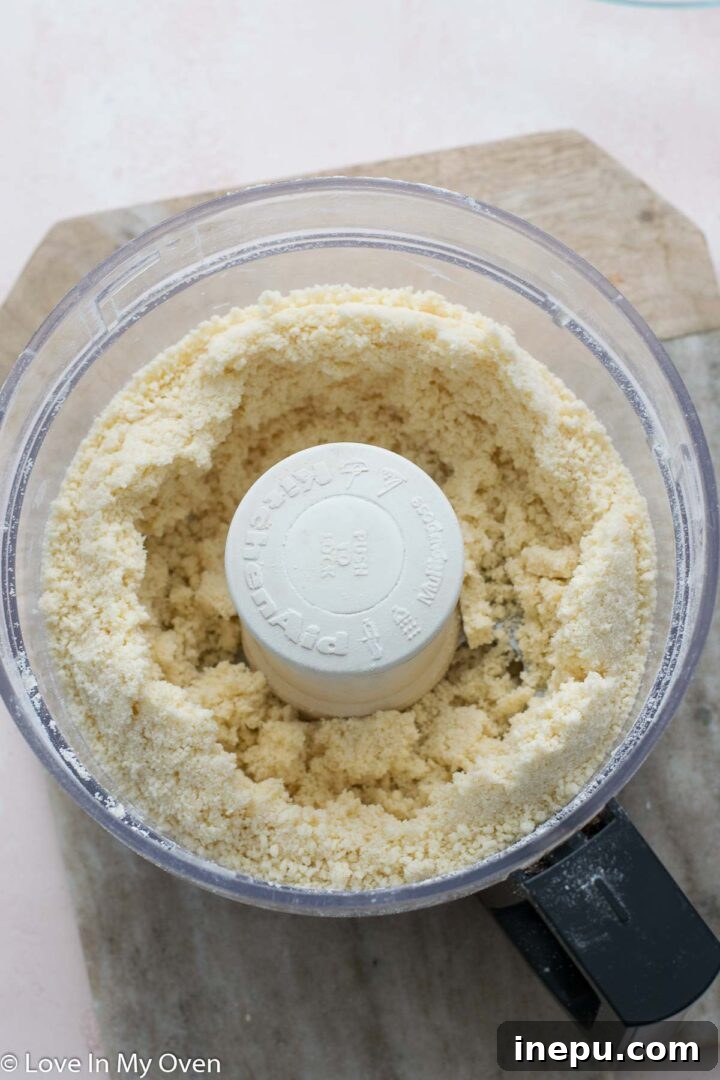
- Add Ice Water Gradually: This is arguably the most delicate step. You will introduce the ice water very slowly, one tablespoon at a time, pulsing the food processor briefly after each addition. I typically add 1 tablespoon of water, pulse 3-4 times, then check the dough’s consistency. Continue this process, allowing the water to drizzle into the bowl while pulsing, until the dough just begins to clump together. The dough is perfectly hydrated when you can gather a large clump between your fingers and it holds its shape without crumbling apart. Be extremely cautious not to add too much water, as this is a common culprit for a tough pie crust. Generally, 4 to 5 tablespoons of ice water are sufficient, but this can vary slightly depending on your flour and ambient humidity.
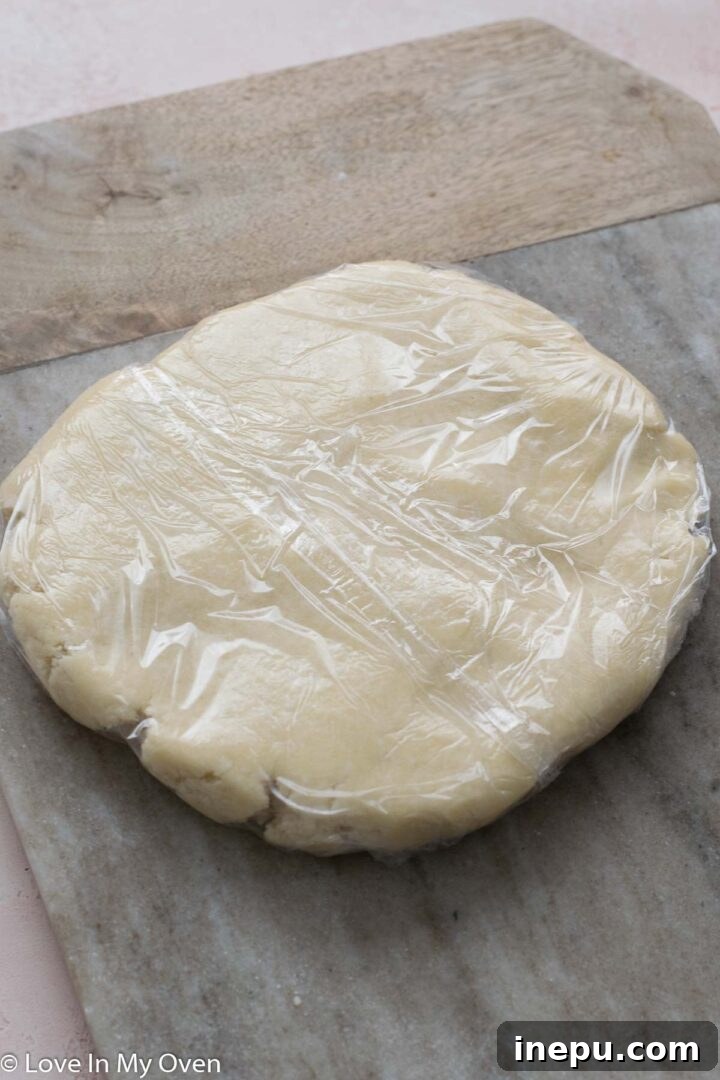
- Form and Chill the Dough: Gently remove the dough from the food processor and transfer it to a lightly floured surface. Using your hands, carefully press and gather the dough together to form a cohesive ball. Resist the urge to knead it excessively, as overworking the dough will develop too much gluten, resulting in a tough, chewy crust instead of a tender, flaky one. Once formed, gently flatten the ball into a 1-inch thick disc. Tightly wrap this disc in plastic wrap, ensuring no air can penetrate. This crucial chilling period—a minimum of 2 hours in the refrigerator—allows the gluten to relax, the butter to firm up completely, and the flavors to fully meld. This step makes the dough much easier to roll out and contributes significantly to its ultimate flakiness. You can chill the dough for up to 3 days, or proceed to freeze it for longer-term storage.
Sizing, Storage, and Serving Your Perfect Pie Crust
This incredibly versatile 3-ingredient all-butter pie crust recipe is perfectly portioned to create a single shell for a standard 9-inch or 10-inch pie. Once your dough has undergone its essential chilling period, it’s primed and ready to be transformed into the flawless base for your next delectable creation, whether it’s a sweet fruit pie, a creamy custard, or a savory quiche. Here’s how to expertly roll out, prepare, and store your perfect pie crust:
Rolling Out and Preparing Your Dough
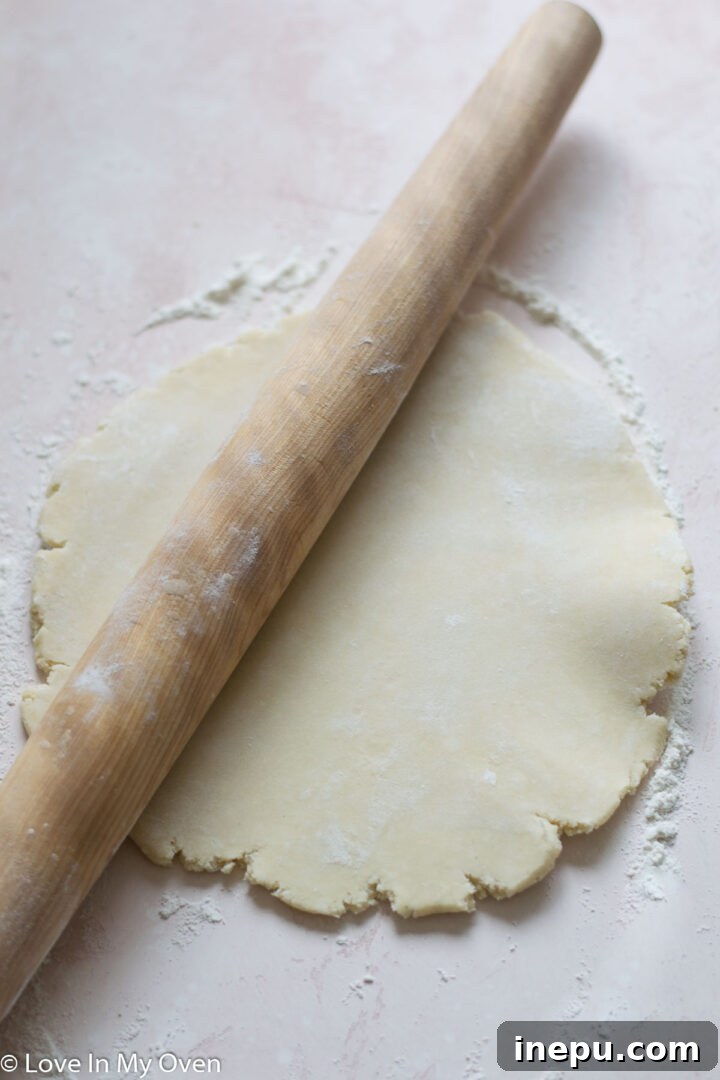
- Prepare Your Work Surface: Remove the well-chilled dough disc from the refrigerator. Place it on a clean, lightly floured surface—a large countertop or a dedicated pastry board works best. Lightly dust your rolling pin with flour as well to prevent sticking.
- Roll Evenly and Gently: Begin rolling from the center of the disc outwards, applying even pressure. Rotate the dough frequently (after every few rolls) and lift it occasionally to ensure it’s not sticking to the surface. If the edges crack, simply pinch them back together with your fingers. Aim for a uniform thickness of about 1/8 to 1/4 inch and a diameter of approximately 10 to 11 inches. This size provides enough overhang for comfortably fitting into a 9 or 9 1/2-inch pie plate and allows for decorative crimping.
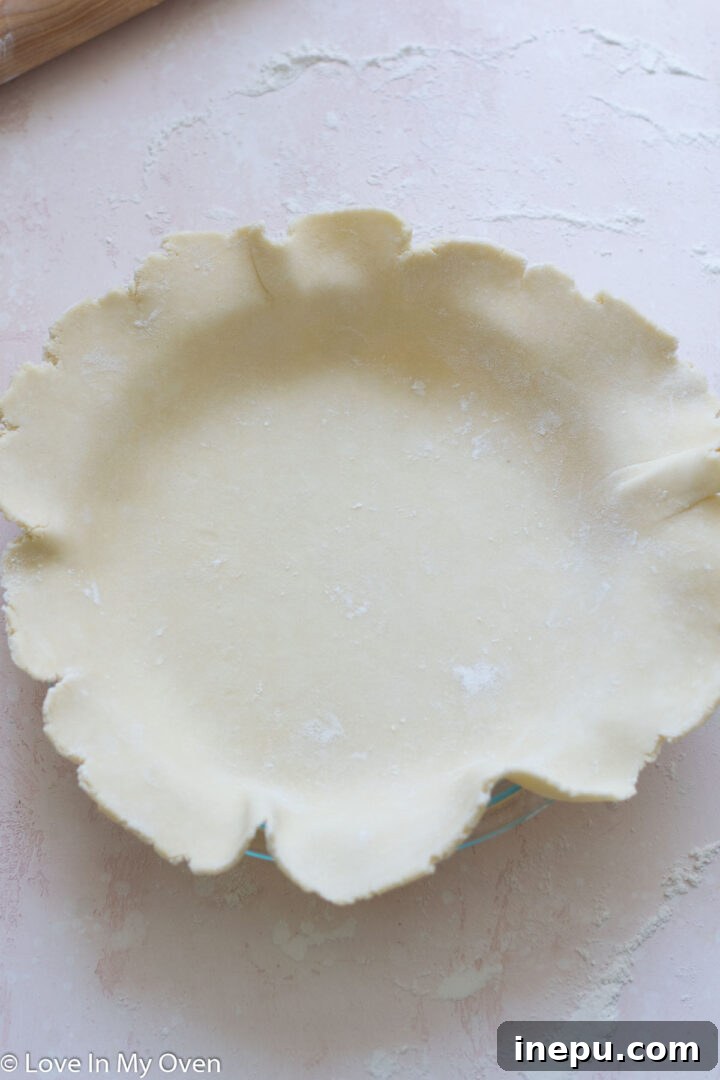
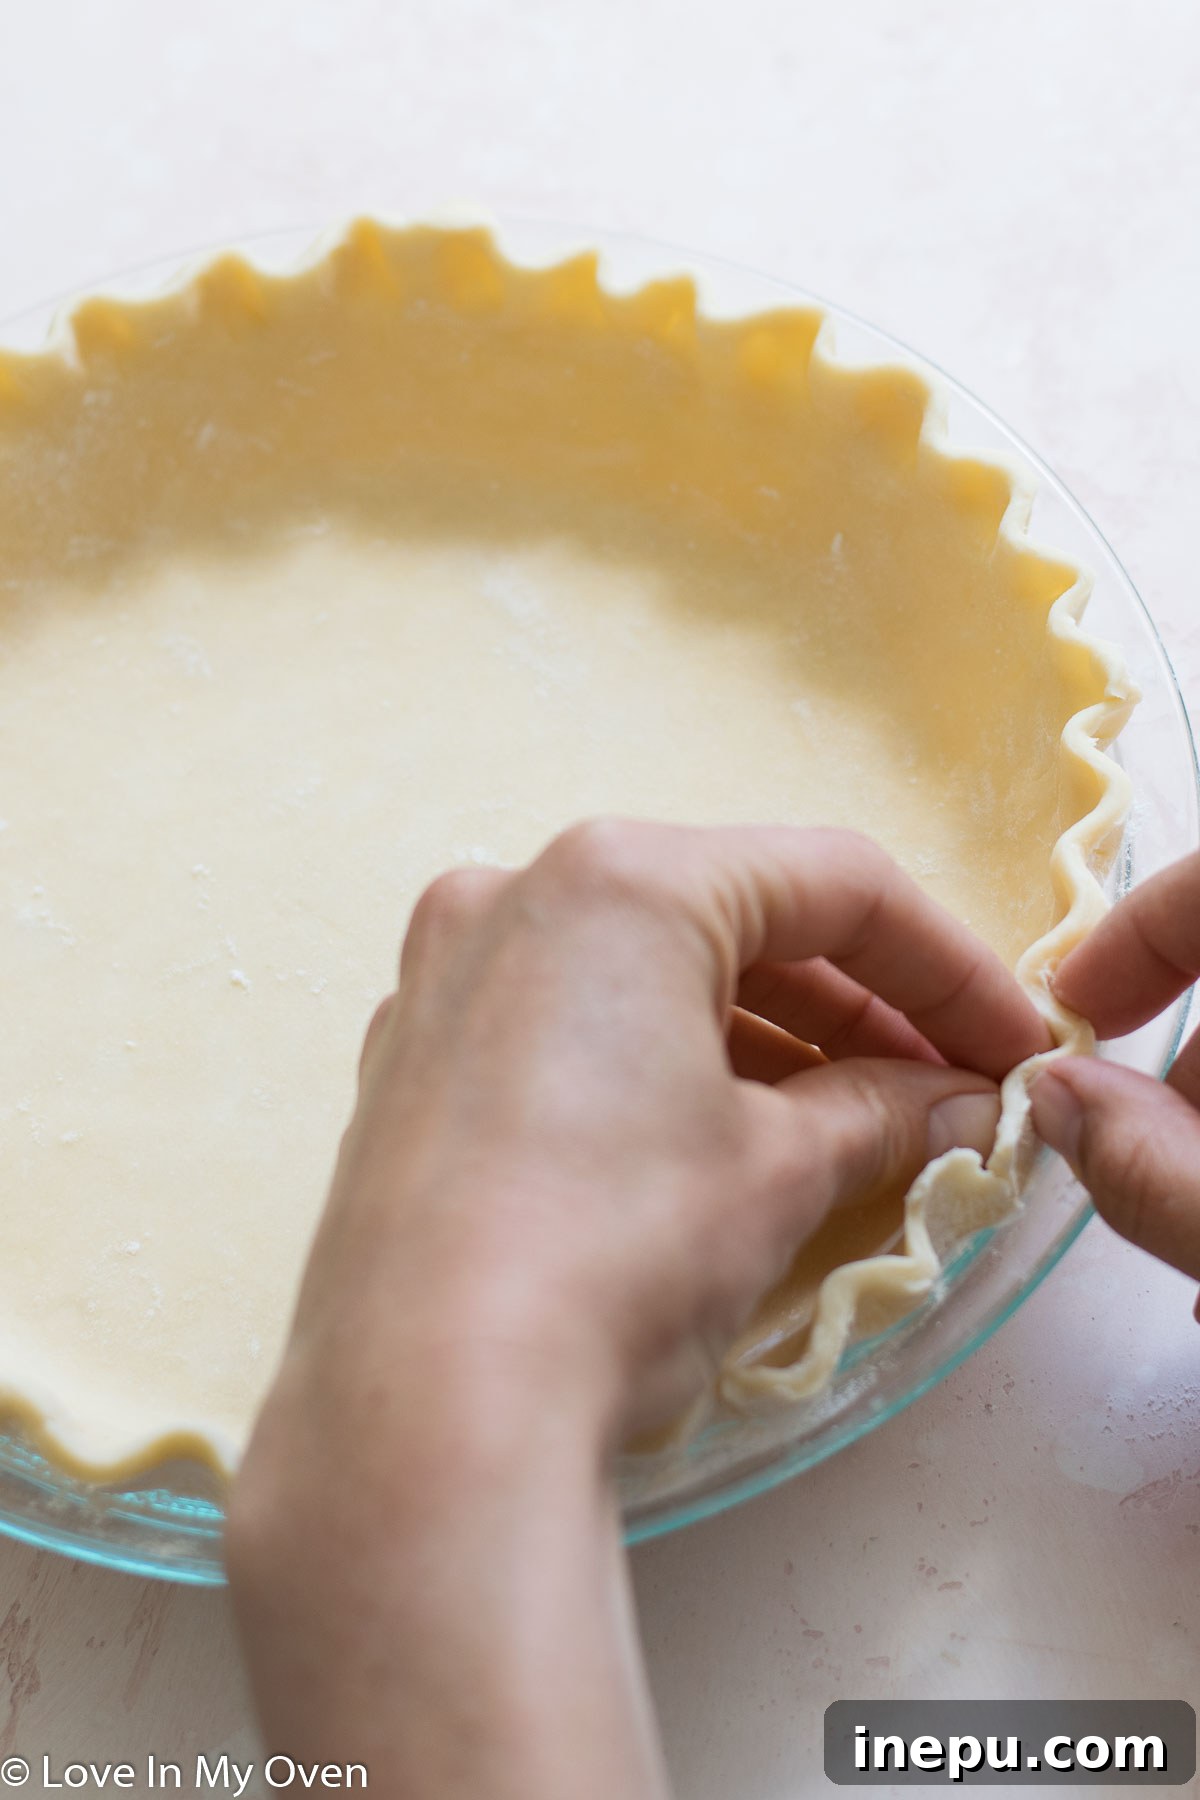
- Transfer with Care: The easiest method to transfer the delicate dough to your pie plate is to gently roll it around your rolling pin, then carefully unroll it over the pie plate. Gently ease the dough into the bottom and up the sides of the plate, ensuring there are no trapped air bubbles beneath. Trim any excess dough, leaving about a 1/2 to 1-inch overhang, then create your desired decorative crimped edge.
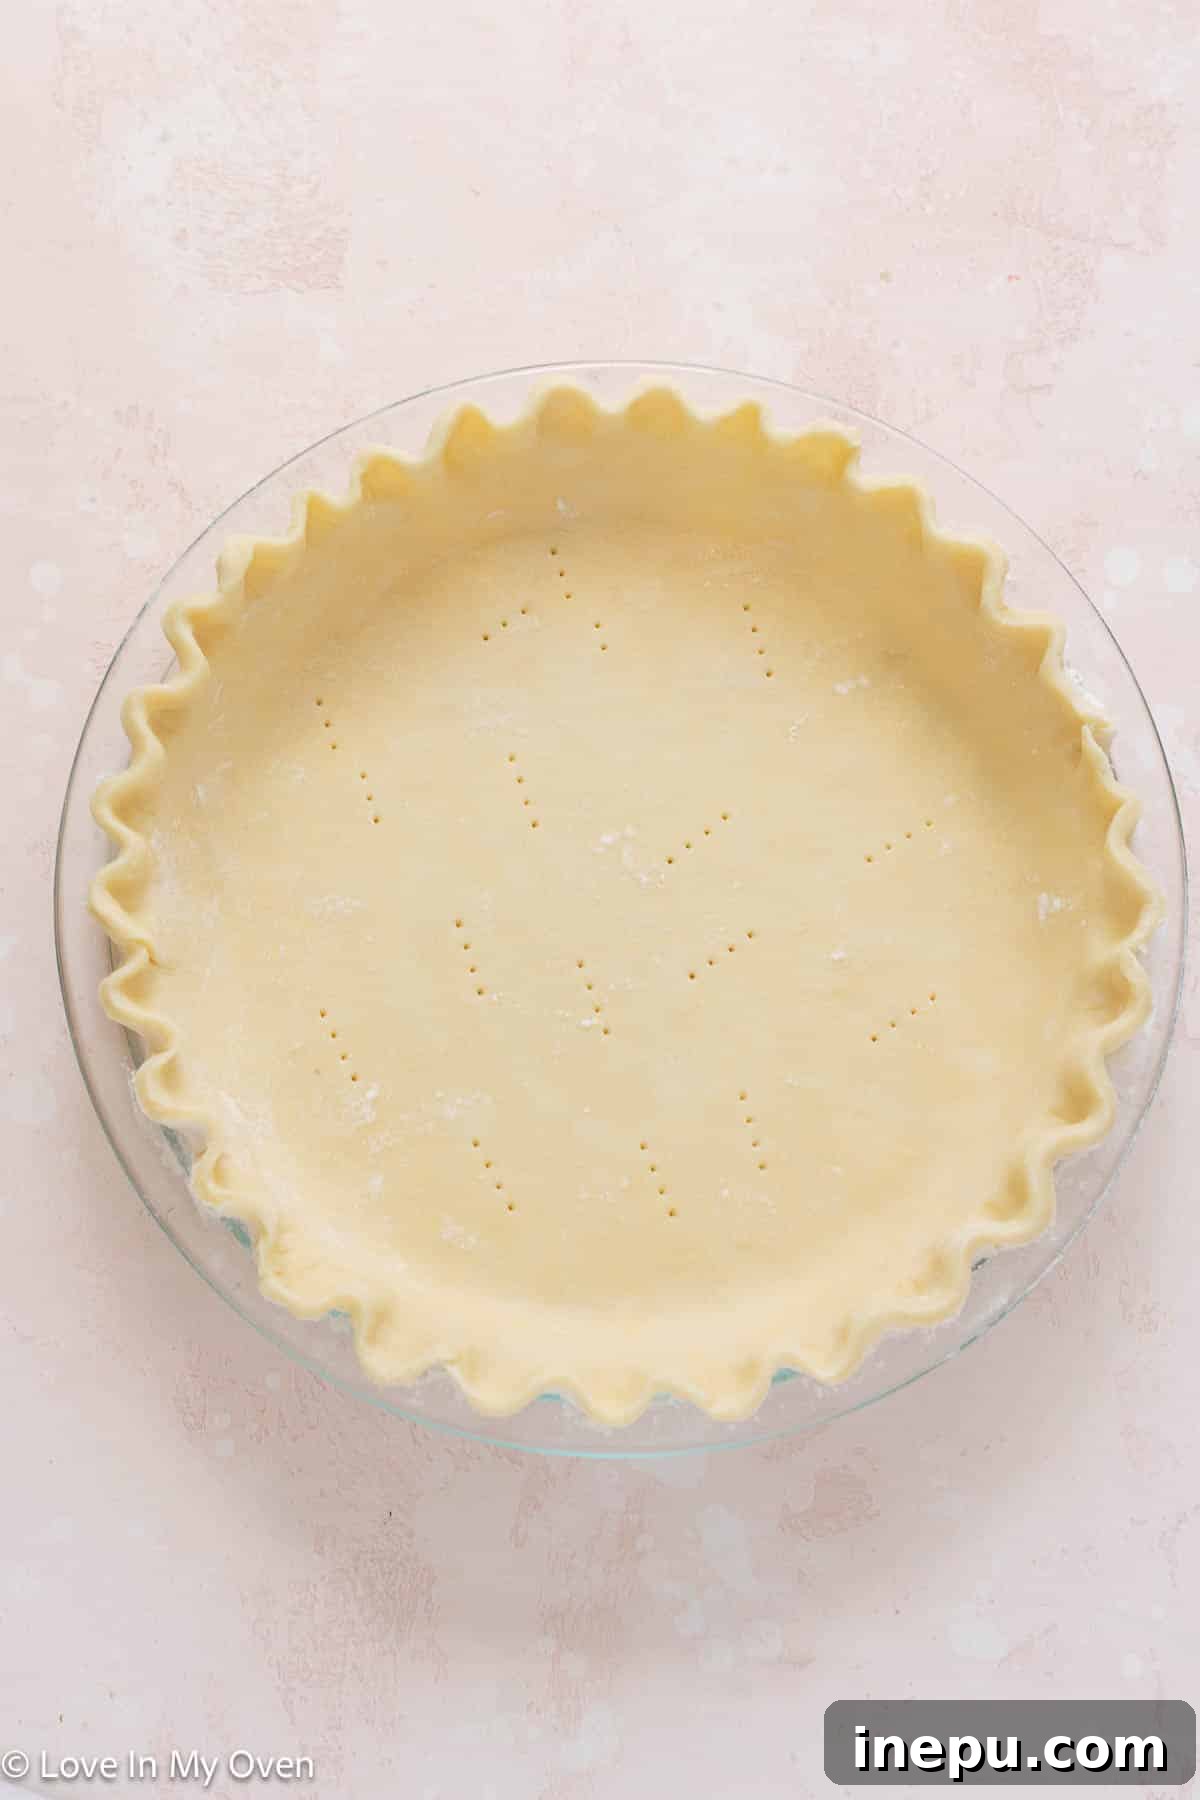
- Ready for Filling: Before adding your chosen filling, prick the bottom of the pie crust a few times with a fork. This simple step helps to vent steam during baking and prevents the crust from puffing up excessively. For many pie recipes, you can add your filling directly to this unbaked crust and bake according to your recipe’s specific instructions. For pies with very wet fillings (like quiches) or if you desire an extra-crisp bottom crust, consider blind baking the crust first.
Freezing and Storage Tips for Convenience
- Freezing Raw Dough: This easy pie crust recipe is perfect for meal prepping and freezing ahead of time. Once you’ve shaped the dough into a flat disc and wrapped it securely in plastic wrap, place it inside a freezer-safe bag. It can be frozen for up to 2 months, making spontaneous pie baking a breeze.
- Thawing Frozen Dough: When you’re ready to use your frozen dough, simply transfer the disc from the freezer to the refrigerator and allow it to thaw overnight. It’s crucial that the dough remains cold when you roll it out to ensure the best possible flaky texture.
- Making a Double Crust: For recipes that call for both a top and bottom crust, or if you simply need two separate pie shells, easily double this recipe. After preparing the dough, divide it into two equal portions before forming them into discs and chilling.
I sincerely hope that this easy, foolproof 3-ingredient all-butter pie crust recipe will quickly become a cherished staple in your kitchen, simplifying all your pie-making adventures this summer and throughout the year! Its remarkable versatility makes it the ideal candidate for everything from a classic, comforting apple pie to an elegant, savory quiche Lorraine, consistently delivering that perfect balance of crispness, tenderness, and rich flavor.
P.S. – Make sure to check back later this week! I’ll be unveiling a truly delicious and seasonal pie recipe that specifically utilizes this exact crust, beautifully showcasing just how wonderfully it performs and inspiring your next baking project. Happy baking, and enjoy the incredibly sweet (or savory!) rewards!
Craving even more pie inspiration? Explore some of my favorite pie recipes from the blog to put your new crust to good use:
- Salted Caramel Apple Rose Pie
- Healthy Blueberry Pie
- Strawberry Apple Pie
- Healthy Pecan Pie
Print Recipe

Easy 3-Ingredient All-Butter Pie Crust
★★★★★
5 from 7 reviews
- Author: Katherine | Love In My Oven
- Total Time: 15 minutes
- Yield: 1 pie crust
Description
This is the best 3-ingredient all-butter pie crust recipe, made without shortening for superior flavor and flakiness. Perfect for any sweet or savory pie!
Ingredients
- 1 1/4 cups all-purpose flour
- 1/2 tsp salt
- 1/2 cup COLD unsalted butter, cubed*
- 1/4 cup ice water**
Instructions
- To a food processor or large mixing bowl, whisk together the flour and salt. Add the cold, cubed butter and either pulse a few times with the processor, or use a pastry cutter (or two forks) to incorporate the butter into the flour mixture. The mixture should resemble a pea-like structure before you add the water.
- Adding 1 tablespoon at a time to the mixture, gently process in the food processor, or mix the water in with a fork. After the 4th tablespoon of water, the dough should begin to form large clumps and comes together easily. Do not add any more water than this!
- Empty the dough on to a lightly floured surface and pack the dough into a ball. Press the dough down into a 1-inch disc and then wrap it tightly in plastic wrap. Chill the dough in the fridge for at least 2 hours (and up to 3 days) before removing it to roll out into a circle for your pie!
- On a lightly floured surface, roll out the dough into a 10-inch circle. This pie crust is perfect for a 9 or 9 1/2-inch pie plate. Once you place the pie crust into the pie plate, prick the crust a few times with a fork. You can add your filling right to this pie crust and then bake!
Extra pie crust can be stored in the freezer, once shaped into a flat disc and wrapped in plastic wrap, for up to 2 months. Thaw overnight in the fridge before using.
Notes
*For the flakiest crust, see my blog post above regarding the importance of keeping your ingredients cold. Once cubed, keep the butter in the freezer until you’re ready to incorporate it into the recipe.
**Prepare your ice water by filling a measuring cup with very cold water, then adding a few cubes of ice. Keep the cup in the freezer until you’re ready to use, incorporating the water one tablespoon at a time.
***If your recipe requires two pie crusts, simply double this recipe. After mixing, divide the dough into two equal portions before rolling them each into a ball and flattening them into discs.
- Prep Time: 15 minutes
- Category: Dessert
- Method: No Bake (refers to dough preparation, not final pie baking)
- Cuisine: American