
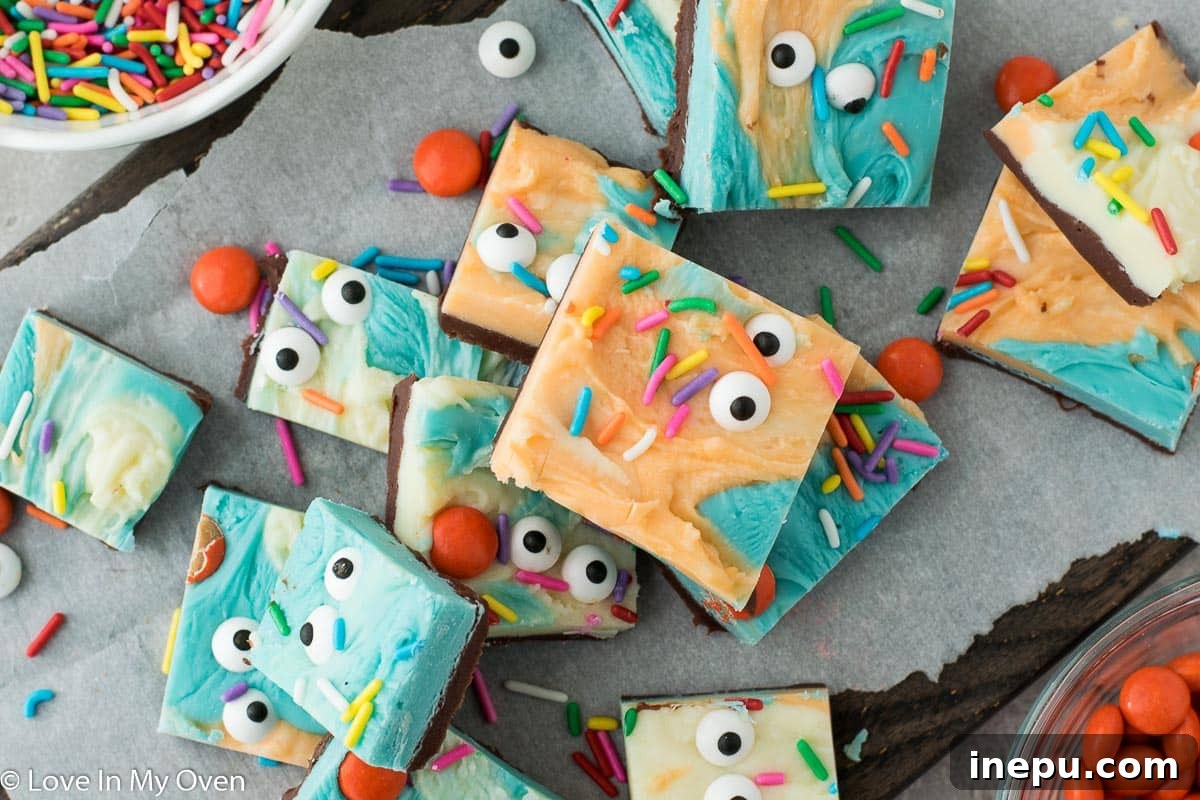
As the leaves turn and a chill fills the autumn air, Halloween approaches, bringing with it a longing for all things spooky and sweet. While the holiday is already brimming with delightful confections, there’s always room for one more truly special treat. This easy Halloween fudge recipe is not just another dessert; it’s a vibrant, delicious creation that will become a cherished part of your seasonal traditions. Imagine rich, creamy fudge swirled with festive colors and adorned with playful candies – it’s a visual delight as much as it is a culinary one. Perfect for parties, gifting, or simply enjoying with family, this fudge is designed to be effortlessly simple yet remarkably impressive. Get ready to whip up a batch of the best Halloween fudge you’ve ever tasted, making your celebrations even sweeter and more memorable.
Halloween is fast approaching, and what better way to celebrate than with a homemade treat that’s both fun to make and incredibly delicious? This vibrant Halloween fudge is the answer! Inspired by the overwhelming popularity of my other easy Halloween treats for kids, I knew I had to create another simple, kid-friendly recipe that delivers big on flavor and festive spirit. My readers consistently ask for straightforward, no-fuss ideas for holiday baking, and this fudge perfectly fits the bill. It’s designed to be approachable for bakers of all skill levels, ensuring that everyone can partake in the joy of creating something special for the spooky season.
The foundation of this recipe comes from my collection of incredibly easy microwaveable fudge recipes, which typically require just two main ingredients: sweetened condensed milk and chocolate chips. For our Halloween-themed version, we elevate the basic formula by incorporating a delightful array of colors and textures. We’ll be using creamy white chocolate chips as our base for vibrant coloring, rich semi-sweet chocolate chips for a classic dark layer, and playful blue candy melts to add a pop of ghoulish charm. This combination not only ensures a delicious flavor profile but also creates a stunning visual effect that’s perfect for Halloween.
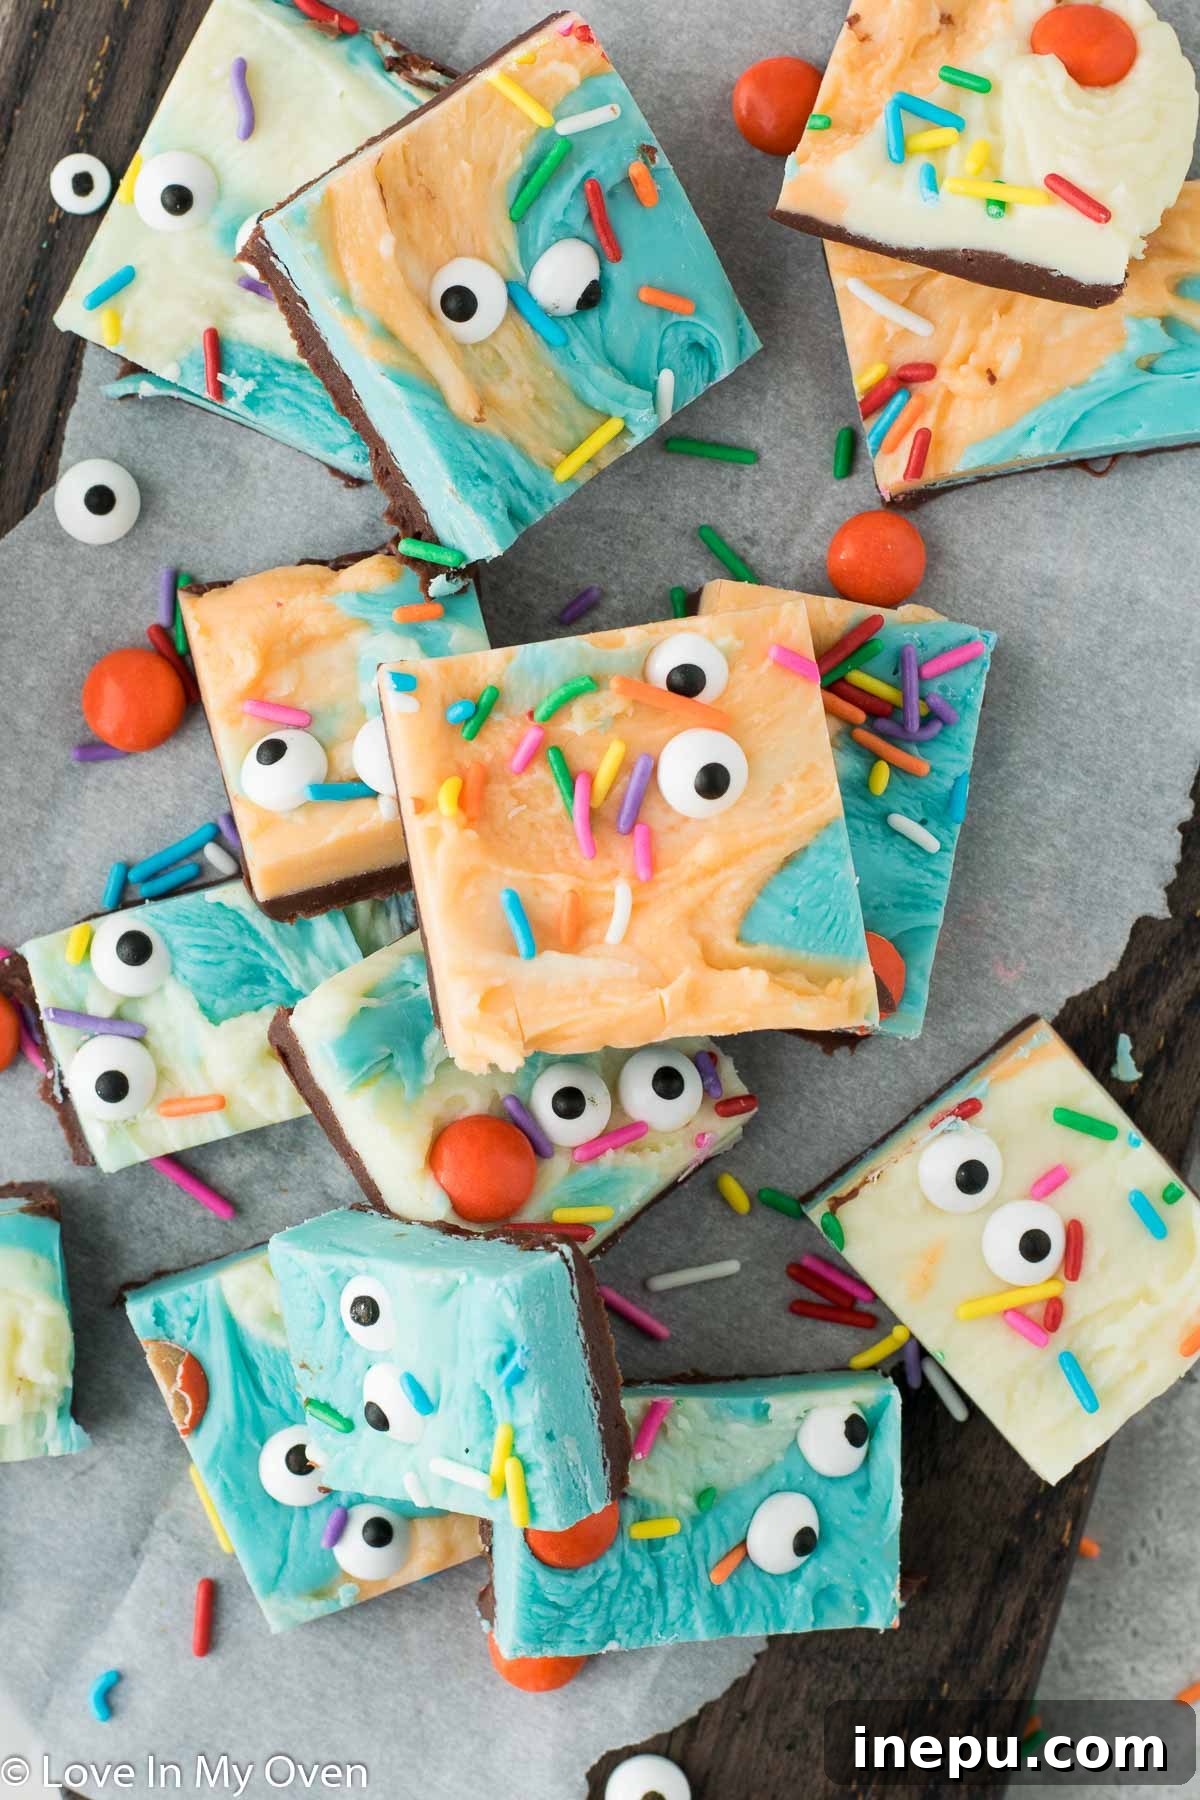
How to Make Easy Halloween Fudge: A Step-by-Step Guide
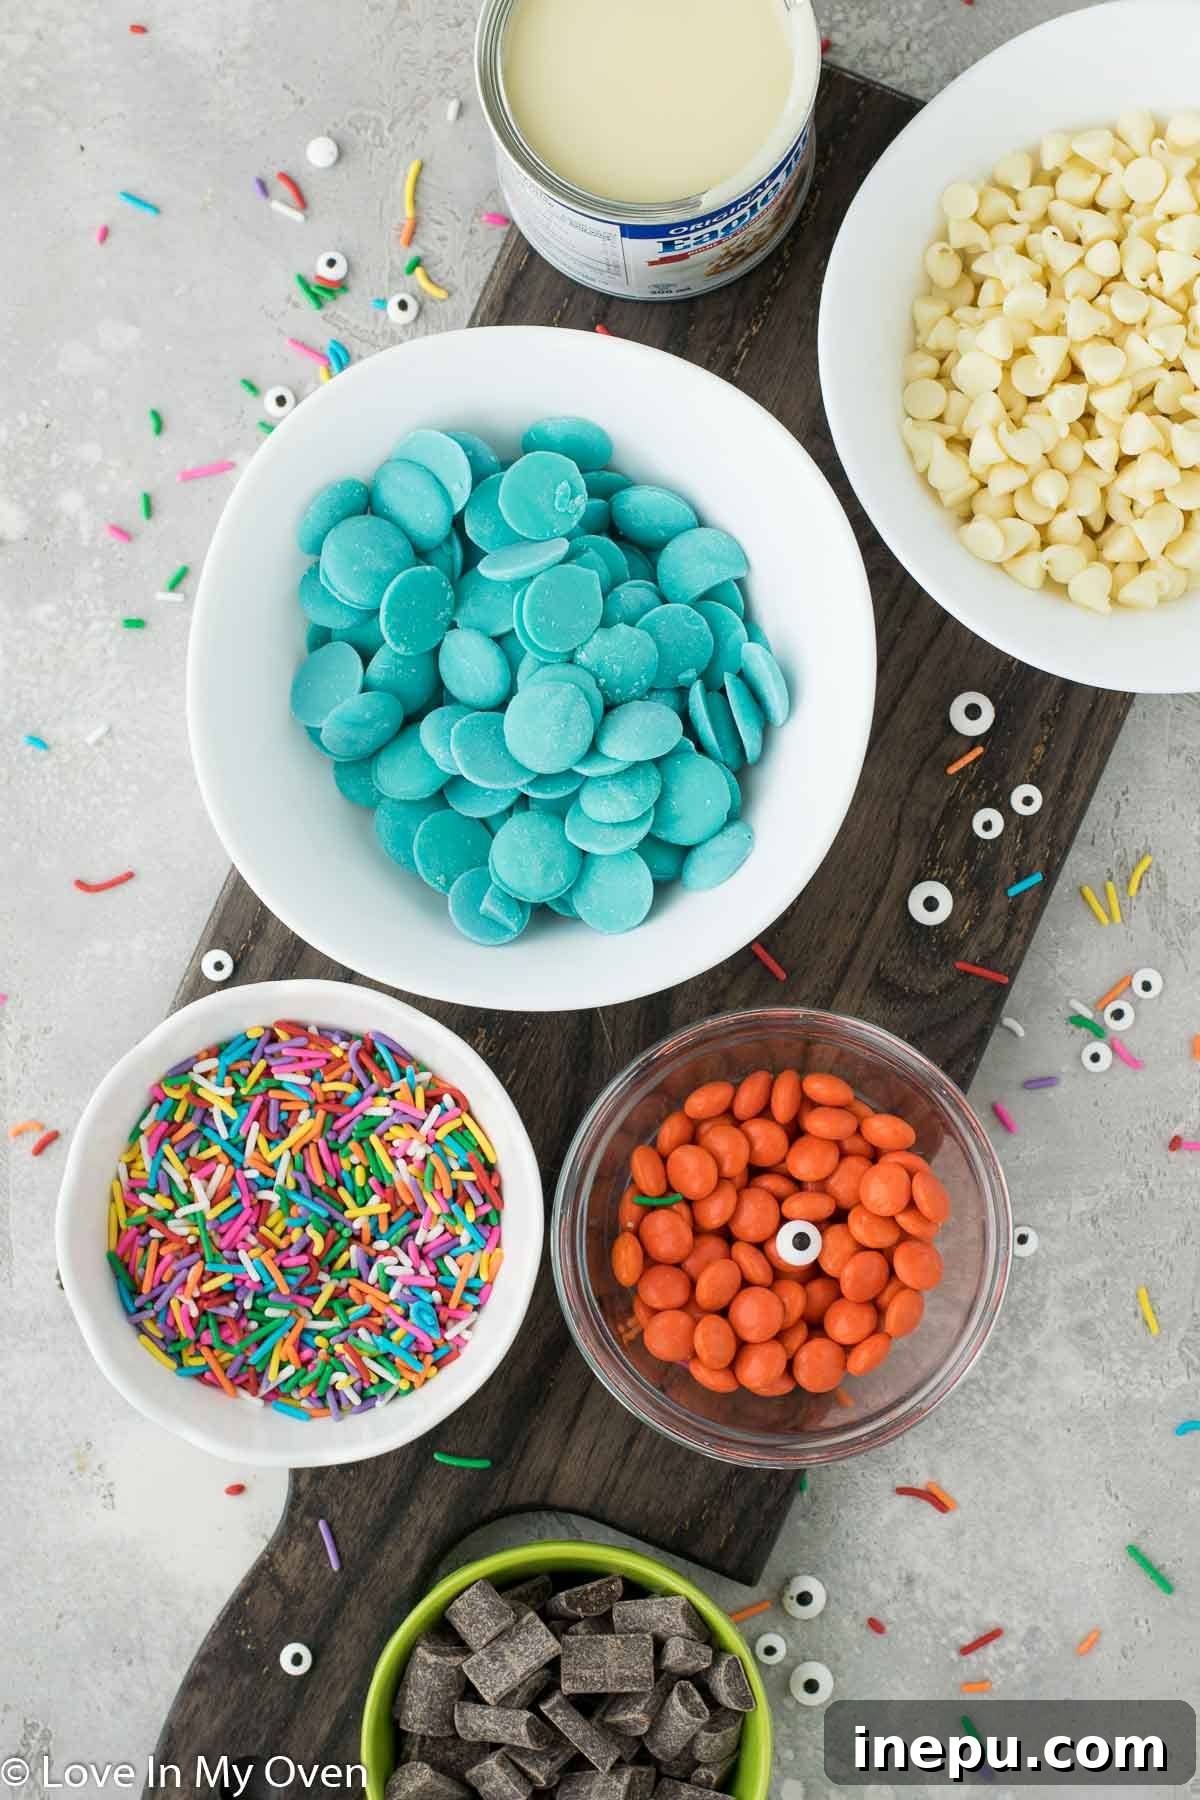
Creating this eye-catching Halloween fudge is surprisingly simple, especially when you have all your ingredients prepped and ready to go. The key to successful fudge-making, particularly with multiple layers, is efficiency and a bit of speed, as the melted chocolate sets quickly. Here’s what you’ll need to gather before you begin:
- One can (300 mL) sweetened condensed milk
- 1 cup high-quality white chocolate chips
- 1 cup semi-sweet chocolate chips
- 1 cup blue candy melts (or other desired Halloween colors)
- 1-2 drops orange gel food coloring (gel works best for vibrant color without adding excess liquid)
- Assorted Halloween sprinkles
- Edible candy eyes
- Reese’s Pieces or other small Halloween candies for decoration
Detailed Instructions for Your Spooky Creation:
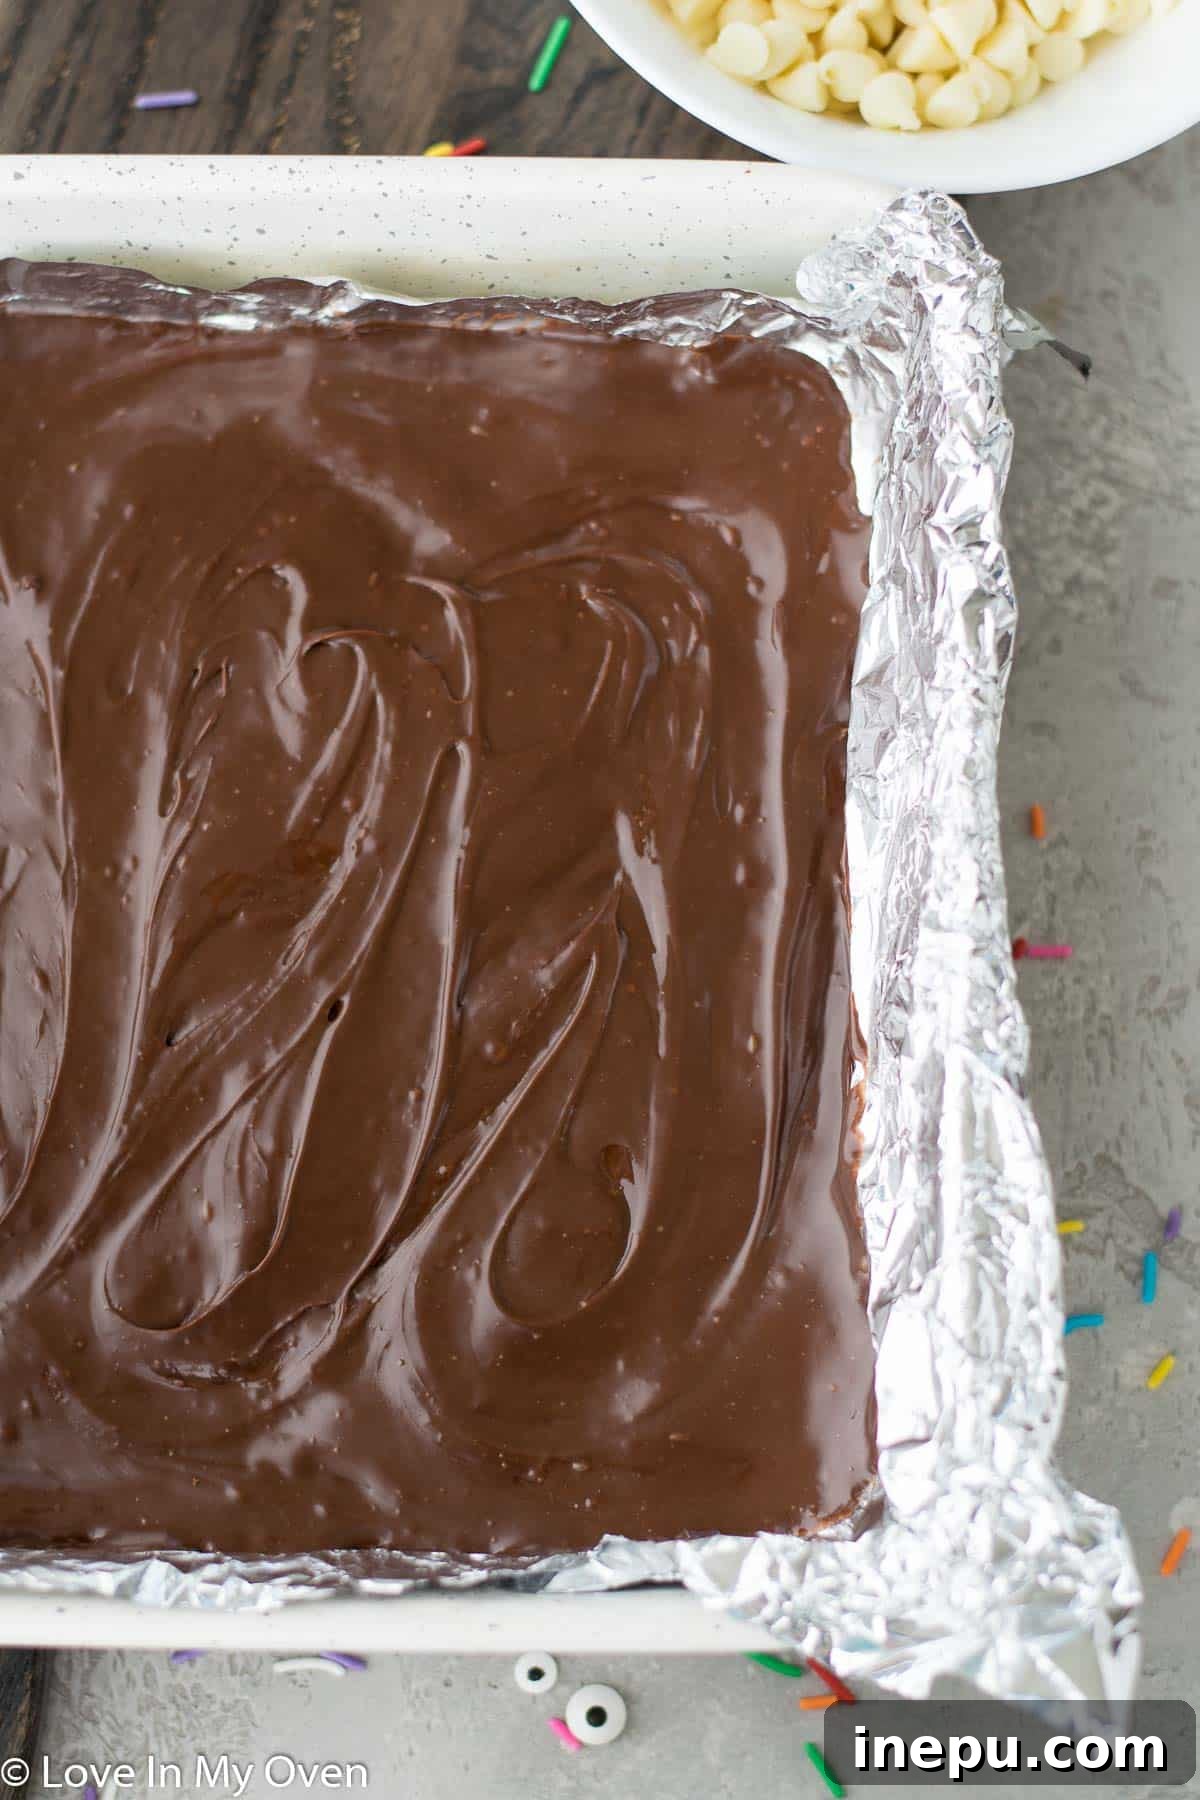
1. Prepare Your Pan and First Layer: Begin by lining an 8×8-inch baking pan with aluminum foil, ensuring a generous overhang on all sides. This overhang will serve as convenient handles later for easy removal of the set fudge. Lightly spray the foil with a non-stick cooking spray to prevent sticking, even in the corners. In a microwave-safe bowl, combine approximately 1/3 of the can of sweetened condensed milk with the semi-sweet chocolate chips. Microwave this mixture on high for 30-40 seconds. Remove from the microwave and stir vigorously with a spoon until the chocolate is completely melted and the mixture is smooth and glossy. Immediately, spread this dark chocolate layer evenly into the bottom of the prepared pan. The speed is crucial here; as soon as the chocolate is melted and smooth, spread it quickly before it begins to set. Place the pan in the refrigerator to chill while you prepare the remaining colorful layers.
Pro Tip for Fudge Perfection: When working with microwave fudge, especially multi-layered versions, time is of the essence. Chocolate combined with condensed milk hardens rapidly once removed from the heat. Having your pan ready and working quickly between melting and spreading each layer will ensure a smooth, well-defined finish and prevent any lumpiness or uneven textures in your final product.
2. Prepare the White and Blue Layers: In two separate, clean microwave-safe bowls, divide the remaining sweetened condensed milk. Combine 1/3 of the milk with the white chocolate chips in one bowl, and the final 1/3 of the milk with the blue candy melts in the other. If you plan to create an orange portion as well (highly recommended for a vibrant Halloween palette!), ensure you have a third clean bowl readily available, along with your orange food coloring. Preparing all your bowls and ingredients beforehand streamlines the process, which is essential given the quick-setting nature of fudge.
3. Melt and Color the Remaining Fudge: Working one bowl at a time, microwave the white chocolate chip mixture for 30-40 seconds on high, then remove and stir until it’s completely smooth and creamy. Repeat this process for the blue candy melt mixture. Once the white chocolate mixture is smooth, quickly transfer about half of it into your designated spare bowl. Add a single drop or two of orange gel food coloring to this portion and stir immediately until the color is evenly distributed and vibrant. Gel food coloring is preferred over liquid as it provides intense color without altering the fudge consistency.
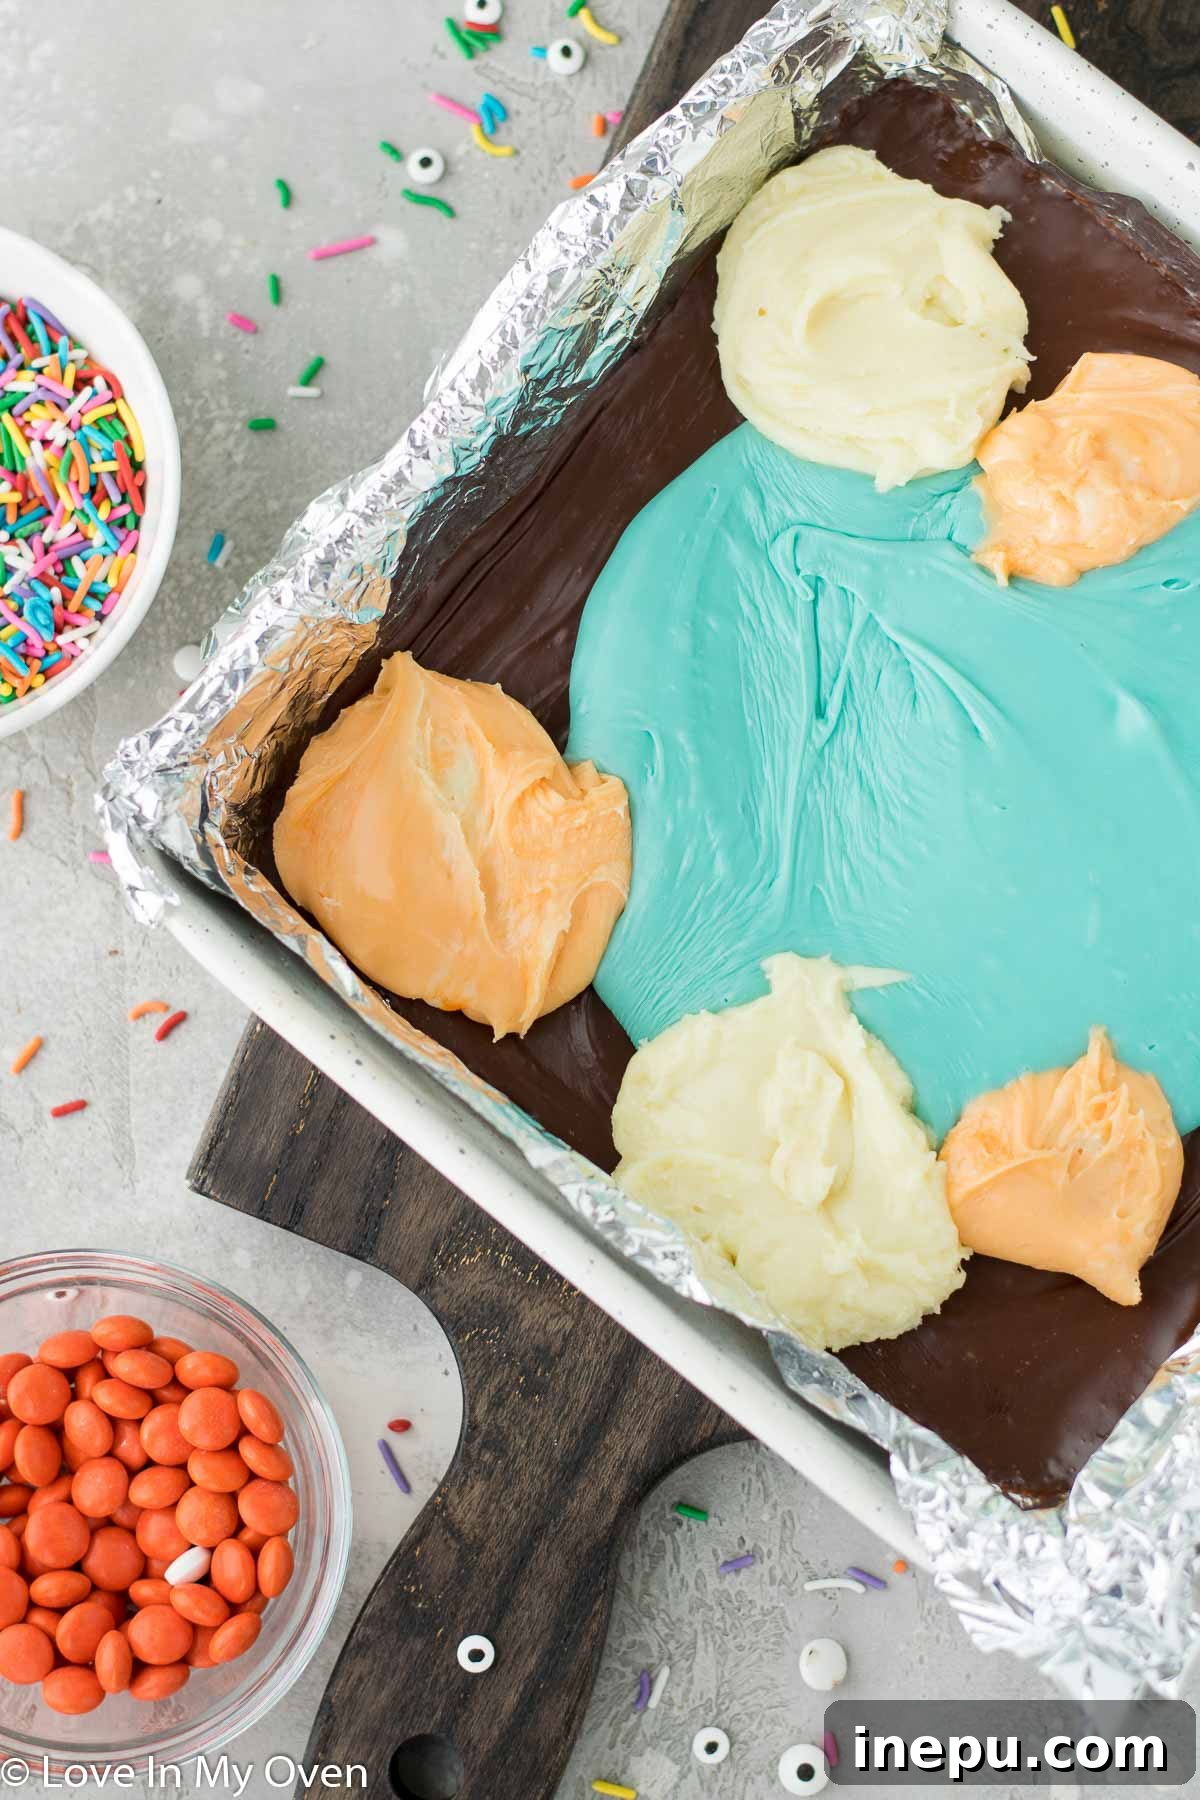
4. Layer and Swirl the Colors: Retrieve your chilled pan with the dark chocolate base from the refrigerator. Begin by dropping spoonfuls of the prepared white, blue, and orange fudge mixtures onto the dark layer. There’s no need for perfect precision here; the beauty of this fudge lies in its playful, marbled appearance. Use the back of your spoon or a butter knife to gently spread and swirl the colors together. Aim for a gentle swirling motion rather than thorough mixing to maintain distinct color variations and create that captivating Halloween effect. This step allows for a lot of creativity and makes each piece of fudge unique.
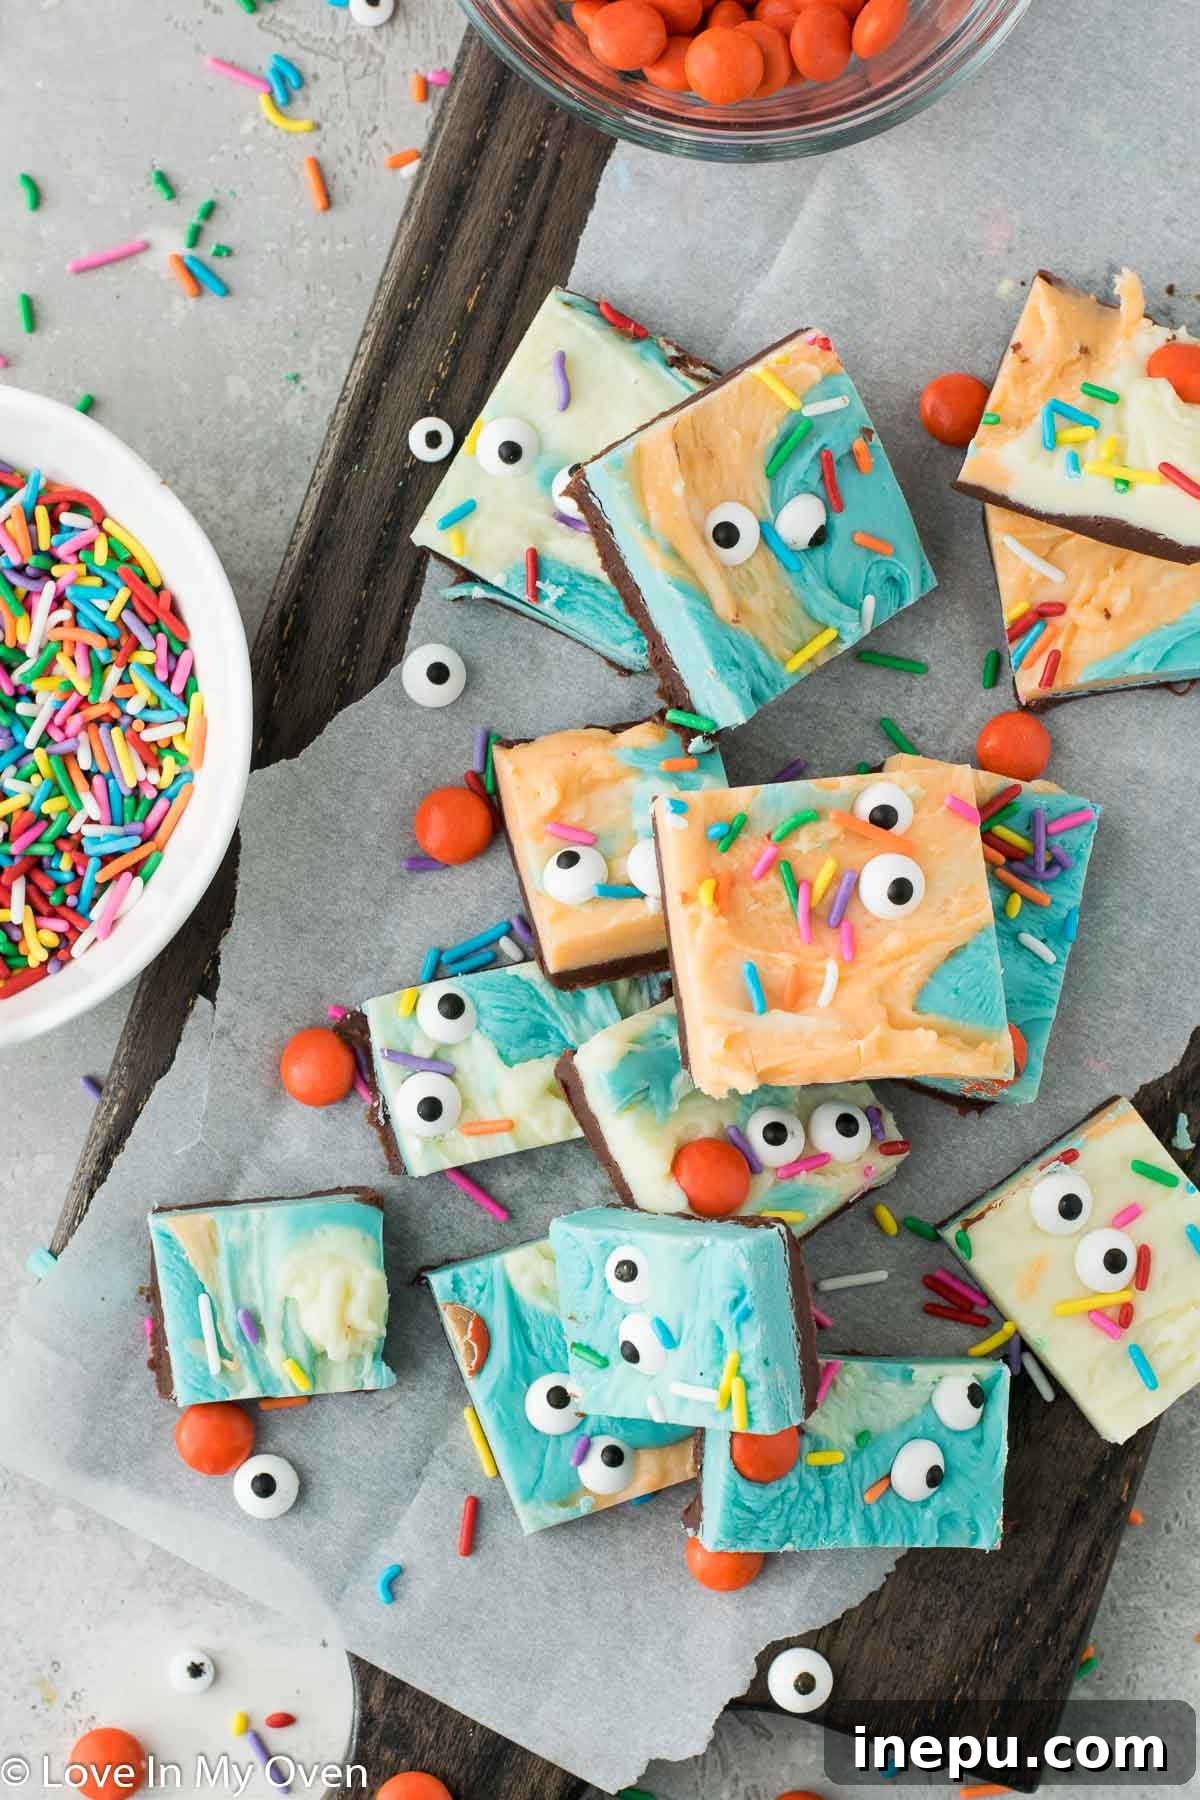
5. Decorate and Chill: While the fudge is still soft and pliable, generously sprinkle your chosen Halloween sprinkles, edible candy eyeballs, and Reese’s Pieces over the top. Gently press them into the fudge surface with your fingertips to ensure they adhere well and don’t fall off once the fudge sets. These decorations add not only visual appeal but also a delightful textural contrast. Once decorated, return the pan to the refrigerator for at least 4 hours, though preferably overnight. Adequate chilling time is crucial for the fudge to firm up completely, making it easy to cut and ensuring a perfect texture. Resist the urge to cut it too soon!
6. Cut and Store Your Halloween Fudge: Once fully chilled and firm, use the foil overhang as handles to carefully lift the entire slab of fudge out of the pan and onto a clean cutting board. For clean, precise cuts, warm a sharp knife under hot water, wipe it dry, and then slice the fudge into approximately 36 uniform pieces. Re-warm and clean the knife as needed between cuts. If you prefer a more rustic look, you can cut randomly sized pieces. Store the finished Halloween fudge in an airtight container in the refrigerator for up to two weeks. This ensures it remains fresh, firm, and ready to enjoy whenever a spooky sweet craving strikes.

Frequently Asked Questions About Halloween Fudge
Can I use other colors or types of chocolate for the fudge?
Absolutely! The beauty of this easy fudge recipe lies in its adaptability. You can get incredibly creative with your color choices to match any Halloween theme or simply keep it elegant with a classic dark and white chocolate combination. Colored candy melts are an excellent choice for achieving vibrant, consistent colors without the need for additional food coloring. They melt smoothly and hold their hue beautifully. Beyond blue and orange, consider purple, green, or even black candy melts for a truly spooky effect. You could also use different shades of food coloring with white chocolate to achieve your desired palette. Just remember to maintain the general ratio of about 1/3 can of sweetened condensed milk (roughly 100 mL) to 1 cup of chocolate chips or candy melts to ensure the perfect creamy texture.
Is it possible to make this Halloween fudge vegan or dairy-free?
Yes, it certainly is! For those with dietary restrictions or preferences, transforming this recipe into a vegan or dairy-free delight is quite simple. I’ve experimented with several fudge recipes using coconut condensed milk and various brands of vegan chocolate chips, and the results have consistently been just as successful and delicious as the traditional version. The key is to stick to the same ratios of condensed milk to chocolate as indicated in the original recipe. Look for high-quality vegan semi-sweet and white chocolate chips, and ensure your candy melts (if using) are also dairy-free. The texture might be slightly different due to the properties of plant-based ingredients, but the rich flavor and festive appeal will remain intact, allowing everyone to enjoy this Halloween treat.
Do I have to use the microwave for this fudge, or are there alternative methods?
While the microwave method is incredibly convenient and quick, especially when dealing with multiple colors that need to be melted efficiently, it is not the only option. You can absolutely make this fudge using a stovetop method. If opting for the stove, use a heavy-bottomed pot over very low heat. Add the condensed milk and chocolate chips, stirring constantly until the chocolate is fully melted and smooth. Be extremely vigilant to avoid burning the chocolate, as direct heat can easily scorch it. For better control and to prevent scorching, you might consider a double boiler setup. This involves placing a heatproof bowl over a pot of simmering water, ensuring the bottom of the bowl does not touch the water. Stir the chocolate and condensed milk in the bowl until melted. If you’re preparing multiple colors, be prepared to use several pots or bowls simultaneously to maintain the quick workflow needed to prevent premature setting. Alternatively, you can simplify the recipe by using fewer colors if you’re using the stovetop method to reduce complexity.
Tips for Perfect Fudge Every Time
Making fudge, especially a layered, colorful one like this Halloween treat, can be an enjoyable process with a few pointers. Firstly, *mise en place* (everything in its place) is your best friend. Having all ingredients measured and bowls ready significantly reduces stress when you need to work quickly. Secondly, when melting chocolate, whether in the microwave or on the stove, avoid overheating. Chocolate can seize or burn easily. If using a microwave, stir every 15-20 seconds. For the stovetop, keep the heat low and stir continuously. If your fudge seems too soft after chilling, it might need more time in the fridge, or a slightly higher chocolate-to-condensed-milk ratio next time. If it’s too hard, it might have been overcooked or had too much chocolate. Remember, practice makes perfect, and even imperfect fudge is delicious!
Other Favorite Fudge Recipes and Easy Treats from the Blog
If you loved making this easy Halloween fudge, you’ll be thrilled to discover more delightful recipes from my kitchen. My blog is a treasure trove of simple, crowd-pleasing desserts that are perfect for any occasion. From rich, decadent fudges to creative no-bake bites, there’s something for everyone to enjoy. Be sure to check out these other popular recipes for more sweet inspiration:
- Maple Walnut Fudge: A classic, comforting flavor that’s perfect for autumn.
- Gingerbread Fudge: Spice up your holiday season with this festive treat.
- 3-Ingredient Oreo Truffles: Incredibly easy and always a hit at parties.
- Easy Halloween Treats for Kids: More fun, simple ideas for your little ghouls and goblins.
- Halloween Cake Pops: Adorable and delicious bite-sized cakes for any Halloween gathering.
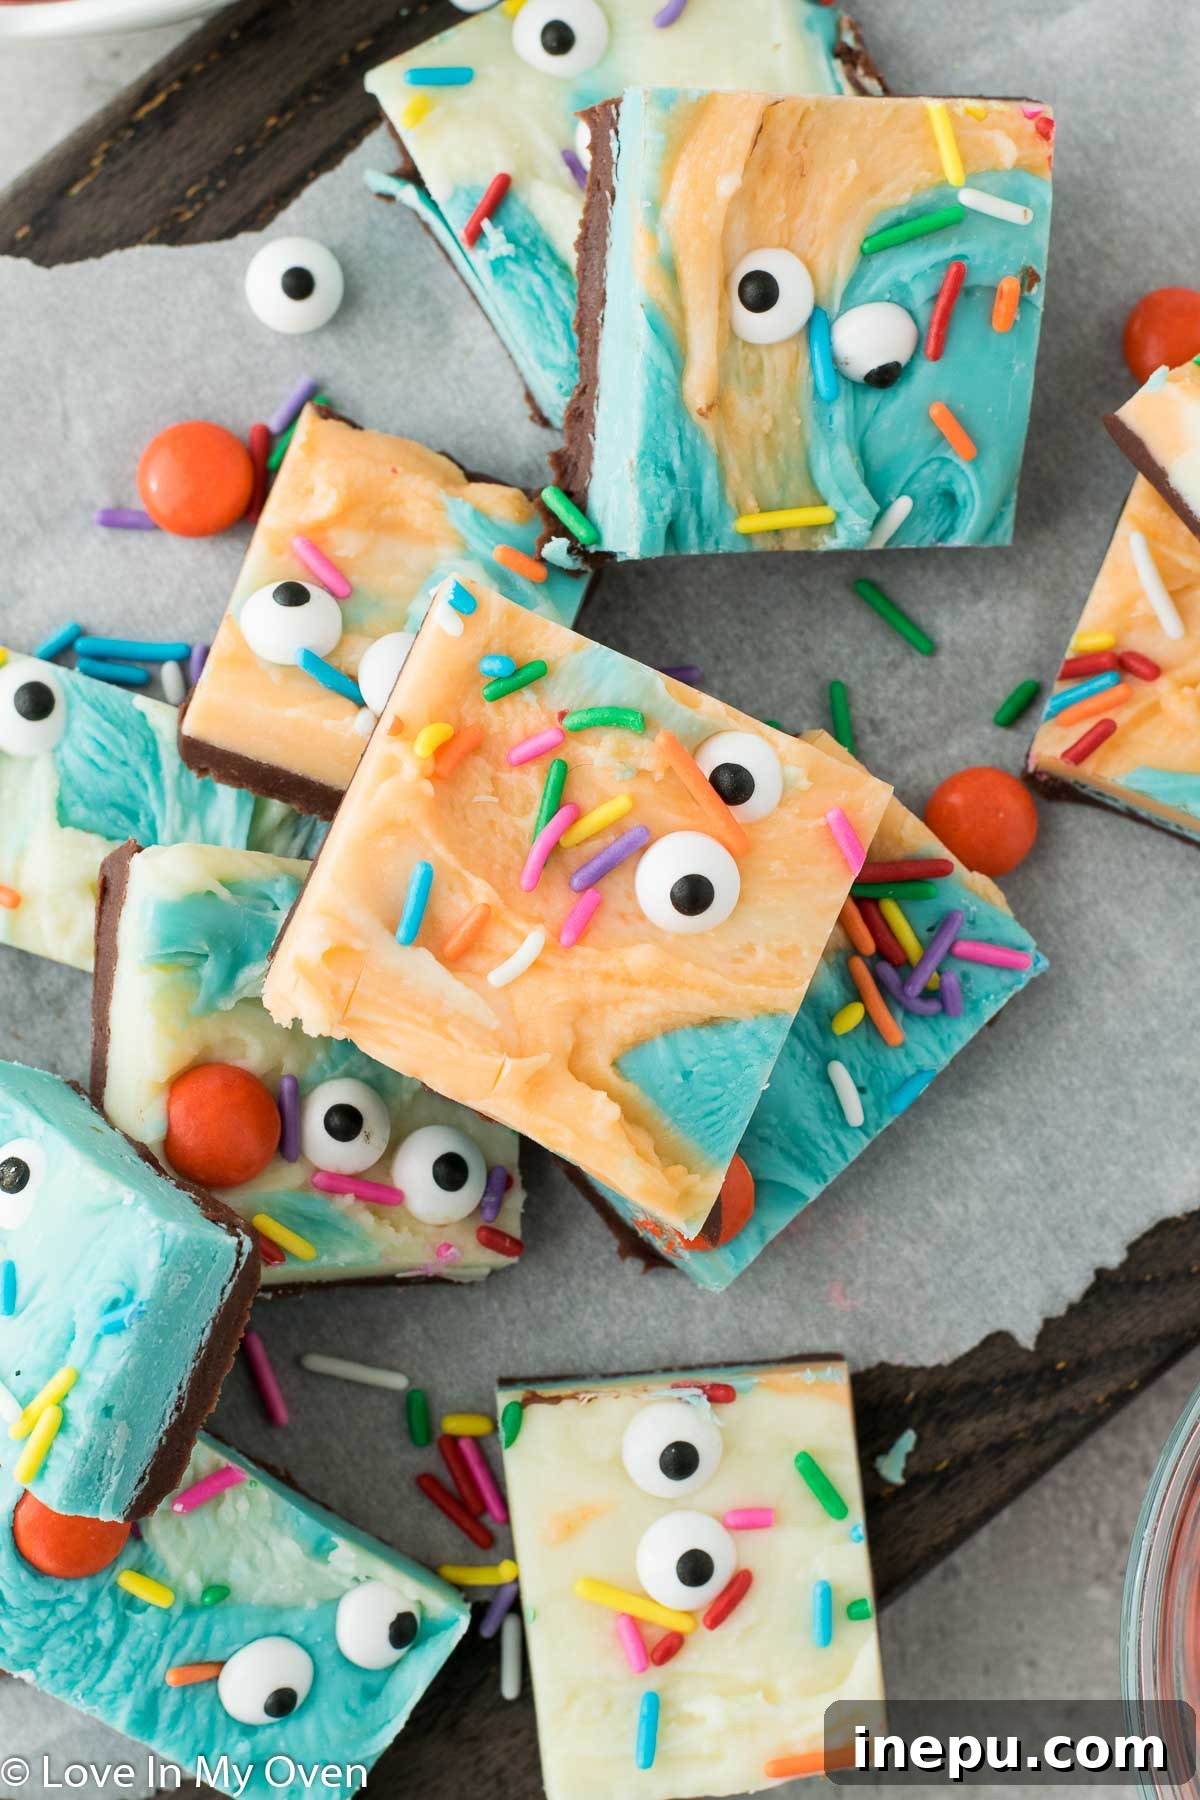
This Halloween fudge is more than just a sweet treat; it’s an experience waiting to happen. The joy of creating something so festive and delicious, especially with the little ones, adds a special touch to the holiday season. Its simplicity ensures that even the busiest schedules can accommodate this delightful project, promising a batch of creamy, colorful fudge that will disappear faster than ghosts on Halloween night. So gather your ingredients, embrace the spirit of the season, and prepare to enchant your taste buds with this unforgettable homemade candy. Happy Halloween baking!
Print Recipe

Halloween Fudge
5 from 1 review
- Author: Katherine | Love In My Oven
- Total Time: 30 minutes
- Yield: 36 pieces
Description
Since there aren’t enough sweet treats for Halloween already, why not make this easy Halloween fudge? It’s one of my favorite Halloween dessert recipes!
Ingredients
- 1 can (300 mL) sweetened condensed milk
- 1 cup semi-sweet chocolate chips
- 1 cup white chocolate chips
- 1 cup blue candy melts
- 1–2 drops orange food coloring
- 1/8 cup candy eyes
- Assorted Halloween sprinkles
- Reese’s Pieces or other small Halloween candies
Instructions
- Line an 8×8 pan with aluminum foil and spray it with nonstick spray, setting it aside. In a microwave-safe bowl, combine 1/3 of the can of condensed milk with the semi-sweet chocolate chips. Microwave the mixture on high for 30-40 seconds, then remove and stir with a spoon until smooth and well combined.
- Spread the melted dark chocolate mixture immediately into the bottom of the foil-lined pan. Place the pan in the fridge to chill and set while you prepare the remaining colorful fudge layers. Remember to work quickly, as the fudge will begin to harden as it cools.
- In two additional separate, clean bowls, combine 1/3 of the remaining condensed milk with the white chocolate chips, and the final 1/3 condensed milk with the blue candy melts. If you intend to create an orange portion, have another clean bowl ready along with your orange food coloring.
- One after the other, microwave the white chocolate chip mixture for 30-40 seconds, stirring until smooth. Repeat this for the blue chocolate chips mixture, ensuring it is also smooth. Transfer half of the melted white mixture into the spare bowl and add a drop or two of orange food coloring, stirring immediately to achieve an even color.
- Remove the pan with the dark fudge base from the fridge. Drop spoonfuls of the prepared white, blue, and orange fudge mixtures on top of the dark fudge in the pan. Gently use the back of a spoon to swirl and spread the colors, creating a marbled effect without fully blending them.
- While the fudge is still soft, add sprinkles, candy eyeballs, and Reese’s Pieces on top, gently pressing them into the surface to secure. Place the decorated fudge in the fridge for at least 4 hours, or preferably overnight, to allow it to set completely. Once firm, use the foil handles to lift the fudge from the pan onto a cutting board. Cut the fudge into 36 pieces (or your preferred size) and store in an airtight container in the fridge for up to 2 weeks.
Store the fudge in the fridge for up to 2 weeks, in an airtight container.
- Prep Time: 20 minutes
- Cook Time: 10 minutes
- Category: fudge
- Method: microwave
- Cuisine: american