
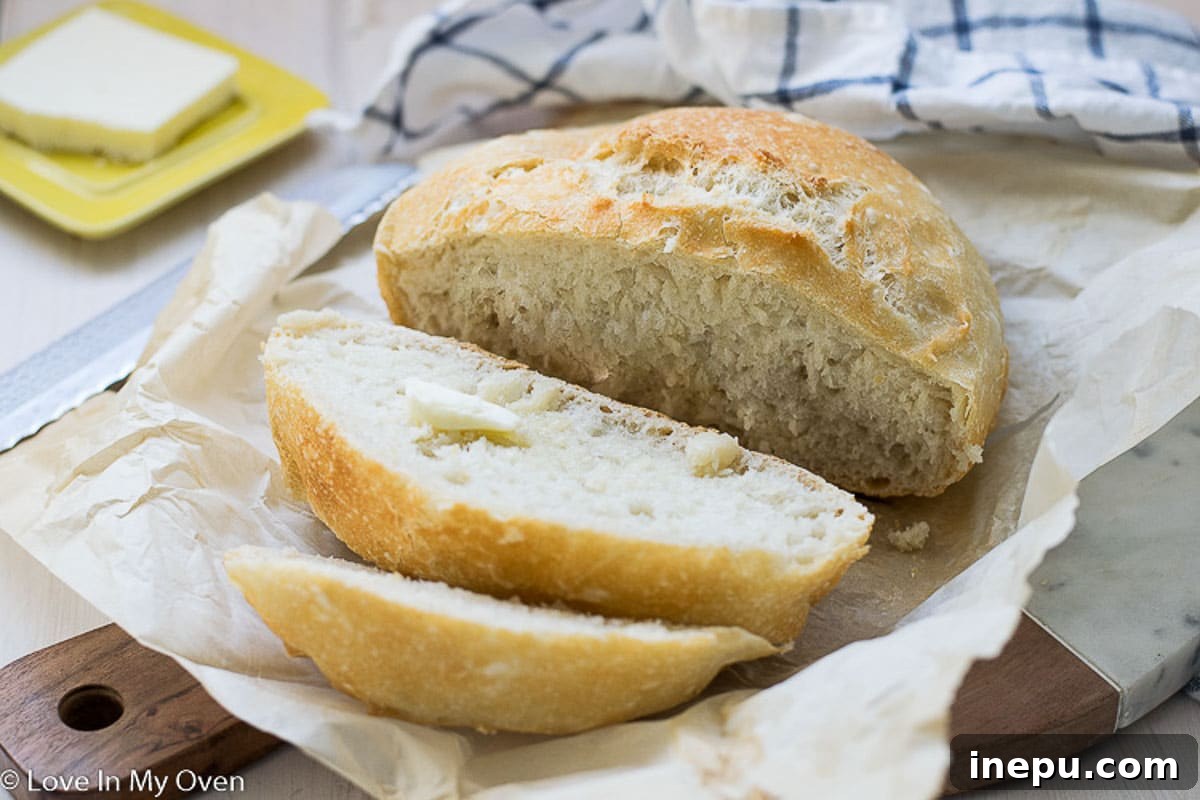
Transform your baking experience with the magic of no-knead bread! This incredibly easy overnight bread requires just 3 essential ingredients and promises a crusty, flavorful loaf you’ll want to bake weekly.
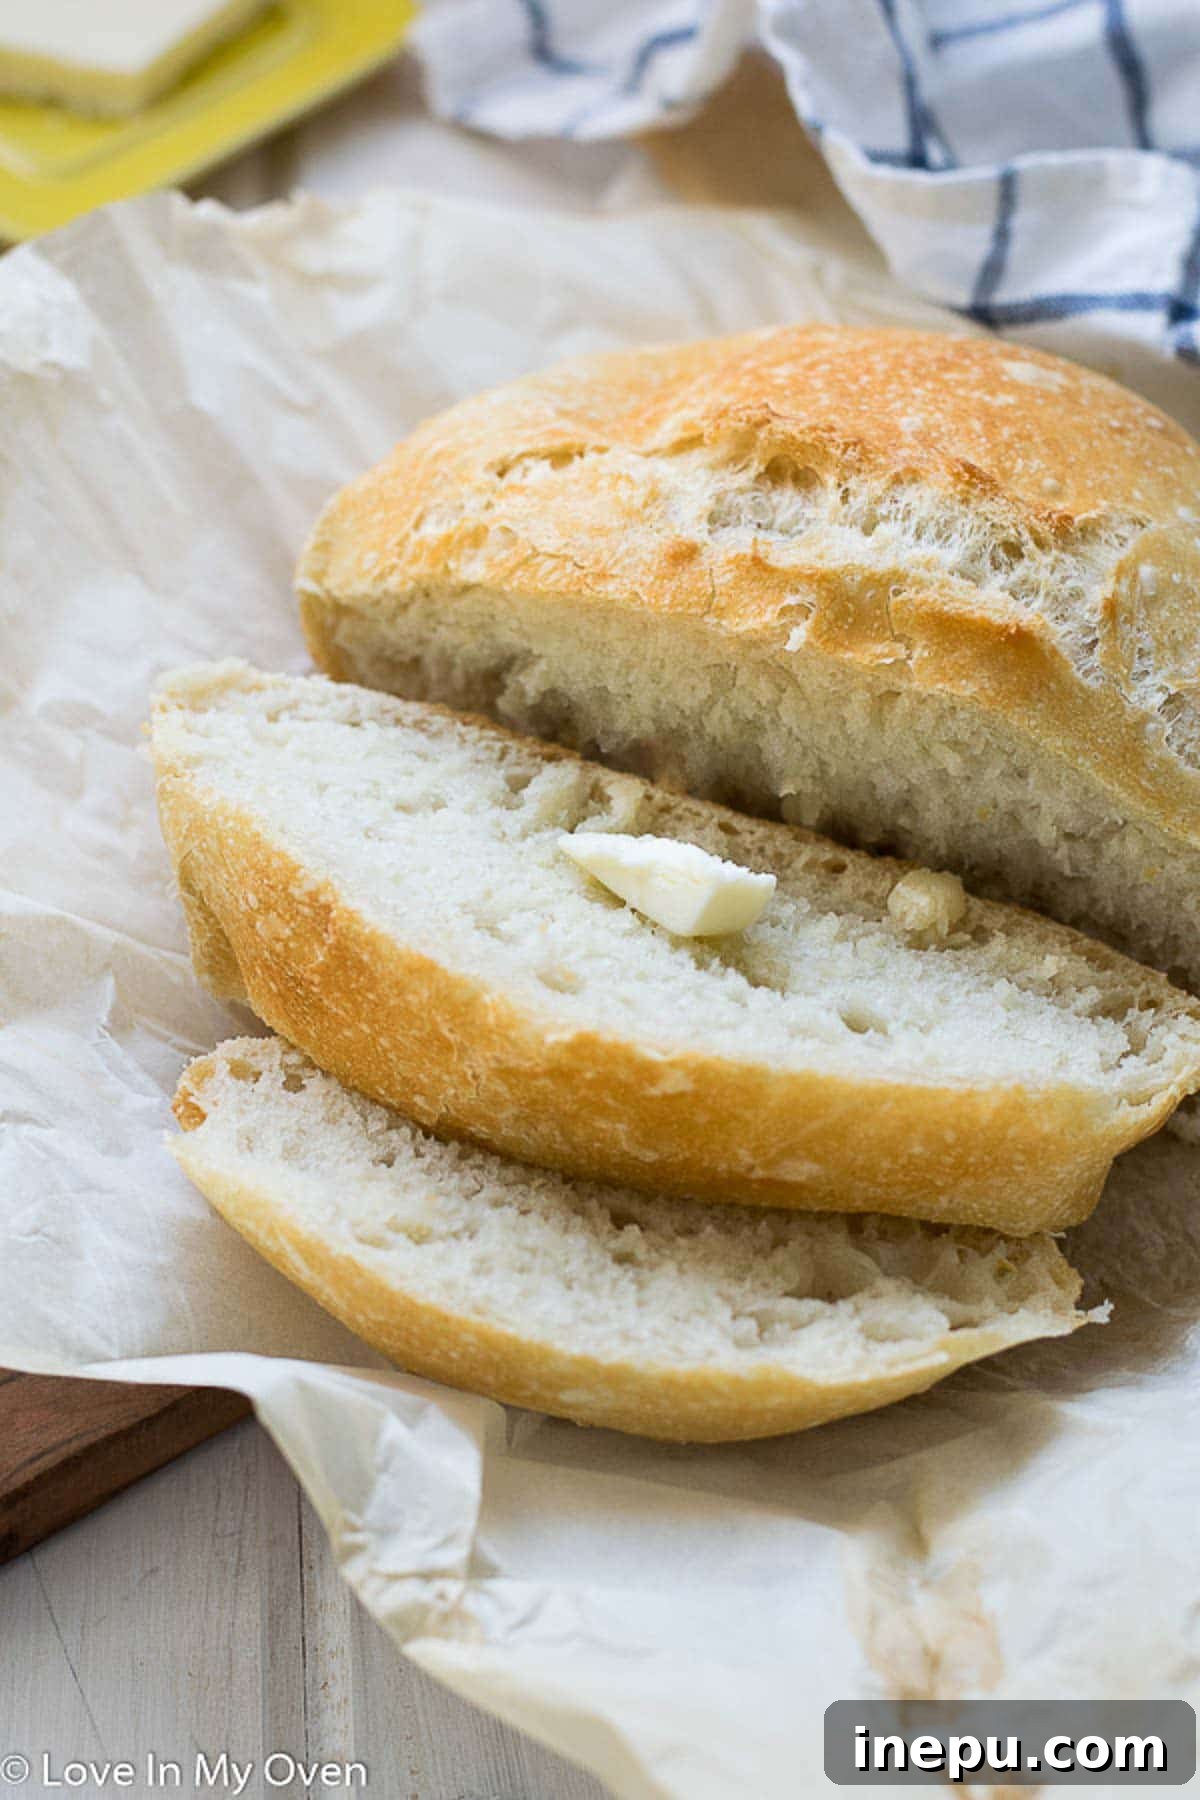
Embrace Effortless Baking: The Wonder of No-Knead Bread
In a world bustling with complex culinary trends, there’s a profound joy in rediscovering simplicity, especially when it comes to baking. Enter the no-knead bread – a revolutionary concept that has transformed home baking for countless enthusiasts. Imagine waking up to the irresistible aroma of freshly baked bread, a golden-brown masterpiece with a perfectly crisp crust and a soft, airy interior, all achieved with minimal effort. This isn’t a dream; it’s the reality of no-knead bread, a recipe so simple it feels like magic.
While the calendar might be hinting at autumn with its cozy flavors, the craving for warm, comforting food knows no season. This recipe for 3-ingredient bread is the ultimate comfort food, providing warmth and satisfaction any time of year. It’s a testament to the fact that you don’t need fancy equipment or extensive baking experience to create something truly extraordinary in your own kitchen.
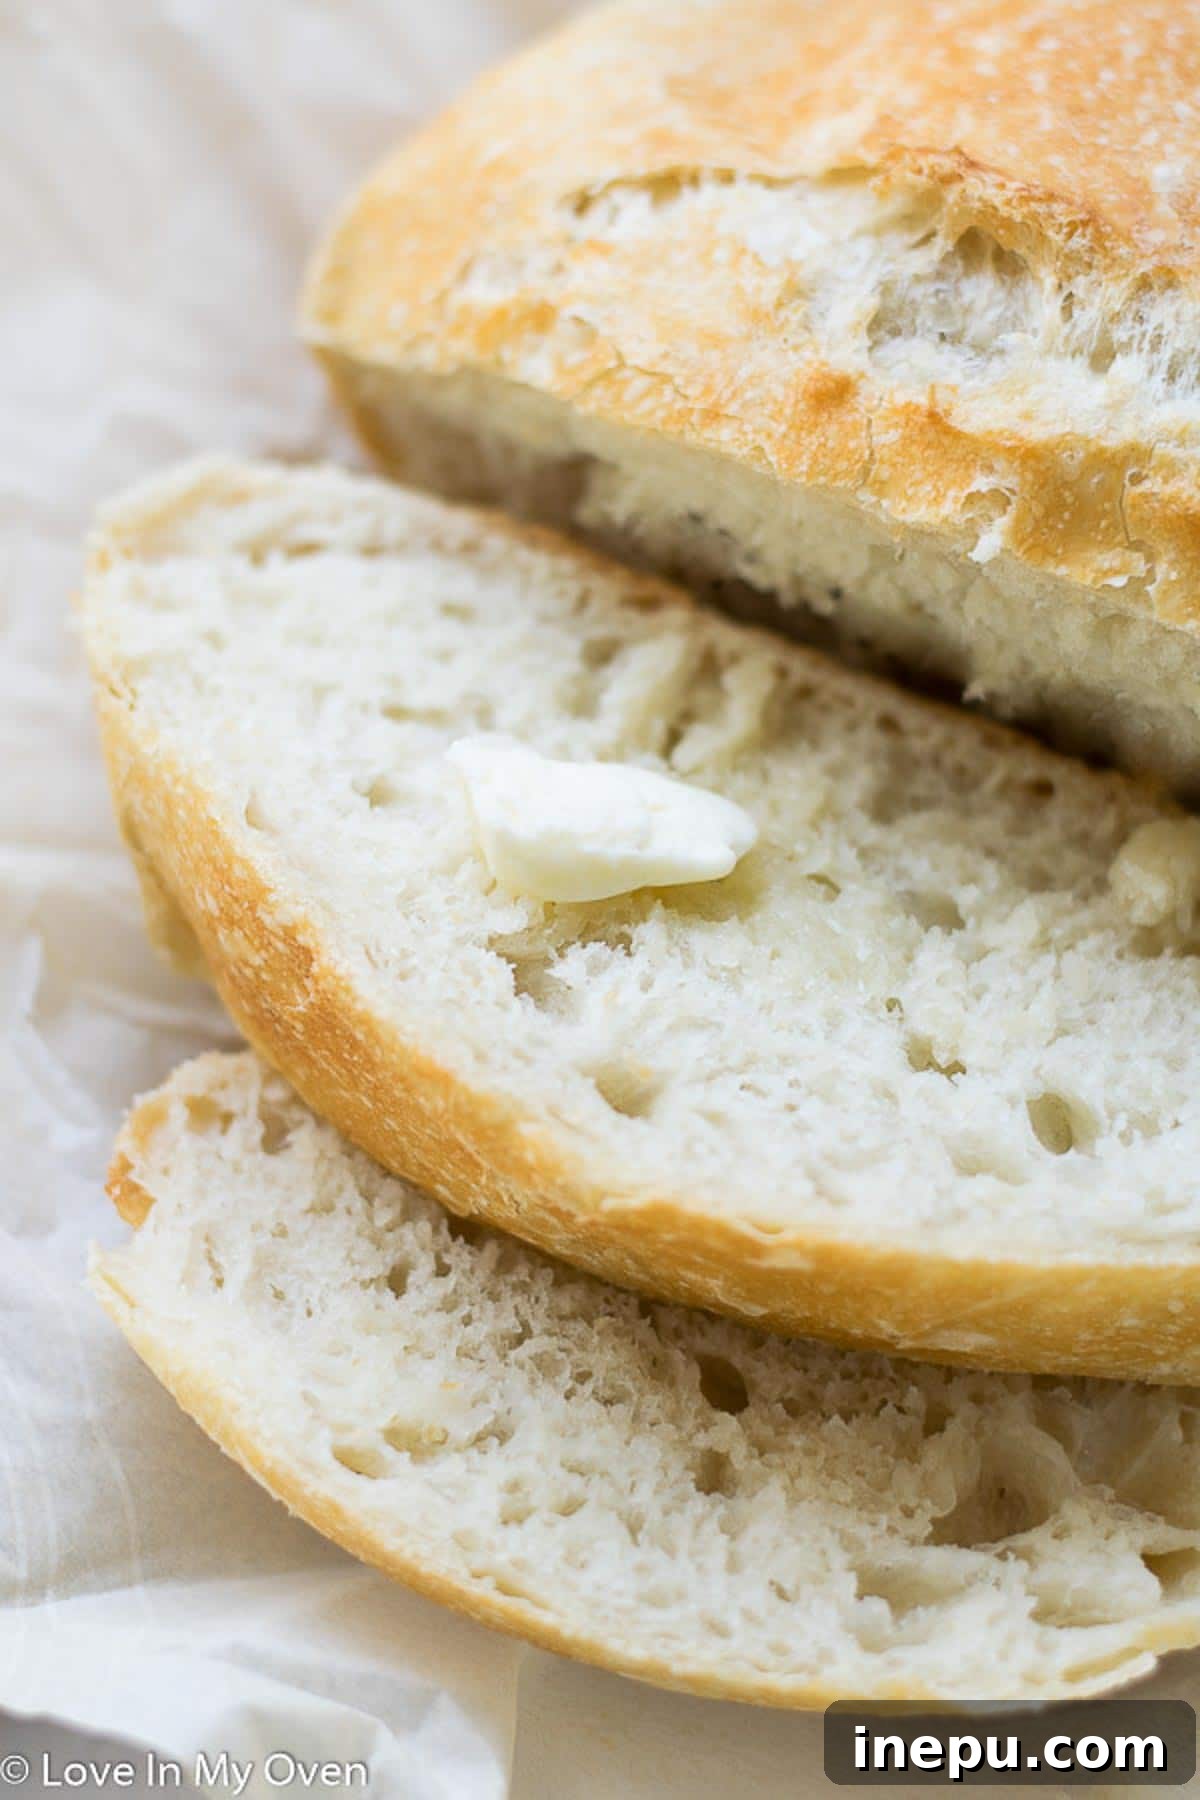
What Exactly is 3-Ingredient No-Knead Bread?
If you’ve ever glanced at the ingredient list on a store-bought loaf of bread, you’ve likely seen a long array of additives, stabilizers, and preservatives. While some serve a purpose, the fundamental truth of bread-making is far simpler. At its core, bread requires just a handful of ingredients to achieve its beloved form. This specific “3-ingredient” no-knead bread streamlines the process even further, focusing on the absolute essentials to deliver incredible results with minimal fuss.
This recipe offers a rustic loaf that bears a striking resemblance to artisanal sourdough, but without the commitment and maintenance of a sourdough starter. It leverages the power of a long, slow fermentation, allowing time to do the work that traditional kneading usually accomplishes. The result is a deeply flavorful bread with an open, airy crumb and a wonderfully chewy texture.
The Core Ingredients: Simplicity Redefined
For this surprisingly simple bread recipe, you will need:
- Bread Flour: While all-purpose flour can be substituted, bread flour boasts a higher protein content, which is crucial for developing strong gluten networks. This gluten structure is what gives your bread its characteristic chewiness and helps it hold its shape, contributing to that coveted open crumb.
- Active Dry Yeast: This is the leavening agent responsible for making your bread rise. When activated, yeast consumes sugars in the flour and produces carbon dioxide, creating air pockets within the dough.
- Sea Salt: More than just a flavor enhancer, salt plays a vital role in controlling yeast activity, preventing the dough from over-fermenting too quickly, and strengthening the gluten structure.
Now, for a moment of technical honesty: you also need warm water to activate the yeast. So, while often marketed as “3-ingredient bread,” if we’re being precise, it’s a 4-ingredient recipe. Nevertheless, the principle of simplicity remains paramount!
How to Master This Easiest of Bread Recipes
The beauty of no-knead bread lies in its hands-off approach. Most of the work is done by time, allowing the yeast and water to work their magic on the flour. Here’s a detailed breakdown of the simple steps:
Step 1: The Initial Mix – Overnight Dough Preparation
In a large mixing bowl, combine your bread flour, sea salt, and active dry yeast. Give them a quick whisk to ensure they are evenly distributed. Then, pour in the warm water. The temperature of the water is key here – too hot, and it can kill the yeast; too cold, and the yeast won’t activate effectively. Aim for lukewarm, around 105-115°F (40-46°C).
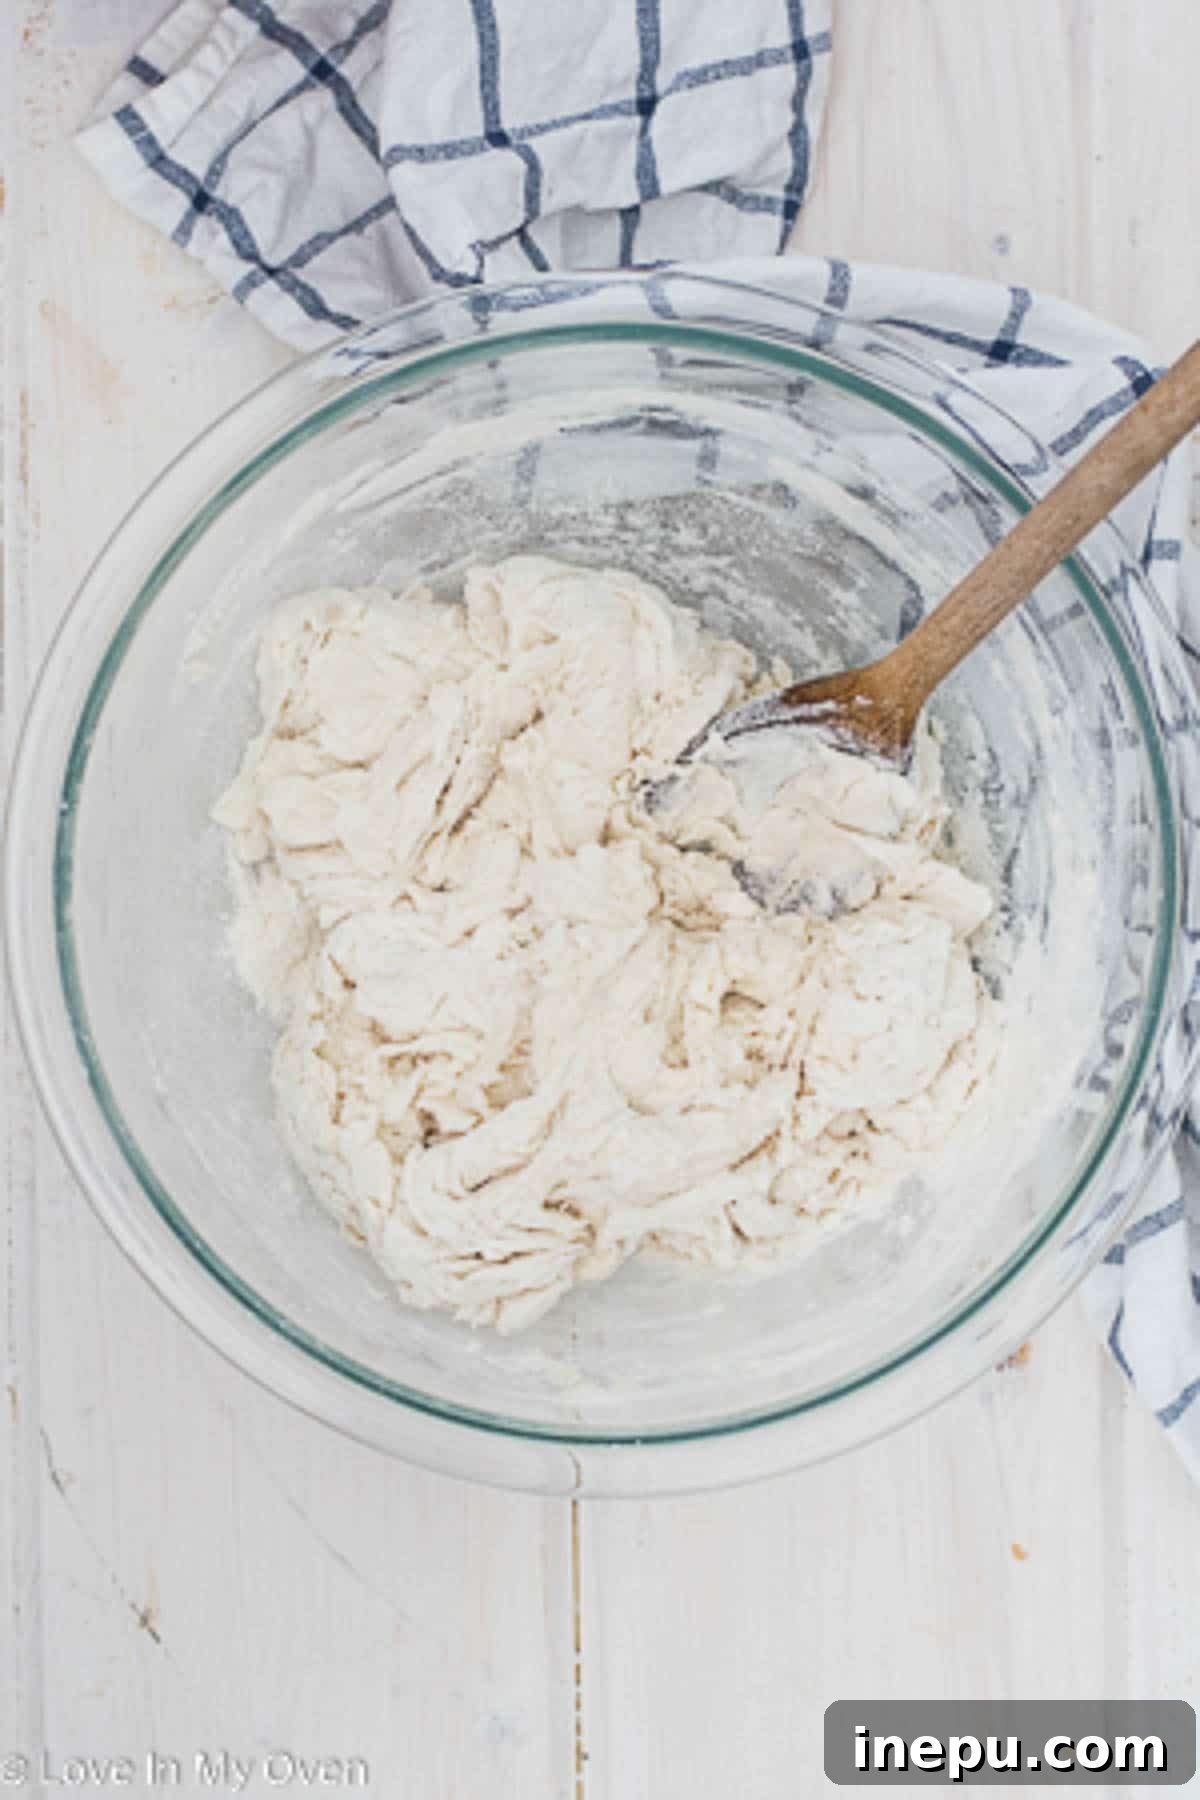
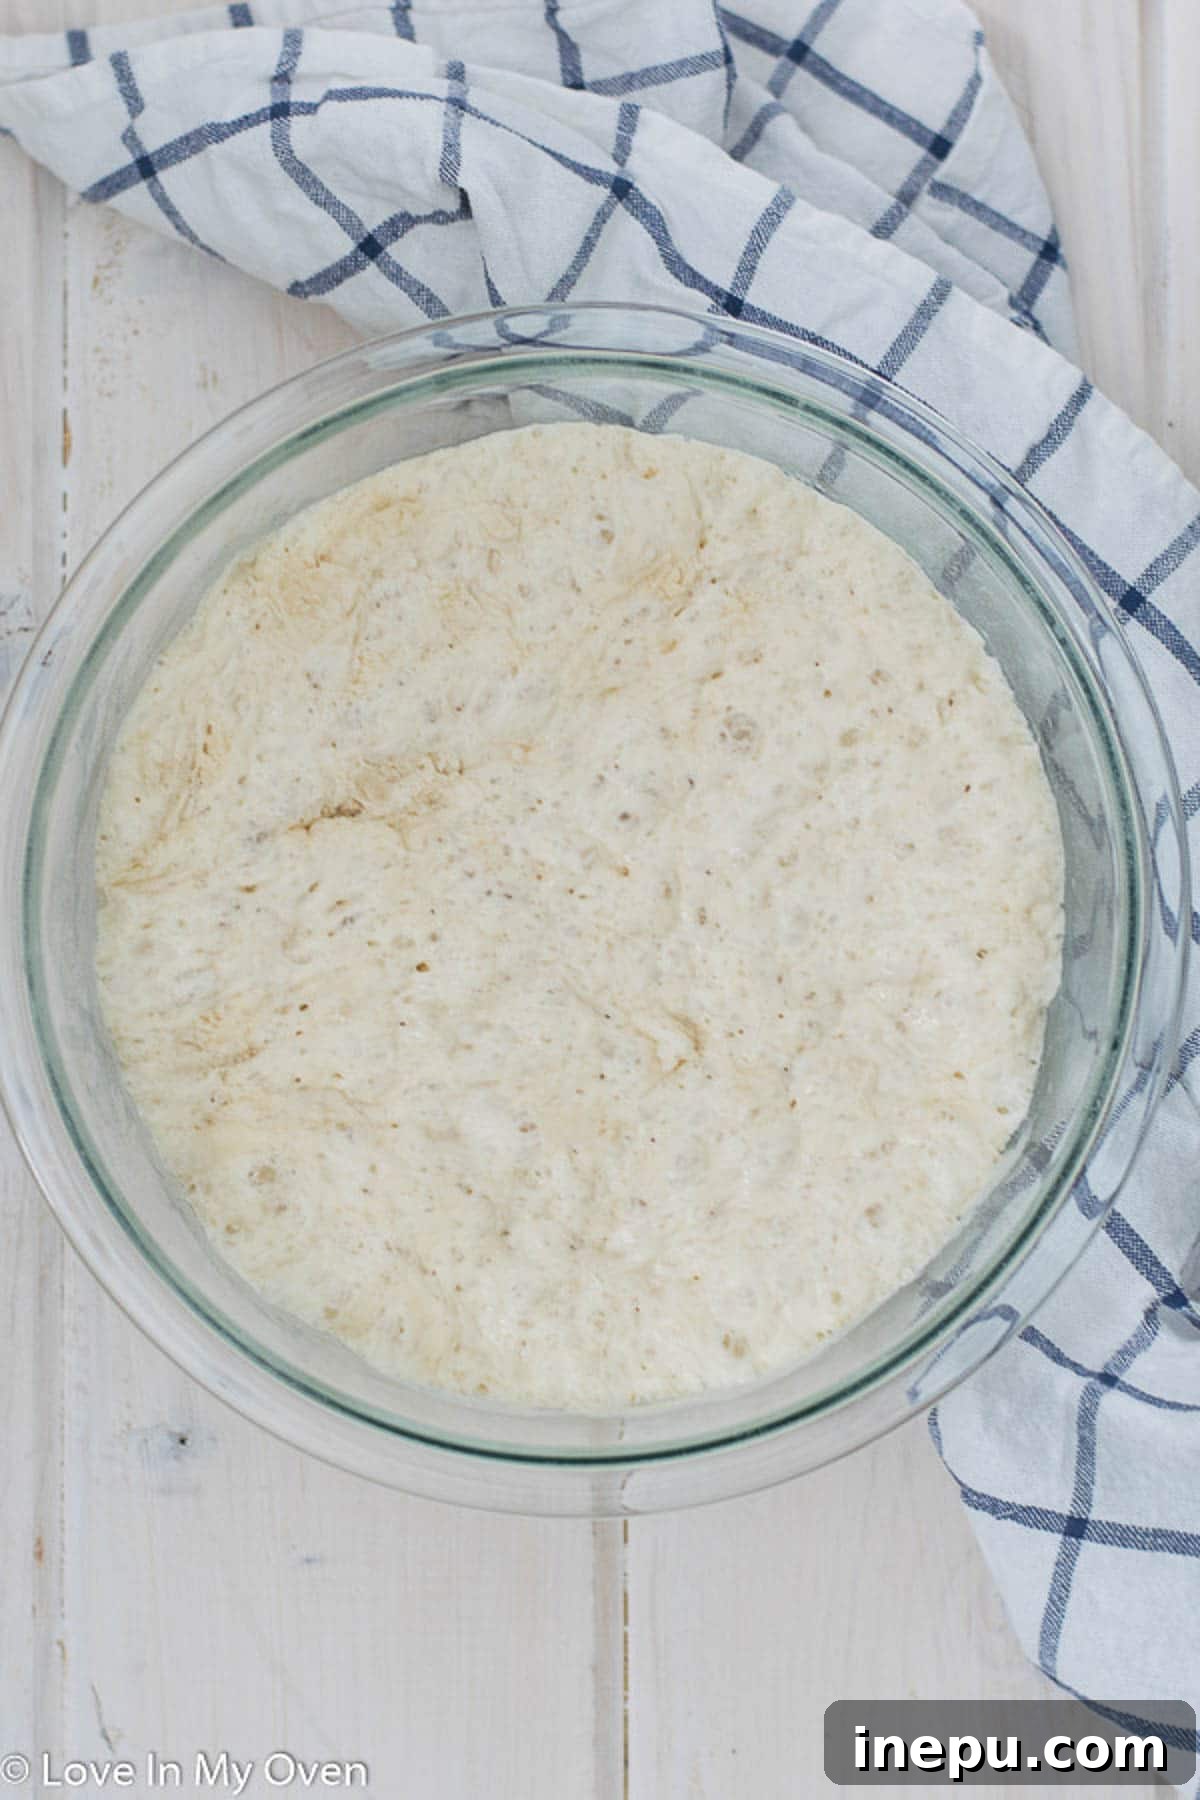
Stir the ingredients together until a loose, shaggy dough forms. Don’t worry about perfection; there’s no need for intense kneading here. The goal is just to ensure all the flour is hydrated. Once combined, gently gather the dough into a loose ball within the bowl. Cover the bowl tightly with plastic wrap to prevent the dough from drying out, and place it on your kitchen counter in a warm, draft-free spot. The ideal rise time for this overnight bread is between 12 to 18 hours. Starting it in the evening allows you to bake a fresh loaf the following afternoon, maximizing flavor development.
Step 2: The Second Rise – Shaping and Proofing
After its long rest, your dough should have roughly doubled in size, appearing bubbly and expanded. This indicates it’s ready for the next stage. Approximately two hours before you plan to bake, gently turn the dough out onto a lightly floured surface. Using floured hands, carefully shape the dough into a smooth, round ball. The goal here is to create some surface tension, which will help the bread achieve a beautiful “oven spring” – that final burst of rising in the hot oven.
Once shaped, place the dough ball onto a piece of parchment paper, which in turn rests on a clean dish towel. Gently cover the dough with the towel and let it rest for its final proofing period until you’re ready to bake. This second rise, though shorter, is crucial for developing the final texture and ensuring a light, airy crumb.
Step 3: The Hot Oven – Dutch Oven Magic
Thirty minutes before you’re ready to bake your bread, place a Dutch oven (or a heavy-bottomed pot with a lid that can withstand high heat) or a baking stone into your oven and preheat it to a scorching 450°F (232°C). This step is vital: you want your baking vessel to be screaming hot when the dough goes in. The intense initial heat mimics the environment of a professional bread oven, creating a burst of steam that leads to that wonderfully crispy crust and significant oven spring.
Step 4: Baking to Perfection
After 30 minutes of preheating, carefully remove the searing hot Dutch oven from the oven using sturdy oven mitts. Gently transfer the dough ball, still on its parchment paper, into the hot pot. If desired, you can make a small slash (a “score”) across the top of the dough with a sharp knife or razor blade. This isn’t just for aesthetics; it helps direct the steam release and allows the bread to expand predictably in the oven, preventing uncontrolled cracks.
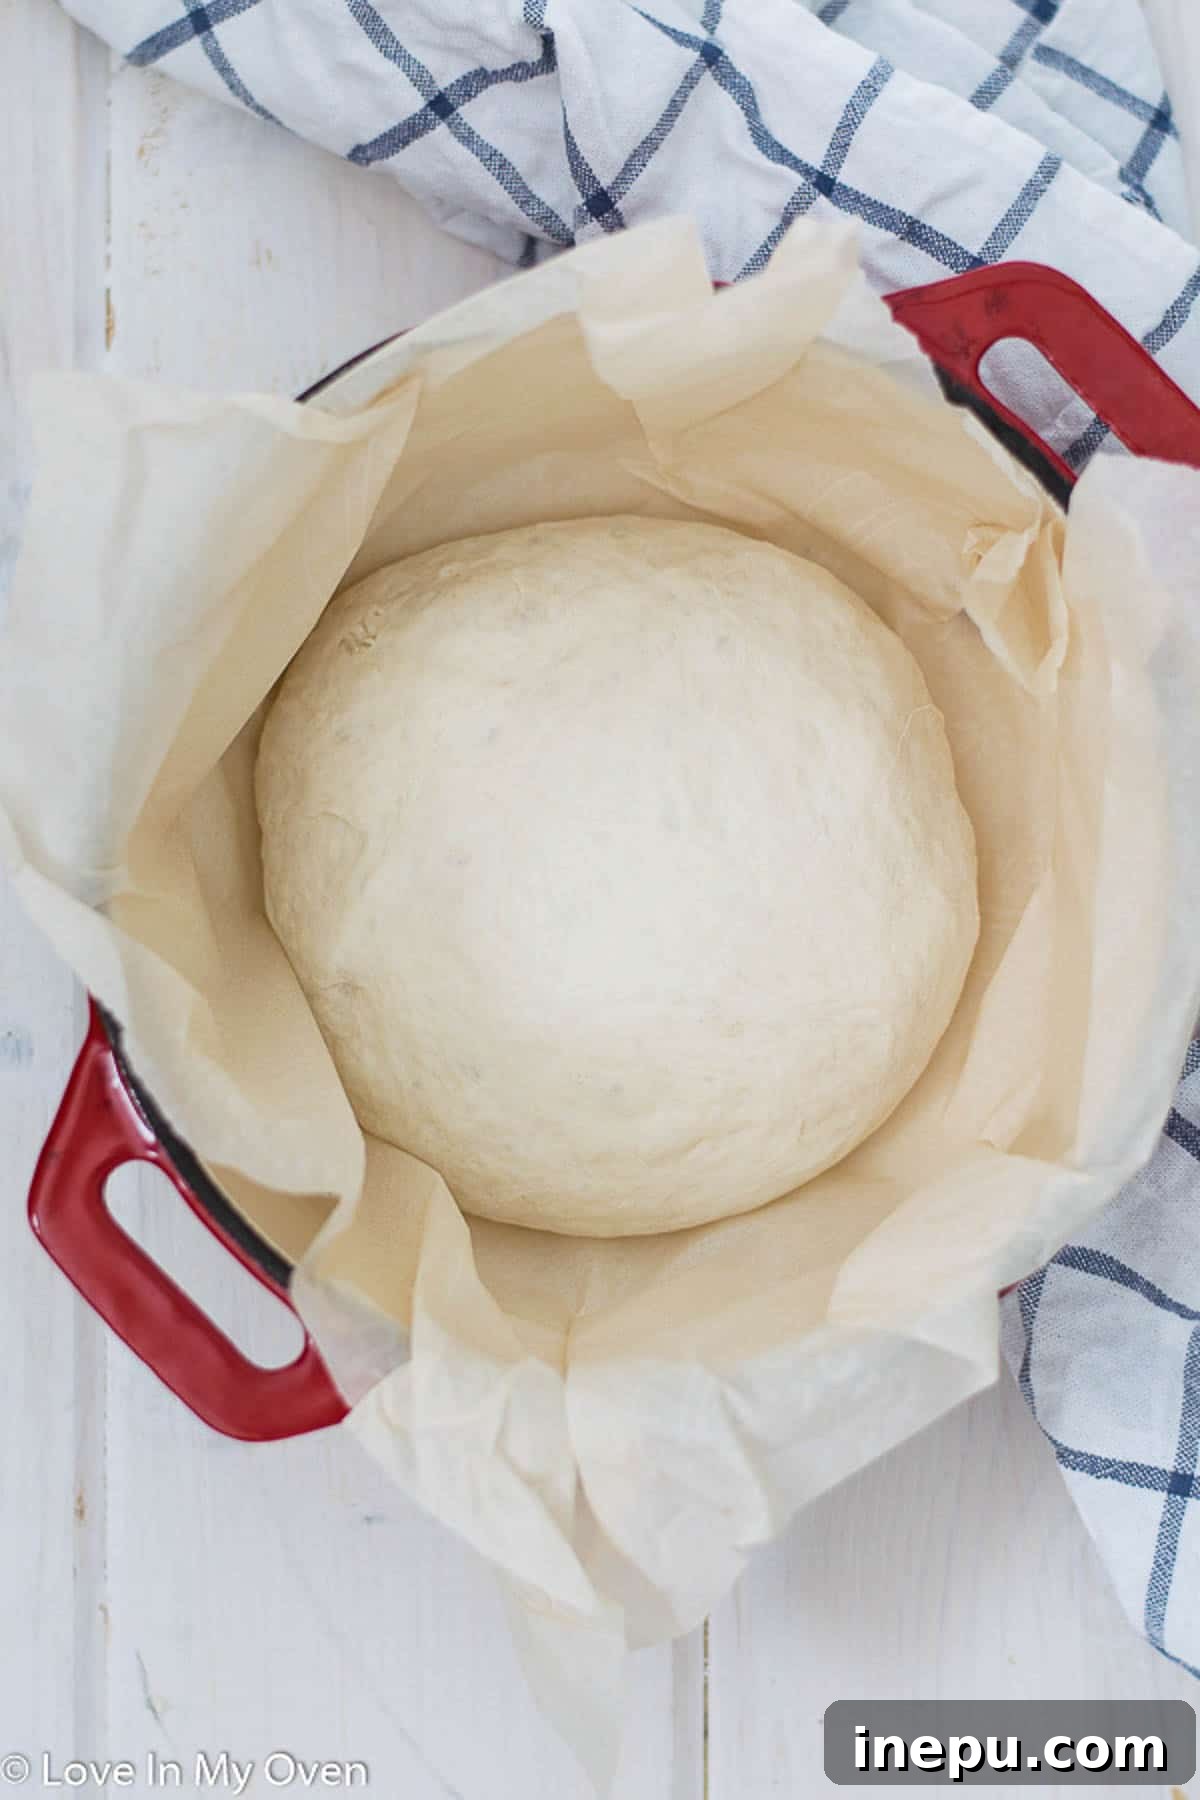
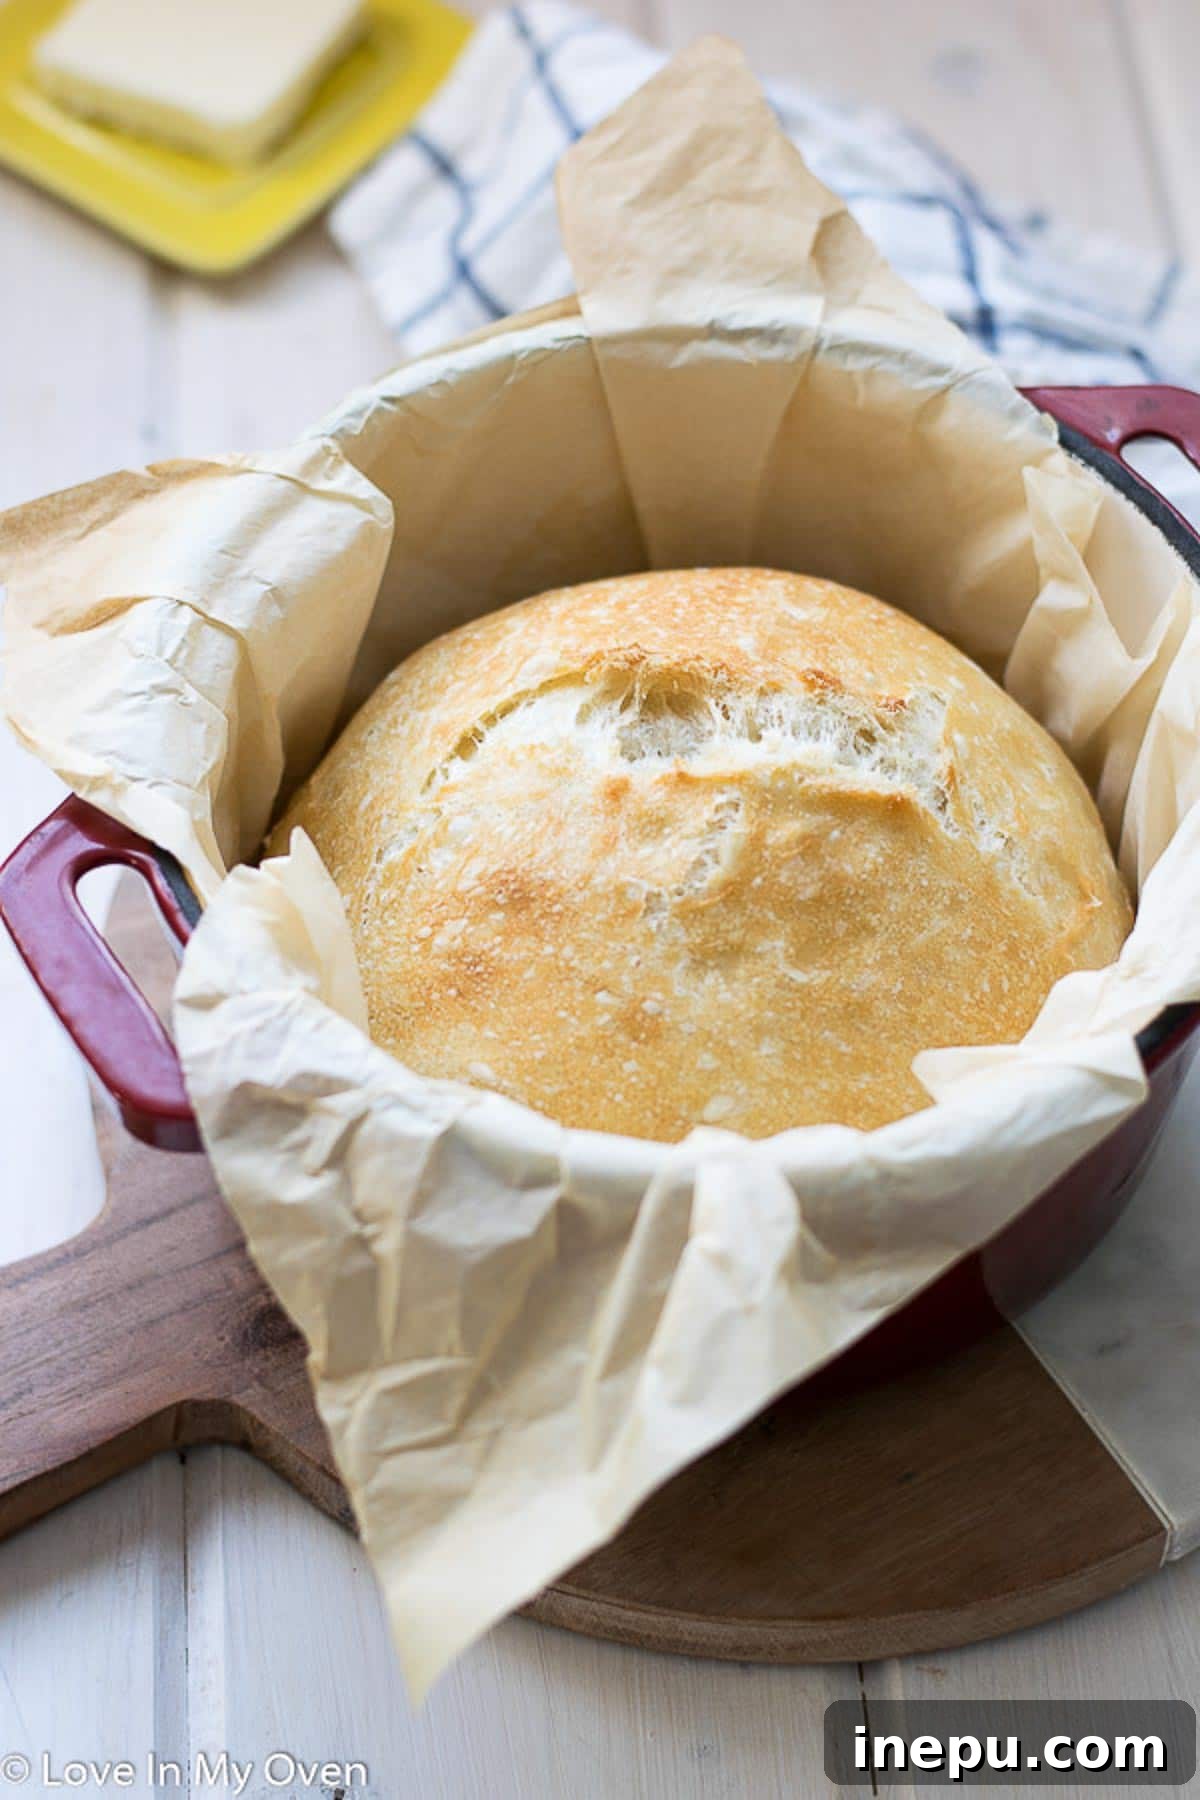
Place the lid firmly back on the Dutch oven and return it to the preheated oven. Bake for 30 minutes with the lid on. The sealed environment traps steam, keeping the crust soft and allowing the bread to fully expand before it sets. After 30 minutes, remove the lid and reduce the oven temperature to 375°F (190°C). Continue baking for an additional 15 minutes, or until the crust is a deep golden brown and the internal temperature reaches 200-210°F (93-99°C). This uncovered phase allows the crust to crisp up and achieve its rich color.
Step 5: The Crucial Cooling Period
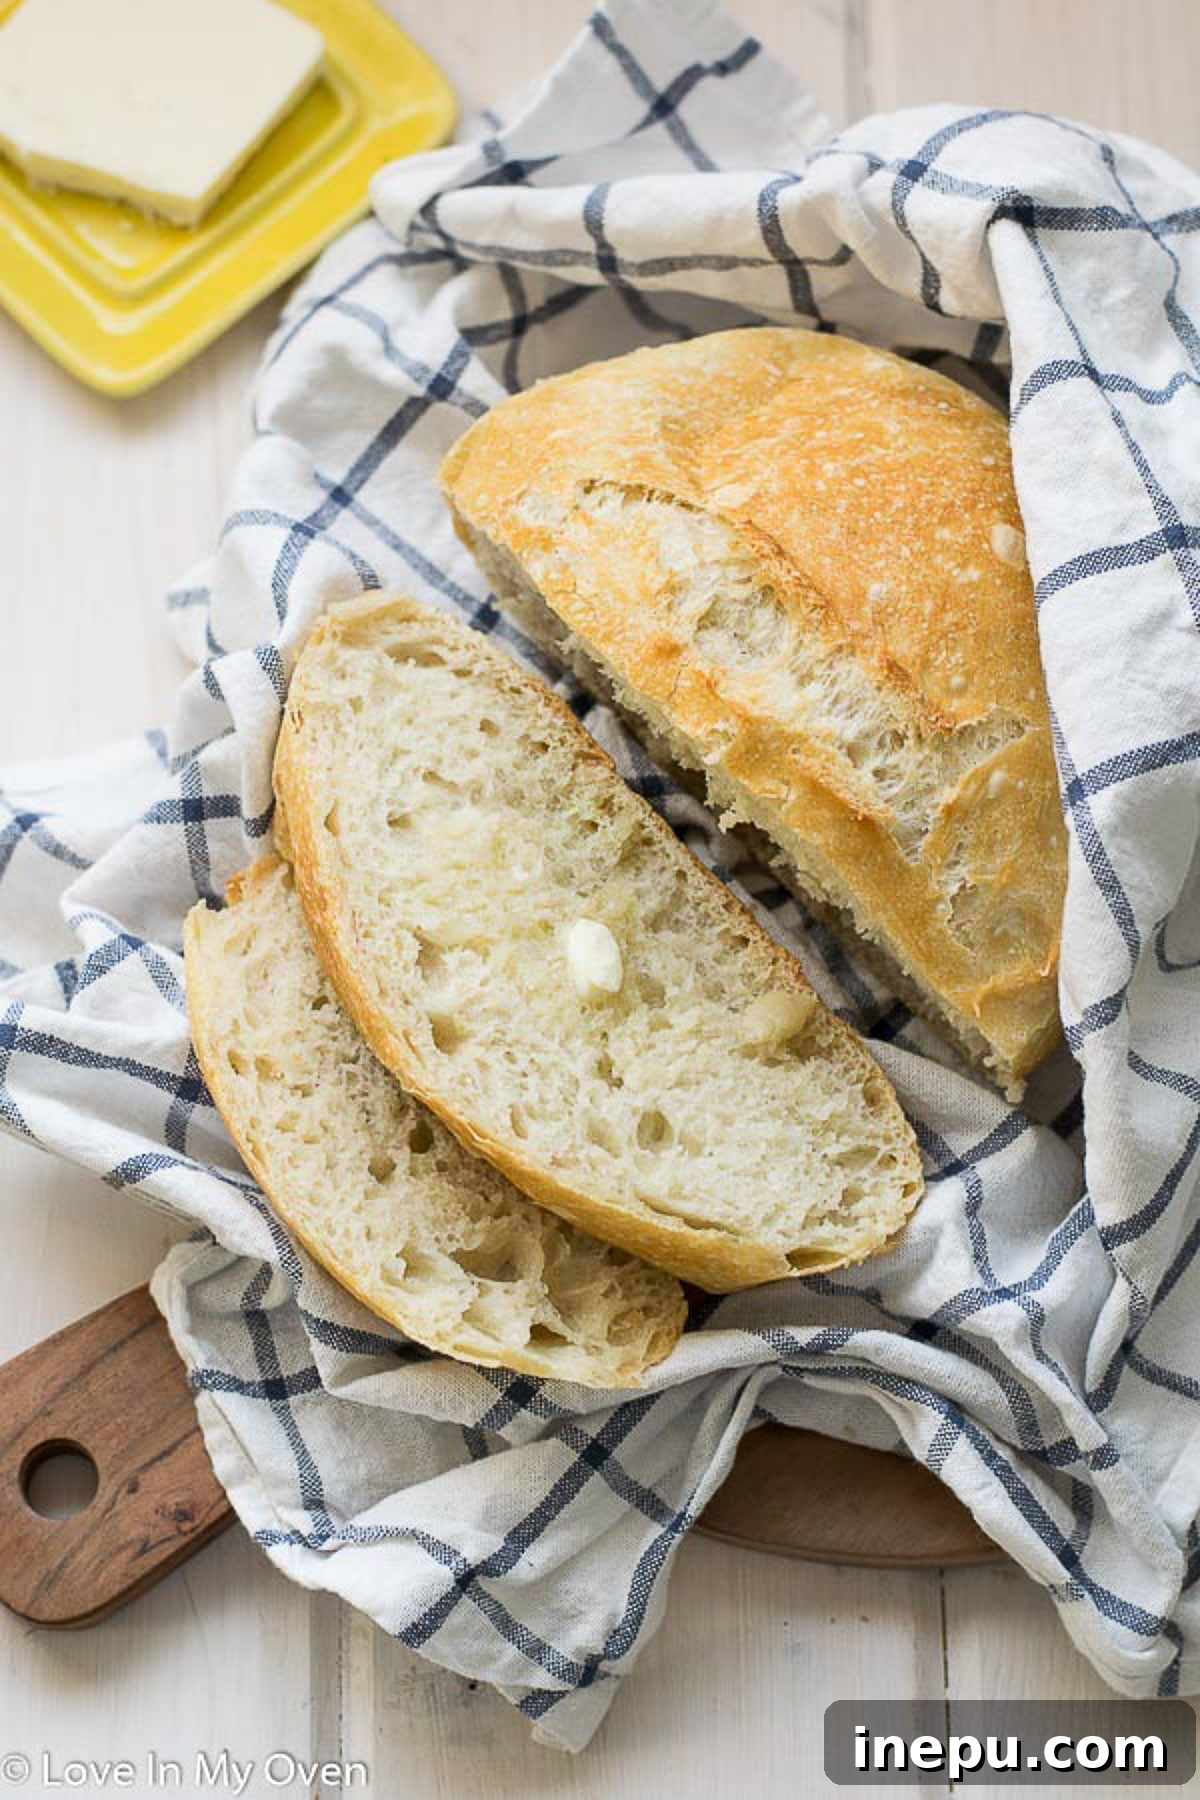
Once baked, remove the bread from the oven and carefully transfer it to a wire rack to cool. This step is often overlooked but is absolutely essential for the best results. Allowing the bread to cool for at least 20 minutes (ideally longer) allows the internal structure to set, redistributing moisture and preventing a gummy texture. It’s tempting to slice into that warm, aromatic loaf immediately, but patience will be rewarded with superior texture and flavor. Trust me, it’s worth the wait, even if it means burning your fingers slightly in eager anticipation!
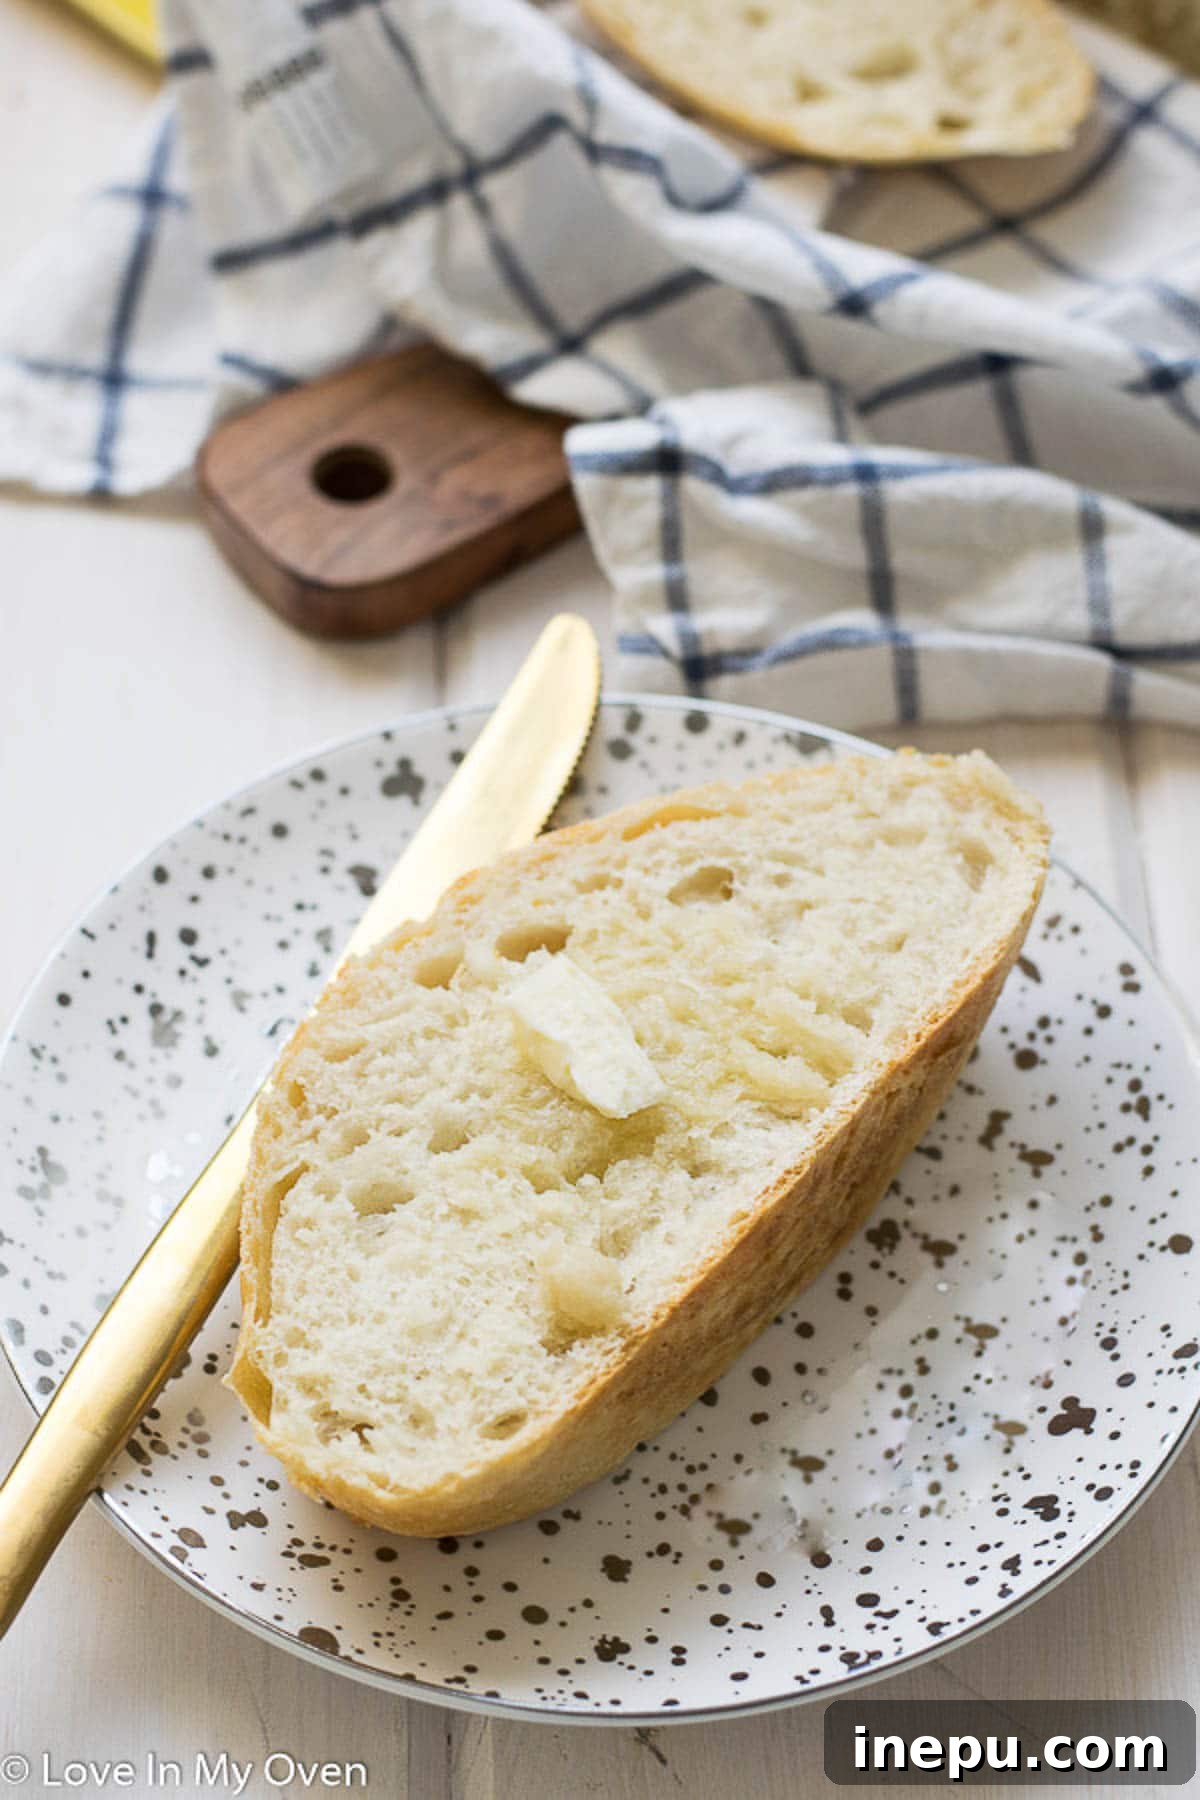
There are few culinary delights as satisfying as a warm, freshly baked slice of homemade bread, generously slathered with butter. It’s a simple pleasure, a true “kryptonite” for any bread lover, and the reason this recipe will become a cherished staple in your home.
Customizing Your No-Knead Bread: Experiment and Explore
Can You Use Whole Wheat Flour for This Recipe?
Absolutely! While this recipe is optimized for bread flour, you can certainly experiment with whole wheat flour. However, whole wheat flour absorbs more water and has a different gluten structure than white bread flour, often resulting in a denser loaf. For best results when incorporating whole wheat, consider a half-and-half combination (e.g., 1.5 cups bread flour, 1.5 cups whole wheat flour). If you opt for 100% whole wheat, you will likely need to increase the water slightly to achieve the correct dough consistency. Start by adding an extra 1/4 cup of warm water and adjust as needed until you have a cohesive, shaggy dough. Don’t hesitate to share your whole wheat results in the comments below!
Flavorful Add-Ins to Elevate Your Loaf
Once you’ve mastered the basic recipe, the possibilities for customization are endless. Consider stirring in:
- Seeds: A handful of sunflower, pumpkin, sesame, or poppy seeds add a delightful crunch and nutty flavor.
- Herbs: Fresh or dried rosemary, thyme, or oregano can infuse your bread with aromatic notes, perfect for savory pairings.
- Cheese: Cubes of cheddar, Gruyère, or Parmesan can be folded into the dough for a rich, cheesy loaf.
- Garlic: Roasted garlic cloves or a teaspoon of garlic powder add a savory depth that’s incredibly satisfying.
- Dried Fruits & Nuts: For a sweeter loaf, try incorporating raisins, cranberries, or chopped walnuts.
Add these ingredients during the initial mixing stage, ensuring they are evenly distributed throughout the dough.
Storage and Enjoyment: Making Your Loaf Last
How Long Does This Bread Last?
This homemade no-knead bread is truly at its peak on the day it’s baked, when the crust is crispest and the interior most tender. However, it remains delicious for a day or two after. Because it contains no preservatives or artificial ingredients, it will naturally dry out faster than commercial breads. To maintain its freshness, store the cooled loaf in an airtight container or a bread bag at room temperature. Avoid refrigerating bread, as this can actually accelerate staling.
Creative Uses for Stale Bread
Don’t let any leftover bread go to waste! Even if your loaf becomes a bit dry or stale, it’s perfect for a variety of delicious dishes:
- Overnight French Toast Casserole: A fantastic way to use up day-old bread, transforming it into a sweet, decadent breakfast.
- Croutons: Cube the bread, toss with olive oil and seasonings, then bake until crisp for a homemade salad topping.
- Breadcrumbs: Process dried bread into fine crumbs for coating cutlets, topping casseroles, or adding texture to meatballs.
- Pappa al Pomodoro: A rustic Italian tomato and bread soup that celebrates stale bread.
What Do You Serve with 3-Ingredient No-Knead Bread?
The beauty of a simple, versatile bread like this is that it pairs with virtually anything. Its rustic flavor and robust texture make it an ideal companion for a wide range of meals, or simply enjoyed on its own.
For a truly satisfying meal, you could even make this bread the star, serving it alongside an assortment of artisanal cheeses, cured meats, and olives for a delightful charcuterie-style dinner. Its versatility makes it a kitchen hero!
Here are a few savory ideas that would be wonderfully complemented by a slice of this homemade bread:
- Creamy Roasted Tomato Basil Soup: The perfect dipping companion for a comforting bowl of soup.
- Hearty Crockpot Minestrone Soup: A rustic bread for a rustic, vegetable-packed soup.
- Flavorful Thai Chicken Peanut Curry: Excellent for soaking up rich sauces.
- Chili or Stew: A crusty piece of bread is ideal for scooping up hearty stews and chilis.
- Olive Oil and Balsamic Vinegar: A classic appetizer or snack, highlighting the bread’s flavor.
- Hummus or Dips: Enjoy with your favorite spreads for a quick and easy snack.
- Avocado Toast: Elevate your breakfast with a thick slice of this bread.
Troubleshooting Common No-Knead Bread Issues
Even with such a simple recipe, occasionally things might not go exactly as planned. Here are some common issues and how to resolve them:
- My Dough Didn’t Rise: The most common culprits are inactive yeast (check the expiration date!) or water that was too hot or too cold. Ensure your water is lukewarm and your yeast is fresh.
- The Bread is Too Dense: This can happen if the dough was under-proofed (didn’t rise long enough), or if too much flour was used. Ensure your dough has visibly doubled in size for the first rise and that your flour measurements are accurate.
- The Crust Isn’t Crispy Enough: A lack of steam in the oven is usually the cause. Ensure your Dutch oven is preheated thoroughly to 450°F and that the lid is tightly sealed during the initial baking phase.
- The Bread is Burnt on Top/Bottom: Your oven might run hot, or the bread baked uncovered for too long. Monitor the bread closely during the uncovered baking period and consider reducing the temperature slightly or placing a baking sheet on the rack below if the bottom is consistently burning.
- The Dough is Too Sticky: This indicates too much water. Add a tablespoon of flour at a time until the dough is manageable but still loose and shaggy. Humidity can also play a role, so minor adjustments may be necessary.
Conclusion: Your Journey to Perfect Homemade Bread
No-knead bread is more than just a recipe; it’s an invitation to experience the profound satisfaction of baking artisanal-quality bread right in your own kitchen. With its minimal ingredients, simple process, and incredibly rewarding results, it’s truly a life-changing recipe that demystifies bread-making and makes it accessible to everyone. From your first simple stir to that glorious moment of slicing into a warm, fragrant loaf, you’ll discover the immense joy of creating something truly delicious from scratch. So, grab your flour, yeast, and salt, and embark on your effortless baking adventure!

3-Ingredient No-Knead Bread
Rated 5 out of 16 reviews
- Author: Katherine | Love In My Oven
- Total Time: 15 hours
- Yield: 1 loaf
Description
No knead bread is life changing! This easy overnight bread is a 3 ingredient bread that you’ll find yourself making again and again.
Ingredients
Scale
- 3 cups bread flour*
- 1/2 tsp active dry yeast
- 1/2 tsp sea salt
- 1 1/4 cups warm water
Instructions
- The night before you want to bake the bread, stir together the flour, yeast and salt in a large mixing bowl. Add the warm water into the bowl and stir to combine until a loose, shaggy dough forms. Pack the dough into a bit of a ball, then cover the bowl tightly with saran wrap and leave on your counter for overnight (12-18 total hours of rise time), in a warmish place, away from any cool drafts.
- When the bread dough has risen to about double in size, it’s ready to bake. About 2 hours before you’re ready to bake, empty the dough onto a floured surface and use your hands to shape the dough into a smooth ball. Place the dough ball on to a piece of parchment, on top of a clean dish towel. Cover the ball gently with the towel, letting it sit like that until you’re ready to bake.
- 30 minutes before you’re ready to bake the bread, place a Dutch oven or a baking stone in the oven and preheat the oven to 450 F. After 30 minutes has passed, use oven mitts to remove the Dutch oven from the oven and carefully place the dough ball, in the parchment, into the vessel. You can slash a small cut through the top of the bread here, to allow steam to release.
- Place the lid on the Dutch oven then place it back into the oven, to bake for 30 minutes. After 30 minutes, remove the lid, and turn the oven down to 375. Bake for an additional 15 minutes.
- Remove the bread from the oven, and let it cool for about 20 minutes before slicing and enjoying!
Bread will keep, in an airtight container, for 2-3 days on the counter.
Notes
*Bread flour yields the best results but you can substitute with all-purpose
- Prep Time: 10 minutes
- Cook Time: 1 hour
- Category: bread
- Method: oven bake
- Cuisine: american
Recipe Card powered by Tasty Recipes