
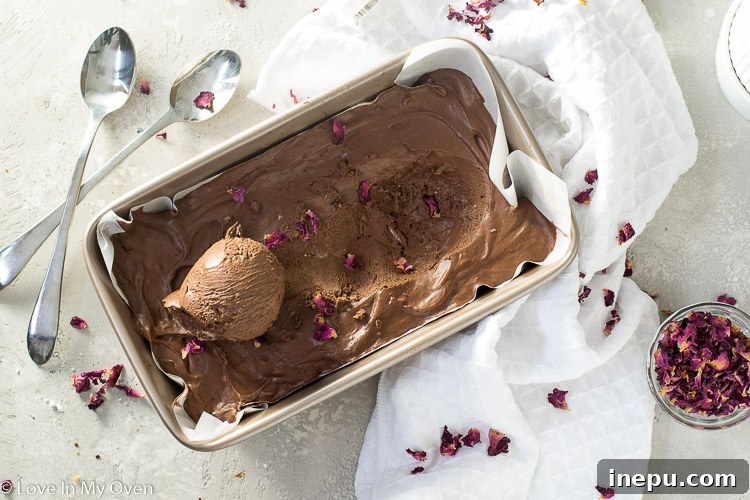
A no-churn vegan ice cream? It sounds almost too good to be true, but this easy vegan chocolate ice cream is the REAL DEAL! This is a silky smooth chocolate ice cream made with coconut milk, and cocoa.
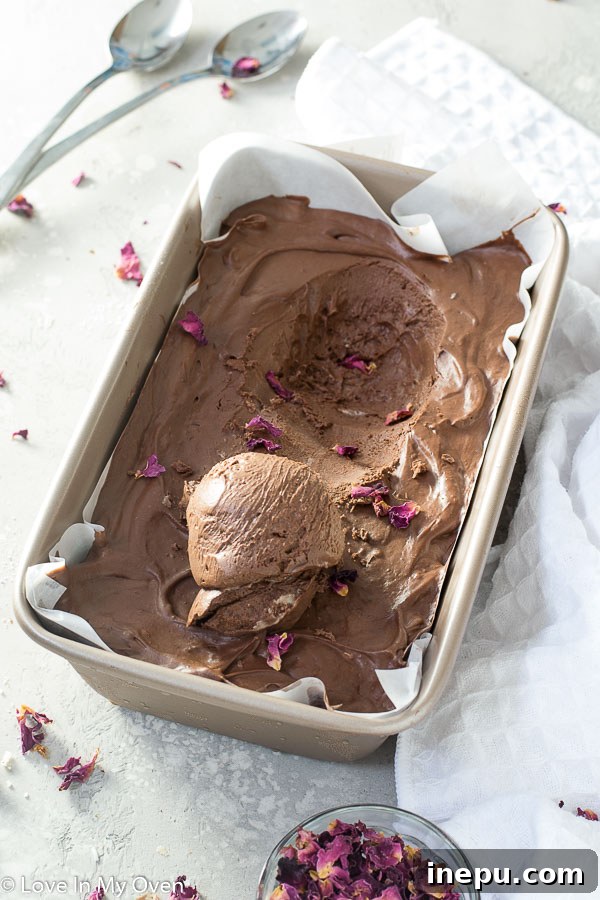
Please note this post contains affiliate links which earn me a small commission, at no extra cost to you.
Indulge in the Ultimate No-Churn Vegan Chocolate Ice Cream: A Silky, Dairy-Free Dream
Are you craving a luscious, rich chocolate ice cream but need it to be dairy-free and incredibly simple to make? Look no further! This no-churn vegan chocolate ice cream recipe is an absolute game-changer. Forget the ice cream maker and complicated steps; with just a handful of ingredients and minimal effort, you can create a velvety smooth, deeply chocolatey frozen treat that rivals any traditional ice cream. It’s truly a sweet revelation for anyone following a plant-based diet or seeking a delicious dairy-free alternative.
For too long, the joys of homemade no-churn ice cream seemed exclusive to those who consumed dairy. My classic no-churn recipes, relying on whipped cream and condensed milk, have been a hit, but I’ve always wanted to extend that ease and indulgence to my dairy-free friends. After much experimentation, I’m thrilled to share this recipe that perfectly replicates the creamy texture and rich flavor using plant-based ingredients. This isn’t just a substitute; it’s a stand-alone masterpiece that will satisfy even the most discerning chocolate lovers.
This recipe builds upon the success of many other delightful creations, showcasing the versatility of vegan baking and desserts. Over the past few weeks, we’ve explored a variety of sweet treats, from a decadent Giant Peanut Butter Cup and a surprisingly moist Vegan Chocolate Beet Cake, to a crunchy Crispy Strawberry-Chocolate Bark and delightful Salted Chewy Brownie Cookies. And now, to cap off our chocolate journey, we present this extraordinary vegan chocolate ice cream, a perfect way to celebrate any occasion, especially Valentine’s Day!
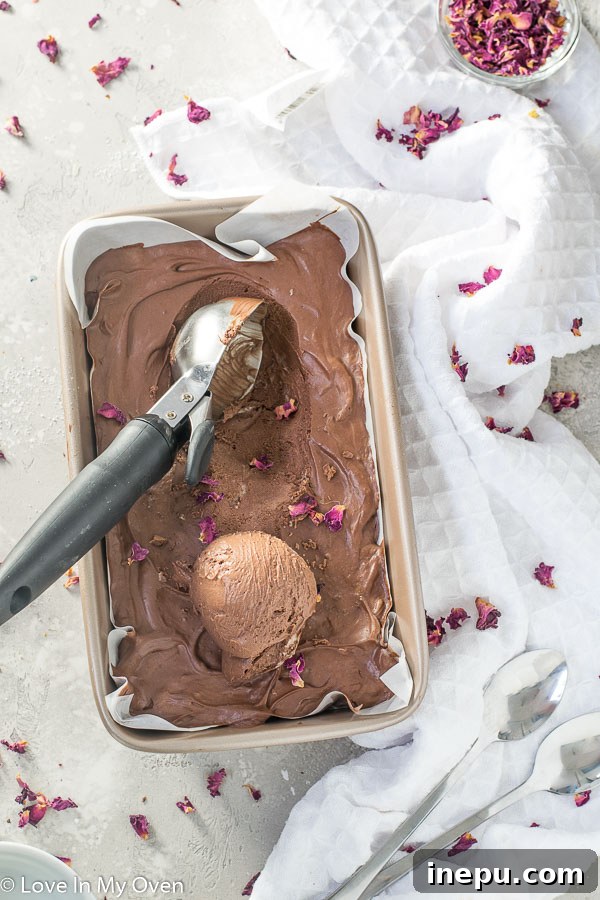
The Magic Behind No-Churn Vegan Ice Cream: Simple Steps, Incredible Results
The concept of “no-churn” ice cream has revolutionized homemade frozen desserts, eliminating the need for specialized equipment like an ice cream maker. Traditionally, it involves whipping heavy cream and folding it with sweetened condensed milk to create a light, airy base that freezes beautifully without crystallizing. For our vegan version, we’re tapping into the incredible properties of full-fat coconut cream and sweetened condensed coconut milk, ensuring a guilt-free pleasure for all.
The beauty of this method lies in its simplicity and accessibility. By mimicking the structure of traditional no-churn ice cream, we achieve that desirable creamy texture without any fuss. Full-fat coconut cream, when thoroughly chilled and vigorously whipped, transforms into a fluffy, stable base, much like its dairy counterpart. This aeration is absolutely essential, as it helps prevent the formation of large ice crystals during freezing, ensuring a wonderfully smooth and melt-in-your-mouth experience.
Sweetened condensed coconut milk, a fantastic plant-based innovation, then steps in to provide both intense sweetness and that crucial condensed texture. This unique ingredient acts as the binding agent, emulsifying the mixture and contributing to its rich, decadent character. When I first stumbled upon sweetened condensed coconut milk on a store shelf, the idea immediately sparked: if dairy condensed milk works wonders for no-churn ice cream, why wouldn’t its coconut counterpart? After a bit of testing to perfect the ratios and find the ideal balance of sweetness and creaminess, I cracked the code. Turns out, it works just as well, if not better, delivering a vegan chocolate ice cream that’s so unbelievably good, you’ll momentarily forget it’s dairy-free.
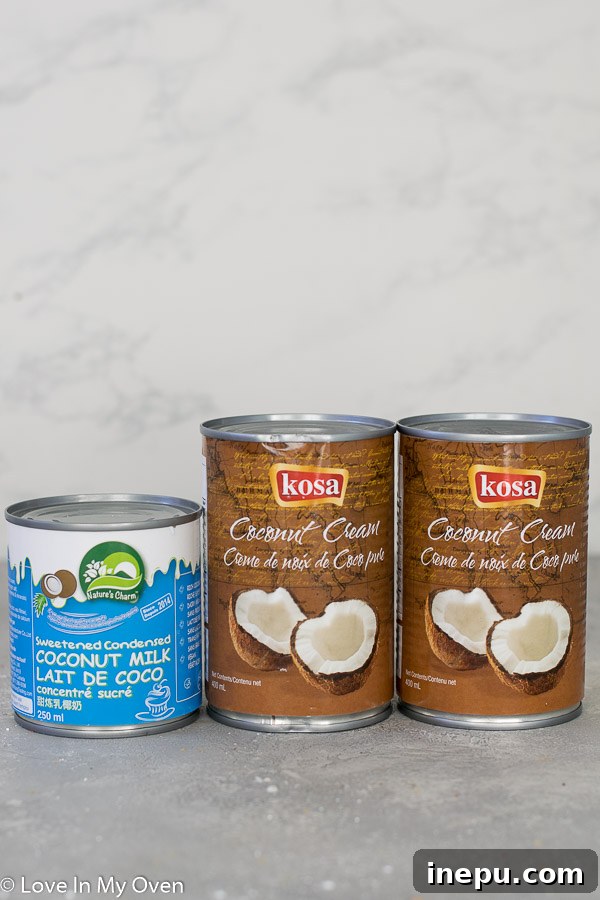
Sourcing Your Key Ingredients: Coconut Cream & Sweetened Condensed Coconut Milk
Finding the right ingredients is paramount for the resounding success of this recipe. While regular coconut milk can be used in some recipes, **full-fat coconut cream** is the true star here. It boasts a thicker consistency and a higher concentration of fat, which allows it to whip up beautifully into a stable, airy cream that forms the luscious base of our ice cream. You’ll typically find it in cans, often located in the Asian or international foods aisle of your local grocery store. The most important preliminary step is to refrigerate your can of full-fat coconut cream for at least 24 hours prior to starting the recipe. This crucial chilling period allows the thick, rich cream to separate and solidify at the top of the can, making it effortless to scoop out and whip, leaving any watery liquid (coconut water) behind. Do not skip this step!
The second essential ingredient is **sweetened condensed coconut milk**. This innovative plant-based product provides the perfect combination of sweetness and creamy consistency that traditional condensed milk offers, but in a completely dairy-free form. While it might not be a staple at every conventional grocery store, many health food stores, specialty markets, and even larger supermarkets are increasingly stocking it due to its growing popularity. The good news for everyone is that it’s readily available online, particularly on platforms like Amazon. I’ve personally found Nature’s Charm Sweetened Condensed Coconut Milk to be an excellent brand that consistently delivers superb results, ensuring your ice cream turns out perfectly rich and sweet.
For this recipe, you’ll need one entire can of sweetened condensed coconut milk, alongside one can (approximately 400mL or 13.5 fl oz) of the pre-refrigerated full-fat coconut cream. Ensuring these two ingredients are of good quality and properly prepared will truly set you up for a delightful and successful ice cream-making experience.
Crafting Your Creamy Chocolate Dream: A Step-by-Step Guide
Once your coconut cream has been properly chilled and you’re ready to create your ice cream masterpiece, the actual hands-on process is surprisingly quick and immensely satisfying. The primary goal is to create a light, airy base before skillfully incorporating the rich chocolate flavor and the perfect amount of sweetness. Pay attention to these steps for the best results:
- Prepare the Coconut Cream: Carefully open your thoroughly chilled can of full-fat coconut cream. With a spoon or spatula, scoop out only the thick, solidified white cream from the top of the can. Make sure to leave any clear liquid (which is coconut water) behind; it can be saved for smoothies or other recipes, but it will prevent your cream from whipping properly for this ice cream. Transfer this luscious cream to the clean, dry bowl of an electric stand mixer fitted with the whisk attachment. If you don’t have a stand mixer, a robust handheld electric mixer works perfectly well.
- Whip to Perfection: Begin whipping the scooped coconut cream on high speed. You’ll observe a magical transformation as it starts to lighten, becoming wonderfully fluffy and beautifully aerated – much like traditional dairy whipped cream. This vital step usually takes approximately 2 minutes, creating the essential airy volume for your no-churn base.
- Introduce the Chocolate: While the mixer is still running (or briefly paused if you’re using a handheld mixer for convenience), gradually add the unsweetened cocoa powder. Start at a slow speed initially to wisely prevent a “cocoa dust cloud” from erupting and coating your kitchen surfaces, then gently increase the speed. Continue whipping until the cocoa powder is completely incorporated, ensuring the mixture is uniformly chocolatey in color and smooth in texture.
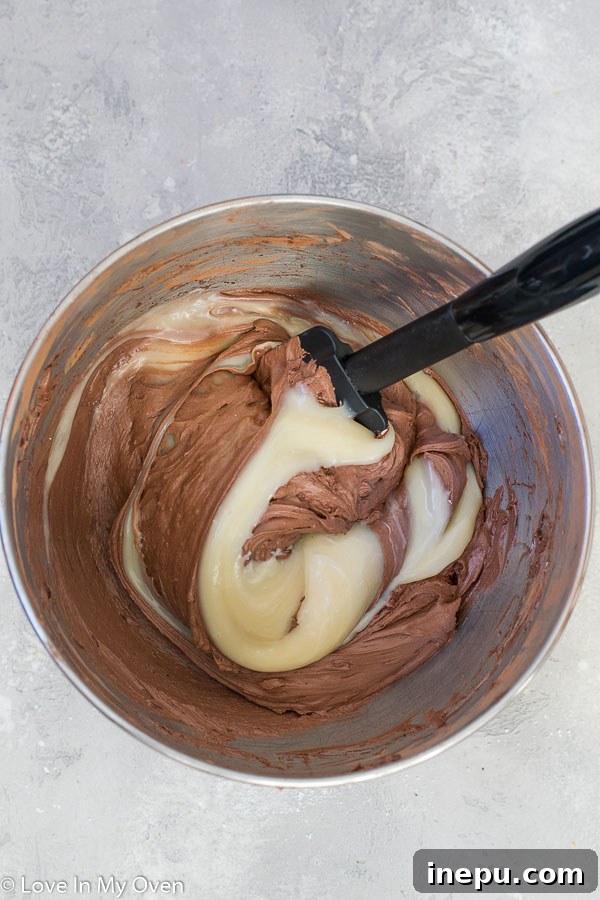
- Fold in the Sweetness: Now, it’s time to add the star sweetener: sweetened condensed coconut milk. Using a flexible spatula, meticulously scrape the entire contents of the can of condensed milk into your rich chocolate-cream mixture. Gently fold it in with careful, deliberate motions until everything is thoroughly combined and boasts a consistent, smooth texture. The gentle folding motion is crucial here as it helps maintain all the wonderful airiness you’ve painstakingly built into the whipped cream. If you’re opting to use the optional vodka (a fantastic helpful tip, detailed below), this is precisely the moment to fold that in as well.
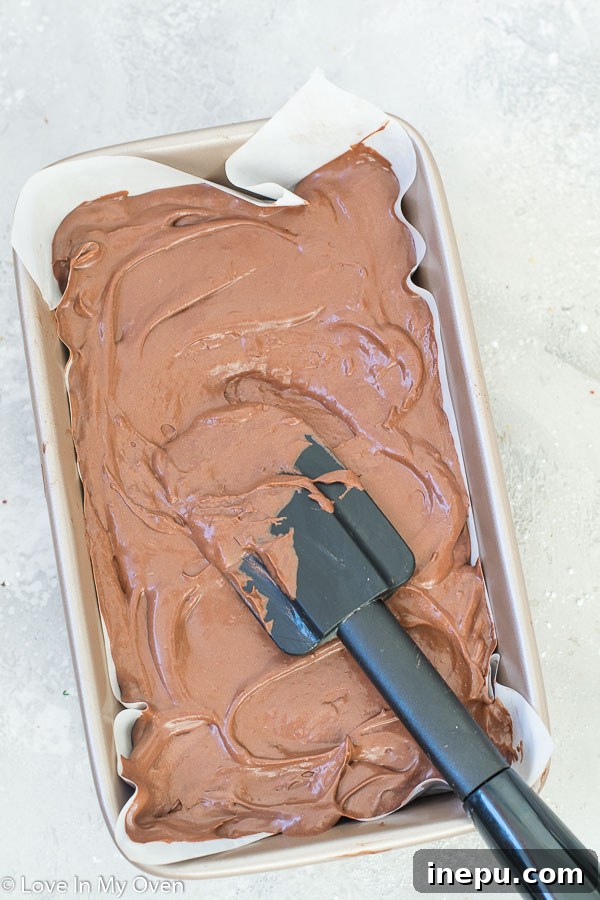
- Prepare for Freezing: Carefully pour the gloriously creamy chocolate mixture into a freezer-safe container. A standard loaf pan (approximately 9×5 inches) is an excellent and practical choice due to its shape, which allows for effortless scooping once frozen. For even easier cleanup, you can line the loaf pan with a piece of parchment paper, leaving an overhang on the sides for easy lifting, though it’s not strictly necessary. Smooth out the top surface of the ice cream mixture with your spatula to create an even layer.
- Freeze Until Solid: Place the container uncovered in your freezer and let it set for a minimum of 5-6 hours. For the very best results and a truly firmer, more solidified consistency, overnight freezing is highly recommended. Patience is a virtue when waiting for homemade ice cream!
Tips for Perfect No-Churn Vegan Ice Cream Every Time
- Chilling is Paramount: Absolutely do not skip the crucial step of refrigerating the full-fat coconut cream for at least 24 hours. This ensures proper separation of the thick cream from the watery liquid, which is indispensable for achieving a much thicker, more stable, and perfectly whipped base.
- The Vodka Trick for Scoopability: If you’ve ever experienced homemade dairy-free ice cream freezing into an unyielding block, you know the struggle. A common characteristic of many homemade vegan ice creams is their tendency to freeze extremely hard. To combat this, consider adding 1-2 tablespoons of vodka to your mixture just before freezing. Alcohol expertly lowers the freezing point, resulting in a significantly softer, more delightfully scoopable texture directly out of the freezer. Rest assured, you won’t taste the vodka in the finished product; it’s purely for texture enhancement.
- Scrape Down the Sides: During both the whipping of the coconut cream and the incorporation of the cocoa powder, periodically scrape down the sides of your mixer bowl with a spatula. This simple action ensures all ingredients are thoroughly and evenly incorporated, preventing unmixed pockets and promoting a uniform consistency.
- Quality Cocoa Matters: For the most intensely delicious and authentic chocolate flavor, always use a good quality unsweetened cocoa powder. Dutch-processed cocoa will lend a darker color and a milder, smoother chocolate taste, while natural cocoa offers a slightly fruitier, more intense and complex chocolate flavor. Choose according to your preference!
Serving & Storing Your Dairy-Free Delight
Serving this homemade vegan chocolate ice cream requires a touch of patience, but the reward is a truly delightful and unforgettable experience. When you first remove it from the freezer, especially if you opted out of incorporating the vodka trick, it will likely be quite firm. This is an entirely normal characteristic for homemade ice creams that are free from artificial stabilizers found in many commercial products.
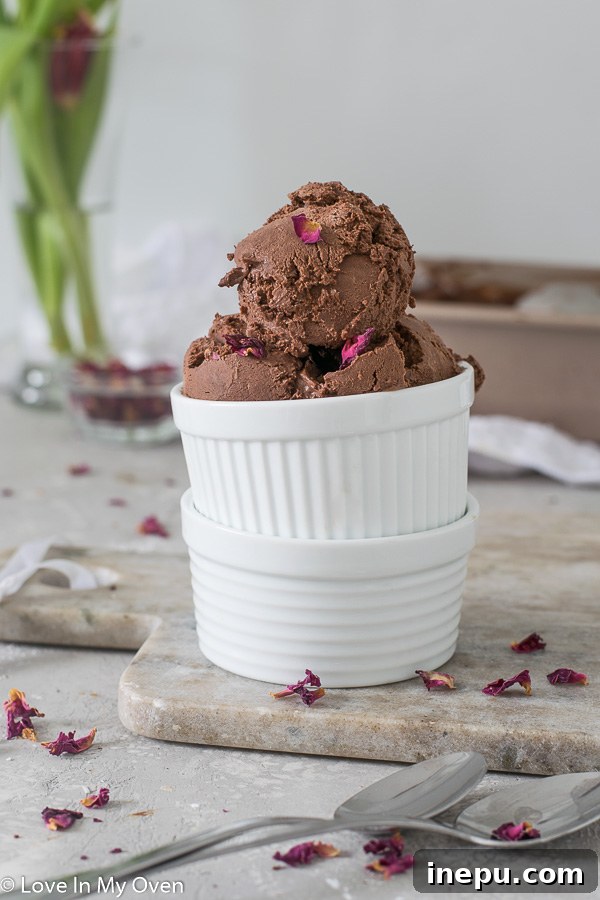
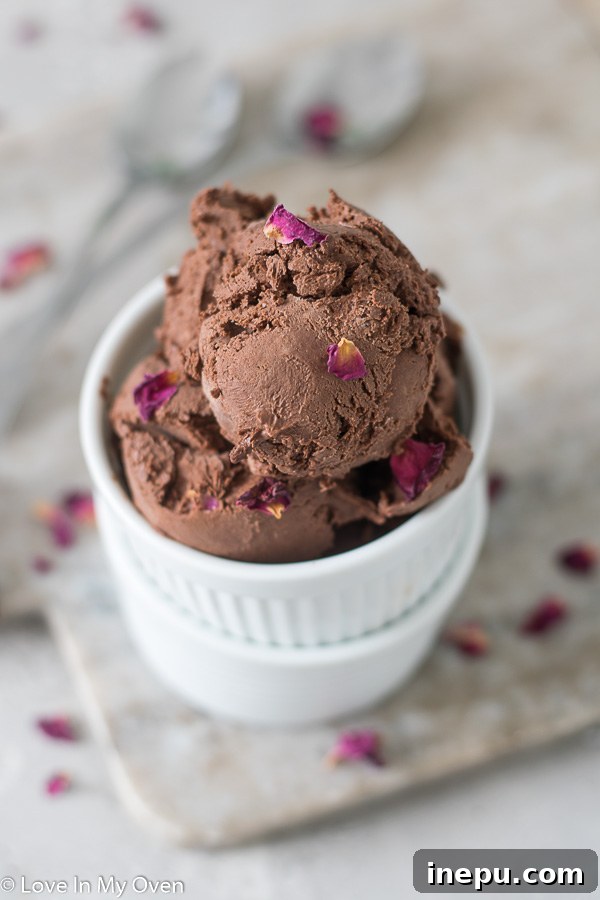
To achieve the perfect scoopable consistency, allow the ice cream to sit at room temperature for at least 20 minutes before attempting to scoop. This brief thawing period will gently soften it, making it effortless to portion out into elegant bowls or classic cones. If you did utilize the vodka in your recipe, you might be pleasantly surprised to find it’s ready to scoop almost immediately, saving you precious waiting time.
For optimal storage and to maintain its superior quality, ensure the ice cream is kept in an airtight, freezer-safe container. Properly covered and sealed, this delectable vegan ice cream will maintain its quality and delightful flavor for a couple of weeks. However, it’s worth noting that the longer it remains frozen, the harder it may become over time, necessitating a slightly longer thawing period before each subsequent serving. To diligently prevent the formation of bothersome freezer burn, which can affect both texture and flavor, press a piece of parchment paper or plastic wrap directly onto the surface of the ice cream before securely covering the container with its lid.
Endless Possibilities: Customizing Your Vegan Chocolate Ice Cream
While this rich chocolate ice cream is phenomenal on its own, offering a pure, unadulterated taste of cocoa bliss, it also serves as an exceptional base for culinary creativity. You can effortlessly elevate its flavor and textural profile by incorporating a wide array of mix-ins and toppings. Get adventurous and make each scoop a uniquely personalized experience!
- Nutty Additions: For an irresistible crunch and added depth of flavor, gently fold in chopped roasted almonds, pecans, walnuts, or cashews. A sprinkle of sea salt can further enhance the nutty notes.
- Extra Chocolate Boost: For the ultimate chocolate lover, stir in dairy-free chocolate chips, substantial chocolate chunks, or even finely chopped vegan chocolate bars. A swirl of homemade vegan chocolate fudge or ganache artfully added before freezing would also be absolutely divine.
- Candy & Cookie Fun: Crush up your favorite vegan cookies (such as popular sandwich cookies for an amazing cookies and cream twist) or incorporate vegan mini marshmallows, gummy bears, or other plant-based candies for a playful texture and burst of sweetness.
- Fruity Swirls: For a vibrant and refreshing flavor contrast, swirl in a homemade raspberry puree, a rich cherry compote, or even a hint of finely grated orange zest. A touch of strawberry jam could also be incredible.
- Minty Fresh: Just a few drops of high-quality peppermint extract can magically transform this into a refreshingly cool mint chocolate chip experience (add green food coloring if you desire that classic look!).
- Coffee Kick: For those who adore the classic mocha flavor, mix in a tablespoon or two of instant espresso powder (first dissolved in a tiny bit of hot water to prevent grittiness) for an invigorating coffee-infused ice cream.
- Toasted Coconut Delight: Gently fold in some lightly toasted shredded coconut for an extra layer of tropical coconut flavor and a delightful textural element that complements the chocolate beautifully.
- Spice it Up: A pinch of cinnamon or chili powder can add an unexpected and sophisticated warmth to your chocolate ice cream, creating a Mexican-inspired hot chocolate flavor profile.
This recipe truly ends our chocolate dessert series with an unforgettable bang. It’s a testament to how satisfying, accessible, and endlessly creative vegan baking and dessert making can be. Perhaps next year, we’ll need an entire month dedicated to chocolate to explore even more delectable creations and new flavor combinations!
Enjoy this delightful treat, perfect for any occasion, whether it’s a cozy evening at home, a festive gathering with loved ones, or simply a moment of sweet indulgence. Happy indulging!
❤
Explore More Dairy-Free & Delicious Treats!
If you’ve enjoyed this easy vegan chocolate ice cream, you’ll be thrilled to discover more of my favorite no-churn ice cream recipes and other delightful vegan treats. Expand your dessert repertoire and continue your culinary adventure with these irresistible options:
More No-Churn Ice Cream Creations:
- Matcha No-Churn Ice Cream: A unique and refreshing twist for green tea lovers.
- Rolo No-Churn Ice Cream: Indulge in caramel and chocolate bliss without the fuss.
- Best Mint Chocolate Chip Ice Cream: A classic favorite, reimagined for ultimate creaminess.
Other Irresistible Vegan Desserts:
- Vegan Chocolate Beet Cake: A surprisingly moist and rich cake with a secret ingredient.
- Easy Chocolate Raspberry Mousse: Light, airy, and bursting with fruity chocolate flavor.
- Healthier Sea Salt Caramels: A delightful balance of sweet and salty, made with better-for-you ingredients.
Please note! This ice cream will need about 20 minutes at room temperature before it is scoop-and-serve ready, unless you add vodka (see recipe notes below for details on this helpful trick).
Print Recipe
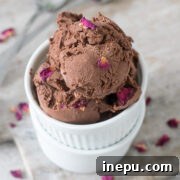
Vegan Chocolate Ice Cream (No-Churn)
5 Stars
4 Stars
3 Stars
2 Stars
1 Star
5 from 18 reviews
- Author: Katherine | Love In My Oven
- Total Time: 10 minutes (plus 5-6 hours freezing time)
- Yield: 1 pint
Description
This no-churn vegan chocolate ice cream is a dream come true for dairy-free dessert lovers! Made with rich coconut cream and quality cocoa, it’s incredibly easy to whip up without an ice cream maker, yielding a silky smooth, decadent treat.
Ingredients
- 1 can (400mL) full-fat coconut cream, refrigerated for at least 24 hours
- 1/2 cup unsweetened cocoa powder (high quality for best flavor)
- 1 can (250mL) sweetened condensed coconut milk
- Optional: 2 tablespoons vodka (for softer, easier-to-scoop ice cream)
Instructions
- Prepare Coconut Cream: Ensure your can of full-fat coconut cream has been refrigerated for a minimum of 24 hours. Carefully open the can and scoop out only the thick, solidified cream into the bowl of an electric stand mixer fitted with a whisk attachment. Discard any clear liquid (coconut water) at the bottom, or save it for another use.
- Whip the Cream: Whip the coconut cream on high speed for about 2 minutes, until it becomes light, fluffy, and resembles traditional whipped cream.
- Add Cocoa: With the mixer on a slow speed (to prevent a dust cloud), gradually add the cocoa powder. Increase speed and continue to whip until the cocoa is fully incorporated and the mixture is uniform in color and texture.
- Fold in Condensed Milk: Scrape the entire can of sweetened condensed coconut milk (and the optional vodka, if using) into the mixture. Using a spatula, gently fold it in until everything is well combined and smooth. Be careful not to overmix, as this can deflate the whipped cream.
- Freeze: Pour the ice cream mixture into a freezer-safe container. A loaf pan lined with parchment paper for easy removal works perfectly. Smooth the top with a spatula. Place in the freezer for 5-6 hours, or ideally overnight, until firm.
- Serve: For the best texture, allow the ice cream to sit at room temperature for approximately 20 minutes before scooping, especially if you didn’t add vodka. If vodka was used, it should be scoopable almost immediately. Enjoy!
Storage Note: This ice cream will keep well in an airtight, freezer-safe container for about 2 weeks. The longer it is stored, the firmer it may become, requiring a slightly longer thawing period before serving.
Notes
*Coconut Cream Refrigeration: It is crucial to refrigerate the full-fat coconut cream for at least 24 hours. This ensures the solid cream separates from the liquid, allowing for proper whipping.
**Vodka for Scoopability: Adding 1-2 tablespoons of vodka to the mixture before freezing helps lower the freezing point, making the ice cream softer and easier to scoop straight from the freezer. You will not taste the vodka in the final product.
Customization: Feel free to add your favorite dairy-free mix-ins like chocolate chips, chopped nuts, or fruit swirls before freezing for an extra personalized treat!
- Prep Time: 10 minutes
- Category: Ice Cream, Dessert
- Method: No-Churn, Freezing
- Cuisine: Vegan, Dairy-Free, American
Shop the Recipe!
Thai Kitchen Gluten Free Un…Shop on Amazon
Nature’s Charm Sweetned Con…Shop on Amazon
Norpro, black Nonstick Anti…Shop on Amazon