
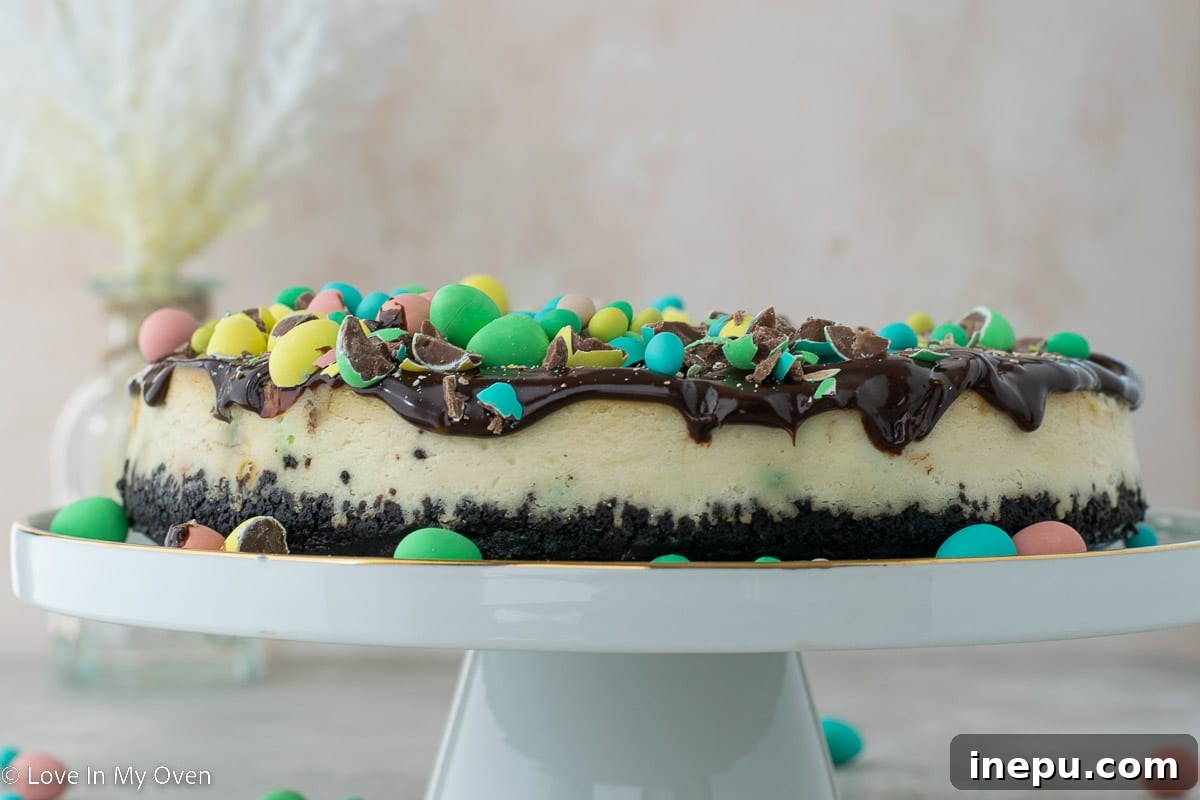
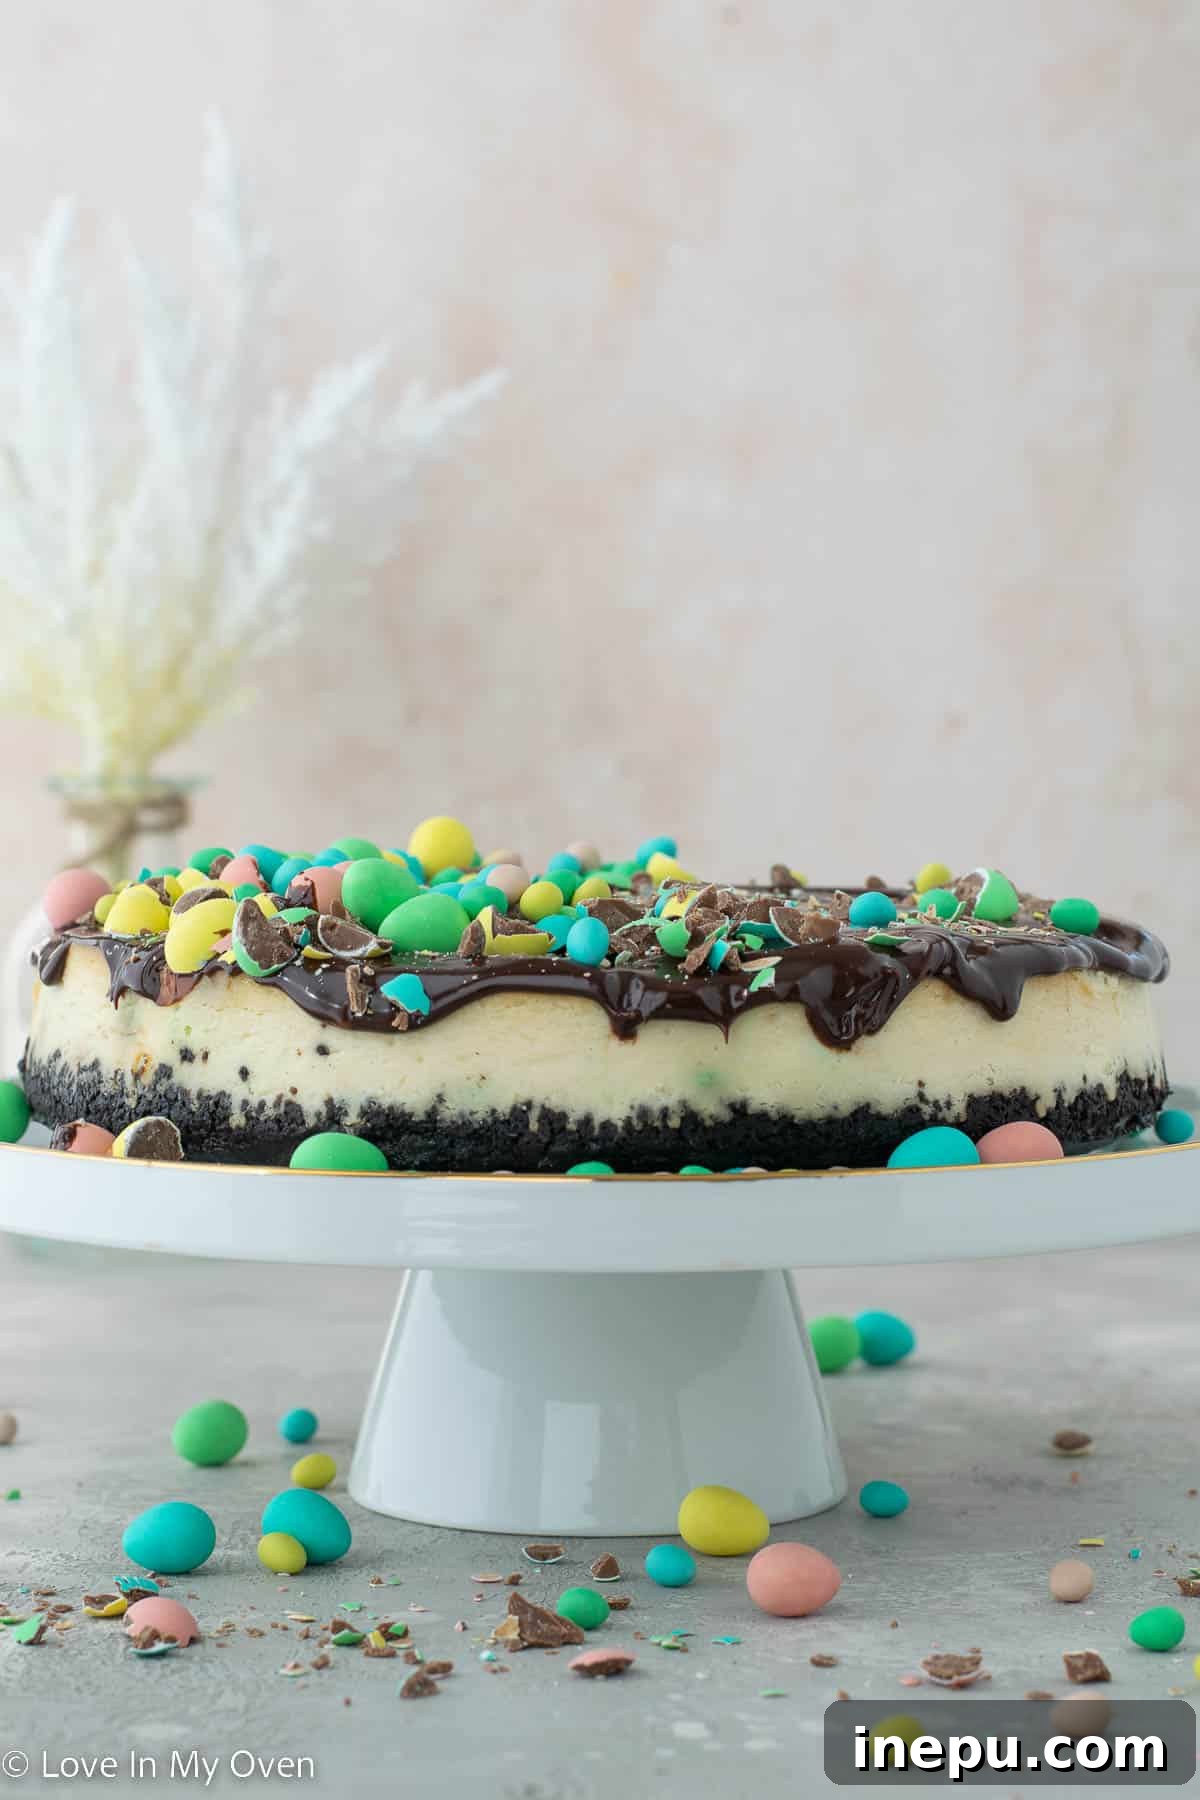
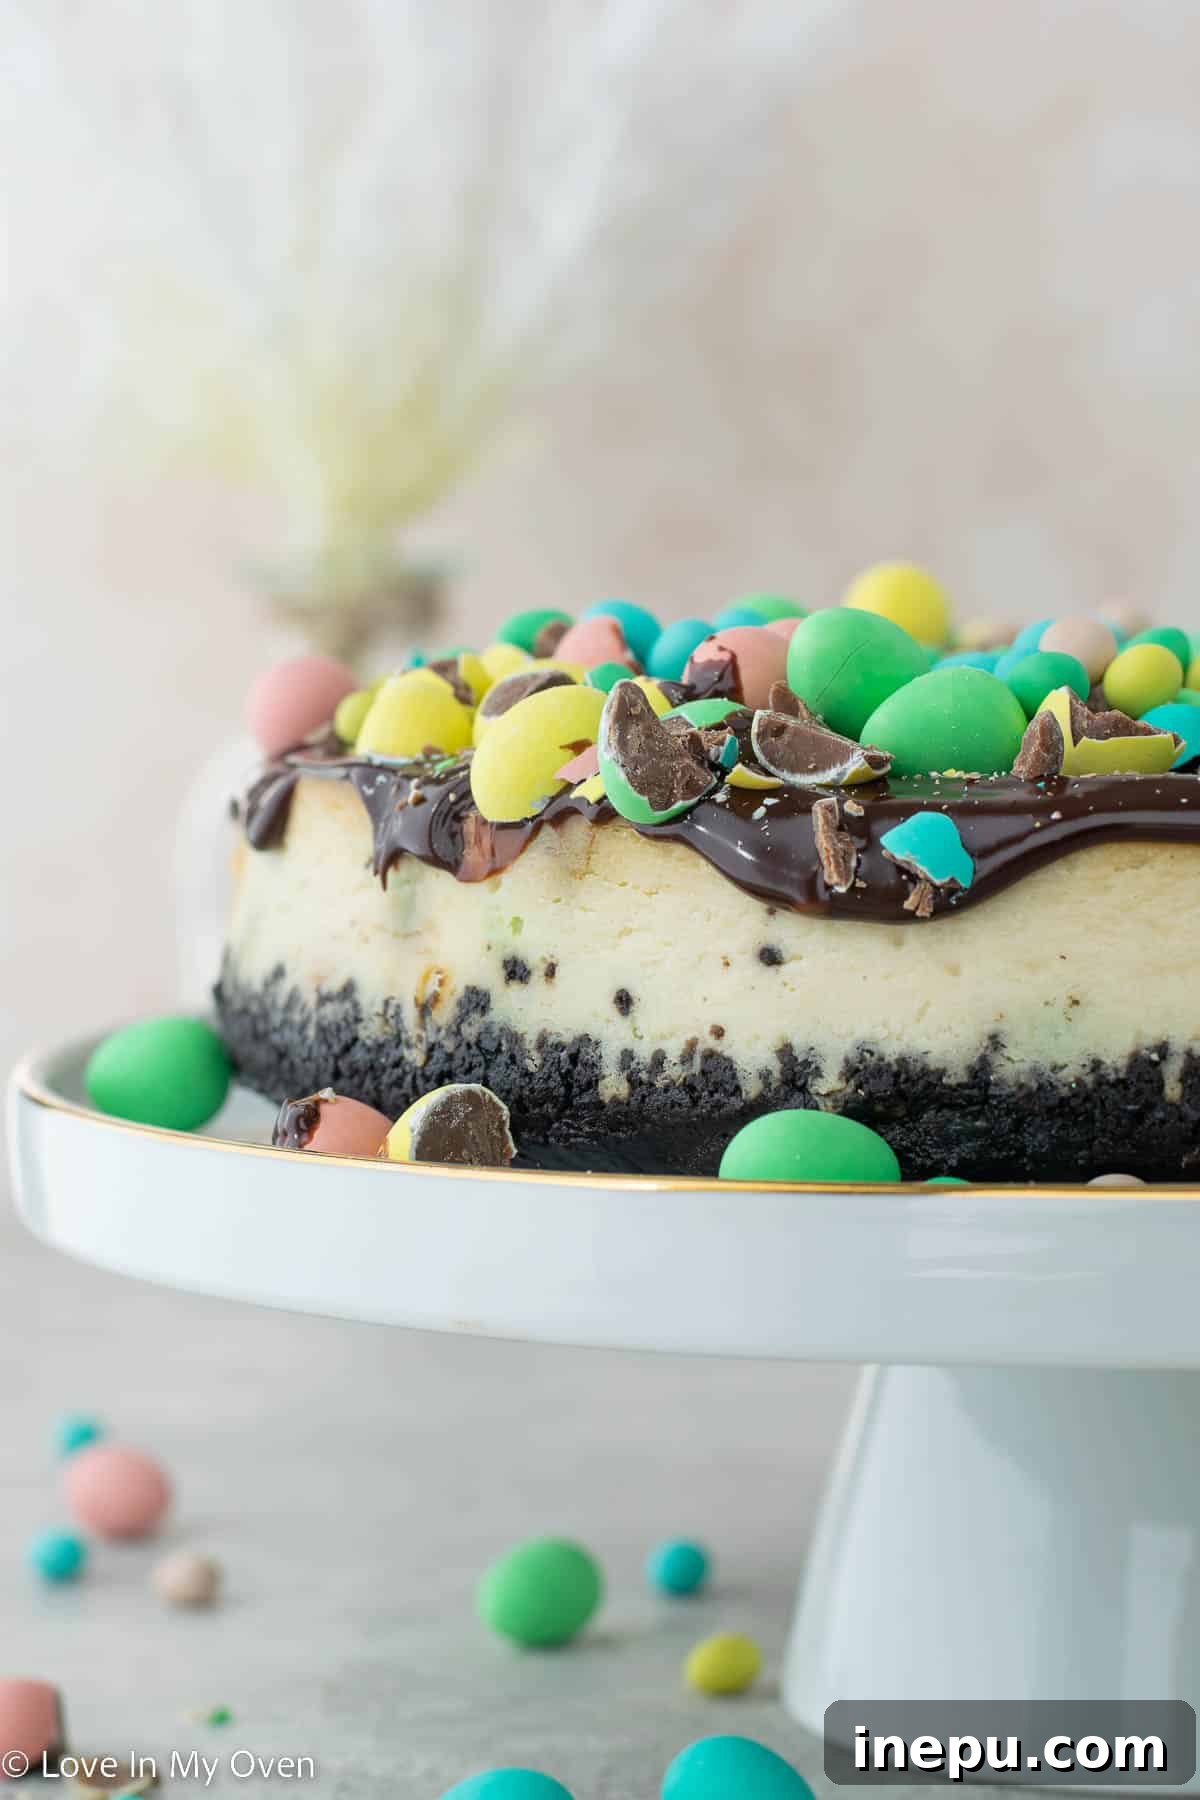
Indulge in the ultimate seasonal delight with this spectacular Mini Egg Cheesecake! Featuring a rich chocolate Oreo crust, a velvety smooth vanilla cream cheese filling, and a decadent chocolate ganache crown, all generously adorned with everyone’s favorite Cadbury Mini Eggs, this dessert is a true showstopper for any occasion. Prepare to impress with every luscious bite!
There’s a certain magic that Mini Eggs bring, isn’t there? For years, their arrival in stores signaled the official start of spring and Easter celebrations. That limited-time appearance made them feel incredibly special, a cherished treat we eagerly anticipated. Now, with Mini Eggs available year-round, that element of seasonal excitement has subtly shifted. While I adore having access to these irresistible little candies whenever a craving strikes (and believe me, they are incredibly addictive!), a small part of me misses the thrill of their annual debut. It’s a bittersweet convenience; my pantry can’t keep them in stock for long before an entire bag mysteriously disappears!
Despite their constant availability, the allure of Mini Eggs remains undiminished, especially when transformed into a dessert as magnificent as this cheesecake. No longer do you need to wait for spring to roll around to enjoy this exquisite creation. This recipe allows you to capture that festive spirit and delicious crunch any day of the year. Whether you’re celebrating Easter, a birthday, or simply the joy of a homemade treat, this Mini Egg Cheesecake promises to be the star of your dessert table.
What Ingredients Do You Need for a Mini Egg Cheesecake?
While many cheesecakes feature a classic graham cracker crust, I found that a rich chocolate crust perfectly complements the sweet crunch of Mini Eggs, creating a truly harmonious flavor profile. This cheesecake, despite its decadent appearance and taste, actually requires a surprisingly short list of readily available ingredients. Simplicity meets sophistication in this delightful dessert.
To craft this irresistibly creamy and chocolatey Mini Egg Cheesecake, you will need the following:
Crust: The Decadent Base
- Chocolate Oreo Crumbs: The foundation for our rich, dark chocolate crust. You can either purchase pre-crushed Oreo crumbs or create your own by processing whole Oreos (creams and all!) into fine crumbs. Approximately 24 standard Oreo cookies will yield the necessary 1 1/2 cups of crumbs.
- Unsalted Butter: Melted butter binds the Oreo crumbs together, forming a firm and flavorful crust that holds its shape beautifully. Using unsalted butter allows you to control the overall saltiness of the dessert.
Filling: The Creamy Heart of the Cheesecake
- Full-Fat Cream Cheese: Essential for that signature creamy, tangy cheesecake texture. Ensure it’s full-fat and brought to room temperature for a smooth, lump-free batter.
- Granulated Sugar: Sweetens the cream cheese filling to perfection, balancing the tanginess and enhancing the vanilla notes.
- Greek Yogurt: Adds a lovely tang and contributes to the ultra-creamy texture, making the cheesecake exceptionally smooth without being overly heavy. Full-fat Greek yogurt is recommended for the best results.
- Eggs: Act as a binder and help set the cheesecake, giving it structure. Make sure they are at room temperature to ensure they incorporate smoothly into the batter, preventing overmixing.
- Pure Vanilla Extract: A crucial flavor enhancer that complements the chocolate and brings out the sweetness of the Mini Eggs. Use good quality pure vanilla for the best taste.
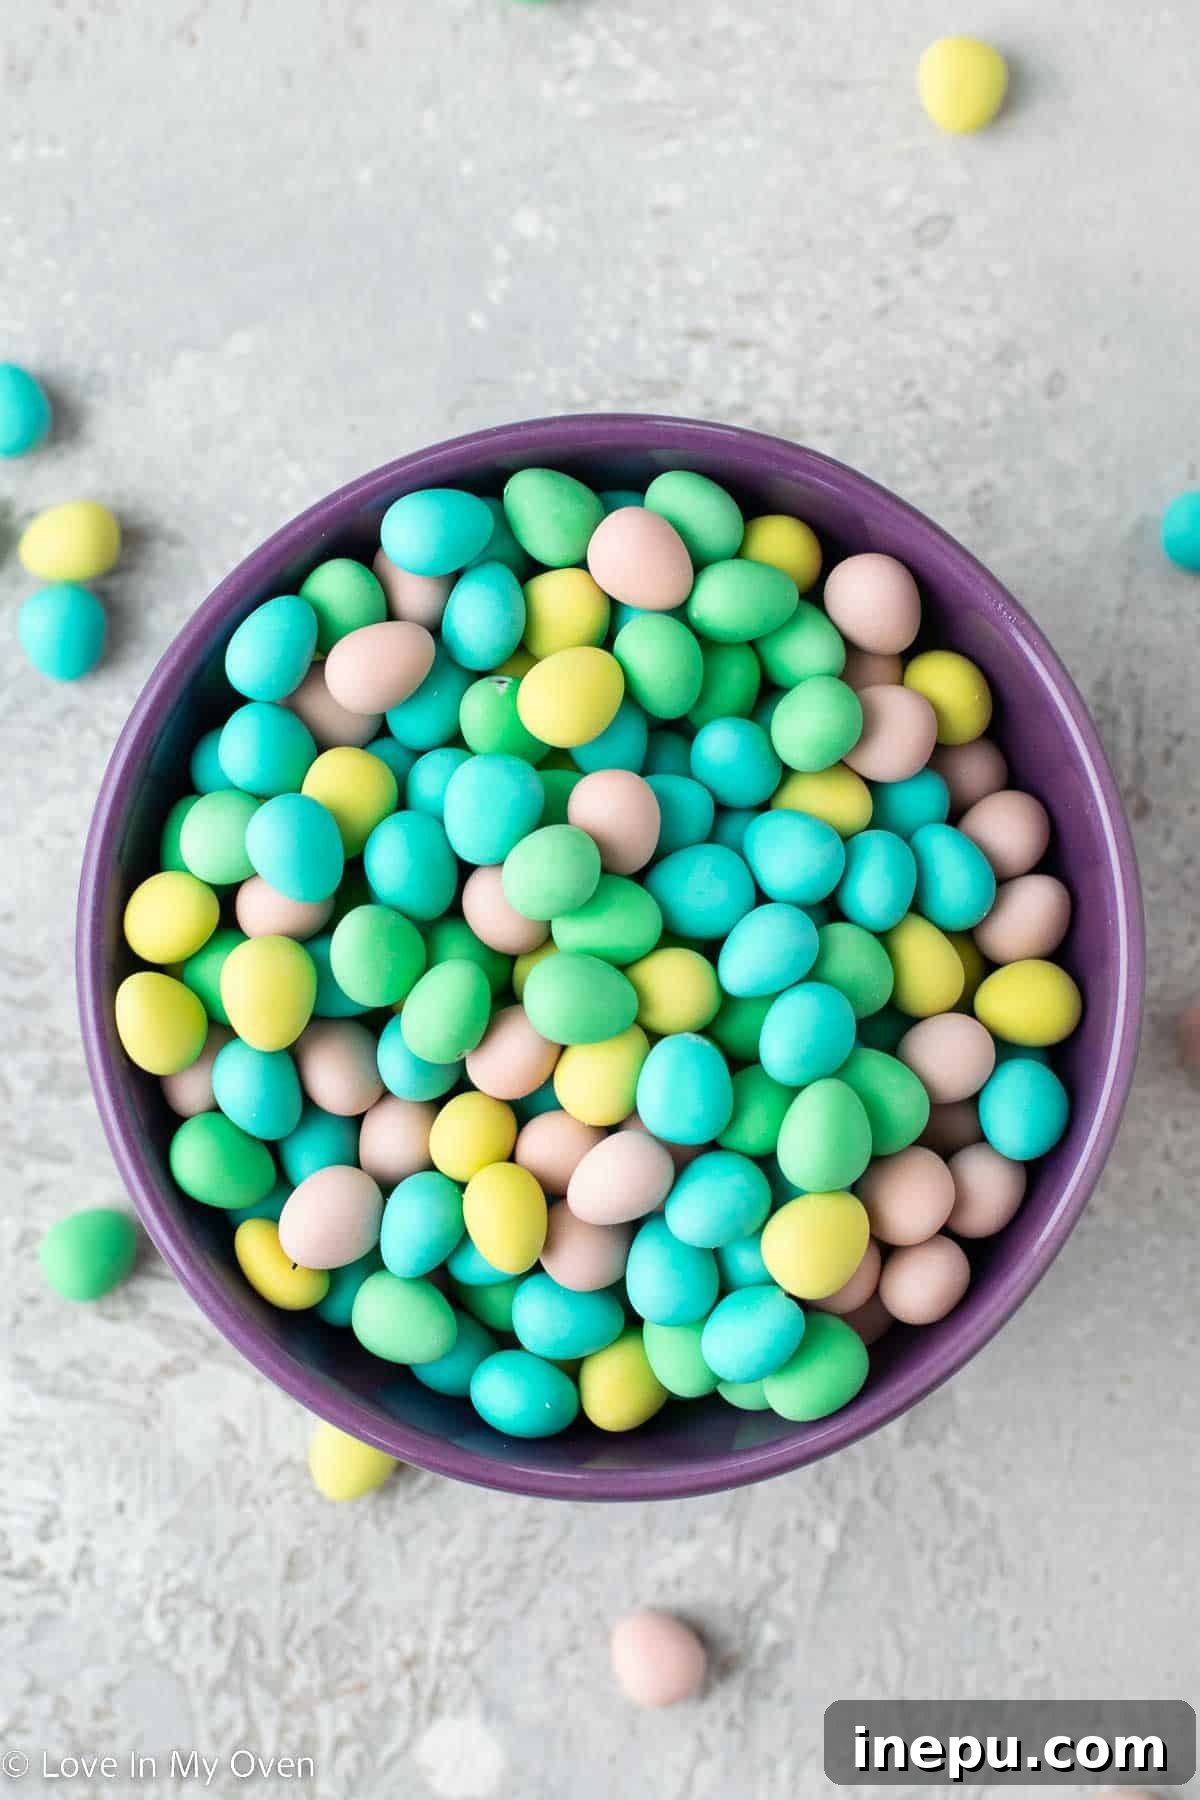
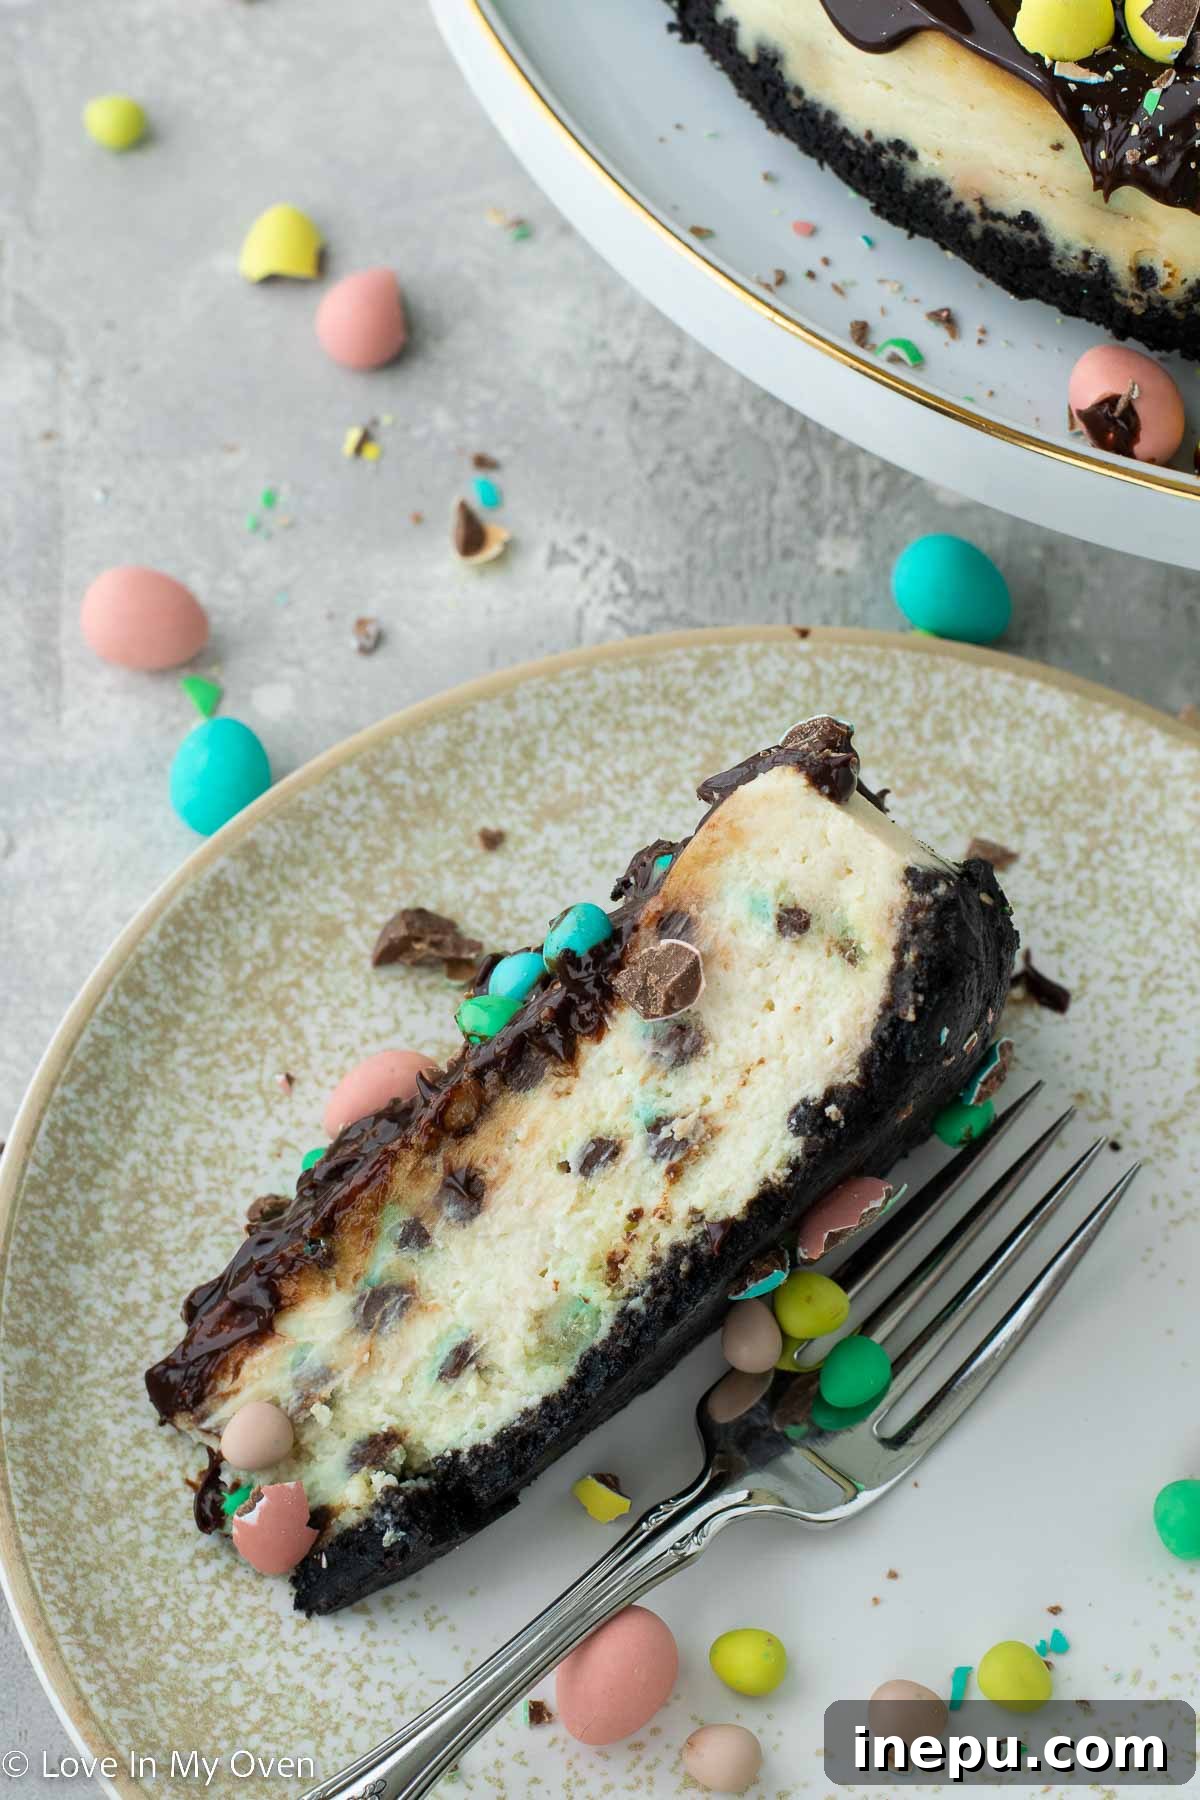
- Mini Eggs: The star of the show! Roughly chopped Cadbury Mini Eggs are folded into the filling, providing bursts of chocolate and a delightful crunch in every slice. Having extra for decoration is highly recommended.
Ganache Topping: The Glossy Finish
- Heavy Cream: Provides the necessary richness and liquid to create a luscious, pourable chocolate ganache that sets beautifully.
- Semi-Sweet Chocolate Chips: The chocolate component of the ganache. Semi-sweet chips offer a balanced sweetness that pairs wonderfully with the cheesecake. High-quality chocolate will elevate the ganache significantly.
How Do You Make a Chocolate Oreo Cheesecake Crust?
Crafting the perfect chocolate Oreo crust is the first step to an unforgettable Mini Egg Cheesecake. This simple yet crucial layer provides a sturdy, flavorful base for the creamy filling. Here’s how to achieve it:
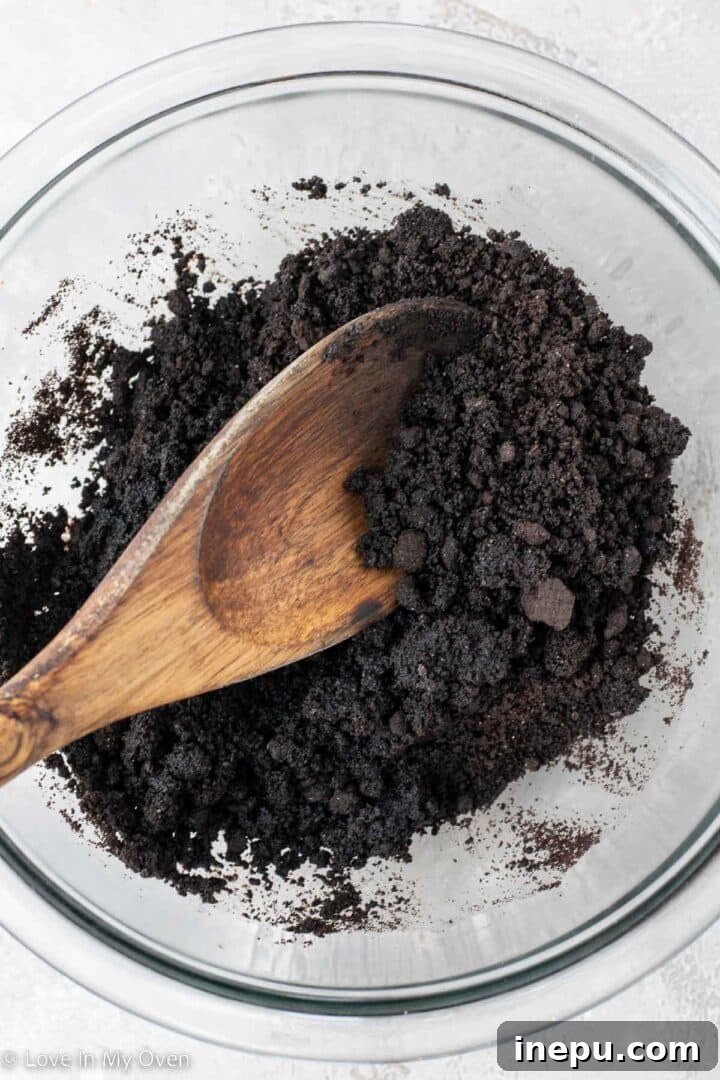
1. **Prepare Your Crumbs:** Start by combining 1 1/2 cups of crushed chocolate Oreo crumbs with 1/4 cup of unsalted melted butter. For convenience, you can purchase pre-crushed Oreo crumbs. However, if you’re crushing whole Oreos yourself, aim for about 24 standard cookies (including the cream filling) to yield the required amount. A food processor works wonders for creating fine, even crumbs quickly, but a zip-top bag and a rolling pin can also get the job done for a more rustic texture.
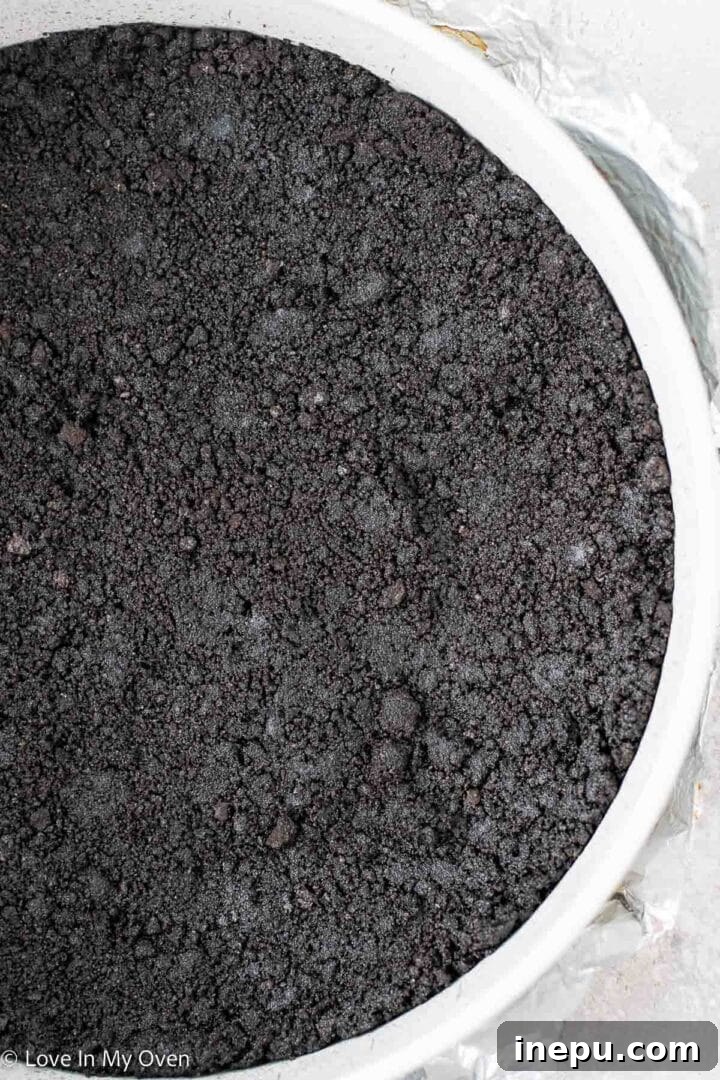
2. **Mix and Press:** In a large mixing bowl, thoroughly combine the Oreo crumbs and melted butter until the mixture resembles wet sand. Every crumb should be coated with butter. Once combined, transfer this mixture into a 9-inch springform pan. It’s a good idea to line the bottom of the pan with parchment paper and/or spray it lightly with nonstick spray to ensure easy release later. Using the bottom of a flat glass or your fingers, firmly press the mixture evenly into the bottom of the pan. For an extra touch, push some of the crust mixture up the sides of the pan, about 1/2 inch high, creating a slight rim. This helps contain the filling and adds visual appeal.
3. **Pre-Bake the Crust:** Bake the prepared crust in an oven preheated to 350°F (175°C) for 10-12 minutes. Pre-baking helps to set the crust, preventing it from becoming soggy once the filling is added. A pro tip: always wrap the bottom of your springform pan with aluminum foil before baking. This acts as a protective barrier, catching any potential butter leakage and saving you from a messy oven cleanup. Once baked, remove the crust from the oven and allow it to cool completely on a wire rack while you prepare the cheesecake filling. A cooled crust is essential to prevent the cheesecake filling from melting into it.
How Do You Make the Mini Egg Cheesecake Filling and Bake It to Perfection?
Creating the creamy, dreamy filling for this Mini Egg Cheesecake is straightforward, but attention to detail will ensure a perfectly smooth and crack-free dessert. Remember, room temperature ingredients are your best friend here!
1. **Cream Cheese and Sugar:** Once your chocolate Oreo crust has cooled, begin preparing the filling. In the bowl of a stand mixer fitted with the paddle attachment (or using a handheld electric mixer), combine the room temperature cream cheese and granulated sugar. Beat on medium-high speed for 1-2 minutes, or until the mixture is completely smooth, light, and creamy. It’s crucial that your cream cheese is at room temperature to prevent lumps and ensure a silky batter.
2. **Incorporate Eggs and Dairy:** Reduce the mixer speed to low. Add the eggs one at a time, mixing just until each egg is combined before adding the next. Overmixing eggs can incorporate too much air, which can lead to cracks in your cheesecake. After adding the eggs, stop the mixer and scrape down the sides and bottom of the bowl with a spatula to ensure all ingredients are well incorporated. Next, add the Greek yogurt and vanilla extract. Mix on low speed until the mixture is just combined and smooth. Avoid overmixing once the wet ingredients are in.
3. **Fold in the Mini Eggs:** This is where the star ingredient shines! Gently fold in the chopped Mini Eggs using a large wooden spoon or spatula. I found that micro mini eggs work beautifully if you can find them, as their smaller size distributes well throughout the filling. If using regular Mini Eggs, chop them into small pieces with a sharp knife before adding. Be gentle and avoid over-stirring, as excessive mixing can cause the vibrant colors from the candy shells to bleed into the creamy white filling, altering its appearance.
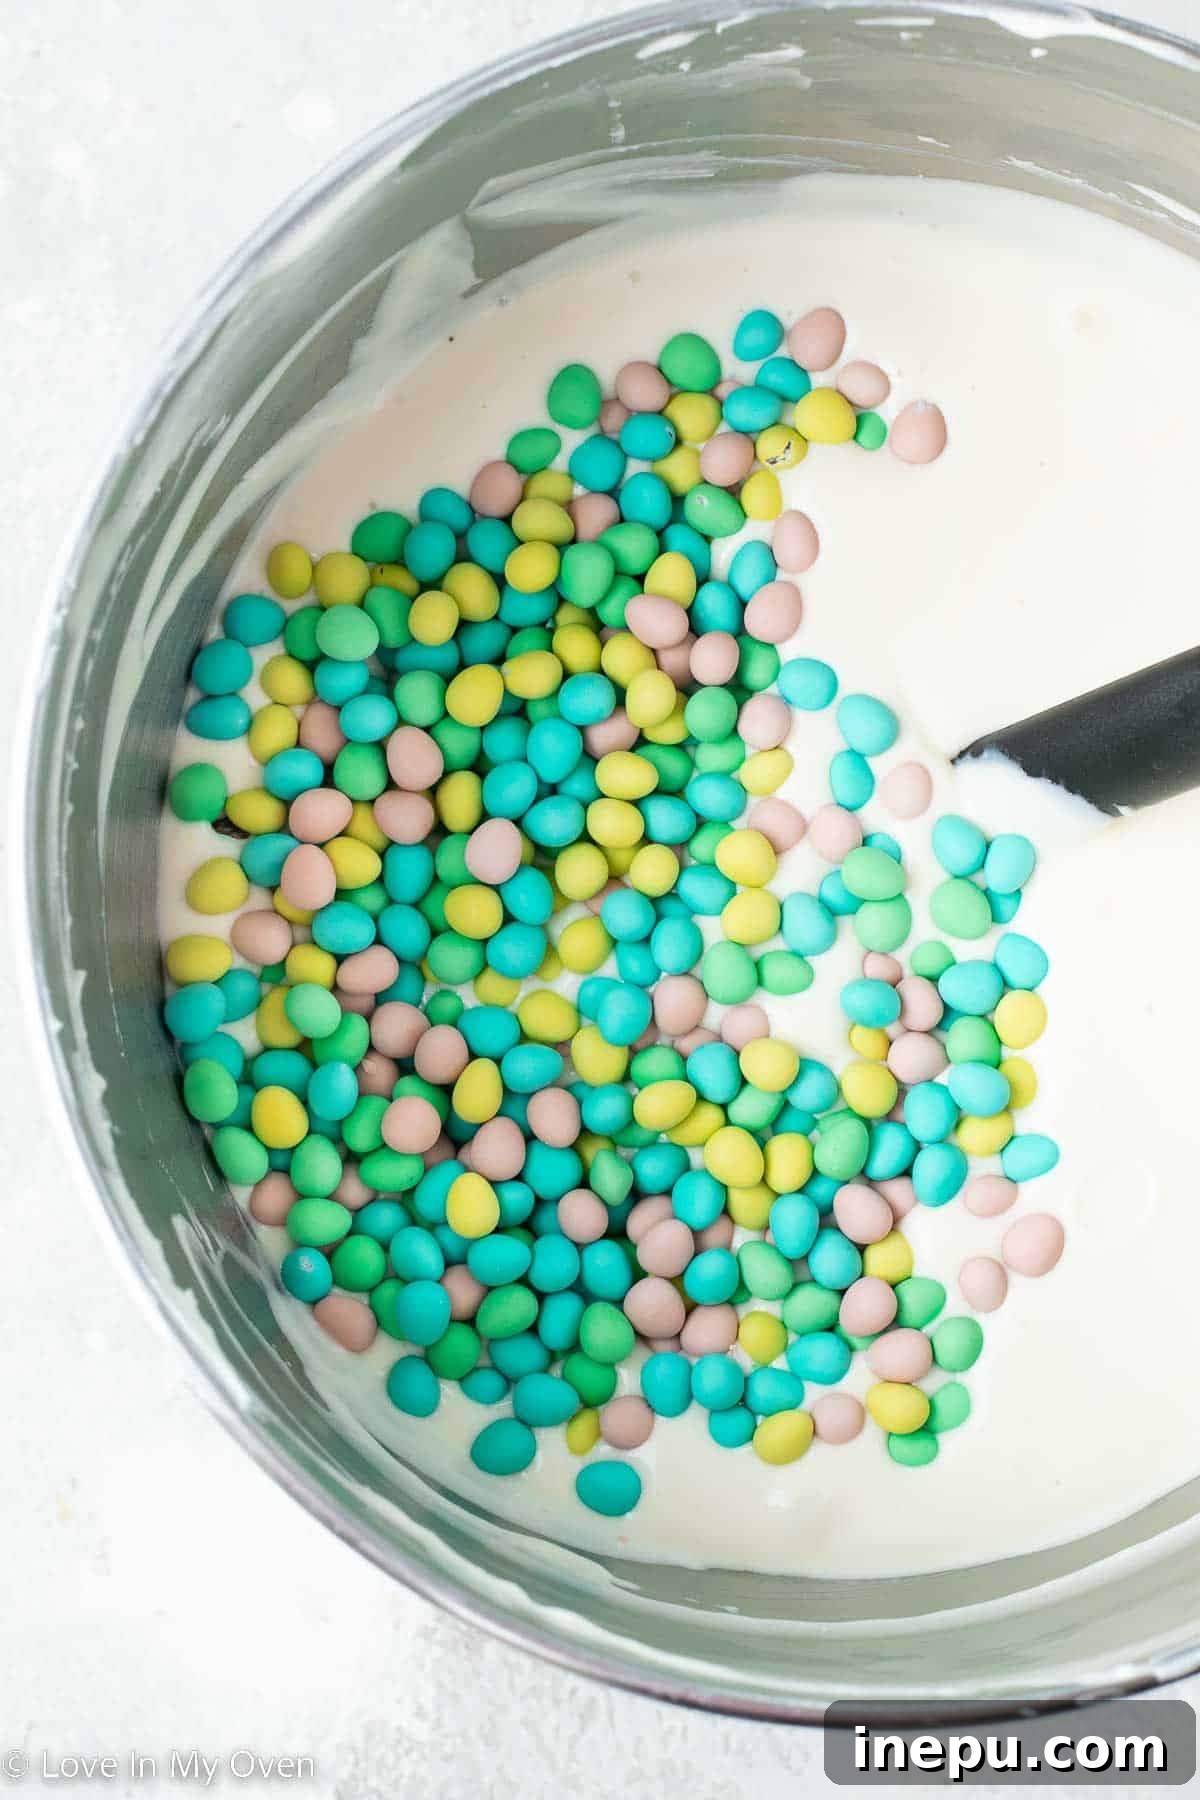
4. **Prepare for Baking:** Carefully pour the smooth cheesecake mixture into the prepared and cooled Oreo crust. Give the springform pan a gentle tap on the counter a few times to release any trapped air bubbles. This step helps ensure a dense, even texture in your final cheesecake.
The Essential Water Bath: Preventing Cracks
A water bath (bain-marie) is key to baking a cheesecake that’s perfectly creamy and crack-free. The steam from the water creates a humid environment in the oven, which helps the cheesecake bake evenly and prevents the surface from drying out and cracking. There are several ways to set up a water bath, but here’s a highly effective method:
Place your springform pan (already wrapped in aluminum foil to prevent water from seeping in) into a slightly larger roasting pan. Then, place that roasting pan into another, even larger pan (a sturdy cookie sheet or another roasting pan works well). Carefully pour boiling water into the outermost pan until it reaches about 1/2 inch up the sides of the springform pan. This multi-pan method adds an extra layer of protection against leaks. Once the water bath is assembled, carefully transfer it to the preheated oven.
5. **Bake and Cool Gradually:** Bake the cheesecake in the water bath at 350°F (175°C) for 55-65 minutes. The cheesecake is ready when the edges are set, but the very center (about 2-3 inches in diameter) still jiggles slightly when the pan is gently nudged. It will continue to cook and set as it cools. Once baked, turn off the oven and prop the oven door open a crack (using a wooden spoon or oven mitt). Leave the cheesecake in the cooling oven for about an hour. This gradual cooling process is critical for preventing sudden temperature changes that can lead to cracks. After an hour, remove the cheesecake from the oven and the water bath. Let it cool completely on a wire rack at room temperature. Once fully cooled, cover the cheesecake loosely with plastic wrap and refrigerate for at least 4 hours, or ideally overnight. Chilling is essential for the cheesecake to firm up and for the flavors to fully develop.
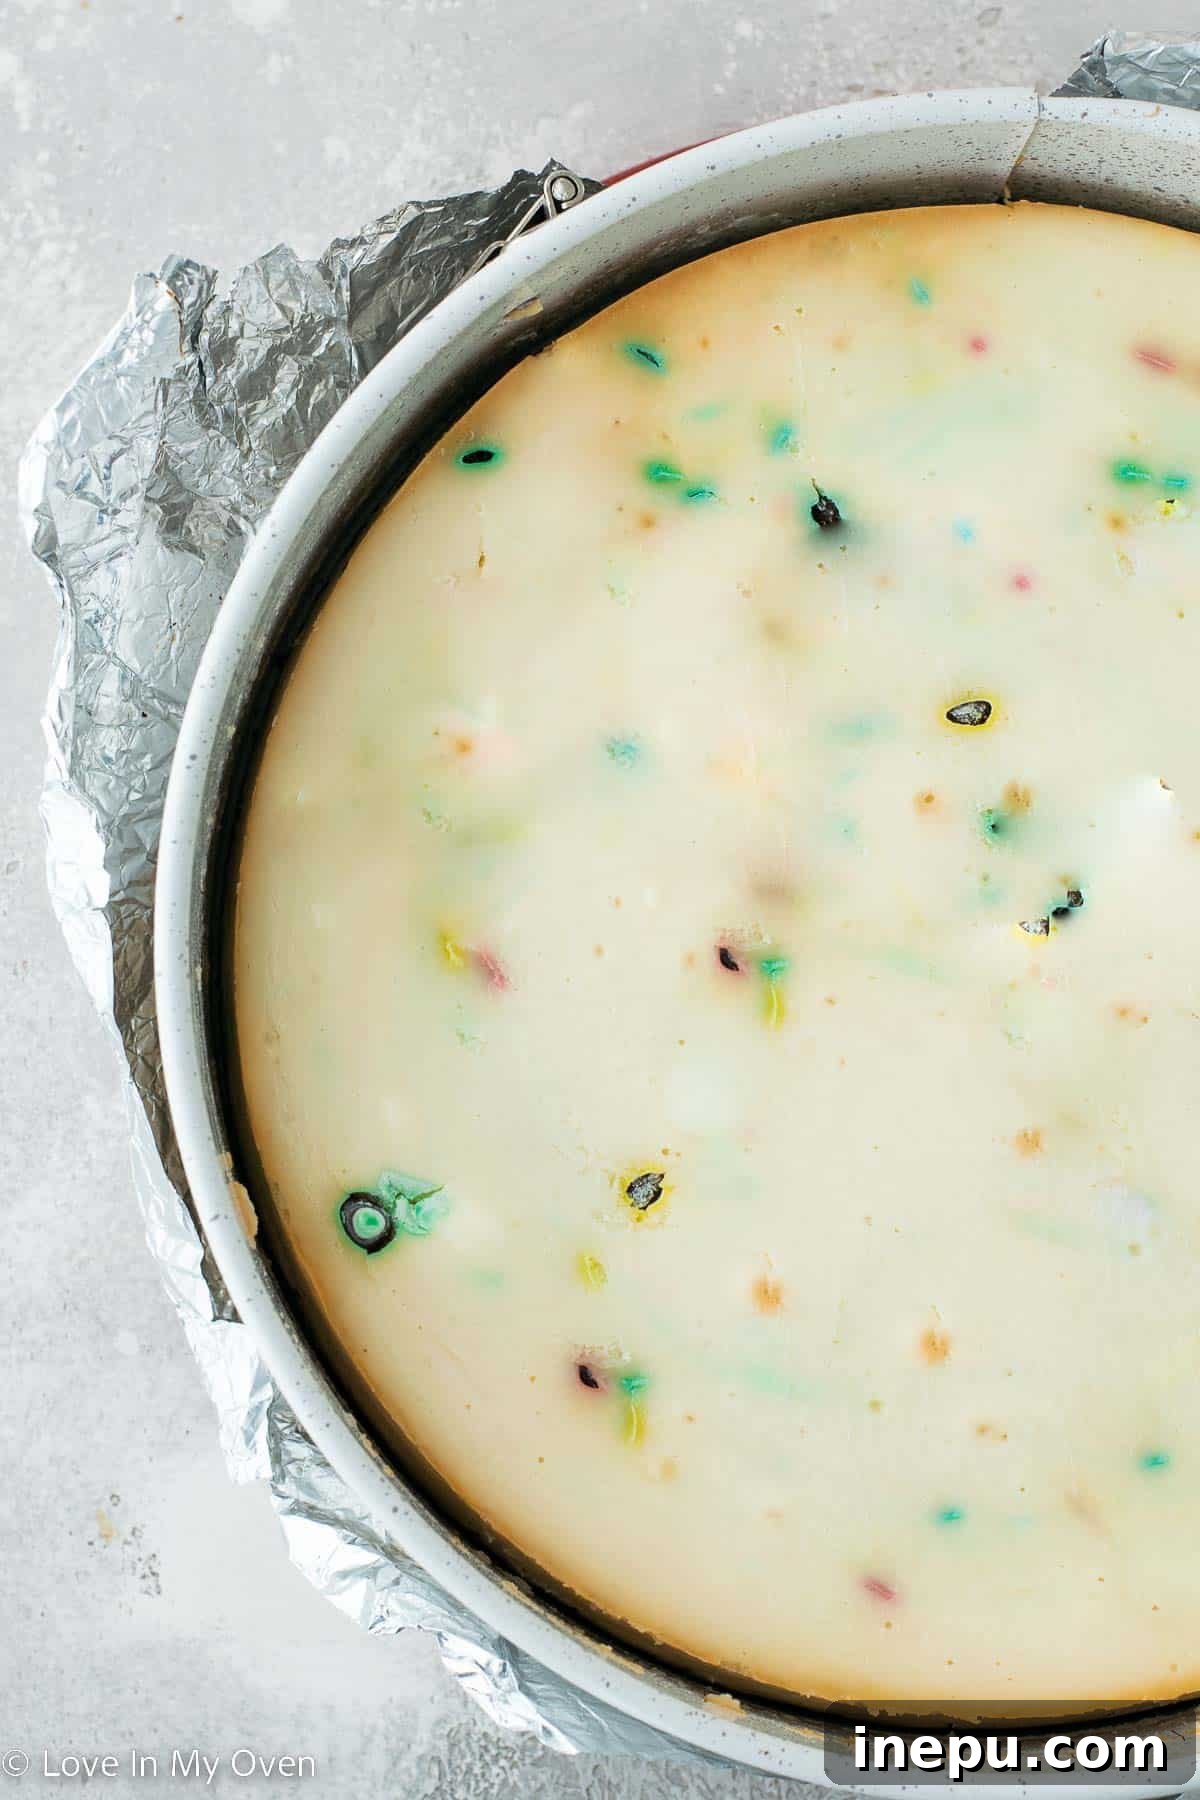
6. **Prepare the Chocolate Ganache Topping:** Once the cheesecake has thoroughly chilled (at least 4 hours, or until fully firm), it’s time to make the luscious chocolate ganache. Place the semi-sweet chocolate chips in a small, heat-proof bowl. In a small saucepan or microwave-safe bowl, heat the heavy cream until it’s just shy of boiling – you’ll see small bubbles forming around the edges. Pour the hot cream directly over the chocolate chips. Let the mixture sit undisturbed for 1 minute to allow the chocolate to melt. Then, gently whisk or stir until the chocolate is completely smooth, glossy, and emulsified. If the ganache appears too thick, you can add a tiny bit more warm cream, one teaspoon at a time, until it reaches your desired pourable consistency.
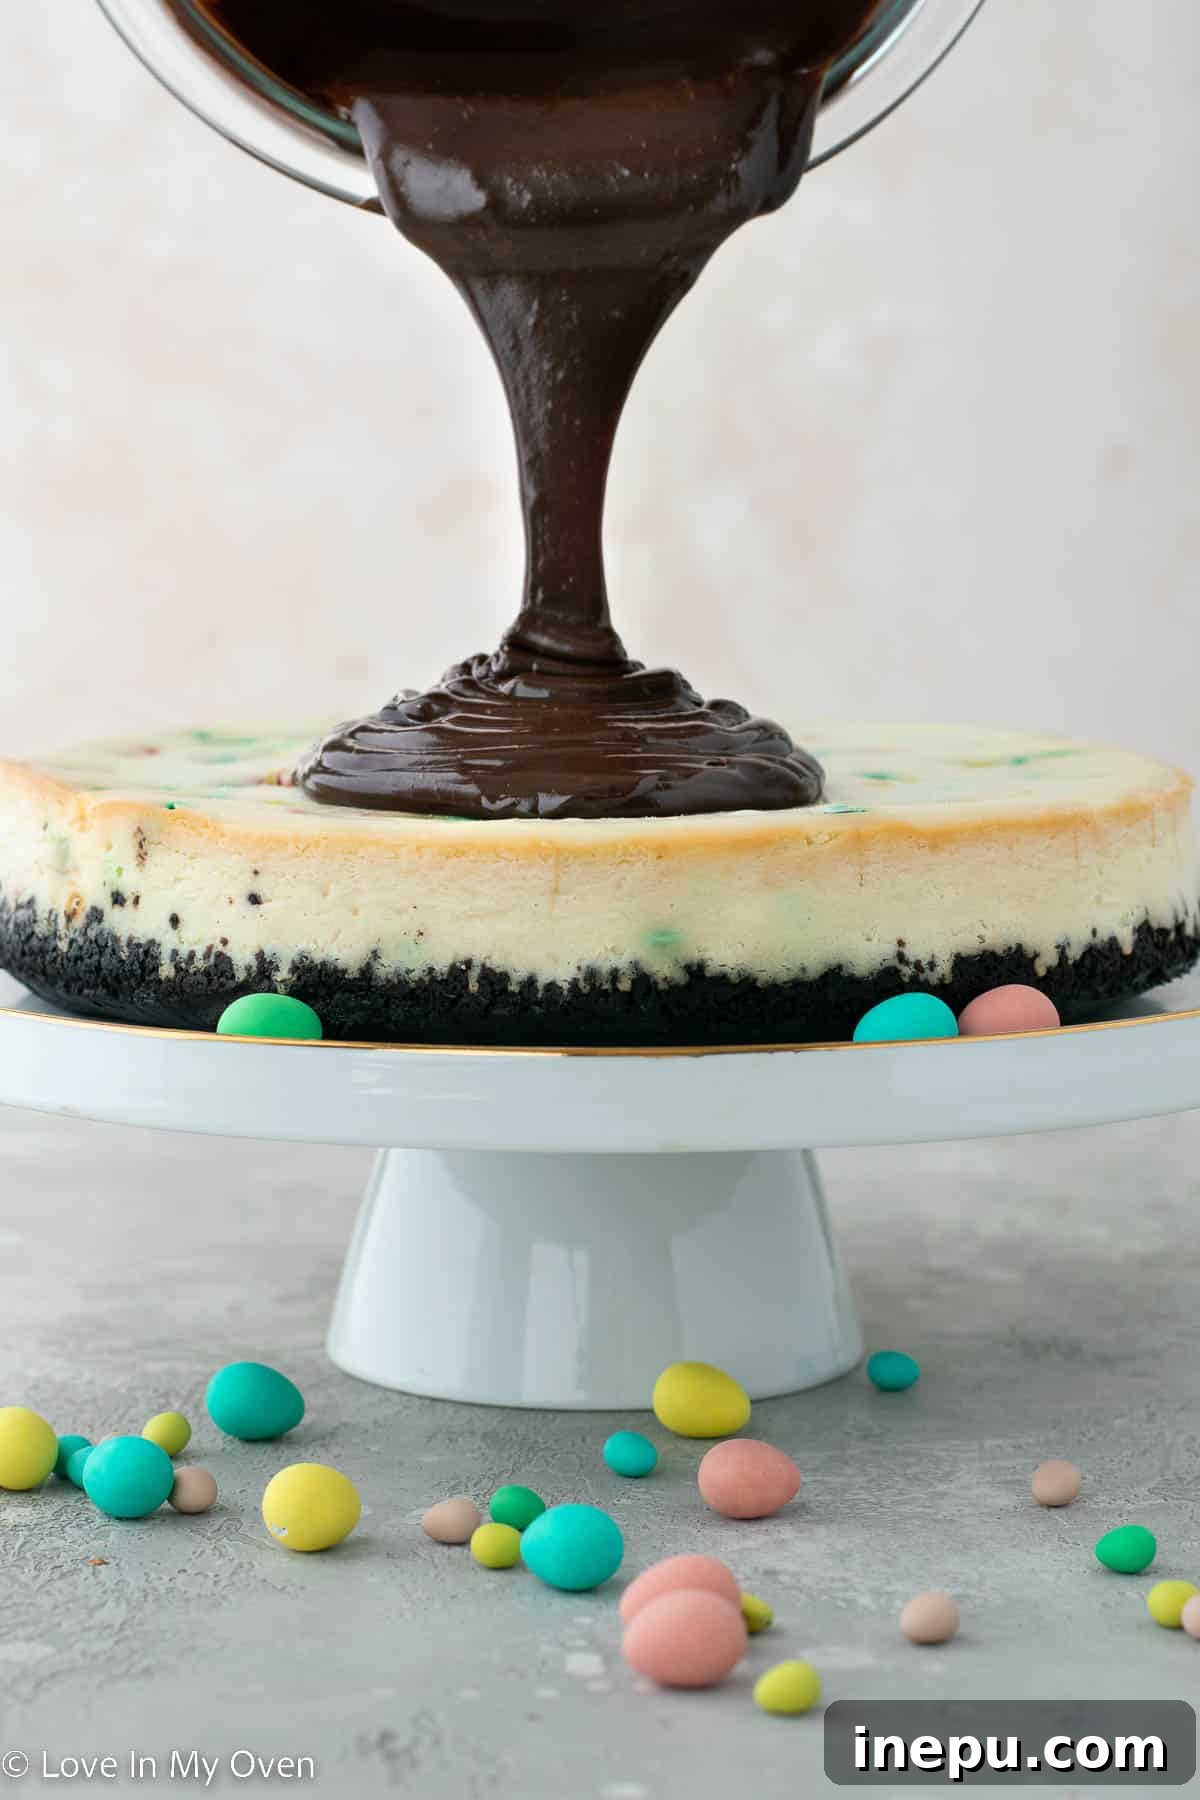
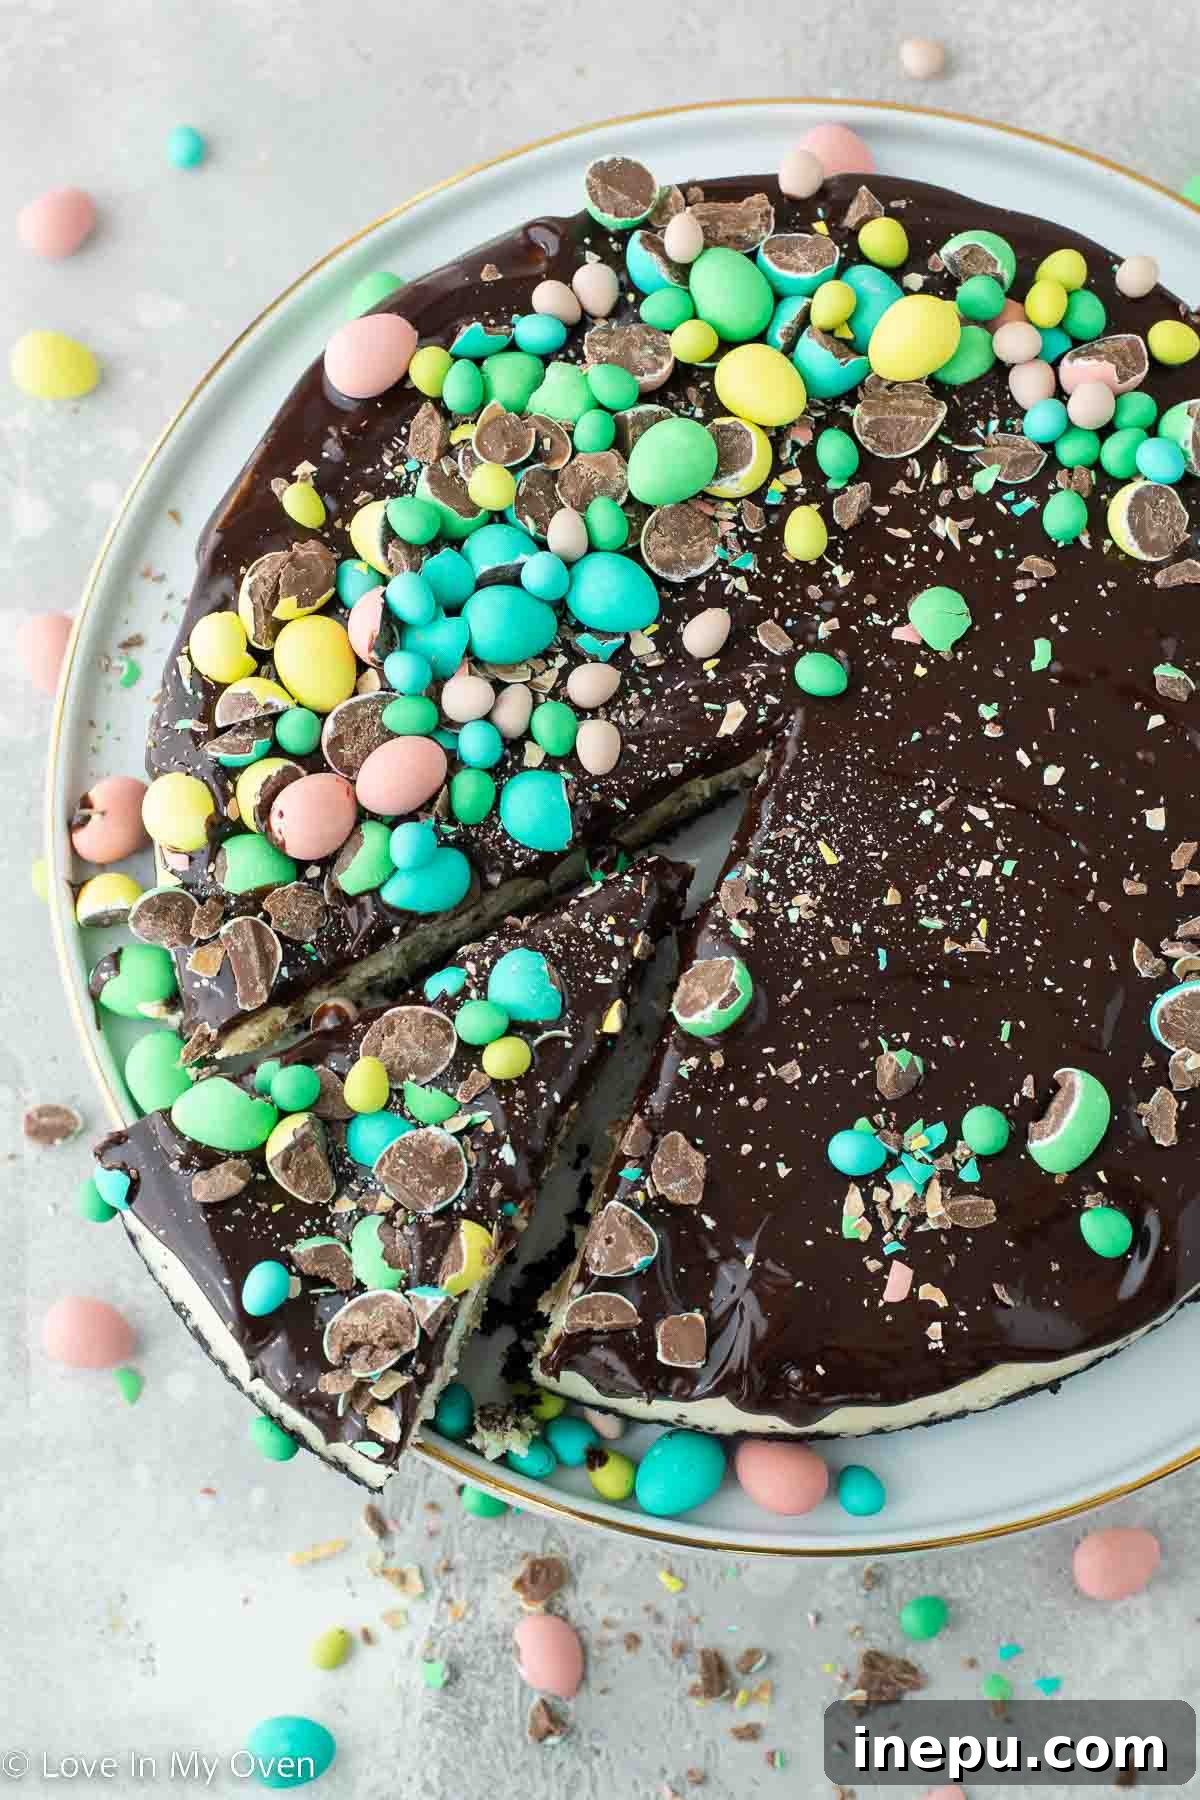
7. **Top and Decorate:** Pour the warm (but not hot) chocolate ganache over the chilled cheesecake. Using an offset spatula or the back of a spoon, gently spread the ganache evenly over the top, pushing it slightly to the edges so it gracefully drips down the sides. While the ganache is still wet, generously sprinkle extra chopped Cadbury Mini Eggs over the top for a festive and irresistible finish. Place the cheesecake back into the refrigerator for at least 30 minutes to allow the ganache to set before serving. This ensures a clean slice and a beautiful presentation.
How Do You Serve This Mini Egg Cheesecake?
Serving your Mini Egg Cheesecake beautifully is the final touch to an already impressive dessert. Once thoroughly chilled and the ganache is set, remove the springform pan collar. To achieve perfectly clean slices, use a large, sharp knife. For each cut, run the knife under hot water and then wipe it clean with a paper towel. This prevents the cheesecake from sticking and ensures a smooth, neat edge every time. Repeat this process for each slice.
You can serve the cheesecake as is, letting the rich flavors and textures speak for themselves. However, for an extra touch of indulgence, consider topping each slice with a dollop of freshly whipped cream, a sprinkle of cocoa powder, or even a few more mini eggs for good measure. A drizzle of chocolate syrup could also enhance the presentation and flavor profile. This cheesecake is rich, so thin slices are often sufficient, allowing everyone to savor its delightful complexity without feeling overwhelmed.
How Long Does This Cheesecake Last?
Proper storage is essential to keep your Mini Egg Cheesecake fresh and delicious for as long as possible.
Refrigeration: Once sliced or whole, store the cheesecake in an airtight container in the refrigerator. It will remain fresh and delightful for up to one week. Be sure it’s well-covered to prevent it from absorbing odors from other foods in the fridge and to maintain its moisture.
Freezing (Before Ganache): If you’re looking to make this dessert ahead of time or save some for later, you can freeze the fully baked and cooled cheesecake (without the ganache topping and extra Mini Egg decoration). To freeze, wrap the cheesecake tightly in several layers of plastic wrap, followed by a layer of aluminum foil. This helps prevent freezer burn. It can be stored in the freezer for up to 2 months. When you’re ready to enjoy it, thaw the cheesecake overnight in the refrigerator. Then, prepare the chocolate ganache and decorate with Mini Eggs on the day of serving for the freshest results.
Tips for a Flawless Mini Egg Cheesecake
- **Room Temperature Ingredients:** This is the golden rule for cheesecakes. Cream cheese and eggs at room temperature blend smoothly, creating a lump-free, airy batter. Cold ingredients can lead to overmixing and a dense, cracked cheesecake.
- **Don’t Overmix:** Once the eggs are added, mix just enough to combine. Overmixing incorporates too much air, causing the cheesecake to puff up in the oven and then fall dramatically, leading to cracks.
- **The Water Bath is Your Friend:** Don’t skip the water bath! It’s the best way to ensure even baking, a creamy texture, and prevent those dreaded cracks.
- **Slow Cooling:** Gradual cooling, first in the oven and then at room temperature, is crucial. Sudden temperature changes are a primary cause of cheesecake cracks.
- **Chill Thoroughly:** Allow ample time for the cheesecake to chill in the refrigerator – at least 4 hours, but preferably overnight. This firms up the cheesecake and allows the flavors to meld beautifully.
- **Clean Slices:** For professional-looking slices, heat your knife under hot water, wipe it clean, and make each cut. Repeat for every slice.
- **High-Quality Mini Eggs:** Cadbury Mini Eggs are iconic for a reason. Their quality chocolate and crisp shell are unparalleled in this recipe.
Common Questions About Mini Egg Cheesecake
- **Why did my cheesecake crack?** Cracks are often caused by overmixing the batter (incorporating too much air), baking at too high a temperature, or cooling the cheesecake too quickly. Following the water bath and gradual cooling steps carefully should minimize cracks.
- **Can I use a different crust?** Absolutely! While the Oreo crust is fantastic, a classic graham cracker crust or even a digestive biscuit crust would also pair well. Just ensure it’s firmly pressed and pre-baked.
- **My ganache is too thick/thin.** If your ganache is too thick, gently warm it over a double boiler or in the microwave for a few seconds, stirring in a teaspoon of warm cream until it reaches the desired consistency. If it’s too thin, let it sit for a bit longer at room temperature, or briefly chill it in the fridge (stirring frequently) until it thickens.
- **How do I prevent the Mini Egg colors from bleeding?** The key is to fold them in gently and quickly, avoiding excessive stirring. If you’re concerned, you can add them as a topping instead of mixing them into the filling.
You’ll love these other delightful cheesecakes from the blog!
If you’re a cheesecake aficionado, be sure to explore more delectable recipes from the blog. Each offers a unique flavor experience that’s sure to satisfy your sweet cravings:
- Toblerone Cheesecake: A sophisticated treat featuring the distinct taste of honey and almond nougat.
- Chocolate Caramel Cheesecake: A harmonious blend of rich chocolate and gooey caramel for ultimate indulgence.
- No-Bake Cheesecake Bars: Perfect for warmer weather or when you need a quick and easy cheesecake fix without turning on the oven.
- Caramel Pumpkin Cheesecake: A seasonal sensation combining the warm spices of pumpkin with sweet, buttery caramel.

Mini Egg Cheesecake
5 Stars 4 Stars 3 Stars 2 Stars 1 Star
5 from 1 review
Author: Katherine | Love In My Oven
Total Time: 6 hours
Yield: 8–10 servings 1x
Description
Everyone’s favourite Easter candy makes for the most delicious cheesecake you’ve ever had! This mini egg cheesecake is comprised of a delectable chocolate crust, creamy vanilla filling and a chocolate ganache topping, all covered in mini eggs!
Ingredients
Scale
Cheesecake Crust
- 1 1/2 cups Oreo crumbs*
- 1/4 cup unsalted butter, melted
Filling
- 24 oz full-fat cream cheese (3 x 8oz blocks), room temperature
- 1 cup granulated sugar
- 3 eggs, room temperature
- 1 cup full-fat Greek yogurt
- 2 tsp pure vanilla extract
- 1 cup chopped Cadbury mini eggs, plus more for decorating
Chocolate Ganache Topping
- 1/2 cup semi-sweet chocolate chips
- 2 tbsp heavy cream
Instructions
- Preheat the oven to 350 F (175 C) and line a 9″ springform pan with parchment paper or spray it with nonstick spray. Wrap the outside of the pan securely in aluminum foil.
- Make the crust. In a bowl, combine the cookie crumbs with the melted butter and stir thoroughly. Press the mixture firmly into the bottom of the prepared pan, pushing the crust up around the edges of the pan by about 1/2″.
- Bake the crust for 10-12 minutes, then remove it from the oven and let it cool completely while you prepare the cheesecake filling.
- Prepare the filling. Add the room temperature cream cheese and granulated sugar to the bowl of a stand mixer fitted with the paddle attachment, or use a handheld electric mixer. Mix on high for 1-2 minutes until smooth and creamy. With the mixer running on low speed, add the eggs one at a time, mixing just until combined after each addition. Scrape down the sides of the bowl as needed. Incorporate the Greek yogurt and vanilla extract, mixing until the batter is smooth and fully combined.
- Using a large wooden spoon or spatula, gently fold in the crushed mini eggs. Be careful not to over-stir to prevent the colors from bleeding. Pour the cheesecake mixture evenly over the cooled crust in the prepared pan. Gently tap the sides of the pan on the counter a few times to release any air bubbles.
- Prepare a water bath: Place the springform pan (wrapped in foil) into a slightly larger roasting pan, then place that into an even larger pan (such as a cookie sheet). Carefully pour boiling water into the outermost pan until it reaches about 1/2″ high up the sides of the springform pan. This steam will help prevent cracks during baking.
- Bake the cheesecake for 55-65 minutes, or until the edges are set and the center still has a slight jiggle. Turn off the oven and prop the oven door open slightly (about an inch) for about an hour to allow the cheesecake to cool gradually. After an hour, remove the cheesecake from the oven and water bath. Let it cool completely on a wire rack at room temperature, then cover with plastic wrap and refrigerate for at least 4 hours, or preferably overnight, to chill thoroughly.
- Make the chocolate ganache. Once the cheesecake has chilled for at least 4 hours, place the chocolate chips in a small heat-proof bowl. Heat the heavy cream in a saucepan or in the microwave until it is steaming and nearly boiling. Pour the hot cream over the chocolate chips and let it sit for 1 minute. Stir until the chocolate is completely smooth and glossy. Pour the chocolate ganache over the top of the chilled cheesecake, spreading it gently to the edges and allowing some to drip slightly down the sides.
- Decorate the top of the ganache with extra Mini Eggs. Place the cheesecake back into the fridge for at least 30 minutes to allow the ganache to set before slicing and serving.
Leftover cheesecake can be stored in an airtight container, in the fridge, for up to 1 week. Fully baked and cooled cheesecake can also be stored in the freezer for up to 2 months (before adding ganache). Thaw overnight in the fridge and prepare the ganache at least 1 hour prior to serving.
Notes
*You can use pre-crushed Oreo crumbs or crush your own cookies. Approximately 24 standard Oreo cookies (with cream) will yield 1 1/2 cups of crumbs.
**A water bath is highly recommended for a creamy, crack-free cheesecake. You can use any method you prefer for creating a bain-marie.
- Prep Time: 20 minutes
- Cook Time: 60 minutes
- Category: cheesecake
- Method: oven bake
- Cuisine: american