
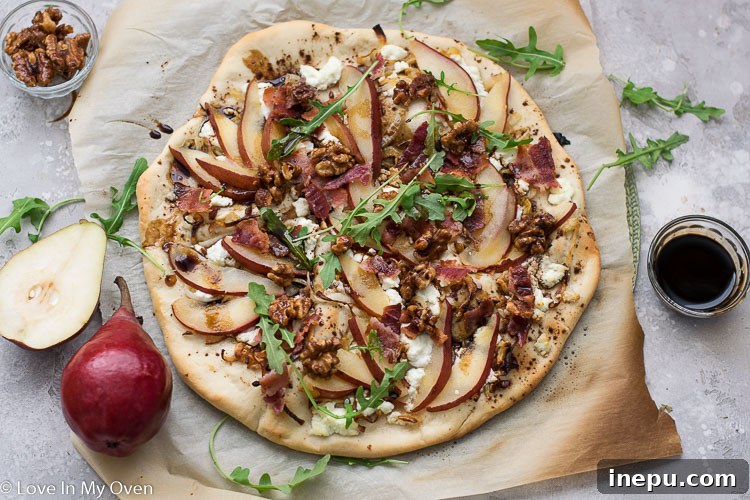
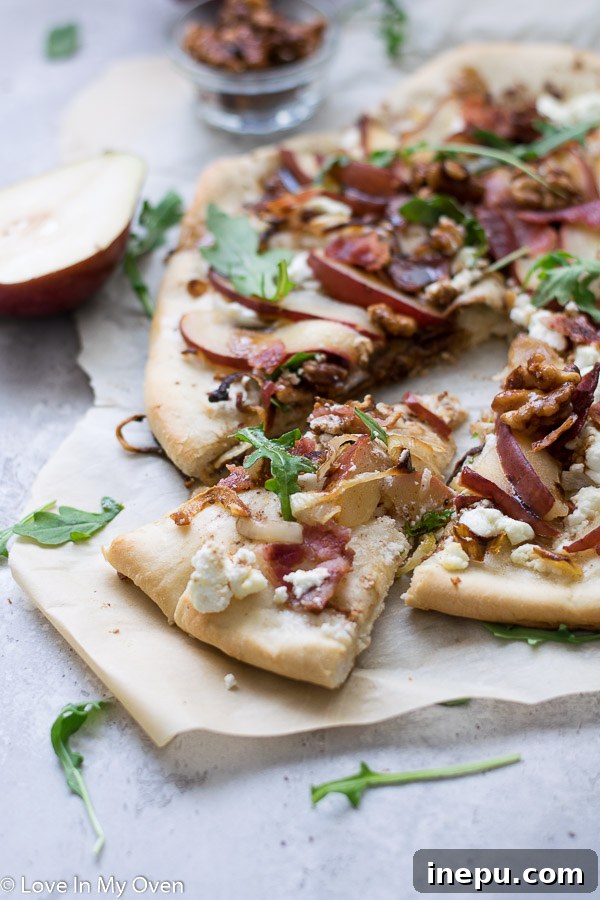
Discover an unexpected culinary delight this weekend with our exquisite Pear and Goat Cheese Pizza! This isn’t just any pizza; it’s a sophisticated symphony of flavors featuring succulent pears, crispy bacon, deeply caramelized onions, and delightfully candied walnuts, all crowned with a tangy balsamic reduction. Prepare for a truly scrumptious experience that will elevate your homemade pizza game.
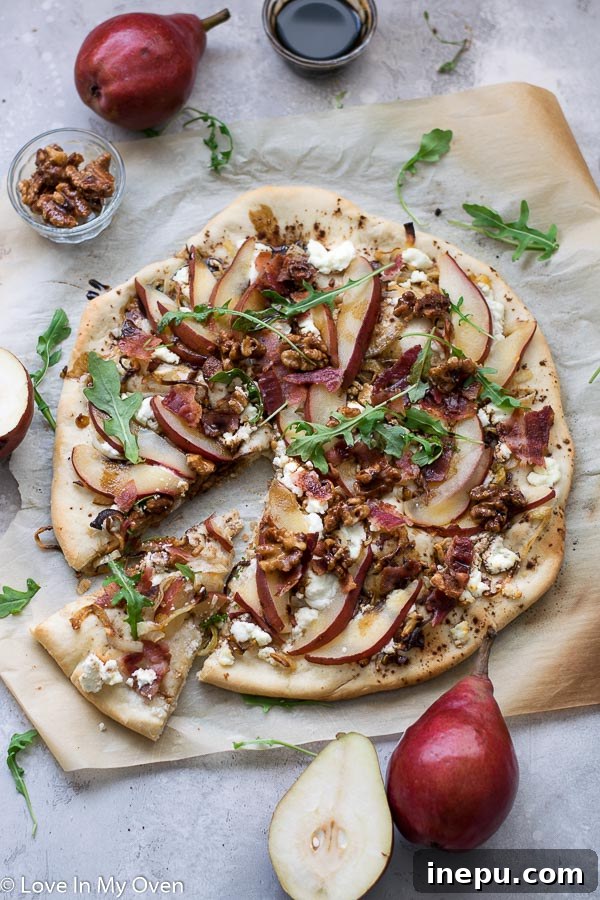
This post is proudly sponsored by USA Pears. We extend our sincere gratitude for supporting the brands that enable us to bring you fresh and exciting content!
As the vibrant hues of autumn emerge, I find myself completely captivated by the humble pear. While always a favorite, this season, I’ve been stocking up on them in abundance. Not only are they at their peak of sweetness and flavor, offering a delightful juiciness, but they are also frequently on sale – a true win-win! Beyond their irresistible taste and affordability, pears are a fantastic source of fiber, a crucial nutrient that, frankly, a few of my little ones could always use a bit more of. It’s truly a fruit that offers both indulgence and wellness.
Embracing the Sweetness of Fall: Why Pears Reign Supreme
What’s your go-to way to enjoy pears? In our household, they often disappear almost as quickly as they ripen, simply eaten out of hand. However, their versatility extends far beyond a quick snack. I’ve previously crafted a rustic pear galette, showcasing their natural elegance in a dessert. This upcoming weekend, I’m contemplating a warm, comforting pear crisp, perhaps with a generous drizzle of homemade salted caramel sauce. Doesn’t that just scream “fall perfection”? The sweet, slightly grainy texture of a baked pear, combined with a rich caramel, is an autumnal dream come true.
This particular recipe was developed in partnership with USA Pears, and it’s perfectly timed to celebrate October, which is National Pizza Month in the US! What better way to honor a month dedicated to this beloved dish than by giving it a fresh, seasonal twist? Pizza is a staple in our home, gracing our table at least once a week. More often than not, it’s a homemade creation, though we occasionally treat ourselves to takeout. It’s one of those rare meals I can guarantee my children will devour with enthusiasm, making it a regular and welcome addition to our meal rotation.
With this post, I’m encouraging you to step outside your pizza comfort zone and experiment with the delightful addition of fresh, sweet pears to your pie this month. Trust me, it’s a revelation that will transform your perception of what a pizza can be.
Crafting Your Pear and Goat Cheese Pizza: Essential Ingredients
Choosing the Perfect Pear for Your Pizza
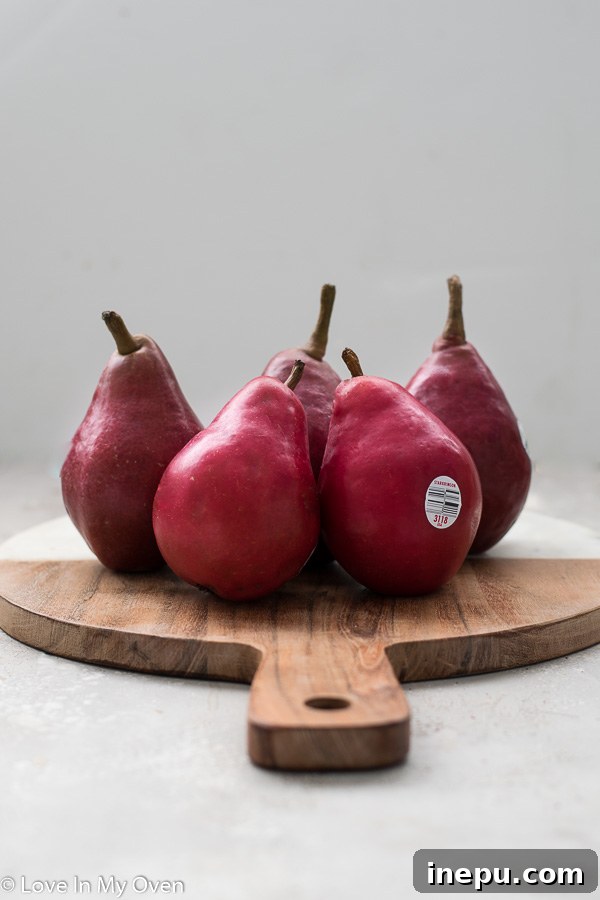
When it comes to selecting the ideal pear for this pear and goat cheese pizza, almost any variety will work beautifully! For this particular recipe, I opted for striking red pears due to their gorgeous color and perfect ripeness, which added a lovely visual appeal to the finished dish. However, feel free to use classic yellow Bartlett pears for their sweet, buttery flavor, or even crisp Bosch pears, which hold their shape well during baking. The key is to choose a pear that is slightly soft to the touch, indicating ripeness, but still firm enough to slice without becoming mushy. Avoid overly soft or bruised pears. You’ll need just one medium-sized pear to create this extraordinary pizza.
Beyond the Pear: Complementary Flavors for a Gourmet Experience
Alongside the star of our show, the pear, this pizza boasts an array of ingredients meticulously chosen to create a harmonious balance of sweet, savory, creamy, and crunchy textures. Each component plays a vital role in building the complex flavor profile that makes this pizza truly unique.
- Crispy Bacon: Three slices of perfectly cooked bacon, crumbled into savory bits, add a delightful salty crunch that contrasts beautifully with the sweetness of the pears and onions.
- Warm Cinnamon: A subtle dusting of ground cinnamon introduces a hint of warm spice, enhancing the inherent sweetness of the pears and tying all the fall flavors together.
- Sweet Caramelized Onions: One medium onion, slowly caramelized to a deep golden-brown, provides an incredible depth of sweet and savory flavor that is utterly irresistible. This slow cooking process transforms humble onions into a luxurious, sticky-sweet topping.
- Fresh Arugula: A generous handful of fresh arugula, added after baking, brings a peppery, slightly bitter note that cuts through the richness of the cheese and balances the sweeter elements, adding a vibrant freshness to each bite.
- Creamy Goat Cheese: Four ounces of crumbled goat cheese are essential for its distinctive tangy, creamy texture. As it bakes, the goat cheese softens, melting slightly into pockets of rich, piquant goodness that perfectly complement the sweet fruit.
- Rich Olive Oil: A drizzle of good quality olive oil forms the base of flavor, helping to crisp the crust and bind the ingredients.
- Crunchy Candied Walnuts: A quarter cup of homemade candied walnuts adds an irresistible sweet crunch and nutty depth, elevating the pizza from delicious to truly gourmet.
And, of course, you’ll need a reliable pizza crust! While I’ve included detailed instructions for my favorite homemade pizza crust method below, which I highly recommend trying for its simple preparation and superior texture, you are always welcome to use your preferred recipe or even a high-quality store-bought crust for convenience. My homemade crust requires minimal active time – only about 5-10 minutes – and just a few basic ingredients. It’s a game-changer for homemade pizza night, and I genuinely encourage you to give it a try for the best possible base!
The Art of Caramelizing Onions for Depth of Flavor
Caramelizing onions is a process that requires patience, but the rich, sweet, and complex flavors it yields are absolutely worth the effort. To begin, heat one tablespoon of butter in a large frying pan over medium heat. Once the butter has melted and is gently shimmering, add your thinly sliced onions to the pan. Stir them well to ensure they are evenly coated in the butter.
Reduce the heat to low and allow the onions to cook slowly for approximately 30-40 minutes. The key here is low and slow cooking, stirring them every now and then to prevent burning and ensure even caramelization. As they cook, the onions will gradually soften, release their moisture, and transform from pungent to beautifully sweet, taking on a lovely light brown, sticky texture and a wonderfully fragrant aroma. When they reach this stage, add a small splash of stock or water to the pan. This helps to deglaze the pan, scraping up any delicious browned bits that have accumulated on the bottom, incorporating all that extra flavor back into the onions. Once deglazed, remove the onions from the heat and let them cool completely before assembling your pizza. This step is crucial for building the foundational sweetness of the pizza.
Assembling Your Gourmet Pear and Goat Cheese Pizza: Step-by-Step Perfection
Crafting this pear and goat cheese pizza is a straightforward process, but following these steps carefully will ensure a perfectly balanced and incredibly flavorful result. Let’s get started on creating this masterpiece.
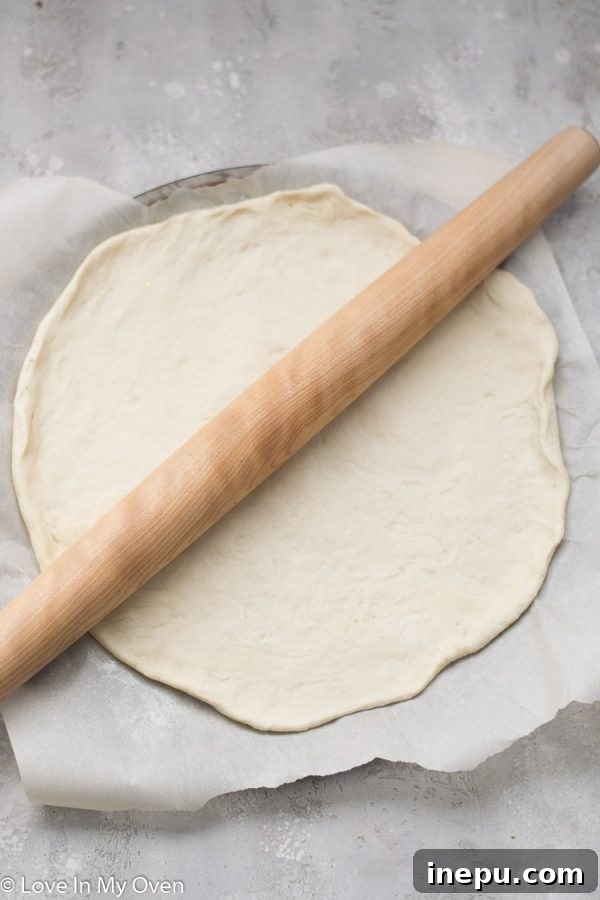
- Prepare the Pizza Dough: Begin by rolling out your prepared pizza dough into an 11-inch circle on a lightly floured surface. If you’re using a pre-baked crust, you can skip this initial baking step. Transfer your rolled dough to a pizza stone or a parchment-lined pizza pan.
- Pre-Bake the Crust: Place the dough into an oven preheated to 425°F (220°C) and bake for 5-6 minutes, or until the crust just begins to puff up slightly and starts to set. This crucial step helps to create a crispy base and prevents a soggy pizza. Remove the crust from the oven.
- Layer the Flavors: Lightly brush the pre-baked crust with 2 teaspoons of olive oil, spreading it evenly. Then, sprinkle half a teaspoon of ground cinnamon across the surface. This aromatic spice beautifully complements the pears.
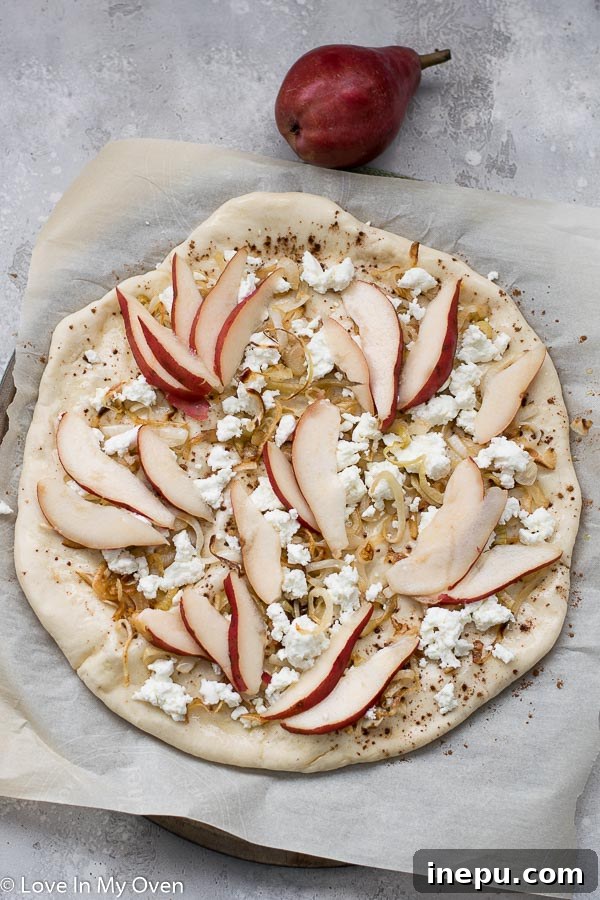
- Add the Core Toppings: Evenly spread the cooled, caramelized onions over the cinnamon-dusted crust. Follow with generous crumbles of goat cheese, distributing it across the entire pizza.
- Arrange the Pears: Artfully arrange the thinly sliced pear pieces over the goat cheese and caramelized onions.
- Final Bake: Return the pizza to the preheated oven for another 15 minutes, or until the edges of the crust are golden brown and crisp, and the goat cheese is softened and slightly bubbly.
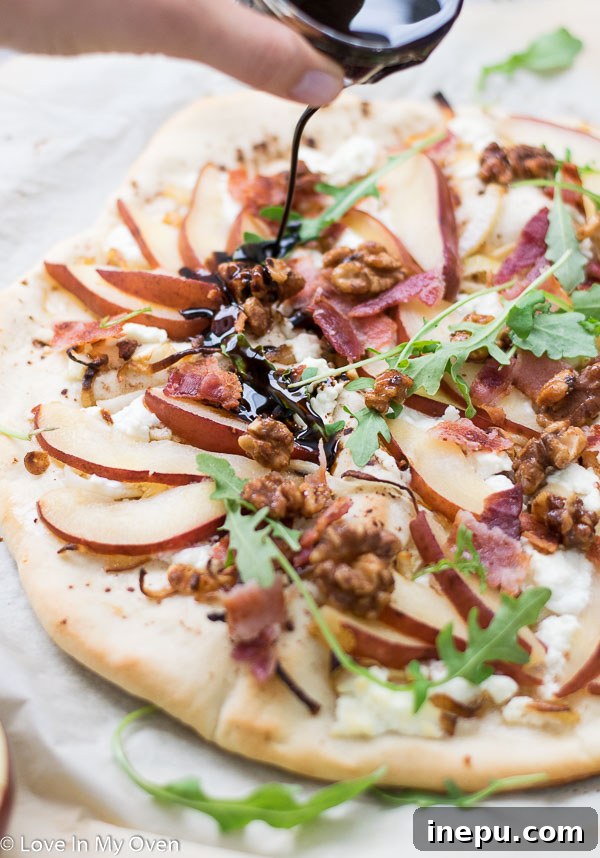
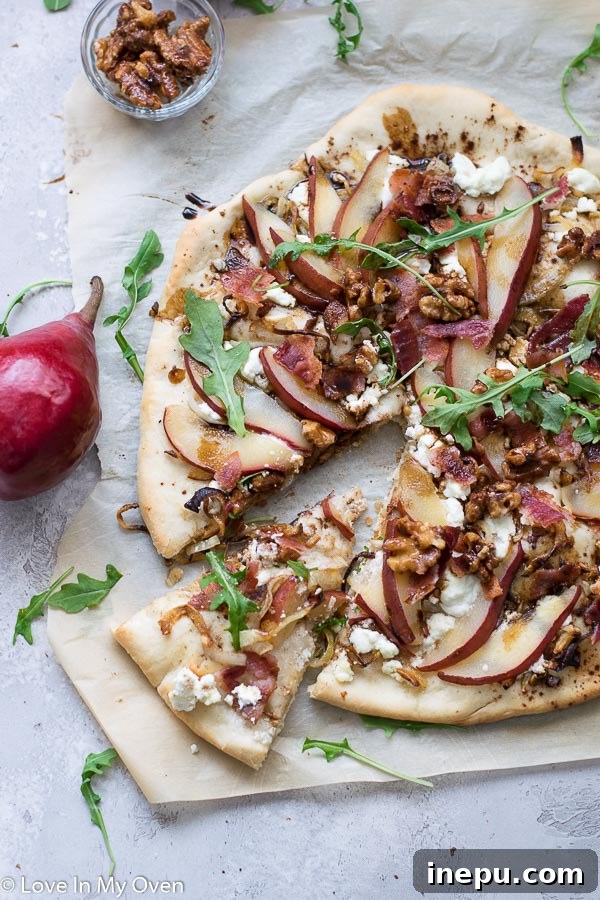
Once the pizza emerges from the oven, its edges beautifully browned and crisp, it’s time for the final touches that truly elevate this dish. Immediately scatter the crispy bacon bits and crunchy candied walnuts evenly over the hot pizza. Next, generously adorn the pizza with a handful of fresh arugula. The heat from the pizza will slightly wilt the arugula, releasing its peppery essence. Finally, drizzle a tangy balsamic reduction all over the entire pizza. This final flourish adds a bright, acidic counterpoint that brings all the sweet, savory, and creamy flavors into perfect harmony. Serve your gourmet pear and goat cheese pizza immediately to enjoy it at its absolute best!
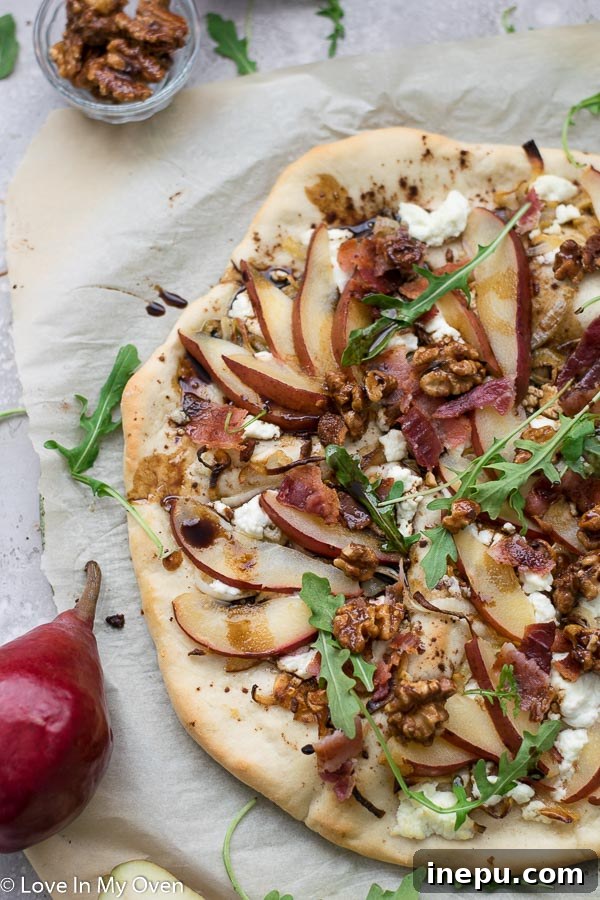
While this pizza is undeniably best savored warm, offering a delightful contrast of textures and temperatures, I can attest that it remains surprisingly delicious even when cold! This makes it a fantastic option for packed lunches or a quick snack the next day. If you prefer to reheat it, be aware that the fresh arugula will become slightly wilty under heat. If you’re comfortable with that, simply warm slices in the microwave or on the stovetop. Alternatively, for a crispier arugula experience, you can always pick off the original arugula pieces and add a fresh handful after reheating. I wholeheartedly promise that if you give this unique and flavorful pizza a chance, you absolutely will not regret it. It’s an adventure for your taste buds!
More Delicious Recipes to Explore
If you’ve enjoyed this unique pizza creation, you might also love exploring some of our other delightful pizza recipes and pear-inspired dishes from the blog:
- Savory Chorizo and Caramelized Onion Skillet Pizza
- Decadent Nutella Pear French Toast Casserole
- Flavorful Gluten-Free Zucchini Pizza
Print Recipe

Pear and Goat Cheese Pizza
5 Stars
4.8 from 5 reviews
- Author: Katherine | Love In My Oven
Total Time: 1 hour
Yield: 1 pizza (serves 4-6)
Description
Try something truly special this weekend with a gourmet pear and goat cheese pizza! It’s a scrumptious blend of flavors and textures, featuring sweet pears, crispy bacon, rich caramelized onions, and crunchy candied walnuts.
Ingredients
Pizza Crust
- 2/3 cup warm water
- 1 1/8 tsp active dry yeast
- 2 tsp honey
- 1 tablespoon olive oil
- 1/4 tsp salt
- 1 3/4 cups all-purpose flour, plus more for surface/rolling
Pizza Toppings
- 2 tsp olive oil
- 1/2 tsp ground cinnamon
- 1 onion, caramelized (as per instructions above)
- 4 oz goat cheese, crumbled
- 1 pear, sliced into 1/4” thick pieces
- 3 slices bacon, fried then crumbled
- 1/4 cup candied walnuts
- Handful of fresh arugula
- 2 tsp balsamic reduction (as per notes below)
Instructions
- Prepare the Pizza Dough. If you are opting for a pre-baked crust, please skip these initial steps and proceed directly to step 4. In the bowl of a stand mixer, fitted with the dough hook attachment, gently stir together the warm water and active dry yeast. Allow this mixture to rest for 5 minutes until it becomes foamy; this indicates the yeast is active. If no foam appears, discard the mixture and try again with fresh yeast.
- Next, add the honey, olive oil, salt, and all of the all-purpose flour to the yeast mixture. Mix on medium-high speed until all ingredients are thoroughly combined and a rough dough forms. Then, increase the mixer speed to high and continue to mix (knead) for 5 minutes. The dough should become smooth and elastic, pulling away cleanly from the sides of the bowl. If it remains sticky, add a few tablespoons of flour, one at a time, until the desired consistency is achieved. The dough is perfectly kneaded when it is soft, pliable, and springs back when gently poked with a finger. Transfer the dough to a lightly greased bowl, cover it with a clean dishcloth, and let it rise in a warm place for 1-2 hours, or until it has visibly doubled in size.
- Form the Pizza Base. Once the dough has risen, gently punch it down to release the air. Turn the dough out onto a lightly floured surface. Using a floured rolling pin, roll the dough into an approximately 11-inch diameter circle. Carefully transfer the rolled-out dough to a pizza stone or a pizza pan lined with parchment paper. Place the pizza base into the preheated oven (425°F or 220°C) for 5-6 minutes to par-bake it, removing it just as it begins to puff up slightly. This step ensures a crispy crust.
- Assemble and Bake the Pizza. Brush the par-baked pizza crust evenly with 2 teaspoons of olive oil, then sprinkle the 1/2 teaspoon of ground cinnamon across the surface. Distribute the cooled caramelized onions over the crust, followed by the crumbled goat cheese. Neatly arrange the thinly sliced pear pieces over the cheese. Return the pizza to the oven for an additional 15 minutes, or until the pizza’s edges are golden brown and crisp, and the cheese is melted and bubbly.
- Final Touches and Serve. Carefully remove the hot pizza from the oven. Immediately top it with the crumbled crispy bacon and the candied walnuts. Generously scatter a handful of fresh arugula over the pizza. Finish by drizzling the balsamic reduction all over the pizza. Slice and serve your gourmet Pear and Goat Cheese Pizza immediately to enjoy the vibrant interplay of warm and fresh flavors.
Any leftover pizza can be stored in an airtight container in the refrigerator for 2-3 days. To reheat, place slices in a frying pan on the stovetop over medium heat, covering it with a lid. For best results, consider adding fresh arugula after reheating to maintain its crispness.
Notes
*For detailed instructions on how to perfectly caramelize the onions, please refer to the “The Art of Caramelizing Onions” section within the main article text above.
**To prepare a quick and delicious balsamic reduction, combine 1/4 cup of balsamic vinegar and 1 teaspoon of honey in a small saucepan over medium heat. Bring the mixture to a boil, then reduce the heat to a gentle simmer. Allow it to simmer for approximately 10 minutes, or until the vinegar has reduced by about half and thickened to a syrupy consistency. Use immediately.
- Prep Time: 30 minutes
- Cook Time: 30 minutes
- Category: Pizza
- Method: Oven Bake
- Cuisine: Italian Inspired