
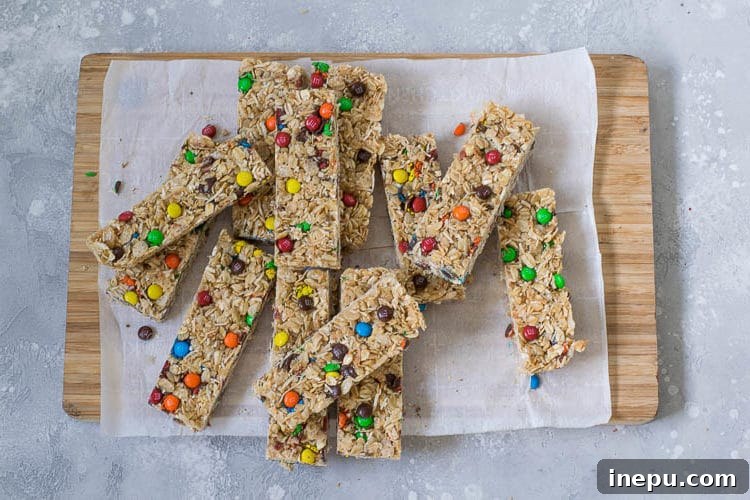
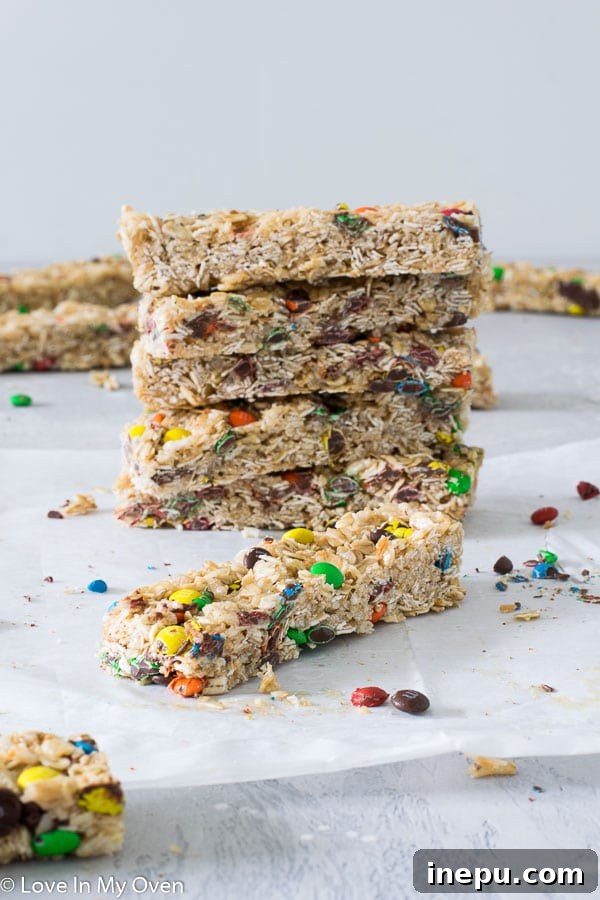
Discover your family’s new favorite treat: delightful, easy-to-make mini M&M granola bars! Perfect for lunchboxes and after-school cravings, this simple recipe is entirely nut-free, making it a safe and delicious option for school and playdates. Say goodbye to store-bought snacks packed with artificial ingredients and hello to wholesome, homemade goodness.
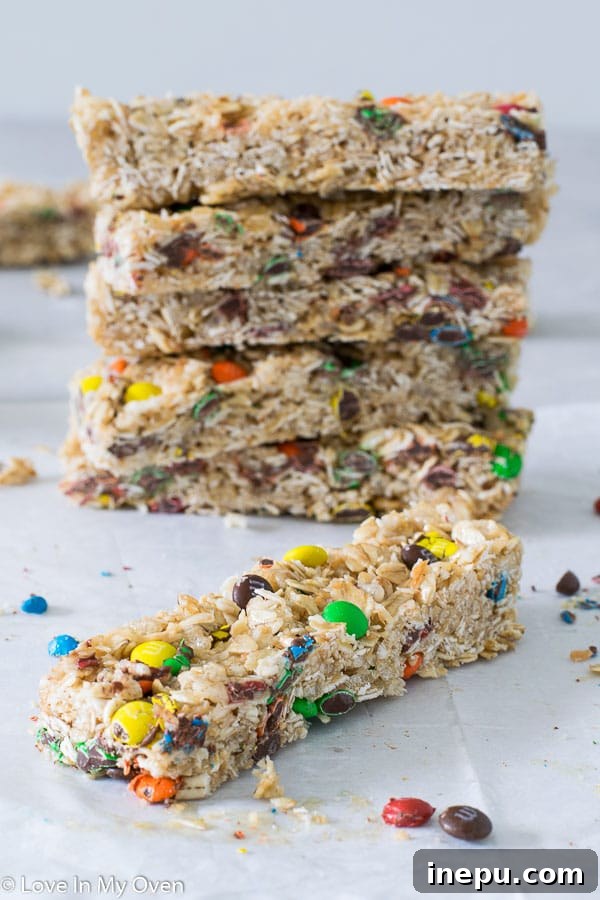
As the vibrant days of summer gradually give way to the exciting hustle of a new academic year, my household, like many others, prepares for a significant transition. My eldest is embarking on his kindergarten journey, while his younger brother is ready for pre-k. Time, it seems, has flown by in a blink, and these milestones serve as a poignant reminder of how quickly our little ones grow. While a part of me wishes I could press pause on these fleeting moments, the anticipation of back-to-school also brings with it the familiar challenge of planning nourishing and appealing snacks.
The quest for the perfect granola bar has been a long-standing one in my kitchen. For over a year, I tirelessly experimented with countless variations, driven by the desire to create a snack that was both delicious and met my specific criteria: it had to be easy, appealing to kids, and, most importantly, hold together without crumbling. Many attempts resulted in tasty, loose granola, which, while enjoyable, wasn’t quite the convenient, portable bar I envisioned. The project was put on hold, but the idea never truly left my mind.
This past summer, with renewed determination, I decided to revisit my granola bar mission. After meticulous adjustments and several rounds of testing, I finally achieved success. The result? These irresistible M&M granola bars that are not only perfectly chewy and flavorful but also incredibly simple to prepare. They are everything I hoped for and more – a true win for busy parents and happy snackers alike!
Crafting snacks at home allows for complete control over ingredients, ensuring that what your family consumes is free from unnecessary additives and preservatives often found in store-bought alternatives. This recipe is a testament to that philosophy, offering a healthier, yet still utterly delightful, option for your daily snack rotation. Plus, the vibrant M&M’s make them an instant hit with kids, making snack time a moment of pure joy.
Crafting the Perfect Homemade Granola Bar: Understanding the Ingredients
The beauty of these M&M granola bars lies in their simplicity. Crafted with everyday pantry staples, they offer a delightful alternative to processed snacks. While I won’t claim these are “health food,” they are undeniably a much better choice than many mass-produced granola bars you find at the grocery store. With homemade versions, you control every ingredient, eliminating questionable additives and excessive preservatives.
One of my initial hurdles in developing this recipe was the pursuit of a specific flavor and texture. I typically aim to limit refined sugars in my children’s snacks, but my earlier attempts to create truly satisfying granola bars without them often resulted in a texture that just didn’t hold up. That’s where brown sugar comes into play! It’s the secret ingredient that provides that familiar, comforting sweetness and, crucially, contributes to the wonderful chewy consistency that mimics beloved store-bought varieties. Sometimes, a little bit of the good stuff is exactly what you need to achieve perfection!
Beyond the essential brown sugar, our ingredient list is straightforward: golden honey, rich butter, hearty rolled oats, finely shredded unsweetened coconut, and a splash of pure vanilla extract. And, of course, the undeniable stars of the show – mini M&M’s. Their vibrant colors and chocolatey crunch elevate these bars from good to absolutely irresistible, making them a joyful surprise in any lunchbox or a welcome treat any time of day. Using mini M&M’s ensures an even distribution of chocolatey goodness in every bite, without overpowering the other flavors.
The Magic of Toasted Oats and Coconut
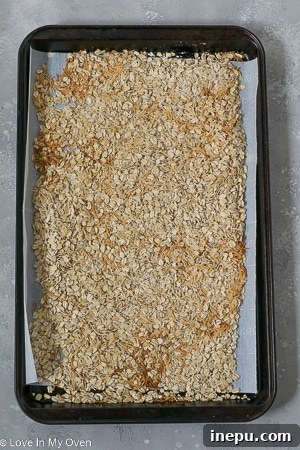
While not strictly mandatory, I wholeheartedly recommend an extra step that makes a significant difference in the final flavor profile: toasting your oats and coconut. Before combining them with the wet ingredients, spread your rolled oats and unsweetened shredded coconut on a baking tray and lightly toast them in the oven. This brief period of heat brings out a deeper, nuttier flavor in the oats and enhances the natural sweetness and aroma of the coconut. It adds a layer of complexity and a subtle crunch that takes these homemade M&M granola bars from great to truly exceptional. It’s a small effort for a big flavor payoff!
Let’s take a closer look at why each component is vital for these delicious homemade granola bars:
- Rolled Oats: The foundation of any good granola bar, rolled oats provide a wholesome base, packed with fiber and sustained energy. Unlike quick oats, which can turn mushy, large flake rolled oats maintain their texture, contributing to the desirable chewiness of the bars. They are also naturally gluten-free (though certify if allergy is severe for celiac).
- Unsweetened Shredded Coconut: This adds a lovely tropical aroma and a subtle chewiness. Opting for unsweetened coconut allows you to control the overall sweetness of the bar, complementing the brown sugar and honey without making them overly sweet.
- Rice Krispies: The addition of Rice Krispies (or any puffed rice cereal) is a game-changer! It introduces a delightful light crispness that contrasts beautifully with the chewy oats, giving the bars a satisfying multi-textural experience.
- Cinnamon: Just a touch of cinnamon warms up the flavor profile, adding a subtle spice that pairs wonderfully with the oats, coconut, and chocolate.
- Unsalted Butter: Butter is crucial for both flavor and binding. It adds richness and helps create that desirable chewy texture when combined with the sugars. Using unsalted butter gives you control over the sodium content.
- Brown Sugar & Honey: This dynamic duo is key for flavor, sweetness, and most importantly, binding. Brown sugar offers a deep, caramel-like note and moisture, while honey acts as a powerful adhesive, ensuring your bars stick together perfectly. Their synergy creates the ideal sticky, chewy base.
- Pure Vanilla Extract: A kitchen staple, vanilla extract enhances all the other flavors, adding depth and a comforting aroma that truly elevates the taste.
- Mini M&M’s: The fun, colorful element that makes these bars a kid-favorite. Mini M&M’s distribute evenly throughout the bars, ensuring chocolatey goodness in every bite. Feel free to swap them out for regular M&M’s or other chocolate candies if you prefer, keeping in mind school regulations if applicable.
Mastering the Art of Granola Bar Making: Essential Tips for Success
Storing Your Homemade M&M Granola Bars: The Key to Freshness and Firmness
One of the most common questions about homemade granola bars is how to keep them from falling apart, especially when packing them for school or outings. The answer is simple: proper pressing and chilling! These M&M granola bars are designed to be quite robust, holding up well when tightly wrapped in plastic wrap. However, they achieve their optimal firmness and chewiness when thoroughly chilled, which is why I always recommend storing them in the refrigerator.
The Golden Rule of Granola Bars: Pressing Firmly
This cannot be emphasized enough: when transferring your granola mixture into the prepared baking pan, you must press down *very, very firmly*. This isn’t just a gentle pat; it’s an exercise in compression. Use the palm of your hands, or for extra leverage, place a piece of parchment paper over the mixture and press down with the bottom of a flat glass or another smaller pan. The goal is to compact the mixture as much as possible, eliminating air pockets and creating a dense, cohesive block. This firm pressing is the single most crucial step in ensuring your homemade granola bars stay together and don’t crumble into delicious, but inconvenient, granola bits.
After you’ve pressed the mixture down, you might notice that some of the M&M’s have broken or disappeared beneath the surface. For an extra pop of color and visual appeal, consider scattering a few reserved mini M&M’s over the top and gently pressing them into the surface. This ensures that your finished bars look just as appealing as they taste, making them even more enticing for little (and big) hands!
Chilling for Perfection
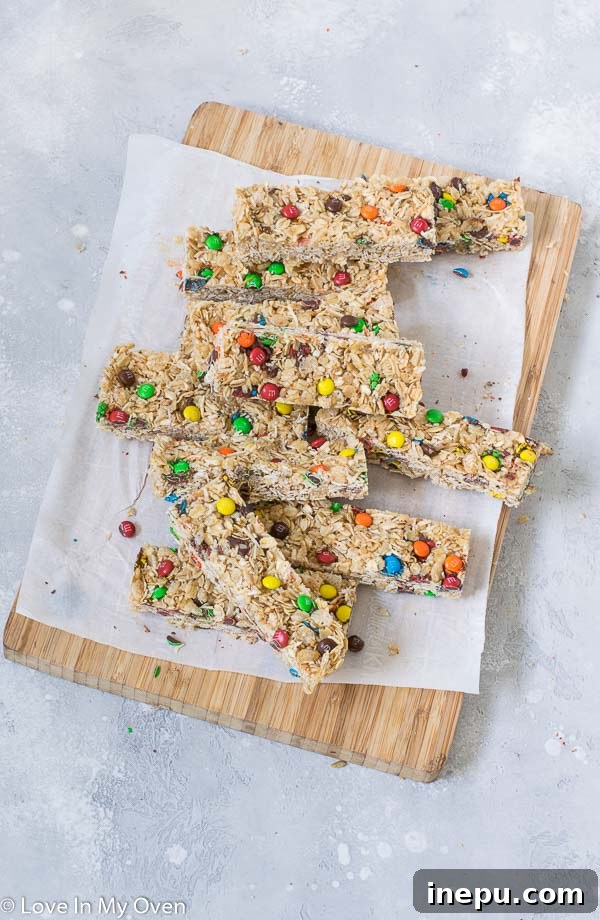
Once your bars are pressed and topped, patience is a virtue! Place the baking dish into the refrigerator for a minimum of 3-4 hours. This extended chilling time is vital as it allows the butter, honey, and brown sugar mixture to solidify completely, effectively “gluing” all the ingredients together. Attempting to slice the bars before they are sufficiently chilled will likely result in a crumbly mess. Once firm, you can easily lift the entire slab out of the pan using the parchment paper overhang, transfer it to a cutting board, and slice it into your desired portions.
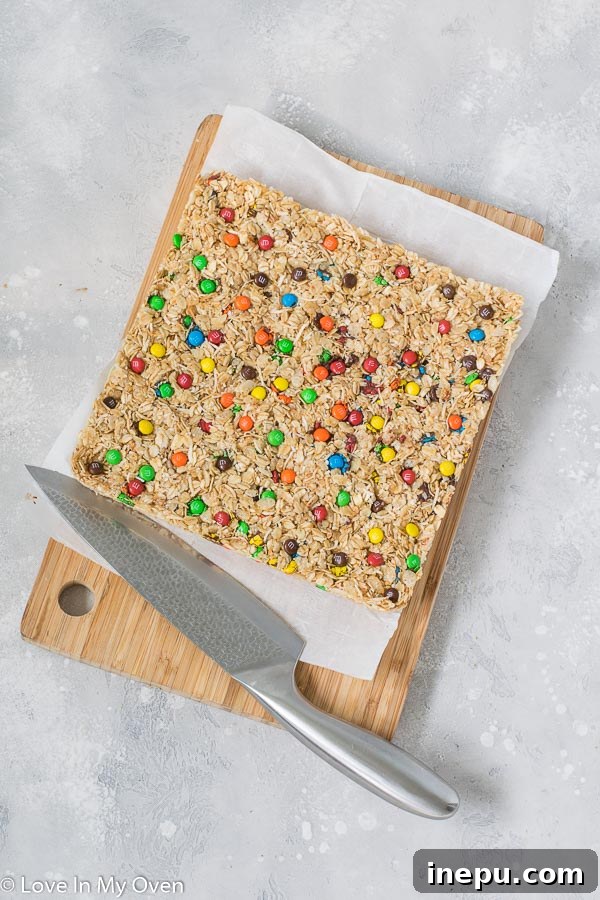
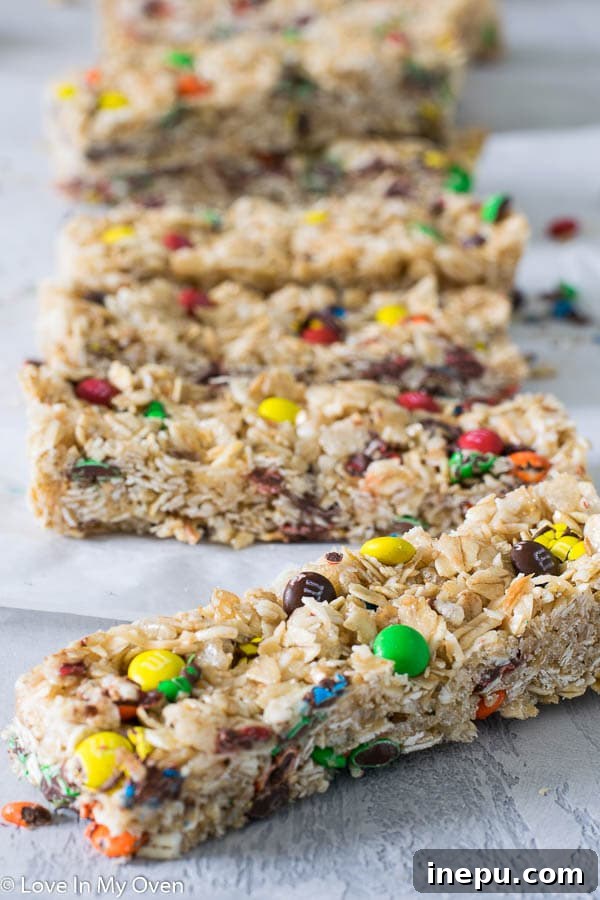
I typically cut my batch into 12 generous bars, which is a perfect size for lunchboxes or a satisfying snack. However, the beauty of homemade is customization! Feel free to cut them into smaller mini-bars for tiny hands, or larger portions if you need a more substantial energy boost. Regardless of size, these chewy M&M granola bars are an absolute lifesaver during busy weeks.
Storage Solutions for Maximum Freshness
For best results and to maintain their delightful chewiness and firm structure, store your M&M granola bars in an airtight container in the refrigerator. When properly stored, they will stay fresh and delicious for 1-2 weeks. If you’re looking to meal prep or simply want to have a stash of these wonderful treats on hand, they also freeze beautifully. Wrap individual bars tightly in plastic wrap, then place them in a freezer-safe bag or container. They can be stored in the freezer for up to 2 months. Simply grab one from the freezer, let it thaw for a few minutes at room temperature (or enjoy it frozen!), and you have an instant, ready-to-eat snack.
Customization Ideas: Make Them Your Own!
While M&M’s are undoubtedly a classic and beloved choice, this recipe serves as a fantastic base for endless customization. Remember, for school-safe options, always double-check your ingredient choices. Here are a few ideas:
- Chocolate Chip Delight: Swap out the M&M’s for your favorite chocolate chips (milk, semi-sweet, dark, or even white chocolate!).
- Dried Fruit Fun: Add a handful of finely chopped dried cranberries, raisins, or apricots for a fruity twist. (Ensure they are small enough to distribute well).
- Seed Power (check for allergies!): If not for a nut-free environment, a sprinkle of sunflower seeds or pumpkin seeds could add texture and nutrients. However, for school-safe recipes, always omit nuts and seeds if they are common allergens in your community.
- Holiday Themed: Use M&M’s in specific colors to match holidays – red and green for Christmas, pastels for Easter, orange and black for Halloween!
- Extra Spice: A pinch of nutmeg or a little extra cinnamon can deepen the flavor, adding another layer of warmth.
As the final days of summer dwindle, and the exciting, albeit sometimes chaotic, energy of the school year draws near, having a reliable repertoire of easy, delicious snacks becomes paramount. These M&M granola bars are more than just a recipe; they’re a solution for busy parents and hungry kids, offering a portable and satisfying treat that keeps everyone fueled throughout their day. Stock up on these “stacks of snacks” to navigate the school year with ease and a smile!
Unlock More Exclusive Recipes!
Are you looking for even more delightful and easy-to-make recipes like these M&M granola bars? Don’t miss out on our other family-favorite creations! If you haven’t already, be sure to subscribe to our blog. New subscribers receive an exclusive free e-book, brimming with unique recipes, including another incredible snack bar that’s sure to become a staple in your home. Join our community and let’s make healthy-ish, delicious snacking a breeze!
More Delicious Nut-Free Snack Ideas for You:
My philosophy for snacks revolves around portability, nourishing ingredients, and, of course, being absolutely delicious. These M&M granola bars fit that bill perfectly, and I’m thrilled to share that I have a treasure trove of other nut-free and family-friendly gems on the blog that you’ll adore. Whether you’re seeking quick breakfast options, school-safe treats, or simply wholesome bites for any time of day, you’ll find plenty to inspire you. Here are a few favorites:
- No-Bake Nut-Free Granola Bars: If you loved the ease of these M&M bars, you’ll definitely appreciate these no-bake wonders, perfect for those extra busy days when cooking isn’t an option.
- Coconut Cream Larabars: A simple, wholesome, and naturally sweet treat that tastes just like a tropical dream, made with minimal, good-for-you ingredients.
- No-Bake Chocolate Coconut Balls: Rich, chocolatey, and delightfully chewy, these little bites are quick to prepare and satisfy any sweet tooth, without needing an oven.
- Wholesome Breakfast Cookies: Start your day right with these nutritious and satisfying cookies, designed for both little ones and adults seeking a convenient, healthy morning bite.
- Delightful Baby Banana Muffins: Soft, moist, and naturally sweetened, these muffins are a fantastic way to use ripe bananas and offer a healthy snack option for the whole family.
Print Recipe
M&M Granola Bars
5 Stars 4 Stars 3 Stars 2 Stars 1 Star
5 from 15 reviews
Author: Katherine | Love In My Oven
Total Time: 30 minutes
Yield: 12 bars 1x
Description
These easy mini M&M granola bars will be your new favorite lunchbox snacks. It’s an easy granola bar recipe that’s nut-free so it’s also safe for school!
Ingredients
Scale
- 2 cups large flake oats
- 1 cup shredded coconut, unsweetened
- 1 cup rice krispies
- 1/2 tsp cinnamon
- 1/4 cup unsalted butter
- 1/4 cup brown sugar
- 1/3 cup honey
- 1 tsp pure vanilla extract
- 1 cup mini (or regular) M&Ms
Instructions
- Preheat the oven to 350 F. Line an 8×8 baking dish with parchment paper, leaving a bit of overhang. Spread the oats and coconut out onto a large baking tray. When the oven is heated, place the baking tray in the oven for 4 minutes, then rotate the pan and toast for another 2 minutes. Remove and let cool.
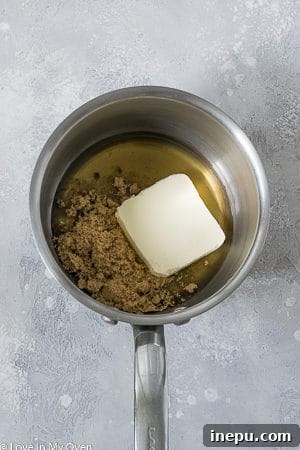
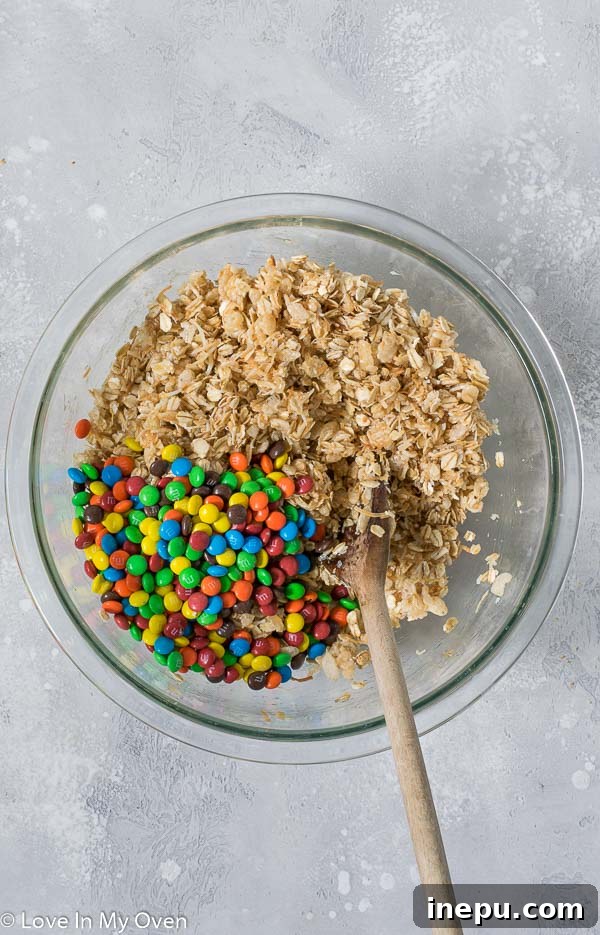
- In a large mixing bowl, combine the oats and coconut, rice krispies and cinnamon. In a medium saucepan over medium-high heat, melt the butter, brown sugar and honey together. Once the mixture starts simmering, remove it from heat and stir in the vanilla extract. Pour the honey mixture over the bowl of oats and use a wooden spoon to stir it all together. Allow it to cool for 10 minutes before adding in the M&M’s (or they’ll melt). Stir them in gently.
- Empty the granola mixture into the baking dish and press down evenly. Use your hands to press down firmly, putting some weight into it. Press in a few reserved M&Ms on top for visual effect. Place the baking dish into the refrigerator for 3-4 hours before removing. Hold the ends of the parchment paper to lift the bars out of the pan and onto a large cutting board. Use a large knife to cut the bars into 12 (or whatever size you prefer). Wrap each individually in plastic wrap, or place the bars into a container. Store the bars in the refrigerator (or freezer).
Bars can be kept in the fridge for 1-2 weeks, or in the freezer (wrapped tightly) for up to 2 months.
- Prep Time: 20 minutes
- Cook Time: 5 minutes