
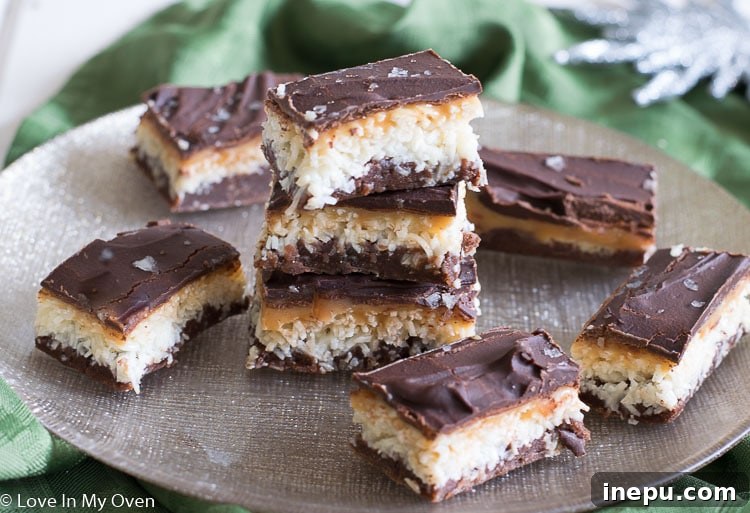
The Ultimate Chocolate Coconut Caramel Bliss Bars: Your Go-To Holiday Dessert!
Craving an utterly irresistible dessert that perfectly balances rich chocolate, creamy coconut, and luscious caramel? Look no further! These aren’t just any holiday cookie bars; they are the legendary Chocolate Coconut Caramel Bliss Bars, a truly decadent treat that will steal the show at any gathering. If you’ve been on the hunt for the best sweetened condensed milk bar recipes, or an incredibly easy yet impressive dessert, your search ends here. Prepare to fall in love with these layered marvels!
This post may contain affiliate links, which means I may earn a small commission, at no extra cost to you, if you make a purchase through my links.
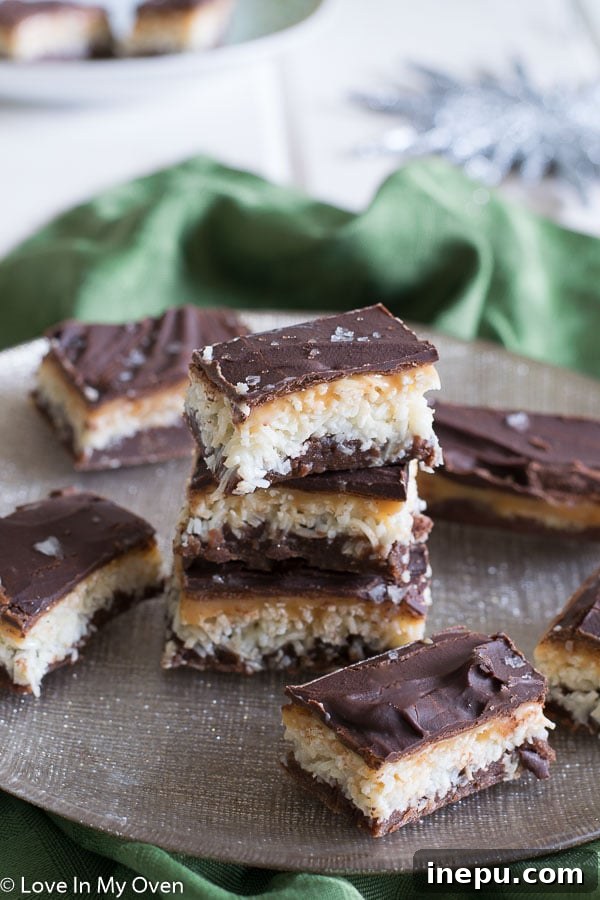
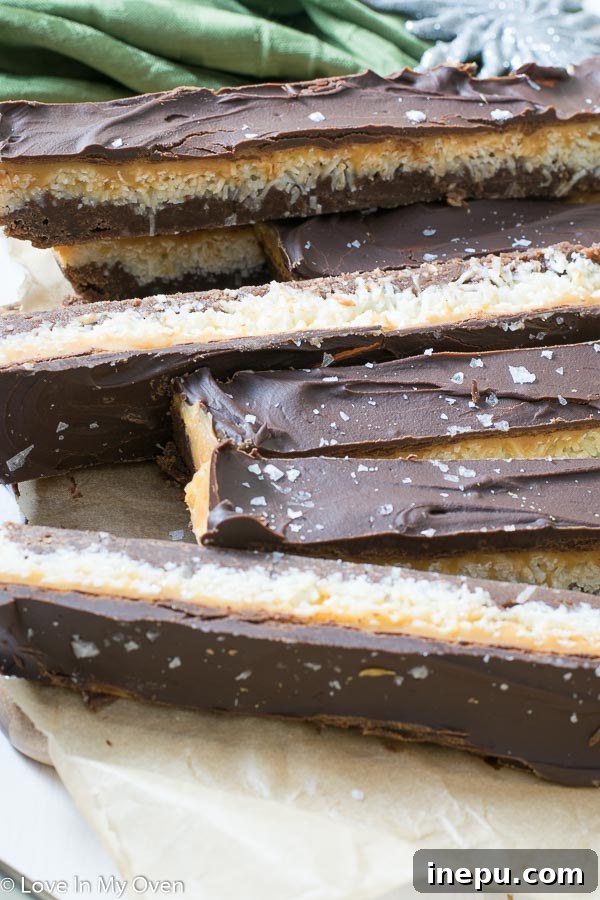
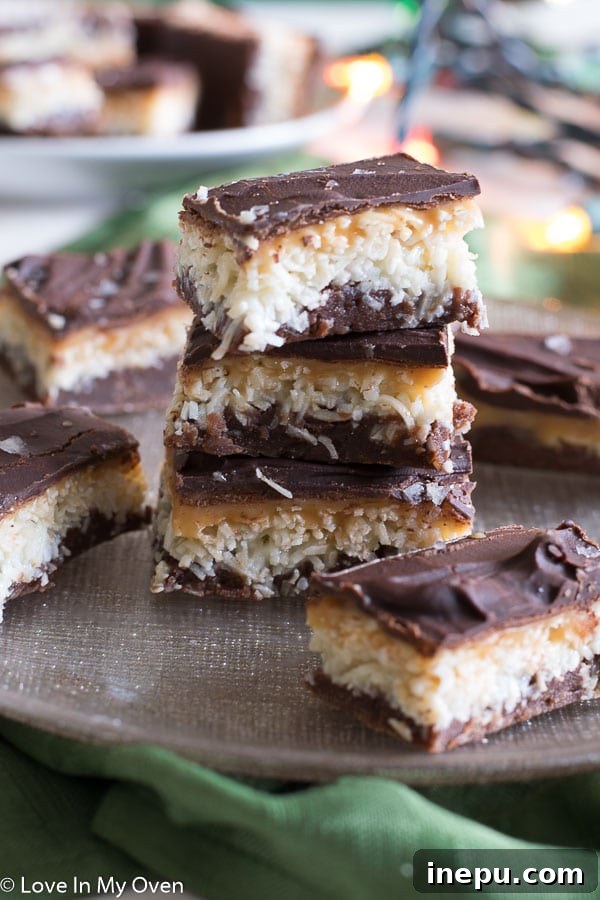
I genuinely believe I’ve outdone myself this time. Seriously. It’s a bold statement, but these chocolate coconut caramel bars tick every single box for what makes a truly spectacular dessert. As I’ve mentioned before, the holiday season is a time for indulgence, and these bars wholeheartedly embrace that spirit. Imagine a tender, fudgy brownie base, topped with a sweet and creamy coconut filling, a layer of smooth, buttery caramel, and finished with a silky, glistening chocolate ganache. Yes, it’s as heavenly as it sounds!
The inspiration for this masterpiece struck a few weeks ago when my partner, Etienne, asked me what my favorite chocolate bar was. After much deliberation (a truly serious question, of course!), I settled on a Bounty bar. But then a thought niggled at me: while I adore coconut and chocolate, what it truly lacked was caramel! That moment sparked a mission: to create the perfect chocolate bar experience in a homemade dessert. Immediately, my mind went to my Granny’s traditional coconut bars, a cherished Christmas baking staple in our family for generations. Her original recipe didn’t include caramel, so I, being the rebel with a cause, decided to “sneak it in” to fulfill my quest. And to elevate them further? A delicate sprinkle of sea salt flakes on top, because sometimes, the simplest additions make the biggest difference. The result? Pure bliss on a plate!
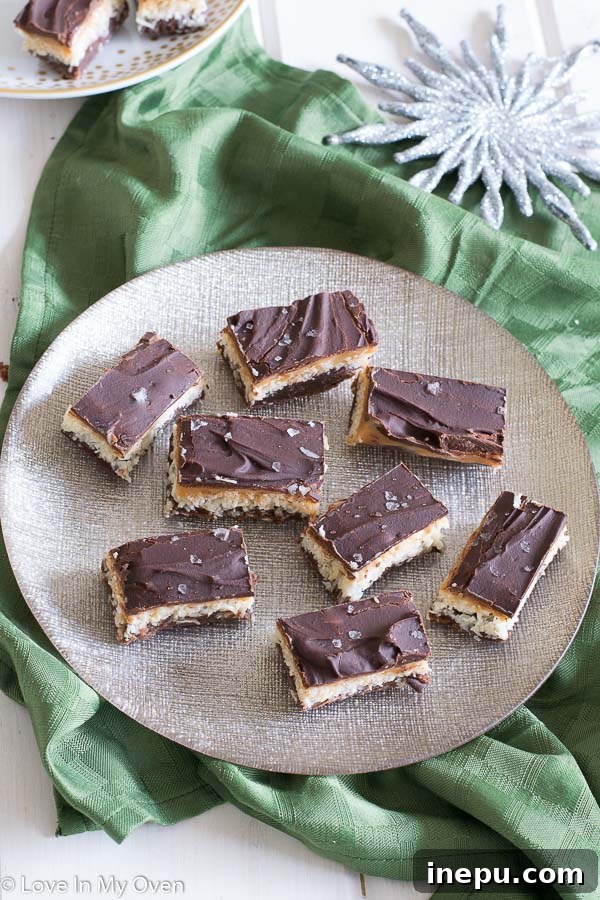
Effortlessly Delicious: Are These Coconut Caramel Bars Really That Easy to Make?
Absolutely, unequivocally YES! Beyond their incredible taste, one of the most remarkable aspects of these Chocolate Coconut Caramel Bliss Bars is how astonishingly simple they are to prepare. Don’t let their gourmet appearance fool you; anyone can whip up a batch of these delectable treats. The brownie base, for instance, requires just six common ingredients and comes together in minutes. The coconut layer is even simpler: literally just two ingredients – shredded coconut and sweetened condensed milk. For consistent results in desserts, I highly recommend using a quality brand of condensed milk, like Eagle Brand. While not sponsored, it’s a personal preference that delivers every time!
The process is incredibly straightforward. You begin by quickly mixing the ingredients for the rich brownie layer and spreading it into your prepared baking pan. Next, combine the coconut and condensed milk, then gently spread this creamy mixture evenly over the brownie base. A quick bake of about 20 minutes in the oven is all it takes for these first two layers to set beautifully. While they cool slightly, you’ll prepare the indulgent caramel layer. To make your life even easier, I’ve streamlined this step using pre-wrapped soft caramels, which melt into a wonderfully smooth, spreadable consistency with just a touch of heavy cream. This warm caramel is then spread over the baked coconut layer as soon as it comes out of the oven, allowing it to meld perfectly. Finally, for the ultimate finish, a simple silky chocolate topping, made from chopped semi-sweet chocolate and a bit more cream, is poured over the chilled caramel layer. A final sprinkle of sea salt flakes adds that perfect touch of contrast, making every bite a complex symphony of sweet and salty. Pop them back into the fridge, and in about an hour, you’ll have perfectly set, sliceable bars ready to impress!
This recipe truly celebrates the joy of homemade baking without the fuss. Each layer builds upon the last, creating a harmonious blend of textures and flavors that is utterly divine. From the moment you mix your first ingredient to the satisfying first bite, you’ll appreciate the simplicity and the spectacular outcome. These bars prove that you don’t need complex techniques or exotic ingredients to create a truly memorable dessert. Their ease makes them perfect for busy holiday schedules, allowing you to create something truly special without spending hours in the kitchen.
Planning Ahead: Can You Freeze These Delicious Coconut Caramel Bars?
Absolutely! One of the many fantastic qualities of these chocolate coconut caramel bars is how beautifully they freeze. This makes them an ideal dessert for advanced holiday preparation or for stocking up your freezer for unexpected guests or future cravings. Imagine having a gourmet, homemade treat ready to go with minimal effort! Simply prepare the bars as directed, allow them to cool completely and set, then cut them into individual portions. For best results, wrap each bar tightly in plastic wrap, then place them in an airtight freezer-safe container or bag. This double protection helps prevent freezer burn and preserves their fresh taste and texture.
You can store these indulgent bars in the freezer for up to two months without any loss of quality. When you’re ready to enjoy them, simply remove the desired number of bars from the freezer and let them thaw at room temperature for about two to three hours. They’ll be just as soft, chewy, and flavorful as the day they were made. While they are perfect for making ahead, be warned: these bars are so incredibly good, they often disappear long before they ever make it to the freezer! So, whether you’re planning a grand holiday feast or just want a sweet treat on hand, these freezer-friendly bliss bars are a fantastic option.
With Christmas just around the corner, my house is already brimming with the festive glow of lights, the joyful sounds of holiday music, and an abundance of festive cheer (and let’s be honest, sometimes a few happy tears!). It’s a busy but wonderful time, filled with last-minute shopping and, of course, lots of baking. As you plan your holiday culinary adventures, I highly recommend adding these chocolate coconut caramel bars to your list. They’re not only delicious but also a joy to make. And for another fun family activity, why not try creating a homemade gingerbread house? It’s a wonderful way to create lasting memories. Cheers to you and your festive season!
More Irresistible Holiday Dessert Bar Ideas
If you’re a fan of decadent brownies and versatile dessert bars, you’re in good company! They are among my favorite treats to bake, especially during the festive season. Their ease of serving and delightful variety make them perfect for potlucks, parties, or simply enjoying with a warm cup of coffee. If these Chocolate Coconut Caramel Bliss Bars have inspired your holiday baking spirit, here are some other fantastic bar recipes from my collection that I highly recommend you try:
- Chocolate Caramel Shortbread Bars: A buttery shortbread crust, rich caramel, and smooth chocolate topping combine for a homemade take on a classic candy bar.
- Mint Nanaimo Bars: Layers of chocolatey crumb, a creamy mint custard, and a final chocolate glaze make these Canadian classics a refreshing and indulgent treat.
- Butterscotch Brownies: If you love the rich, caramelized flavor of butterscotch, these chewy bars offer a delightful alternative to traditional chocolate brownies.
These recipes offer a wonderful array of flavors and textures, ensuring there’s a perfect bar for every palate. Happy baking, and enjoy creating these sweet memories!
Coconut Caramel Bars
5 Stars 4 Stars 3 Stars 2 Stars 1 Star
No reviews
Author: Katherine
Total Time: 1 hour 20 minutes
Yield: 16 bars 1x
Description
The most amazing chocolate bar EVER. A rich brownie bottom, luscious coconut filling, creamy caramel, and a smooth chocolate topping create pure bliss in every bite! Perfect for the holidays or any other gathering where an unforgettable dessert is desired.
Ingredients
Scale
Bottom Layer (Brownie Base)
- 1/2 cup unsalted butter, melted
- 1/2 cup brown sugar (packed)
- 1 tsp pure vanilla extract
- 1 large egg
- 3/4 cup all-purpose flour
- 2 tbsp unsweetened cocoa powder
Coconut Layer
- 2 cups unsweetened shredded coconut
- 1/2 can (approx. 7.5 oz or 150mL) sweetened condensed milk
Caramel Layer
- 1 cup unwrapped soft caramels (such as Kraft brand)
- 2 tbsp heavy cream
Chocolate Topping
- 4 oz semi-sweet chocolate, finely chopped
- 1 tbsp heavy cream
- Optional: Sea salt flakes, for sprinkling
Instructions
- Preheat your oven to 350°F (175°C). Line an 8″ x 8″ (20cm x 20cm) baking pan with parchment paper or aluminum foil, ensuring you leave some overhang on the sides. This will create “handles” to easily lift the bars out of the pan later. In a medium-sized mixing bowl, whisk together the melted unsalted butter, packed brown sugar, pure vanilla extract, and the large egg until the mixture is smooth and well combined. Gradually add in the all-purpose flour and cocoa powder, stirring gently until just combined and no dry streaks remain. Be careful not to overmix. Pour this brownie mixture evenly into the prepared baking pan and smooth the top with a spatula.
- In a separate bowl, combine the unsweetened shredded coconut and the sweetened condensed milk. Stir these two ingredients thoroughly until the coconut is evenly coated and sticky. Carefully spoon this coconut mixture over the chocolate brownie layer in the pan. Use the back of a spoon or a small offset spatula to gently and evenly spread the coconut layer, ensuring it covers the chocolate base from edge to edge. Place the pan into the preheated oven and bake for 20-22 minutes, or until the edges of the coconut layer are lightly golden brown and the center is set. Remove the pan from the oven and let it rest on a wire rack for about 10 minutes while you prepare the caramel layer.
- For the caramel layer, place the unwrapped soft caramels and the heavy cream into a microwave-safe bowl. Heat the caramels in the microwave in 30-second intervals, stirring well after each interval, until the mixture is completely smooth and creamy. This typically takes 1.5 to 2 minutes, depending on your microwave. Once the caramel is smooth, pour it evenly over the warm coconut layer in the pan. Gently spread the caramel to cover the entire surface. To help the caramel set quickly, place the pan into the refrigerator for at least 10 minutes (or until the caramel is firm to the touch) before proceeding to the final chocolate layer.
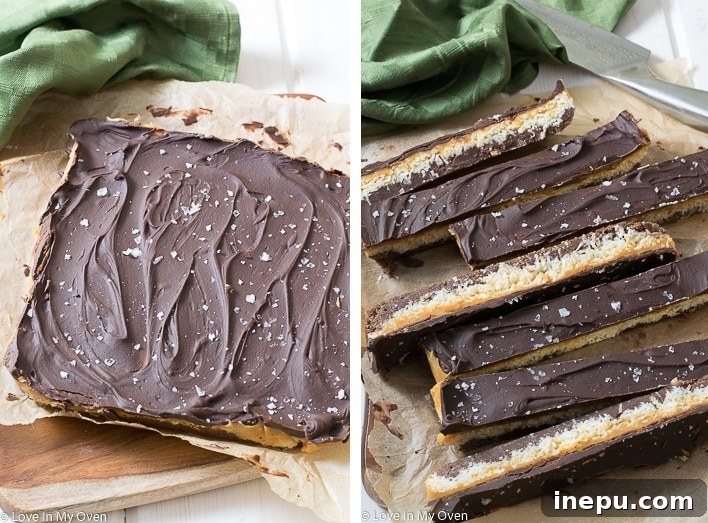
- To make the chocolate topping, place the finely chopped semi-sweet chocolate and the remaining 1 tablespoon of heavy cream in another microwave-safe bowl. Heat in 30-second increments, stirring after each, until the chocolate is fully melted and smooth. This creates a glossy ganache. Remove the chilled pan from the refrigerator. Pour the melted chocolate topping evenly over the set caramel layer, spreading it gently with a spatula if needed. Immediately sprinkle the top with sea salt flakes, if desired, for a beautiful visual and a delicious sweet-and-salty contrast. Return the pan to the refrigerator for at least 1 hour, or until the chocolate topping is completely solid and firm. Once fully chilled, use the parchment paper or foil overhang to lift the entire slab of bars out of the pan. Place it on a cutting board and cut into 16 uniform bars.
Storage Instructions: These delightful bars can be stored in an airtight container at room temperature for up to 1 week, or in the refrigerator for up to 2 weeks. For longer storage, the bars freeze exceptionally well. Place them in an airtight freezer-safe container for up to 2 months. When ready to serve, remove from the freezer and allow to thaw at room temperature for 2-3 hours.
- Prep Time: 30 minutes
- Cook Time: 25 minutes
- Category: Desserts, Bars
- Method: Bake