
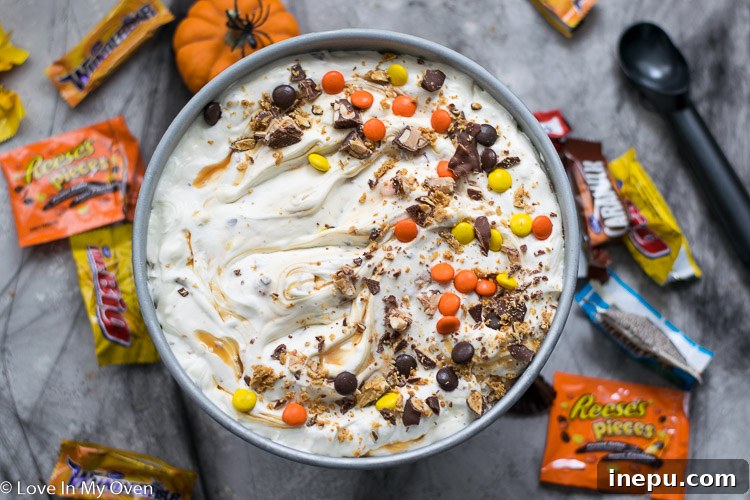
Transform your surplus Halloween candy into a spellbindingly delicious treat! This Halloween no-churn ice cream offers an effortless and incredibly tasty way to utilize those mini chocolate bars, smarties, and other delightful confections. Get ready for a cool, creamy, and utterly irresistible dessert!
*Important Update* This post was originally published in 2020, but has been comprehensively rewritten and now includes a helpful video tutorial.
Halloween brings a unique magic each year, and with it, the inevitable bounty of candy. Whether you’re planning a grand trick-or-treating adventure, hosting a spooky gathering, or simply finding yourself with a delightful surplus of sweets, the question often arises: what to do with all that leftover Halloween candy? While indulging in a few (or more!) pieces is part of the fun, transforming them into a spectacular dessert can extend the holiday cheer and create new memories.
This year, let’s embrace the sweet challenge and turn those forgotten candies into something truly extraordinary. Imagine a rich, creamy ice cream studded with your favorite chocolate bars, crunchy candies, and colorful treats – all without the need for an ice cream maker! Our no-churn Halloween ice cream recipe is not only incredibly easy to make but also serves as the perfect solution for any candy surplus, offering a delightful twist on classic frozen desserts.
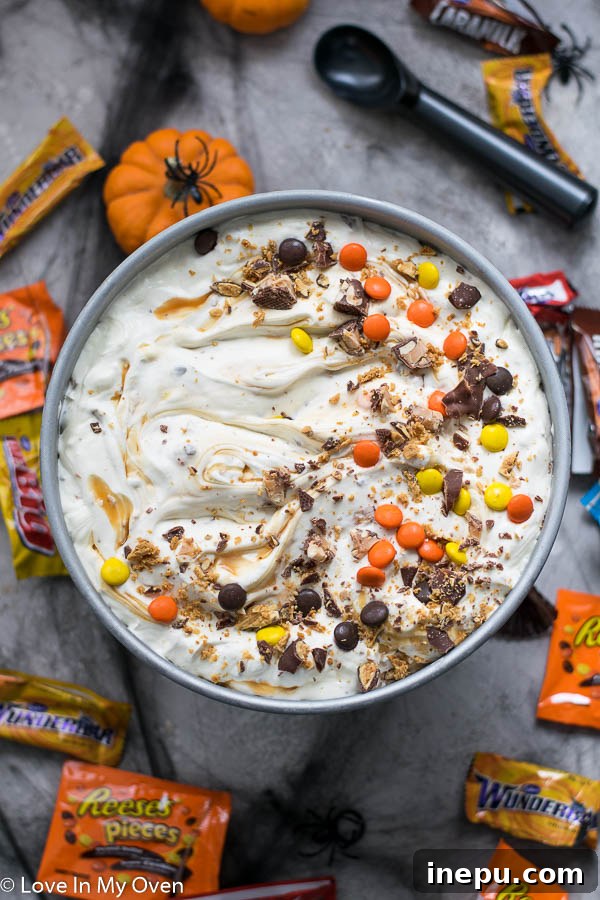
The allure of Halloween candy can be hard to resist, and before you know it, you might find yourself with a growing stash. This simple, three-ingredient recipe is your secret weapon against the “problem” of too much candy. It’s an ideal project for a cozy autumn afternoon, a fun activity with kids, or simply a treat to satisfy your sweet tooth long after the last jack-o’-lantern has faded. Get ready to impress with this homemade Halloween no-churn ice cream that captures all the festive flavors of the season.
How to Make the Ultimate Halloween Ice Cream
Creating this spectacular Halloween ice cream couldn’t be simpler, primarily because it’s a “no-churn” recipe. If you’re new to the world of no-churn ice cream, prepare to be amazed. Unlike traditional methods that require specialized ice cream makers, constant monitoring, and often a lengthy list of ingredients, no-churn recipes deliver incredibly creamy, rich results with minimal effort and equipment. This approach relies on whipping heavy cream to stiff peaks and then folding it into sweetened condensed milk, creating a stable, airy base that freezes beautifully.
The beauty of no-churn ice cream lies in its accessibility. You don’t need fancy gadgets or culinary expertise to achieve a professional-quality dessert. My blog features a variety of no-churn creations, proving that delicious, homemade ice cream is well within reach for everyone. You can explore a roundup of 25 different no-churn flavors here, showcasing the versatility of this method. This Halloween ice cream is crafted using the same reliable technique, ensuring a smooth and delightful texture every time.
Essential Ingredients for No-Churn Perfection
The foundation of this luscious ice cream consists of just two primary ingredients, plus your star additions:
- Heavy Whipping Cream: This is crucial for achieving the light, airy texture of no-churn ice cream. When whipped to stiff peaks, it incorporates air, which prevents the ice cream from freezing into a solid block. Aim for a cream with at least 36% fat content for optimal results.
- Sweetened Condensed Milk: This ingredient provides the sweetness and the smooth, creamy consistency that defines no-churn ice cream. It also helps to prevent ice crystals from forming, contributing to that irresistible mouthfeel. My personal favorite brand for consistency and flavor is Eagle Brand.
And, of course, the third (and most exciting) ingredient:
- Assorted Halloween Candy: This is where the fun truly begins! Gather all those leftover mini chocolate bars, fruity candies, and other Halloween treats you have on hand. The variety adds both flavor and visual appeal to your ice cream.
Step-by-Step Instructions for Your Halloween Ice Cream
Follow these simple steps to create a show-stopping Halloween dessert:
1. Prepare Your Candy: Begin by selecting the mini chocolate bars and candies you wish to incorporate. A diverse selection of chocolates, caramels, and crisps will create a wonderful medley of textures and flavors. As you unwrap your treats, consider their composition.
Pro Tip for Sticky Candies: If any of the bars or candies you’re using contain soft centers like nougat, runny caramel (yes, Caramilk, I’m looking at you!), or chewy textures, it’s highly recommended to unwrap and freeze them for approximately an hour before you attempt to chop them. This crucial step prevents them from becoming a sticky, unmanageable mess during the chopping process, ensuring clean cuts and even distribution throughout the ice cream. This brilliant tip, by the way, comes courtesy of Etienne, who wisely intervened when I was about to tackle the sticky situation unprepared!
Once chilled, remove the candies from the freezer and chop them into small, bite-sized pieces. Aim for pieces that are small enough to be easily scooped and enjoyed in each bite.
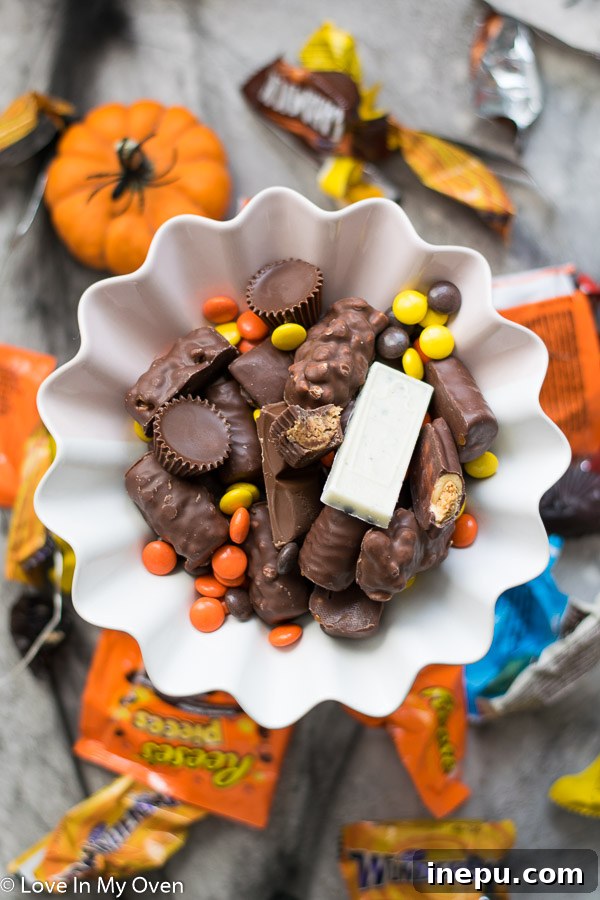
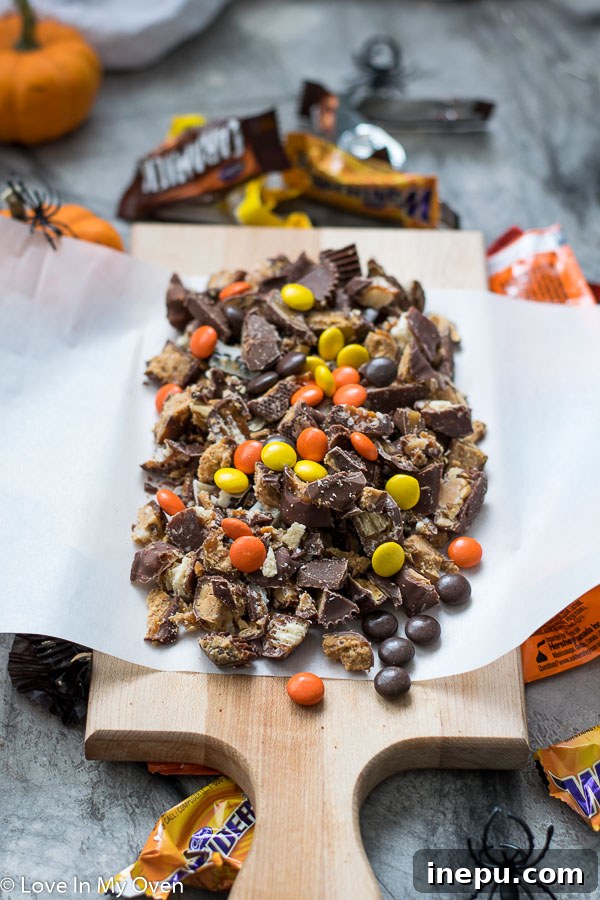
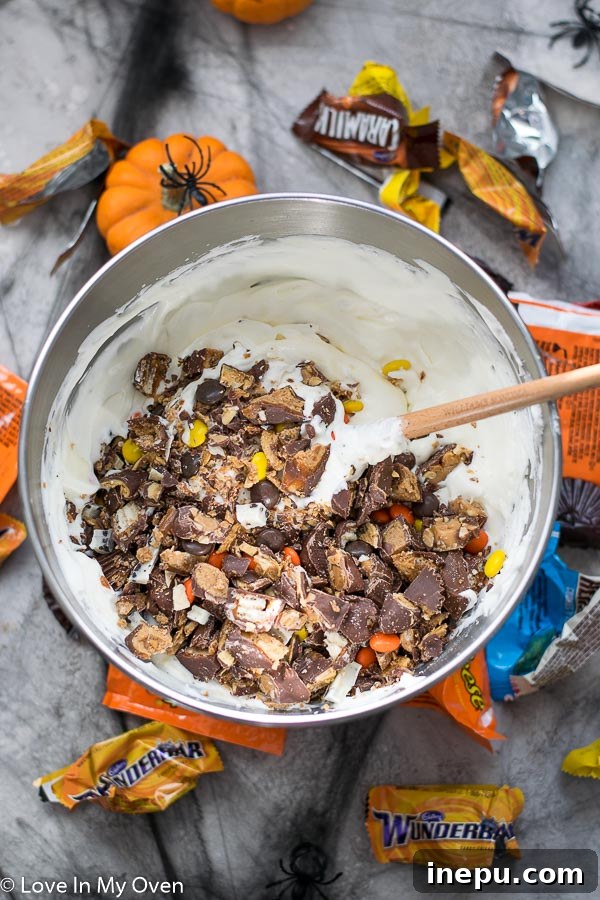
2. Whip the Cream and Fold in Condensed Milk: In a large mixing bowl, preferably of a stand mixer fitted with a whisk or paddle attachment, whip the heavy cream on high speed until it forms stiff peaks. This means that when you lift the whisk, the peaks of cream stand upright and hold their shape. Then, gently pour in the entire can of sweetened condensed milk. Using a rubber spatula, carefully fold the condensed milk into the whipped cream. The goal is to combine them thoroughly while retaining as much of the air in the whipped cream as possible. Once incorporated, gently fold in all of your pre-chopped Halloween candies until they are evenly distributed throughout the creamy mixture.
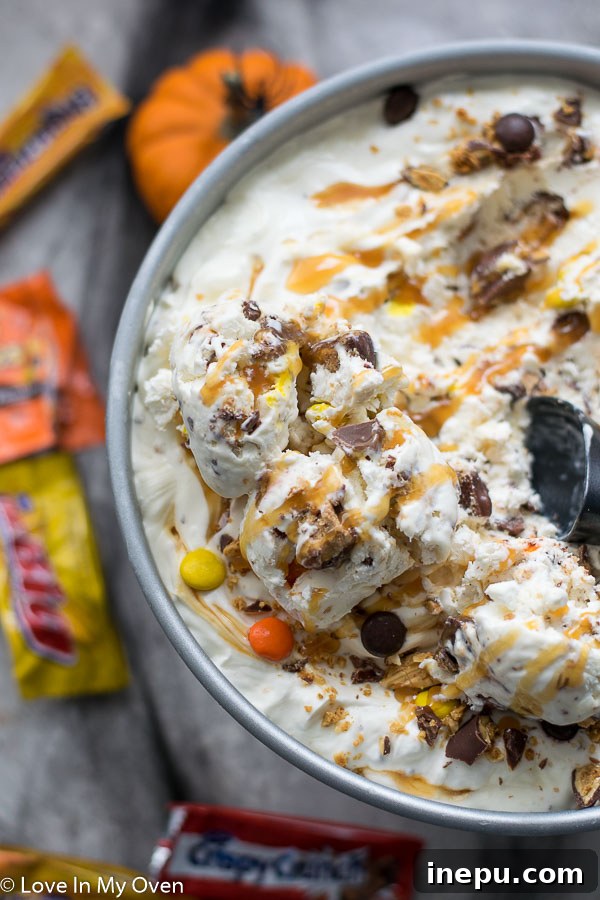
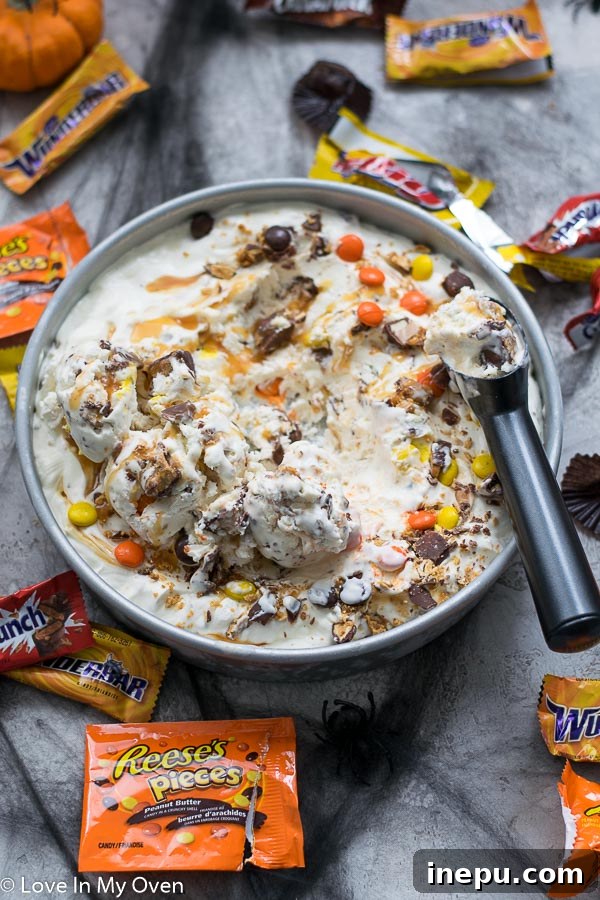
3. Transfer to a Freezer-Safe Container: Carefully spoon or pour the entire contents of your mixing bowl into a freezer-safe container. While a standard loaf pan is often perfect for no-churn ice cream, you can use any container that is suitable for freezing. For this particular recipe, a round aluminum cake pan was used, which also works wonderfully. Initially, you might leave it uncovered for the first day or so to allow for initial freezing, but for longer storage, you’ll want to cover the ice cream tightly. You can use plastic wrap pressed directly onto the surface, aluminum foil, or transfer the ice cream to a plastic container with an airtight lid to prevent freezer burn.
4. Freeze and Enjoy: Use your spatula to smooth out the top of the ice cream mixture in the container. This helps ensure even freezing and a pleasing presentation. Once smoothed, place the container into the freezer for a minimum of 5-6 hours. For the firmest, scoopable ice cream, allowing it to freeze overnight is ideal. After sufficient freezing, your homemade Halloween ice cream is ready to be enjoyed! Scoop generously and savor every bite of this delightful, candy-filled treat.
How Much Halloween Chocolate Do You Need?
The amount of chopped Halloween candy you add to this recipe is entirely up to your personal preference and how generously you want each scoop to be studded with treats. However, a good starting point and general rule of thumb is approximately 2 cups of chopped candy. This amount is quite substantial, meaning you’ll make a significant dent in that post-Halloween candy surplus. Feel free to adjust this quantity based on how candy-dense you like your ice cream to be!
Optional Deliciousness: Caramel Swirl: For an even more decadent and utterly irresistible ice cream, consider adding a luscious caramel swirl. Once you’ve transferred the ice cream mixture into its freezer-safe container, spoon generous dollops of warm caramel sauce throughout the mixture. Use a knife or skewer to gently swirl the caramel through the ice cream base. The rich, buttery notes of caramel pair exceptionally well with chocolate and add another layer of flavor and texture that elevates this dessert from great to extraordinary. You can use store-bought caramel sauce or make your own salted caramel sauce for an extra special touch.
How Long Does This Halloween Ice Cream Last?
One of the many benefits of this homemade Halloween ice cream is its excellent shelf life. When stored properly in an airtight, freezer-safe container, this delicious treat will keep for a considerable amount of time – at least 2 weeks, and often even longer. While it will naturally become firmer the longer it remains in the freezer, its delightful flavor and creamy texture persist beautifully. To enjoy it at its best, you might want to let it sit out on the counter for 5-10 minutes before scooping to allow it to soften slightly. This makes for easier scooping and a perfectly smooth, creamy consistency.
Embrace the Sweetness This Halloween
Whether your Halloween celebrations involve traditional trick-or-treating, a fun costume party at home, or simply enjoying the festive atmosphere, make sure you stock up on those mini chocolate bars and other candies. They are the star ingredient for this simple yet spectacular no-churn ice cream. It’s a wonderful way to extend the joy of the holiday, offering a truly unique dessert that is both fun to make and incredibly satisfying to eat. Don’t let those delicious candies go to waste; give them a second life in this unforgettable frozen treat!
More Sweet Treats and Halloween Fun!
Looking for more delightful ice cream creations or spooky Halloween recipes? Explore these other fantastic options to satisfy your sweet tooth and add more festive flair to your celebrations:
- Easy Halloween Treats to Make with Kids
- Tiger Tail No-Churn Ice Cream
- No-Churn Birthday Cake Ice Cream
- Halloween Cake Pops
- Spiderweb Sugar Cookies
And for those following a vegan diet, don’t miss this incredible Vegan Chocolate No-Churn Ice Cream!
Print Recipe

Halloween Ice Cream
5 from 13 reviews
- Author: Katherine | Love In My Oven
- Total Time: 10 minutes
- Yield: 1 pint
Description
Wondering what to do with leftover Halloween candy? This Halloween ice cream is an easy way to use up those mini chocolate bars and smarties!
Ingredients
- 1 3/4 cup heavy cream (36%)
- 1 300 mL can sweetened condensed milk
- 2 cups various mini chocolate bars, chopped*
- optional: salted caramel sauce
Instructions
- In the bowl of a stand mixer fitted with the whisk attachment, or using a handheld electric mixer, whip the cream on high for 3-4 minutes, or until stiff peaks have formed. Pour the can of condensed milk into the bowl, then use a spatula to fold it in.
- Add the chopped chocolate bars and combine with the spatula. Pour the mixture into a freezer-safe container and smooth it out with a spatula. Place the ice cream into the freezer for 5-6 hours to freeze.
Leftover ice cream can be stored in the freezer-safe container for 2 weeks or more. It will get harder as time goes on.
Notes
*2 cups is a general rule of thumb; you can use more or less. If you are using chocolate bars with caramel or anything very soft, be sure to freeze the chocolate bars for an hour before chopping
- Prep Time: 10 minutes
- Cook Time: 0 minutes
- Category: ice cream
- Method: no-churn
- Cuisine: american