
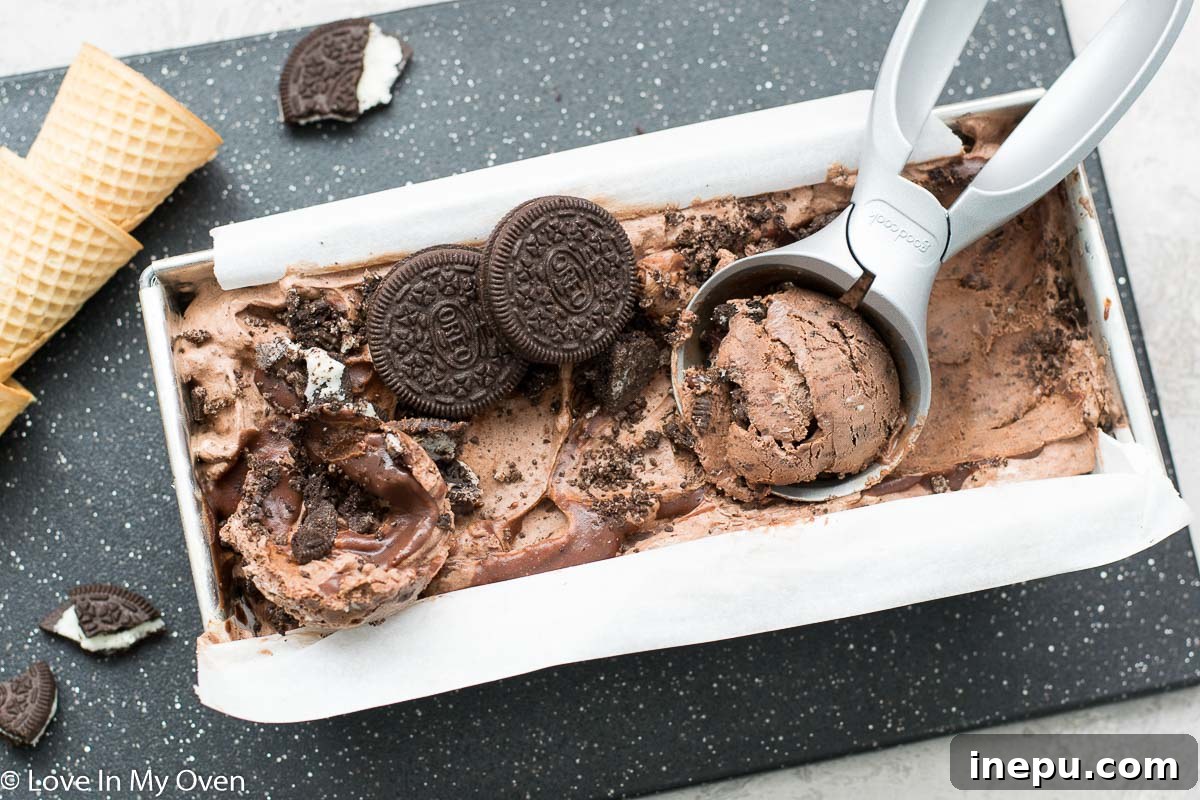
Indulge in Creamy Bliss: The Ultimate No-Churn Chocolate Oreo Ice Cream Recipe
Dive into a world of rich, velvety chocolate and crunchy Oreo cookies with this incredibly easy no-churn ice cream recipe. Perfect for every Oreo enthusiast, this homemade delight promises a decadent experience without the need for an ice cream maker.
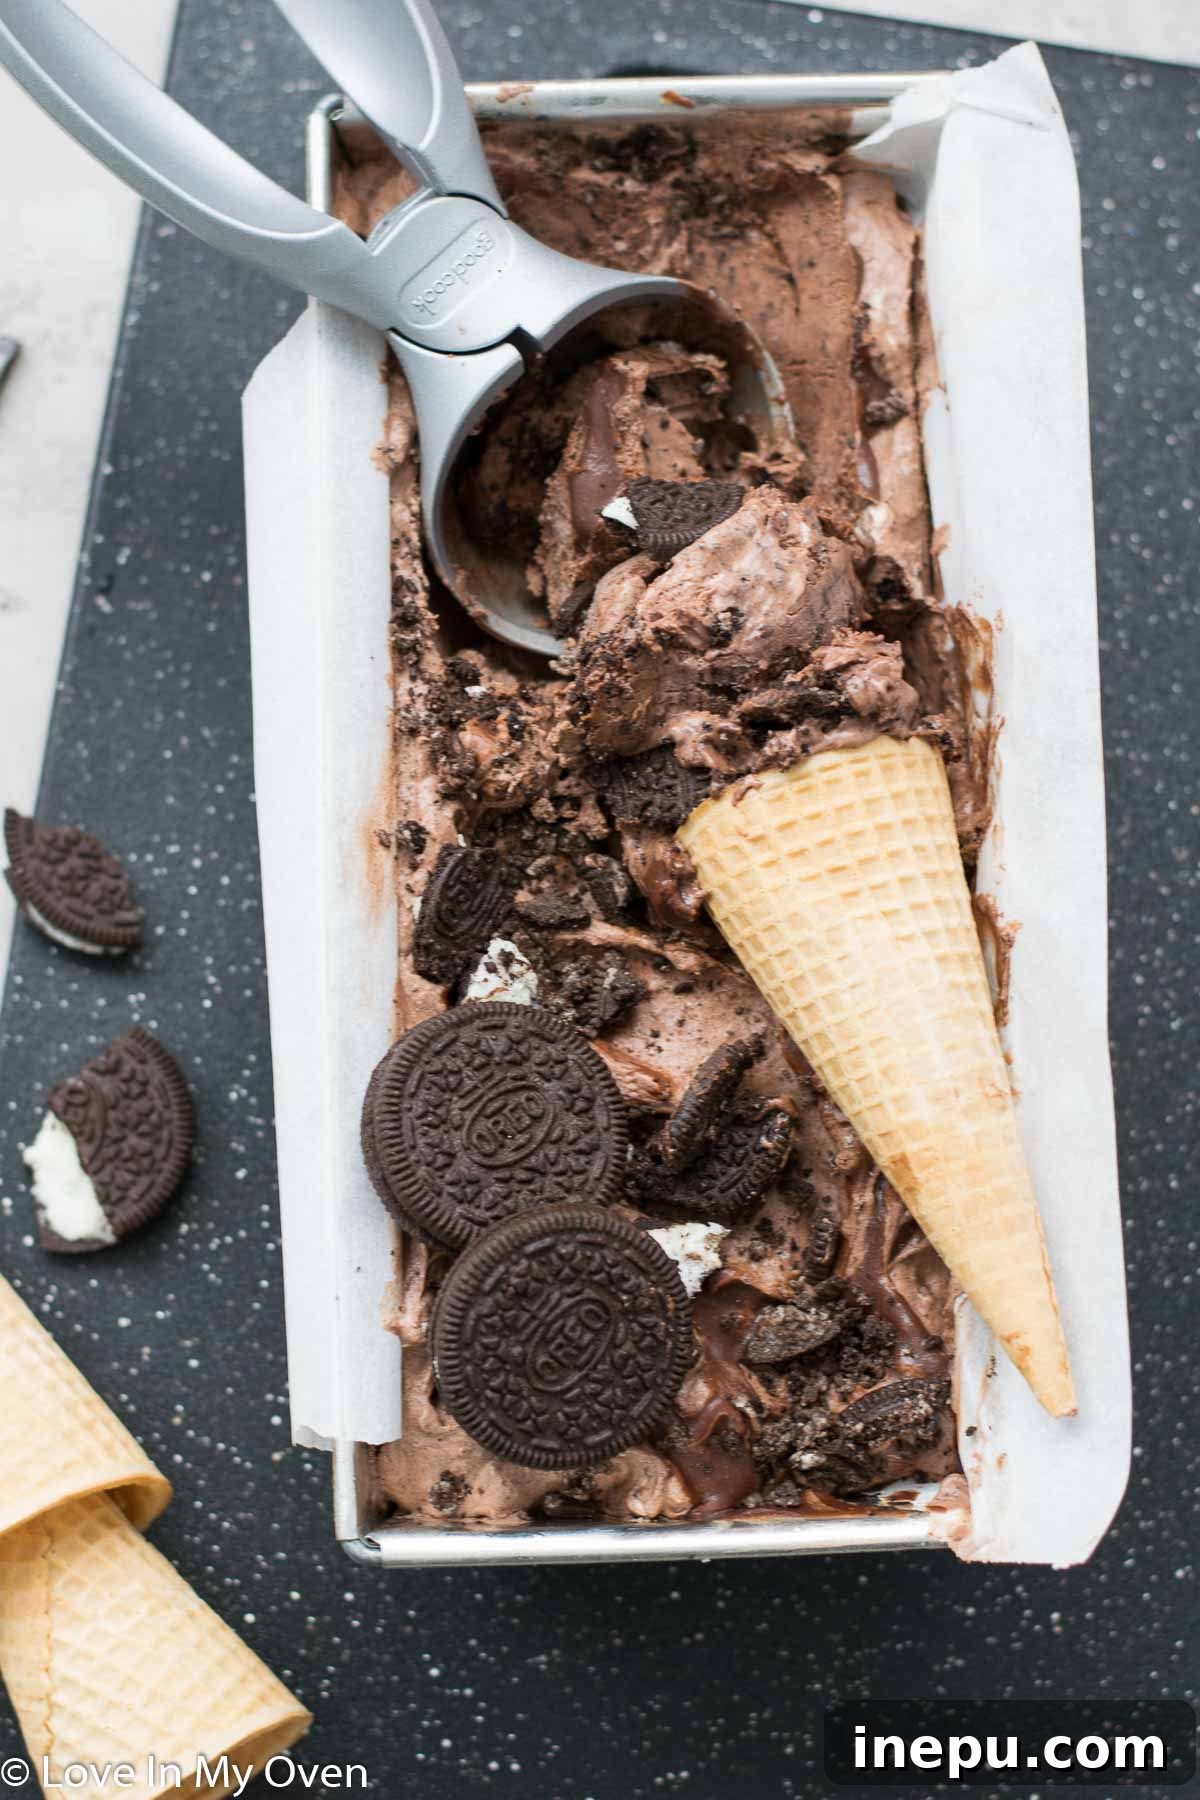
As the days grow longer and the promise of summer fills the air, there’s no better time to whip up a batch of homemade ice cream. And for those of us who adore the classic combination of chocolate and cream, infused with America’s favorite cookie, this no-churn chocolate Oreo ice cream is an absolute dream come true. While the weather outside might be a bit grey, a scoop of this rich, chocolatey goodness instantly transports you to sunny, carefree days. We’re big fans of ice cream around here, and the no-churn method has truly revolutionized our dessert game, making homemade treats accessible to everyone.
As an ardent Oreo lover, I felt it was high time to introduce a dedicated Oreo ice cream recipe to the blog. While I already boast a delightful mint Oreo mousse (which you absolutely must try if you haven’t!), a pure chocolate Oreo ice cream was a glaring omission. This recipe not only rectifies that but elevates it to a whole new level of decadence. It’s not just an Oreo ice cream; it’s a celebration of deep cocoa flavor, generously studded with cookie pieces, and further enhanced by a luxurious swirl of homemade chocolate ganache. Get ready for an experience that will make your taste buds swoon!
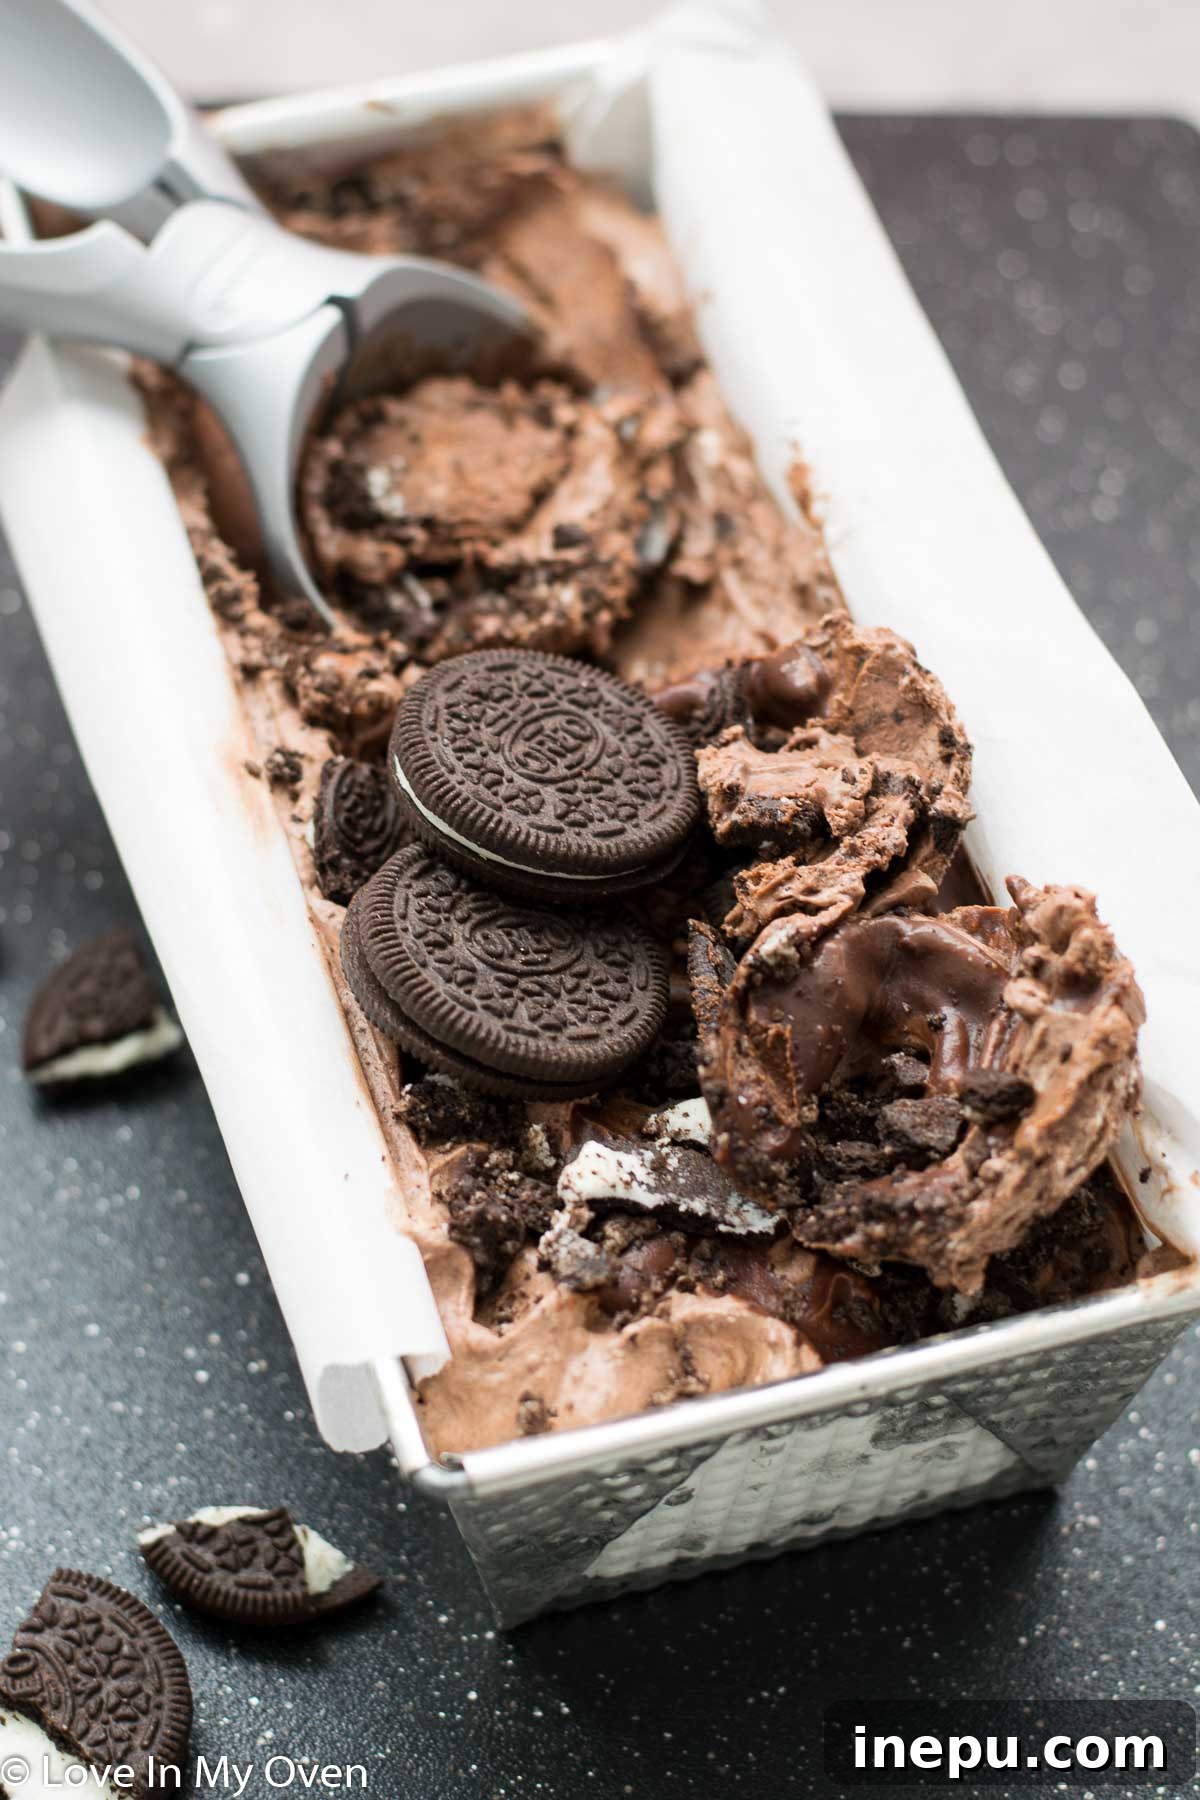
What is No-Churn Ice Cream? The Secret to Effortless Creaminess
For seasoned visitors to this blog, the concept of no-churn ice cream might be old hat, but for newcomers, prepare to have your dessert world transformed! Simply put, no-churn ice cream is a magical concoction that allows you to create incredibly rich, creamy ice cream without the need for an expensive ice cream maker. The basic principle involves combining perfectly whipped heavy cream with sweetened condensed milk, then freezing the mixture for several hours until firm. This ingenious combination leverages the air incorporated into the whipped cream and the stabilizers in condensed milk to prevent ice crystal formation, resulting in a texture that rivals traditional churned ice cream.
The beauty of the no-churn method lies in its simplicity and versatility. Once you master the basic technique, the flavor possibilities become truly endless. From fruit purees to candy bar mix-ins, coffee infusions to spiced variations, you can customize your no-churn base to suit any craving. It’s the perfect foundation for culinary creativity, making homemade ice cream an accessible joy for everyone.
Crafting Your Dream Dessert: How to Make No-Churn Chocolate Oreo Ice Cream
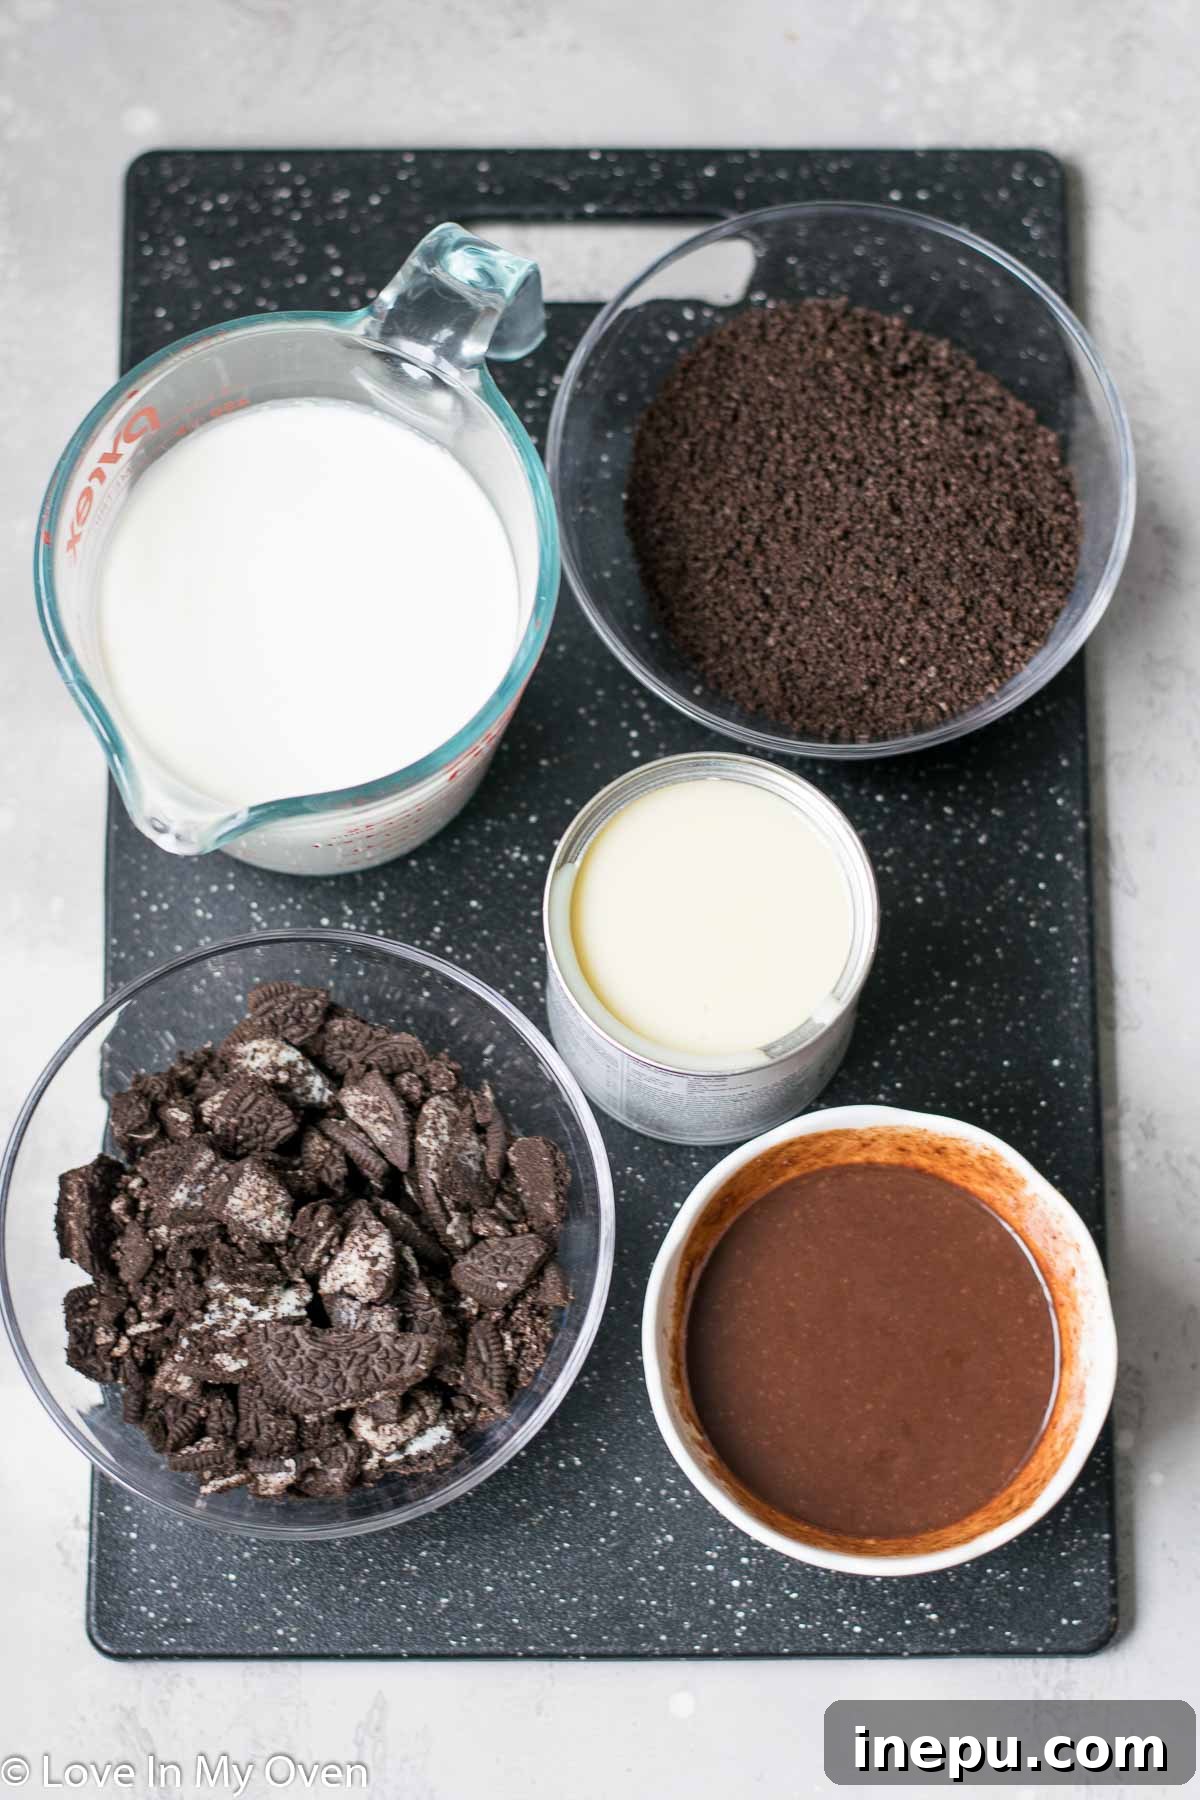
While the core no-churn principle remains the same, this chocolate Oreo version introduces a few extra steps to amplify the flavor and texture, ensuring an utterly decadent result. Here’s a breakdown of the key components you’ll need for this irresistible treat:
- Whipping Cream: The foundation for that airy, creamy texture.
- Sweetened Condensed Milk: Provides sweetness, richness, and helps prevent ice crystals.
- Oreo Cookies: The star of the show, offering iconic chocolatey crunch.
- Cocoa Powder: Infuses the base with deep, dark chocolate flavor.
- Semi-Sweet Chocolate Chips: Essential for creating that luscious ganache swirl.
As you can see, every ingredient plays a vital role in building layers of deliciousness, culminating in an ice cream that’s truly greater than the sum of its parts.
Step-by-Step Perfection: A Detailed Guide
1. The Decadent Chocolate Ganache: Your journey to ice cream bliss begins with a simple yet luxurious chocolate ganache. Take 1/4 cup of the whipping cream and gently warm it. This can be done in a small saucepan over low heat, stirring frequently until just steamy, or quickly in the microwave. The goal is hot, but not boiling cream. Once warm, pour the cream over a small bowl containing your semi-sweet chocolate chips. Let this mixture sit undisturbed for a full minute. This allows the hot cream to melt the chocolate chips evenly. After a minute, stir gently with a spoon or spatula until the mixture transforms into a smooth, glossy, and utterly irresistible ganache. Set this aside to cool slightly; it will be swirled into the ice cream later.
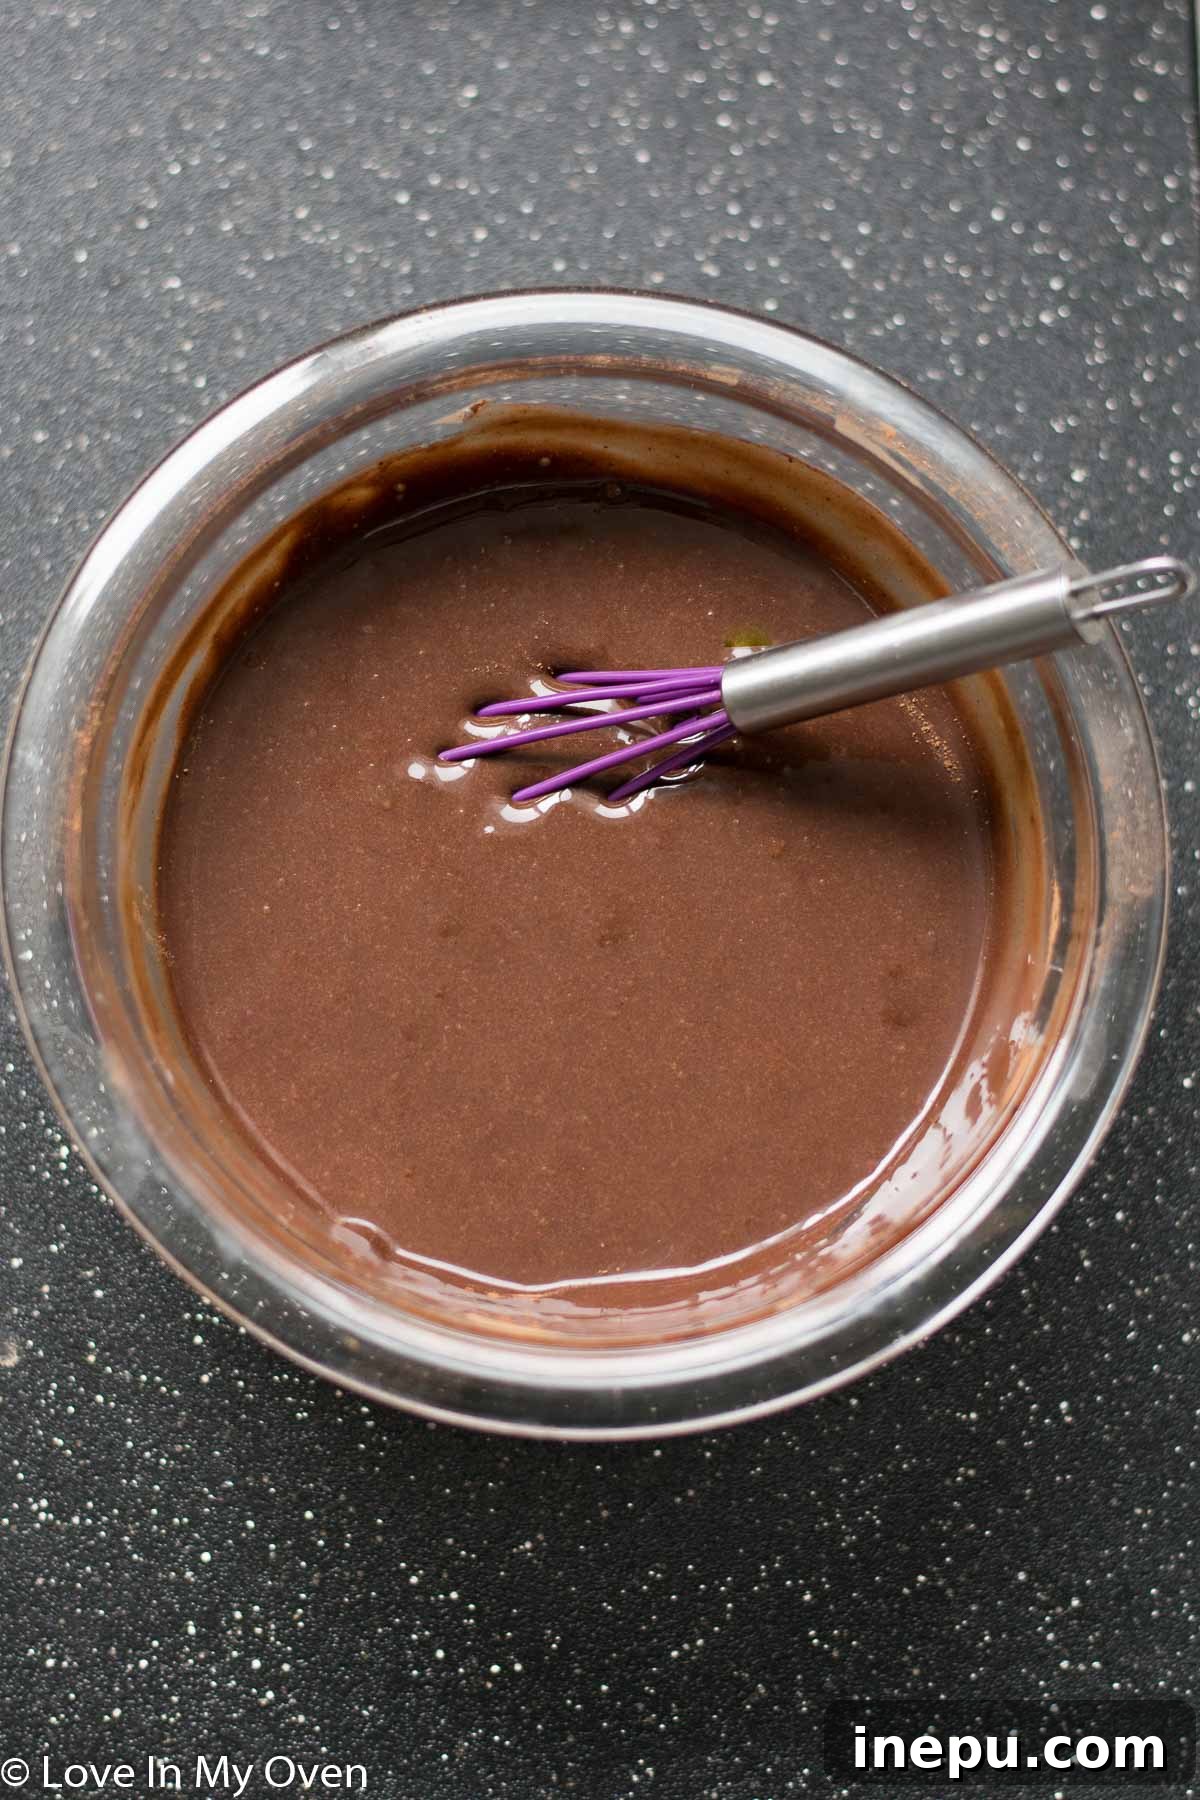
2. Crafting the Chocolate Condensed Milk Base: In a separate, larger mixing bowl, combine the entire can of sweetened condensed milk with the cocoa powder. To ensure a flawlessly smooth and lump-free chocolate base, use a small whisk and vigorously combine the two ingredients. Whisk until the cocoa powder is completely incorporated into the condensed milk, creating a rich, velvety chocolate syrup. This step is crucial for an even chocolate flavor throughout your ice cream. Set this aside for a moment.
3. Oreo Preparation: The Secret to Perfect Texture: Now, for the star of the show – the Oreos! You’ll need about 20-22 cookies in total for the main mix-in. Divide them into two groups. For the first group (about 10 cookies), you’ll want to pulverize them into fine crumbs. A food processor works wonders for this, creating uniform crumbs in seconds. Alternatively, place them in a resealable plastic bag and use a rolling pin to crush them finely. For the second group (another 10 cookies), chop them into larger, bite-sized pieces. This dual approach ensures both integrated cookie flavor and delightful pockets of crunchy Oreo goodness in every bite. Set both the crumbs and chunks aside.
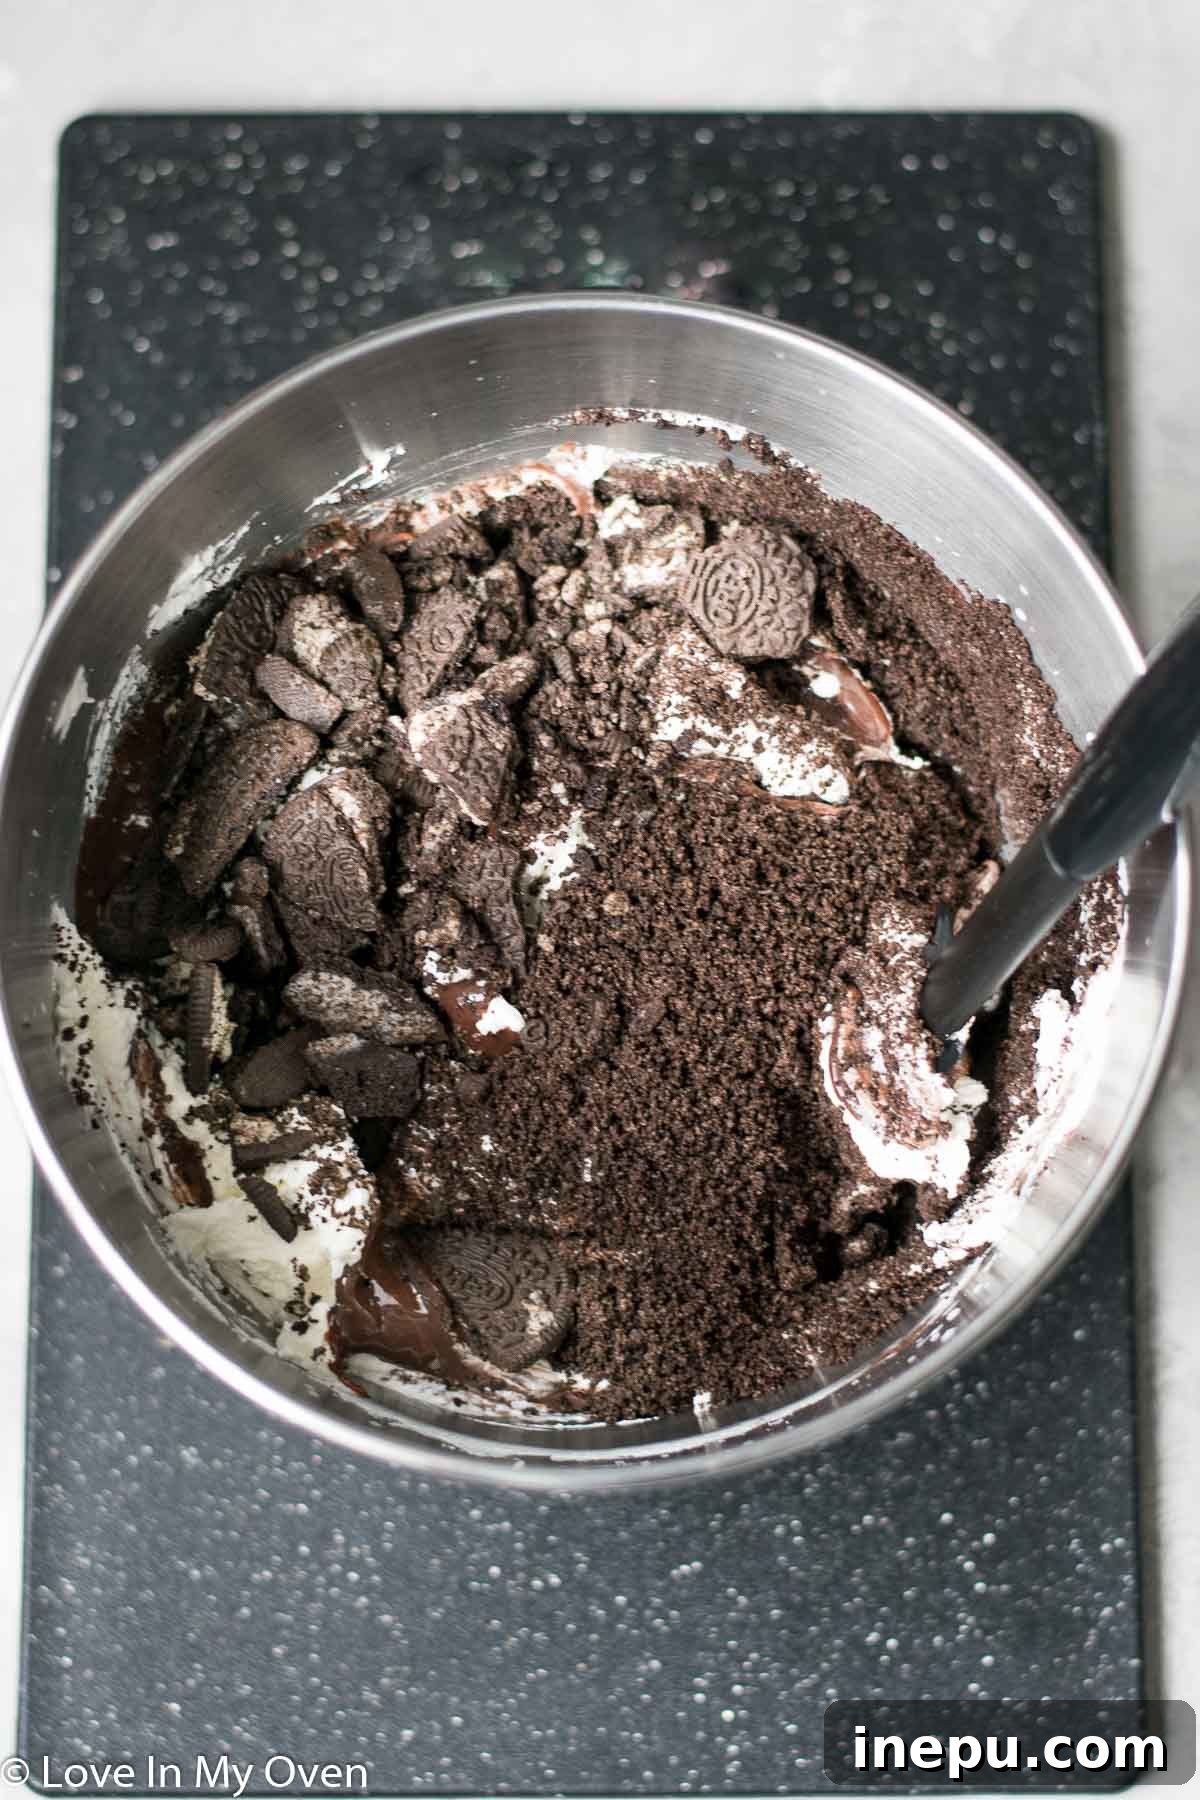
4. Whipping the Cream and Gentle Folding: In the bowl of a stand mixer fitted with the whisk attachment, or using a handheld electric mixer, pour the remaining whipping cream. Whip on high speed until stiff peaks begin to form. This usually takes about 3-5 minutes, depending on your mixer. Stiff peaks mean the cream holds its shape firmly when the whisk is lifted. Once your cream is perfectly whipped, it’s time to bring everything together. Gently pour the chocolate condensed milk mixture, along with both the fine Oreo crumbs and the larger Oreo chunks, into the whipped cream. Using a spatula, carefully fold all the ingredients together. The key here is to be gentle to maintain the airiness of the whipped cream, ensuring your ice cream remains light and fluffy.
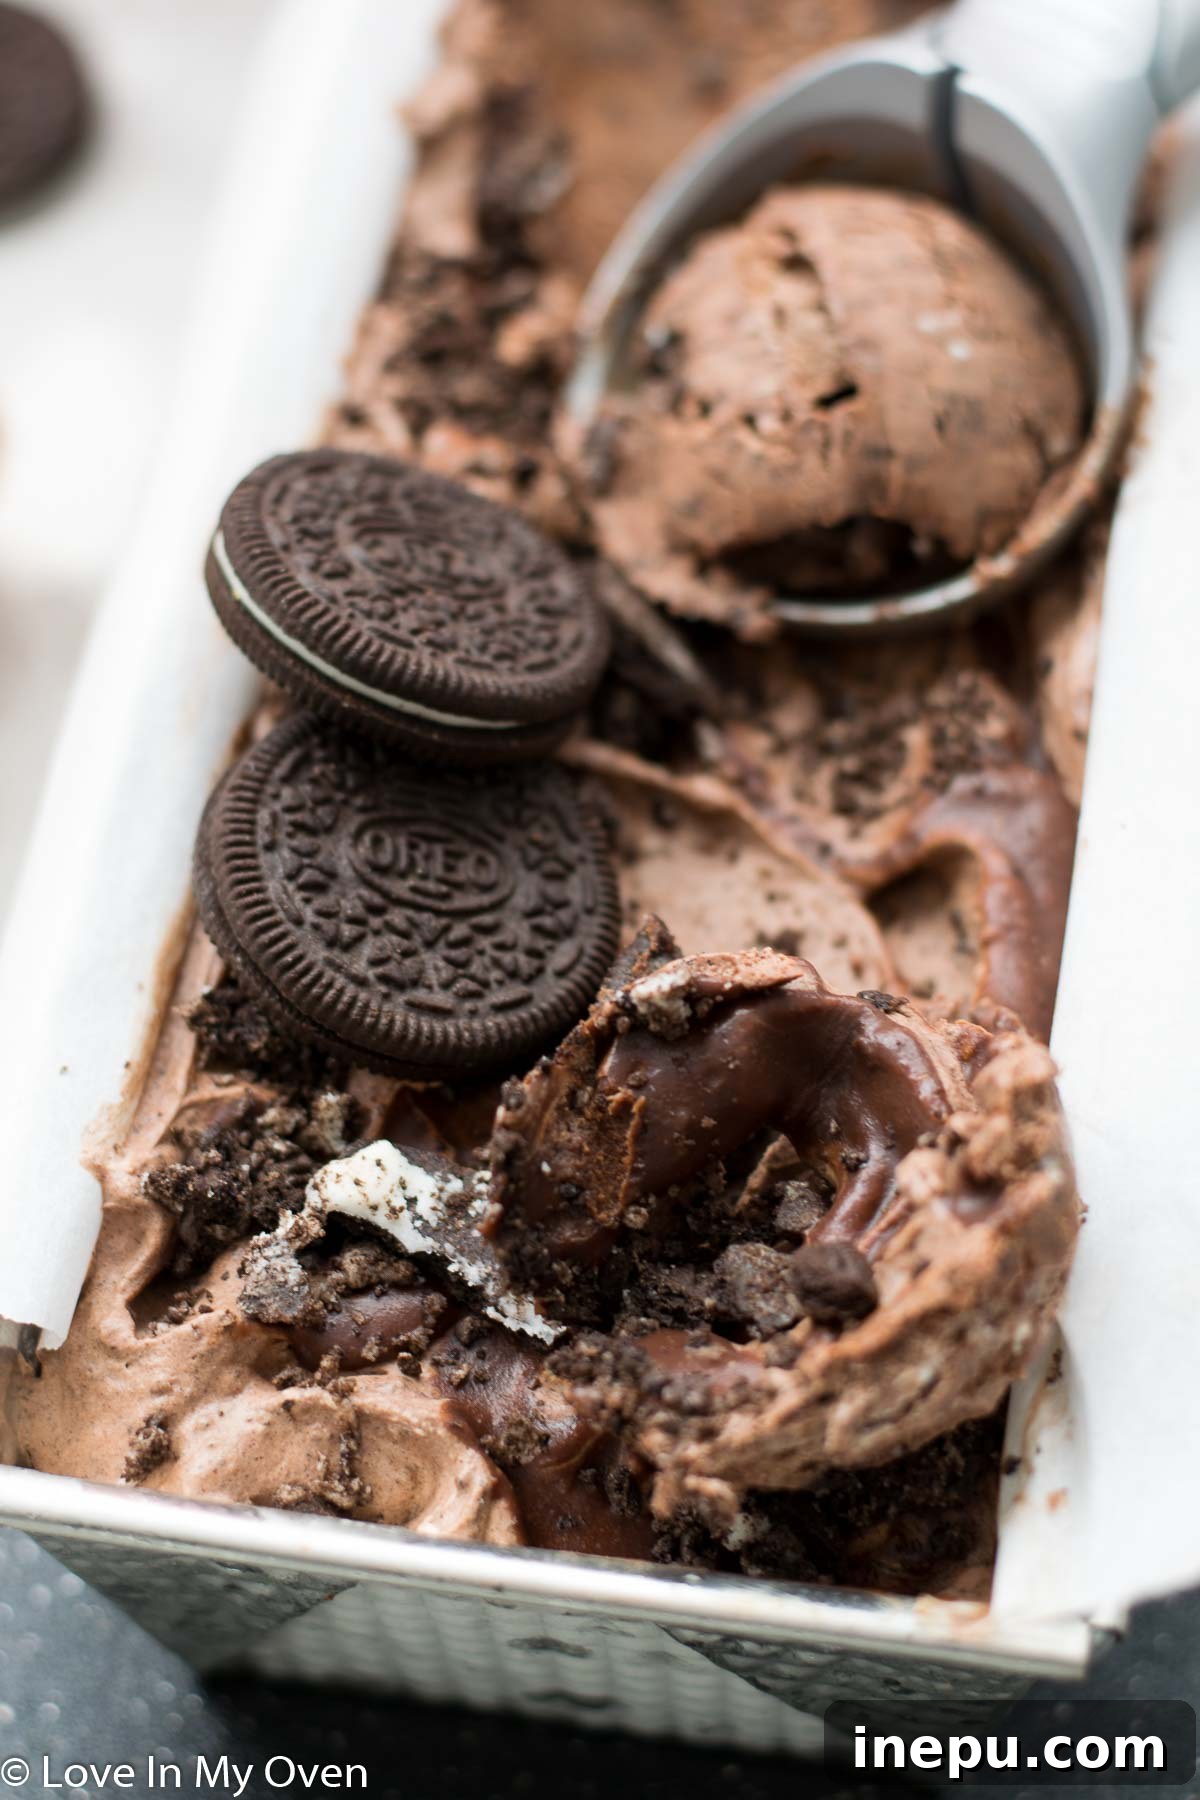
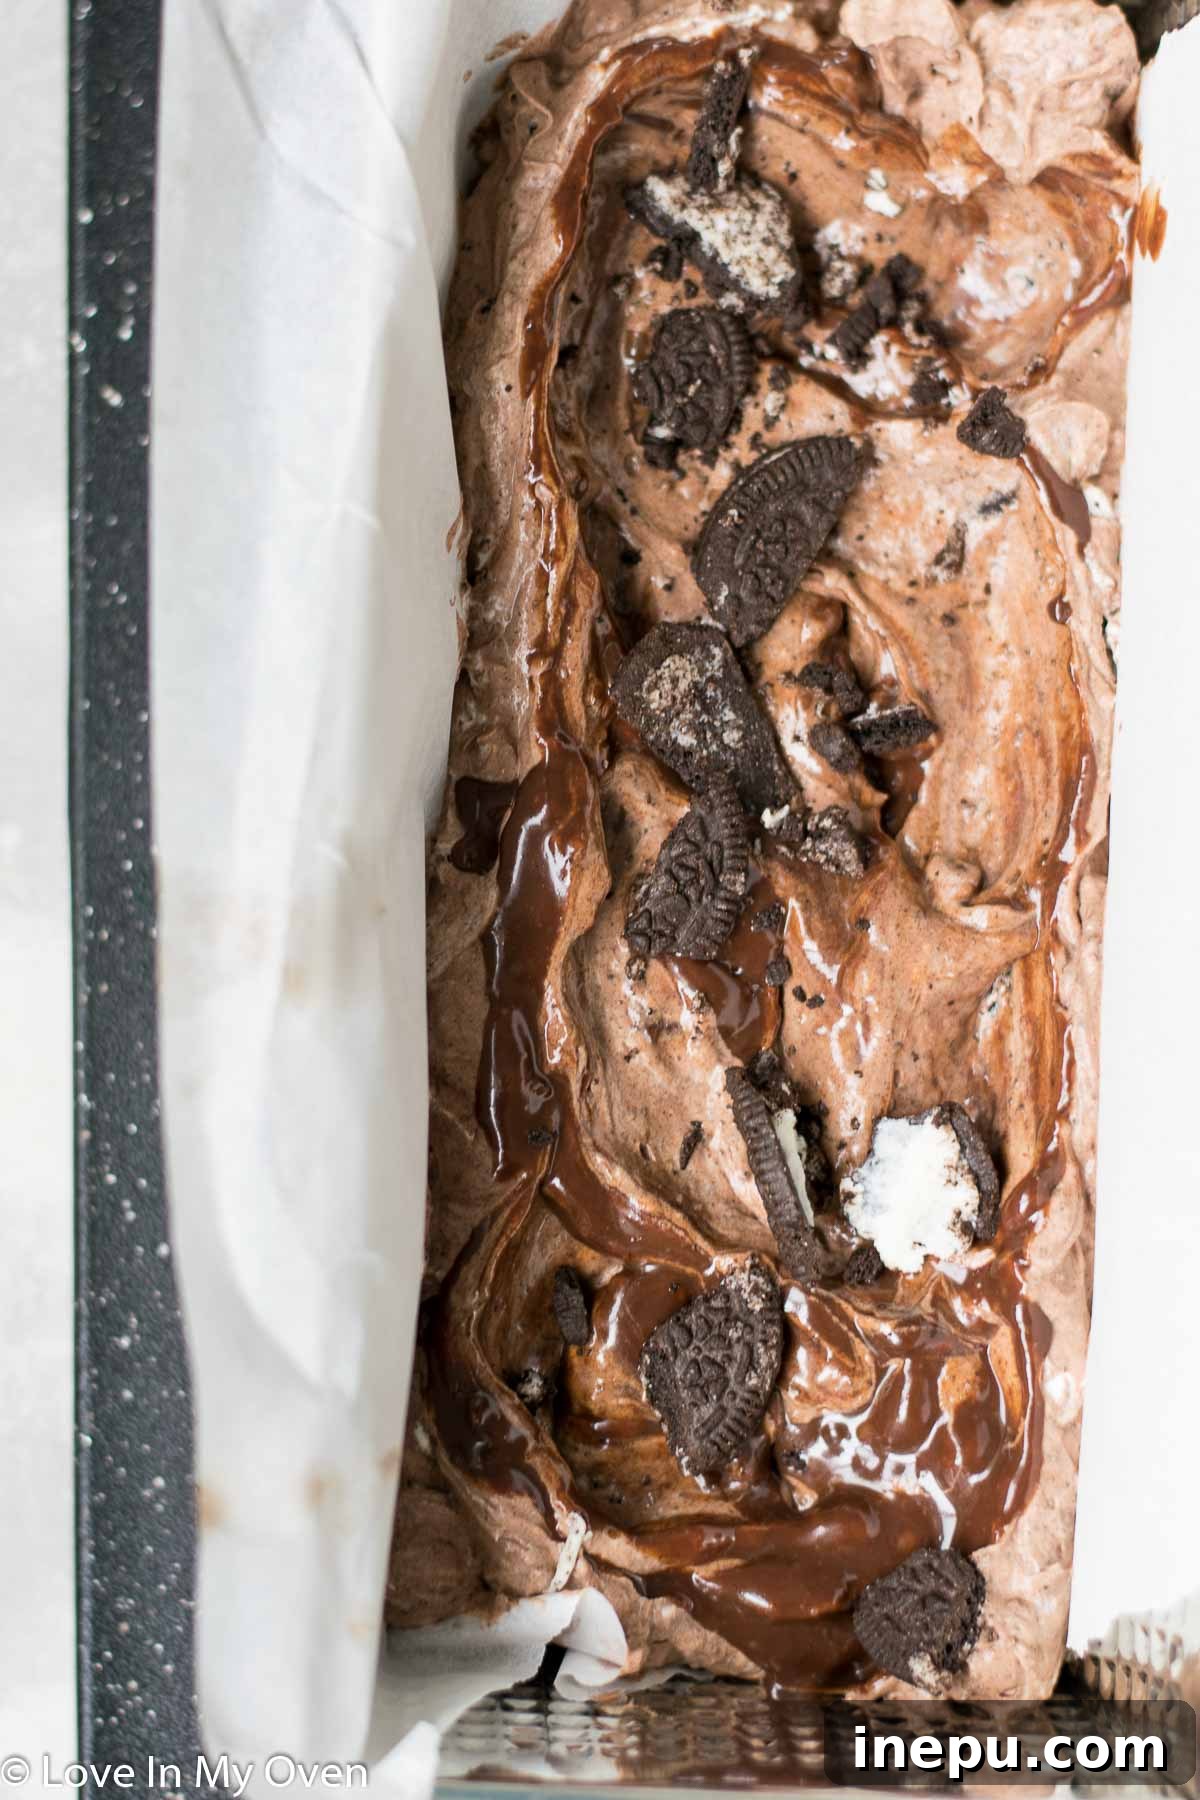
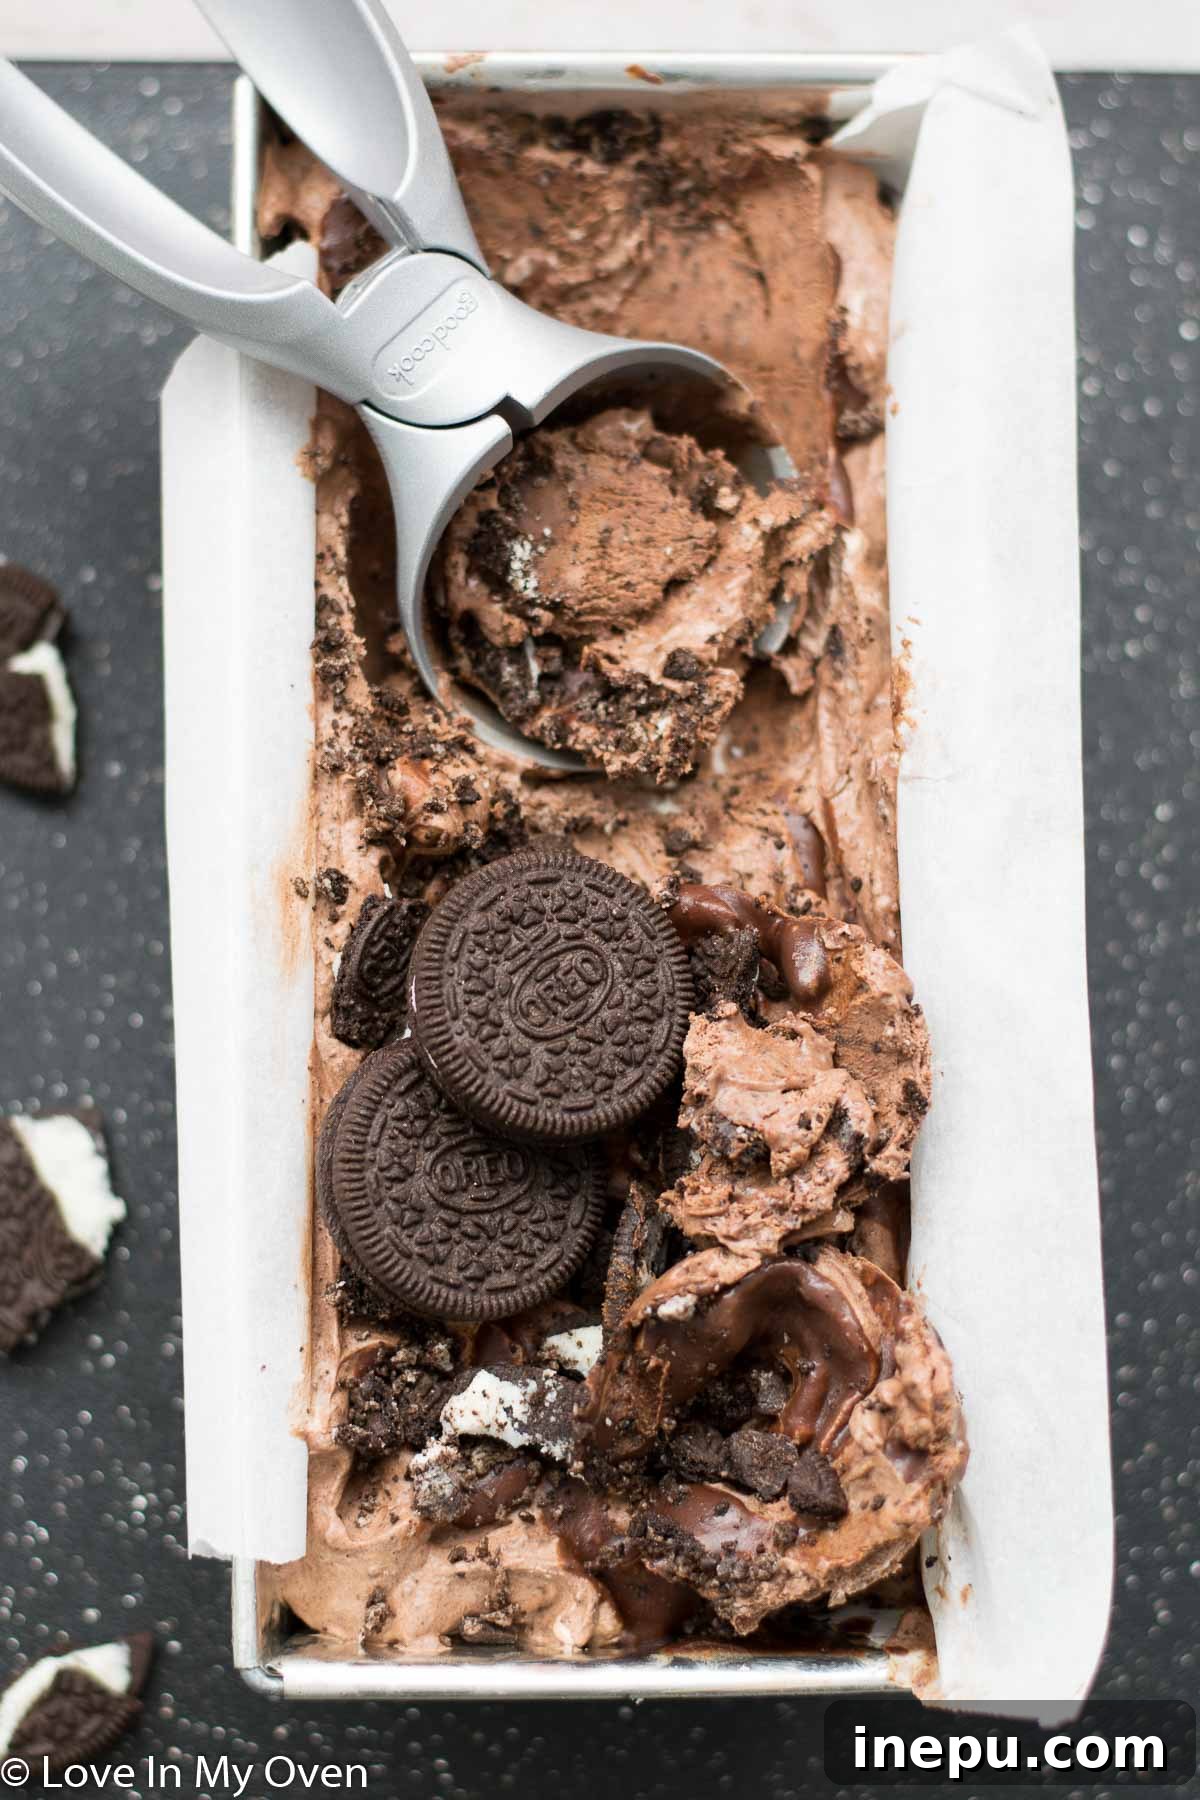
5. Layering for a Visual and Flavorful Feast: With your ice cream mixture ready, it’s time to assemble. Choose a freezer-safe container for this. A standard loaf pan is an excellent choice, though any shallow, freezer-safe dish will work. Lining the pan with parchment paper is optional but makes for incredibly easy removal and clean-up later. Begin by adding a layer of your no-churn chocolate Oreo ice cream mixture to the bottom of the container. Then, dollop a few spoonfuls of your prepared chocolate ganache over this layer, and use a knife or skewer to gently swirl it through the ice cream. Repeat this layering process, alternating ice cream and ganache swirls, until all the mixture is used. Finally, for an extra flourish, top the ice cream with any remaining crushed Oreos and a final drizzle and swirl of ganache. This not only makes it look appealing but adds another layer of texture and flavor. Pop it into the freezer.
Freezing & Storage: Ensuring Perfect Scoops Every Time
How Long to Freeze Your Chocolate Oreo Ice Cream?
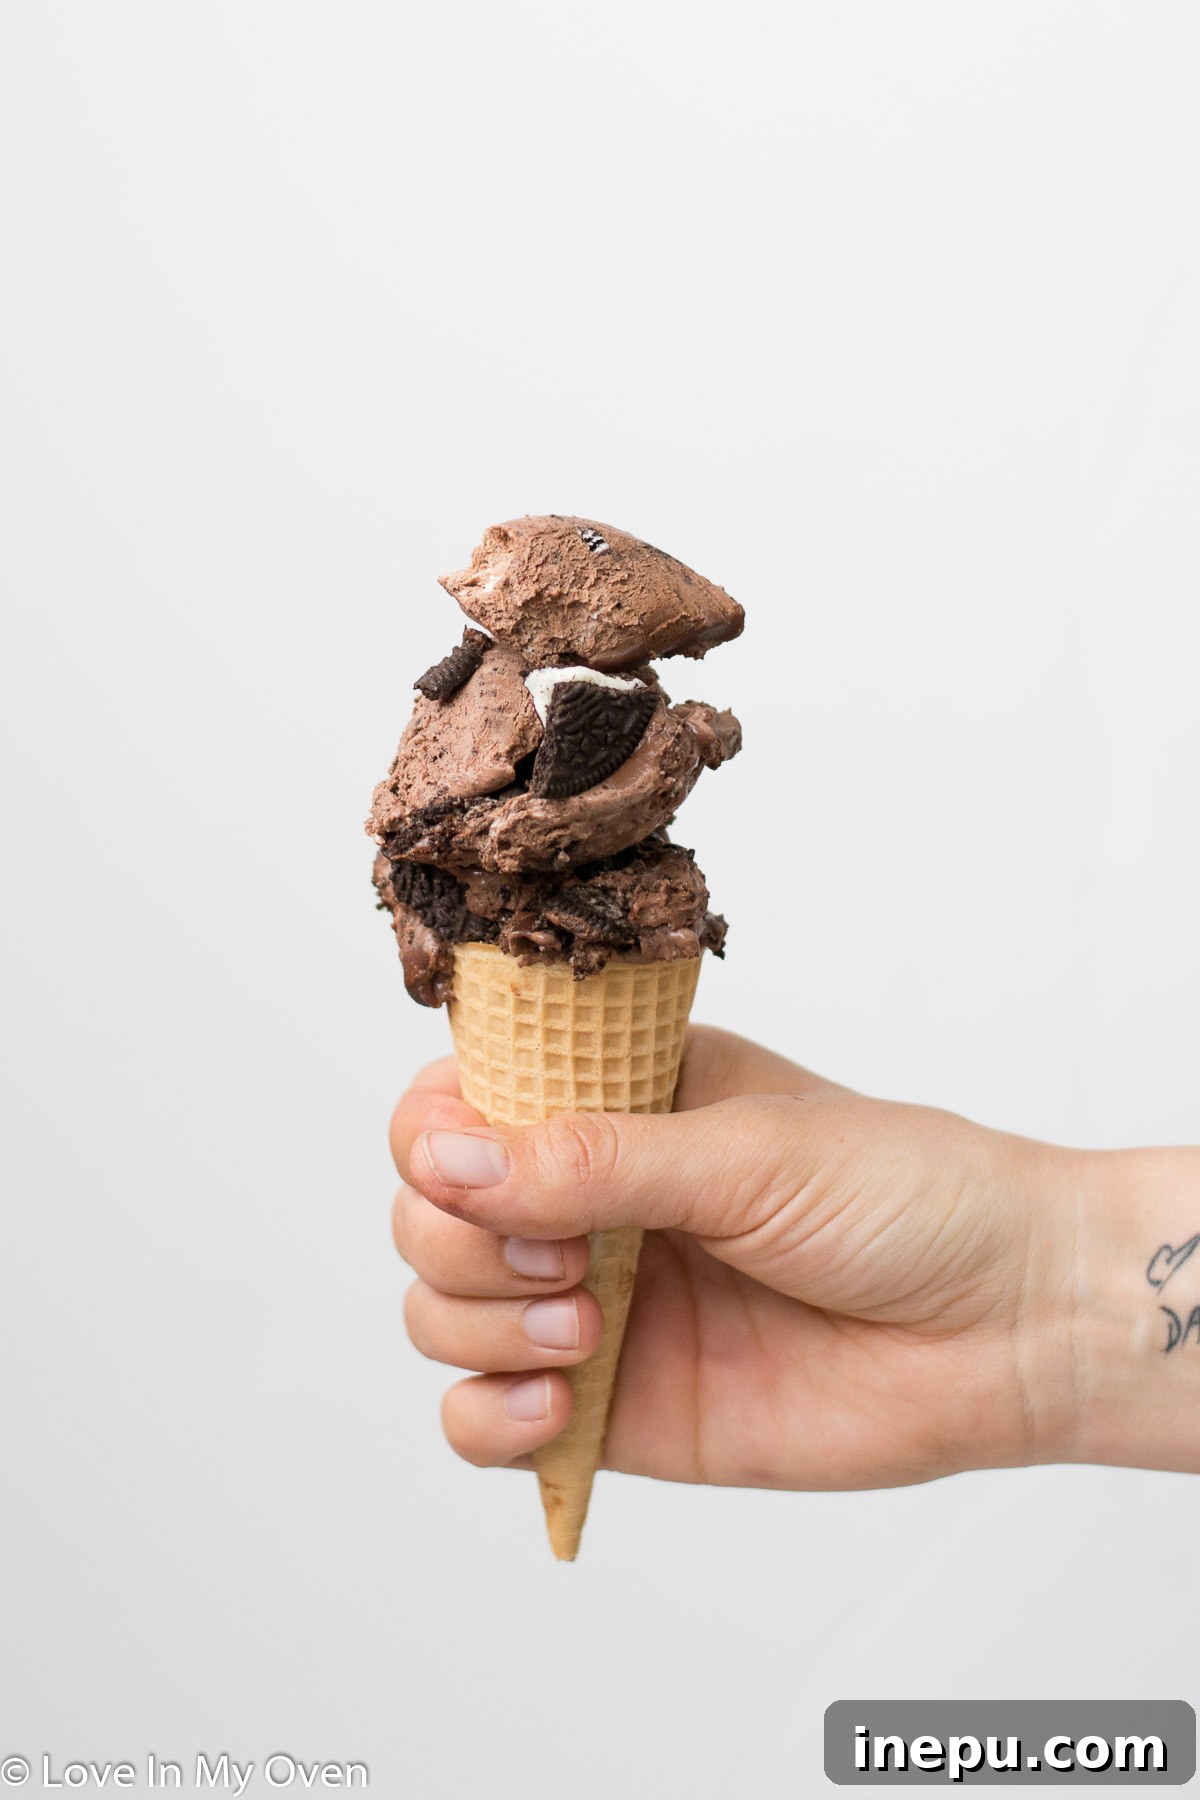
Patience is key for the perfect scoop! This no-churn chocolate Oreo ice cream will need a good 5-6 hours in the freezer to set properly. This duration allows the mixture to firm up completely, ensuring it’s ready to be scooped into dishes or piled high on cones without being too soft or too hard. Do you prefer your ice cream in a classic cone, or nestled comfortably in a bowl? I’m definitely a bowl person myself, savoring every spoonful, but my kids always go wild for a fun, drippy cone!
Storage Tips for Lasting Enjoyment
Once fully frozen, this delicious ice cream can be stored in the freezer for up to 2 months. To maintain its quality and prevent freezer burn, make sure to keep it tightly covered. An airtight container is ideal, or you can press a layer of plastic wrap directly onto the surface of the ice cream before securing the lid. Over time, the texture might become slightly harder, but rest assured, it will remain perfectly edible and absolutely delicious. Simply let it sit on the counter for a few minutes before serving to soften slightly for easier scooping.
With summer just around the corner (or perhaps already in full swing!), it’s the perfect time to elevate your dessert game with this incredible no-churn ice cream recipe. It’s so simple, so satisfying, and guarantees to be a hit with everyone!
Tips for the Best No-Churn Chocolate Oreo Ice Cream
- Chill Your Bowl and Whisk: For the quickest and stiffest whipped cream, place your mixing bowl and whisk attachment in the freezer for 10-15 minutes before whipping. Cold tools help the cream whip up faster and hold its volume better.
- Don’t Overmix the Cream: Whip the heavy cream until stiff peaks form, but be careful not to over-whip it into butter. Stop as soon as it holds its shape.
- Gentle Folding is Key: When combining the chocolate condensed milk and Oreo pieces into the whipped cream, use a light hand. Folding gently preserves the airiness of the whipped cream, which is crucial for the light, creamy texture of your no-churn ice cream.
- Quality Ingredients Matter: Use a good quality cocoa powder for a richer chocolate flavor. Semi-sweet chocolate chips are recommended for the ganache as they balance the sweetness.
- Variations & Add-ins:
- Mint Oreo: Swap regular Oreos for Mint Oreos for a refreshing twist.
- Golden Oreo: Use Golden Oreos for a vanilla-based cookie flavor instead of chocolate.
- Nutty Crunch: Add chopped toasted nuts like pecans or walnuts for an extra layer of texture.
- Coffee Boost: Stir in a tablespoon of instant espresso powder to the condensed milk for a mocha-Oreo flavor.
- Achieving Perfect Ganache Swirls: For distinct, beautiful swirls, make sure your ganache has cooled slightly but is still pourable. Don’t overmix it into the ice cream base; a few gentle swirls with a knife or skewer are all you need.
Frequently Asked Questions About No-Churn Ice Cream
- Can I make this dairy-free?
- While this specific recipe uses dairy, you can adapt many no-churn recipes to be dairy-free by using full-fat coconut cream (chilled overnight) instead of heavy cream, and a dairy-free sweetened condensed milk alternative. I even have a vegan chocolate no-churn ice cream recipe on the blog that might interest you!
- What if my ganache is too thick or too thin?
- If your ganache is too thick, add a tiny bit more warm cream (about a teaspoon at a time) and stir until it reaches the desired consistency. If it’s too thin, you can try letting it cool longer, or stir in a few more chocolate chips and let them melt before stirring again.
- Can I use a different type of chocolate for the ganache?
- Absolutely! While semi-sweet is recommended, you can experiment with dark chocolate for a more intense flavor or milk chocolate for a sweeter, creamier ganache. Adjust the sweetness of the overall ice cream if you make significant changes.
- Why is my no-churn ice cream not freezing properly?
- The most common reasons are not whipping the cream to stiff peaks or insufficient freezing time. Ensure your heavy cream is very cold before whipping, and that your freezer is set to a cold enough temperature (typically 0°F / -18°C or below).
Explore More No-Churn Delights!
If you’ve fallen in love with the ease and deliciousness of this no-churn chocolate Oreo ice cream, you’re in for a treat! The world of no-churn desserts is vast and exciting. Be sure to check out some of my other favorite no-churn creations:
- Celebrate any occasion with our festive No-Churn Birthday Cake Ice Cream.
- For a plant-based indulgence, don’t miss our rich and creamy Vegan Chocolate No-Churn Ice Cream.
- Experience a unique flavor profile with our vibrant Matcha No-Churn Ice Cream.
And for even more inspiration, I’ve curated a comprehensive round-up of 25 exciting no-churn flavors – there’s truly something for everyone!

No Churn Chocolate Oreo Ice Cream
Rated 5 stars from 7 reviews
- Author: Katherine | Love In My Oven
- Total Time: 20 minutes
- Yield: 1 pint
Description
This no-churn chocolate Oreo ice cream is creamy, rich, and full of Oreo flavor! If you’re an Oreo fan, then this chocolate no-churn Oreo ice cream is definitely for you!
Ingredients
- 2 1/4 cups whipping cream, divided
- 1/2 cup semi-sweet chocolate chips
- 1 can (300mL) sweetened condensed milk
- 1/2 cup cocoa powder
- 22 Oreo cookies, divided
Instructions
- Make the chocolate ganache. In a small saucepan on the stove, or in the microwave, warm 1/4 cup of the cream until hot, but not boiling. Place the chocolate chips in a small bowl, then pour the hot cream over the chocolate. Allow it to sit for 1 full minute before stirring the mixture until smooth and creamy. Set aside to cool slightly.
- Pour the can of sweetened condensed milk into a large mixing bowl, then use a small whisk to combine the cocoa powder with the condensed milk, whisking until fully incorporated and smooth. Set aside.
- Crush the cookies. Using a food processor, crush 10 of the cookies into fairly fine crumbs. You can also place the cookies in a resealable bag and crush them using a rolling pin. Chop the the remaining 10 cookies into larger pieces. Set aside both crumbs and chunks.
- In the bowl of a stand mixer fitted with the whisk attachment, or using a handheld electric mixer, whip the remaining whipping cream on high until stiff peaks begin to form, about 3 minutes. Pour the chocolate condensed milk mixture into the whipped cream, along with the crushed AND chopped cookies. Use a spatula to combine everything, gently folding it all together until just incorporated.
- Layer the ice cream into a freezer-safe container or loaf pan, alternating the layers with spoonfuls of the prepared chocolate ganache. Give the ganache a bit of a swirl with a knife or skewer for a marbled effect. Top off the ice cream with any remaining Oreo cookies (chopped or whole). Place the mixture in the freezer for 5-6 hours, or until firm, before scooping and serving.
Leftover ice cream can be stored in the freezer for up to 2 months, tightly covered.
- Prep Time: 15 minutes
- Category: Ice Cream
- Method: No Churn
- Cuisine: American