
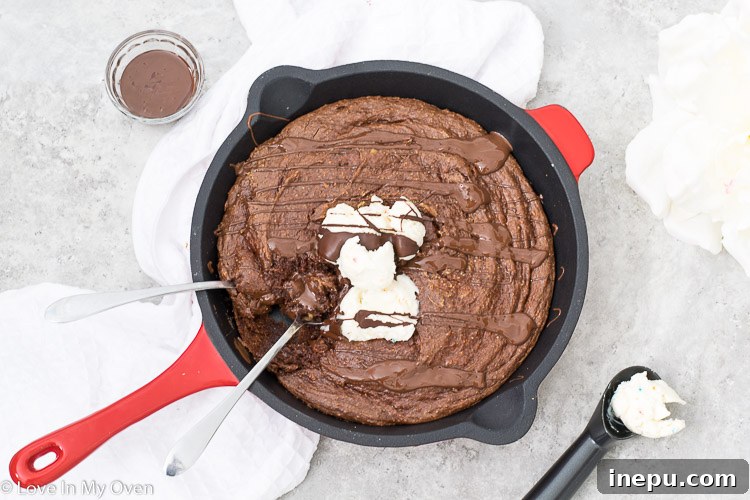
Imagine a warm, gooey, and intensely chocolatey brownie, fresh from the oven, with a delicate crust and a melt-in-your-mouth interior. Now, imagine it’s also **gluten-free**, packed with wholesome ingredients, and requires **zero refined sugars**. Best of all? It’s ready to devour in just **15 minutes**! This isn’t a dream; it’s our ultimate **Gluten-Free Skillet Brownie** recipe, designed for those urgent chocolate cravings that also demand a healthier twist. Forget complicated baking processes and long waits – this one-bowl wonder is almost too good to be true, promising decadent satisfaction with minimal effort.
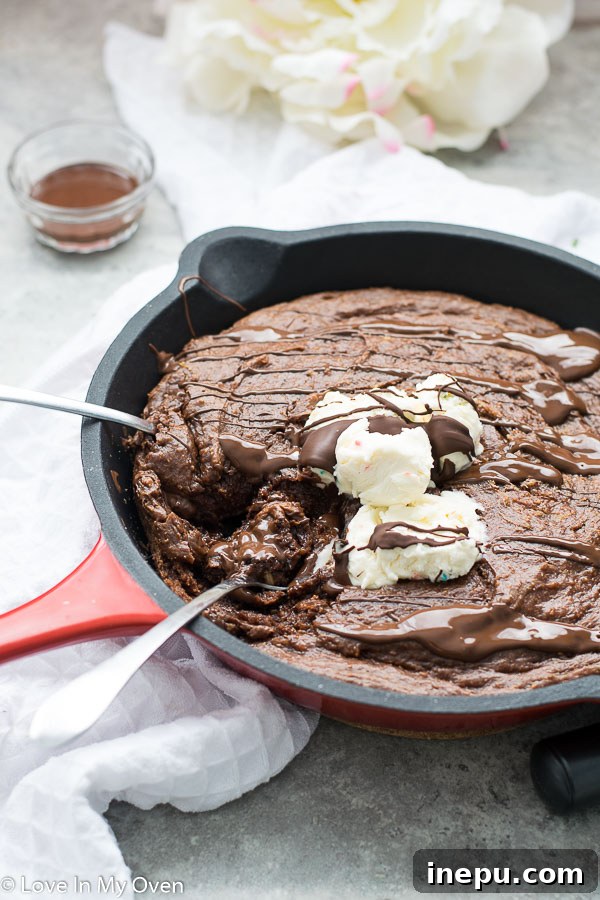
There’s nothing quite like that irresistible craving for chocolate, especially when you desire something warm, incredibly gooey, and deeply satisfying. But what if you also want a treat that aligns with your healthier eating goals and doesn’t require a marathon baking session? That’s precisely why this **fudgy, rich, and delightfully decadent skillet brownie** was born. It’s a true masterpiece, delivering intense chocolate flavor and the perfect texture, all while being remarkably simple to prepare. It’s the ideal solution for anyone seeking a quick, healthier indulgence without compromising on taste or satisfaction.
Why These Skillet Brownies Are Your Healthier Indulgence
Beyond being naturally **gluten-free**, this brownie recipe champions “clean” eating principles, making it a truly guilt-free pleasure. It redefines what a dessert can be by packing in nutritional benefits typically unheard of in traditional brownie recipes. Here’s what makes this particular **skillet brownie** a standout choice for your healthy lifestyle:
- Protein-Packed Goodness: Thanks to the inclusion of **creamy peanut butter** (or almond butter, if you prefer), each serving delivers a valuable boost of protein. This not only contributes to satiety but also helps stabilize blood sugar levels, preventing the energy crash often associated with sugary treats.
- Zero Refined Sugars: Bid farewell to processed white sugar! This recipe relies solely on natural sweeteners like **honey** and the inherent sweetness of **ripe bananas**. This approach offers a gentler impact on your blood sugar and introduces beneficial nutrients that refined sugars lack.
- Wholesome Fats: Coconut oil provides healthy medium-chain triglycerides (MCTs), which are easily digestible and provide a quick source of energy. It also contributes to the brownie’s incredible texture.
- Nutrient-Rich Ingredients: With ingredients like banana and nut butter, you’re not just getting flavor; you’re also incorporating vitamins, minerals, and dietary fiber into your dessert. You could almost justify eating this for breakfast!
- Espresso for Enhanced Flavor: The optional addition of instant espresso powder isn’t for a caffeine kick, but rather a secret weapon to **intensify the chocolate flavor**, making it richer and more profound without adding any coffee taste.
This isn’t just a brownie; it’s a mindful indulgence that nourishes your body while satisfying your deepest chocolate cravings. It truly embodies the best of both worlds – delicious and genuinely good for you.
Stay Connected & Get More Delicious Recipes!
For daily baking inspiration, behind-the-scenes glimpses, and the latest recipe updates, be sure to follow us on Instagram!
Follow on Instagram
Essential Ingredients for Your Healthy Skillet Brownie
Crafting this incredible **healthy skillet brownie** starts with selecting the finest, most wholesome ingredients. Each component plays a vital role in achieving that perfect fudgy texture and rich flavor. Here’s a detailed look at what you’ll need and why each ingredient is important:
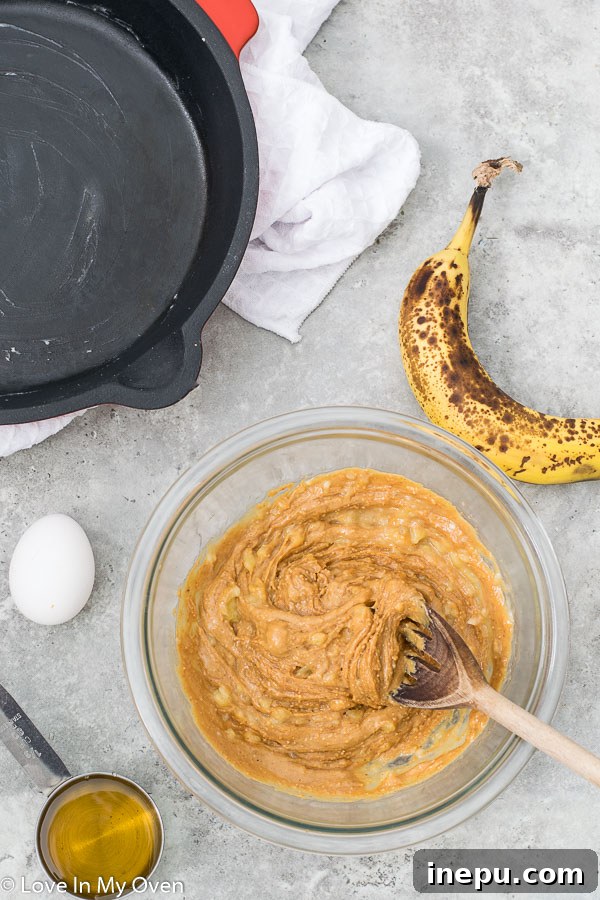
- 1 ripe banana: The riper your banana, the better! Browned, spotty bananas are ideal as they offer maximum natural sweetness and contribute significantly to the gooey, moist texture of the brownies without any discernible banana flavor.
- 1 cup creamy peanut butter: We strongly recommend using natural, unsweetened creamy peanut butter. Look for brands that list only peanuts (and maybe a touch of salt) in their ingredients. Avoid those with added sugars or hydrogenated oils, as they can alter the flavor and texture of your brownies. Almond butter is an excellent alternative if you prefer.
- 1/3 cup honey: As our primary unrefined sweetener, honey provides a lovely depth of flavor and moisture. Its natural stickiness also helps bind the ingredients together, contributing to the brownies’ fudginess. Maple syrup can be used as a vegan alternative.
- 1 egg: The egg acts as a crucial binder, providing structure and richness to the brownies. For a vegan option, a flax egg (1 tablespoon ground flaxseed mixed with 3 tablespoons water, allowed to sit for 5 minutes) works wonderfully.
- 1 tbsp coconut oil, melted: Coconut oil adds a subtle tropical note and helps create a tender crumb. Ensure it’s melted before adding to the batter for easy incorporation. If coconut oil isn’t your preference or isn’t on hand, avocado oil or melted butter are suitable substitutes.
- 2 tsp pure vanilla extract: A staple in baking, vanilla extract enhances the chocolate flavor and adds a warm, aromatic depth to the brownies. Don’t skip this!
- 1/4 cup cocoa powder: For that intense chocolate experience, high-quality unsweetened cocoa powder is key. It provides the signature rich chocolate flavor without any added sugars.
- 2 tsp baking powder: This leavening agent helps the brownies achieve a slight lift and a tender, cake-like consistency while retaining their fudginess.
- 1/2 tsp instant espresso powder (optional): This secret ingredient doesn’t make your brownies taste like coffee; instead, it magically deepens and intensifies the chocolate flavor, making it even more pronounced and luxurious. It’s highly recommended but entirely optional if you don’t have it.
Each ingredient is carefully chosen to contribute to the overall balance of flavor, texture, and nutritional value, ensuring every bite is pure bliss.
Whipping Up Your Gluten-Free Skillet Brownie: A Step-by-Step Guide
One of the many joys of this recipe is its simplicity – it’s a true one-bowl wonder, minimizing cleanup and maximizing your enjoyment! Follow these straightforward steps to create your perfect **gluten-free skillet brownie**:
- Prepare Your Pan and Oven: Begin by preheating your oven to 350°F (175°C). While the oven heats, lightly grease a 10-inch oven-safe skillet (a cast-iron skillet works wonderfully here) with a thin layer of coconut oil or a non-stick cooking spray. This ensures your brownie releases easily and gets those delicious crispy edges.
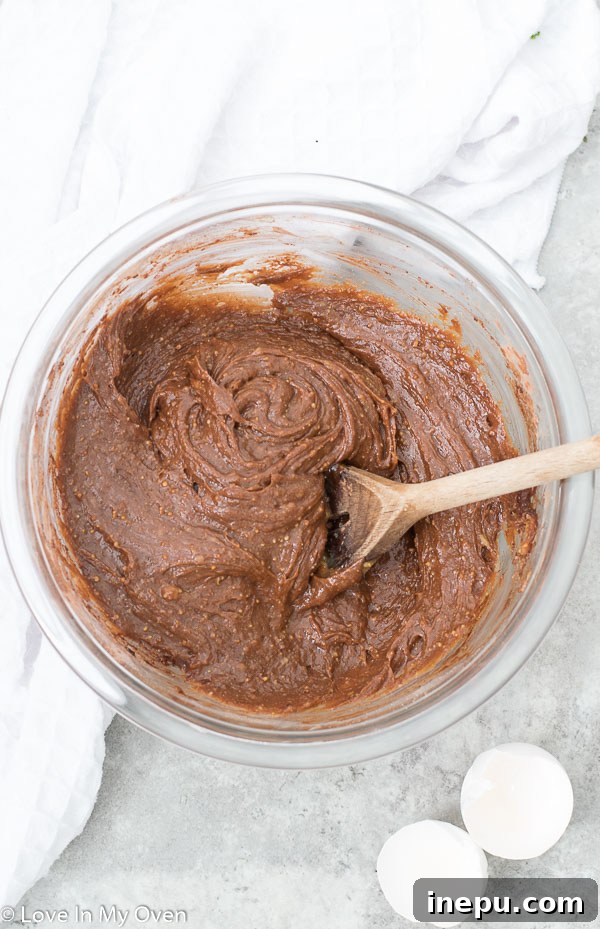
- Combine Wet Ingredients: In a large mixing bowl, thoroughly mash the ripe banana until it’s completely smooth and no large chunks remain. The smoother the banana, the better the final texture of your brownie. Next, add the creamy peanut butter and mix vigorously with a large wooden spoon or spatula until it’s fully combined with the mashed banana. Then, incorporate the honey, egg, melted coconut oil, and pure vanilla extract, stirring until all the wet ingredients are well blended and create a smooth, unified mixture.
- Add Dry Ingredients: Now, it’s time to introduce the flavor powerhouses. Add the cocoa powder, baking powder, and the optional instant espresso powder to your wet mixture. Stir diligently until all the dry ingredients are fully incorporated and there are no streaks of unmixed powder. The resulting batter will be noticeably thick and dense – this is exactly what you want for a rich, fudgy brownie!
- Bake to Perfection: Carefully spread the thick brownie batter evenly into your prepared skillet. Use the back of your spoon or a spatula to ensure it reaches all edges and has a uniform thickness. Place the skillet in the preheated oven and bake for 12-13 minutes.
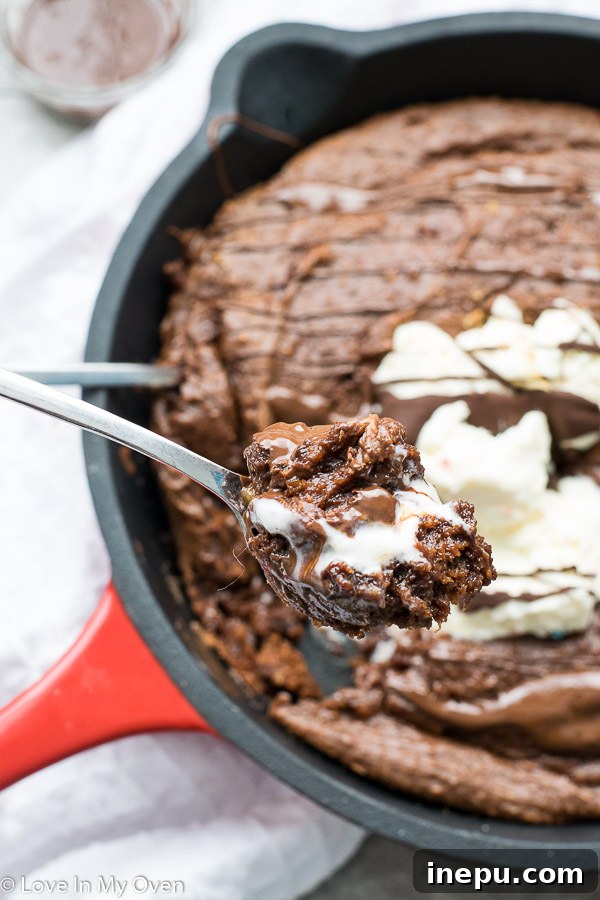
- Check for Doneness: After 12 minutes, gently insert a toothpick into the center of the skillet brownie. For a truly **gooey brownie**, it’s perfectly fine if the toothpick comes out with a few moist crumbs attached. If you prefer a firmer brownie, you can bake for an additional 1-2 minutes, but be careful not to overbake, as this can lead to a dry texture.
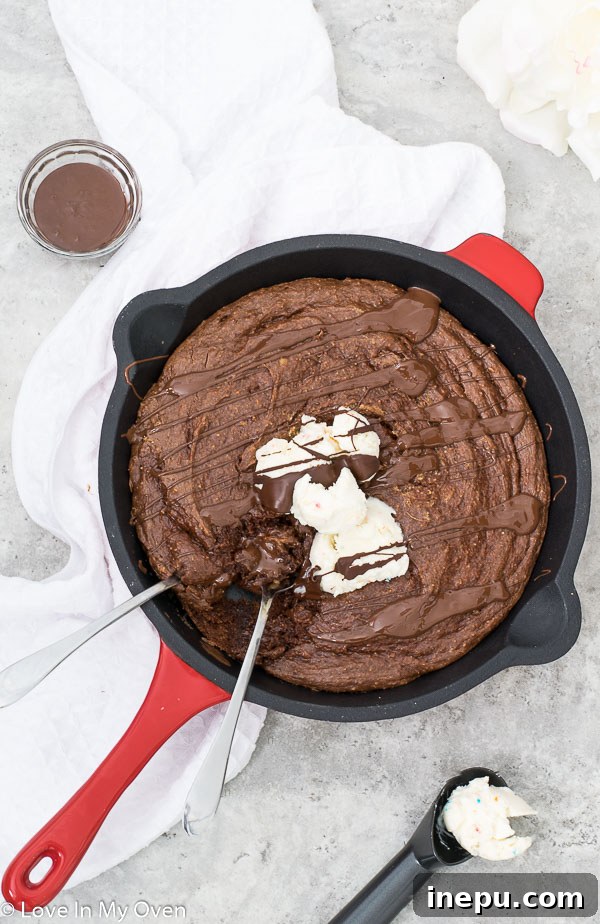
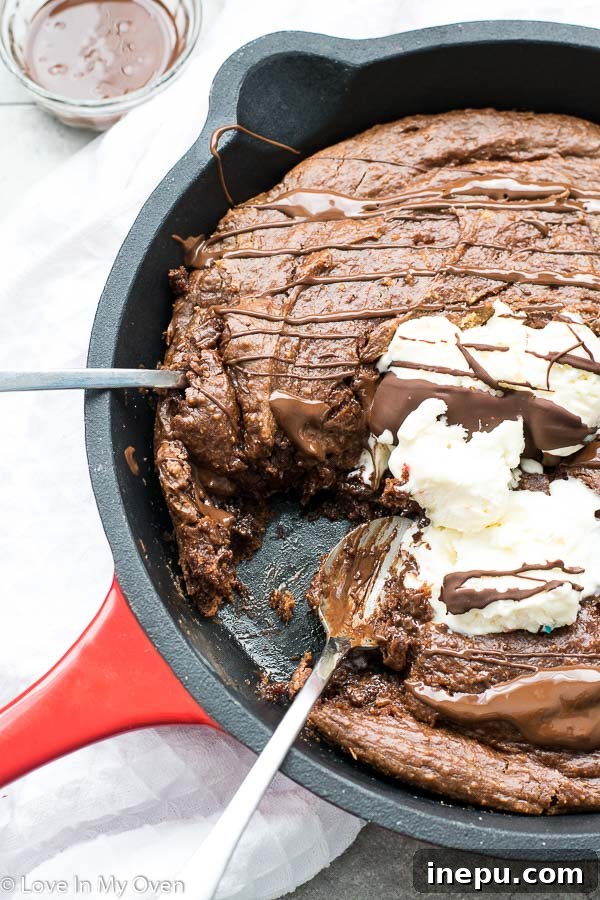
- Serve Immediately: Once baked to your desired level of gooeyness, remove the skillet from the oven. For an unforgettable dessert experience, top your warm skillet brownie immediately with a scoop of your favorite vanilla ice cream and a luscious drizzle of salted caramel sauce. Serve it directly from the skillet to enjoy that irresistible warmth and fresh-baked aroma!
This simple process guarantees a delicious, healthy, and wonderfully fudgy **gluten-free skillet brownie** every time. Enjoy the magic of quick, wholesome baking!
Customizing Your Skillet Brownie: Tips and Variations
This **gluten-free skillet brownie** recipe is fantastic as is, but it also serves as a versatile base for endless customizations. Whether you’re looking to adapt it for dietary needs or simply want to experiment with different flavors and textures, these tips and variations will help you make it your own:
- Nut Butter Swaps: While peanut butter lends a classic flavor, feel free to substitute it with other creamy nut butters. **Almond butter** works exceptionally well and offers a slightly milder, richer taste. If you’re adventurous, try cashew butter. For those with nut allergies, sunflower seed butter (SunButter) can be a great option, but be aware that it might react with baking powder to create a green hue, which is harmless but can be surprising!
- Sweetener Alternatives: If you don’t have honey on hand or prefer a different natural sweetener, **maple syrup** is an excellent 1:1 substitute. It will contribute a slightly different, but equally delicious, flavor profile.
- Make It Vegan: To transform this into a fully vegan delight, simply swap the regular egg for a **flax egg**. To make a flax egg, combine 1 tablespoon of ground flaxseed meal with 3 tablespoons of water, stir, and let it sit for about 5 minutes until it thickens into a gel-like consistency.
- Amp Up the Chocolate: For true chocolate aficionados, consider stirring in 1/4 to 1/2 cup of your favorite **chocolate chips** (dairy-free for vegan option) into the batter before spreading it into the skillet. They will melt into gooey pockets of chocolatey bliss.
- Nutty Add-Ins: Add some crunch and extra flavor by folding in 1/4 cup of chopped nuts like walnuts, pecans, or almonds into the batter.
- Dried Fruit Infusion: For a hint of fruitiness, try adding a small handful of chopped dried cherries, cranberries, or raisins.
- Spice It Up: A pinch of cinnamon or a tiny dash of cayenne pepper can beautifully complement the chocolate flavor, adding warmth and a subtle kick.
- Perfecting the Gooeyness: For an exceptionally gooey interior, slightly undercook the brownie by about a minute or two. The center will still be wonderfully soft and fudgy even after cooling. We found 12-13 minutes to be the sweet spot for a perfect balance of fudgy and set.
Don’t be afraid to get creative and experiment with these variations. The beauty of a skillet brownie is its forgiving nature and adaptability!
Serving Suggestions and Storage Tips
This **gluten-free skillet brownie** is a showstopper on its own, but its versatility truly shines with the right accompaniments and proper storage. Here are some ideas to elevate your brownie experience and ensure its freshness:
Serving Suggestions:
- Classic Ice Cream Pairing: A warm slice of skillet brownie topped with a generous scoop of vanilla bean ice cream is a timeless combination. The contrast between the warm brownie and cold ice cream is simply divine. Consider adding a drizzle of homemade salted caramel sauce for an extra layer of decadence.
- Light & Creamy: For a lighter option, serve with a dollop of coconut whipped cream or freshly whipped dairy cream. It adds a delicate richness without overpowering the chocolate.
- Fresh Fruit Medley: Brighten up your brownie with fresh berries like raspberries, strawberries, or blueberries. Their tartness provides a wonderful counterpoint to the rich chocolate.
- Nutty Crunch: A sprinkle of toasted chopped nuts (pecans, walnuts, or almonds) adds a delightful crunch and extra depth of flavor.
- Coffee Companion: Enjoy a slice with a hot cup of coffee, espresso, or a glass of cold milk for the ultimate cozy treat.
Storage Tips:
To keep your **skillet brownie** fresh and delicious, follow these simple storage guidelines:
- Room Temperature: Once the brownie has completely cooled, you can remove it from the skillet (if you don’t plan to serve the entire thing directly from the pan) and place it in an airtight container. It will stay fresh at room temperature for 1-2 days. This is perfect for quick snacking!
- Refrigeration: For longer storage, especially in warmer climates, store the brownie in an airtight container in the refrigerator for up to 5 days. Chilled brownies can be enjoyed cold or gently reheated.
- Freezing for Later: These brownies freeze beautifully! Once completely cooled, cut them into individual portions. Wrap each portion tightly in plastic wrap, then place them in a freezer-safe bag or container. They can be frozen for up to 2-3 months. Thaw individual brownies at room temperature or gently warm them in the microwave for a quick treat.
- Reheating: To reheat, place a slice in the microwave for 15-30 seconds until warm and gooey again. You can also warm it in a preheated oven at 300°F (150°C) for a few minutes until heated through.
With these serving and storage tips, you can enjoy your delicious **gluten-free skillet brownie** whenever the craving strikes!
Frequently Asked Questions (FAQs)
We know you might have a few questions about making the perfect **gluten-free skillet brownie**. Here are answers to some common inquiries:
- Q: Can I use different types of flour?
A: This recipe is specifically designed to be gluten-free and flourless, relying on nut butter and banana for structure. Substituting with traditional wheat flour or other gluten-free flour blends would significantly alter the texture and require substantial adjustments to other ingredients. We recommend sticking to the original recipe for best results. - Q: How do I know if my banana is ripe enough?
A: The ideal banana for this recipe will have many brown spots on its peel. It should be soft to the touch and easily mashable. Underripe bananas won’t provide enough sweetness or contribute to the desired moist texture. - Q: Is the espresso powder really necessary?
A: No, it’s completely optional! However, it’s a fantastic secret ingredient that enhances the chocolate flavor without making the brownies taste like coffee. If you don’t have it, your brownies will still be delicious, just with a slightly less intense chocolate profile. - Q: Can I make this in a regular baking pan instead of a skillet?
A: Yes, you can. A round or square baking pan of similar volume (e.g., an 8×8 inch square pan) can be used. Adjust baking time as needed; a square pan might require a few extra minutes of baking compared to a skillet due to different heat distribution. Always perform the toothpick test for doneness. - Q: My brownie turned out a bit dry. What went wrong?
A: The most common reason for dry brownies is overbaking. Keep a close eye on the baking time and remember that for a gooey brownie, it’s okay for the toothpick to come out with moist crumbs. Oven temperatures can vary, so your oven might run hotter than others. - Q: Can I add chocolate chips to this recipe?
A: Absolutely! Stir in about 1/4 to 1/2 cup of your favorite chocolate chips (dairy-free if maintaining a vegan diet) into the batter before baking for an extra chocolatey treat.
More Gluten-Free Delights to Explore
If you’ve fallen in love with the ease and deliciousness of this **gluten-free skillet brownie**, you’re in for a treat! Our blog is filled with a variety of other **gluten-free and healthier dessert recipes** that don’t compromise on flavor. Dive into these irresistible options:
- Gluten-Free Chocolate Coconut Tart: A tropical twist on a classic dessert, rich in chocolate and coconut flavor.
- Grain-Free Chocolate Chia Pudding Pie: A surprisingly decadent and healthy pie, perfect for make-ahead desserts.
- Chocolate Nice Cream Pie: A refreshing, dairy-free, and naturally sweetened chocolate ice cream pie.
- Gluten-Free Banana Cake: A moist and flavorful cake that beautifully utilizes ripe bananas.
Explore these recipes and expand your repertoire of wholesome, delicious, and **gluten-free treats**!
Gluten-Free Skillet Brownies
Rated 4.5 out of 5 from 2 reviews
- Author: Katherine
- Total Time: 25 minutes
- Yield: 1 skillet brownie
- Diet: Gluten Free
Description
This rich, chocolatey, gluten-free brownie recipe is almost too good to be true! This healthy skillet brownie is made healthier with nut butter and zero refined sugars. This recipe is also ready to eat in 15 minutes!
Ingredients
- 1 ripe banana
- 1 cup creamy peanut butter*
- 1/3 cup honey
- 1 egg
- 1 tbsp coconut oil, melted
- 2 tsp pure vanilla extract
- 1/4 cup cocoa powder
- 2 tsp baking powder
- 1/2 tsp instant espresso powder (optional)*
Instructions
- Preheat the oven to 350 F and lightly grease a 10″ oven-safe skillet with coconut oil.
- In a large bowl, mash the banana until no large chunks remain. Add the peanut butter and combine thoroughly with a large wooden spoon. Add the honey, egg, coconut oil, and vanilla extract and stir until combined. Add the cocoa powder, baking powder, and instant espresso, if using. The batter will be very thick.
- Spread the batter evenly into the skillet, and bake for 12-13 minutes. Use a toothpick to test the center of the skillet after 12 minutes; it’s okay if it’s a little wet, if you’d like more of a gooey brownie. Top with ice cream and salted caramel sauce, and serve immediately!
Leftovers can be removed from the skillet and placed into an airtight container to keep at room temperature for 1-2 days.
Notes
- Substitute the peanut butter for almond butter if you’d like. I used natural peanut butter.
- The espresso powder is entirely optional, but I find it really brings out the chocolate flavor (I promise, it won’t taste like coffee)!
- Prep Time: 10 minutes
- Cook Time: 15 minutes
- Category: Desserts
- Method: Oven
- Cuisine: American
*Please Note: This post was originally published in 2018. While the text has been updated and a video added for your convenience, the core recipe remains the same beloved classic.