
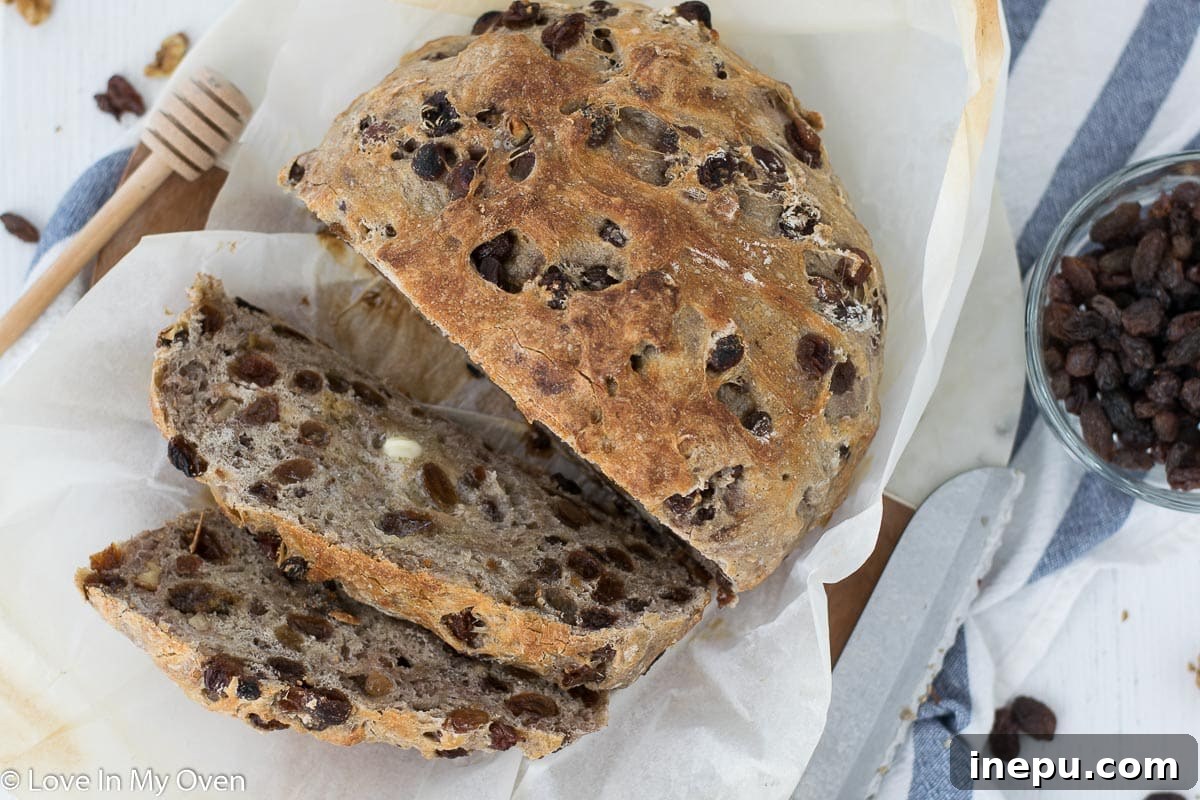
Discover the joy of baking with this incredibly simple, no-knead cinnamon raisin walnut bread. Infused with warming spices and hearty ingredients, this overnight bread is perfect for a comforting breakfast or a delightful afternoon tea snack.
Effortless No-Knead Cinnamon Raisin Walnut Bread: Your Guide to Artisan-Style Baking at Home
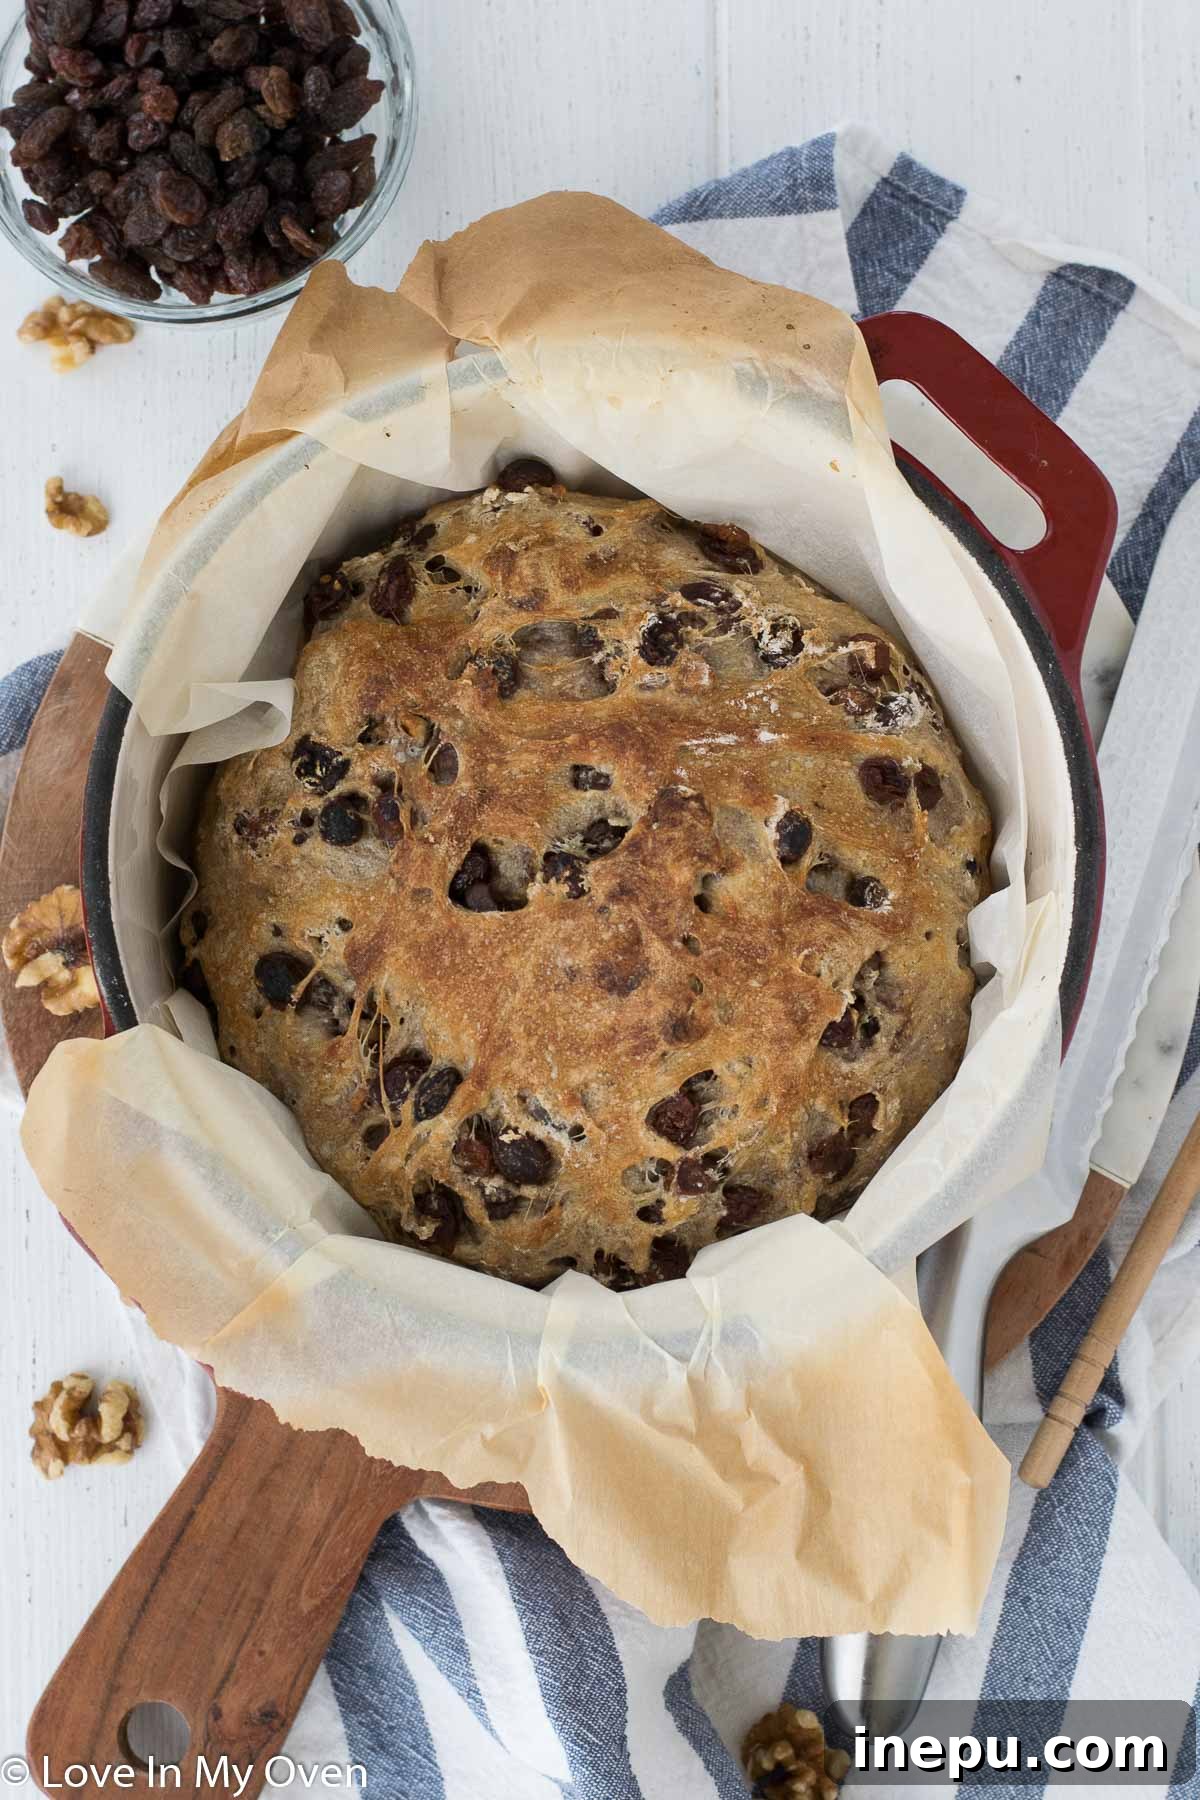
Imagine waking up to the irresistible aroma of freshly baked bread filling your kitchen, a golden-brown loaf studded with plump raisins and crunchy walnuts, all without the strenuous effort of kneading. This isn’t a dream; it’s the reality of no-knead bread, a baking method that has revolutionized home baking, making it accessible and enjoyable for everyone. Our cinnamon raisin walnut bread recipe is a shining example of this simplicity, offering a deeply flavored, beautifully textured loaf with minimal hands-on time.
For years, a simple no-knead bread has been a staple in my kitchen, a testament to its unparalleled ease and delicious results. It begins with a quick mix, then patiently rests overnight, allowing time and natural fermentation to do all the heavy lifting. The next day, a few simple folds and a hot oven transform this humble dough into a rustic, inviting loaf. It’s a truly magical process, and one that consistently delivers a warm, comforting bread perfect for any occasion.
Our classic 3-ingredient no-knead bread has quickly become a reader favorite, and for good reason. There’s something universally appealing about a slice of fresh bread, especially when it’s generously slathered with butter. This cinnamon raisin walnut variation takes that beloved simplicity and elevates it with comforting, sweet-and-savory flavors, making it an instant classic in its own right.
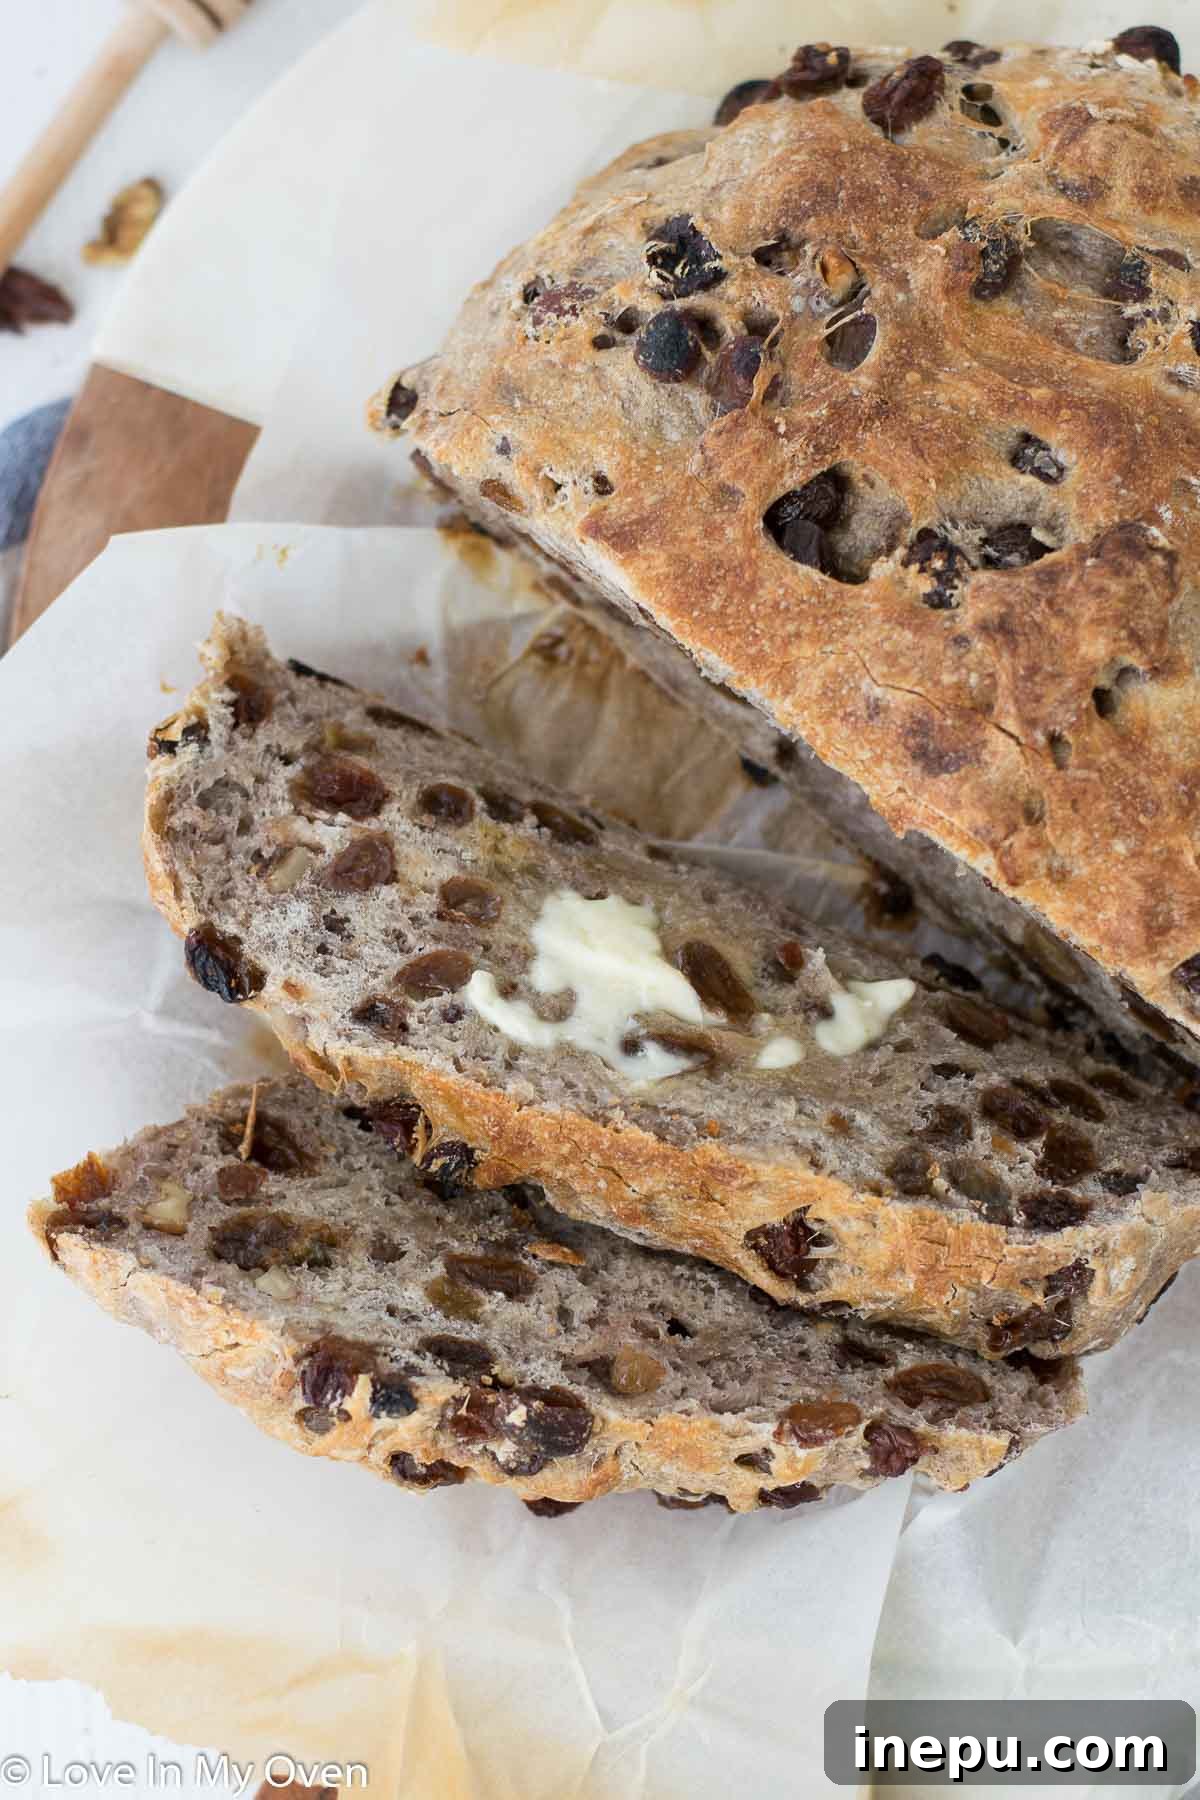
What Exactly is No-Knead Bread? Unlocking the Secret to Artisan Loaves
No-knead bread is a revolutionary baking technique that allows you to achieve bakery-quality bread with surprisingly little effort. Unlike traditional bread recipes that demand vigorous kneading to develop gluten and create structure, no-knead bread relies on a longer fermentation period. This extended rise, typically 12-18 hours, gives the gluten strands ample time to naturally align and strengthen, resulting in a beautifully airy crumb and a wonderfully chewy texture, all without you ever having to get your hands dirty with intensive kneading.
The core principle is simple: combine flour, water, yeast, and salt, then let time do the work. This method often uses a smaller amount of yeast, which works slowly over many hours to produce complex flavors and a superior texture. The long, slow rise also means the bread develops a rich, nuanced taste profile that’s often compared to artisan loaves from professional bakeries. It’s perfect for busy schedules because the prep is minimal – just a few minutes of mixing, then you walk away, letting the dough transform itself.
To achieve that signature crispy crust and perfectly tender interior, no-knead bread often benefits from being baked in a very hot environment, most commonly a lidded Dutch oven. The trapped steam inside the Dutch oven during the initial baking phase mimics a professional steam-injected oven, allowing the bread to expand beautifully and develop that irresistible crunchy crust before it turns golden brown.
Why This Cinnamon Raisin Walnut Bread Will Become Your New Favorite
This particular no-knead bread isn’t just easy; it’s an explosion of comforting flavors and textures. The warm, aromatic spice of cinnamon perfectly complements the natural sweetness of plump raisins, while crunchy walnuts add a delightful textural contrast and nutty depth. It’s a bread that feels both indulgent and wholesome, making it incredibly versatile for various meals and snacks.
Beyond its incredible taste, the sheer simplicity of this recipe makes it a winner. Imagine the satisfaction of pulling a loaf of homemade bread from your oven, knowing you invested only minutes of active preparation. It’s a beginner-friendly recipe that consistently delivers impressive results, making you feel like a seasoned baker. Whether you’re new to bread making or a seasoned pro looking for an easy, delicious recipe, this cinnamon raisin walnut loaf is designed to impress with minimal fuss.
Gathering Your Key Ingredients for the Perfect Loaf
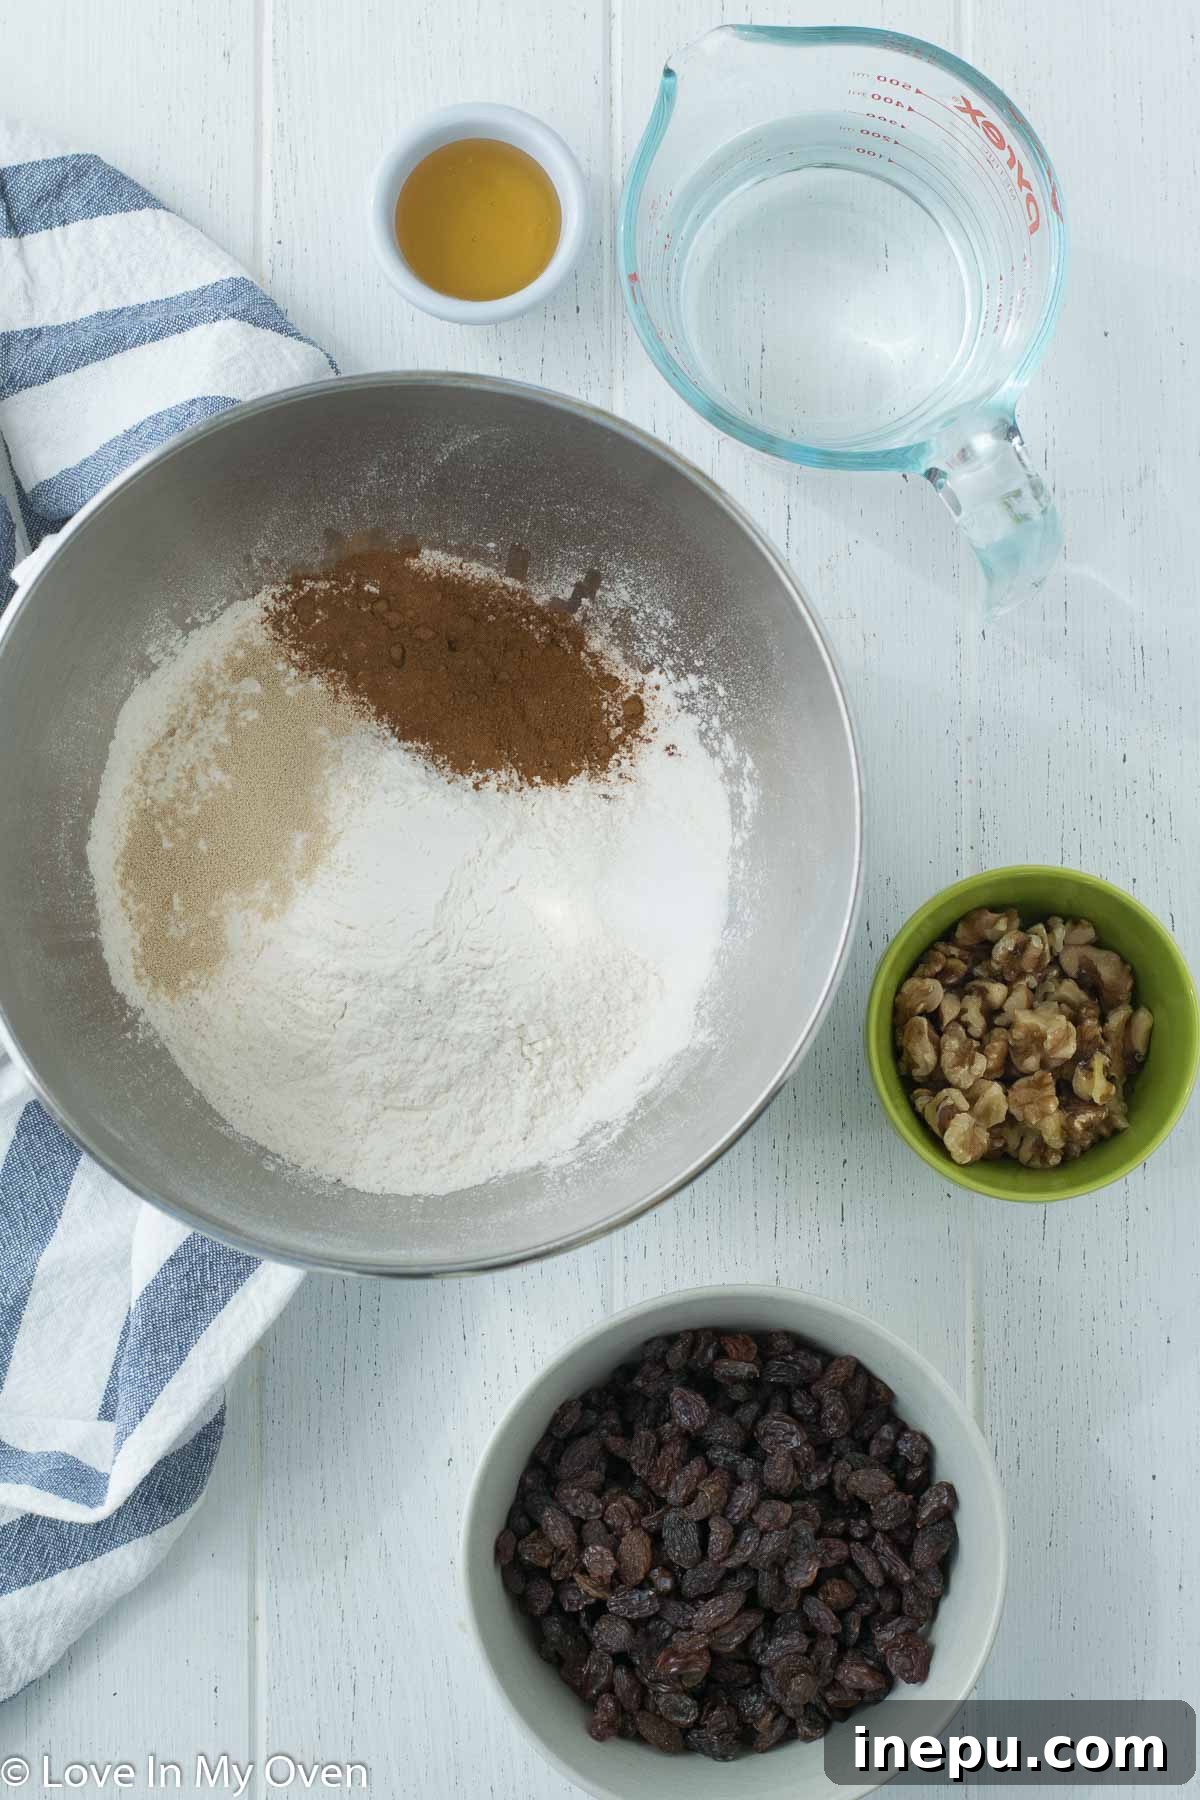
One of the beauties of this no-knead cinnamon raisin walnut bread is its reliance on readily available, wholesome ingredients. You likely have most of these staples in your pantry right now! The quality of your ingredients can subtly influence the final taste, so always aim for fresh yeast and good quality flour.
- All-purpose flour: The foundation of our bread, providing structure.
- Active dry yeast: The magic behind the rise, ensuring a light and airy texture.
- Salt: Essential for flavor balance and controlling yeast activity.
- Cinnamon: The star spice, delivering warmth and aromatic sweetness.
- Warm water: Crucial for activating the yeast; temperature is key.
- Honey: Adds a touch of natural sweetness and helps with crust browning.
- Walnuts: Provides a delightful crunch and nutty flavor.
- Raisins: Adds bursts of fruity sweetness and a chewy texture.
Ensuring your active dry yeast is fresh is paramount for success. Always check the expiration date and perform the quick “bloom” test to confirm its vitality. The warm water should be between 105-115°F (40-46°C) – too hot will kill the yeast, too cold won’t activate it effectively. A kitchen thermometer can be a helpful tool here, especially if you’re new to baking.
Your Step-by-Step Guide to Baking a No-Knead Masterpiece
Creating this delicious cinnamon raisin walnut bread is a straightforward process, primarily governed by patience during the rising times. The inactive time is substantial, so planning when you’d like to enjoy your fresh bread is helpful. For example, if you want fresh bread for breakfast, mix the dough the evening before. If it’s an afternoon snack you’re aiming for, start the dough in the morning.
Preparing the Dough: Mixing for Success
- Activate the Yeast: In a large mixing bowl, combine 1 1/2 cups of warm water with 1/2 teaspoon of active dry yeast. Stir gently to dissolve the yeast. Allow this mixture to sit undisturbed for about 5-10 minutes. You’ll observe the surface becoming foamy and slightly puffy, which is a clear indication that your yeast is alive and ready to work its magic. If no foam appears, your yeast may be inactive, and it’s best to discard the mixture and start again with fresh yeast to ensure a successful rise.
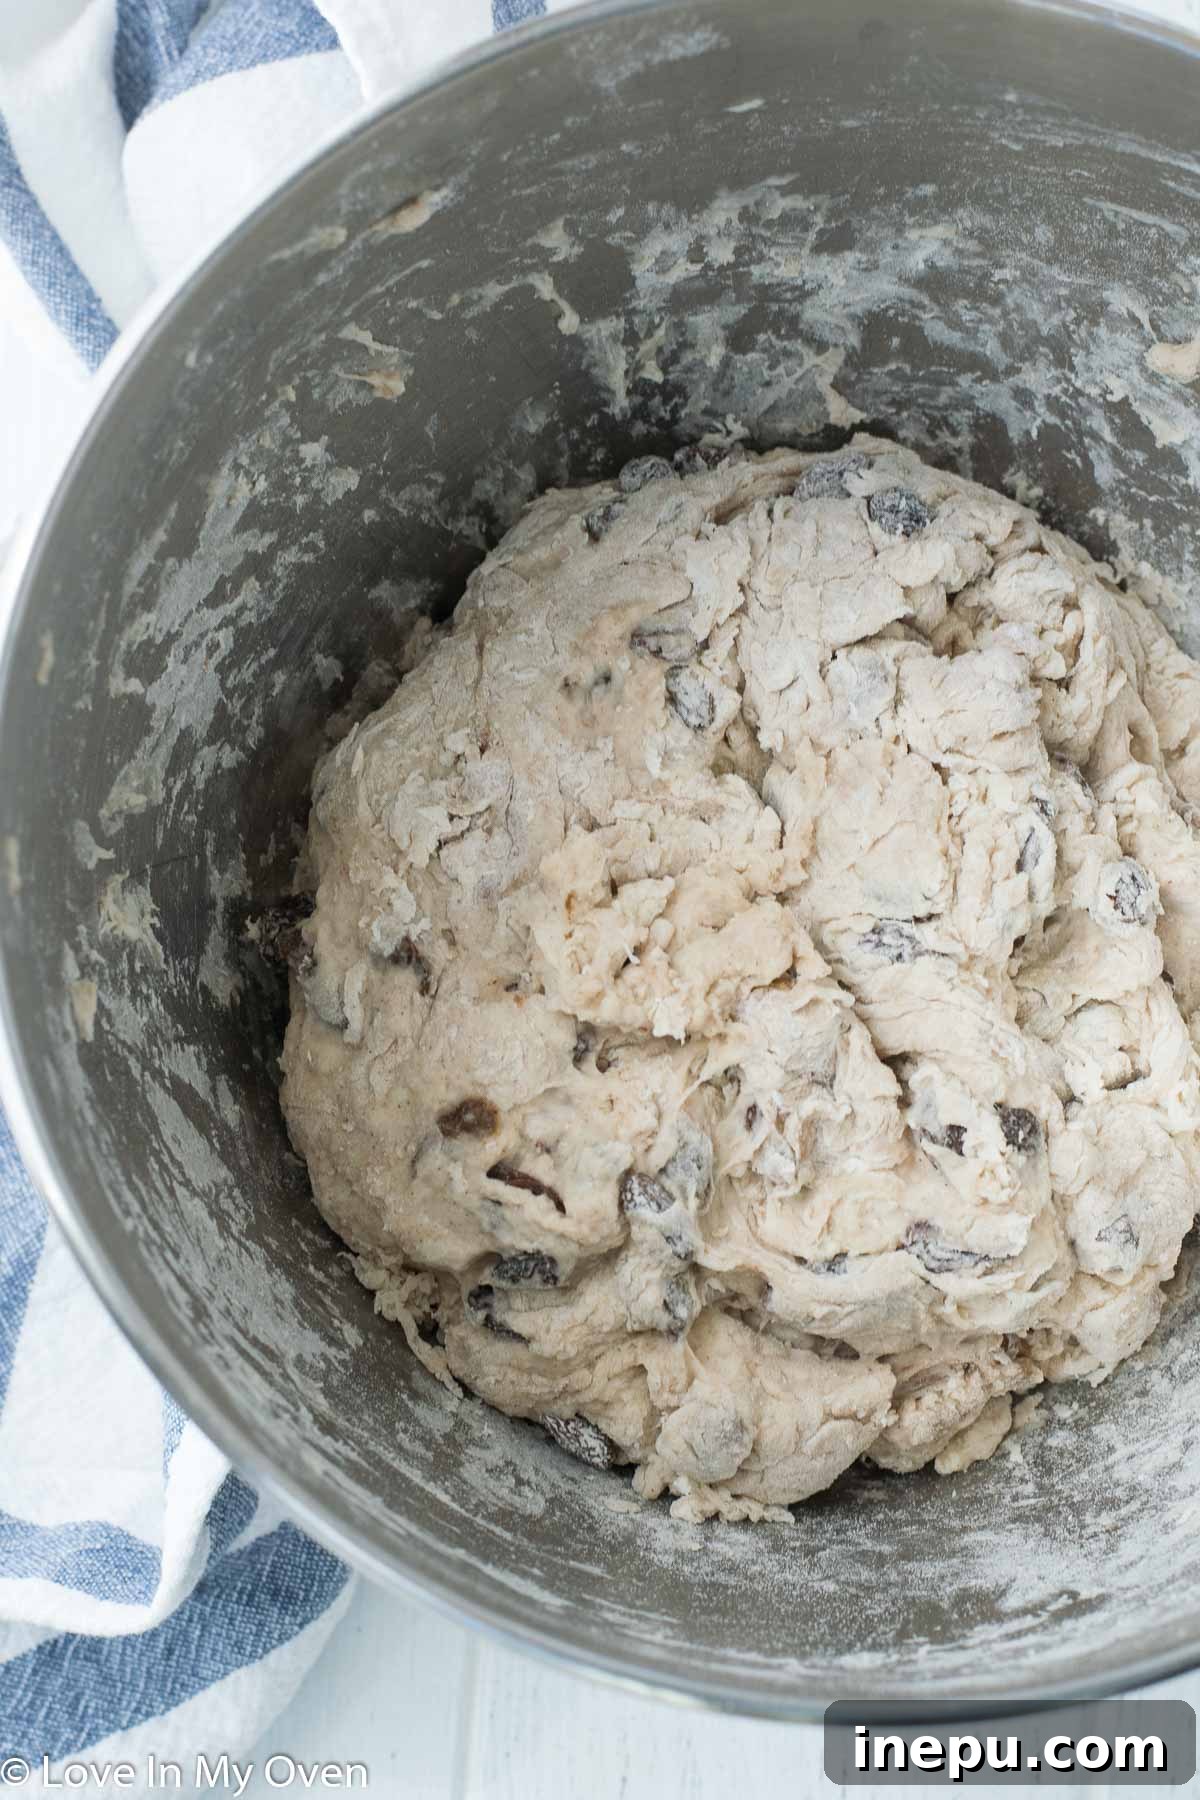
- Combine Wet & Dry Ingredients: Into the activated yeast mixture, whisk in 2 tablespoons of honey until it is thoroughly mixed and dissolved. Next, add 1 teaspoon of salt and 1 tablespoon of ground cinnamon, stirring to ensure even distribution of flavor. Gradually add 3 1/4 cups of all-purpose flour, one cup at a time, stirring with a large wooden spoon until the dough comes together. The dough will be fairly sticky, but it should form a cohesive, shaggy ball, not just a wet puddle. If it’s excessively wet, you can add a tiny bit more flour, about a scant 1/4 cup at a time, until you reach the desired consistency. Once the dough has mostly come together, gently stir in 1 1/2 cups of raisins and 1 cup of chopped walnuts, distributing them as evenly as possible throughout the dough.
- First Rise (Overnight Magic): Lightly flour your hands to prevent sticking and gently form the sticky dough into a loose ball. Lightly spray the inside of a large mixing bowl (you can use the same one you mixed the dough in after a quick wipe) with cooking spray. Place the dough ball into the greased bowl. Cover the bowl tightly with a damp kitchen towel or plastic wrap to prevent the dough from drying out. Find a warm, draft-free spot in your kitchen and let the dough rise for 12-18 hours, or until it has visibly doubled in size. The exact timing will depend on the ambient temperature of your kitchen; warmer environments will result in a faster rise.
Shaping and the Second Rise: Building Structure
- Prepare for Shaping and Second Proof: After the dough has fully doubled in size, gently punch it down to release the trapped gases. This step helps to create a finer crumb structure. Transfer the dough to a lightly floured work surface. Gently form the dough into a round loaf by carefully folding the edges underneath towards the center to create surface tension and a smooth top. Avoid overworking the dough at this stage, as it can make the bread tough. Place the shaped dough onto a piece of parchment paper. Cover it again with a damp towel and let it rest for another 1-2 hours for a second rise, also known as proofing. This allows the dough to relax and rise slightly again before baking, ensuring a lighter final product.
Baking Your Perfect Loaf: The Dutch Oven Advantage
- Preheat Your Oven and Dutch Oven: Approximately 30 minutes before your second rise is complete, place your lidded Dutch oven into your oven and preheat the oven to 450°F (230°C). Heating the Dutch oven ensures that the dough starts baking immediately when it hits the hot surface, creating an incredible burst of oven spring and a crispy crust.
- Careful Transfer and Initial Bake: Once the oven and Dutch oven are fully preheated, carefully remove the extremely hot Dutch oven from the oven. Using the parchment paper as a sling, gently lower the proofed dough, still on the parchment paper, into the hot Dutch oven. Be extremely cautious as the pot will be intensely hot. Place the lid securely back on the Dutch oven. Return the lidded Dutch oven to the oven and bake for 30 minutes. The lid traps steam released by the dough, which is crucial for preventing the crust from hardening too quickly and allowing the bread to fully expand and achieve a soft, open crumb.
- Uncovered Bake for Golden Crust: After the initial 30 minutes, carefully remove the lid from the Dutch oven. Continue to bake for an additional 10-15 minutes, or until the bread develops a beautiful, deep golden-brown crust. Keep a close eye on it during this stage to prevent over-browning.
Cooling and Serving: The Final Touch
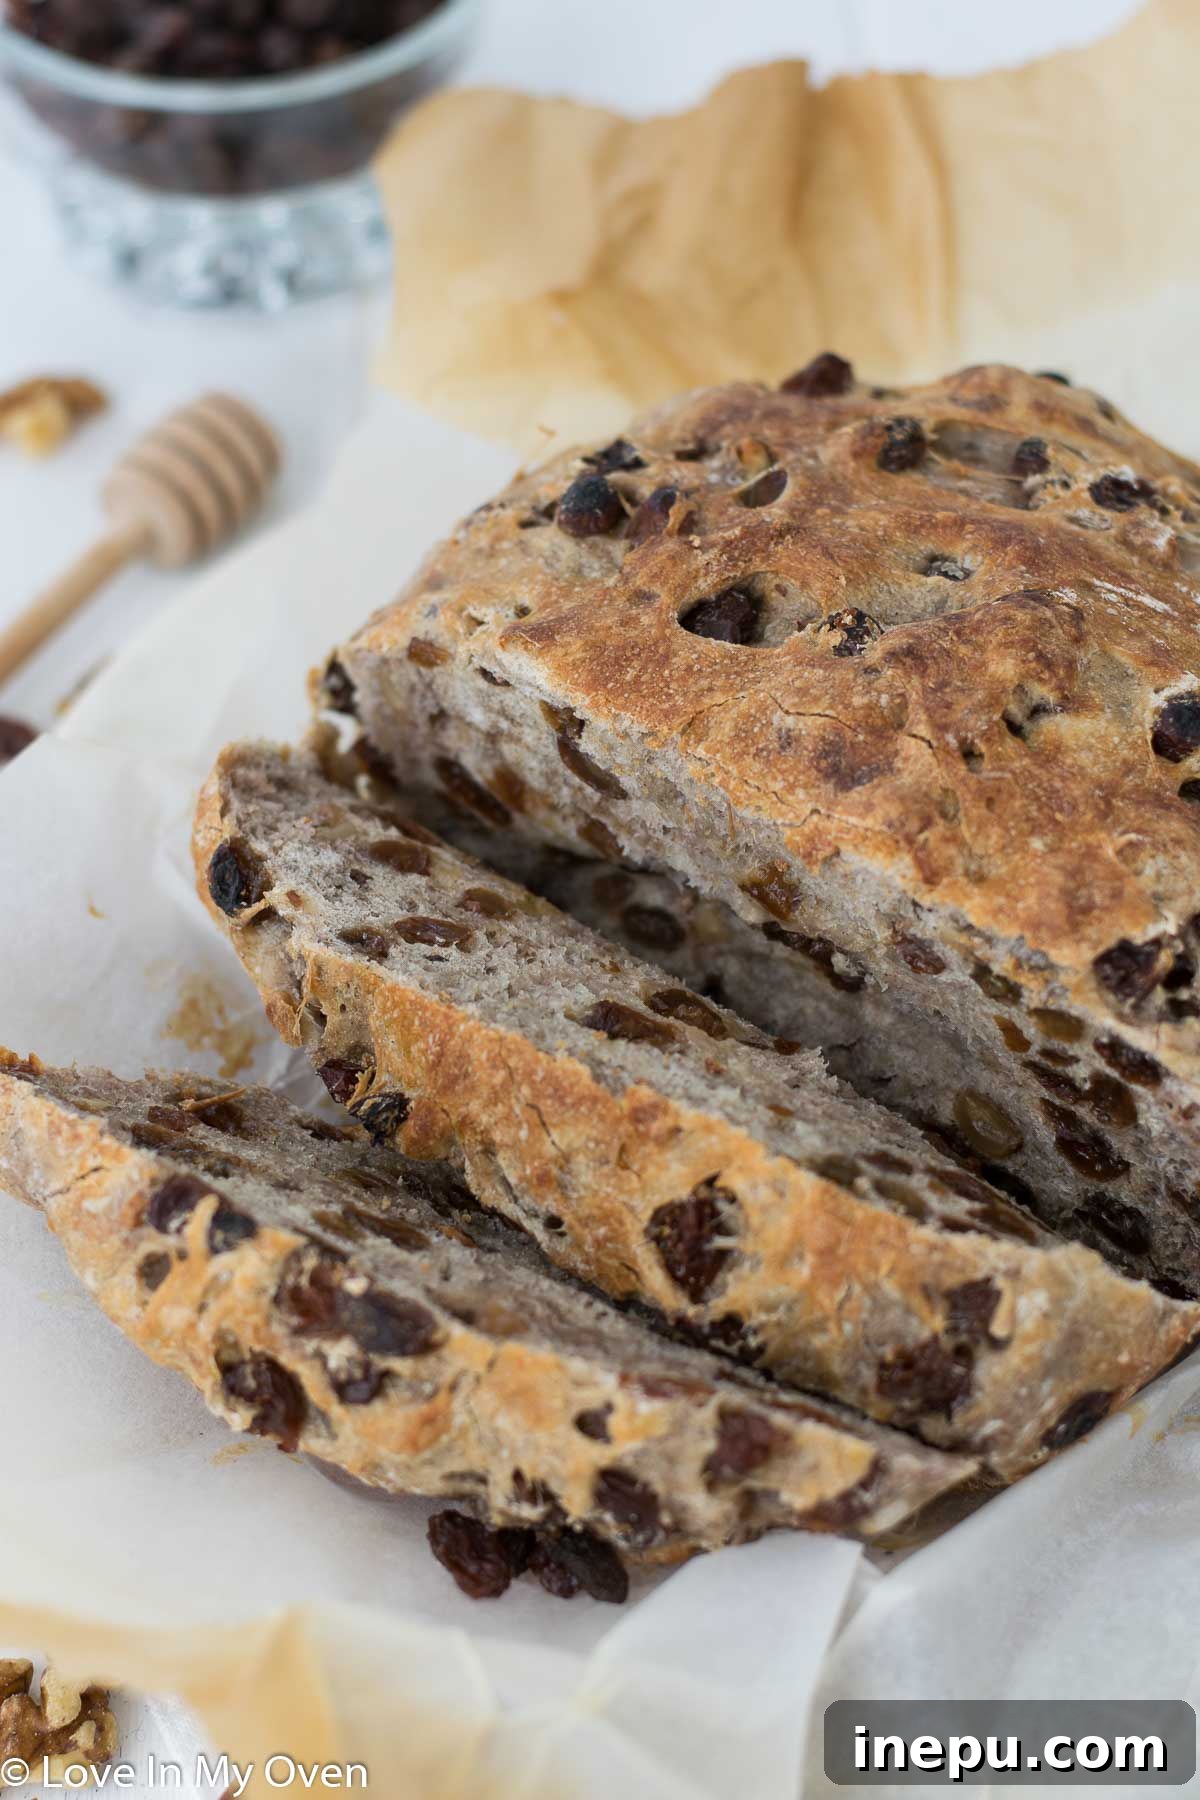
- Cooling is Crucial: Once baked to perfection, carefully remove the Dutch oven from the oven. Using the ends of the parchment paper, lift the bread out of the Dutch oven and transfer it to a wire cooling rack. This cooling period is absolutely vital; it allows the internal structure of the bread to set and the moisture to redistribute evenly. Cutting into hot bread too early can result in a gummy texture. Allow the bread to cool for at least 30 minutes, or even longer, before slicing.
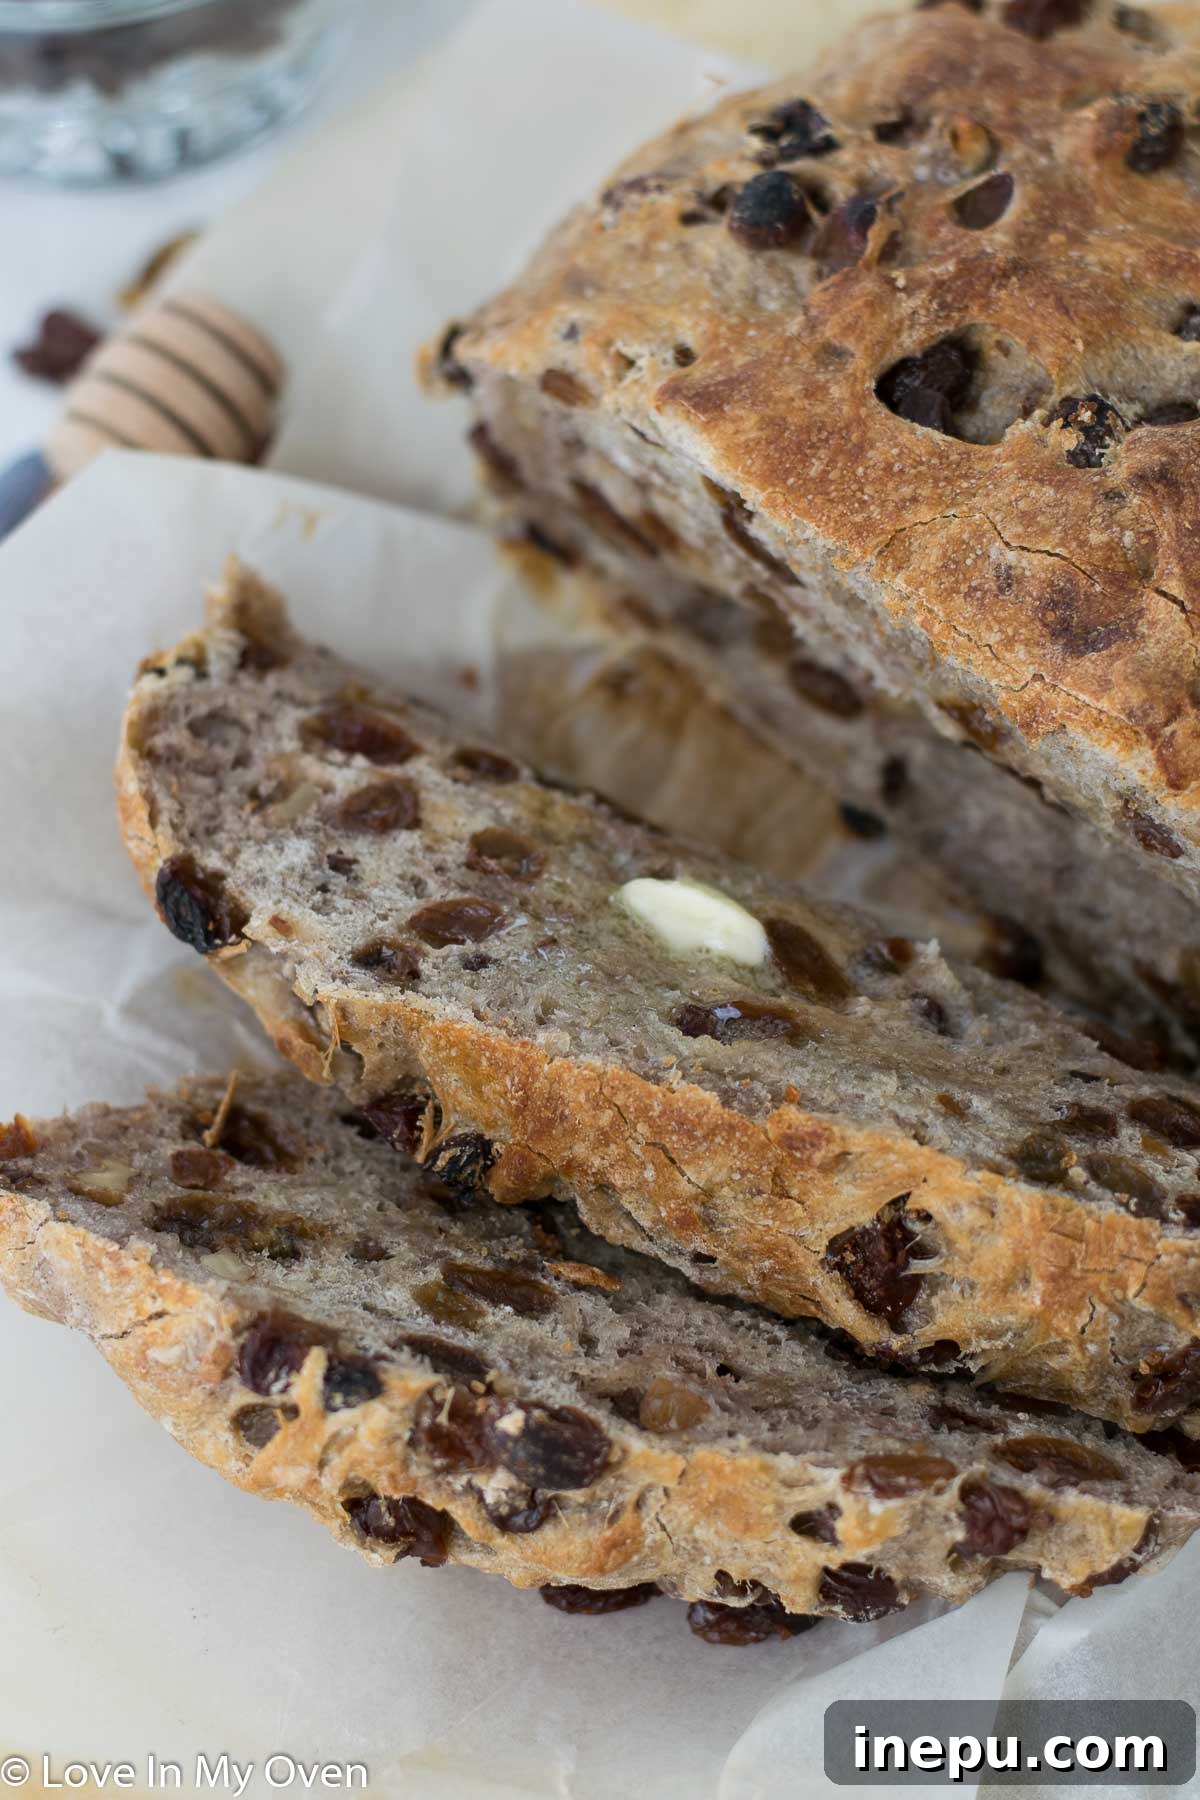
- Serve and Enjoy: Once cooled, slice your magnificent homemade cinnamon raisin walnut bread. Serve it warm with a generous slab of softened butter, a drizzle of honey, or even a sprinkle of cinnamon sugar for an extra treat. Enjoy the fruits of your patient labor!
Creative Ways to Enjoy Your Homemade Cinnamon Raisin Walnut Bread
This versatile cinnamon raisin walnut bread is wonderful in so many ways! While a simple slab of butter on a warm slice is heavenly, here are a few more ideas to elevate your experience:
- Classic with Butter and Honey: There’s nothing quite like a fresh slice with melting butter, perhaps with an extra drizzle of honey or maple syrup.
- French Toast Perfection: Transform day-old slices into the most incredible French toast. The cinnamon and raisin flavors are naturally enhanced, making for a truly memorable breakfast. You could even turn it into an overnight French toast casserole for a crowd!
- With Cream Cheese: Spread a generous layer of plain or honey-flavored cream cheese for a decadent snack.
- Peanut Butter & Banana: A nutritious and satisfying option. The sweetness of the bread pairs beautifully with creamy peanut butter and sliced bananas.
- Sweet Sandwiches: Use it for unique dessert sandwiches, perhaps with thinly sliced apples and a sprinkle of brown sugar, or even toasted with some mild cheese like brie.
- Bread Pudding: If you have any leftover slices, this bread makes an excellent foundation for a comforting bread pudding.
Is a Dutch Oven Essential for No-Knead Bread? Exploring Alternatives
While a Dutch oven is highly recommended for baking no-knead bread, it’s not an absolute must-have if you don’t own one. Its heavy construction and tight-fitting lid are ideal because they create an evenly heated, steamy environment that is crucial for achieving the characteristic chewy interior and crusty exterior of a perfect no-knead loaf.
The trapped steam during the initial bake helps the bread rise dramatically (known as “oven spring”) before the crust sets, and the radiant heat ensures uniform cooking. However, if you don’t have a Dutch oven, you can still achieve excellent results with a few clever substitutions:
- Cast Iron Skillet with an Oven-Safe Lid: A large cast iron skillet can work similarly. Simply preheat it with an oven-safe lid (like another cast iron pan or a sturdy metal bowl inverted over it) in the oven.
- Heavy-Bottomed Pot with Foil: Any other heavy, oven-safe pot (like a stainless steel pot) can be used. Ensure it’s rated for high heat and use heavy-duty aluminum foil to create a tight seal for the lid, trapping the steam inside.
- Baking Stone/Sheet with Steam: You can bake the bread directly on a preheated baking stone or a heavy baking sheet. To create steam, place a pan of hot water on the bottom rack of your oven during the initial baking phase. Just be aware that this method might yield a slightly less crusty result compared to a Dutch oven.
Regardless of your chosen vessel, always preheat it thoroughly with your oven to get the best possible “oven spring” and crust development for your delicious no-knead bread.
Storage Tips: Keeping Your Bread Fresh
While this cinnamon raisin walnut bread is best enjoyed fresh from the oven, you can easily store leftovers to savor for a few days or even longer. Proper storage will help maintain its delicious flavor and texture:
- Room Temperature: For 2-3 days, store the cooled bread in a large, sealed freezer bag or an airtight container at room temperature. Avoid refrigerating, as it can cause the bread to dry out and become stale more quickly.
- Freezing for Longer: For extended storage, slice the cooled bread and place the slices in a freezer-safe bag or airtight container, separated by parchment paper if desired, to prevent sticking. It can be frozen for up to 2 months. Thaw individual slices or the whole loaf at room temperature, or toast directly from frozen for a quick treat.
- Reheating: To refresh day-old bread, you can lightly toast slices in a toaster or pan. For a whole loaf, wrap it loosely in foil and warm it in a preheated oven at 350°F (175°C) for 10-15 minutes until warmed through and the crust is crisp again.
Variations to Customize Your Loaf
The beauty of this no-knead bread recipe lies in its adaptability. Once you master the basic technique, feel free to experiment with different additions to make it uniquely yours:
- Nutty Swaps: Replace walnuts with pecans, almonds, or even a mix of your favorite nuts. Toasting them lightly before adding can enhance their flavor.
- Fruity Alternatives: Instead of raisins, try dried cranberries, chopped dried apricots, or even dried cherries for different flavor profiles.
- Spice It Up: Enhance the cinnamon with a pinch of nutmeg, cardamom, or allspice for an even warmer, more complex spice blend. A little orange zest can also brighten the flavor.
- Chocolate Chip Delight: For a more decadent treat, fold in a cup of chocolate chips (milk, dark, or white) along with the raisins and walnuts.
- Savory Twist: Omit the honey, raisins, and cinnamon, and instead add herbs like rosemary and thyme, sun-dried tomatoes, or olives for a savory no-knead loaf.
More Easy Bread Recipes to Explore
If you loved the simplicity and deliciousness of this no-knead bread, you’ll be thrilled to discover other fantastic bread recipes from our collection that are just as easy and rewarding to bake. Expand your baking repertoire with these irresistible loaves:
- Overnight Beer Bread: A hearty and flavorful loaf with a subtle malty note, perfect for savory meals.
- Wholesome Whole Wheat Zucchini Bread: A wonderfully moist and nutritious bread, great for using up garden zucchini.
- Decadent Chocolate Coconut Banana Bread: A sweet, tropical twist on a classic, perfect for dessert or a rich snack.
No-Knead Cinnamon Raisin Walnut Bread
This incredibly simple no-knead bread combines the comforting flavors of cinnamon, sweet raisins, and crunchy walnuts, making it perfect for a cozy breakfast or a delightful snack with tea. Enjoy homemade artisan-style bread with minimal effort!
- Author: Katherine | Love In My Oven
- Prep Time: 10 minutes
- Cook Time: 40 minutes
- Total Time: 18 hours (includes rise time)
- Yield: 1 loaf
- Category: Bread
- Method: Oven Bake
- Cuisine: American
Ingredients
- 1/2 tsp active dry yeast
- 1 1/2 cups warm water (105-115°F / 40-46°C)
- 2 tbsp honey
- 1 tsp salt
- 1 tbsp ground cinnamon
- 3 1/4 cups all-purpose flour
- 1 1/2 cups raisins
- 1 cup walnuts, chopped into smaller pieces
Instructions
- In a large bowl, whisk together the warm water and active dry yeast. Let it sit for 5-10 minutes until the mixture becomes foamy and puffy, indicating the yeast is active. If no foam appears, discard and start with fresh yeast.
- Whisk in the honey until thoroughly mixed. Then, add the salt and ground cinnamon. Gradually add 3 cups of the all-purpose flour, one cup at a time, stirring with a large wooden spoon until a sticky, shaggy dough forms. If the dough is very wet, add the remaining 1/4 cup of flour gradually until it forms a cohesive ball. Stir in the raisins and chopped walnuts until evenly distributed.
- Using lightly floured hands, gently shape the dough into a ball. Lightly spray the inside of a large mixing bowl with cooking spray and place the dough inside. Cover the bowl tightly with a damp towel or plastic wrap. Let the dough rise in a warm, draft-free spot for 12-18 hours, or until it has doubled in size.
- Once doubled, gently punch down the dough to release air. Transfer it to a lightly floured surface and gently form it into a round loaf, tucking the edges underneath to create a taut surface. Place the shaped dough onto a piece of parchment paper. Cover again with a damp towel and let it rest for a second rise of 1-2 hours.
- About 30 minutes before the second rise is complete, place your Dutch oven (with its lid) into the oven and preheat the oven to 450°F (230°C).
- Carefully remove the very hot Dutch oven from the oven. Using the parchment paper as a sling, gently lower the dough (still on the parchment paper) into the Dutch oven. Place the lid back on and bake for 30 minutes.
- After 30 minutes, carefully remove the lid. Continue baking for an additional 10-15 minutes, or until the bread has a deep golden-brown crust.
- Remove the pot from the oven. Using the parchment paper, lift the bread out and transfer it to a wire cooling rack. Allow the bread to cool for at least 30 minutes before slicing. Serve warm with butter or honey.
Storage: Store leftover bread in a sealed freezer bag at room temperature for 2-3 days. For longer storage, freeze slices for up to 2 months. Reheat slices lightly before serving for best results.