
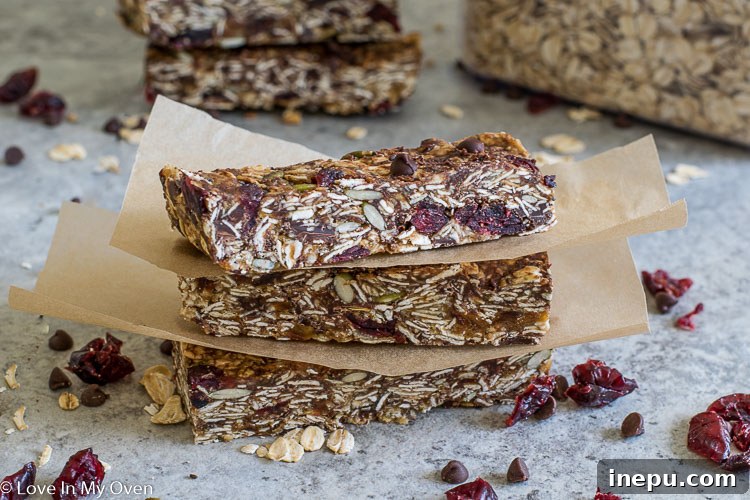
Discover the ultimate solution for healthy, hassle-free snacking with these incredible no-bake nut-free granola bars. Chewy, packed with goodness, and bursting with flavor, they are everything you love about store-bought granola bars, but without the questionable additives. Perfect for school lunches, after-school fuel, or a quick energy boost, this simple recipe will quickly become a family favorite.
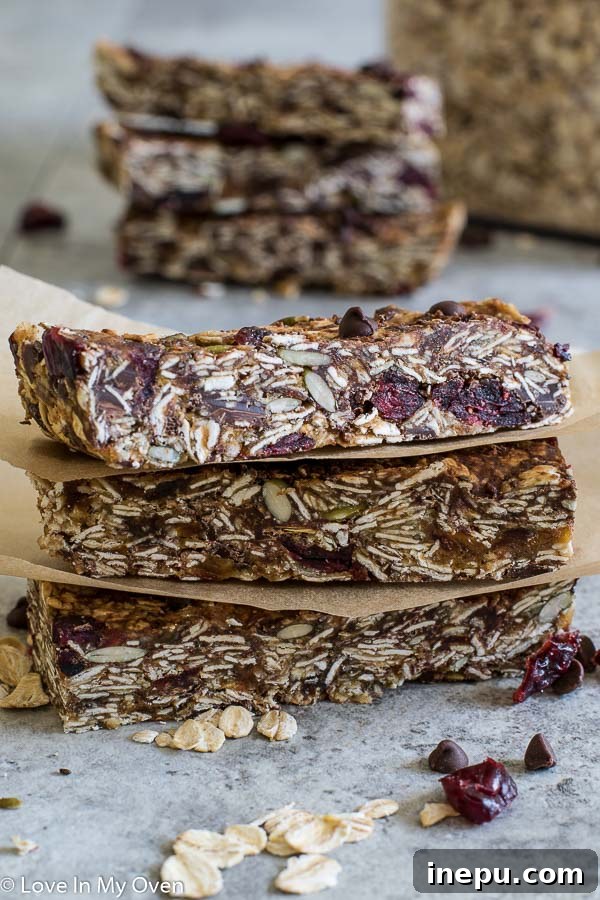
Note: This recipe was originally published in 2018. The text has been updated for clarity and SEO, but the beloved recipe remains unchanged.
Why Homemade Nut-Free Granola Bars Are a Game Changer
As parents, we’re constantly on the hunt for snacks that are not only nutritious but also safe for school environments, which often have strict nut-free policies. Navigating the world of packaged snacks can be a challenge, with many “healthy” options secretly loaded with refined sugars, artificial ingredients, or nuts. That’s why creating your own nut-free granola bars at home is such a revelation.
For years, I struggled to find a granola bar recipe that met all my criteria: truly nut-free, easy to make, healthy, and most importantly, one that wouldn’t crumble into a messy heap. Many recipes rely on nut butters for binding or excessive amounts of butter and sugar. After countless kitchen experiments and a few “granola-bar-fail-turned-granola” breakfasts, I finally perfected a recipe that checks every single box. These no-bake nut-free granola bars are a winner!
The Irresistible Qualities of These Granola Bars
What makes these homemade granola bars so exceptional? Let me count the ways:
- Completely Nut-Free: Crucial for school policies and peace of mind for families managing nut allergies. You can send these to school with confidence.
- Free of Refined Sugars: With the exception of optional chocolate chips, these bars are sweetened naturally with Medjool dates and honey, offering a healthier alternative to most store-bought options.
- No-Bake & Effortlessly Easy: Forget turning on the oven! This recipe requires minimal prep and no baking, making it perfect for busy schedules and even a fun activity for kids to help with.
- Stays Intact, No Crumbles: The unique binding agents ensure these bars hold their shape beautifully, whether in a lunchbox or a backpack. Say goodbye to messy, crumbly snacks!
- Wonderfully Chewy Texture: Unlike dry, rigid bars, these have a soft, satisfying chew that mimics your favorite commercial granola bars without the added junk.
- Freezer-Friendly: Prepare a large batch and freeze them for convenient grab-and-go snacks throughout the month. They thaw quickly and taste just as fresh.
- Delicious & Infinitely Customizable: The base recipe is fantastic on its own, but it also serves as a canvas for endless flavor variations. Add your favorite dried fruits, seeds, or spices to keep things exciting.
- Kid-Approved: The ultimate seal of approval! My kids devour these, making them a parent’s dream come true for healthy snacking.
I’m genuinely thrilled with how these bars turned out! They achieve the coveted texture of a store-bought granola bar but are free from unwanted fillers and artificial ingredients. I’m already envisioning countless ways to customize them with different mix-ins to keep snack time interesting and exciting for everyone.
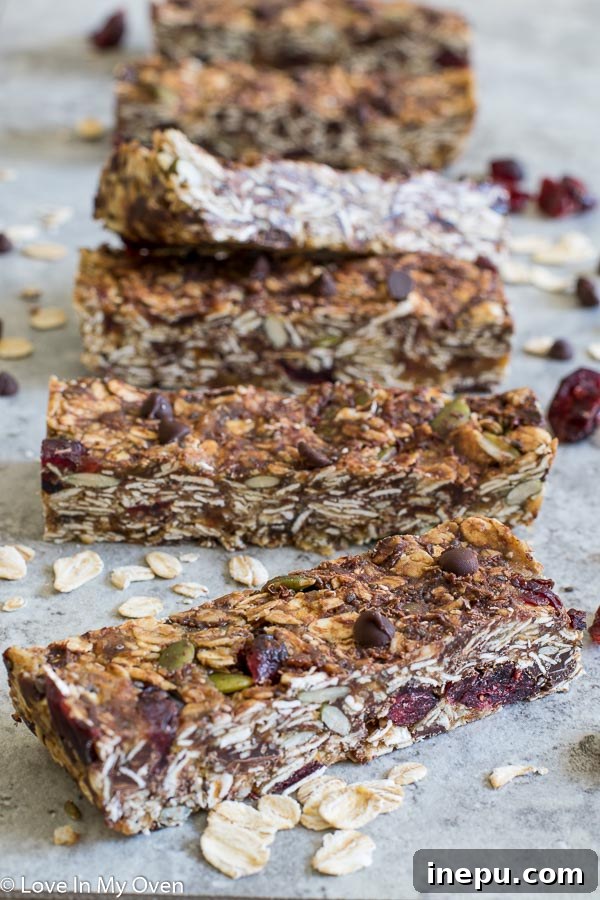
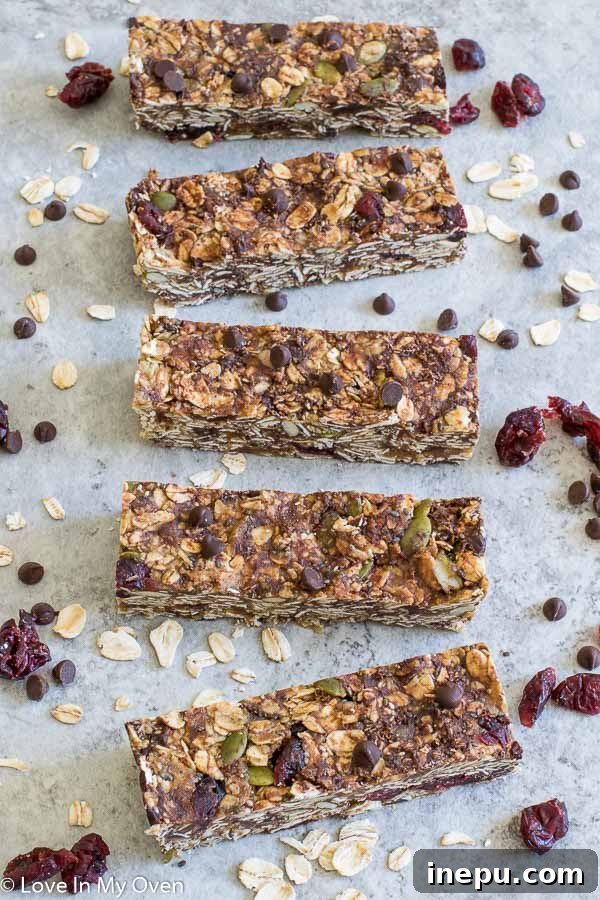
The Secret to Their Perfect Chewiness and How to Make Them
The magic behind the soft, chewy texture of these granola bars lies in the combination of two star ingredients: Medjool dates and a unique binding mixture. Medjool dates are naturally sweet and incredibly pliable, acting as a natural glue when processed. Combined with a blend of pumpkin seed butter and honey, they create a delightful, sweet, and robust binding agent that holds everything together without any crumbling.
While pumpkin seed butter might not be everyone’s go-to on its own, its flavor blends seamlessly with honey in this recipe, creating a delicious and effective binder that is completely nut-free. This combination ensures your granola bars are not only healthy but also incredibly satisfying.
Essential Tips for Success:
- Date Preparation: Make sure your Medjool dates are pitted. Pulsing them in a food processor until a soft, uniform ball forms is key for even distribution and optimal binding.
- Mixing Power: After combining all the ingredients, don’t be shy with your mixing! You’ll need a good amount of muscle to thoroughly disperse the sticky date mixture into the oats and other dry ingredients. A sturdy wooden spoon or even clean hands can work wonders here.
- Firm Packing is Non-Negotiable: This is arguably the most crucial step for bars that hold together. When you press the mixture into your baking pan, use a lot of force. I often use the bottom of a glass, a flat spatula, or even my palms (lightly dampened with water to prevent sticking) to compact it incredibly well. The firmer you pack it, the less likely your bars are to crumble when cut.
- Chilling Time: Allow adequate chilling time in the refrigerator. This isn’t just a suggestion; it’s essential for the bars to firm up and set properly, ensuring clean cuts and stable snacks.
Pumpkin Seed Butter: The Best Nut-Free Binder?
A common question is whether pumpkin seed butter is a must-have. While you can certainly substitute it with a different seed or nut butter, keep in mind that using a nut butter would obviously make your bars no longer nut-free. For a truly nut-free option, pumpkin seed butter is, in my opinion, the superior choice. Its mild flavor and excellent binding properties make it an ideal base. However, if nut allergies are not a concern in your household, peanut butter or almond butter can also work as binders, but they will alter the flavor profile and nutritional content. Always prioritize safety if making these for school or individuals with allergies.
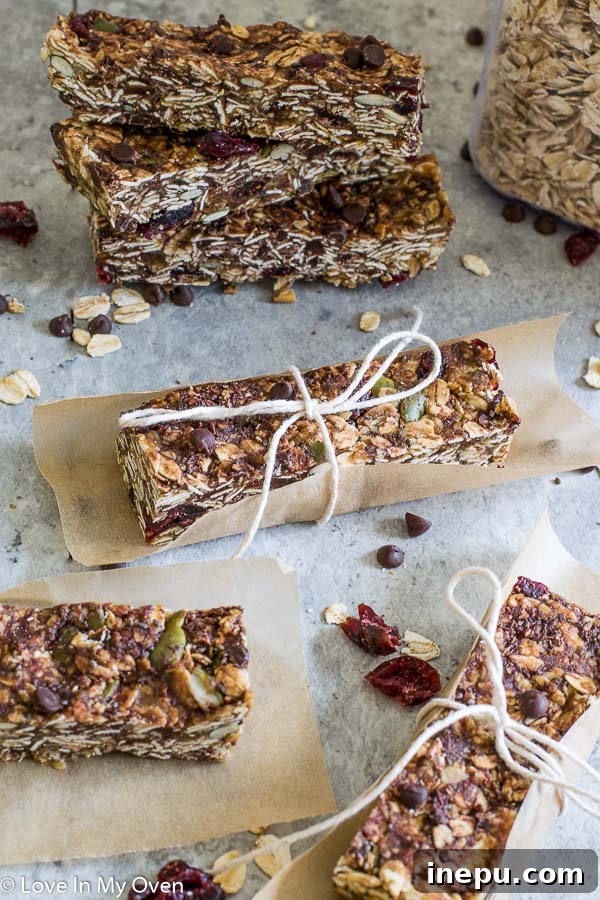
Personalize Your Granola Bars: Endless Customization
One of the joys of homemade granola bars is the ability to customize them to your heart’s content. Once you have the basic recipe down, feel free to experiment with various mix-ins:
- Dried Fruits: Beyond cranberries, consider chopped apricots, raisins, dried cherries, chopped figs, or blueberries.
- Seeds: Boost nutrition with sunflower seeds, hemp seeds, or a mixed seed blend. Always ensure they are from a nut-free facility if allergies are a concern.
- Spices: A pinch of nutmeg, cardamom, or even a touch of ginger can add a lovely warmth and complexity.
- Extracts: A splash of vanilla extract can enhance the overall flavor. (If nut allergies aren’t an issue, a tiny bit of almond extract can be nice too).
- Other Add-ins: Shredded coconut (ensure it’s unsweetened), a handful of mini marshmallows, or crushed pretzel bits for a salty-sweet crunch are all fun additions.
Storage Solutions for Your No-Bake Granola Bars
Proper storage ensures your delicious granola bars stay fresh and tasty:
- Countertop: Store them in an airtight container at room temperature for up to one week. They retain their chewiness and are perfect for quick grabs.
- Refrigerator: For extended freshness and a slightly firmer texture, keep them in an airtight container in the fridge for up to two weeks.
- Freezer: These bars freeze beautifully! Wrap individual bars in parchment paper or plastic wrap, then store them in a freezer-safe bag or container for up to two months. Thaw at room temperature for about 15-30 minutes, or enjoy them slightly chilled for a denser chew. Freezing is an excellent meal prep strategy, ensuring you always have a healthy snack on hand.
Frequently Asked Questions (FAQ)
- Can I make these granola bars gluten-free?
- Absolutely! Simply ensure you use certified gluten-free rolled oats. All other ingredients are naturally gluten-free.
- Are these bars vegan?
- The original recipe uses honey, which is not strictly vegan. To make them fully vegan, substitute the honey with an equal amount of maple syrup or agave nectar.
- My bars are crumbling. What went wrong?
- The most common reason for crumbling bars is insufficient packing. Make sure you press the mixture down extremely firmly into the pan. Also, ensure you allow them to chill for at least 6 hours, or preferably overnight, to properly set.
- What if I don’t have a food processor for the dates?
- You can finely chop the pitted Medjool dates by hand. To make them easier to chop and blend, you can soak them in warm water for about 10-15 minutes, then drain thoroughly before chopping.
- Can I reduce the sweetness?
- The dates and honey provide both sweetness and binding. You could try reducing the honey slightly (by 1-2 tablespoons), but be aware this might affect the overall chewiness and how well the bars hold together.
Embrace Healthy Snacking!
With their wholesome ingredients, delightful chew, and incredible versatility, these no-bake nut-free granola bars are truly a game-changer for anyone seeking healthier snack options. They alleviate the stress of school lunch prep and provide a nutritious treat everyone can enjoy. Give this recipe a try and experience the joy of homemade, allergen-friendly snacking!
Whether you’re looking for a quick breakfast, a school-safe snack, or a post-workout energy boost, these granola bars deliver on all fronts. Say goodbye to store-bought guilt and hello to delicious, homemade goodness!
LOVE granola bars and other healthy snack foods?
You’ll enjoy these other fantastic snack recipes from the blog:
- Coconut Cream Larabars
- No-Bake Chocolate Coconut Balls
- Chocolate Chia Apricots
- Healthier Oatmeal Chocolate Chip Cookies
No-Bake Nut-Free Granola Bars Recipe
Rating: 5 out of 5 stars based on 10 reviews
- Author: Katherine
- Total Time: 25 minutes
- Yield: 12 bars
Description
These no-bake nut-free granola bars are chewy, healthy and delicious. They’re a safe and tasty snack that tastes as good as the store-bought granola bars, without all the unnecessary additives. Try this simple granola bar recipe for school lunches and everyday snacking!
Ingredients
- 2 cups rolled oats (use certified gluten-free if needed)
- 2 tbsp. wheat germ (or ground flaxseed for added fiber)
- 1 cup packed Medjool dates, pitted (approximately 8 or 9 large dates)
- 2 tbsp. chia seeds
- 1 tsp ground cinnamon
- 1/4 cup honey (or maple syrup/agave for vegan option)
- 1/4 cup pumpkin seed butter (ensure nut-free if allergies are a concern)
- 1/4 cup raw pumpkin seeds
- 1/2 cup dried cranberries (or other dried fruit)
- 1/2 cup mini chocolate chips (optional, use dairy-free for vegan)
Instructions
- Preheat your oven to 325°F (160°C). Line a large baking sheet with parchment paper. Spread the rolled oats and wheat germ evenly over the parchment paper. Place in the preheated oven for 15 minutes to lightly toast the oats, enhancing their flavor.
- While the oats are toasting, place the pitted Medjool dates into a food processor. Pulse until the dates form a soft, cohesive ball or a thick paste. This ensures they blend well and act as a strong binder.
- In a large mixing bowl, combine the toasted oats/wheat germ, chia seeds, and cinnamon. In a separate, smaller microwave-safe bowl, add the honey and pumpkin seed butter. Microwave for about 30 seconds, then stir until the mixture is smooth and well combined. This makes it easier to incorporate.
- Add the processed dates to the large bowl with the dry ingredients. Using a large, sturdy wooden spoon or your clean hands, mix vigorously until the dates are thoroughly integrated and evenly distributed throughout the oat mixture. Then, pour in the warm honey and pumpkin seed butter mixture. Continue stirring until all ingredients are well combined and sticky. Finally, fold in the raw pumpkin seeds, dried cranberries, and mini chocolate chips (if using).
- Line an 8×8 inch (20×20 cm) baking dish with parchment paper, leaving an overhang on the sides for easy removal. Transfer the granola mixture into the prepared dish. This is the most crucial step for bars that hold their shape: use a spatula, the bottom of a glass, or lightly wet hands to pack the mixture down very firmly and evenly into the dish. Apply significant force to compress it thoroughly. Place the dish in the refrigerator for a minimum of 6 hours, or ideally overnight, to allow the bars to set completely. Once firm, use the parchment paper overhang to lift the entire block of granola from the pan and cut it into 12 equal pieces.
Store the finished granola bars in an airtight container at room temperature for up to 1 week, or in the refrigerator for up to 2 weeks for optimal freshness. For longer storage, freeze them in an airtight container for up to 2 months.
- Prep Time: 25 minutes