
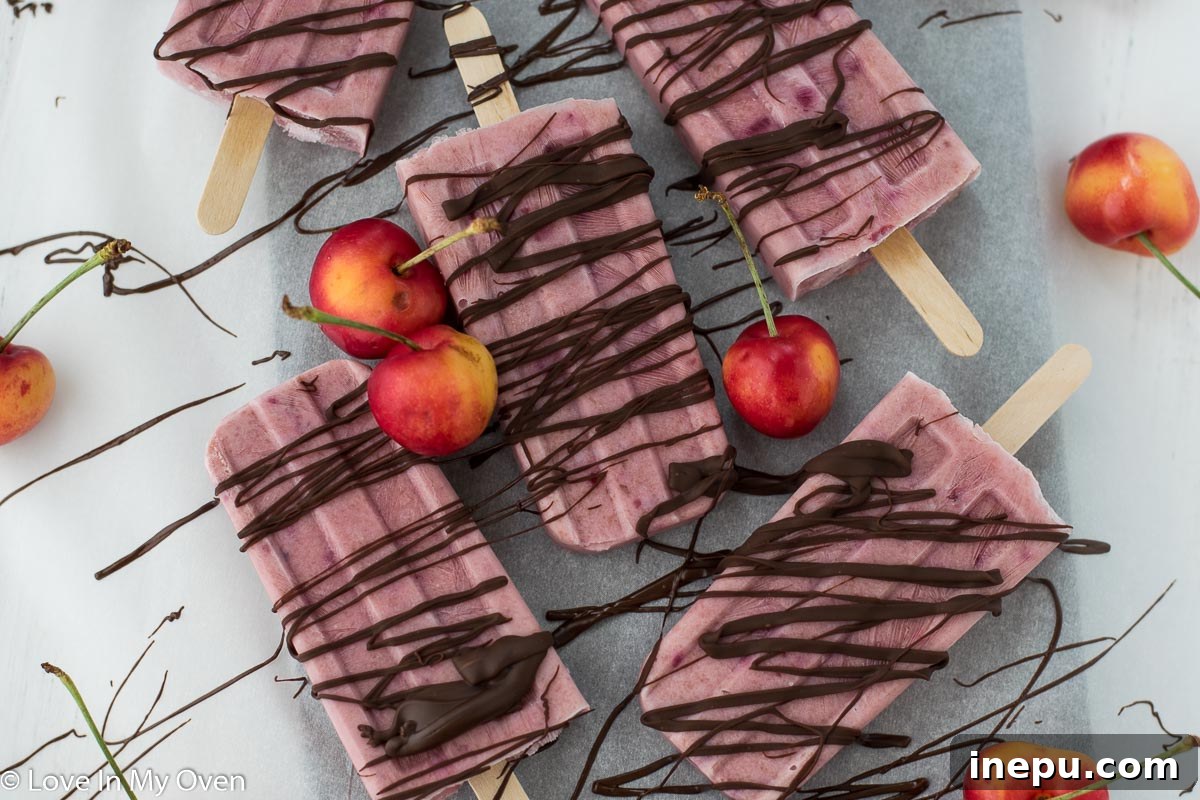
Sweet, creamy, and incredibly simple to make, these Greek yogurt cherry popsicles require only three ingredients! Elevate them further with an optional drizzle of rich chocolate for an extra special indulgence that everyone will love.
As the long, sun-drenched days of summer slowly begin to fade, many of us cling to every last drop of warmth and sunshine. Here, we’re still basking in wonderfully hot weather, which means our daily menu largely revolves around icy, refreshing treats. From crisp watermelon slices to classic store-bought freezies and creamy ice cream, anything that helps beat the heat is a welcome addition. My kids, with their entrepreneurial spirit, even convinced me at the start of summer to invest in a colossal box of freezies, promising to turn a profit by selling them on the roadside. While their initial sales days were a commendable effort, the vibrant bustle of summer activities soon took over, and the novelty, as it often does, began to wear off.
So, now we find ourselves happily working through that jumbo box of freezies ourselves, enjoying a nostalgic burst of childhood sweetness with every grab. Yet, amidst these familiar icy delights, there’s a homemade star that frequently makes an appearance: our very own Greek yogurt cherry popsicles. These aren’t just any popsicles; they’re a testament to how effortlessly you can create something wholesome, delicious, and incredibly satisfying right in your own kitchen. They offer a delightful alternative to processed treats, blending natural flavors with creamy textures for a refreshing snack that feels both indulgent and surprisingly healthy.
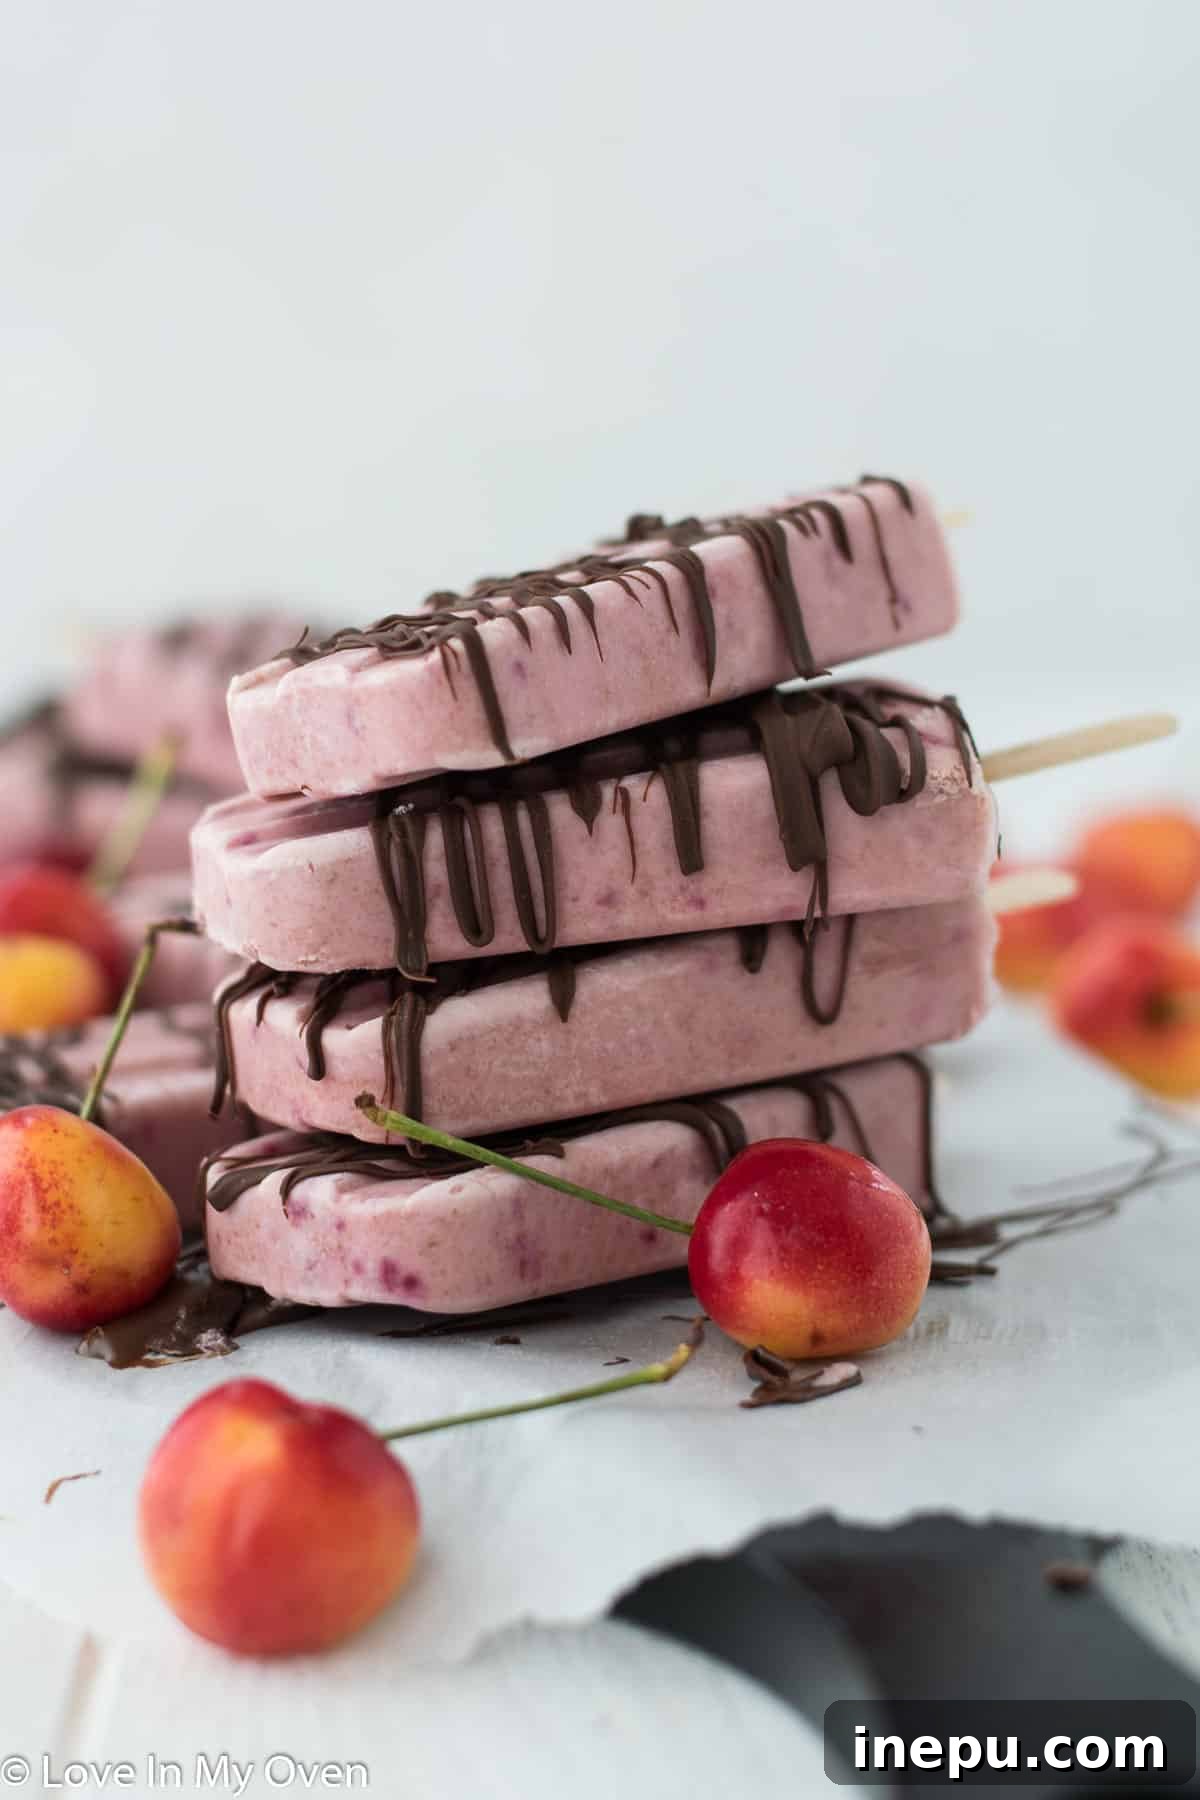
The Ultimate Easy Recipe: How to Make Greek Yogurt Cherry Popsicles
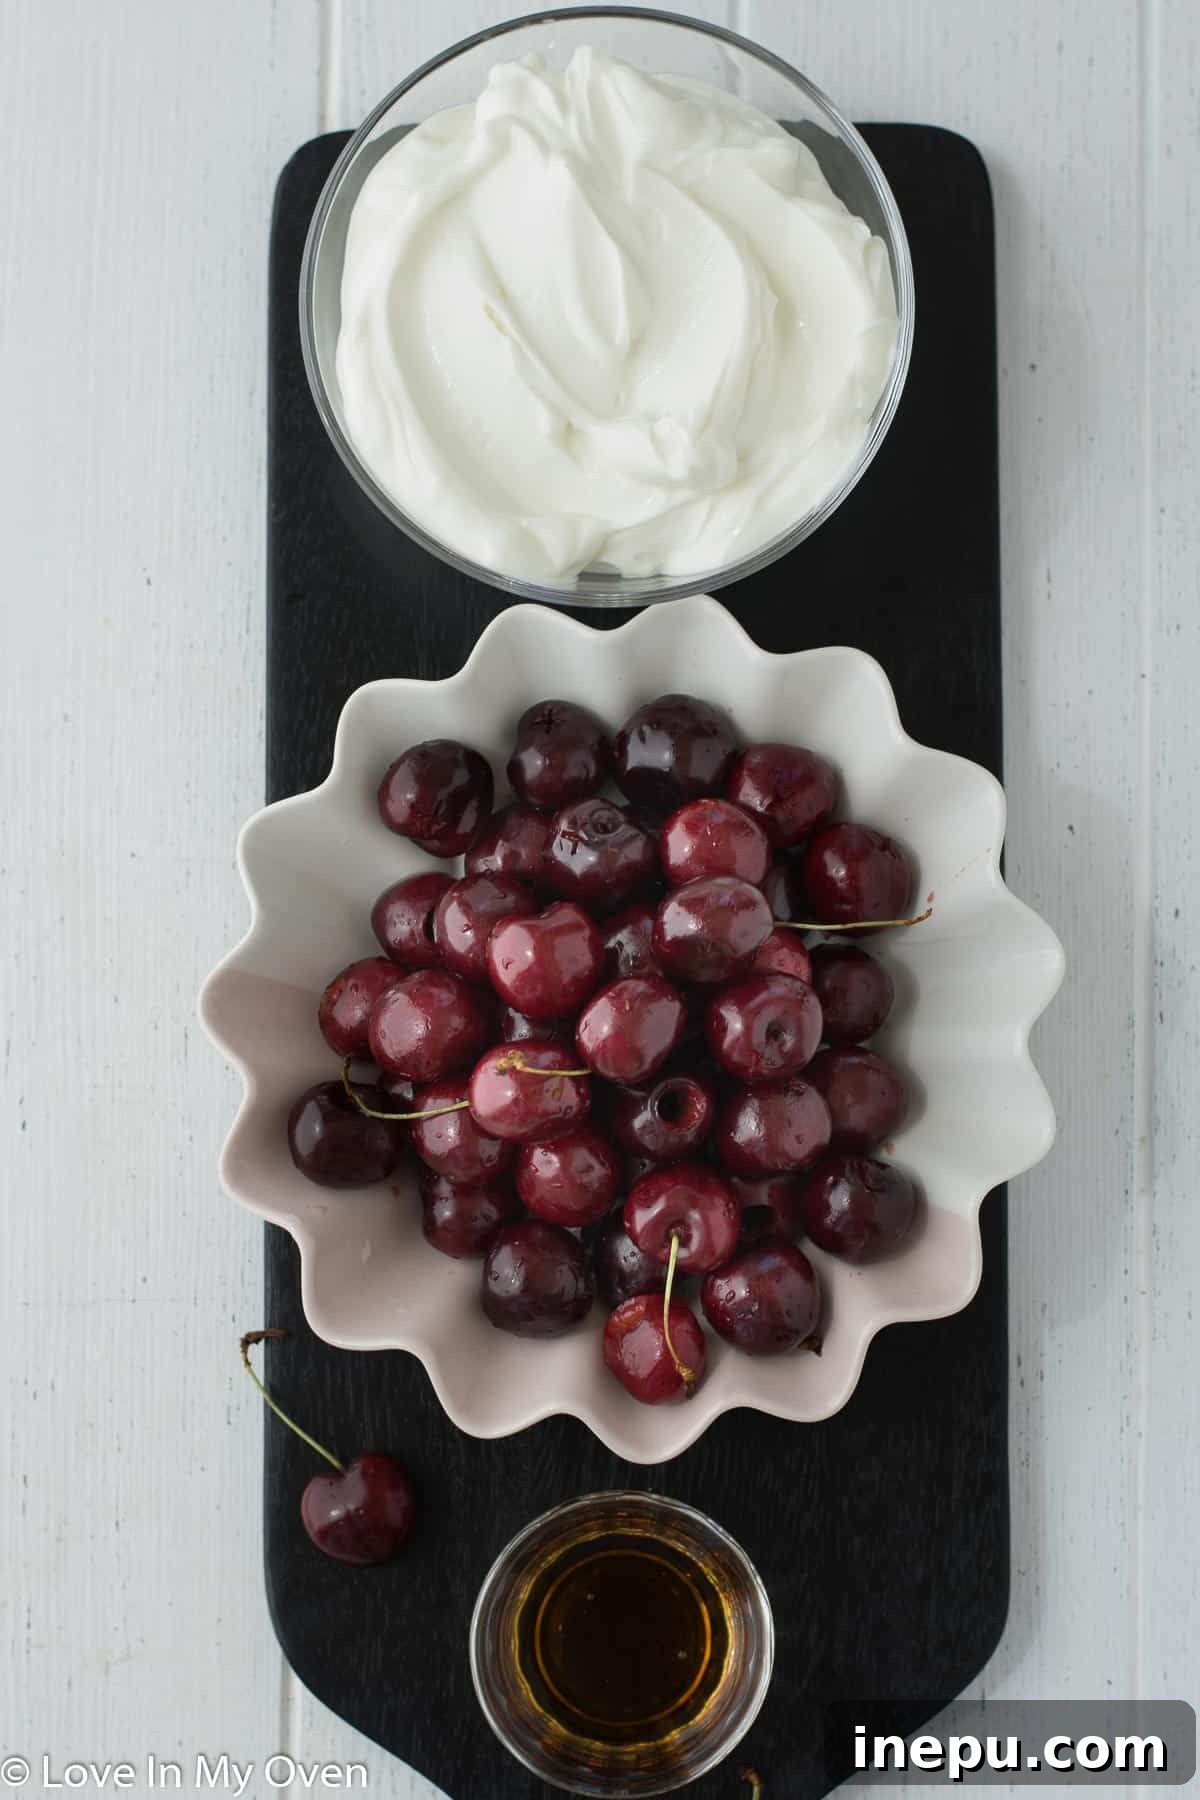
If you’re looking for a fuss-free dessert or a healthy snack that practically makes itself, you’ve found it! Like many of my favorite frozen dessert recipes, these Greek yogurt cherry popsicles are brilliantly simple, requiring minimal effort for maximum flavor. The magic lies in their short ingredient list, making them an accessible treat for even the busiest days or novice cooks. All you really need to create these vibrant, creamy popsicles are three core ingredients:
- Fresh Cherries, Pitted: The star of the show, bringing natural sweetness and a beautiful color.
- Creamy Greek Yogurt: The foundation for that signature creamy texture and a protein boost.
- Pure Maple Syrup: A natural sweetener to balance the tartness of the cherries and enhance the overall flavor.
While I typically opt for plain Greek yogurt to keep the sugar content controlled and allow the cherry flavor to truly shine, don’t hesitate to experiment! Using vanilla Greek yogurt can add an extra layer of sweetness and a hint of aromatic vanilla, making these popsicles even more decadent without much additional effort. It’s a fantastic way to subtly adjust the flavor profile to your personal preference, offering a slightly sweeter and more dessert-like experience.
Selecting the Perfect Cherries for Your Popsicles
The quality of your cherries can significantly impact the final flavor of your popsicles. For the best results, choose ripe, plump, and firm cherries. Sweet varieties like Bing or Rainier are excellent for a naturally sweeter popsicle, while tart cherries can add a delightful tang. If fresh cherries are out of season or hard to find, frozen pitted cherries work just as well! Just be sure to thaw them slightly before blending to ensure a smooth puree. Pitting cherries can be a bit of a task, but a cherry pitter makes quick work of it. Alternatively, a pastry tip or even a sturdy straw can be used in a pinch to push out the pits. Aim for about 2 cups of pitted cherries for a vibrant, fruity base.
The Creaminess Factor: All About Greek Yogurt
Greek yogurt is the secret to the luxurious, creamy texture of these popsicles. Its thickness and tangy flavor perfectly complement the sweet cherries. When choosing your Greek yogurt, consider its fat content. Full-fat Greek yogurt will yield a richer, creamier popsicle, while low-fat or fat-free options will still be delicious but slightly less decadent. Beyond plain or vanilla, you could even try a cherry-flavored Greek yogurt for an intensified cherry experience, though be mindful of added sugars. Always check the labels if you’re aiming for a healthier, lower-sugar treat. We’ll be using about 2 cups of Greek yogurt for this recipe.
Natural Sweetness: Maple Syrup and Alternatives
Maple syrup provides a wonderful, natural sweetness that blends beautifully with the cherries. Its subtle caramel notes enhance the fruit’s flavor without overpowering it. For those who prefer different sweeteners, honey or agave nectar are excellent alternatives that will also keep these popsicles naturally sweetened. Adjust the amount to your taste; some cherries are sweeter than others, so you might need slightly more or less syrup. Remember, you can always taste the mixture before freezing and adjust the sweetness accordingly. Approximately 2 tablespoons of maple syrup is a good starting point.
Step-by-Step Guide to Crafting Your Cherry Popsicles
Making these delightful popsicles is a straightforward process that comes together in just a few simple steps. The key is proper blending and thorough mixing to achieve that perfectly smooth and creamy texture. With just a few minutes of active prep, you’ll have a batch of refreshing treats chilling in your freezer.
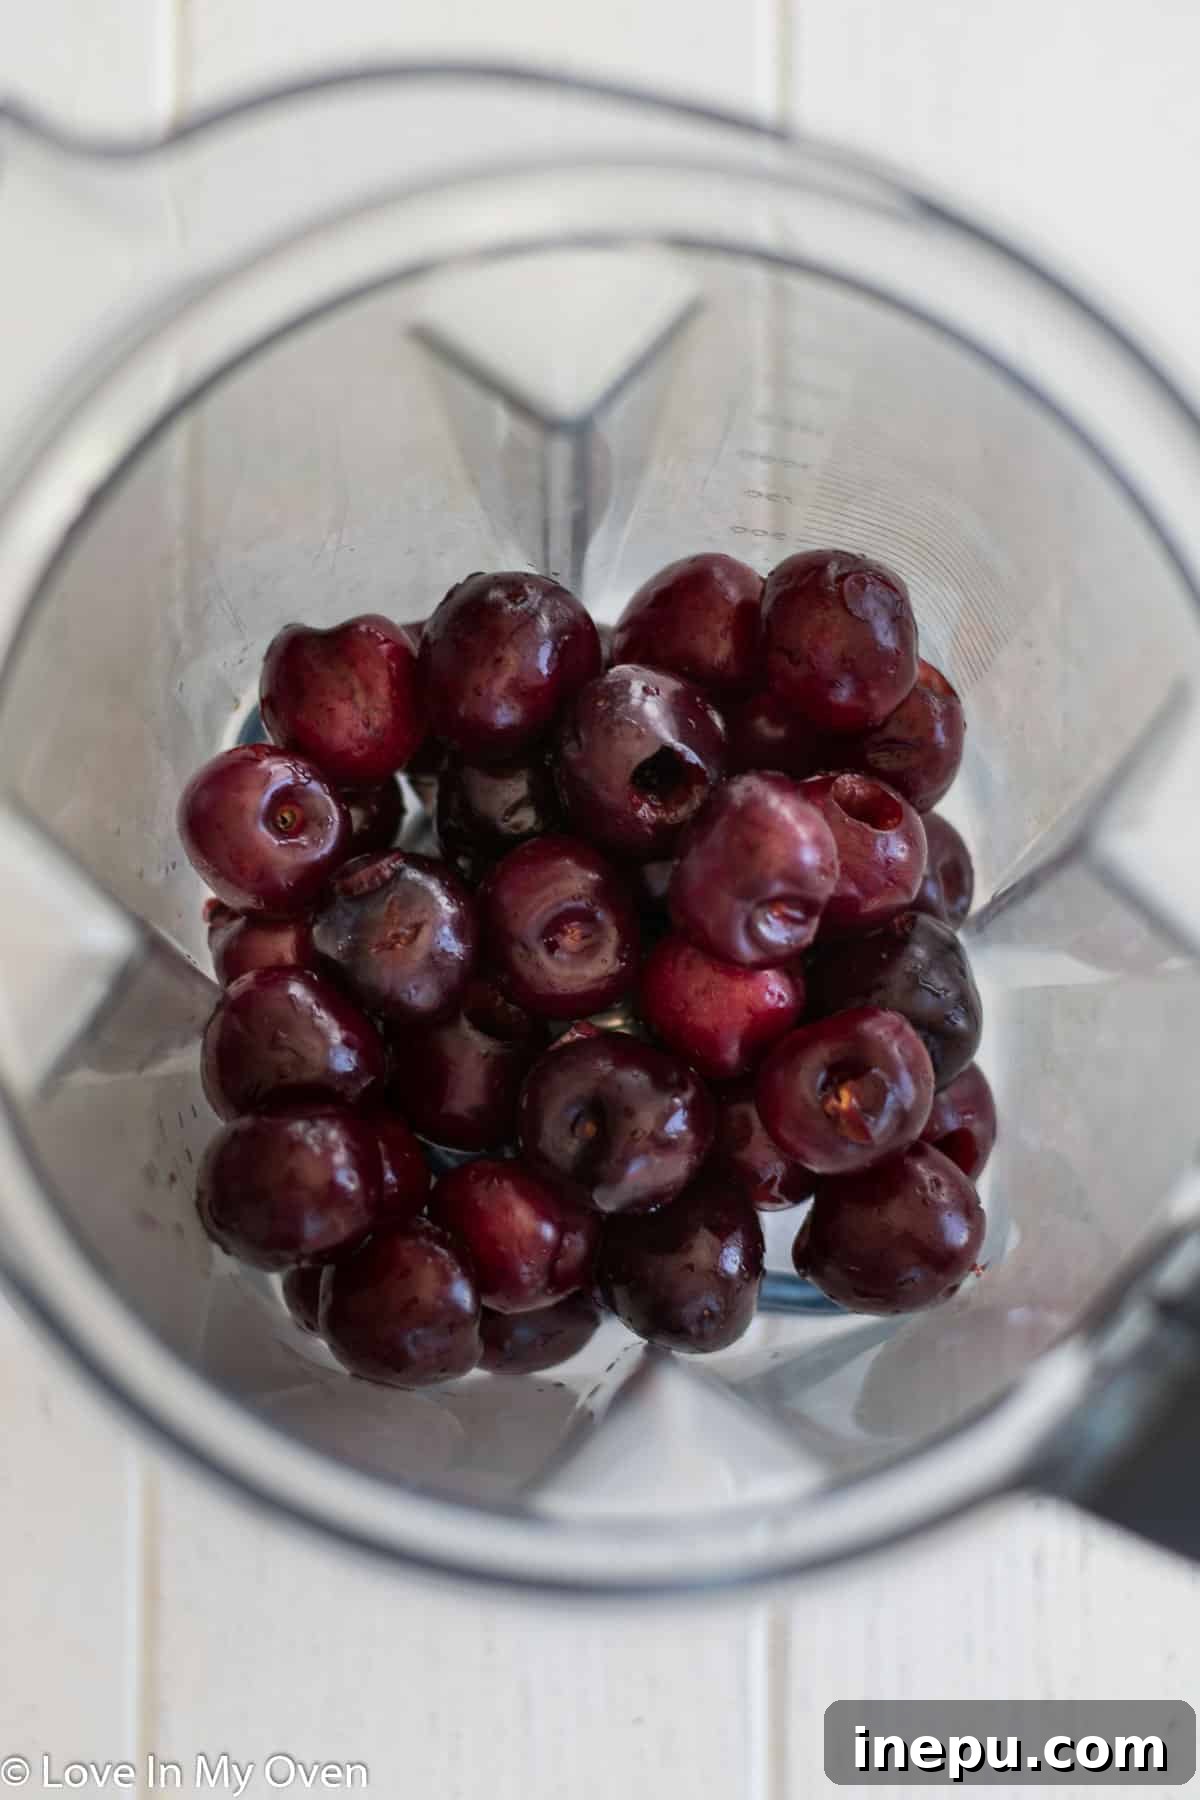
- Puree the Cherries: Begin by adding your fresh, pitted cherries into a high-speed blender. Blend them on high until you achieve a completely smooth, vibrant puree. This usually takes about 30 seconds to a minute, depending on your blender’s power. Ensure there are no large chunks remaining for the smoothest popsicle texture. Once smooth, add the pure maple syrup to the blender and blend for an additional 15-30 seconds to fully incorporate the sweetener. The result should be a beautifully colored, sweet cherry liquid. Pour this mixture into a large mixing bowl, ready for the next step.
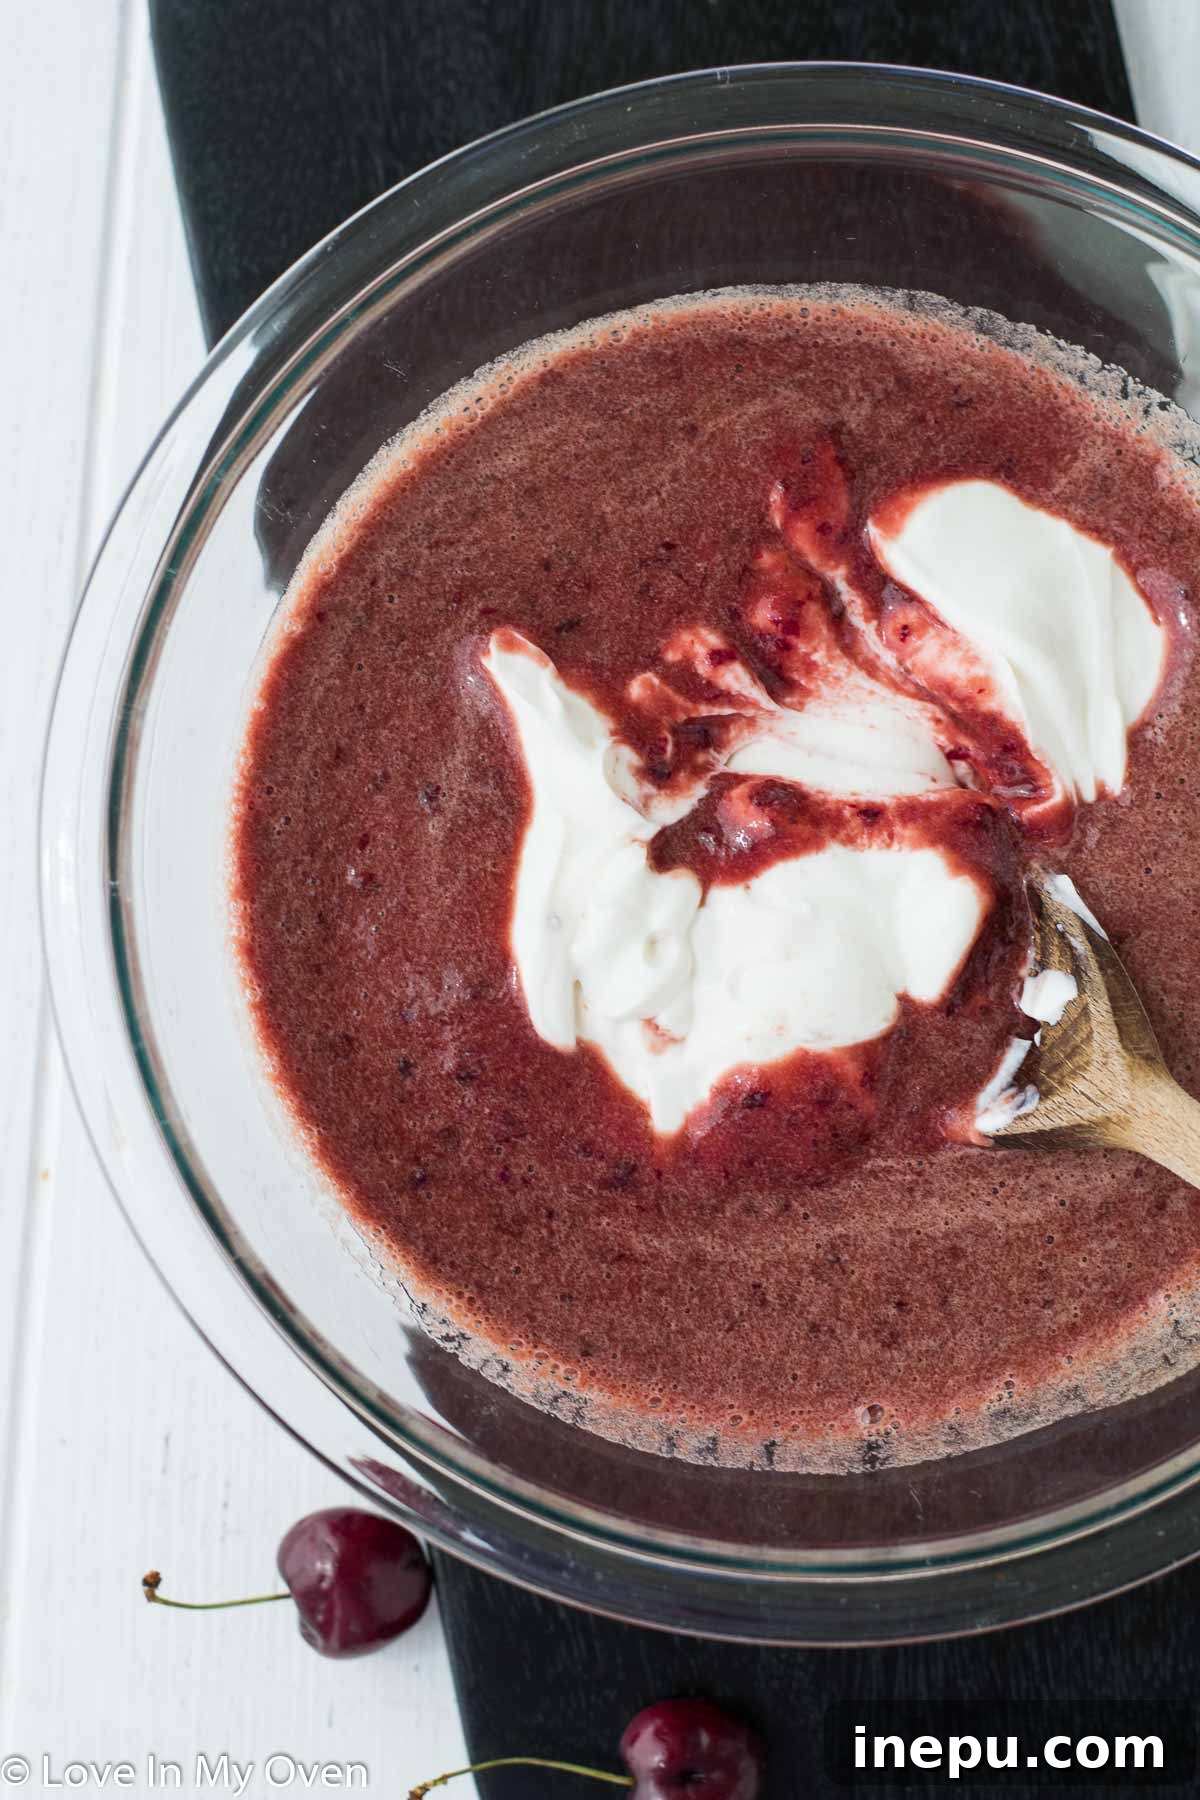
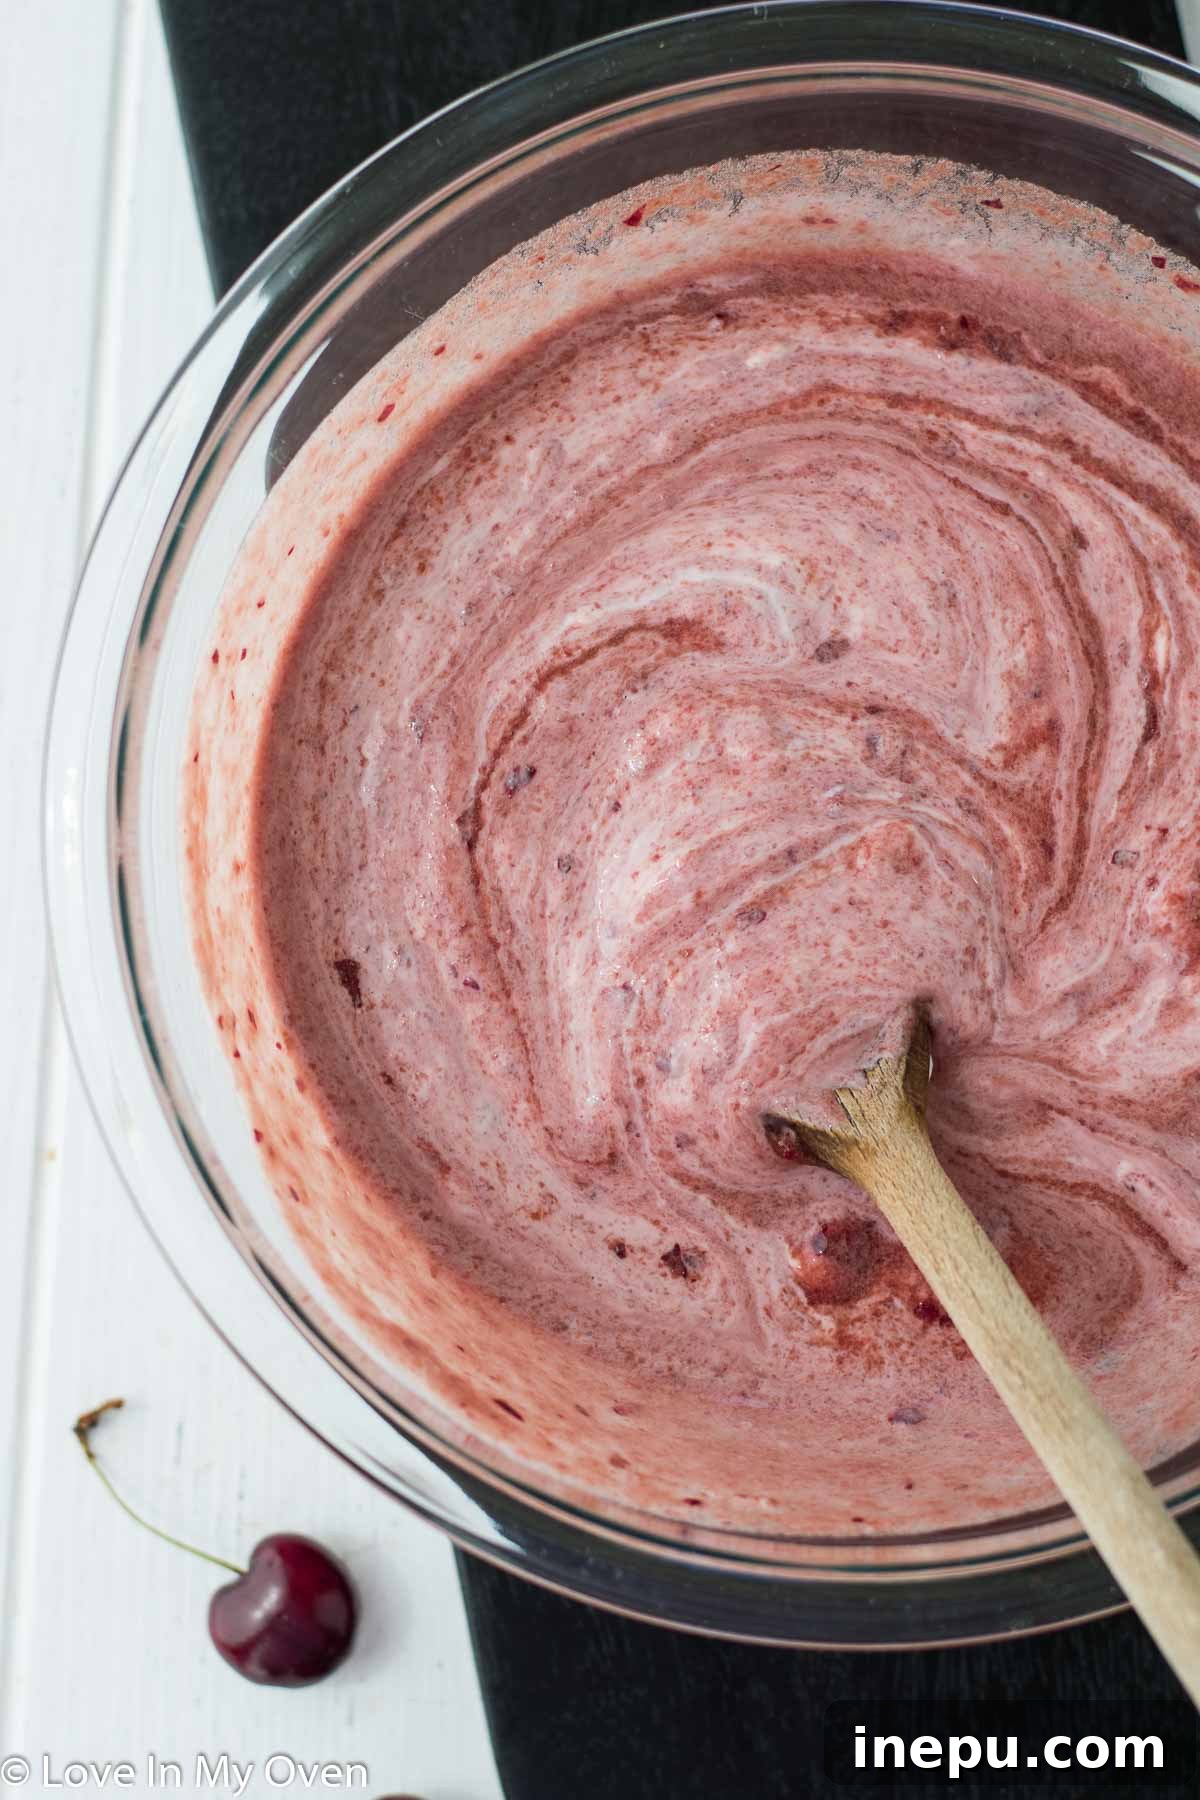
- Combine with Greek Yogurt: Now, it’s time to add the Greek yogurt to the cherry puree in the mixing bowl. Using a spatula or a sturdy spoon, gently stir the yogurt into the cherry mixture. For a uniformly pink and creamy popsicle, stir until the yogurt is fully incorporated and no streaks remain. This creates a consistent color and flavor throughout. If you’re feeling artistic and want to create a visually appealing “swirl” effect, simply stir a few times, leaving some white streaks of yogurt visible. This marbled look adds an extra touch of gourmet charm to your finished popsicles!
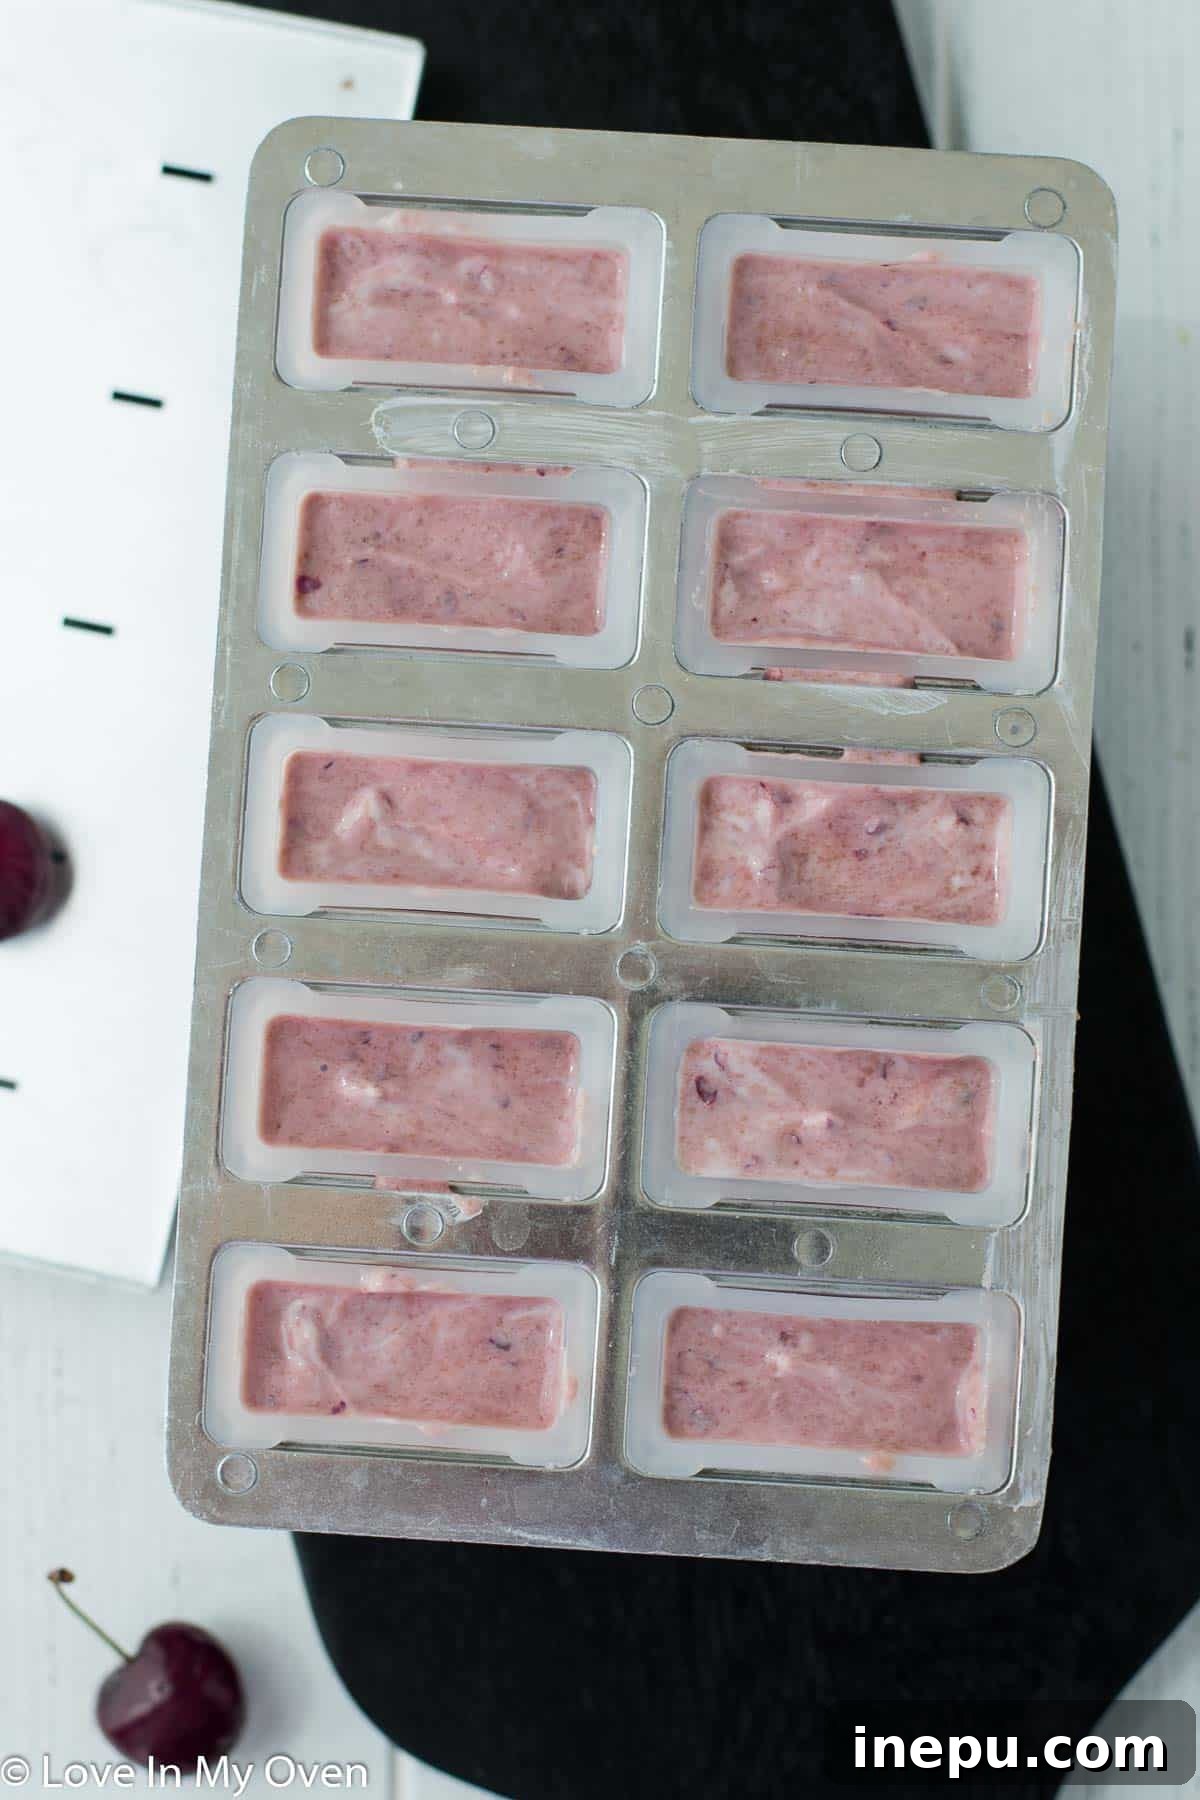
- Fill the Molds and Freeze: Carefully pour the prepared mixture into your popsicle molds. I personally love using a 12-count popsicle mold, as this recipe typically yields just enough to fill it perfectly, minimizing waste. After filling each cavity, insert a popsicle stick into the center of each, ensuring it stands upright. A tight-fitting lid on your mold can help secure the sticks. Once all the molds are filled and sticks are in place, transfer the entire mold to the freezer. Allow them to freeze for a minimum of 5-6 hours, or preferably overnight, until they are completely solid and firm. This extended freezing time ensures the popsicles are thoroughly set and won’t melt too quickly upon removal.
- Release from Molds: Once your popsicles are thoroughly frozen and firm, it’s time for the satisfying moment of release! To easily remove them without breaking or leaving half the popsicle in the mold, run the outside of the popsicle mold under warm or hot tap water for about 15-30 seconds. This gentle warmth helps to loosen the frozen treat from the mold walls. Be careful not to submerge the entire mold, just let the warm water flow over the individual cavities until you can feel the popsicle slightly give when you gently pull the stick. Don’t force it; if it doesn’t budge, give it a few more seconds under the water.
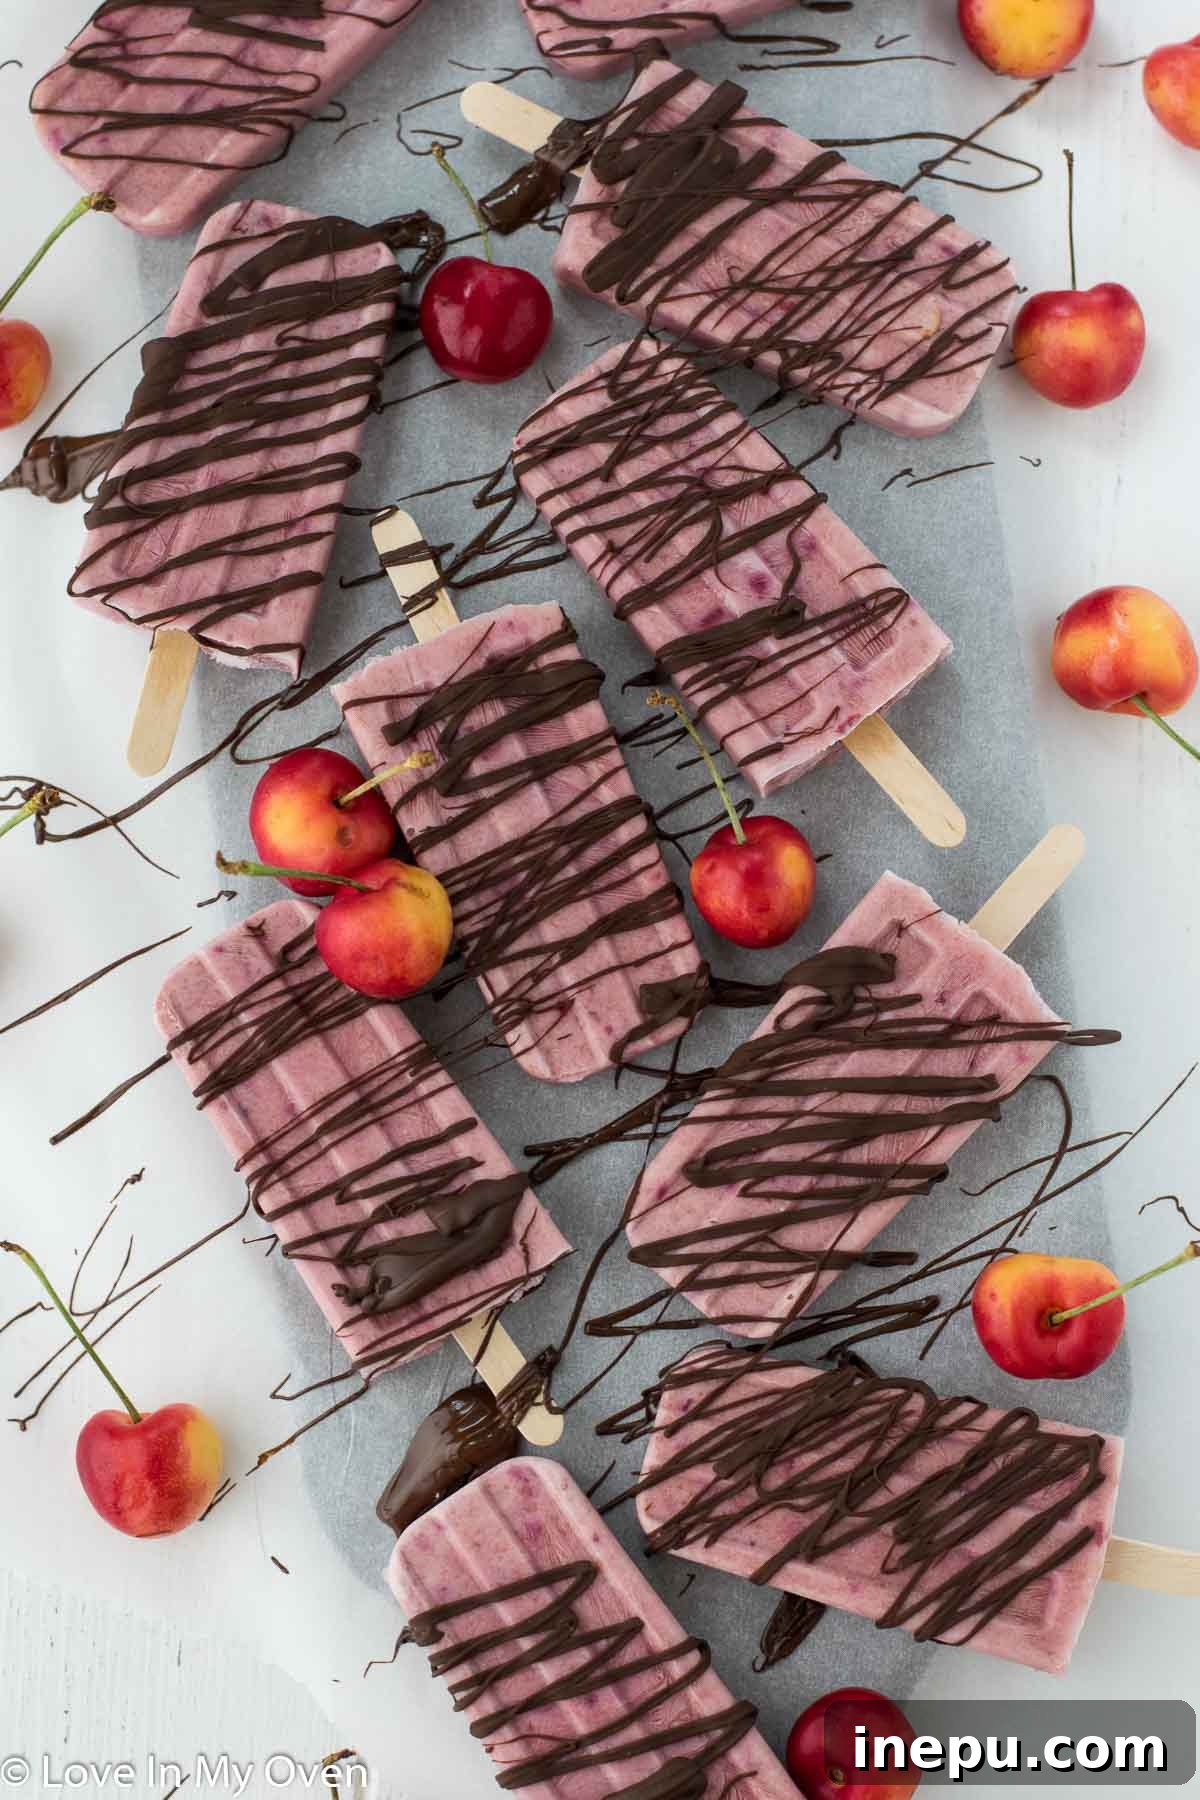
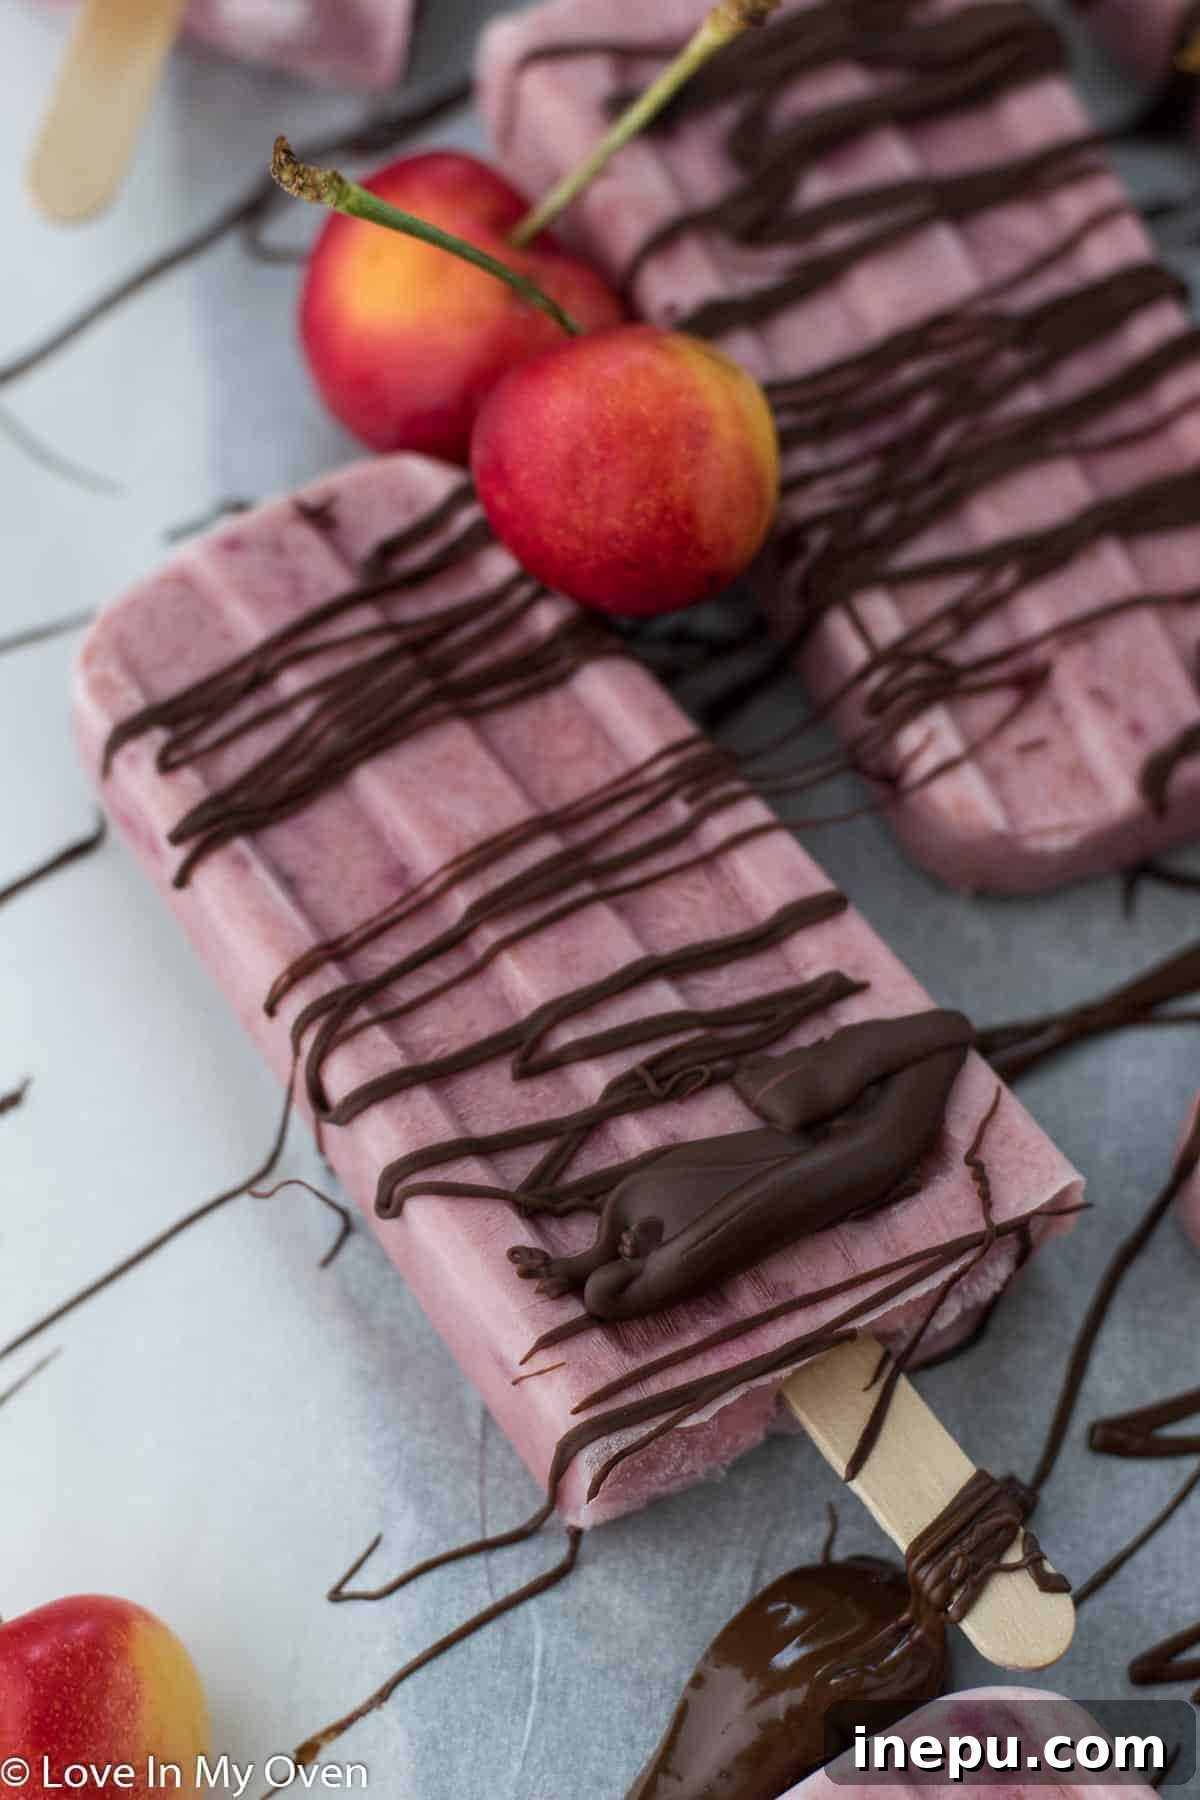
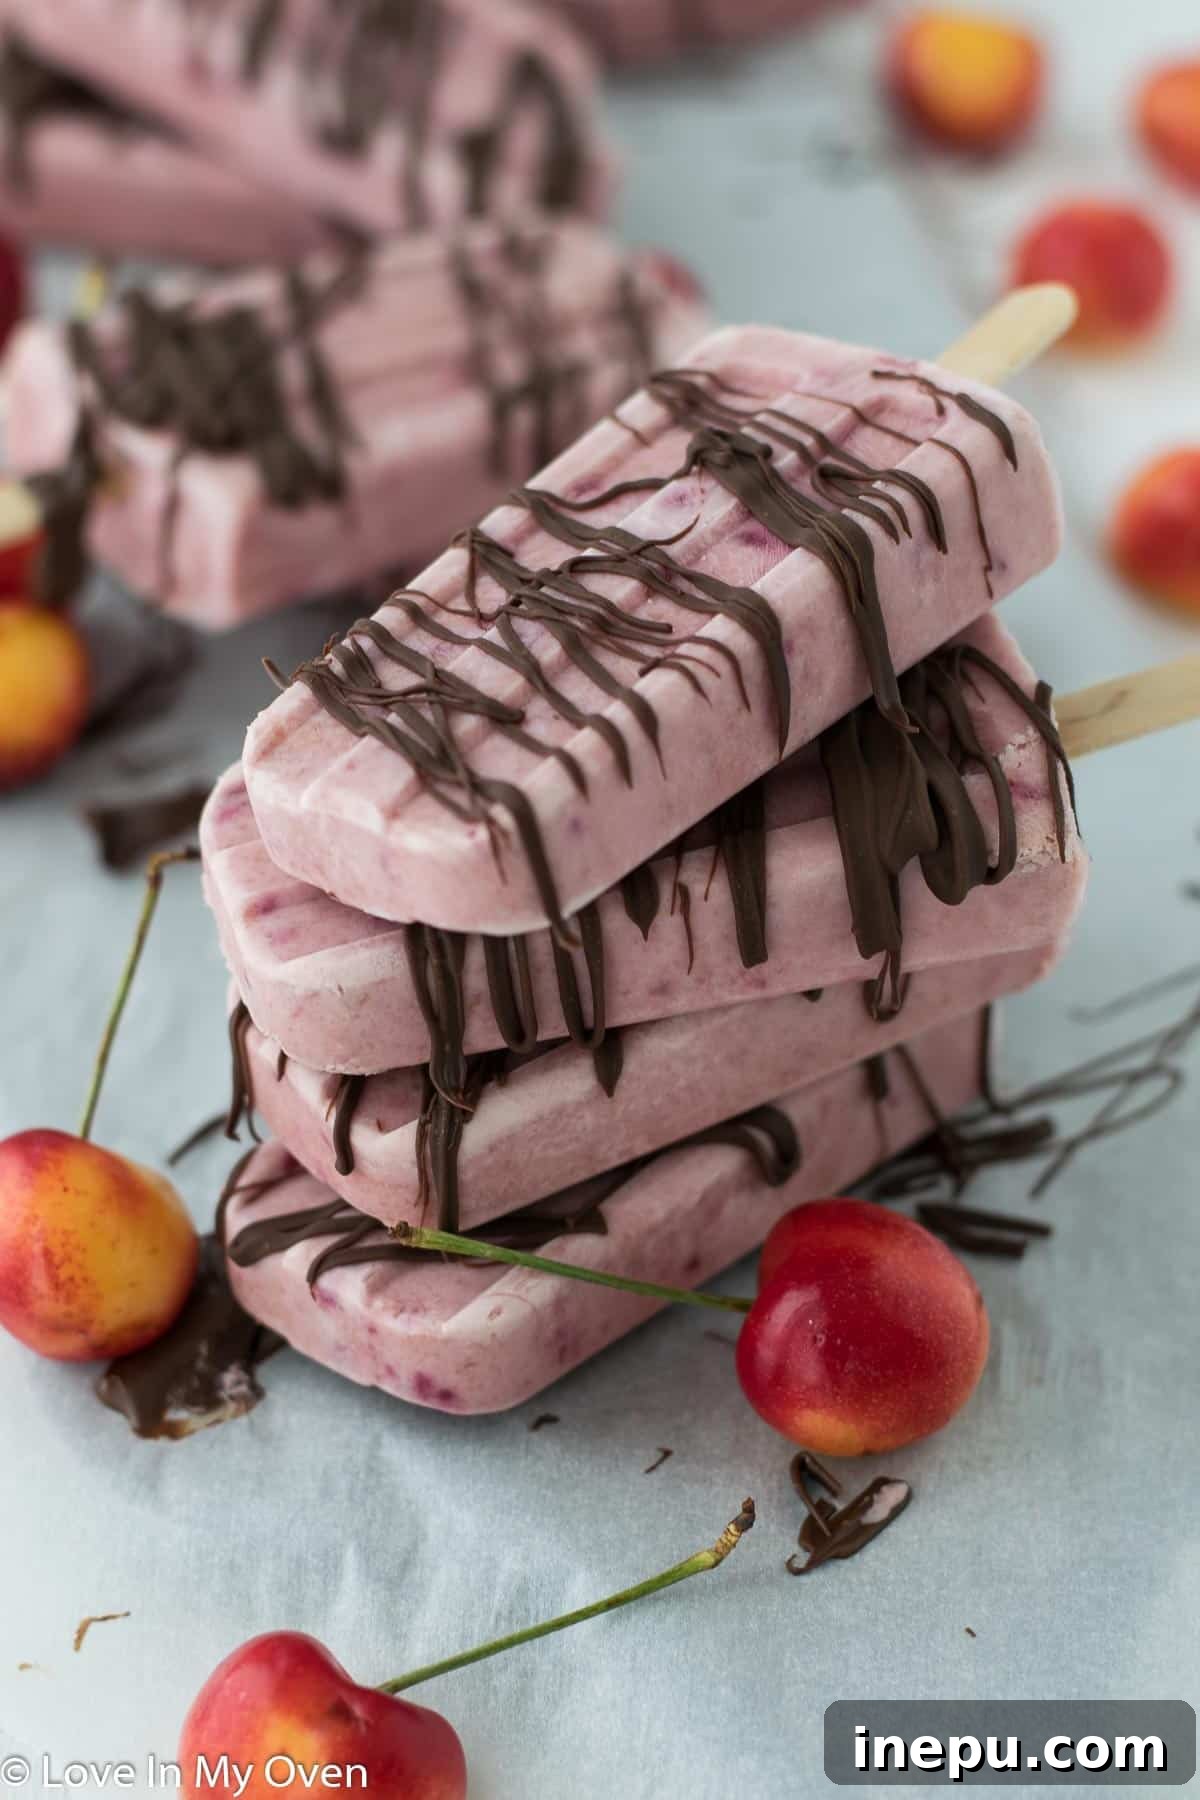
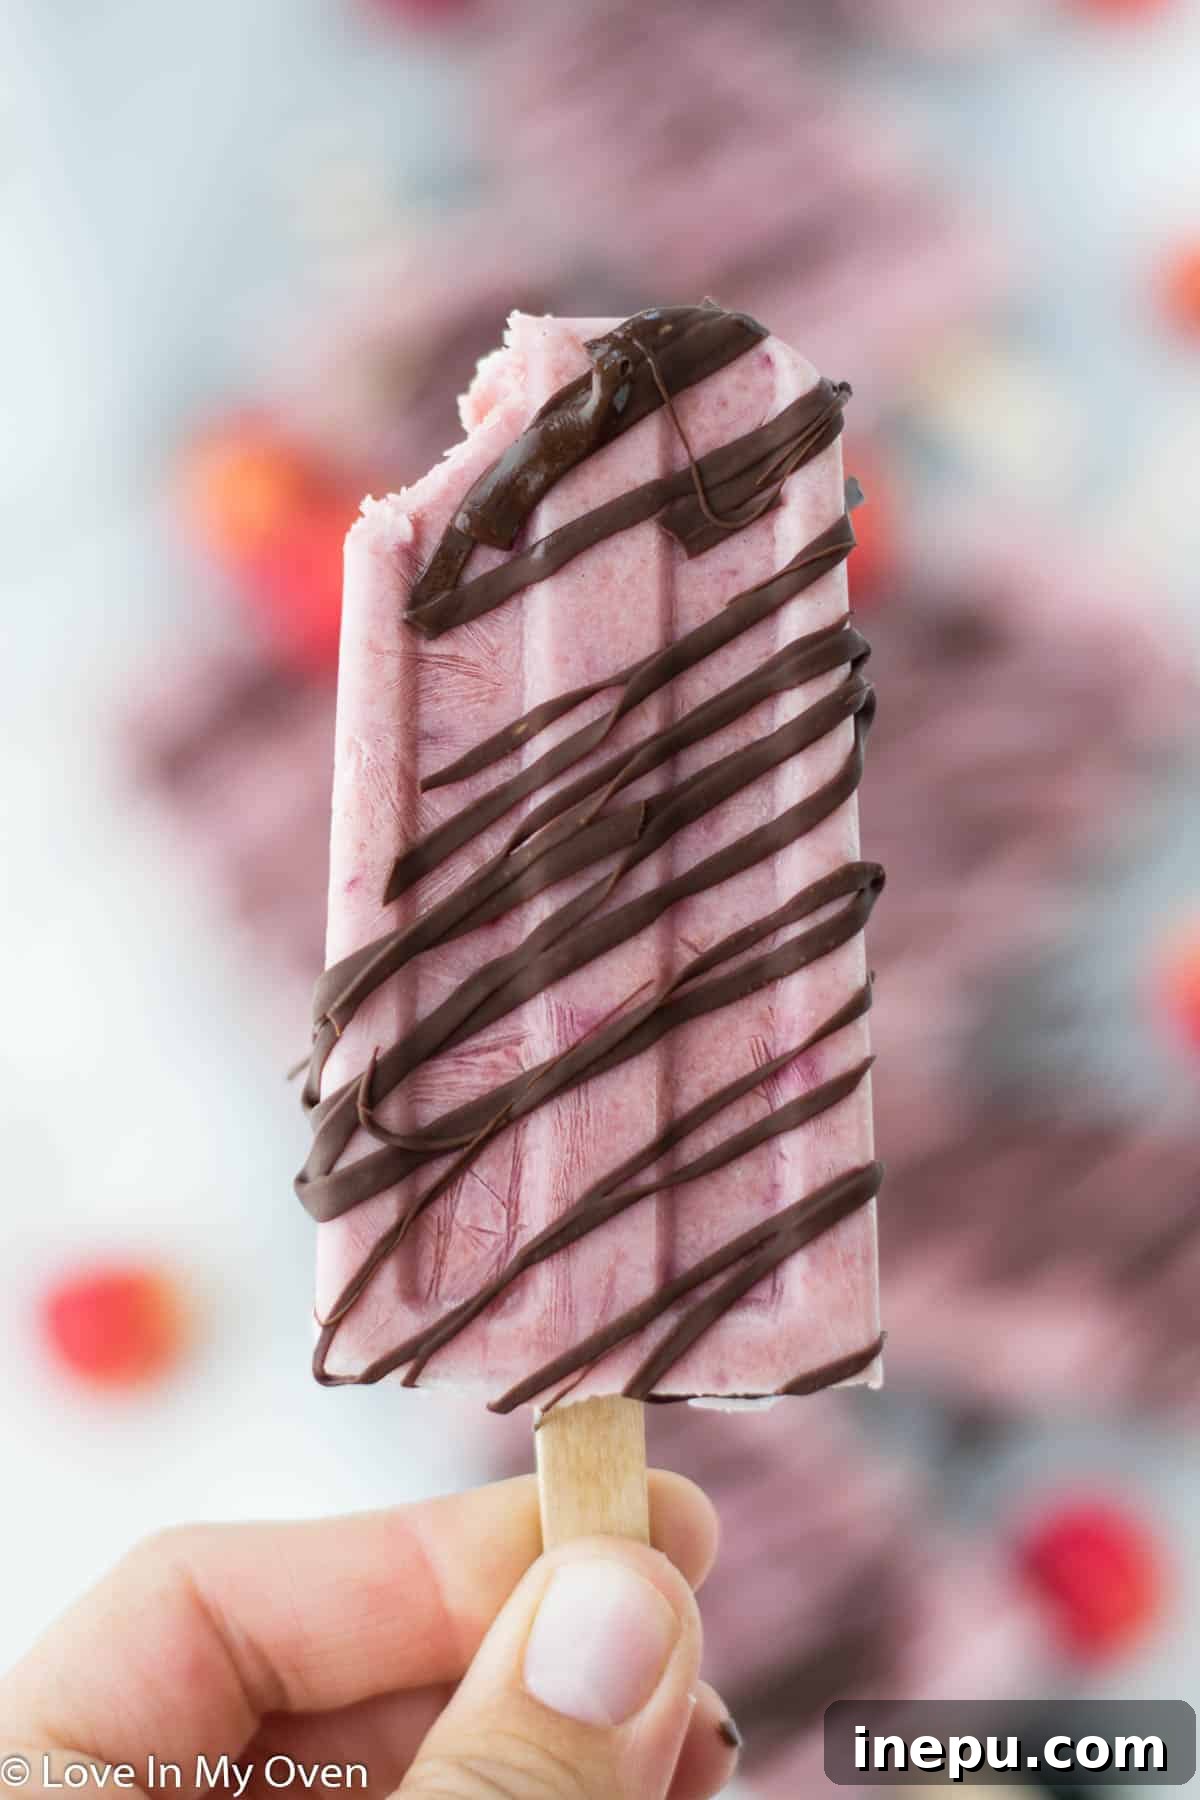
- Optional Chocolate Drizzle for Extra Indulgence: For an undeniably special touch and an added layer of flavor and texture, consider adding a decadent chocolate drizzle! Place the released popsicles onto a baking pan that has been lined with parchment paper – this prevents sticking and makes cleanup a breeze. In a microwave-safe bowl, melt your favorite chocolate chips (dark, milk, or white chocolate all work beautifully) in 30-second intervals. Stir thoroughly after each interval to ensure even melting and prevent burning, until the chocolate is smooth and perfectly melted. Using a spoon, artfully drizzle the melted chocolate all over the popsicles. Once drizzled, immediately return the baking pan with the popsicles to the freezer for about 5 minutes, or until the chocolate has completely hardened. This quick chill sets the chocolate perfectly, creating a delightful crunchy shell that cracks beautifully with each bite.
Storage Tips: How Long Can You Keep These 3-Ingredient Popsicles in the Freezer?
One of the best things about homemade popsicles is having a ready supply of healthy, refreshing treats on hand. Proper storage is key to maintaining their delicious flavor and texture, preventing dreaded freezer burn. If you go the extra mile and store your Greek yogurt cherry popsicles in a vacuum-seal bag, they can remarkably retain their quality for an impressive 4-5 months! This method minimizes air exposure, significantly reducing the risk of ice crystal formation and freezer burn, keeping them fresh as the day they were made.
For a more common and equally effective short-term storage solution, a regular freezer-safe Ziploc bag will also work perfectly. While popsicles stored this way might start to show signs of freezer burn after a couple of months in a standard Ziploc, let’s be honest – these delectable treats are so irresistible, they rarely last that long in most households! Simply transfer your fully frozen popsicles from their molds into the bag, ensuring as much air is squeezed out as possible before sealing. Lay them flat in a single layer if possible, or arrange them neatly to prevent them from sticking together. A batch of these homemade delights often disappears within weeks, if not days, especially when shared with eager family and friends. Regardless of your chosen storage method, ensure the popsicles are completely frozen before transferring them, as this helps maintain their shape and prevents them from fusing together.
Dietary Adaptations: Can You Make These Popsicles Dairy-Free and/or Vegan?
Absolutely! This recipe is incredibly versatile and can be easily adapted to be 100% vegan and dairy-free without compromising on taste or texture. The key lies in your choice of yogurt alternative. When selecting a dairy-free yogurt, aim for the thickest variety you can find. Brands offering coconut milk yogurt, almond milk yogurt, or soy yogurt are excellent choices. Coconut milk yogurt, in particular, often provides the closest creamy texture to traditional Greek yogurt, ensuring your popsicles remain wonderfully rich and smooth.
Another fantastic dairy-free option is to use full-fat coconut cream in place of yogurt. Coconut cream offers an even richer, more indulgent texture, and its subtle coconut flavor pairs beautifully with the sweetness of cherries. To use coconut cream, simply chill a can of full-fat coconut milk overnight. The thick cream will separate and rise to the top, which you can then scoop out and use, discarding any liquid. This creates a remarkably decadent, tropical-flavored popsicle base. Additionally, if you’re opting for the optional chocolate drizzle, remember to use a high-quality vegan chocolate to keep the entire treat compliant with a vegan diet. Many brands now offer delicious dairy-free chocolate chips that melt and drizzle beautifully, ensuring your vegan popsicles are just as delightful as their dairy counterparts.
Beyond Cherries: Customizing Your Homemade Popsicle Experience
While cherry is a fantastic and vibrant flavor, the beauty of homemade popsicles lies in their endless customization possibilities. Don’t hesitate to get creative and experiment with other fruits and flavor combinations to find your new favorite frozen treat:
- Berry Bliss: Substitute cherries with other berries like strawberries, raspberries, or blueberries for a classic berry popsicle. A mix of all three would be divine for a patriotic or summer fruit blend!
- Tropical Twist: Mango puree combined with Greek yogurt creates a sunny, sweet popsicle. Add a squeeze of lime or a hint of shredded coconut for an extra tropical zest. Pineapple or passion fruit also work wonderfully.
- Peach Perfection: In late summer, ripe peaches blend wonderfully with yogurt for a mellow, sweet treat. A touch of ginger or cardamom can elevate the flavor profile.
- Citrus Burst: Combine plain Greek yogurt with lemon or lime juice and a touch of zest for a tangy and refreshing popsicle. Swirl in some berry puree for color and added sweetness.
- Spice It Up: A tiny pinch of cinnamon, a dash of vanilla extract, or even a hint of almond extract can add warmth and depth to any fruit popsicle, complementing the natural flavors beautifully.
- Textural Delights: For an added crunch or chewiness, fold in a few finely chopped nuts (like pistachios or almonds) or shredded coconut before freezing. Chia seeds can also be added for a nutritional boost and interesting texture.
Discover More Refreshing Treats: Some of My Other Favorite Popsicle Recipes
If these Greek yogurt cherry popsicles ignite your passion for homemade frozen treats, you’ll love exploring other delightful options. There’s a whole world of icy deliciousness waiting to be discovered, perfect for cooling down on any warm day or simply enjoying as a healthier dessert alternative.
- Mango Coconut Popsicles: A tropical escape in every bite, blending sweet, juicy mango with rich, creamy coconut milk for a truly exotic flavor experience.
- Chocolate Dipped Ice Cream Bars: For when you crave that classic ice cream truck treat, but better, healthier, and homemade. Customizable with your favorite ice cream base and toppings.
- Coconut Lime Popsicles: Zesty lime meets creamy coconut for a refreshingly tangy and sweet combination that brightens any palate. It’s like a sip of summer!
Print

Greek Yogurt Cherry Popsicles
5 Stars
4 Stars
3 Stars
2 Stars
1 Star
5 from 1 review
- Author: Katherine | Love In My Oven
- Total Time: 6 hours
- Yield: 12 popsicles 1x
Description
Made with only 3 ingredients, these Greek yogurt cherry popsicles are sweet and creamy and so simple to make! Finish them off with a drizzle of chocolate for an extra special treat.
Ingredients
Scale
- 2 cups fresh cherries, pitted
- 2 tbsp maple syrup
- 2 cups plain Greek yogurt*
- optional: 2 tbsp chocolate chips
Instructions
- Add the cherries to a high-speed blender and blend on high until smooth and pureed, about 30 seconds to a minute. Add the maple syrup and blend again for an additional 15 seconds. Pour the mixture into a large mixing bowl.
- Add the Greek yogurt and use a spatula or spoon to stir in the Greek yogurt until fully incorporated. You can also leave it looking swirly for a fun effect! Pour the mixture into a 12-count popsicle mold and insert a popsicle stick into each mold. Place the popsicles in the freezer for 5-6 hours until firm.
- To release the popsicles from the molds, run the outside of the mold under hot water until the popsicles easily release.
- Optional: Chocolate drizzle. Place the popsicles on a baking sheet lined with parchment paper. Microwave the chocolate chips in a heat-safe bowl on high in 30 second increments, stirring in between, until smooth. Use a spoon to drizzle the melted chocolate all over the popsicles. Place the baking sheet back into the freezer until the chocolate is hardened, about 5 minutes.
Store the popsicles in the freezer, in a Ziploc bag for 2 months or vacuum sealed bag for 5-6 months.
Notes
*For a sweeter popsicle, use vanilla flavored Greek yogurt. You can also use a dairy-free yogurt alternative to keep these popsicles vegan!
- Prep Time: 5 minutes
- Category: popsicles
- Method: freezer
- Cuisine: american