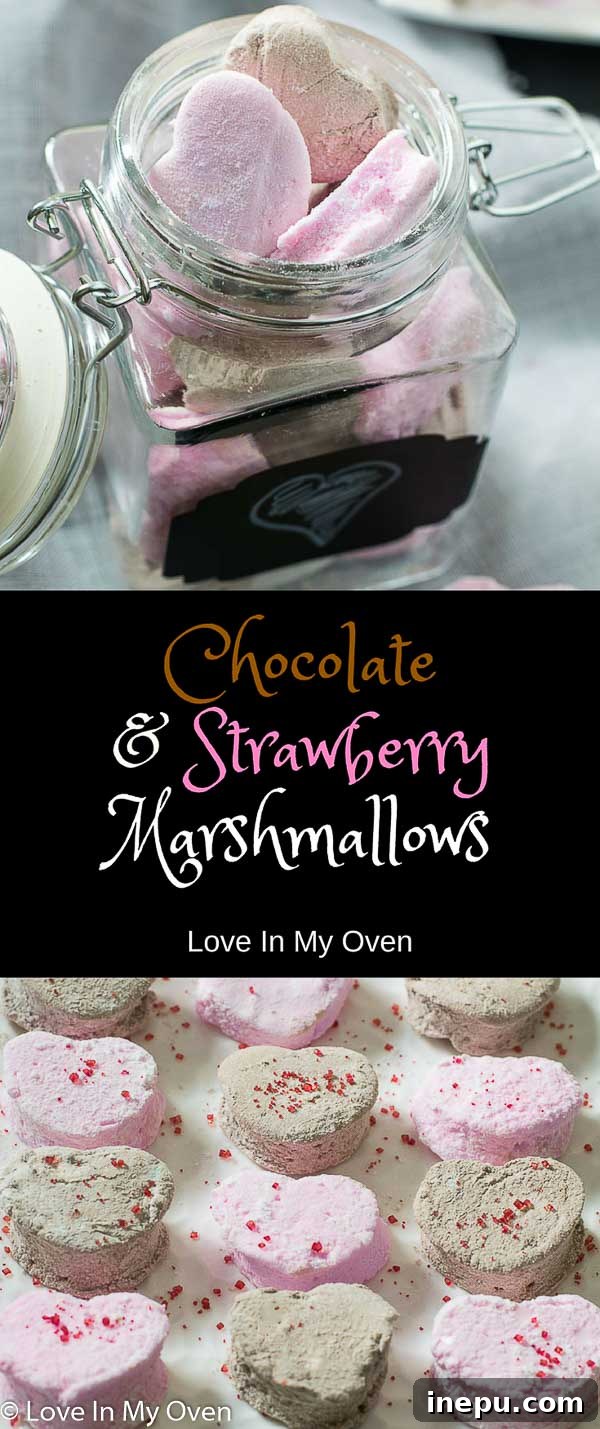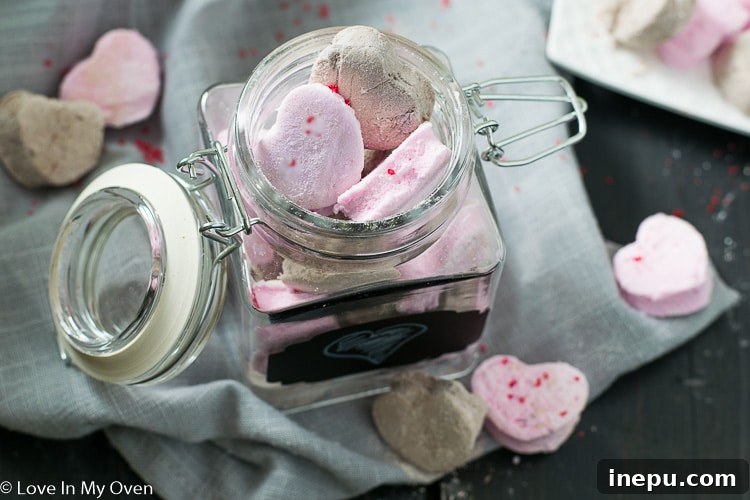
Discover the magic of homemade marshmallows! This comprehensive guide shows you how to craft exquisite chocolate and strawberry marshmallows, perfect for any occasion. Forget store-bought; embrace the delightful, melt-in-your-mouth experience of DIY confections.
Homemade Chocolate and Strawberry Marshmallows: A Sweet Delight
There’s something uniquely satisfying about creating treats from scratch. While many shy away from making marshmallows, believing it to be a complex culinary feat, I’m here to tell you it’s surprisingly simple and incredibly rewarding. Imagine soft, airy, and flavorful marshmallows, infused with rich chocolate and vibrant strawberry, all made in your own kitchen. This isn’t just a recipe; it’s an invitation to elevate your dessert game and impress your friends and family with a truly special confection.
As the seasons shift, and we find ourselves navigating the lingering chill of winter, there’s nothing quite like cozying up with a warm beverage and a delightful treat. While some evenings are spent bundled indoors, the occasional outing offers a refreshing change of pace. Recently, I ventured out with friends to a new Indian restaurant downtown. The ambiance was lovely, and the company even better, but to our dismay, the food arrived disappointingly cold. Despite the kind offer to reheat, our hunger won, and we ate it as is. Thankfully, their delicious (and warm!) chai and dessert offered a sweet apology, but nothing truly compares to the comfort of home-cooked indulgences.
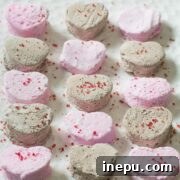
That evening, after returning home, I found myself reaching for a comforting treat that never disappoints: a batch of these homemade chocolate marshmallows. Their pillowy texture and intense flavor were the perfect antidote to a chilly, albeit social, evening. And with Valentine’s Day just around the corner, these charming confections, whether shaped into hearts or classic squares, make for an unforgettable, personalized gift.
The Art of Crafting Homemade Marshmallows: Chocolate and Strawberry Edition
Have you ever considered diving into the world of homemade marshmallows? The idea always captivated me, but it wasn’t until recently that I took the leap. My culinary curiosity led me to experiment with various ingredients and flavor combinations, and with Valentine’s Day approaching, the classic pairing of chocolate and strawberry felt like the ideal starting point. This recipe combines both flavors, allowing you to create a beautiful assortment that caters to every palate.
My experiments led to some interesting discoveries, particularly concerning sweeteners. I initially tried a batch using honey, aiming for a more “natural” approach. While it certainly worked, the resulting marshmallows were considerably stickier and had a slightly different texture than the beloved store-bought variety. For that perfect, familiar chewiness and smooth consistency, I found that corn syrup was the superior choice. Although I generally lean towards natural sweeteners in my kitchen, I’m happy to make an exception for marshmallows to achieve that quintessential texture and delightful mouthfeel.
Essential Ingredients for Perfect Pillowy Treats
Beyond the choice of sweetener, the core ingredients for homemade marshmallows are wonderfully straightforward. You’ll need granulated sugar, water, salt, and, crucially, gelatin. Gelatin is what gives marshmallows their signature bounce and structure. For the vibrant strawberry flavor and natural pink hue, a simple strawberry puree works wonders. A touch of good quality cocoa powder provides the deep, satisfying chocolate taste that pairs so beautifully with the sweet fruit. Vanilla extract is also key to enhancing the overall aroma and flavor profile of the chocolate variant, adding a layer of warmth and sweetness.
The beauty of this recipe lies in its simplicity. Once all the ingredients are combined and warmed, the magic truly begins with the whipping process. You’ll need a powerful stand mixer for this step, equipped with a whisk attachment. The mixture requires a good 15-20 minutes of whipping to transform from a thin syrup into a thick, glossy, and marshmallow-y cloud. I highly recommend a stand mixer, as holding a hand mixer for that duration would be quite the arm workout! The transformation is fascinating to watch, as the mixture gains volume and turns into the recognizable fluffy consistency we all adore.
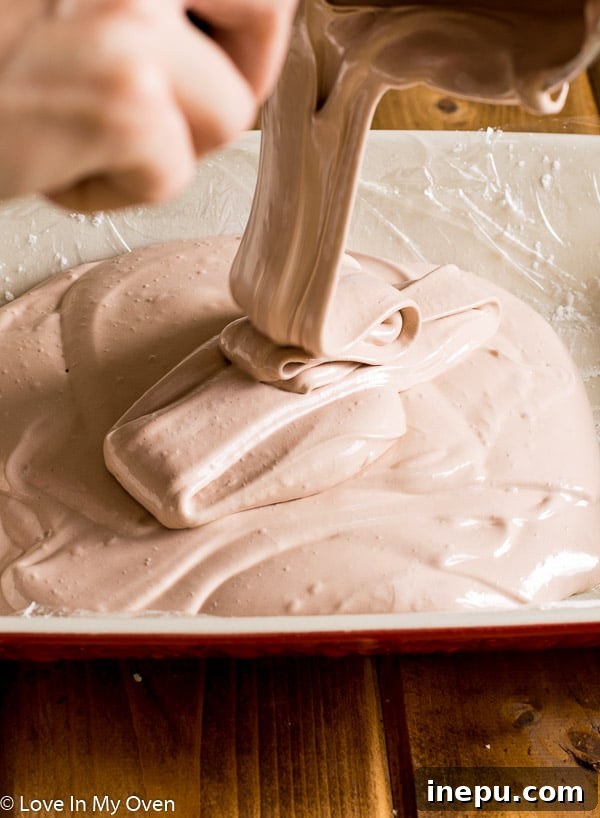
Once the marshmallow mixture reaches its peak thickness, speed is of the essence. Quickly pour and spread it into a prepared 9×13 inch pan, lined with plastic wrap and lightly greased with non-stick spray. Marshmallows begin to set surprisingly fast, so work swiftly to ensure an even layer. This quick action is critical for achieving uniform thickness and a professional finish for your homemade treats.
The Waiting Game: How Long Until Homemade Marshmallow Bliss?
While the actual “hands-on” preparation time for homemade marshmallows is remarkably quick, patience is indeed a virtue when it comes to the setting process. Once poured into the pan, the marshmallows need ample time to firm up and reach their ideal texture. This crucial setting period typically spans 8 to 12 hours, during which they should remain undisturbed and uncovered. I know, the wait can be a little torturous, especially when the sweet aroma fills your kitchen, but trust me, it’s entirely worth it for the perfect marshmallow experience!
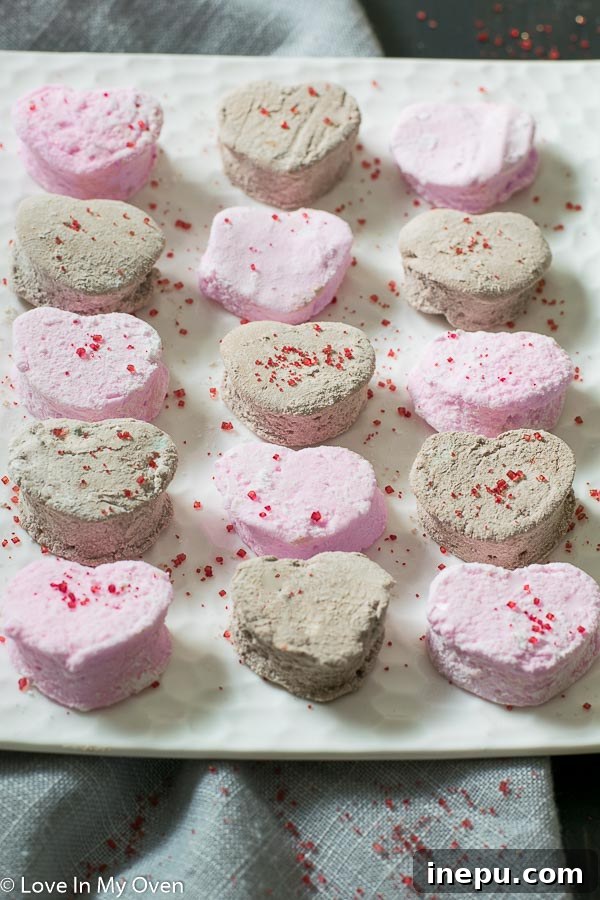
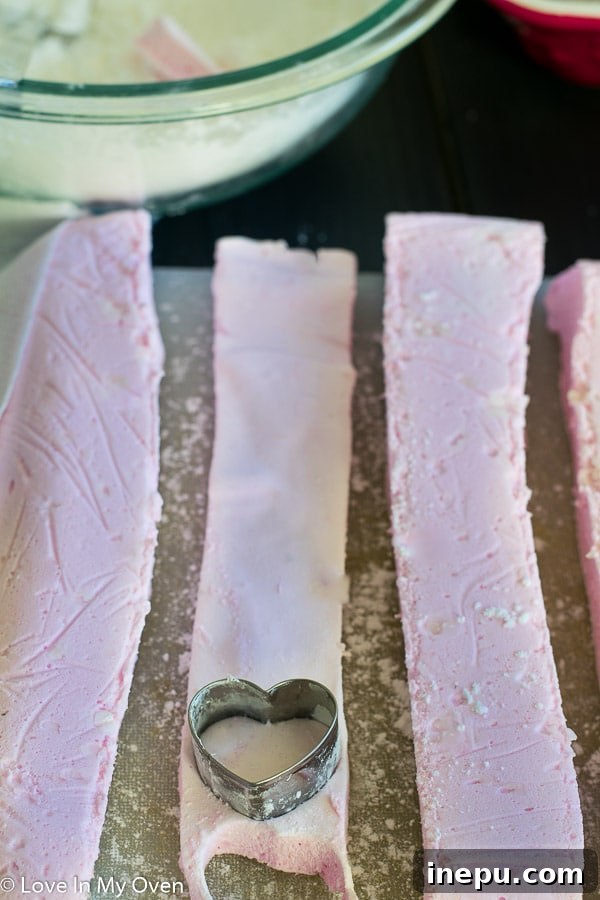
After this agonizing wait, your marshmallows will be ready for their final transformation: cutting. To prevent stickiness and ensure clean cuts, prepare a “dusting powder” by combining corn starch and powdered sugar. This mixture will be your best friend during the cutting process. While a sharp knife can work, I’ve found a pizza cutter to be incredibly efficient and less prone to gumming up. Simply dust your chosen cutting tool frequently with the powder, and slice the marshmallows into your desired shapes and sizes. If you’re aiming for charming shapes with cookie cutters, remember to keep your cutter well-dusted. Don’t fret about the leftover scraps – they’re just as delicious and perfect for a sneaky chef’s treat!
Storing and Savoring Your Homemade Marshmallow Creations
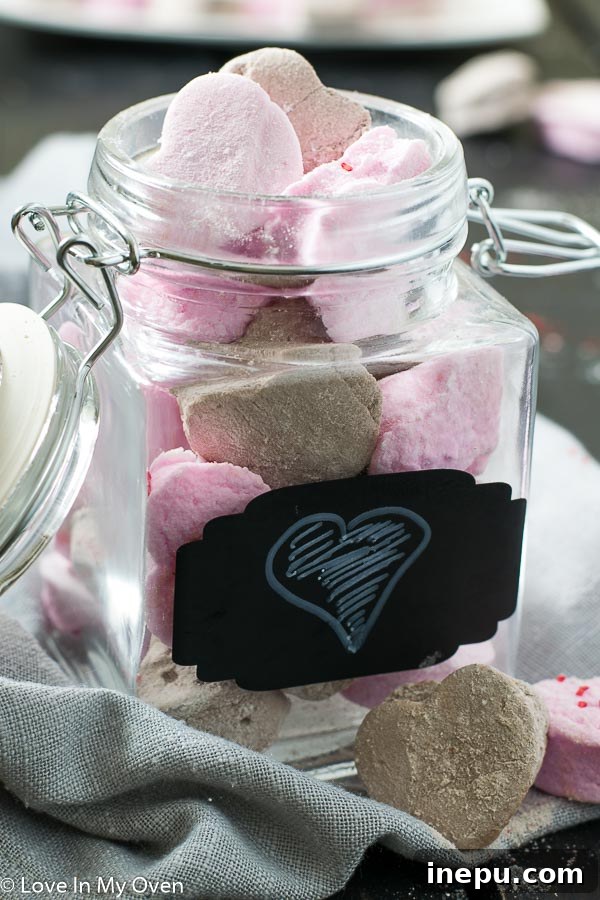
One of the many advantages of homemade marshmallows is their impressive shelf life. Once cut and dusted, these delightful treats will keep beautifully for a few weeks when stored in an airtight container at room temperature. The challenge, of course, is making them last that long! They’re so irresistibly delicious, they tend to disappear rather quickly.
Creative Ways to Enjoy Your Marshmallows
- S’mores: Elevate your s’mores experience with gourmet marshmallows. The intense flavors of chocolate and strawberry will take this classic campfire treat to a whole new level.
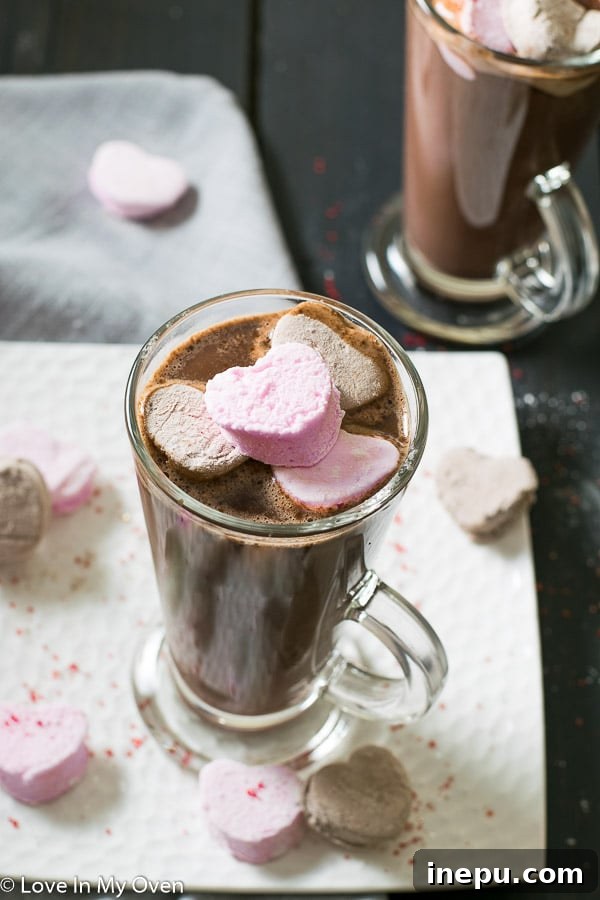
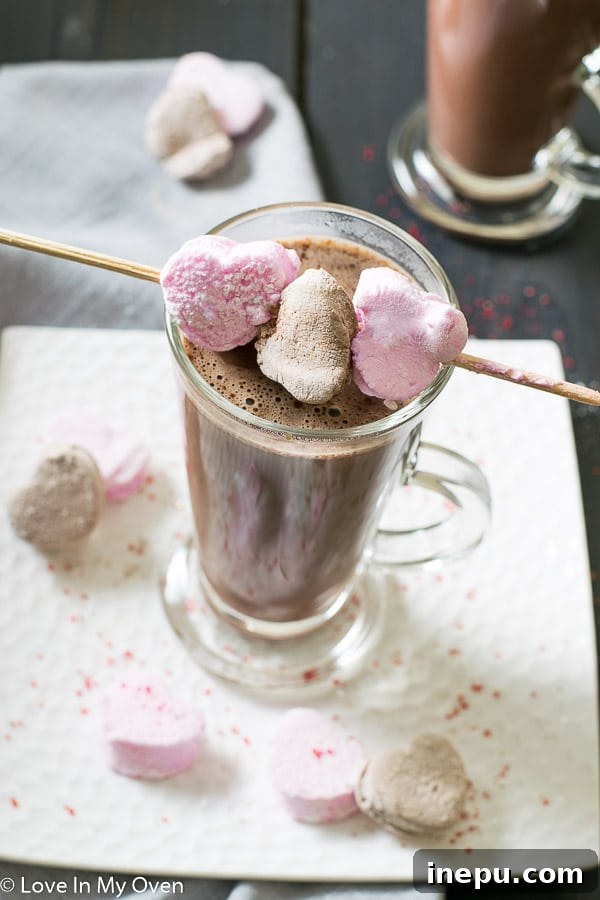
- Hot Chocolate: Float a few in your favorite hot chocolate for an extra layer of decadence. They melt beautifully, creating a creamy, flavorful topping. We particularly love this hot chocolate recipe from my friend Dawn – it’s the perfect pairing!
- Rice Krispie Treats: Incorporate them into your next batch of Rice Krispie treats for a softer, chewier, and more flavorful version of this beloved childhood snack.
- Dessert Topping: Cut them into smaller pieces and use them to top ice cream, puddings, or fruit salads for a burst of sweetness and texture.
- Gifts: Pack them into cute bags or boxes and gift them to friends, teachers, or loved ones. They make for a thoughtful and delicious homemade present, especially around holidays like Valentine’s Day.
So, are you feeling inspired to embark on your own marshmallow-making adventure? I certainly hope so! I’m planning to craft some of these adorable heart-shaped marshmallows to give as party favors for an upcoming group Valentine’s Day dinner. Imagine the delight on everyone’s faces when they receive such a charming and tasty token! They’re not just a treat; they’re a gesture of sweetness and care. ♥♥
More Valentine’s Day Dessert Ideas:
- Nutella Strawberry Galette: A rustic and elegant dessert, combining the creamy hazelnut spread with fresh strawberries in a flaky pastry.
- Chocolate and Raspberry Mousse: Light, airy, and rich, this mousse is a sophisticated treat with the perfect balance of tart raspberries and decadent chocolate.
- Raspberry Filled Sugar Cookies: Classic sugar cookies with a delightful surprise of sweet and tangy raspberry filling, perfect for a romantic gesture.
Homemade Chocolate and Strawberry Marshmallows Recipe
5 Stars
4 Stars
3 Stars
2 Stars
1 Star
No reviews
- Author: Katherine
Total Time: 10 hours 30 minutes
Yield: 16 cups
Description
Skip store-bought and make your own marshmallows! This easy recipe shows you how to make strawberry and chocolate marshmallows using only a few ingredients. The perfect gift for your sweetie this Valentine’s Day!
Ingredients
Scale
Strawberry Marshmallows
- 1/2 cup strawberry puree (see notes)*
- 3 packages (3 tbsp) gelatin powder
- 1 1/2 cups granulated sugar
- 3/4 cup clear corn syrup
- 1/2 cup water
- 1/4 tsp salt
Chocolate Marshmallows
- 1 cup water, divided
- 3 packages (3 tbsp) gelatin powder
- 1 1/2 cups granulated sugar
- 3/4 cup clear corn syrup
- 1/4 tsp salt
- 1/4 cup cocoa powder
- 2 tsp pure vanilla extract
Dusting Powder
- 1 cup powdered sugar
- 3 tbsp corn starch
Instructions
- Line a 9×13 pan with plastic wrap, and spray it with non-stick spray. Sprinkle powdered sugar over the pan, ensuring even coverage.
- Pour the strawberry puree (or 1/2 cup water for chocolate marshmallows) into the bowl of a stand mixer fitted with the whisk attachment. Evenly sprinkle the gelatin powder over the entire surface of the liquid. Allow this mixture to sit undisturbed for a few minutes while you prepare the remaining ingredients; this step is crucial for the gelatin to bloom properly.
- In a medium saucepan, stir together the granulated sugar, clear corn syrup, water, and salt. Heat the mixture over medium-high heat, stirring gently every minute until the sugar dissolves. Continue heating until the mixture begins to form large, rapid bubbles. Immediately remove the saucepan from the heat. With the stand mixer running on low speed, carefully pour the hot sugar mixture over the bloomed puree/water and gelatin. Increase the mixer speed to medium-high and allow it to whip for a full 15-20 minutes, or until the marshmallow mixture becomes very thick, glossy, and holds stiff peaks.
- If making chocolate marshmallows, incorporate the cocoa powder and vanilla extract during the last minute of whipping. Continue to whip until all ingredients are well combined and the mixture is uniformly thick.
- Working quickly, use a spatula to scrape the thick marshmallow mixture into the prepared pan. Spread it out evenly as best as possible; remember, it begins to harden rapidly. Allow the marshmallows to sit, untouched and uncovered, at room temperature for 8-12 hours to fully set.
- In a small bowl, whisk together the powdered sugar and corn starch to create your “dusting powder.” Once the marshmallows are fully set, grab the ends of the plastic wrap to gently lift them out of the pan. Invert them onto a large cutting board that has been generously sprinkled with the dusting powder.
- Using a pizza cutter or a large, sharp knife (dipped frequently into the dusting powder to prevent sticking), cut the marshmallows into your desired shapes and sizes. For best results, re-dust your cutter or knife after every few cuts. Place the cut marshmallow pieces into a bowl with the dusting powder, toss gently to coat completely, and shake off any excess. If using cookie cutters for fun shapes, ensure the cutters are consistently dusted to prevent gumming up. Store your finished marshmallows in an airtight container.
Marshmallows will keep well in an airtight container for 3-4 weeks.
Notes
- To prepare the strawberry puree, simply blend 1 cup of fresh or frozen (thawed) strawberries with 1 tablespoon of water until smooth. Measure out 1/2 cup of this puree for the recipe.
- Prep Time: 30 minutes
- Cook Time: 5 minutes
- Category: desserts
- Method: stove