
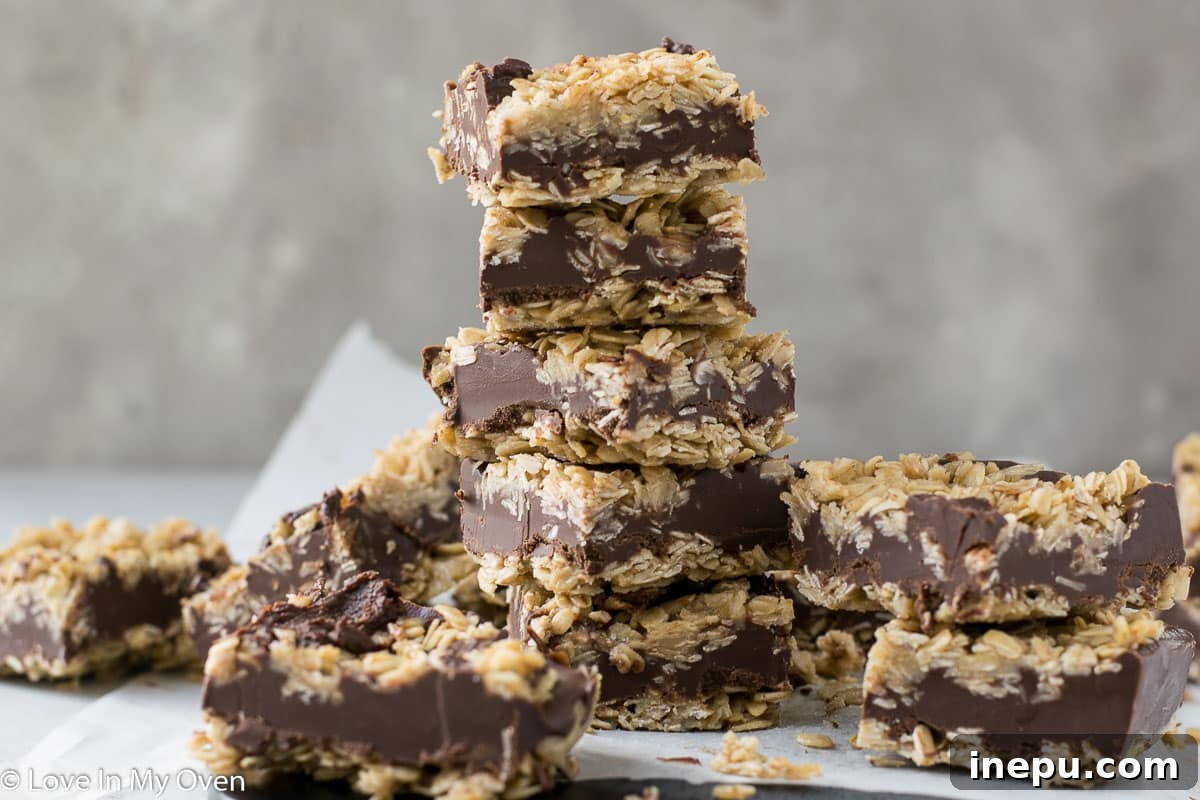
Indulge in the effortless delight of these no-bake gluten-free oatmeal fudge bars! Crafted for simplicity and maximum flavor, they make a perfect treat for school lunchboxes, elegant company, or a satisfying pick-me-up. With just a few smart substitutions, this recipe can easily be made vegan, catering to a variety of dietary needs. Prepare to fall in love with these incredibly easy and satisfying oat fudge bars.
If you’ve ever savored the famous oatmeal fudge bars from Starbucks, you already have a fantastic preview of the exquisite taste and delightful texture these homemade bars offer! Those iconic treats, often paired with our morning coffee, have long been a personal favorite. It was only a matter of time before I embarked on creating my very own version, ensuring they were just as decadent, yet accessible for everyone.
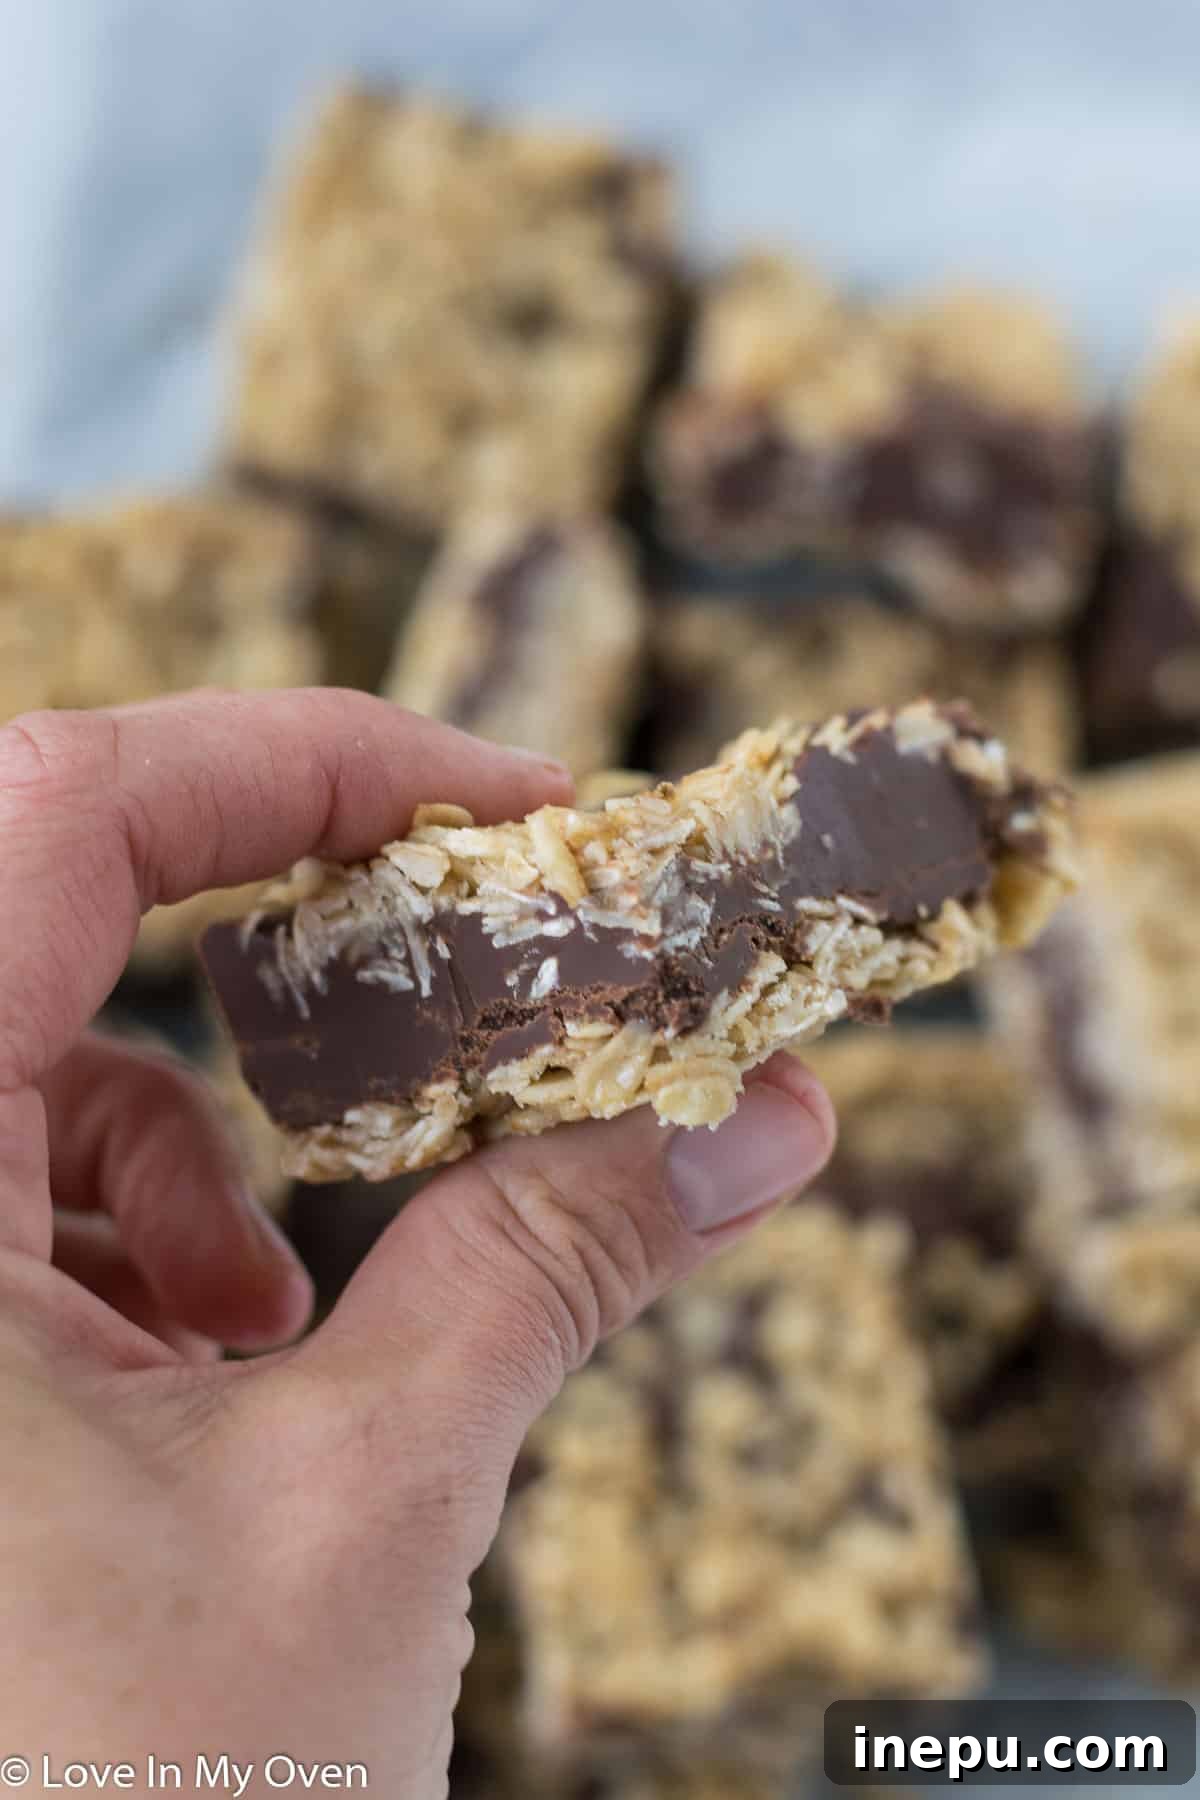
Unlike many recipes that call for oat flour, my rendition proudly features whole, large flake oats. This choice elevates the “oatmeal” aspect of the bars, lending them a wonderfully rustic and satisfying texture that I personally adore. If you appreciate a treat with a bit of chew and substance, you’ll find this approach incredibly appealing. These bars aren’t just delicious; they’re also remarkably versatile. They are inherently kid-friendly, and with simple modifications, they become entirely vegan and gluten-free. This makes them an ideal choice for gatherings, ensuring that friends and family with diverse dietary restrictions can all enjoy a delightful dessert without compromise.
Why You Need These No-Bake Oatmeal Fudge Bars in Your Life
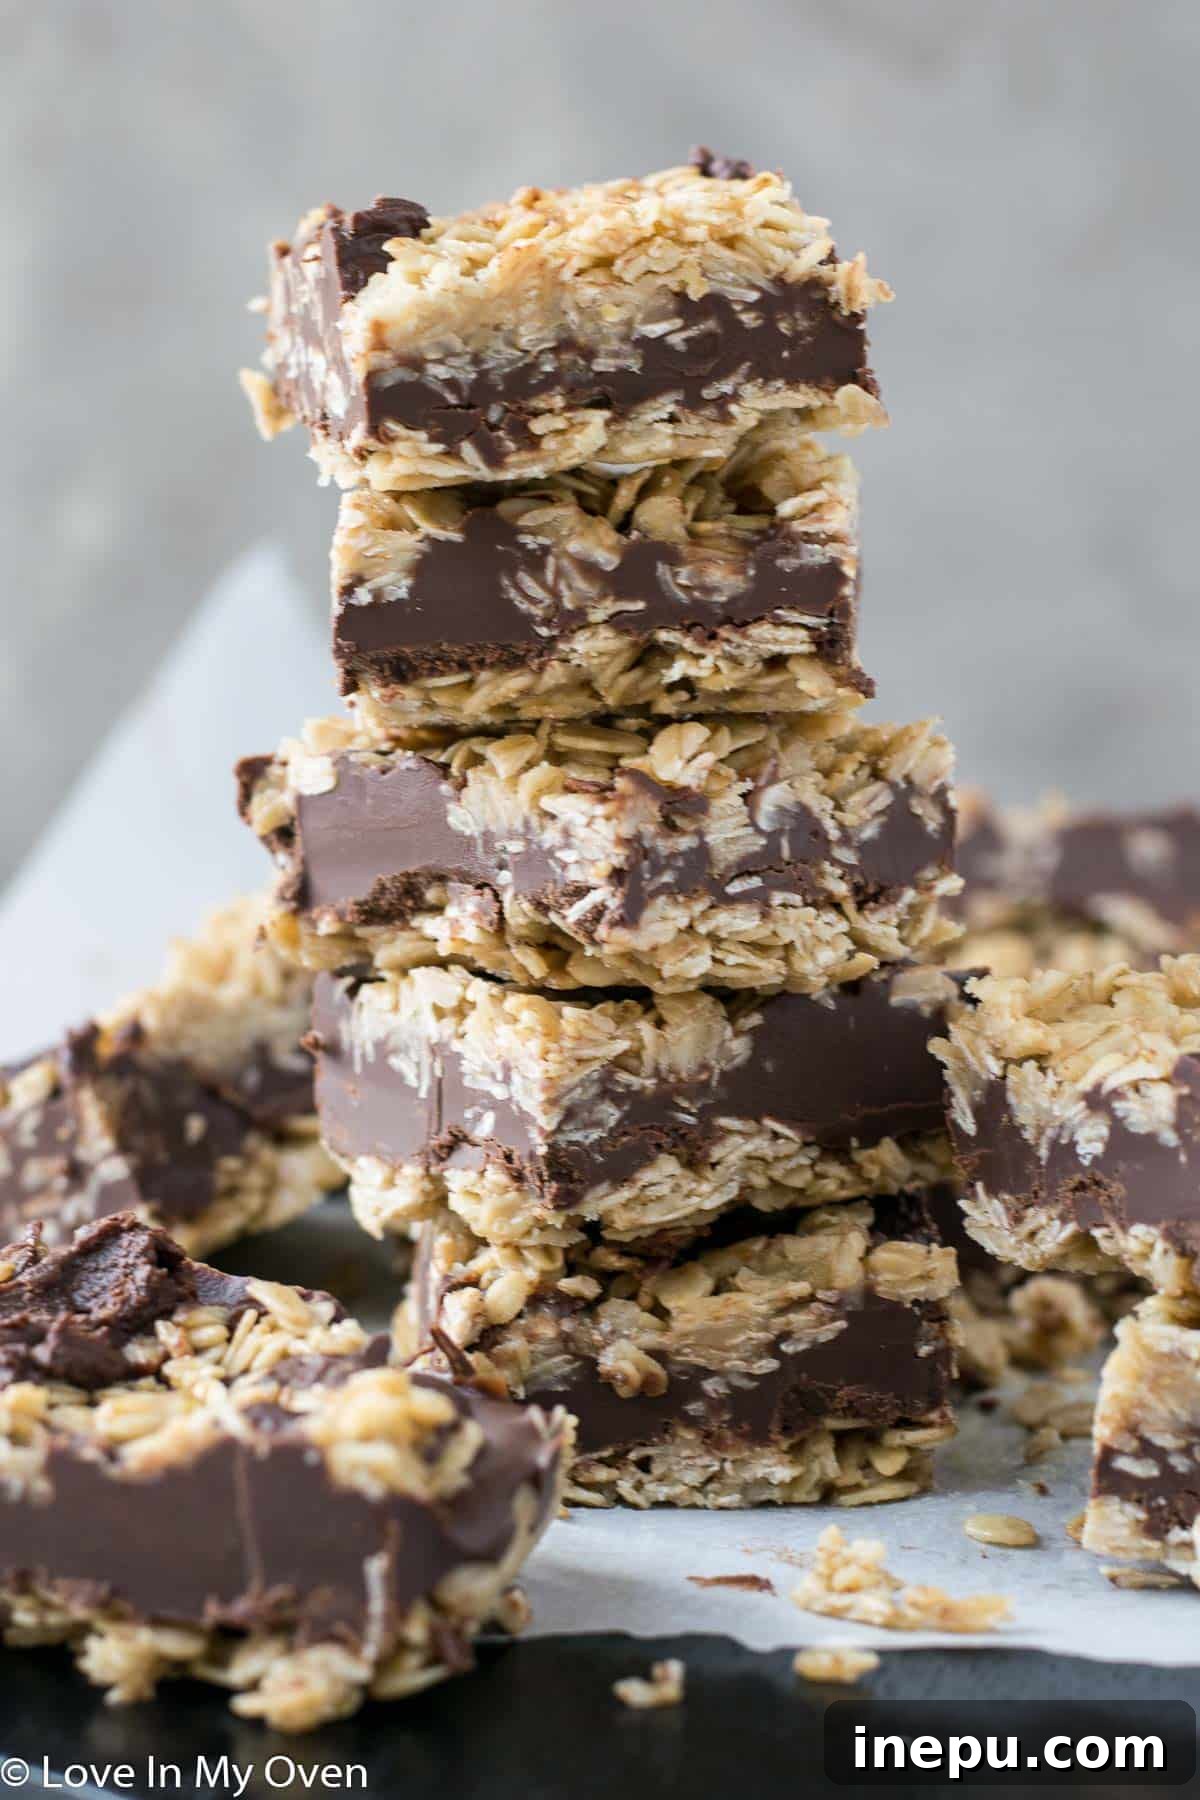
In a world bustling with complex recipes and lengthy baking times, these gluten-free oatmeal fudge bars stand out as a beacon of simplicity and pure joy. Their no-bake nature means less time in the kitchen and more time enjoying the delicious results. Forget about preheating ovens, waiting for things to rise, or worrying about overbaking. This recipe is all about quick assembly and chilling, making it perfect for busy weekdays or impromptu dessert cravings.
Beyond their ease, these bars offer a comforting blend of wholesome oats and rich chocolate fudge. The texture is a delightful interplay of chewy oatiness and smooth, melt-in-your-mouth chocolate. They strike the perfect balance between sweetness and a satisfying depth of flavor, ensuring that every bite is a little moment of bliss. Moreover, their inherent adaptability to gluten-free and vegan diets means they’re a thoughtful choice for any occasion, demonstrating that delicious treats can indeed be inclusive.
Essential Ingredients for Your Oatmeal Fudge Bars
One of the many beauties of this recipe is its minimal ingredient list. You’ll find that most of these items are pantry staples, making it easy to whip up a batch whenever the craving strikes. For instance, if you’re anything like me, you likely keep a few cans of sweetened condensed milk on hand. It’s an invaluable ingredient for impromptu desserts, from delightful no-churn ice creams to these incredible fudge bars.
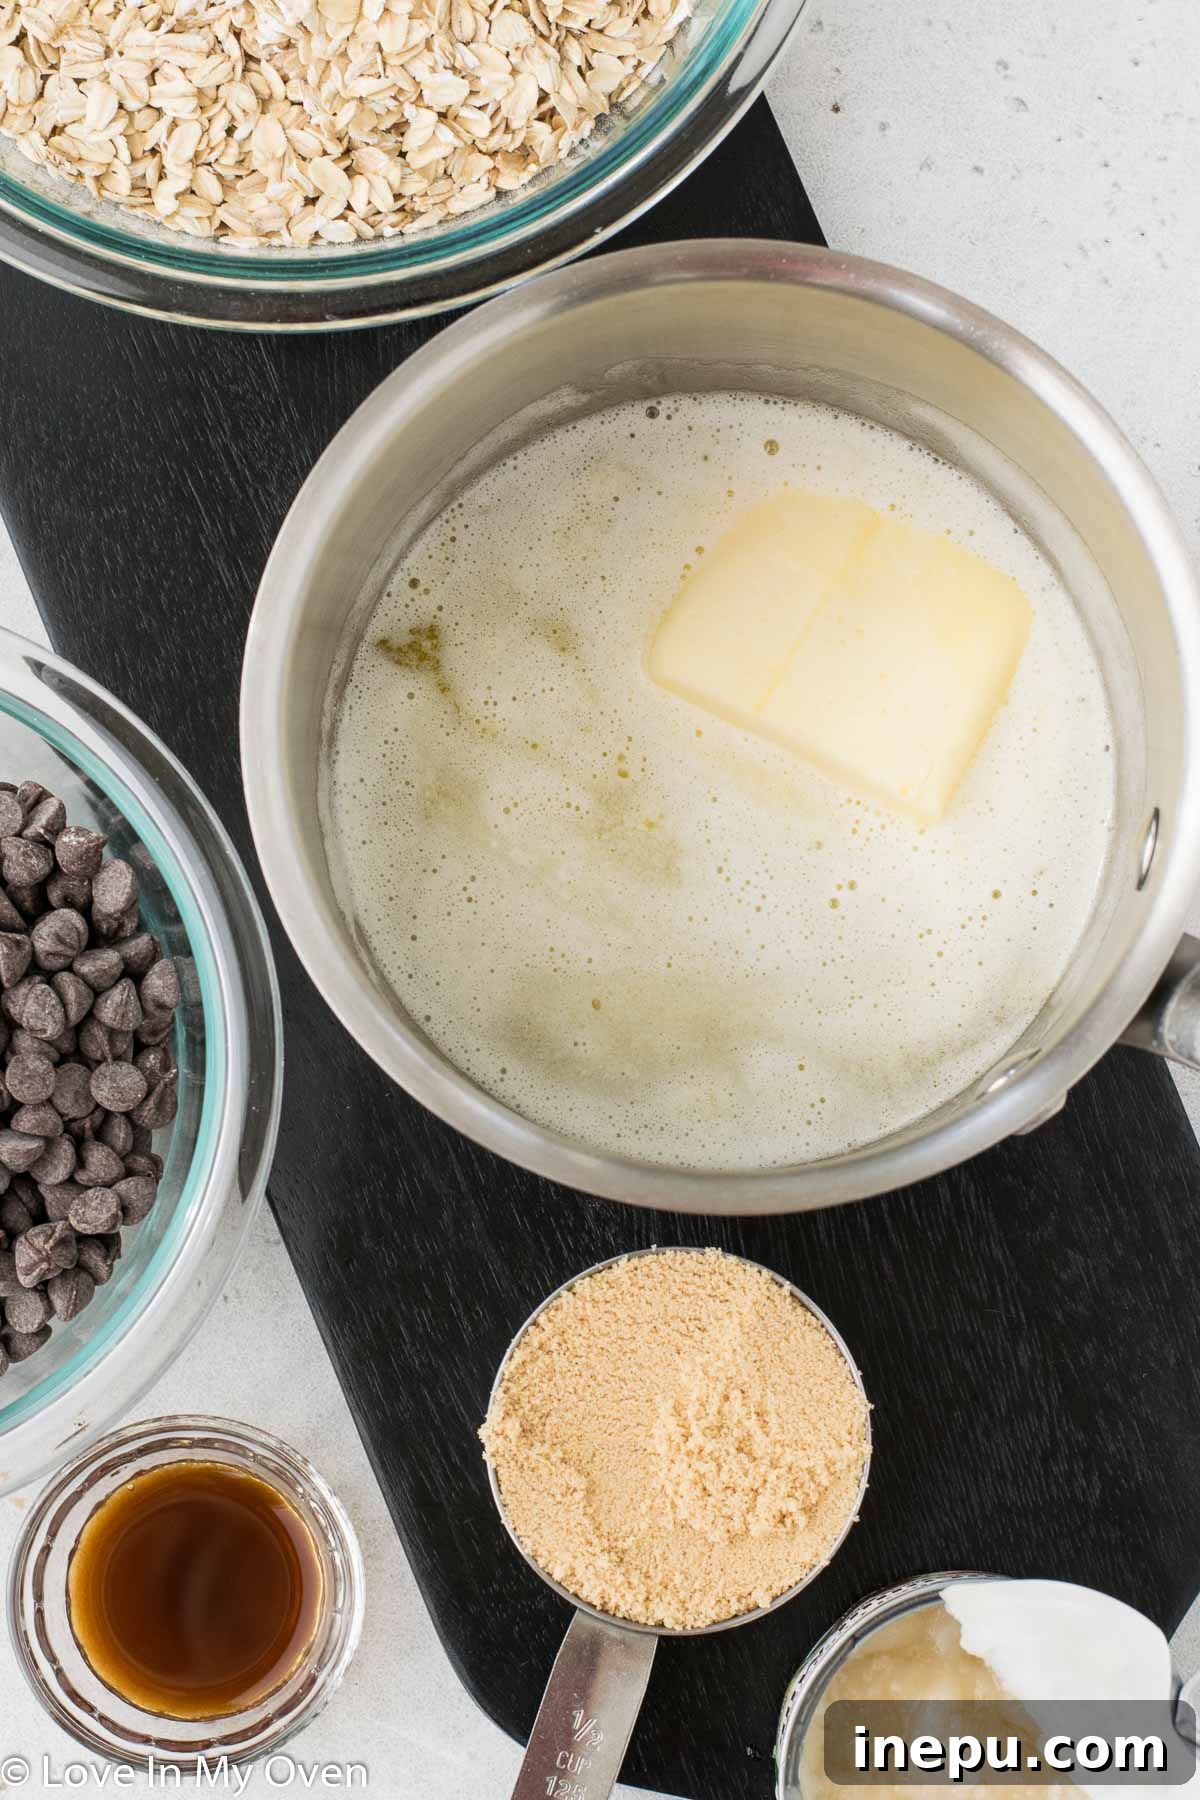
To create these delightful no-bake bars, you’ll need the following high-quality ingredients:
- Gluten-Free Rolled Oats: The star of our show! Ensure you use certified gluten-free rolled oats if catering to dietary restrictions. Large flake or old-fashioned oats work best here, providing that desirable chewy texture we love. Quick oats might result in a softer, less structured bar, so stick to rolled for optimal results.
- Brown Sugar: This provides a deep, caramel-like sweetness and helps create a wonderfully moist and tender oat base. Light or dark brown sugar will both work, with dark brown sugar offering a richer molasses flavor.
- Unsalted Butter: The binder for our oat base and a key contributor to the rich flavor. Using unsalted butter gives you control over the overall saltiness of the bars. For a vegan alternative, simply swap this for a high-quality vegan butter.
- Chocolate Chips: The heart of our fudge layer. Opt for your favorite variety – semi-sweet, dark, or even milk chocolate chips will create a decadent filling. For a dairy-free version, use vegan chocolate chips.
- Sweetened Condensed Milk: This magical ingredient is crucial for achieving the creamy, smooth, and perfectly set fudge layer. It provides both sweetness and that signature dense, gooey texture that makes fudge so irresistible.
- Vanilla Extract: A touch of pure vanilla extract enhances all the other flavors, adding a warm, aromatic note that elevates the entire dessert. Don’t skip this!
Gathering these simple ingredients is the first step towards creating a batch of bars that will impress and delight everyone lucky enough to try them.
How to Craft These No-Bake Oatmeal Fudge Bars: A Step-by-Step Guide
Creating these delightful no-bake bars is surprisingly straightforward, involving just a few simple steps. The magic happens primarily on the stovetop and then in your refrigerator. Follow these instructions carefully, and you’ll be enjoying these irresistible treats in no time.
-
Prepare Your Pan: Begin by lining an 8×8 inch baking pan with parchment paper. Ensure the parchment paper hangs over the edges of the pan; this will create “handles” that make it incredibly easy to lift the entire batch of bars out of the pan once they’re set. This simple step prevents sticking and makes slicing a breeze.
Start the Oat Base: In a medium-sized saucepan, melt the unsalted butter over low heat on your stovetop. Once the butter is just melted and shimmering, add the brown sugar. Stir these two ingredients together until the sugar begins to dissolve and the mixture forms a smooth, cohesive liquid. Allow this mixture to gently simmer for about two minutes. This brief simmer helps to deepen the caramel flavor of the brown sugar. After simmering, remove the saucepan from the heat and stir in the pure vanilla extract, ensuring it is well combined with the butter and sugar mixture.
-
Incorporate the Oats: Return the saucepan to low heat. Add the gluten-free rolled oats to the butter and brown sugar mixture. Stir constantly, ensuring that every oat flake is thoroughly coated. Continue cooking over low heat for 3-4 minutes. This brief cooking time toasts the oats slightly, enhancing their flavor and helping them absorb some of the rich butter-sugar mixture, creating a wonderfully chewy base. Be diligent with your stirring to prevent the oats from burning or sticking to the bottom of the pan.
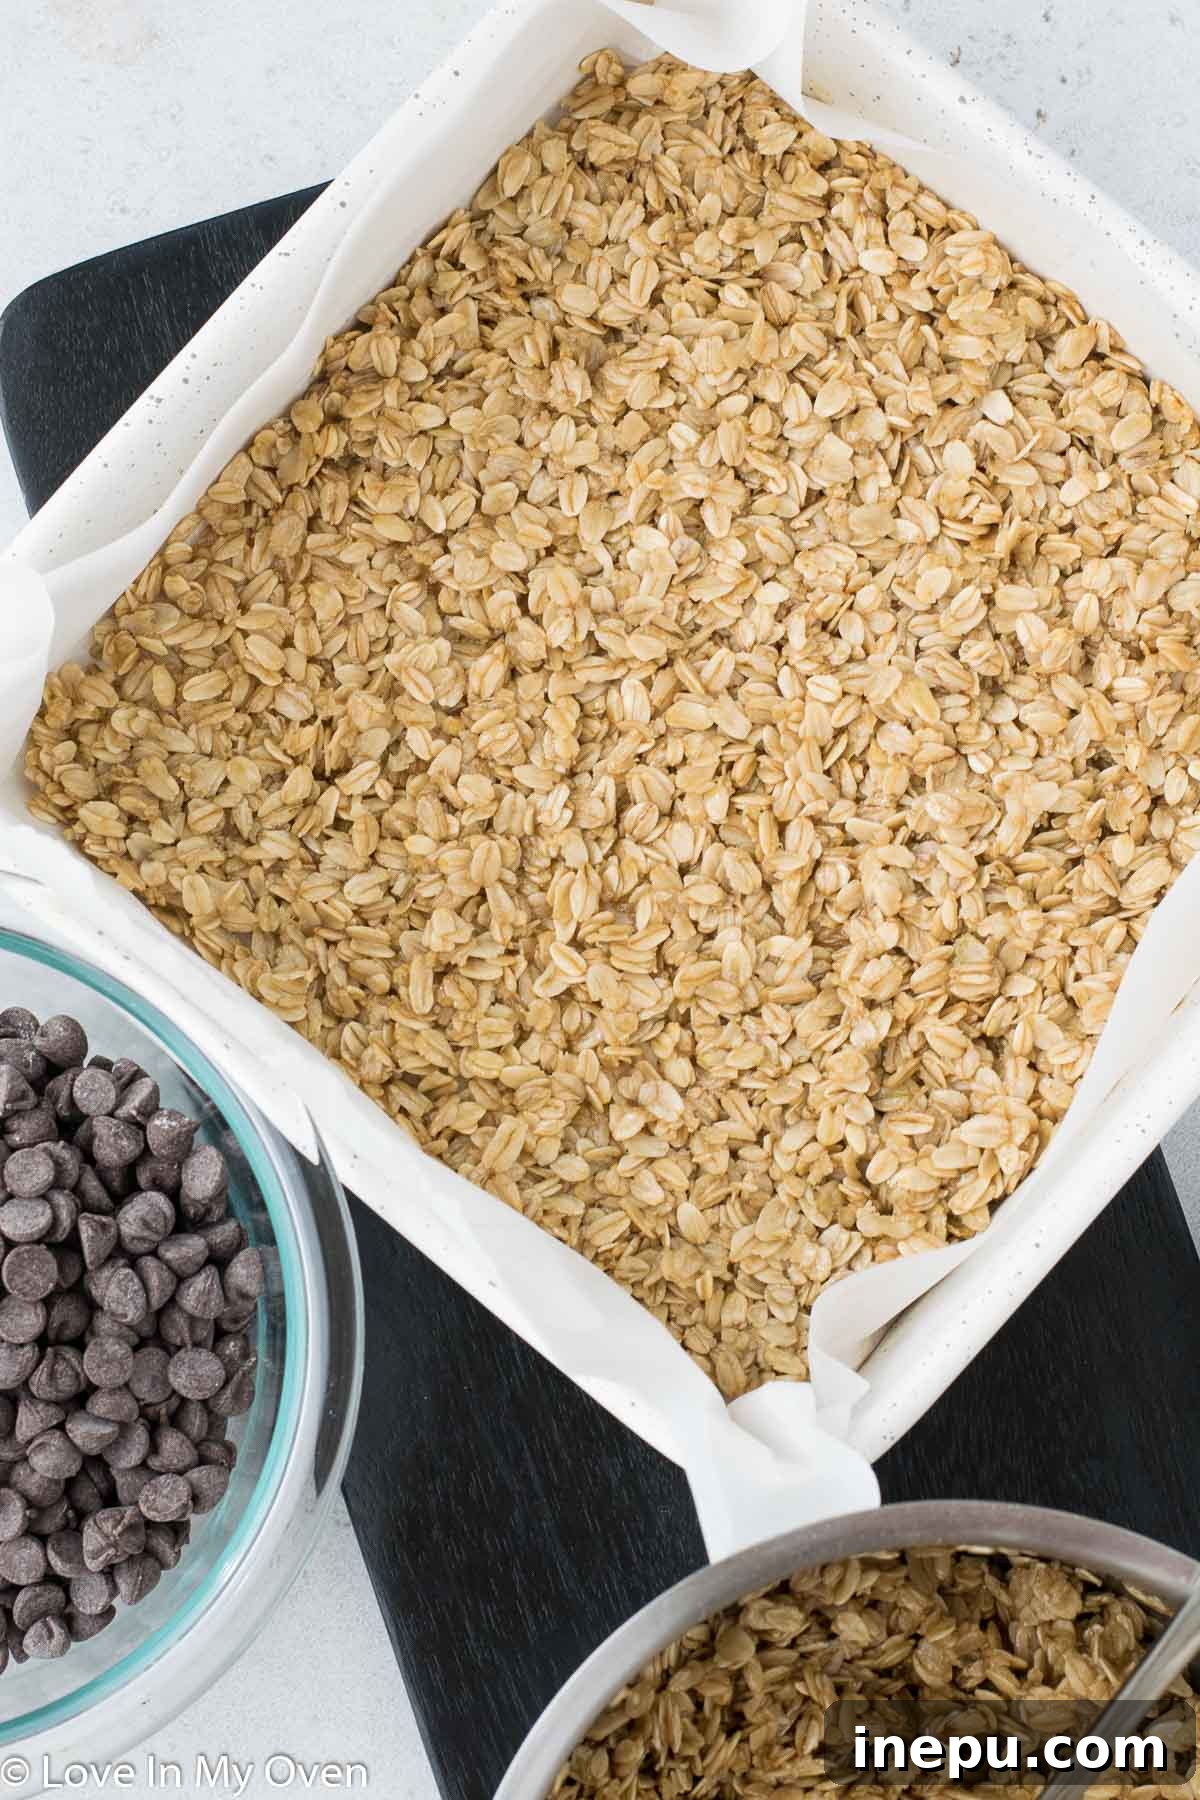
Form the First Layer: Remove the oat mixture from the heat. Carefully transfer approximately half of the mixture into your prepared parchment-lined baking pan. There’s no need for precise measuring here; simply eyeball it to get a relatively even distribution. To form a firm, even base, use the bottom of a measuring cup (lightly coated with nonstick cooking spray to prevent sticking) to press the oat mixture down as hard and evenly as you can into the bottom of the pan. This compaction is key for a stable base. Once pressed, place the pan into the refrigerator to chill while you prepare the next decadent layer.
-
Craft the Fudge Layer: In a separate, clean saucepan, combine the sweetened condensed milk and chocolate chips over low heat on the stovetop. Stir constantly and patiently. The goal is to melt the chocolate chips completely and incorporate them smoothly into the condensed milk, forming a glossy, luxurious fudge. This process should take only a few minutes; be careful not to scorch the chocolate. Once the mixture is smooth and evenly melted, remove the saucepan from the heat immediately.

-
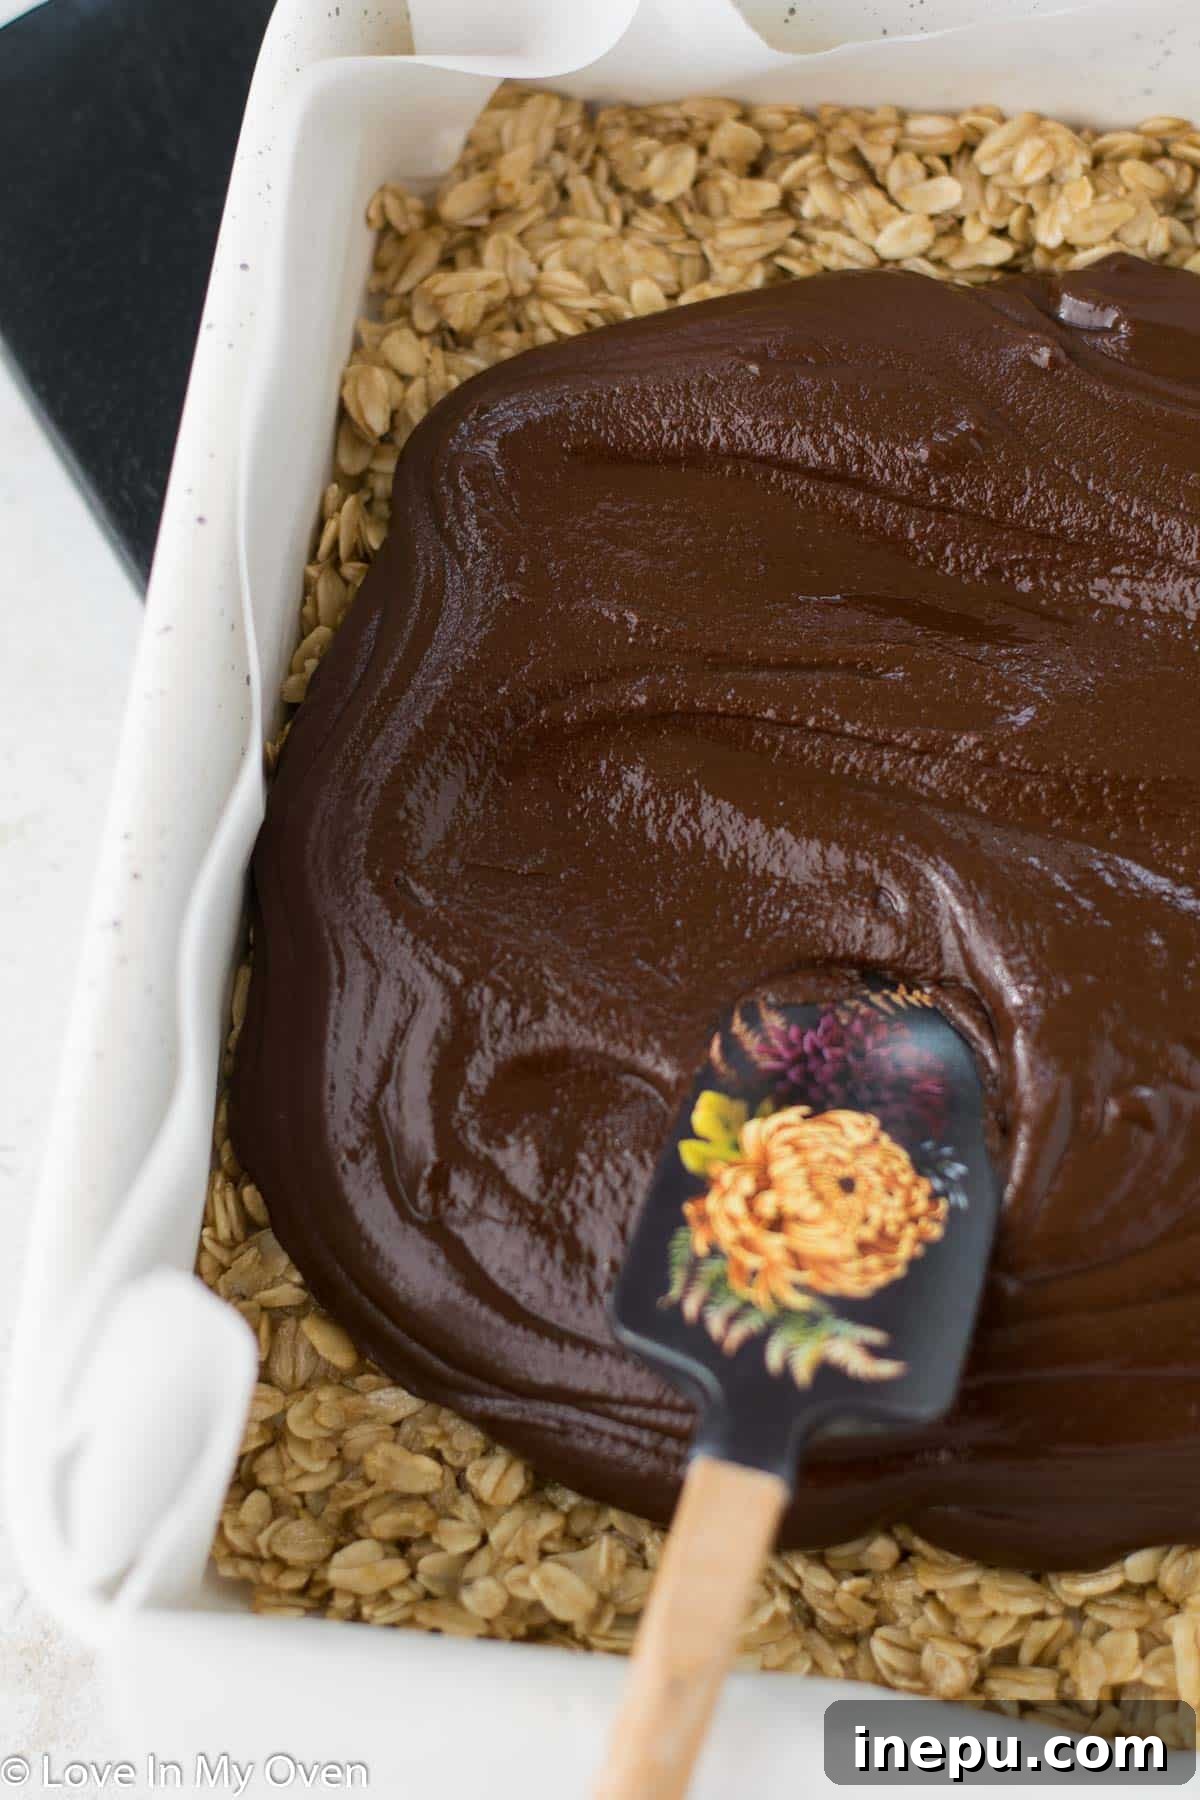
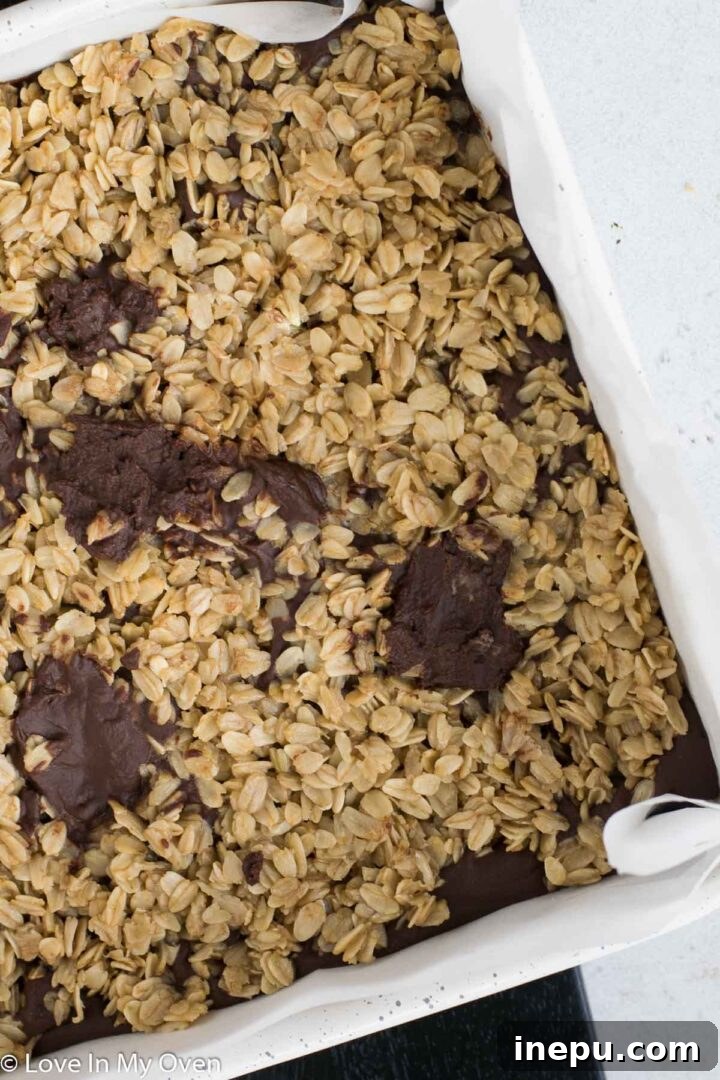
Assemble the Layers: Retrieve your baking pan with the chilled oat base from the refrigerator. Pour the warm chocolate fudge mixture evenly over the pressed oat layer. Use a spatula to gently spread the fudge from edge to edge, ensuring a smooth and consistent layer. Next, take the remaining half of the oat mixture. Instead of pressing it down, crumble it in small spoonfuls over the top of the chocolate fudge layer. Gently flatten these oat crumbles slightly with the back of a spoon or your fingertips, creating a rustic, textured topping. Allow some of the rich chocolate fudge to peek through the oat crumbles for an appealing visual contrast.
-
Chill and Set: Once all layers are assembled, place the entire pan back into the refrigerator. Allow the bars to chill for at least 2 hours. This chilling period is crucial for the bars to set completely, ensuring they can be cleanly sliced and hold their shape beautifully. Resist the urge to cut them too early!
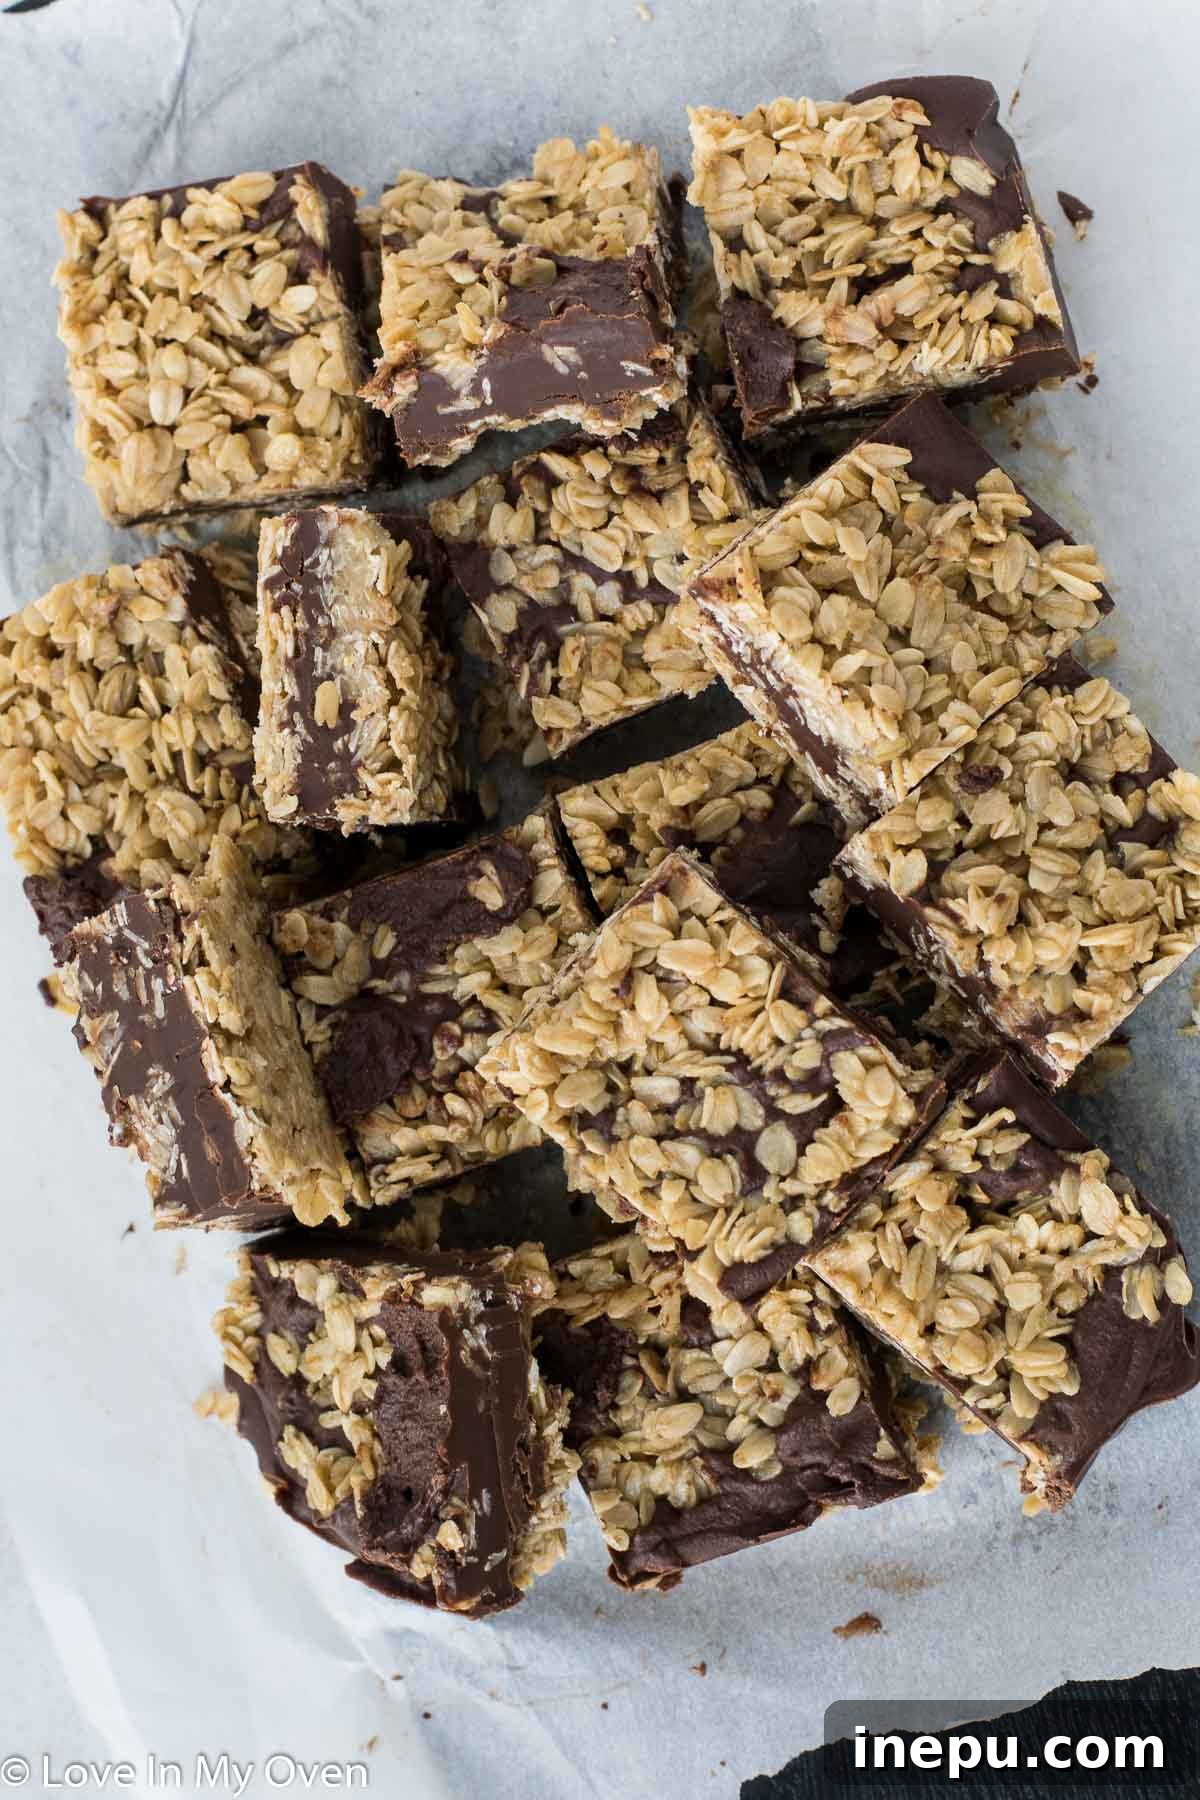
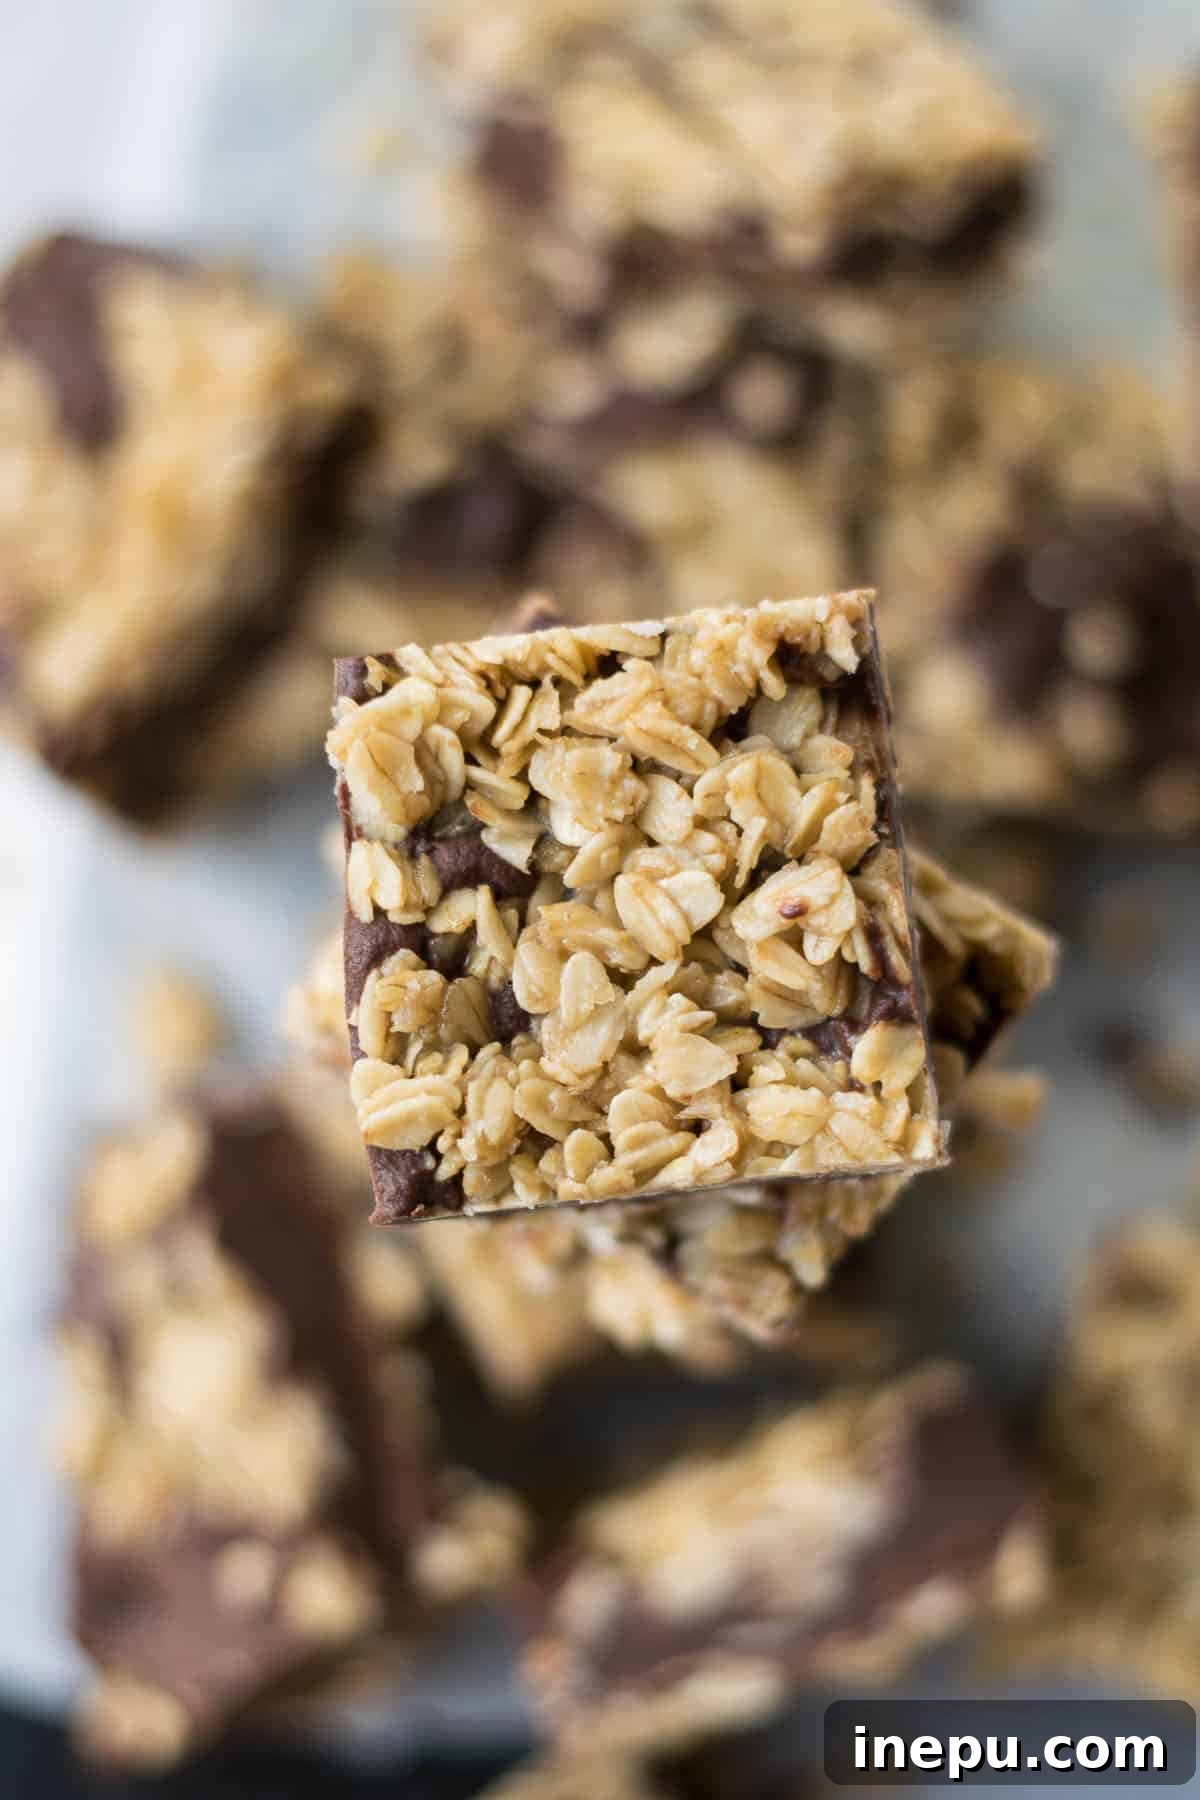
Slice and Serve: After the bars are thoroughly chilled and firm, use the parchment paper overhang to carefully lift the entire slab out of the pan and onto a cutting board. Using a sharp, warm knife (you can warm it under hot water and wipe it dry), slice the slab into 16 even bars. Enjoy your homemade, delightful gluten-free oatmeal fudge bars!
Tips for Perfect No-Bake Oatmeal Fudge Bars
- Quality Ingredients Matter: Since this recipe uses a minimal number of ingredients, the quality of each really shines through. Use good quality butter, pure vanilla extract, and chocolate chips for the best flavor.
- Don’t Overcook the Oats: The goal is to just lightly toast the oats and allow them to absorb the butter-sugar mixture. Overcooking can make them too dry or even burnt, affecting the texture of your base.
- Even Pressure for the Base: When pressing the first oat layer into the pan, make sure to apply even and firm pressure. This creates a solid foundation for your bars, preventing them from crumbling when sliced.
- Low and Slow for the Fudge: Melting the chocolate chips with condensed milk over low heat is crucial. High heat can cause the chocolate to seize or burn, resulting in a grainy fudge. Patience is key for a silky smooth layer.
- Adjust Sweetness: If you prefer less sweet treats, you can opt for darker chocolate chips (70% cocoa or higher) for the fudge layer. The sweetened condensed milk already provides significant sweetness.
- Creative Toppings: Feel free to experiment! A sprinkle of sea salt flakes on top of the chocolate layer before adding the final oats can enhance the chocolate flavor. Chopped nuts, shredded coconut, or a drizzle of caramel can also add extra flair.
Storage Solutions for Ultimate Freshness
Proper storage ensures your gluten-free oatmeal fudge bars remain fresh, delicious, and perfectly textured for as long as possible. Here’s how to keep them at their best:
Room Temperature: These bars can technically be left at room temperature for up to one day. However, it’s important to note that they will soften significantly, especially the fudge layer, due to the butter and condensed milk. This can make them a bit messier to handle and potentially more prone to crumbling. If you plan to serve them within a few hours and prefer a softer texture, room temperature is an option, but keep them in an airtight container to prevent drying out.
Refrigerator (Recommended): For optimal texture and firmness, storing these bars in the refrigerator is highly recommended. The chilled environment keeps the oat base crisp and the fudge layer perfectly firm, yet still delightfully chewy. The beauty of condensed milk is that it helps the chocolate fudge retain a lovely, soft consistency even when cold, preventing it from becoming brittle. Place the bars in a single layer in an airtight container, separated by parchment paper if stacking multiple layers. They will stay fresh and delicious in the fridge for up to 5-7 days.
Freezer: If you want to prepare a batch well in advance or have leftovers you wish to preserve, these oatmeal fudge bars freeze beautifully! Arrange the sliced bars in a single layer on a baking sheet and flash freeze them for about 30-60 minutes until firm. Once firm, transfer them to a freezer-safe airtight container or a heavy-duty freezer bag, again, using parchment paper between layers to prevent sticking. They can be stored in the freezer for up to 2 months. To enjoy, simply remove them from the freezer and let them thaw in the refrigerator or at room temperature for a quick, delicious treat.
Making Them Vegan: Simple Swaps for a Dairy-Free Treat
One of the most wonderful aspects of this recipe is how easily it adapts to a vegan diet without sacrificing any of the decadent flavor or texture. With just a few straightforward substitutions, you can transform these gluten-free oat bars into a completely plant-based delight that everyone can enjoy.
-
Vegan Butter: The primary substitution for the oat base is swapping traditional unsalted butter for a high-quality vegan butter. Look for brands that are specifically designed for baking and have a similar fat content to dairy butter. Many excellent plant-based butter sticks are available on the market that will perform beautifully in this recipe, yielding a rich, buttery flavor and helping the oat base bind perfectly.
-
Dairy-Free Chocolate Chips: For the luxurious fudge layer, you’ll need to use vegan, non-dairy chocolate chips. Fortunately, the market now offers a wide array of options, including semi-sweet, dark, and even “milk” chocolate style chips made from plant-based ingredients like oat milk or rice milk. Always double-check the ingredient list to ensure they are certified dairy-free.
-
Coconut Condensed Milk: This is a crucial swap for the fudge layer. Coconut condensed milk provides the same creamy consistency and sweetness as its dairy counterpart, ensuring your fudge sets perfectly and has that classic smooth texture. When purchasing, pay close attention to the volume of the can. Many brands of coconut condensed milk come in slightly smaller cans than regular dairy condensed milk. For this specific recipe, you will need 330 mL of coconut condensed milk to achieve the correct consistency and flavor balance. It’s always a good idea to measure it out before adding to ensure you have the right amount.
By making these three simple changes – vegan butter, dairy-free chocolate chips, and coconut condensed milk – your gluten-free oatmeal fudge bars will be entirely vegan, proving that plant-based treats can be just as indulgent and satisfying!
Frequently Asked Questions (FAQs)
To help you master this delicious recipe, here are answers to some common questions:
Q: Can I use quick oats instead of rolled oats?
A: While quick oats can be used in a pinch, they will yield a softer, less chewy base for the bars. Rolled oats (old-fashioned oats) are recommended for their superior texture and ability to hold up better in the no-bake mixture, giving the bars a more satisfying bite.
Q: Do I need to use certified gluten-free oats?
A: If you or someone you’re serving has celiac disease or a gluten sensitivity, then yes, it is crucial to use certified gluten-free rolled oats. Regular oats are often cross-contaminated with wheat during processing. If gluten is not a concern, any rolled oats will work.
Q: Can I use a different size pan?
A: An 8×8 inch pan is ideal for the thickness and yield of these bars. If you use a larger pan (e.g., 9×13 inch), your bars will be thinner, and you might need to adjust the chilling time, potentially increasing the recipe by 1.5 times for a comparable thickness. A smaller pan will result in very thick bars, which might require longer chilling and be harder to slice.
Q: Why did my fudge layer not set?
A: The most common reason for a runny fudge layer is not allowing enough chilling time. Ensure the bars chill in the refrigerator for at least 2 hours, or even longer if needed, until fully firm. Also, make sure you used sweetened condensed milk, not evaporated milk, as they are not interchangeable.
Q: Can I add nuts or other mix-ins?
A: Absolutely! Chopped pecans, walnuts, or almonds would be a delicious addition to the oat base or sprinkled on top of the fudge layer. Shredded coconut, dried cranberries, or a swirl of peanut butter in the fudge could also add interesting variations. Feel free to get creative!
Q: How do I get clean slices?
A: For perfectly clean slices, ensure the bars are thoroughly chilled. Use a sharp knife that has been run under hot water and then wiped dry before each cut. This helps the blade glide through the fudge without sticking or dragging.
Other Sweet Treats from the Blog You’ll Adore:
If you’ve fallen in love with these easy no-bake bars, you’ll surely want to explore more delicious recipes from our collection of bars and brownies. Here are a few favorites that promise to satisfy your sweet tooth:
- Decadent Vegan Magic Bars: Another fantastic option for plant-based dessert lovers, packed with layers of flavor and texture.
- Simple 3-Ingredient Nutella Brownies: For a quick and utterly indulgent chocolate fix that requires minimal effort.
- Refreshing No-Bake Cheesecake Bars: A creamy, tangy, and cool treat perfect for warmer weather or when you’re craving cheesecake without the fuss.
Gluten Free Oatmeal Fudge Bars
Average: 5 from 1 review
- Author: Katherine | Love In My Oven
- Total Time: 45 minutes
- Yield: 16 bars
- Diet: Gluten Free
Description
These gluten free oatmeal fudge bars are no bake, simple to make and a great treat for lunchboxes or for company! They can also be made vegan with only a couple of substitutions!
Ingredients
- 1 cup unsalted butter
- 1/2 cup brown sugar
- 1 tsp pure vanilla extract
- 3 cups old fashioned oats
- 1 can (330 mL) condensed milk
- 2 cups chocolate chips
Instructions
- Line an 8×8 pan with parchment paper. On the stovetop in a medium sized saucepan, melt the butter on low until it’s just melted. Add the brown sugar and let the mixture simmer for a couple of minutes, before adding the vanilla extract and stirring to combine.
- Add the rolled oats and stir to coat, cooking over low for 3-4 minutes, stirring constantly. Remove the mixture from heat, then empty half of the mixture in to the parchment lined baking pan. It doesn’t need to be exactly half, just use your best guess! You can use the bottom of a measuring cup coated with nonstick spray to press the mixture as hard as you can into the bottom of the pan, in an even layer. Place the pan in the fridge while you prepare the rest of the ingredients.
- In another saucepan, over low heat on the stove, combine together the sweetened condensed milk together with the chocolate chips. Stir constantly, until the mixture is smooth and melted together. Remove the saucepan from heat.
- Remove the baking pan from the fridge and spread the chocolate mixture over the top of the oats, using a spatula to smooth it around in an even layer. Add the remaining oatmeal mixture in spoonfuls to the top of the chocolate layer, spreading out the spoonfuls a bit to flatten them. Leave some chocolate to peek through the oats.
- Place the entire pan in the fridge for up to 2 hours to set completely before slicing into 16 even bars.
Store the bars in the fridge in an airtight container, or at room temperature for 2-3 days. The bars will be softer at room temperature and may crumble a bit more.
Bars can also be stored in the freezer in an airtight container for up to 2 months.
Notes
*To make these bars vegan, be sure to substitute the butter for vegan butter, and coconut condensed milk, as well as dairy-free chocolate chips.
- Prep Time: 20 minutes
- Cook Time: 20 minutes
- Category: bars
- Method: stovetop
- Cuisine: american