
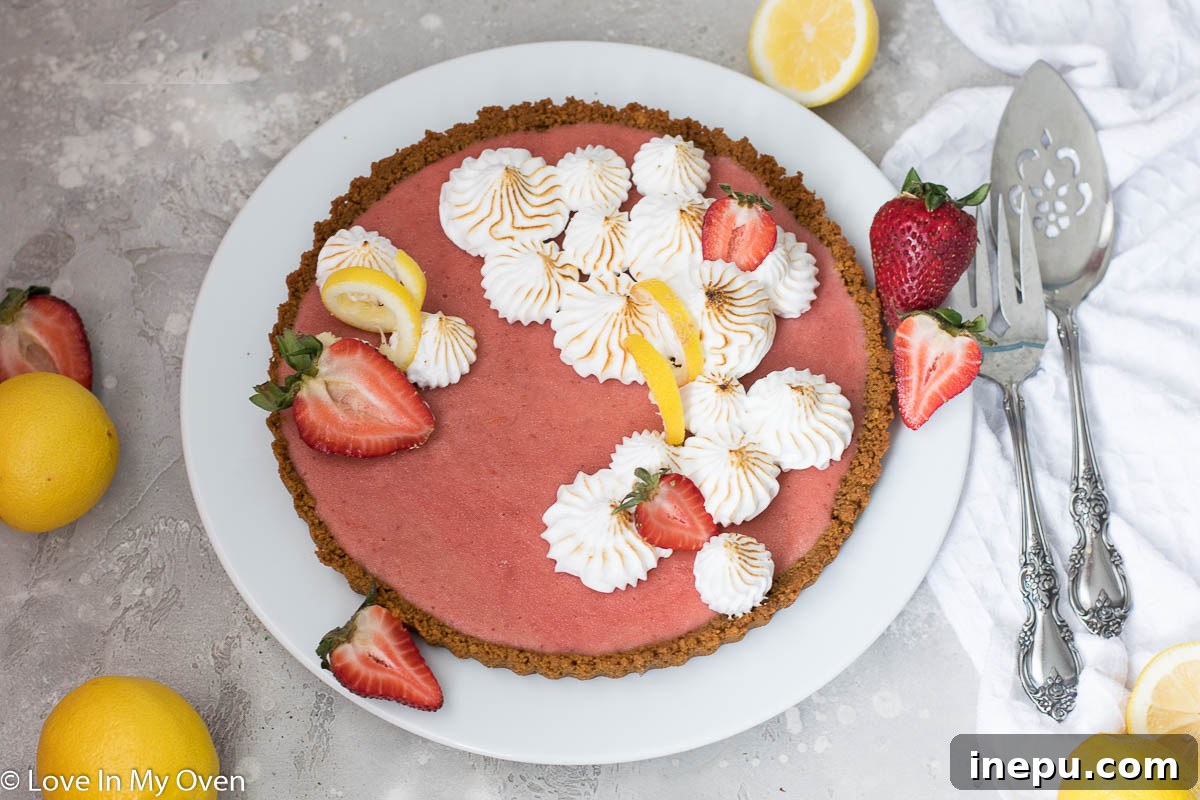
Indulge in the simplest, yet most exquisite, strawberry lemon dessert! This delightful Strawberry Lemon Curd Tart, featuring a unique gingersnap crust, requires just a few ingredients and promises an unforgettable burst of flavor.
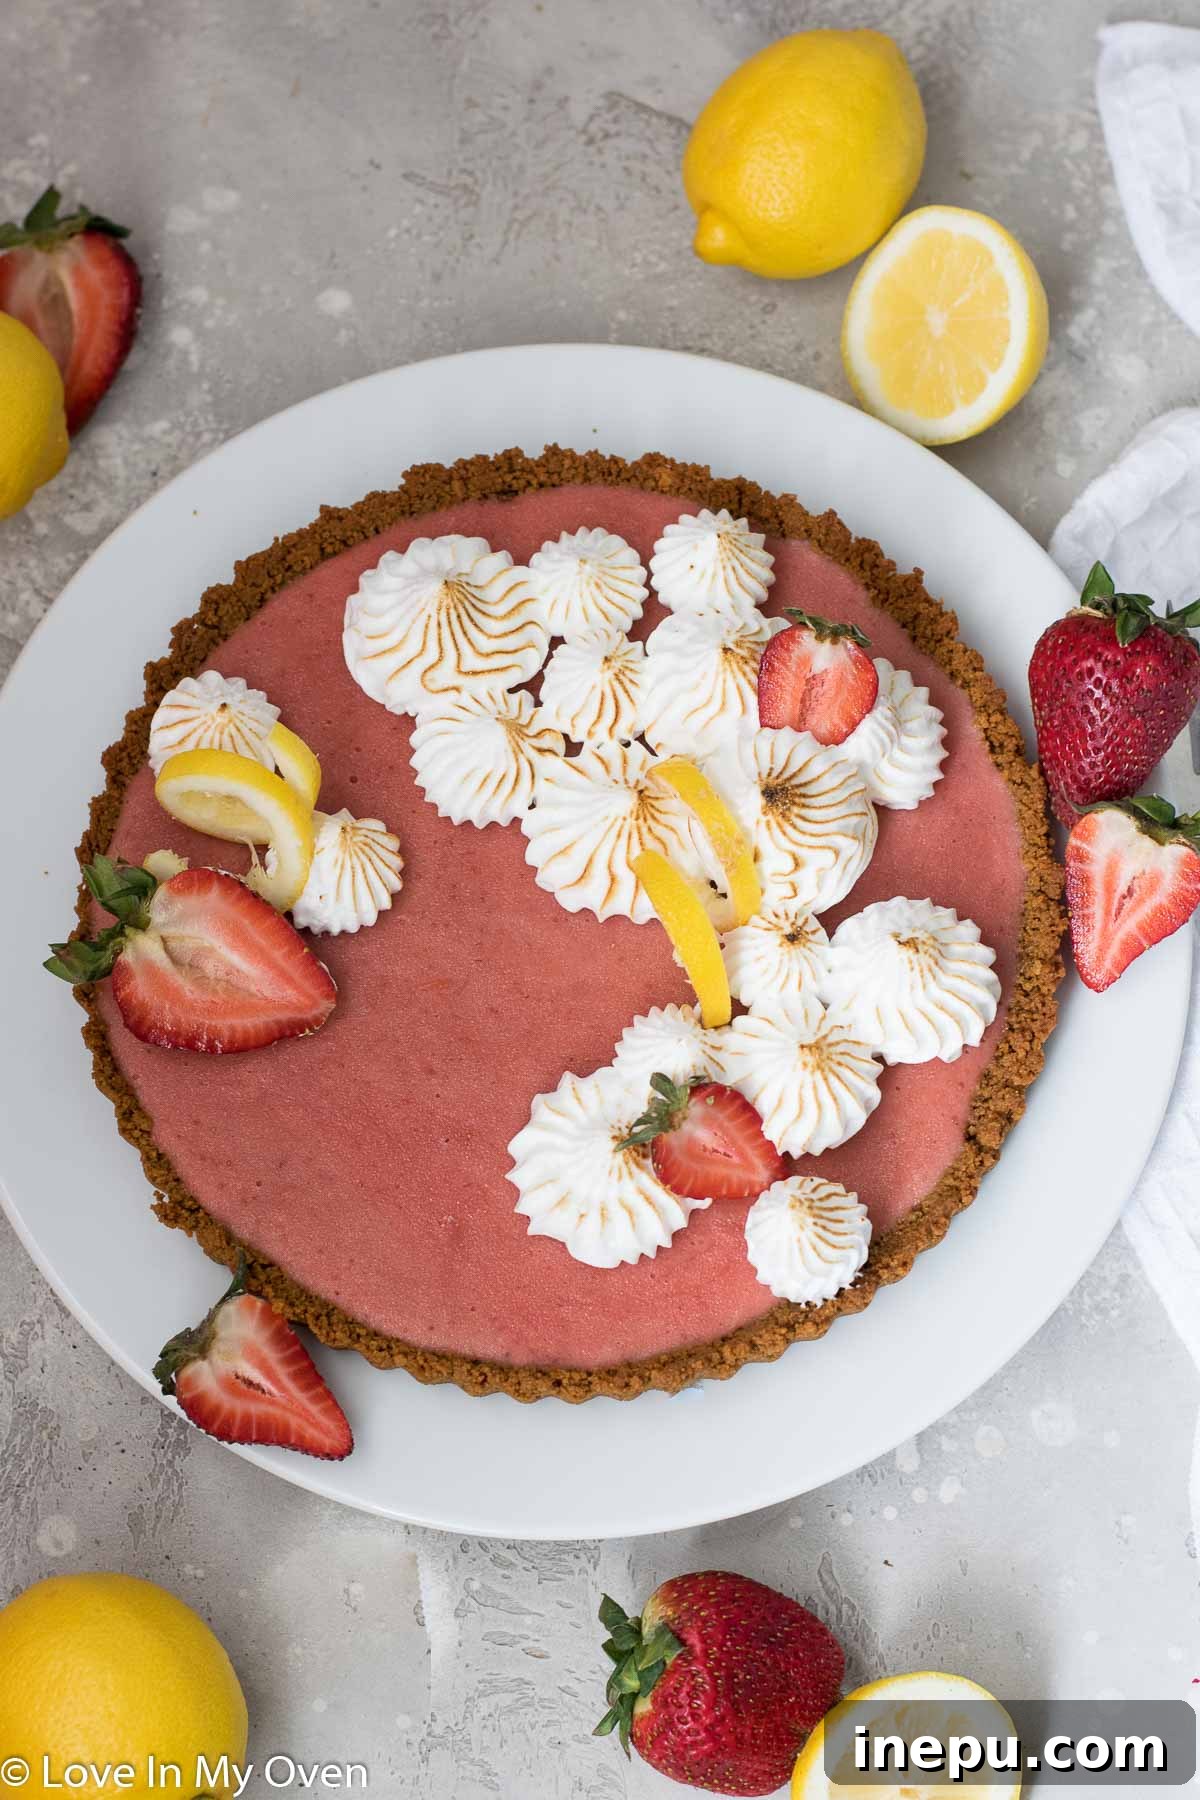
Discovering the Magic of a Simple Strawberry Lemon Curd Tart
Sometimes, the greatest joys come from the simplest pleasures – both in life and in the kitchen. Just recently, my daughter Hattie celebrated her third birthday, a milestone that still feels a little surreal. We kept it a cozy family affair, filled with her favorite foods like sprinkle pancakes, noodles, and homemade mac and cheese (she’s definitely a pasta enthusiast!). The highlight was decorating her Peppa Pig birthday cake, which turned out surprisingly well, if I do say so myself!
Amidst the birthday festivities, my mind drifted to another creation I’d whipped up a while back: that luscious strawberry lemon curd. It had already made a stunning appearance in my strawberry lemon curd pavlova, but I knew it had more potential. And so, the idea for this incredible Strawberry Lemon Curd Tart was born. It’s a testament to how simple ingredients can come together to create something truly spectacular.
Crafting Your Own Strawberry Lemon Curd Tart: A Step-by-Step Guide
This recipe is designed for ease and maximum flavor impact, making it perfect for both novice and experienced bakers alike. At its core, this tart is essentially a three-ingredient wonder, assuming you have your beautiful strawberry lemon curd already prepared. It features a wonderfully simple two-ingredient gingersnap tart crust, providing a spiced, crunchy base that perfectly complements the vibrant, tangy filling. While utterly delicious on its own, I highly recommend the optional toasted meringue topping for an extra layer of elegance and flavor.
The journey to this delightful dessert begins with the star ingredient: the curd. It’s crucial that your strawberry lemon curd is fully chilled and set before assembling the tart. For best results, I always suggest making the curd the day before you plan to prepare the tart, or at least giving it a minimum of 6 hours to chill thoroughly in the refrigerator. This ensures it thickens to the perfect consistency, preventing a runny tart and allowing its rich flavors to fully develop. Once your curd is prepped and perfectly chilled, the rest of this recipe comes together with remarkable simplicity, starting with our flavorful crust.
The Secret to a Spectacular Gingersnap Tart Crust
When envisioning this strawberry lemon dessert, I debated several crust options. My initial thought gravitated towards a classic pie dough, which certainly would have been delicious. However, I craved something with a more distinctive character, a base that could truly stand out and enhance the bright, zesty curd. On a creative whim, I decided to experiment with a gingersnap crust, and I’m so glad I did! The warm, spicy notes of the gingersnaps provide an incredible counterpoint to the sweet and tart lemon-strawberry filling, creating a harmonious balance of flavors that will truly impress.
Creating this flavorful gingersnap crust is wonderfully straightforward. You’ll begin by transforming gingersnap cookies into fine crumbs. This can be easily achieved using a food processor, which makes quick work of it. Alternatively, if you don’t have a food processor, simply place the cookies in a large, sturdy resealable bag and crush them thoroughly with a rolling pin until they form an even, sandy texture. The finer the crumbs, the more cohesive your crust will be. This simple step ensures a smooth, well-integrated base for your tart.
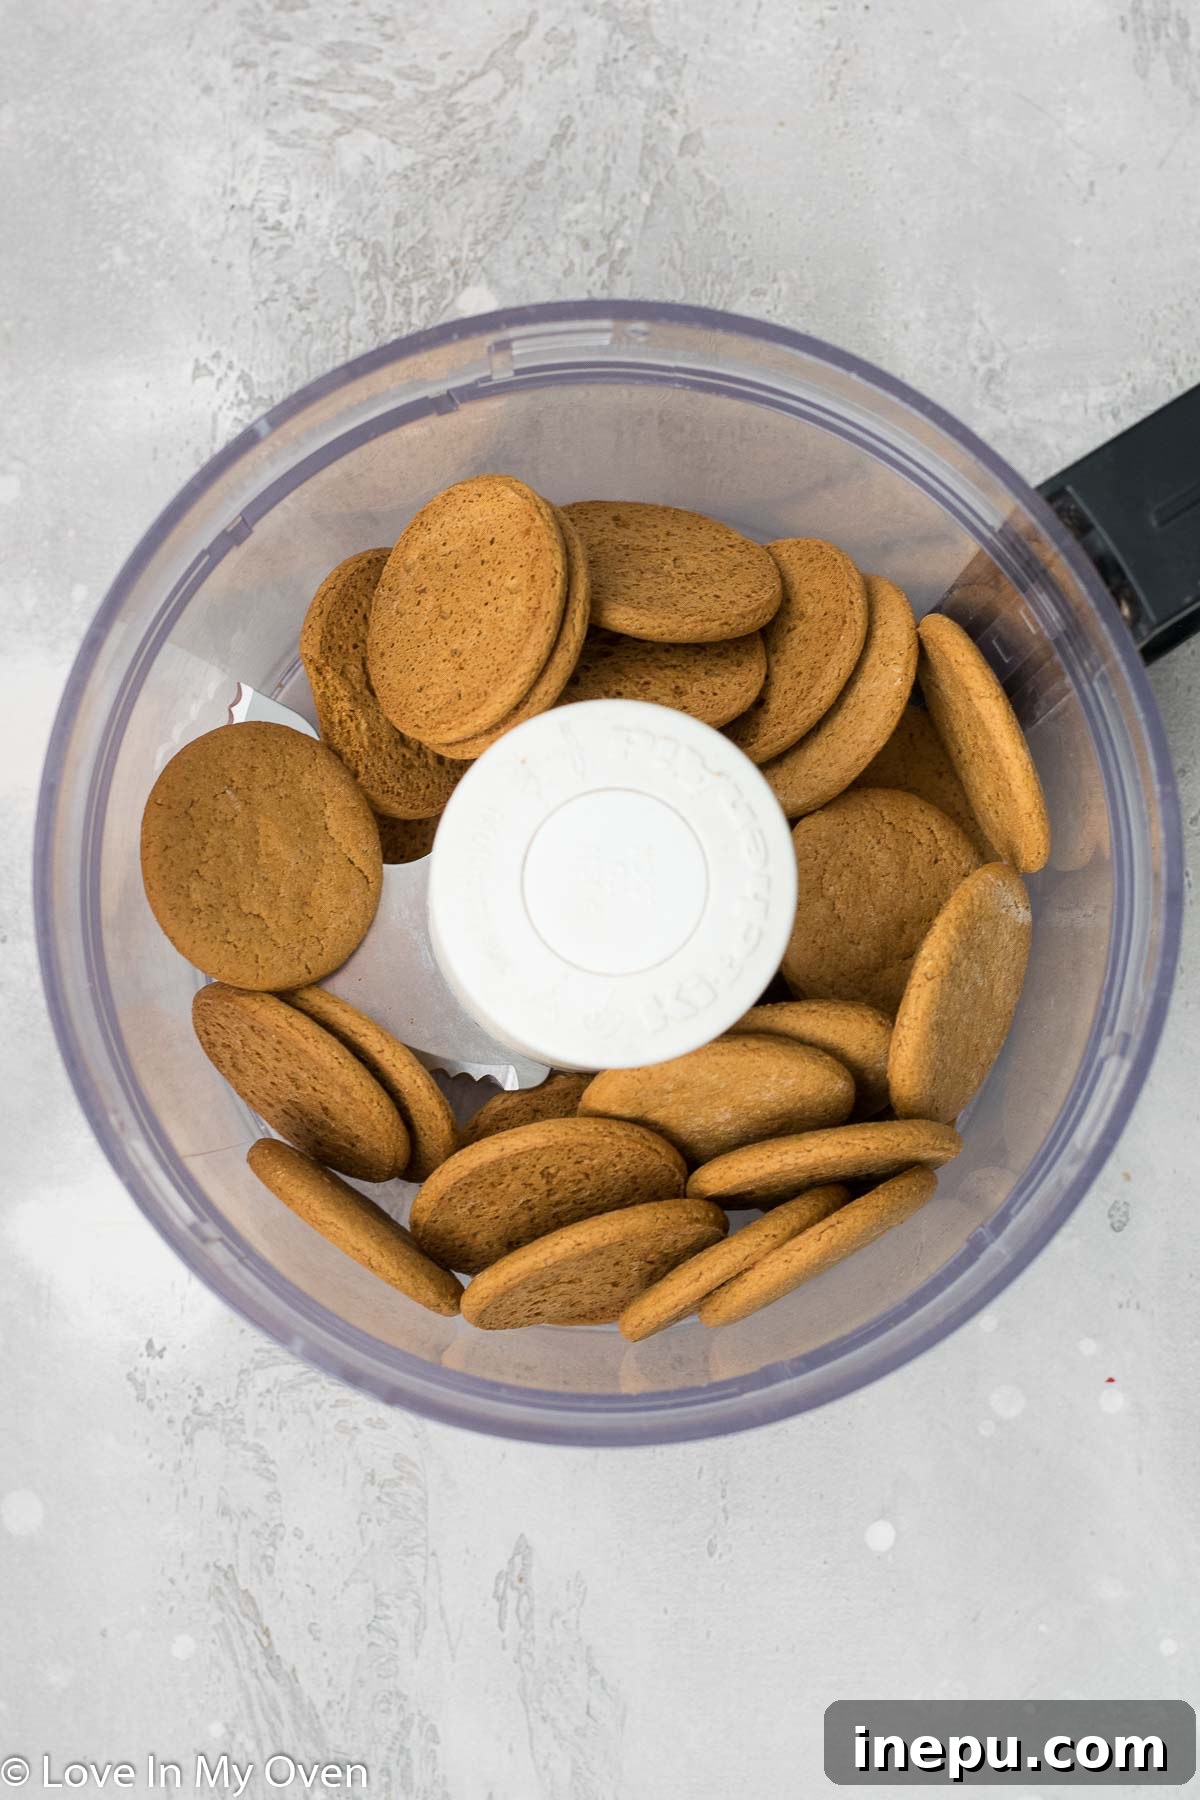
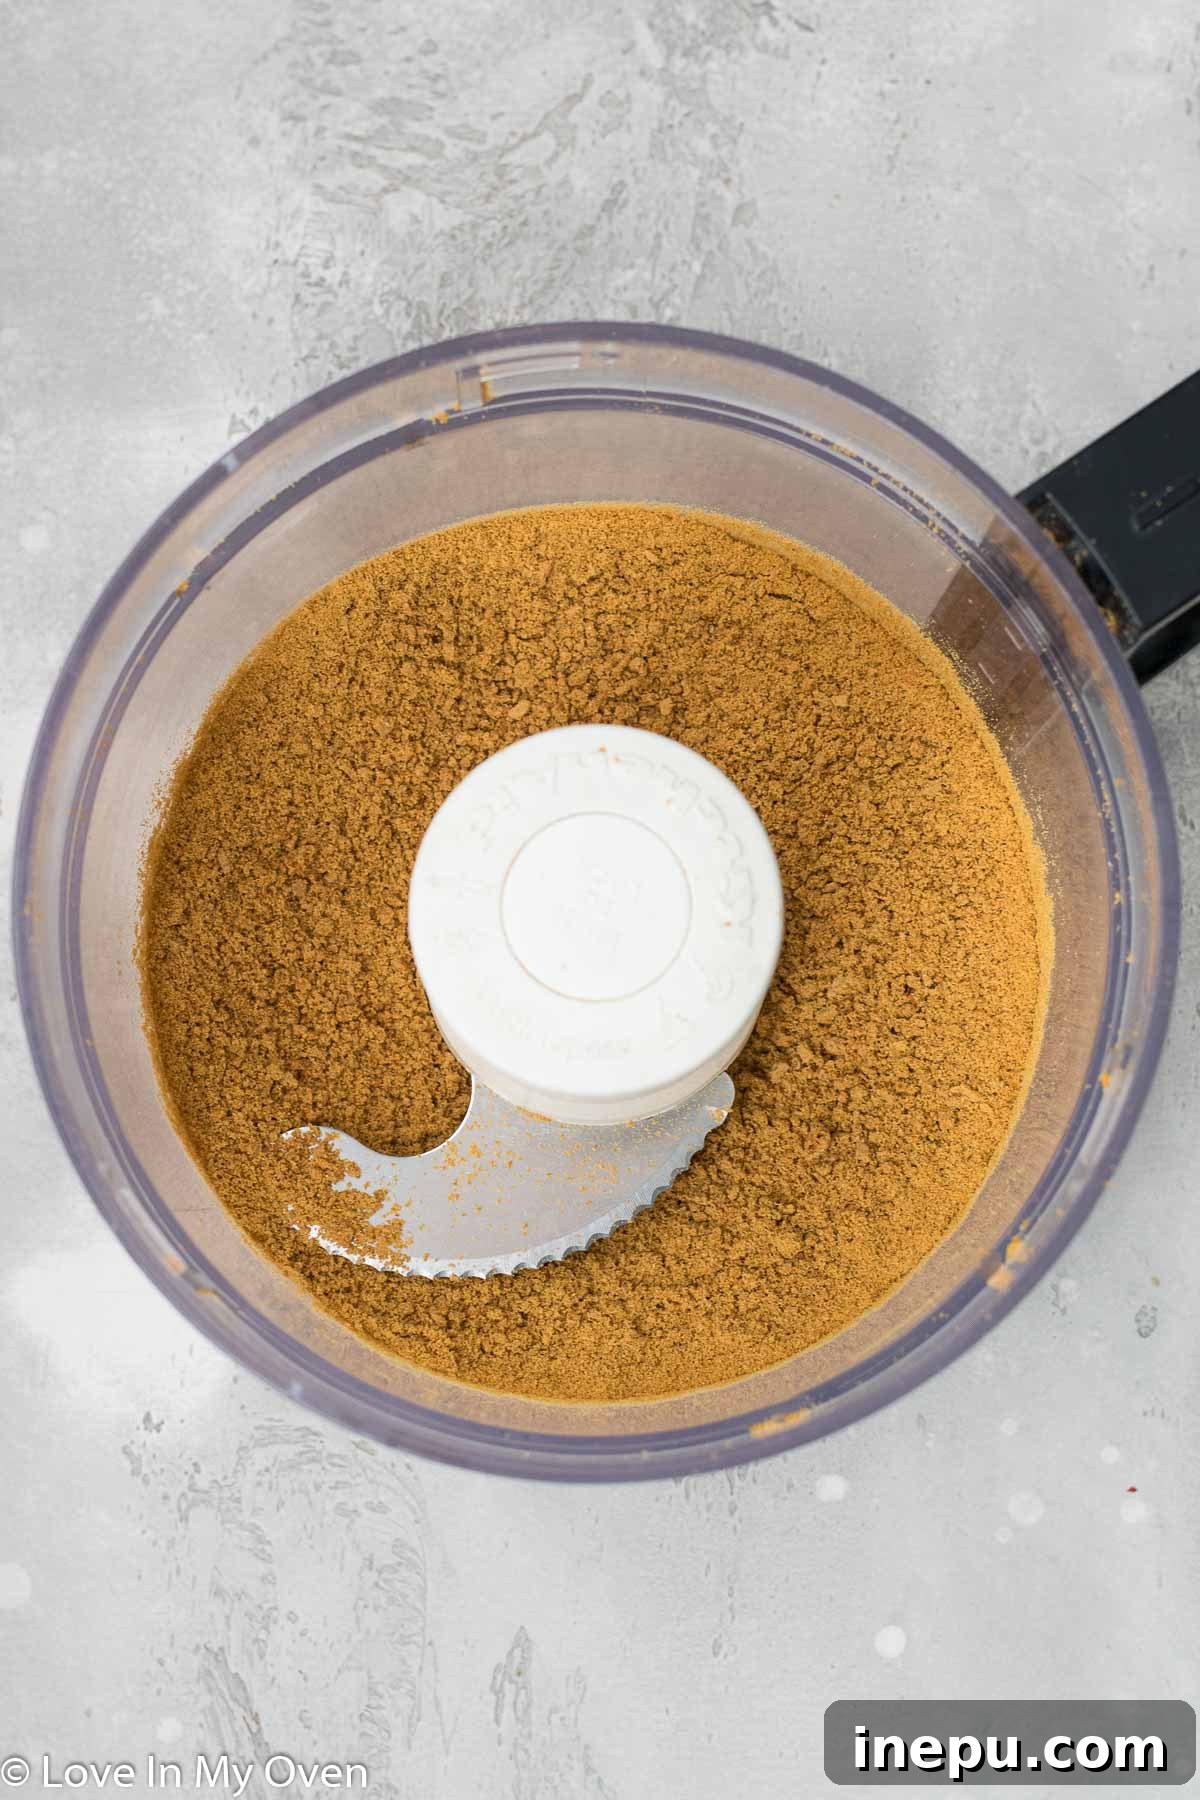
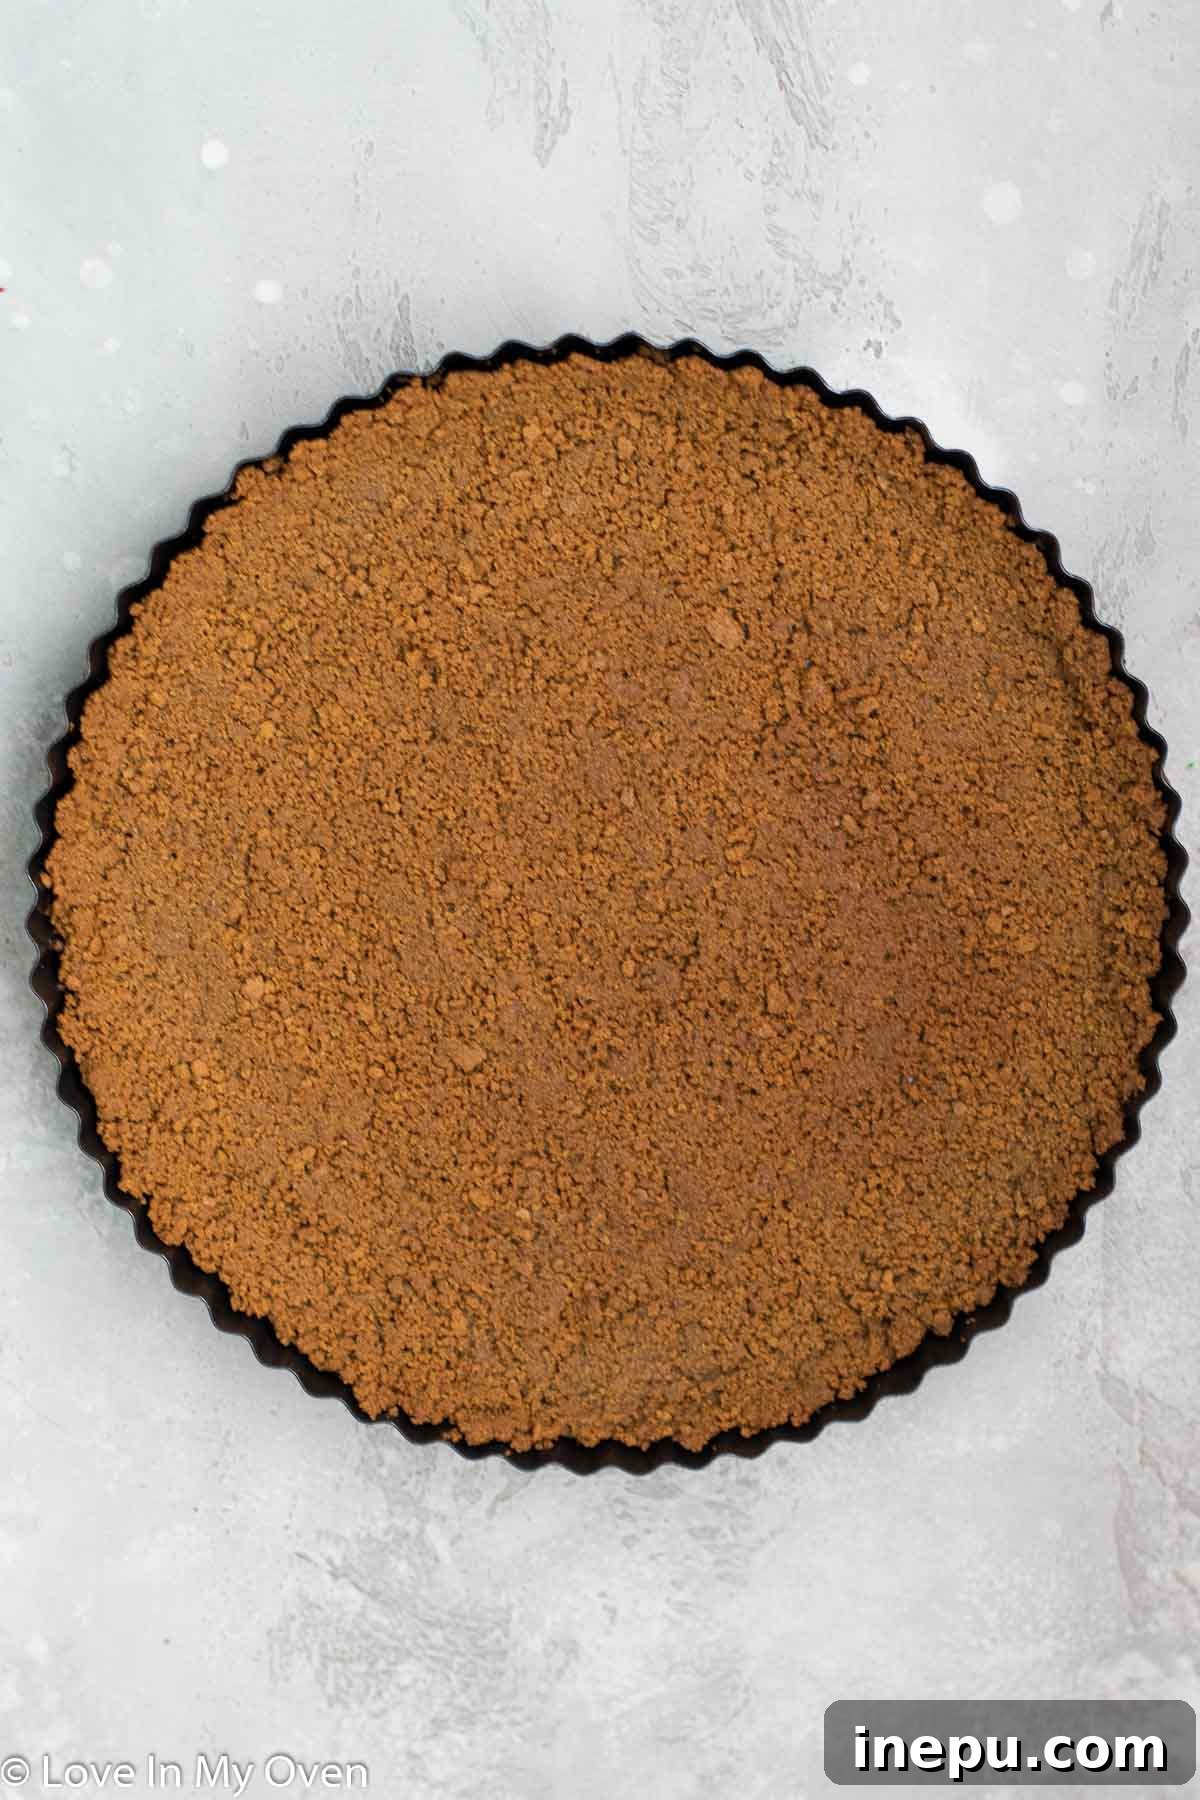
Once your gingersnap cookies are finely crushed, combine the crumbs with some melted unsalted butter. Stir this mixture thoroughly until the crumbs are completely coated and resemble wet sand. This butter acts as the binder, holding the crust together. Next, press this mixture firmly and evenly into a 9-inch pie dish or a tart pan with a removable bottom. Ensure you cover the entire surface of the bottom of the pan, extending a slight edge up the sides to create a neat border. Pressing the mixture down firmly is key to a sturdy crust that won’t crumble when sliced.
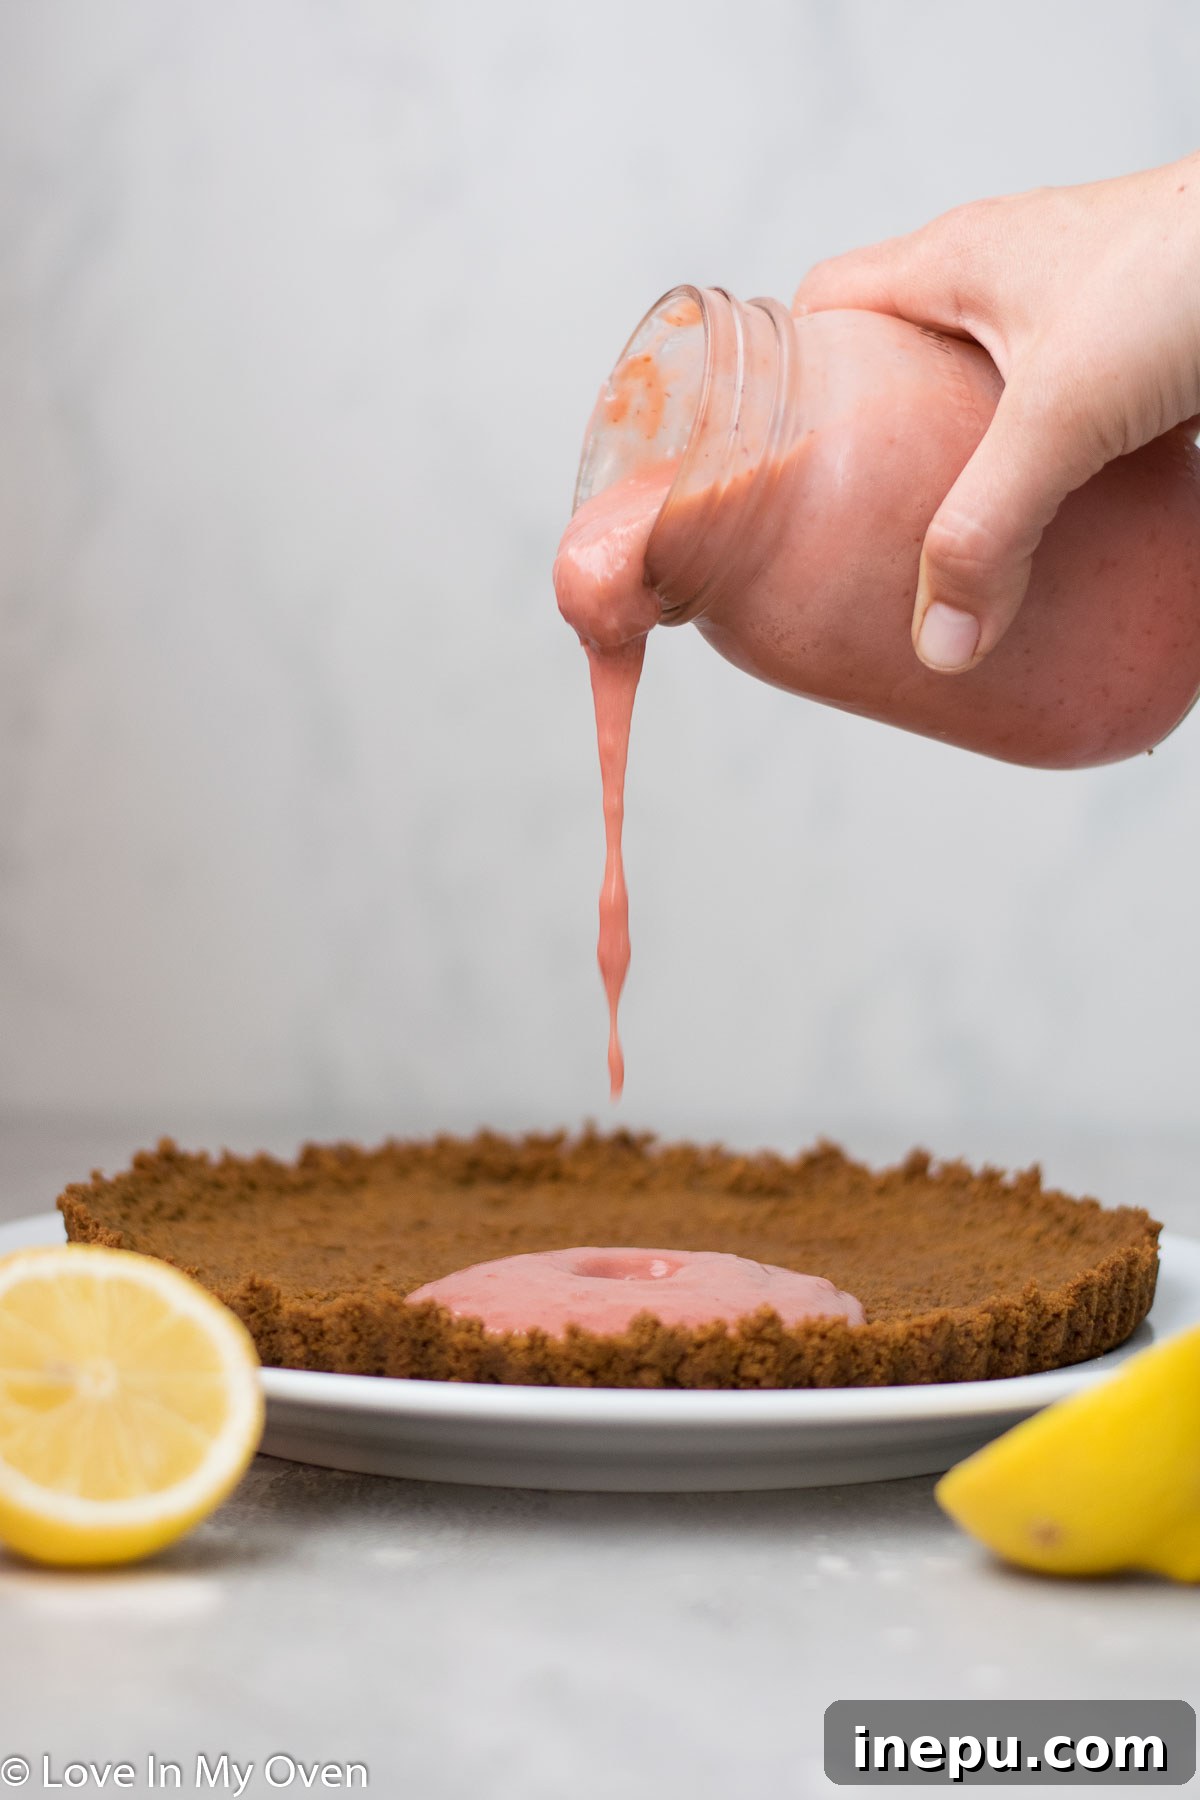
Bake the prepared gingersnap crust in a preheated oven for just 7-8 minutes, or until it’s lightly golden and fragrant. This brief bake time helps to set the crust, making it crisp and flavorful. After baking, remove the tart pan from the oven and allow the crust to cool completely before you add the filling. This step is crucial to prevent the warm crust from melting the chilled curd. You’ll need approximately 1.5 cups of your thoroughly chilled strawberry lemon curd for the filling. Once filled, transfer the tart to the refrigerator to chill further until you’re ready to serve. If your curd happens to be on the softer side, or if you prefer a firmer dessert, you can even pop the tart into the freezer to firm up, serving it delightfully frozen!
Elevating Your Strawberry Lemon Dessert: Topping Options
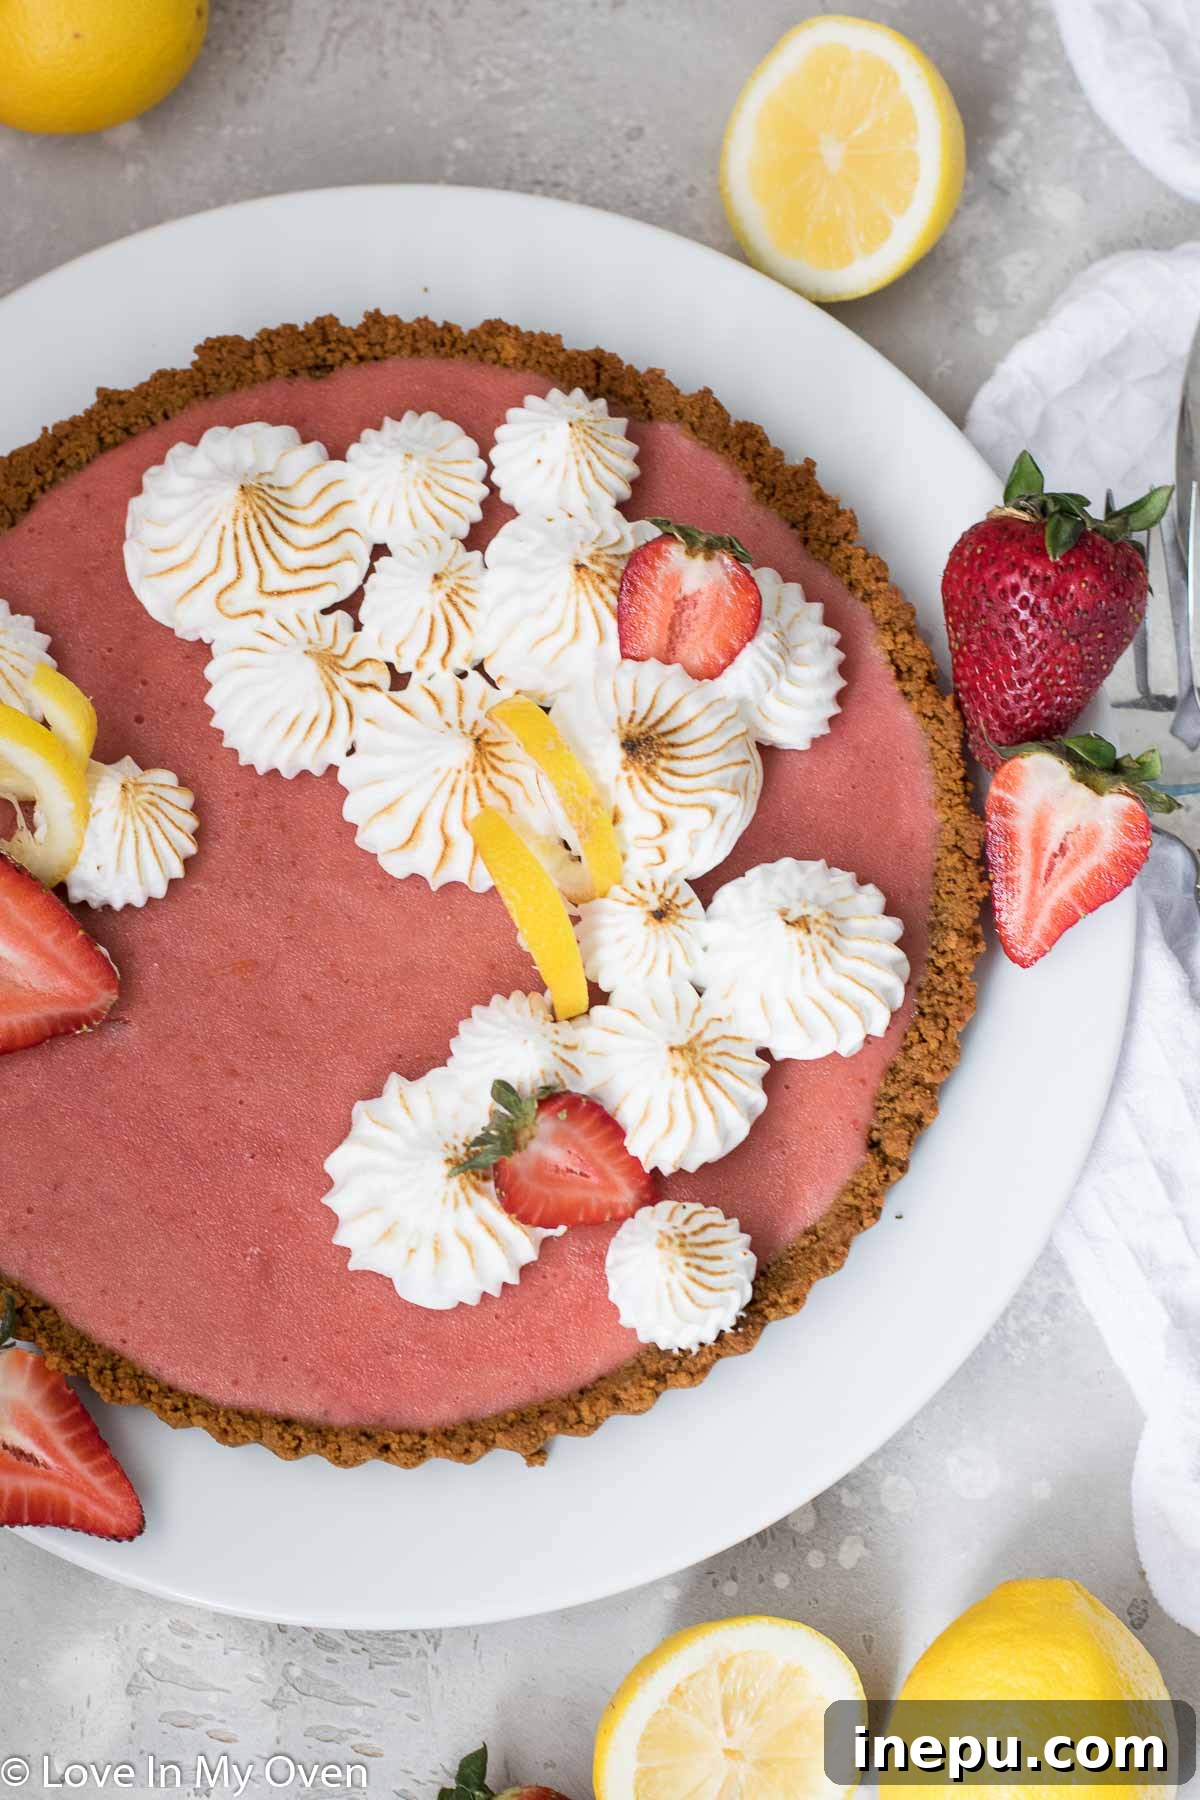
This Strawberry Lemon Curd Tart is undeniably delicious on its own, a perfect harmony of sweet, tangy, and spicy flavors. However, if you’re looking to add an extra touch of elegance or a different textural dimension, there are several fantastic topping options. A simple dollop of freshly whipped cream adds a light, airy contrast, while a scoop of rich vanilla ice cream introduces a creamy indulgence that pairs beautifully with the tartness of the lemon and strawberry. For a truly show-stopping finish, however, I highly recommend the toasted meringue, as showcased in these photos.
Creating the meringue topping, also known as Swiss meringue, is a rewarding process that yields a glossy, stable, and perfectly pipeable topping. You’ll start with two room temperature egg whites – ideally from fresh eggs, as they whip up better. Combine these with 1/4 teaspoon of cream of tartar in the bowl of a stand mixer fitted with a whisk attachment. While the egg whites are whisking on high speed to form soft peaks, prepare a warm sugar syrup on the stove. In a small saucepan, combine 1/2 cup of granulated sugar with 1/4 cup of water over medium-high heat. Stir gently until the sugar dissolves completely, then bring the mixture to a boil. Allow it to simmer until it reaches precisely 240°F (115°C) on a candy thermometer. Achieving this temperature is crucial for the stability and texture of your meringue.
Once the sugar syrup is ready and your egg whites have formed soft peaks, reduce the mixer speed to low. Carefully and slowly pour the hot sugar syrup in a steady stream into the egg whites. Avoid pouring it directly onto the whisk, as it can splatter. Once all the syrup has been incorporated, increase the mixer speed to high and continue to whisk. You’ll observe the meringue transforming into a smooth, glossy, and remarkably stiff mixture. It should hold firm, defined peaks when the whisk is lifted. At this point, your meringue is ready to be piped onto your tart.
For piping, I used a piping bag fitted with a 1A piping tip to create elegant swirls, but feel free to let your creativity shine with any design you prefer! The real fun, and an impressive party trick, comes with toasting the meringue. Using a handheld kitchen torch, gently brown the peaks of the meringue until they’re beautifully golden. This not only adds a beautiful visual appeal but also imparts a subtle caramelized flavor that perfectly complements the tart. Just be sure to keep the torch moving to avoid burning any spots!
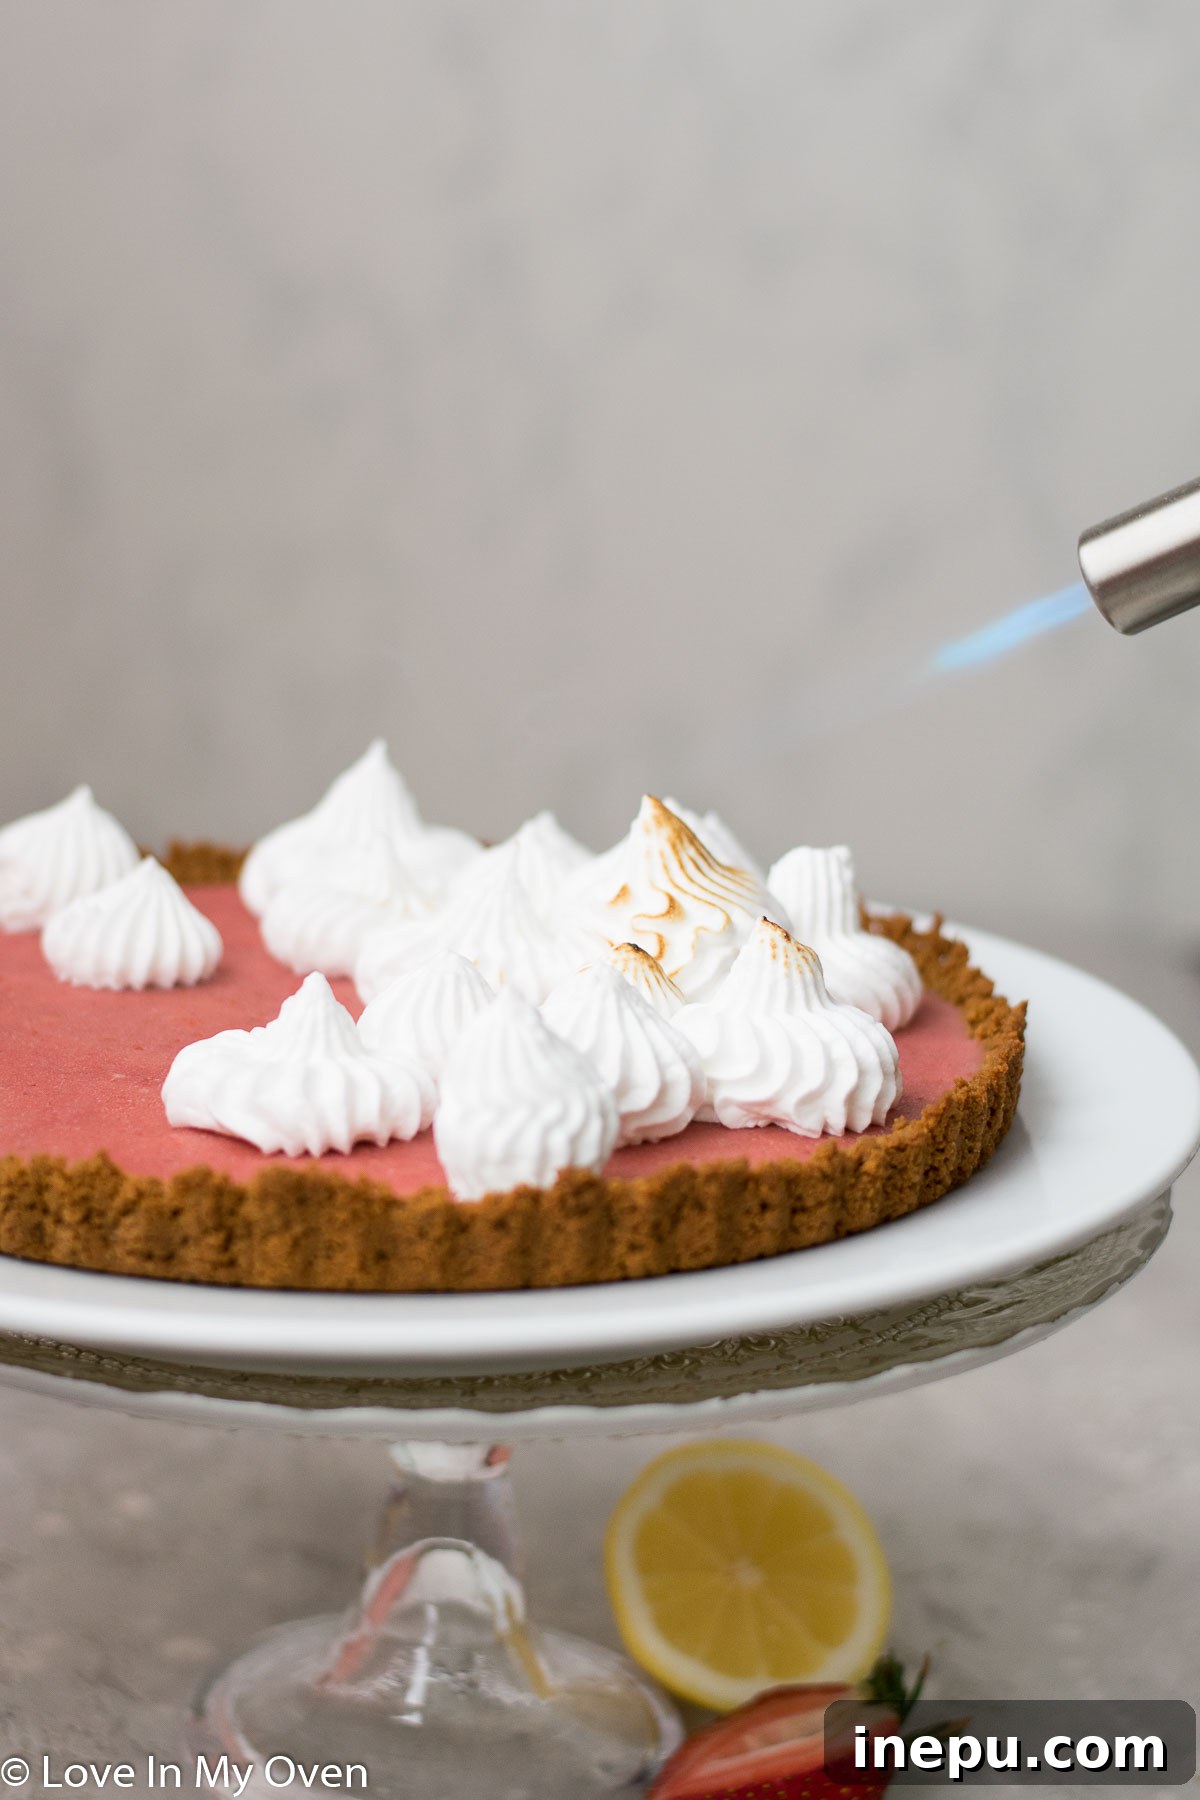
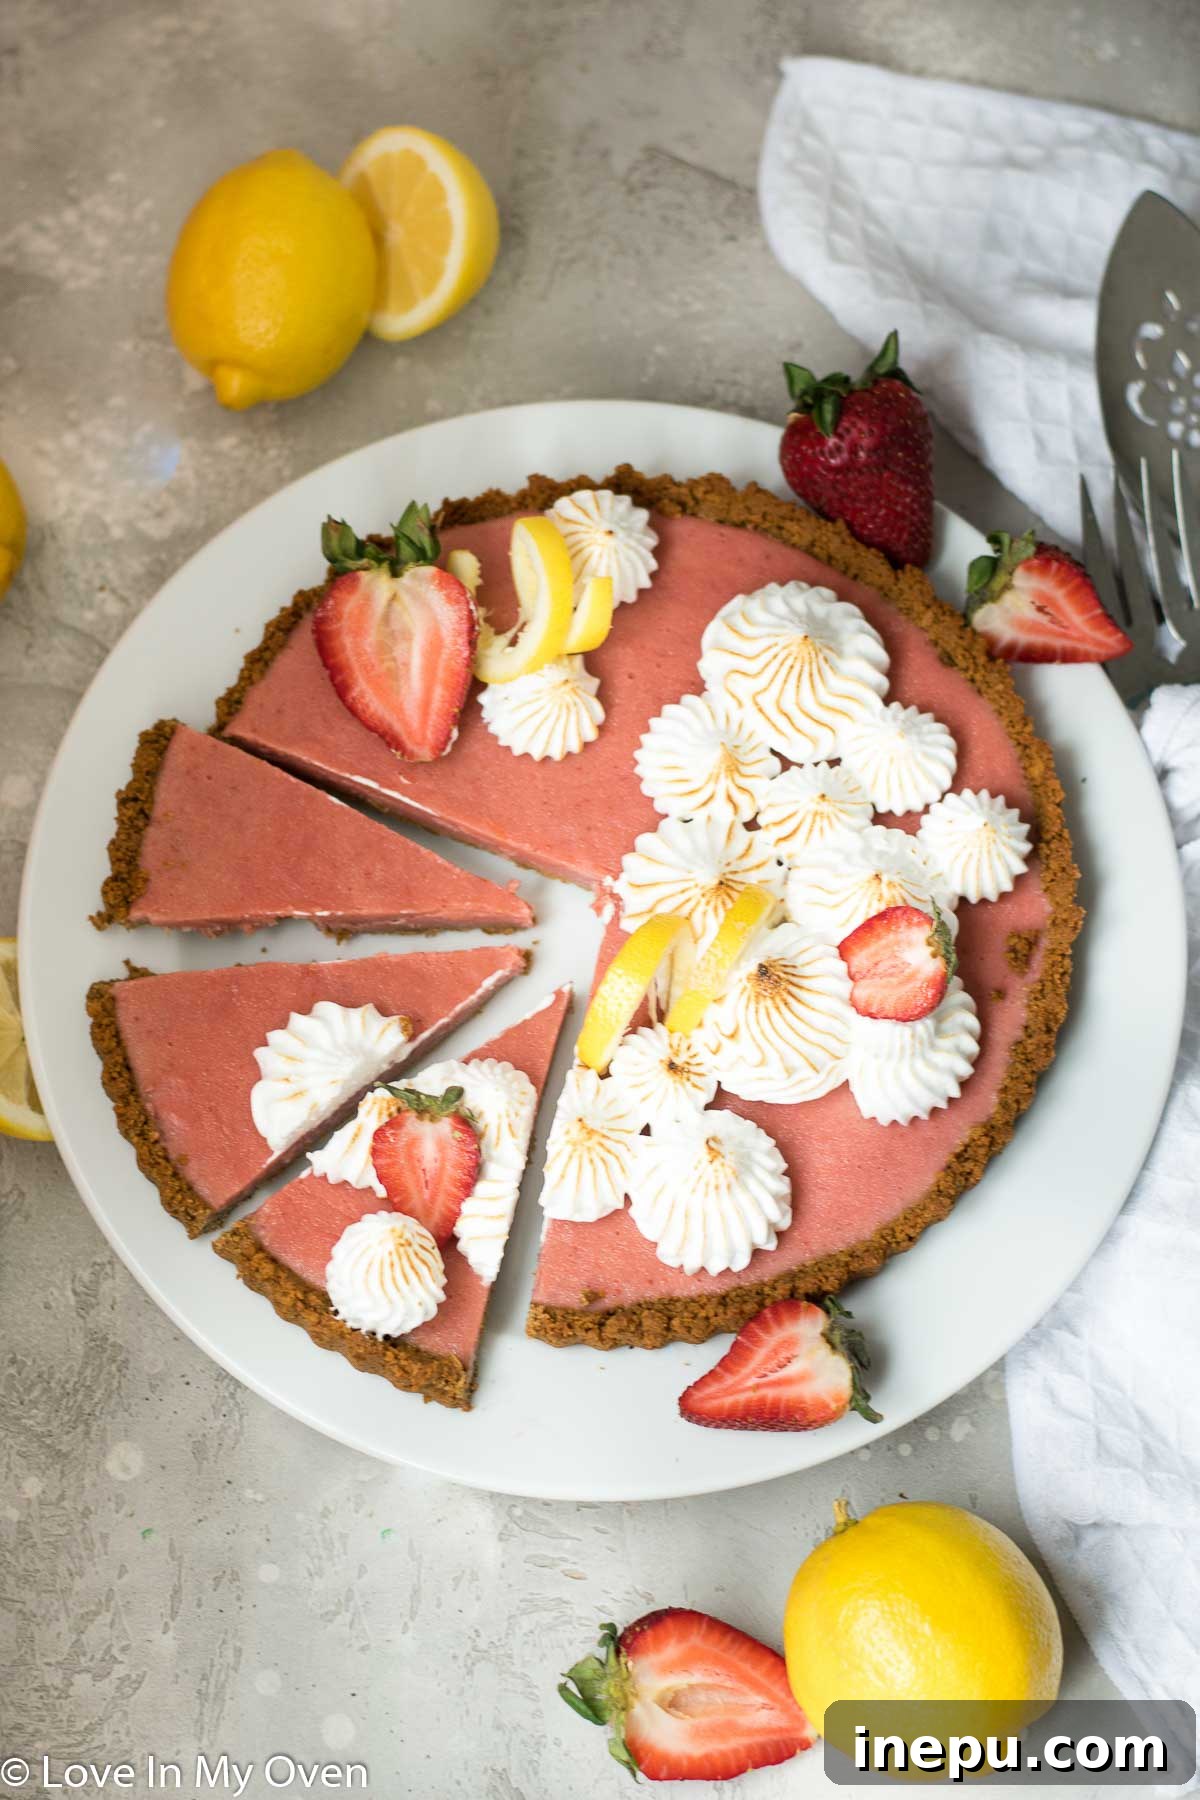
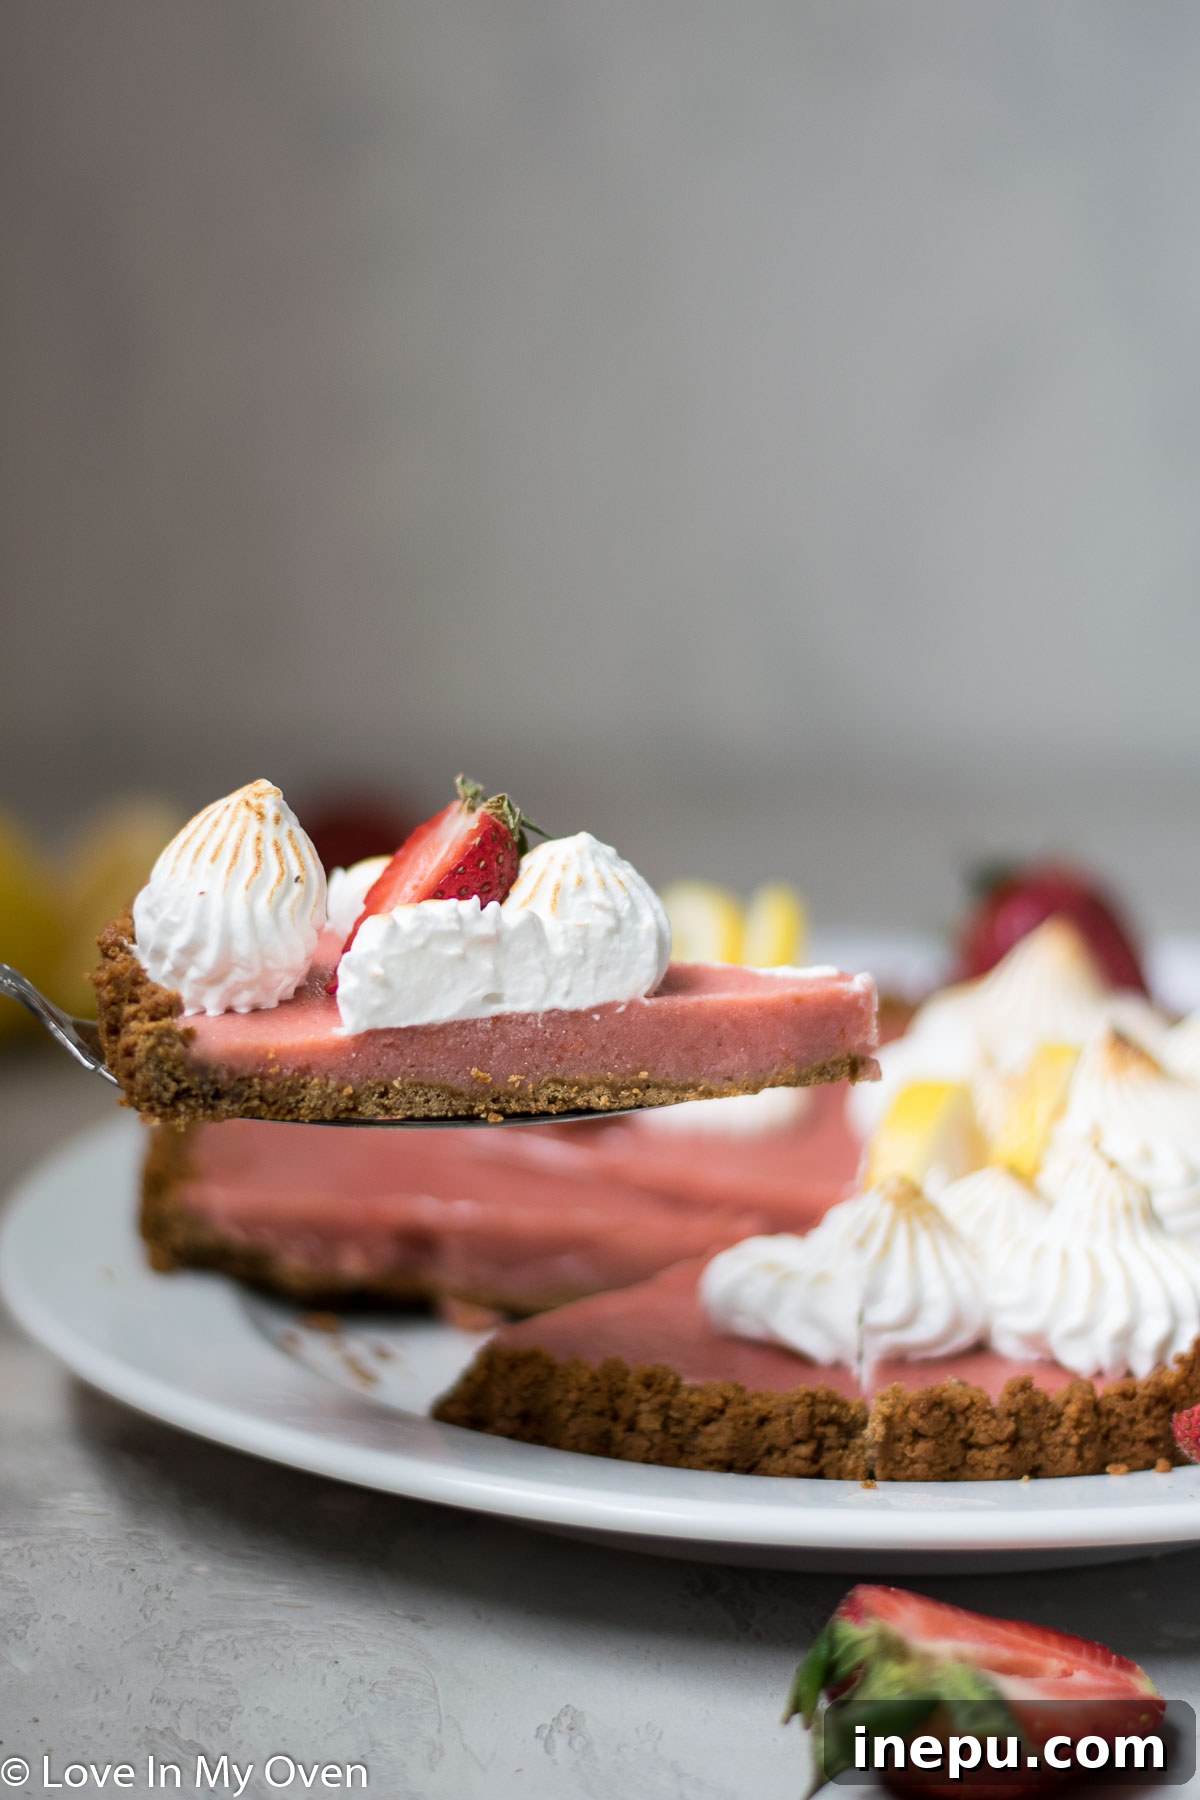
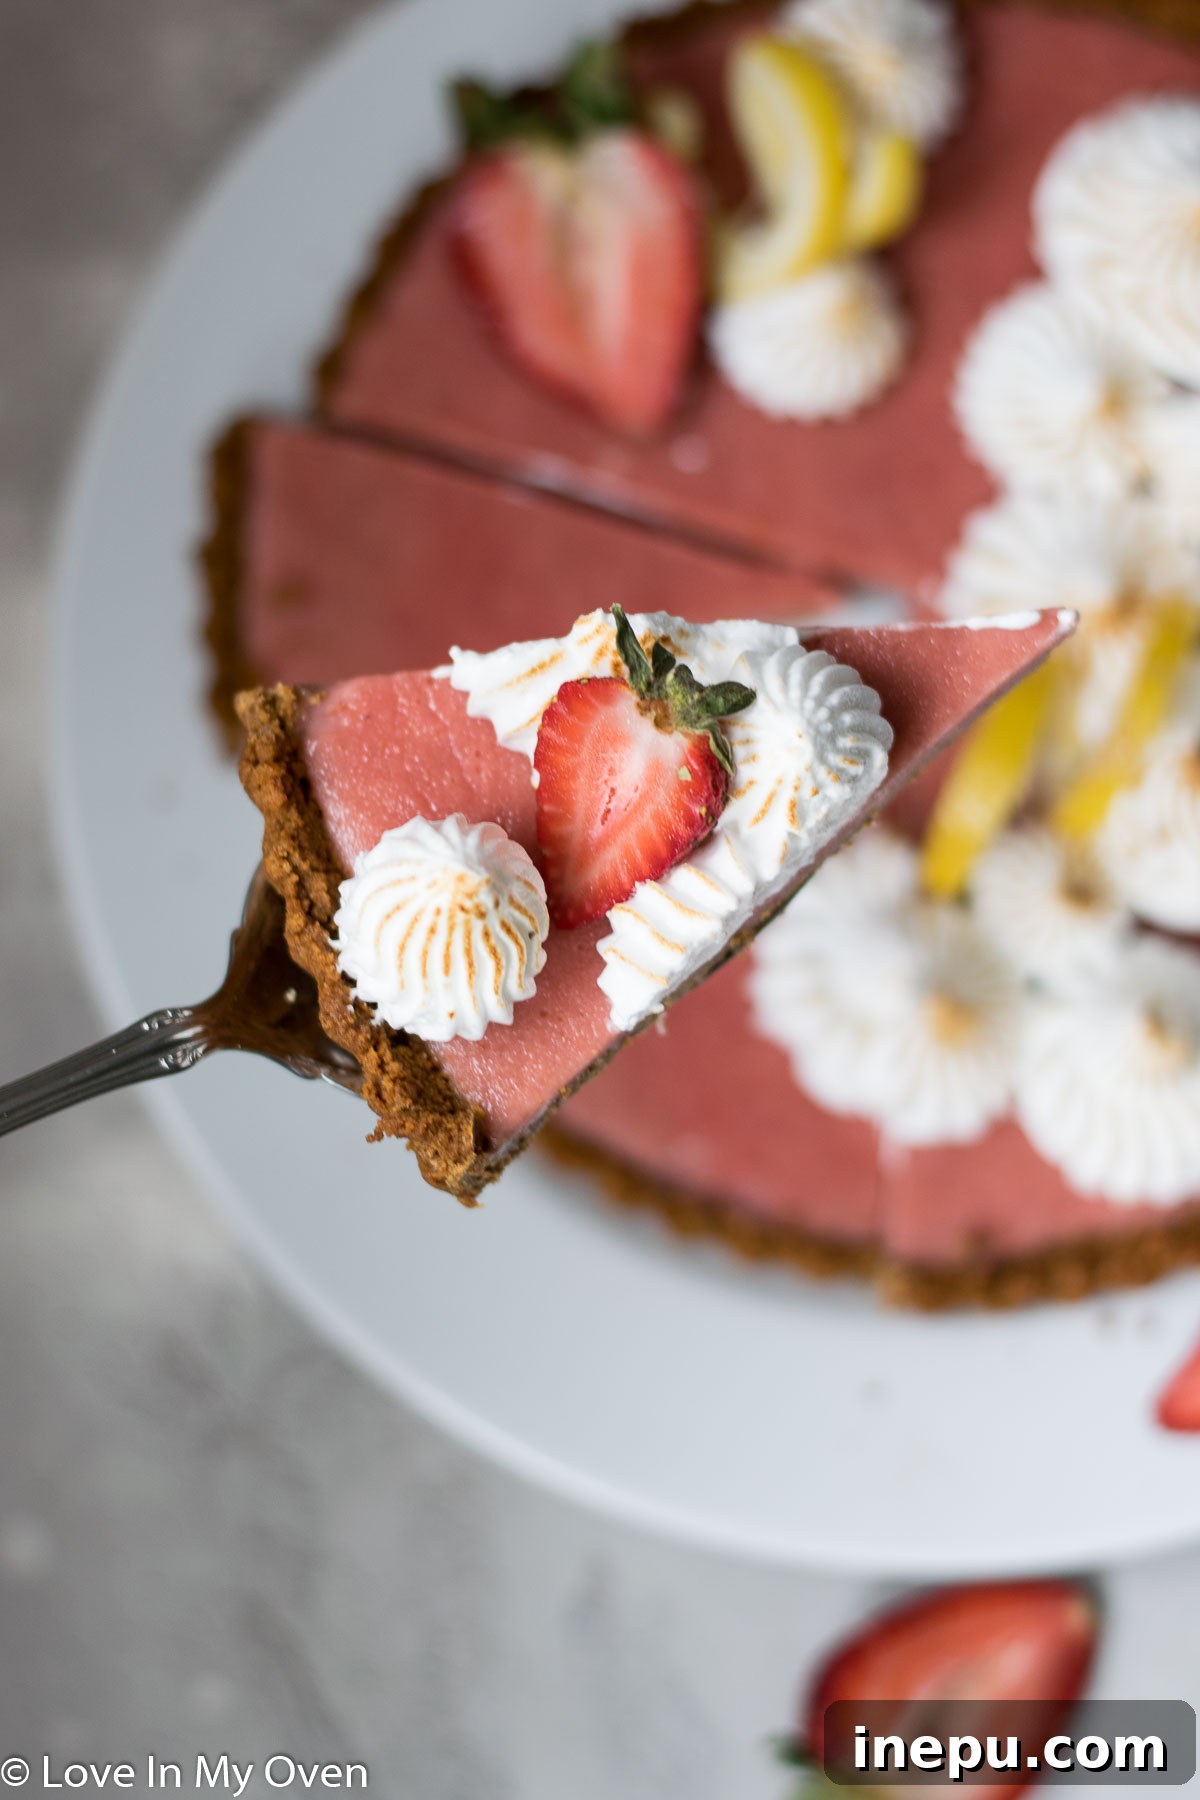
This delightful tart is best enjoyed when served cold, directly from the fridge or even the freezer. Its refreshing qualities make it an ideal dessert for any occasion, promising to be a crowd-pleaser with its vibrant flavors and irresistible textures. It’s a super easy little dessert that’s bound to please!
Creative Variations and Other Delicious Curds
While the strawberry lemon curd is undeniably fantastic, this tart recipe is wonderfully versatile. You can easily switch up the filling with different fruit curds to explore new flavor profiles. I have a couple of other delicious curd recipes on the blog that would work beautifully:
- Cranberry Curd: Offering a tart and festive twist, perfect for fall and winter.
- Meyer Lemon Curd: A slightly sweeter, less acidic lemon option with floral notes, for a nuanced citrus experience.
Don’t be afraid to experiment with other fruit curds you love or can find! The gingersnap crust provides a robust and adaptable base for many different fillings.
Enjoy every delightful bite of this simple yet sophisticated strawberry lemon curd tart! It’s a dessert that brings joy with every spoonful.
Looking for more dessert inspiration? Here are some other favorite desserts from the blog that you might enjoy:
- No-Bake Chocolate Cherry Tart: A rich and easy option for chocolate lovers.
- Gluten-Free Chocolate Coconut Tart: A healthy yet indulgent choice.
- Healthy Blueberry Pie: A classic with a lighter twist.
Print Recipe

Strawberry Lemon Curd Tart
5 from 4 reviews
- Author: Katherine | Love In My Oven
- Total Time: 6 hours
- Yield: 4–5 servings
Description
The most simple strawberry lemon dessert! This strawberry lemon curd tart with a gingersnap crust only requires a few ingredients and is simply delicious!
Ingredients
- 25 gingersnap cookies (175 grams)
- 1/4 cup unsalted butter, melted
- 1.5 cups strawberry lemon curd, completely chilled
Meringue Topping (Optional)
- 1/4 cup water
- 1/2 cup granulated sugar
- 2 egg whites, room temperature (fresh is preferred)
- 1/4 tsp cream of tartar
Instructions
- Preheat the oven to 350 F (175°C) and lightly grease a 9-inch tart pan with a removable bottom, or a pie plate. Add the gingersnap cookies to a food processor and pulse until crumbly; alternatively, place the cookies in a resealable bag and use a rolling pin to crush them into fine crumbs. Place the crumbs in a bowl with the melted butter, and stir until the crumbs are completely incorporated with the butter. Press the mixture firmly into the bottom of the tart pan, extending an inch or so up the sides to form the crust edge. Bake the crust for 7-8 minutes or until lightly browned. Remove the pan and allow it to cool completely before adding the filling.
- Pour the chilled strawberry lemon curd into the center of the cooled crust. If the curd is very runny, you may freeze the tart and serve it from frozen; otherwise, place the filled tart into the fridge to firm up for 2-3 hours. Slice and serve as is, or proceed with the optional meringue topping.
- Optional Meringue Topping: In a small saucepan on the stove, stir together the water and granulated sugar over medium heat. Once the mixture comes to a boil, reduce heat and simmer for a few minutes until the temperature reaches 240 F (115°C) on a candy thermometer. While the syrup is heating, place the room temperature egg whites, along with the cream of tartar, in the bowl of a stand mixer fitted with the whisk attachment, or use a handheld electric mixer. Whip the whites on high speed until soft peaks begin to form.
- When the syrup is ready, turn the mixer down to low and slowly add the hot syrup in a steady stream to the egg whites. Once all the syrup is added, turn the mixer to high speed and whip until the meringue becomes smooth, glossy, and forms stiff peaks. Spoon the meringue over the tart or place it into a piping bag to pipe decorative swirls on top. For an extra flourish, torch the meringue with a handheld kitchen torch if desired, for a beautiful toasted finish!
Leftover tart can be stored in the fridge or freezer for 4-5 days, covered.
- Prep Time: 15 minutes
- Cook Time: 10 minutes
- Category: desserts
- Method: oven bake
- Cuisine: american