
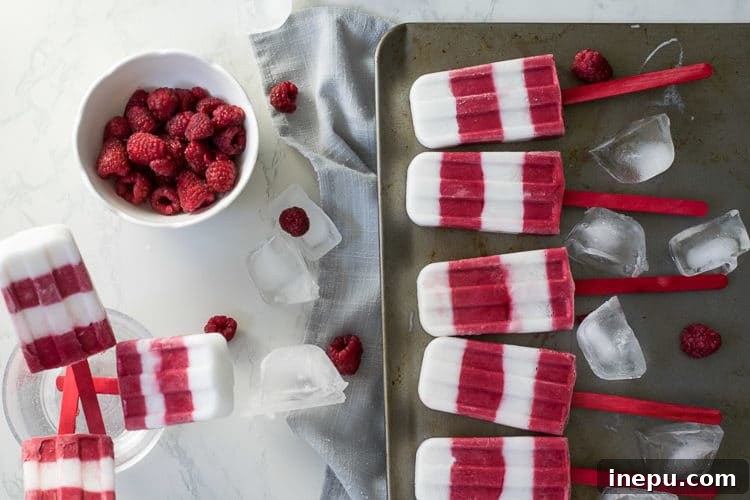
Refreshing & Healthy Raspberry Coconut Popsicles: Your Perfect Summer Treat!
Discover how to make the most delightful and healthy raspberry coconut popsicles, naturally sweetened with no refined sugars. These creamy coconut milk popsicles are an irresistible guilt-free indulgence perfect for any sunny day!
This post may contain affiliate links, which earn me a small commission at no extra cost to you.
Hello, fellow food enthusiasts! I’m currently enjoying a quick getaway, but I simply couldn’t wait to share this incredible recipe with you. Sometimes, a spontaneous trip is just what you need to recharge, even if it involves navigating flights with a little one during nap time! But more importantly, it’s those moments of inspiration that truly count, and this recipe for healthy raspberry coconut popsicles was born out of a desire for something refreshing, celebratory, and utterly delicious.
I envisioned these vibrant red and white popsicles as the ideal treat for summer festivities, particularly with a nod to Canada Day’s colors. Over the past few weeks, my freezer has become a dedicated testing ground for various popsicle concoctions, all in the name of bringing you the very best. Luckily, these homemade ice pops are so wholesome and delicious that my kids are always thrilled to enjoy one as a morning snack, or anytime a cool treat is needed!
Why You’ll Love These Healthy Raspberry Coconut Popsicles
There’s nothing quite like a homemade popsicle to beat the summer heat. But these aren’t just any popsicles; they’re a celebration of natural flavors and wholesome ingredients. Here’s why these healthy raspberry coconut popsicles will become your new favorite:
- Naturally Sweetened: Say goodbye to refined sugars! We use honey, a natural sweetener, to give these popsicles just the right amount of sweetness without any guilt. You can also easily substitute with maple syrup or agave for a vegan option.
- Rich & Creamy Texture: Thanks to full-fat coconut milk, these popsicles boast an incredibly smooth and creamy texture that melts delightfully in your mouth. Unlike watery alternatives, they offer a luxurious mouthfeel that truly satisfies.
- Bursting with Flavor: Fresh or frozen raspberries provide a vibrant, tangy sweetness that perfectly complements the subtle creaminess of the coconut. A hint of vanilla rounds out the flavors beautifully.
- Easy to Make: With just a few simple ingredients and a blender, you can whip up the mixture in minutes. The hardest part is waiting for them to freeze!
- Kid-Friendly & Guilt-Free: These are a fantastic alternative to store-bought, sugar-laden treats. Parents love them because they’re healthy, and kids love them because they’re delicious and fun.
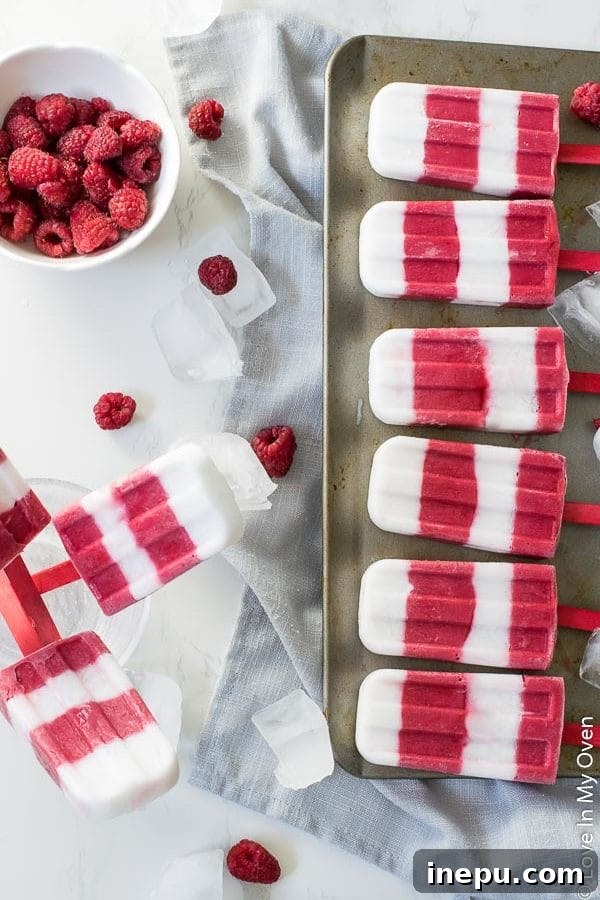
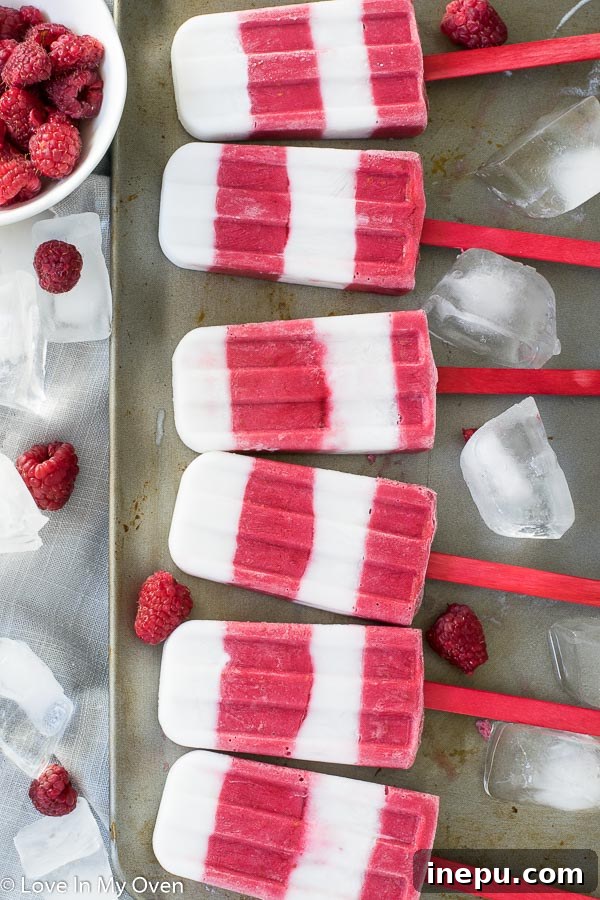
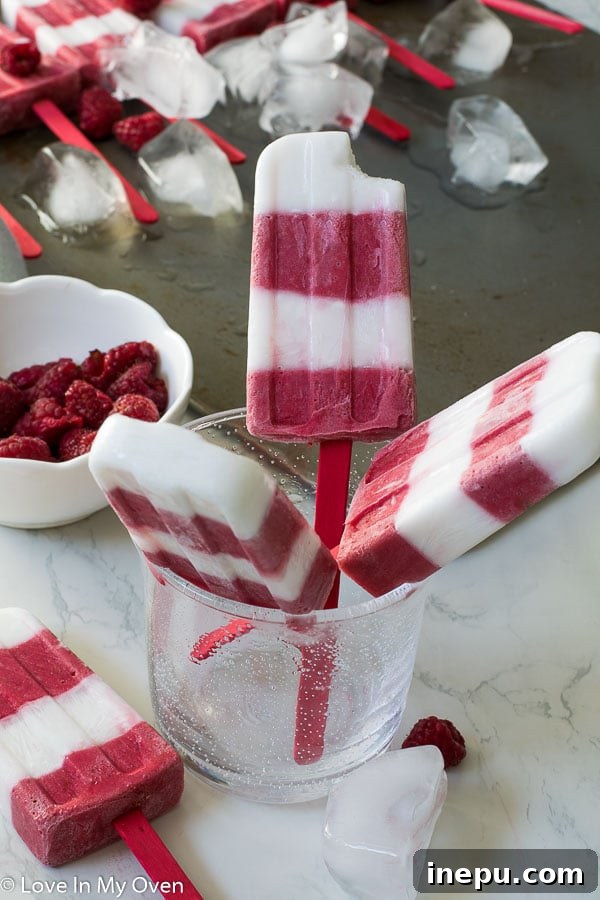
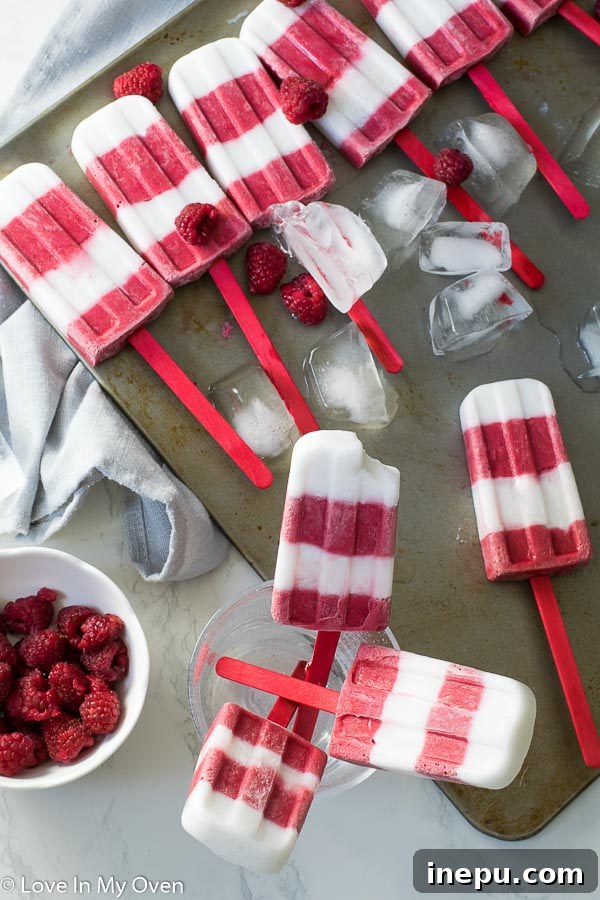
- Visually Stunning: The striking red and white layers make these popsicles a feast for the eyes as well as the palate, perfect for impressing guests or simply brightening up your day.
Crafting Your Healthy Raspberry Coconut Popsicles
Making these delightful treats is far simpler than you might imagine. I’ve already done the experimenting for you, so you can dive straight into enjoying the process and the delicious results. This recipe focuses on creating a base that is both incredibly creamy and bursting with fresh raspberry flavor.
The Simple Yet Powerful Ingredients
You’ll only need a handful of core ingredients to bring these healthy raspberry coconut popsicles to life:
- Full-Fat Coconut Milk: This is the secret to their luxurious creaminess. I cannot stress enough the importance of using full-fat coconut milk. I’ve experimented with lighter versions, and the white coconut layer tended to be too watery and less flavorful for my preference. The richness of full-fat coconut milk creates a much more satisfying popsicle experience.
- Frozen Raspberries: While fresh raspberries work, frozen ones are often more convenient and provide a wonderfully intense flavor. They also help to thicken the mixture slightly.
- Honey: Our choice for natural sweetness. Feel free to adjust the amount to your taste or substitute with maple syrup or agave syrup if you prefer a different flavor profile or need a vegan option.
- Vanilla Extract: A touch of vanilla enhances all the other flavors, adding a comforting depth to the overall taste.
Achieving Those Beautiful Red and White Layers
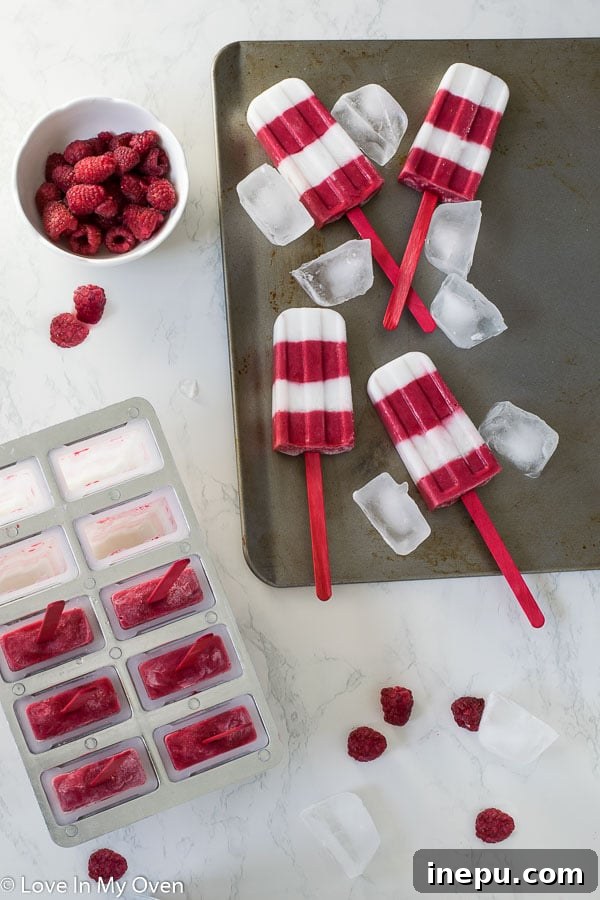
The visual appeal of these popsicles comes from their distinct red and white layers. While optional, creating these layers is a fun and rewarding process that adds an extra touch of elegance. The key here is patience and proper freezing intervals:
- Prepare the White Base: Combine your full-fat coconut milk, honey, and vanilla extract in a blender. Blend until smooth and well combined. This will form your creamy white layer.
- First Freeze (White Layer): Carefully pour about half of the white mixture into your popsicle molds. Then, transfer them to the freezer for approximately 30 minutes. This partial freeze is crucial to prevent the colors from mixing when you add the next layer.
- Prepare the Raspberry Layer: While the white layer is chilling, add your frozen raspberries to the remaining coconut milk mixture in the blender. Blend until thoroughly smooth and a vibrant red.
- Second Freeze (Red Layer): Once the white layer is firm enough to touch without mixing (it should be partially set but not fully solid), carefully pour the raspberry mixture over it. If you want more layers, you can repeat the process, pouring half the red mixture, freezing, then adding the remaining red.
If you’re short on time or prefer a simpler look, you can always do a single white bottom layer and a red top layer, or even swirl the colors together for a marbled effect! The taste will be just as amazing.
Essential Tips for Perfect Popsicles
Over countless batches, I’ve gathered a few invaluable tips to ensure your healthy raspberry coconut popsicles turn out perfectly every time:
- Popsicle Molds Matter: I personally use these molds, which consistently yield 10 popsicles. Investing in good quality molds can make a significant difference in both the freezing process and ease of removal.
- Timing is Key for Sticks: This is a common pitfall! For layered popsicles like these, make sure to insert the popsicle sticks after the third layer is poured (or after the second layer if you’re only doing two layers). If you wait until the molds are completely full, the sticks won’t be able to go in very far and will likely fall out. A little pre-freezing (around 15 minutes after the layer is poured) before inserting the sticks ensures they stand upright and are securely anchored. Trust me, I’ve learned this the hard way a few times!
- Don’t Rush the Freeze: Once your molds are entirely filled and the sticks are in place, they need ample time to freeze solid. I recommend a minimum of 4-5 hours, but ideally, allow them to freeze for at least 6 hours, or even overnight, for the best results. A fully frozen popsicle is less likely to break during removal.
- Easy Removal Technique: When it’s time to enjoy your popsicles, don’t try to force them out of the molds. A simple trick is to run the molds under warm (not hot!) water for about 10-20 seconds. This will slightly loosen the edges, allowing the popsicles to slide out smoothly without any breakage.
See? I told you I’ve done all the hard work for you! These tried-and-true tips will help you create a batch of perfect healthy raspberry coconut popsicles that look as good as they taste.
Serving and Storage Suggestions
Once your raspberry coconut popsicles are perfectly frozen and ready, they’re best enjoyed immediately for that ultimate refreshing burst of flavor. However, if you’ve made a big batch (which I highly recommend!), proper storage ensures you can savor them over time.
After carefully removing them from their molds, place the popsicles in a large, resealable freezer bag or an airtight container. This protects them from freezer burn and helps maintain their fresh taste and creamy texture. Stored this way, these delightful treats can be kept in the freezer for about two weeks. Though, if your household is anything like mine, I doubt they’ll last that long!
Endless Possibilities: Variations to Try
While the classic raspberry coconut combination is undeniably delicious, don’t hesitate to get creative with these healthy coconut milk popsicles! The base recipe is incredibly versatile, allowing for numerous delightful variations:
- Berry Bonanza: Swap out raspberries for other frozen berries like strawberries, blueberries, or a mix of all three for a triple berry delight. Each berry will bring its unique flavor profile and color.
- Tropical Twist: Add a tropical touch by incorporating mango, pineapple, or passion fruit puree into the coconut base. A squeeze of fresh lime juice can also elevate the tropical notes.
- Chocolate Lover’s Dream: Drizzle some melted dark chocolate over the frozen popsicles, or mix in a tablespoon of unsweetened cocoa powder to the coconut base for a chocolatey kick.
- Spice It Up: A tiny pinch of cardamom or cinnamon can add an unexpected warmth and complexity, especially with berries.
- Nutty Crunch: Before the final freeze, sprinkle some shredded coconut or finely chopped nuts into the molds for added texture and flavor.
- Herbal Infusion: For a sophisticated twist, infuse the coconut milk with fresh mint or basil leaves before blending, then strain them out for a subtle herbaceous note.
No matter how you customize them, these naturally sweetened popsicles are guaranteed to be a refreshing and satisfying treat.
I know many of my readers are in the US, but I have to stay true to my Canadian roots and wish everyone a very Happy Canada Day (in advance)! Regardless of where you are, these healthy raspberry coconut popsicles should definitely be a part of your weekend celebrations or simply a delightful addition to any warm day.
PS – can you believe this is my first popsicle recipe on the site? If you’re looking for more frosty delights, I highly recommend these triple berry pops from Girl Heart Food. I tried them last year, and they were absolutely delicious!
Alternatively, if you’re craving something even creamier, you could always explore my ice cream recipes for another sweet treat!
Healthy Raspberry Coconut Popsicles Recipe
5 from 13 reviews
- Author: Katherine | Love In My Oven
- Total Time: 6 hours
- Yield: 10 popsicles
Description
Take a bite out of these refreshing healthy raspberry coconut popsicles! These coconut milk popsicles are naturally sweetened, with no refined sugars!
Ingredients
- 2 cans full-fat coconut milk (400mL each)*
- 1/4 cup honey (sub maple syrup or agave syrup)
- 1 tsp vanilla extract
- 1 1/2 cups frozen raspberries**
Instructions
- In a blender or food processor, combine both cans of coconut milk, the honey, and vanilla extract. Blend on high for 15 seconds to combine. Remove half (400mL) of the mixture to a measuring cup, or divide amongst the popsicle molds*** and freeze for at least 30 minutes before adding the red layer.
- Add the frozen raspberries to the remaining coconut milk mixture in the blender and blend on high until thoroughly combined. Once the white part is frozen (I touch it with my finger to test), add either half of the red mixture to the molds, and freeze again, or add all of it and insert the popsicle sticks, before freezing again (see notes).
- Freeze for at least 5-6 hours before running hot water over your molds and removing the popsicles. Enjoy immediately, or freeze in a large resealable bag for later!
Popsicles can be kept in the freezer bag for about 2 weeks, although I’ll doubt they’ll last that long!
Notes
- *I HIGHLY recommend full fat coconut milk vs the light. I tried the light and the white part of the popsicle was just too watery!
- **You can also use fresh, but I recommend frozen!
- ***For the layers as shown in my pictures, you should first pour 200 mL into the molds, then freeze for at least 30 minutes for continuing with 200 mL of the raspberry, and continuing on. Be sure to add your popsicle sticks to the popsicles at either the addition of your third layer, or if you’re doing just 2 layers, during the addition of the second layer.
- Prep Time: 1 hour