
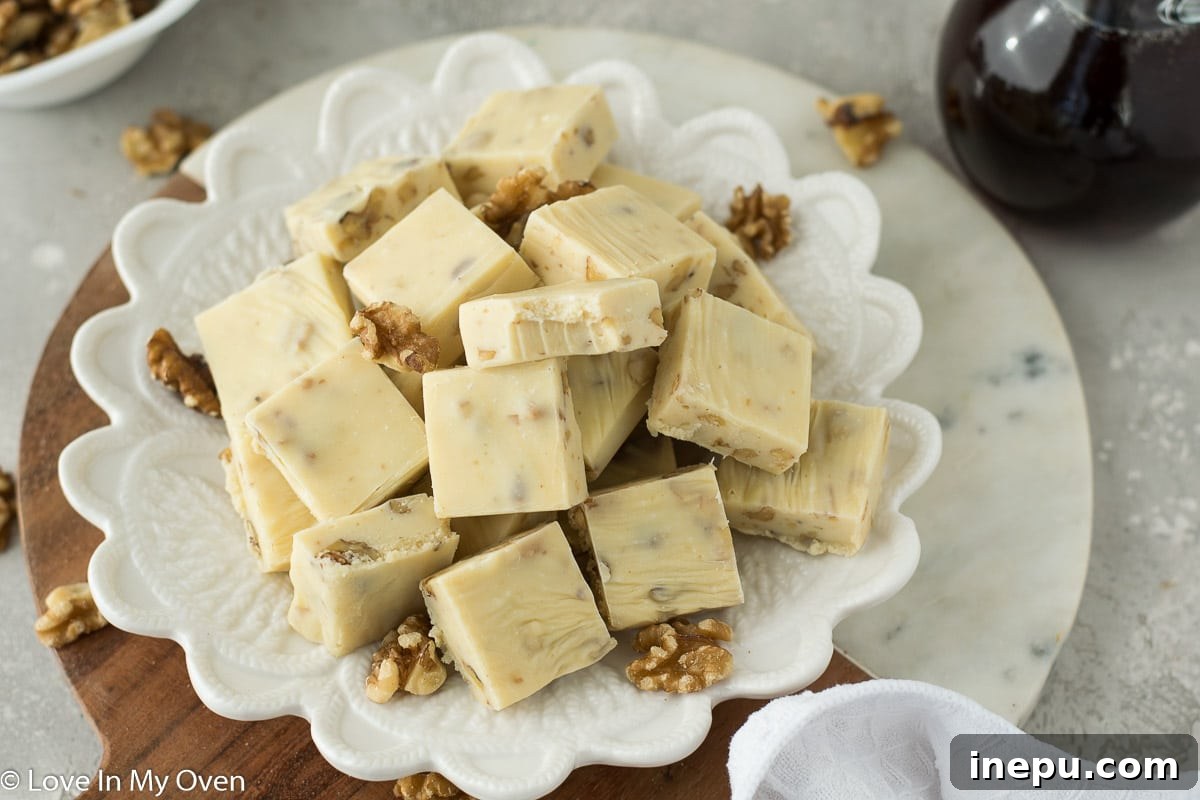
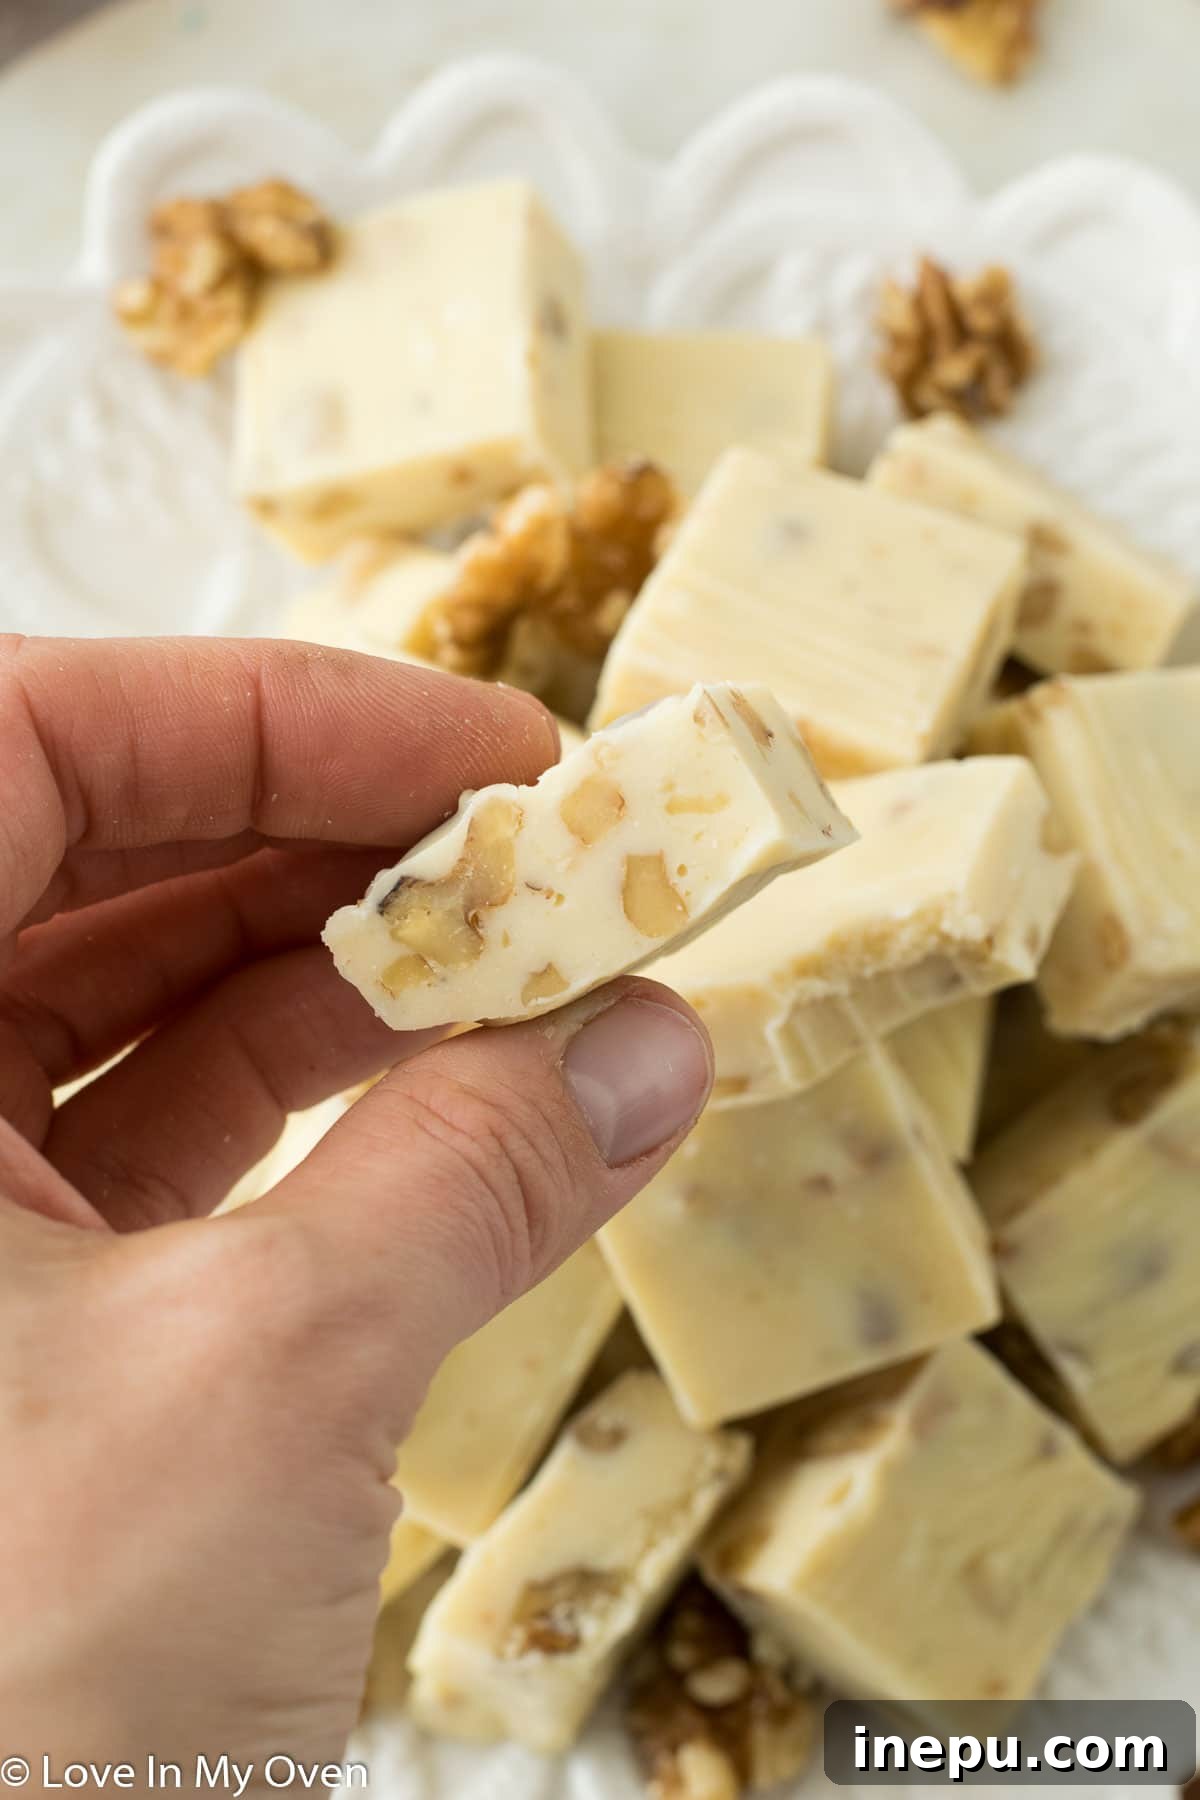
Indulge in the rich, buttery flavor of homemade maple walnut fudge! This incredibly easy, 3-ingredient recipe is perfect for last-minute holiday gifts, satisfying sweet cravings, or simply adding a touch of festive cheer to any occasion. Discover how to create this delectable treat with minimal effort and maximum flavor.
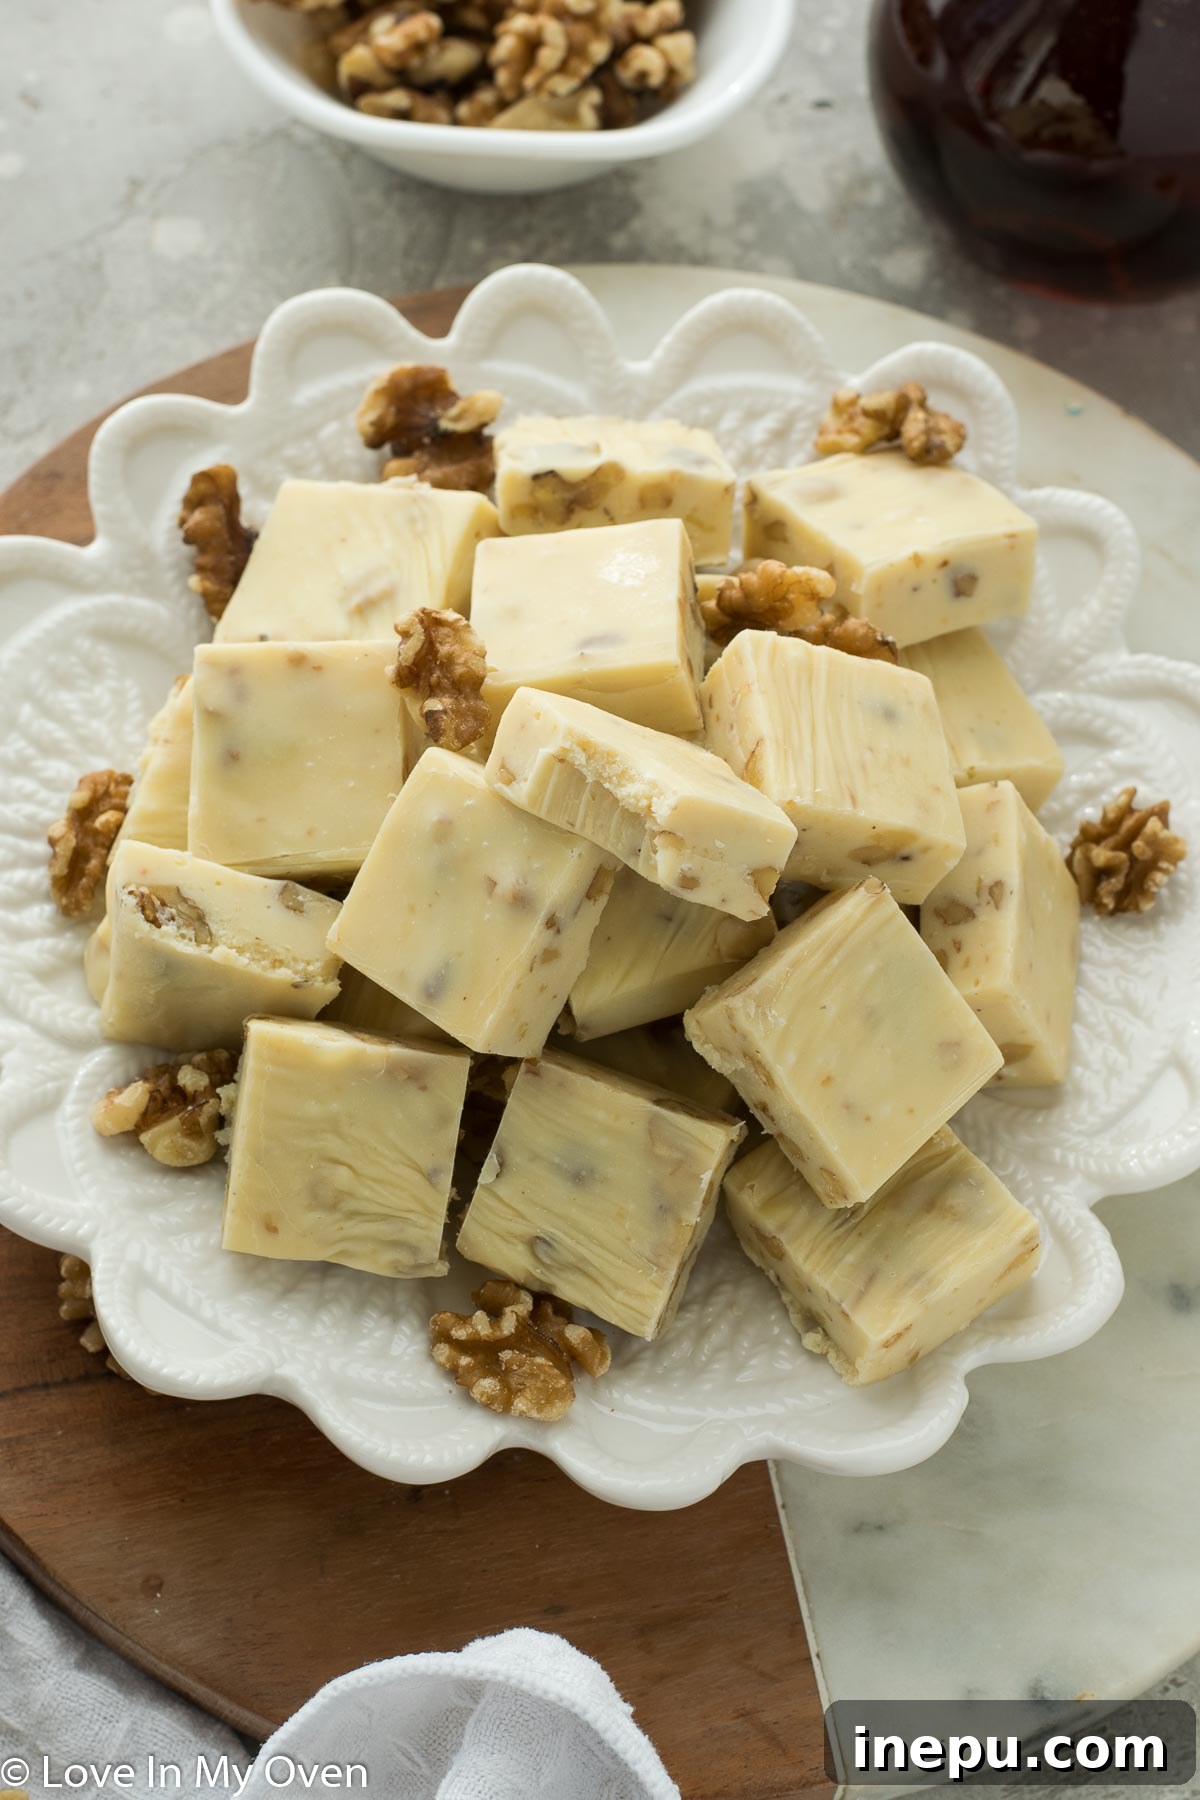
Embrace the Holiday Spirit with Homemade Maple Walnut Fudge
The holiday season often feels like a whirlwind, doesn’t it? One moment you’re planning, the next you’re realizing Christmas Eve is just around the corner! Amidst the festive rush of gift-wrapping, card-sending, and preparing for family gatherings, there’s always a special place for homemade goodies. This year, my go-to for spreading holiday cheer was a batch of my irresistible maple walnut fudge. It’s a delightful addition to any treat box and always brings smiles.
For many, the holidays are steeped in cherished traditions. Growing up, Christmas Eve meant mass followed by eagerly opening presents. Now, we’ve shifted our gift-opening to Christmas morning, but a new tradition has emerged: the “Christmas Eve box.” This magical box always holds a new game for family fun, a fresh ornament to adorn our tree, and, of course, a selection of delicious treats. This maple walnut fudge has certainly earned its place in our holiday traditions, becoming a staple in our family’s seasonal celebrations.
Before jetting off on a recent trip, I managed to assemble my tins of holiday treats and deliver them to our wonderful new neighbors. If you’re guessing what took center stage in those tins, you’re absolutely right – it was this incredibly easy, melt-in-your-mouth maple walnut fudge! It’s the perfect simple yet impressive gesture, and trust me, it disappears fast.
Why This Maple Walnut Fudge Recipe Is a Game-Changer
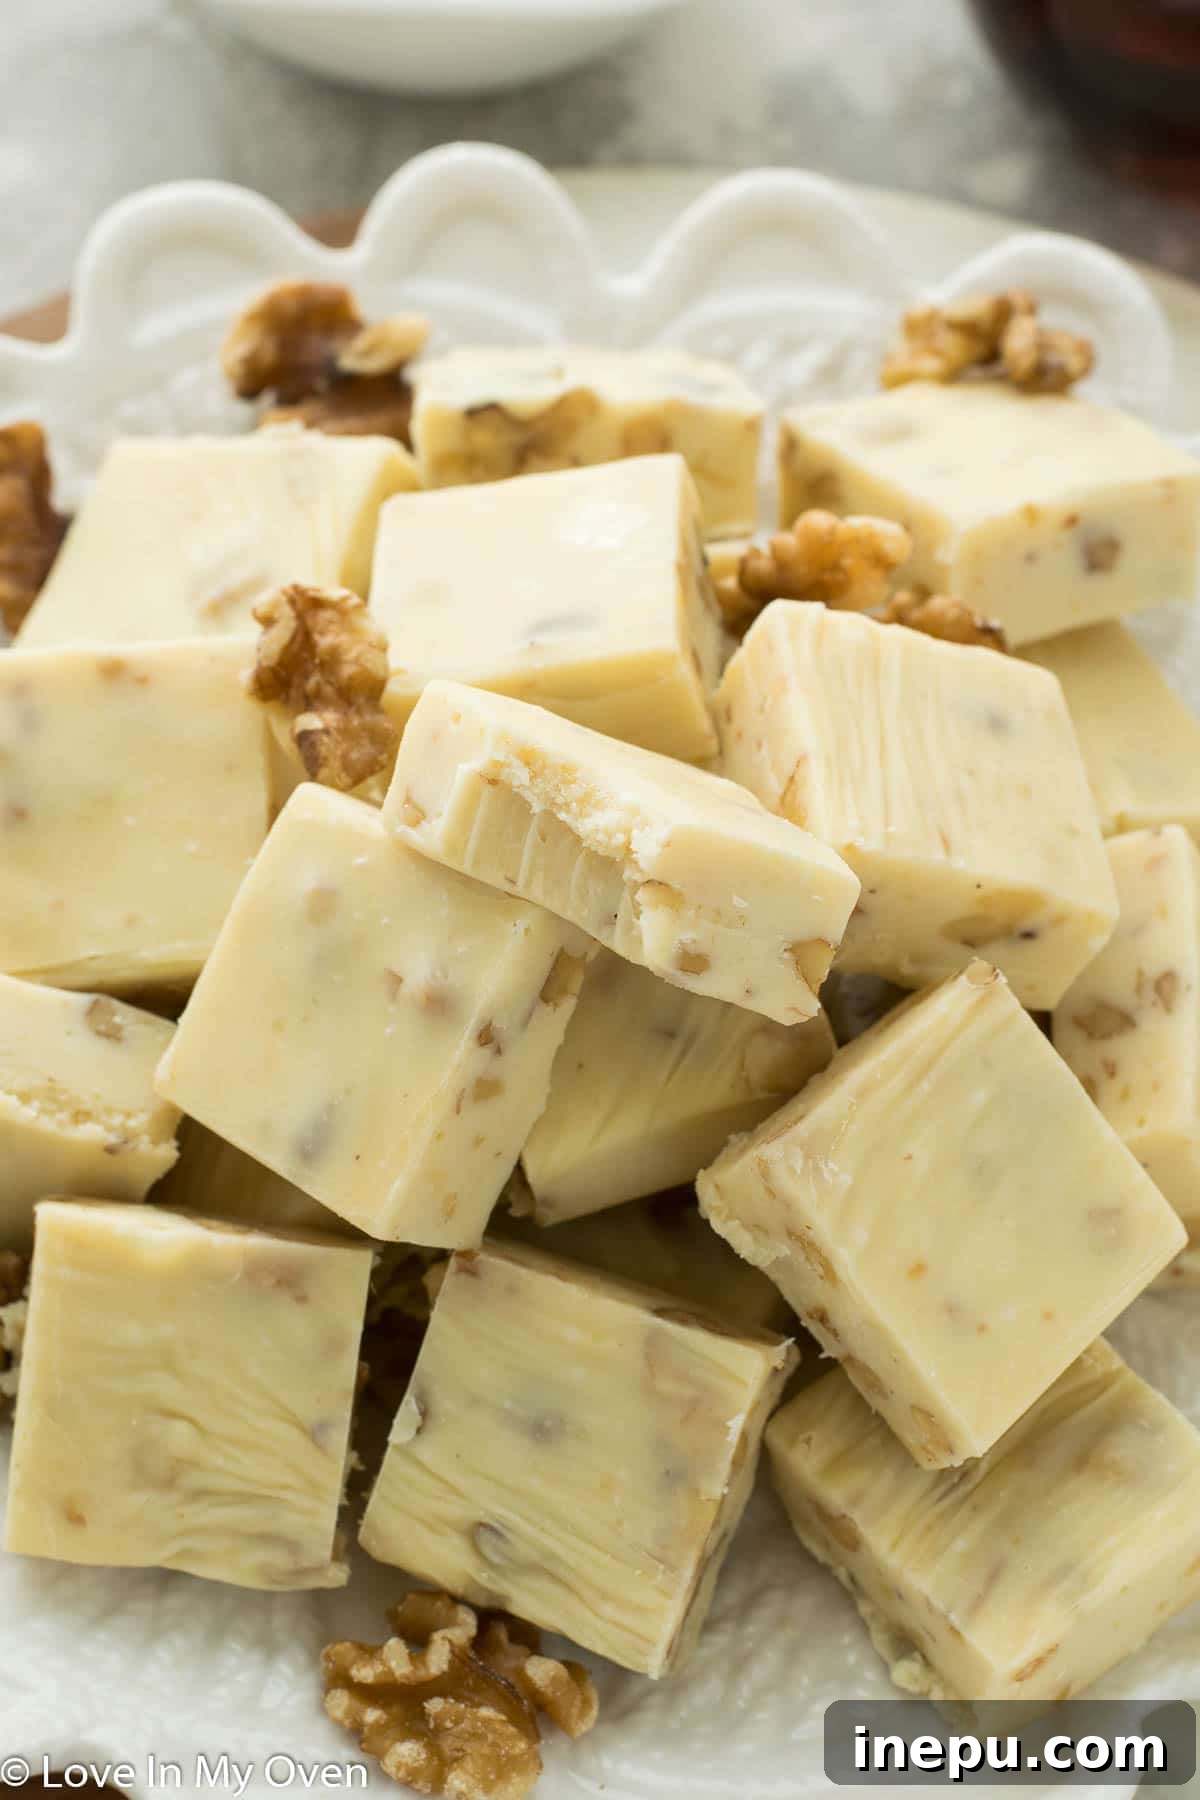
Each year, I love to experiment with a different type of fudge, and this maple walnut rendition quickly rose to the top of my favorites list. Fudge makes an excellent accompaniment to a cookie box, offering a contrasting texture and flavor profile to traditional baked goods. What truly makes this recipe a game-changer is its sheer simplicity. By utilizing a clever shortcut method, you can achieve incredibly rich and creamy fudge with minimal effort and without the need for a candy thermometer.
Last year, I delighted everyone with a batch of gingerbread fudge, and to this day, the kids still ask about it! This year’s maple walnut creation is just as memorable, delivering that comforting, autumnal taste with the satisfying crunch of walnuts. The beauty of this recipe lies in its approachable nature; even novice bakers can achieve spectacular results, making it an ideal choice for busy holiday schedules or spontaneous dessert cravings.
Effortless Creation: How to Make Maple Walnut Fudge
If you’re familiar with my gingerbread fudge recipe, you’ll find this maple walnut version remarkably similar, sharing the same “shortcut” philosophy. The magic happens with just a few core ingredients, transforming them into a luxurious, sweet treat. For this delightful maple walnut fudge, you will only need:
- Quality white chocolate (chips work perfectly for easy melting)
- Sweetened condensed milk
- Finely chopped walnuts for texture and nutty flavor
- Pure maple extract to infuse that signature maple taste
- A pinch of sea salt to balance the sweetness
The process begins on the stovetop. In a small, heavy-bottomed saucepan, combine the white chocolate chips and the sweetened condensed milk. The key here is gentle heat and consistent stirring to ensure a smooth, lump-free mixture.
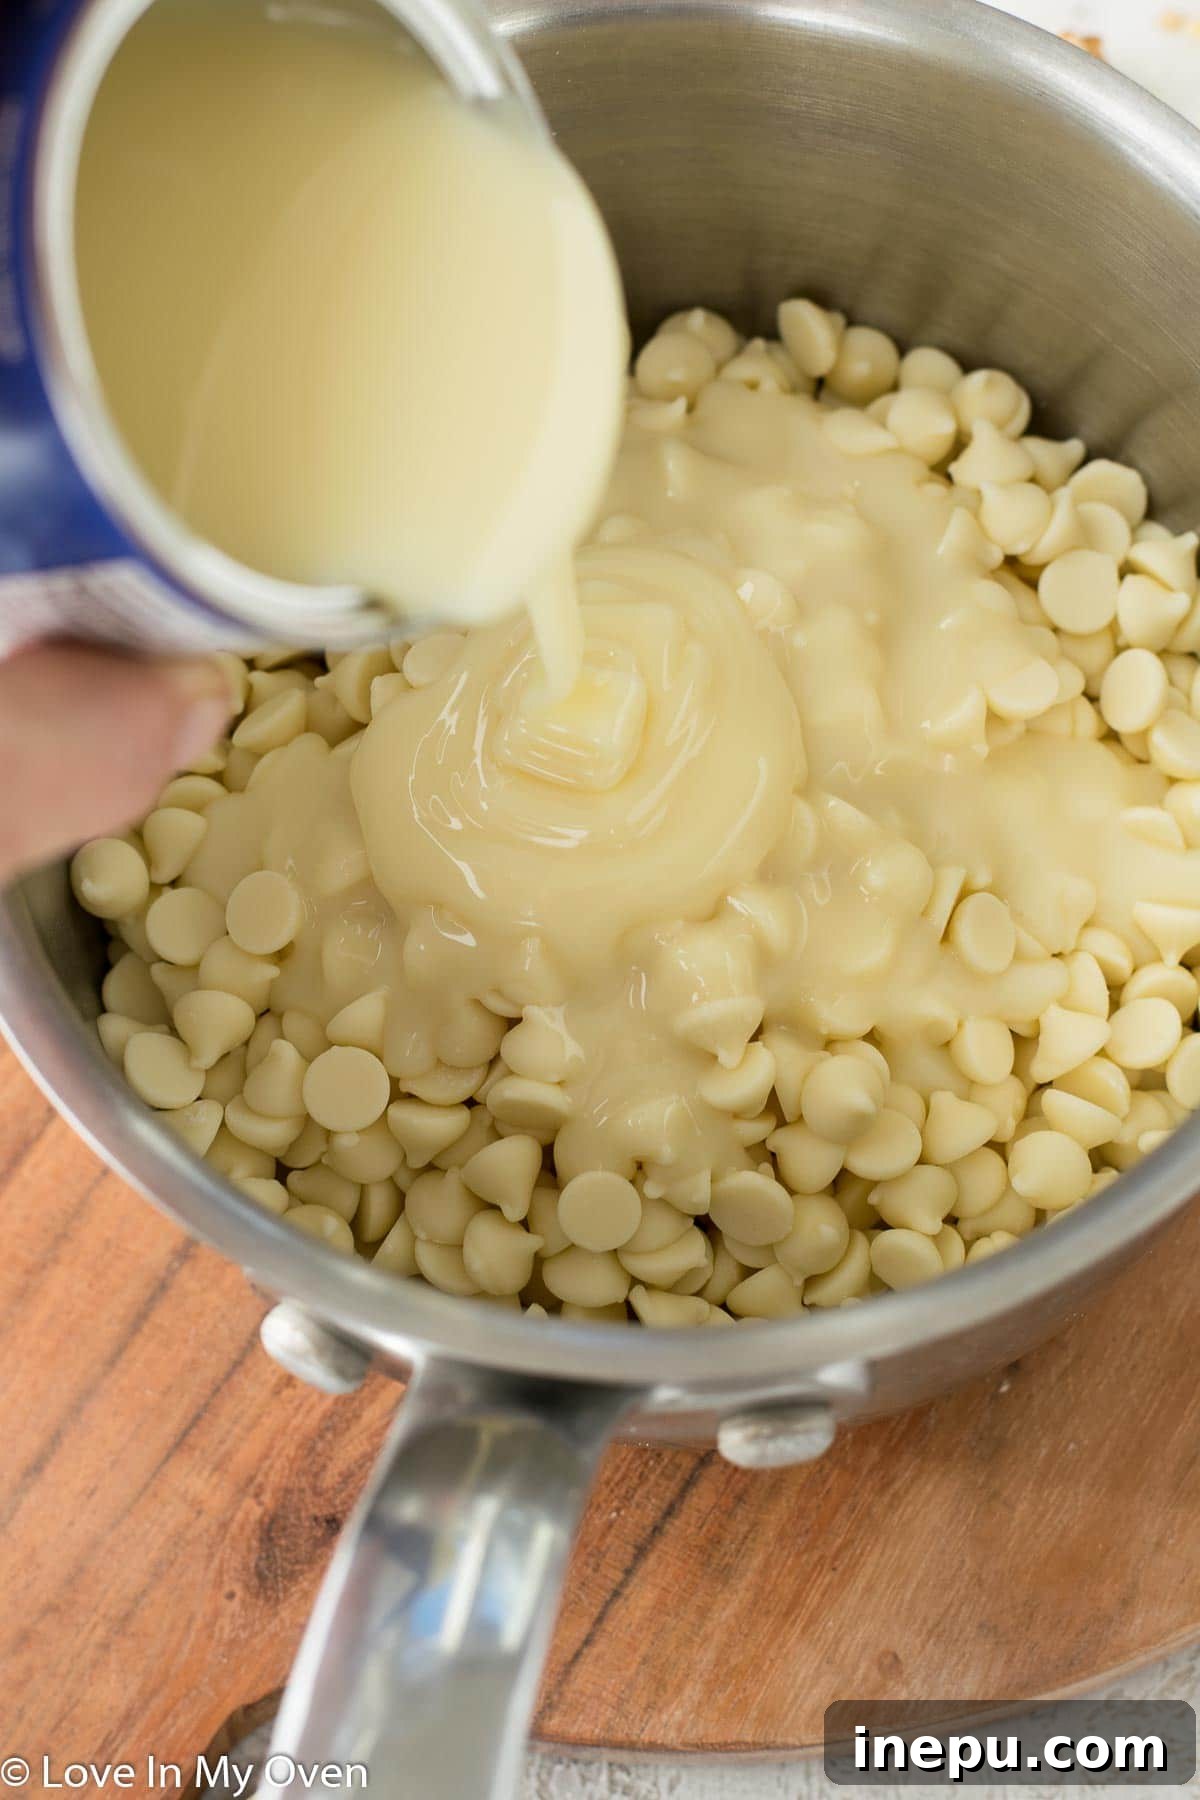
Continue to heat the mixture over medium-low heat, stirring frequently, until the white chocolate is completely melted and the ingredients are thoroughly combined into a smooth, glossy consistency. This step requires a little patience but is crucial for the final texture of your fudge. Once smooth, immediately remove the saucepan from the heat.
Now for the flavor infusion! Stir in the maple extract, ensuring it’s evenly distributed throughout the warm chocolate mixture. The aroma alone is enough to get your taste buds tingling! Following the extract, fold in the chopped walnuts and the pinch of sea salt. The walnuts add a lovely textural contrast and complement the maple flavor beautifully, while the salt enhances all the sweet notes.
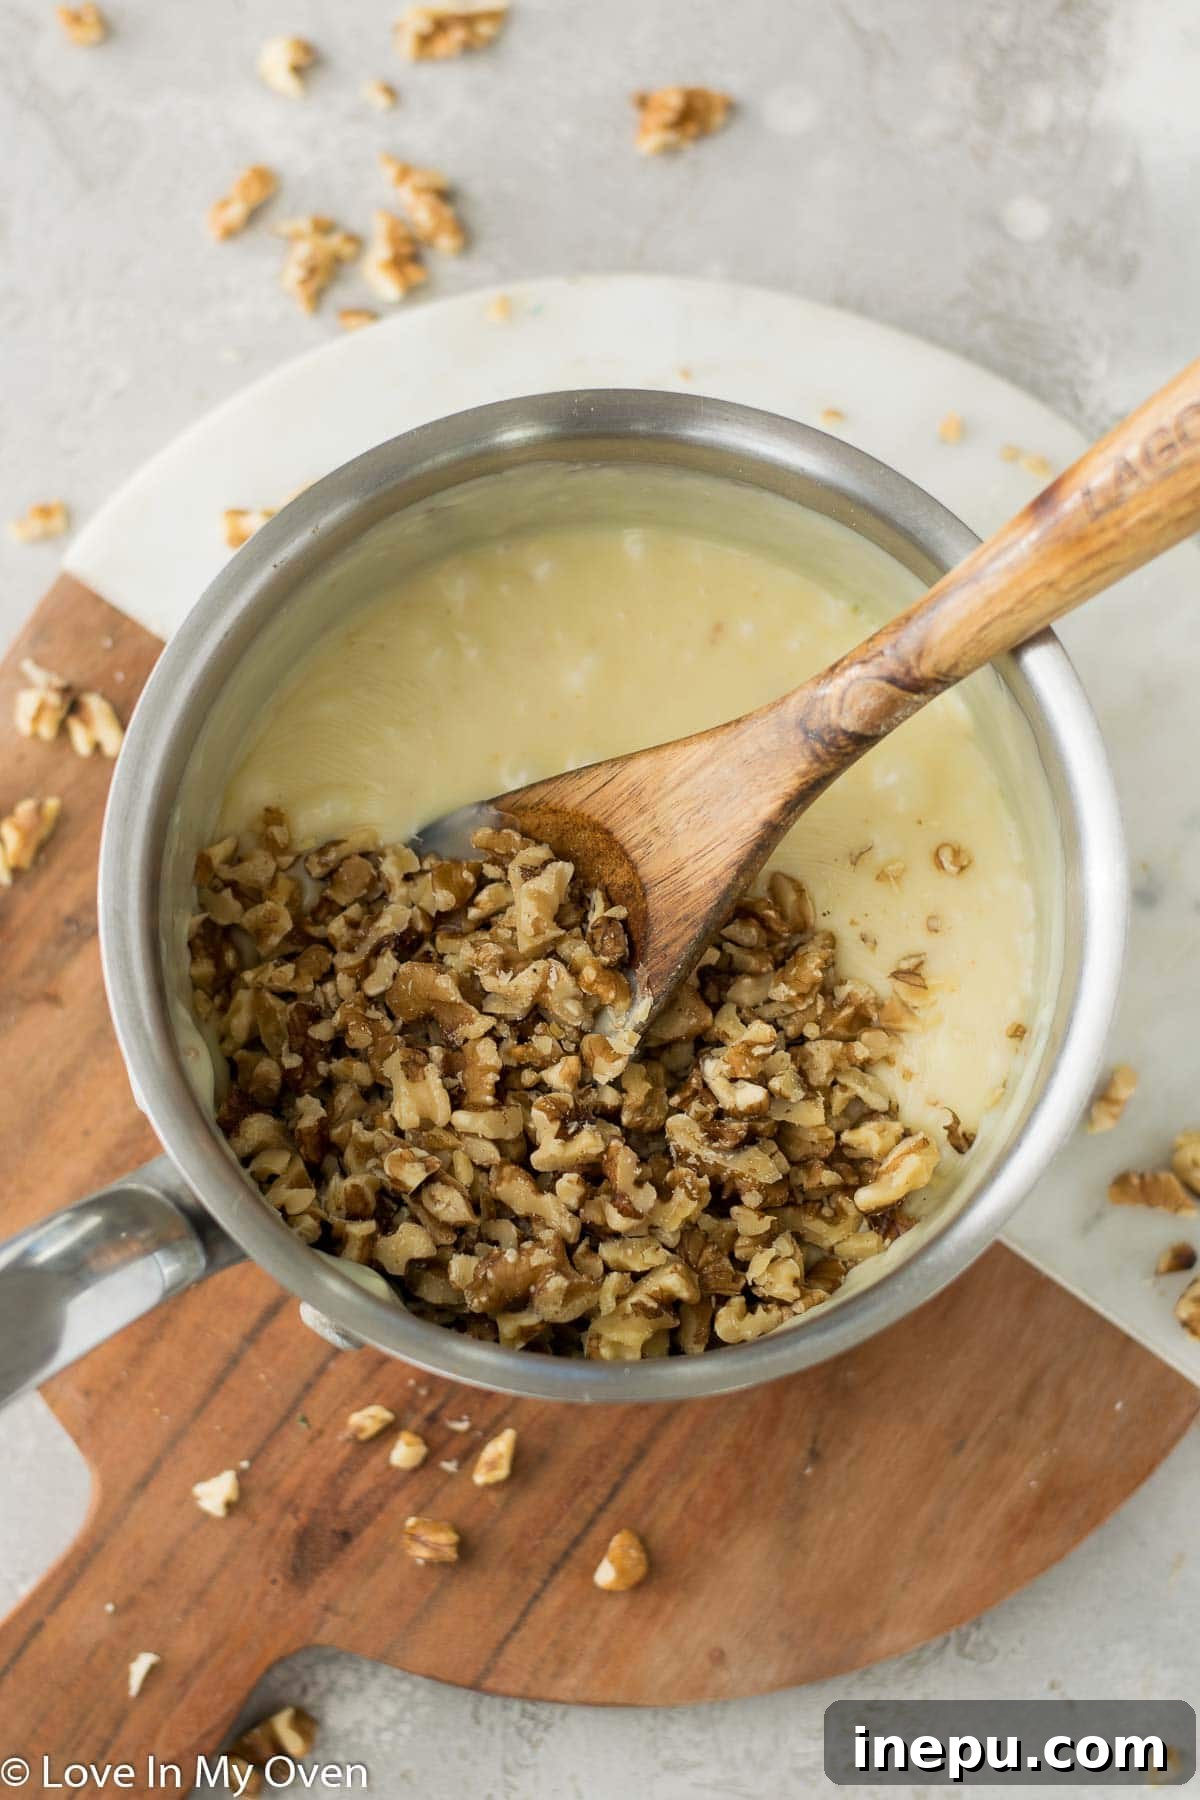
Next, prepare an 8×8 inch baking pan by lining it with aluminum foil, leaving an overhang on the sides. Generously spray the foil with nonstick spray. This step is absolutely critical for easy removal of your fudge once it’s set. Don’t skip the greasing!
Carefully pour the warm fudge mixture into the prepared baking pan. Using the back of a spoon or a small offset spatula, smooth out the top of the fudge as evenly as possible. This creates a beautiful, professional finish for your squares. Once smoothed, place the baking pan into the refrigerator for at least 4 hours. For the best, firmest set, allowing it to chill overnight is highly recommended.
When your fudge is perfectly set and firm, it’s time to cut it. Remove the pan from the fridge and use the foil overhangs to lift the entire block of fudge out onto a sturdy cutting board. Using a sharp knife, carefully slice the fudge into uniform squares. I typically aim for 36 pieces from an 8×8 inch pan, creating bite-sized portions perfect for sharing or individual enjoyment. While achieving “equal” might be a slight exaggeration, the goal is neat, manageable pieces!
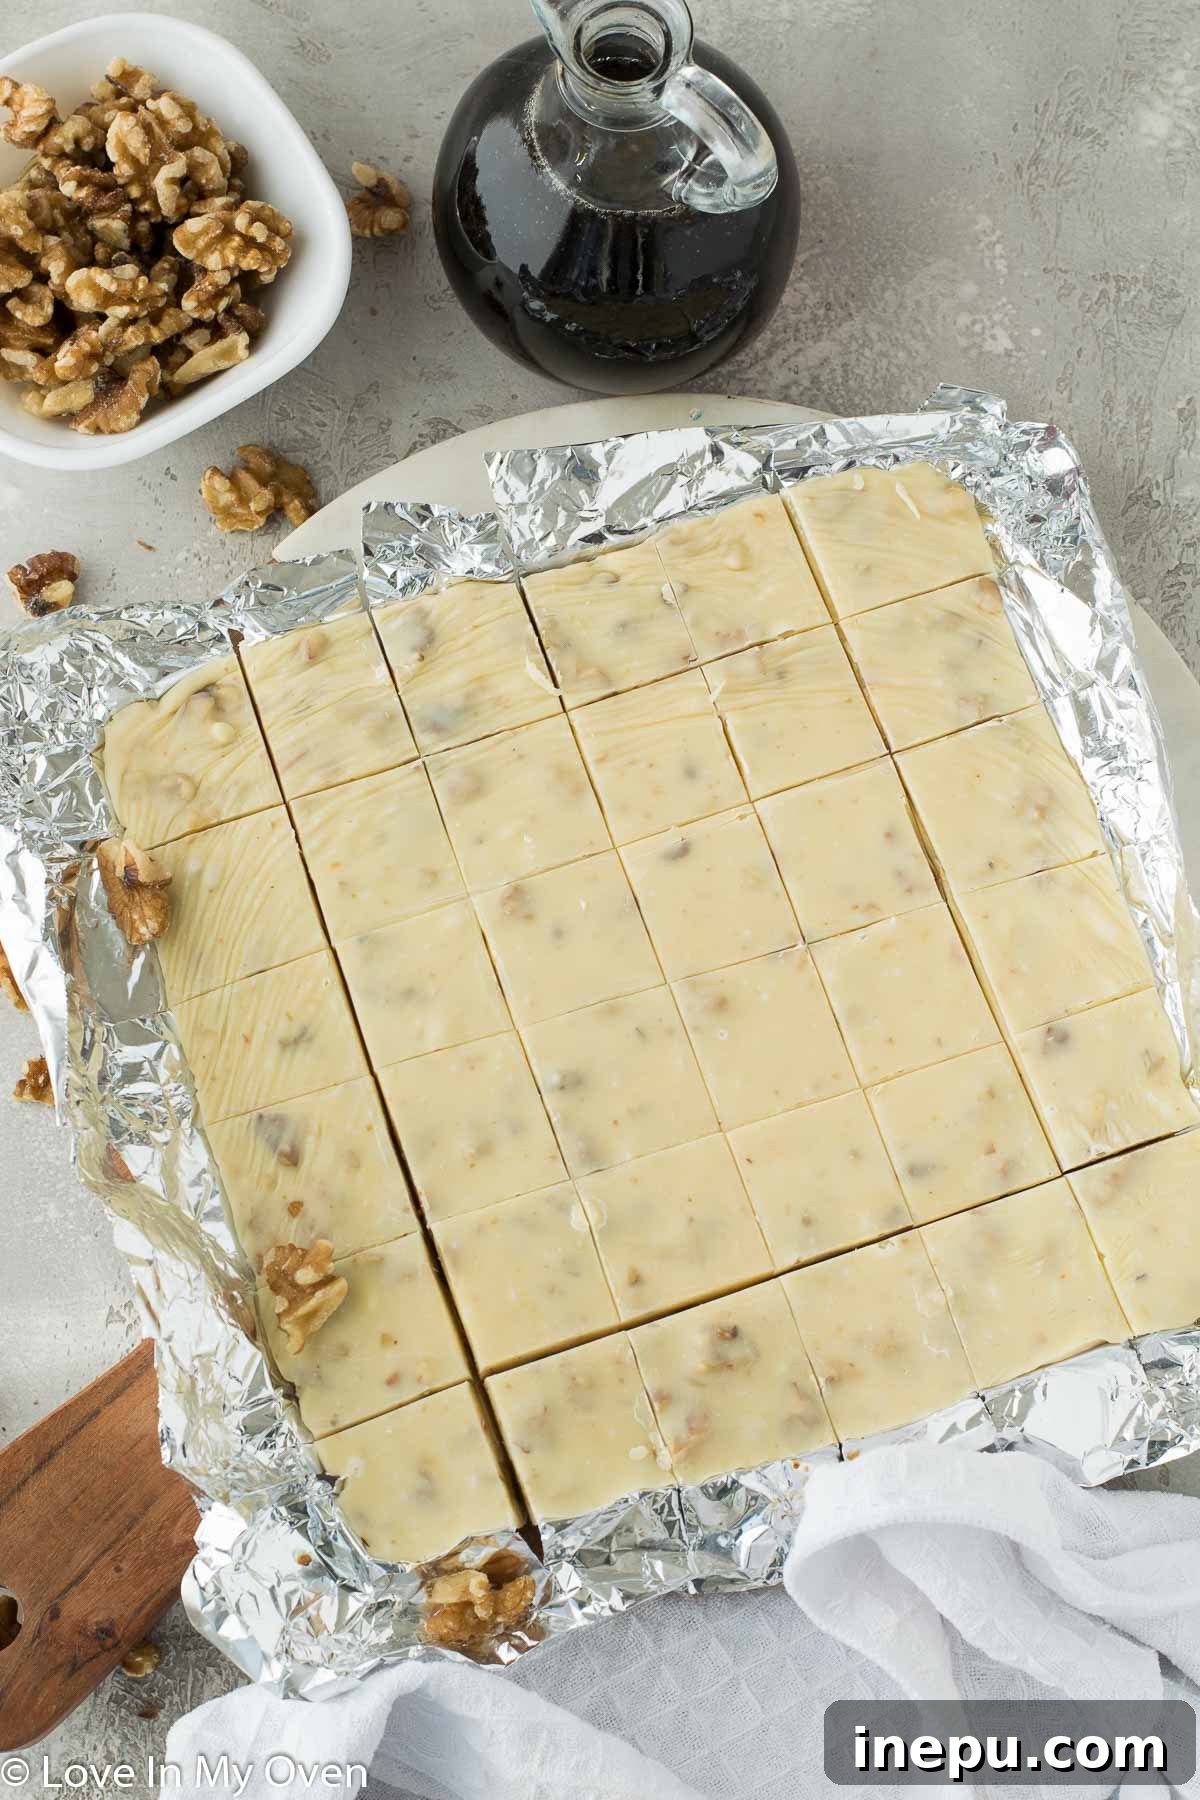
Storage Solutions: Keeping Your Maple Walnut Fudge Fresh
Proper storage is key to maintaining the creamy texture and delicious flavor of your homemade maple walnut fudge. While it can hold up reasonably well at room temperature for a short period, especially if your home is cool, it truly keeps best when chilled. If left out in a warm environment or handled frequently, the fudge will begin to soften, potentially losing its appealing firmness.
For optimal freshness and texture, I always recommend storing this maple walnut fudge in an airtight container in the refrigerator. When stored this way, it will remain perfectly delightful for up to one week. Simply take it out of the fridge a few minutes before serving to allow it to soften slightly, enhancing its melt-in-your-mouth quality. This method is ideal when you’re adding it to a cookie box or arranging it on a tray for a party – just keep it cool until serving time.
If you’re looking to enjoy your fudge beyond a week or planning to make a large batch for future treats, the freezer is your best friend! Stored in an airtight, freezer-safe container, this fudge can last for several months without compromising its taste or texture. When you’re ready to enjoy, simply transfer the frozen fudge to the refrigerator to thaw gradually, or, if you’re like me, you might even find it surprisingly tasty straight from the freezer for a uniquely firm, cold treat! Don’t be surprised if it doesn’t last that long, though – it’s just too good!
Delicious Variations: Make it Vegan and Dairy-Free!
One of the joys of baking is the ability to adapt recipes to suit different dietary needs and preferences. As someone who loves experimenting with vegan recipes, I’ve successfully adapted this maple walnut fudge to be completely vegan and dairy-free! The results are just as rich and satisfying, making it an inclusive treat for everyone to enjoy.
To create a vegan version, you’ll need to swap out two key ingredients: regular white chocolate and conventional condensed milk. Vegan white chocolate is the primary substitute, and while it might be a bit harder to find in regular grocery stores, it’s definitely available. I’ve had consistent success finding quality vegan white chocolate chips on online retailers like Amazon. For the condensed milk, simply opt for a can of coconut condensed milk, which provides a similar sweetness and creamy texture without any dairy.
The beauty of this adaptation is that all the subsequent steps and ratios remain the same as the regular recipe. You’ll combine the vegan white chocolate and coconut condensed milk, melt them down, and then stir in the maple extract and walnuts. The only important consideration is to double-check the size of your coconut condensed milk can, as they are sometimes smaller than standard condensed milk cans. Ensure you have the correct amount to maintain the perfect fudge consistency.
This vegan and dairy-free maple walnut fudge is a testament to how simple ingredient swaps can open up a world of culinary possibilities, allowing everyone to savor this delectable holiday treat. It’s perfect for gifting or simply indulging in a guilt-free sweet moment.
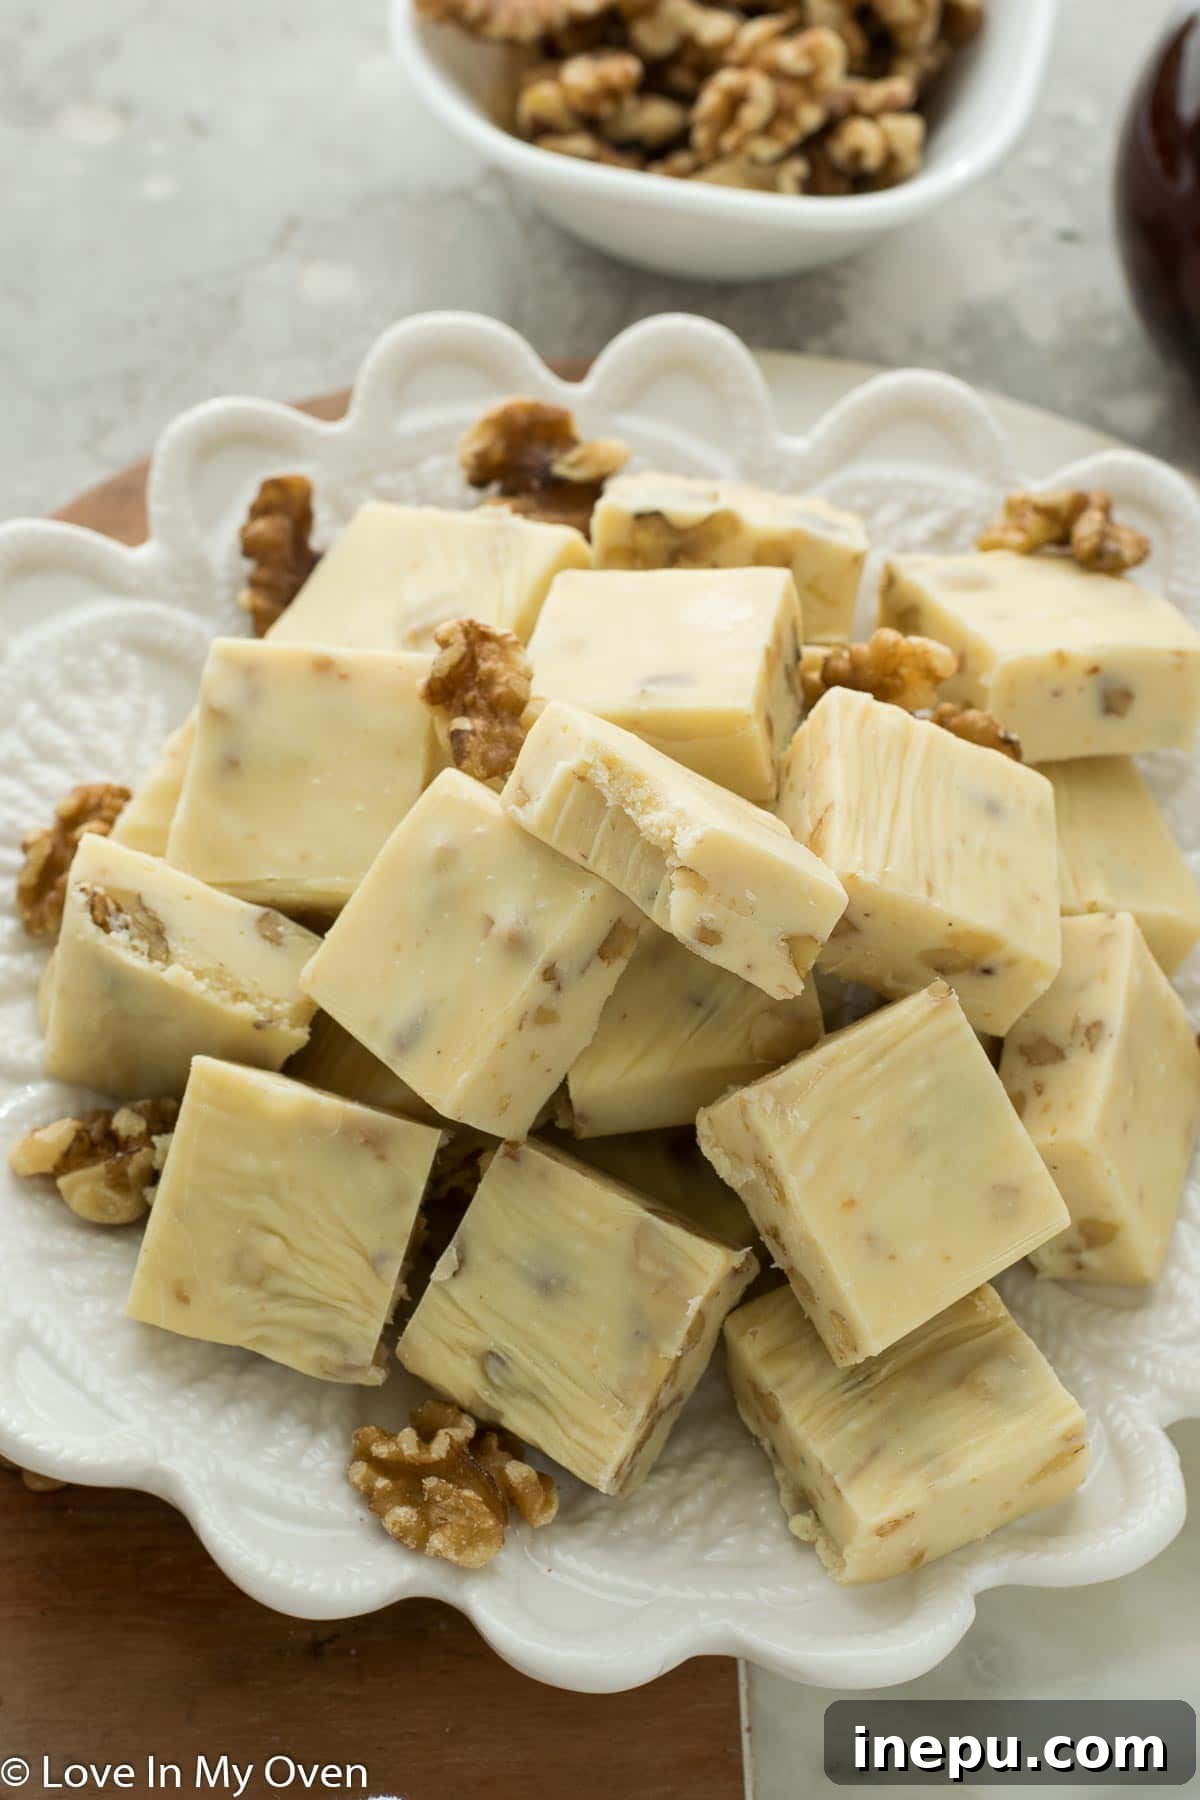
Whether you’re crafting thoughtful holiday gifts or simply craving a little sweet indulgence, this maple walnut fudge is an effortlessly delicious addition to your repertoire of goodies. Its simple preparation, irresistible flavor, and beautiful presentation make it a standout treat that everyone will adore. We always find ourselves reaching for a piece of this delightful fudge among our diverse assortment of holiday sweets!
Wishing you a truly Merry Christmas and a season filled with warmth, joy, and plenty of delicious homemade treats! Happy baking!
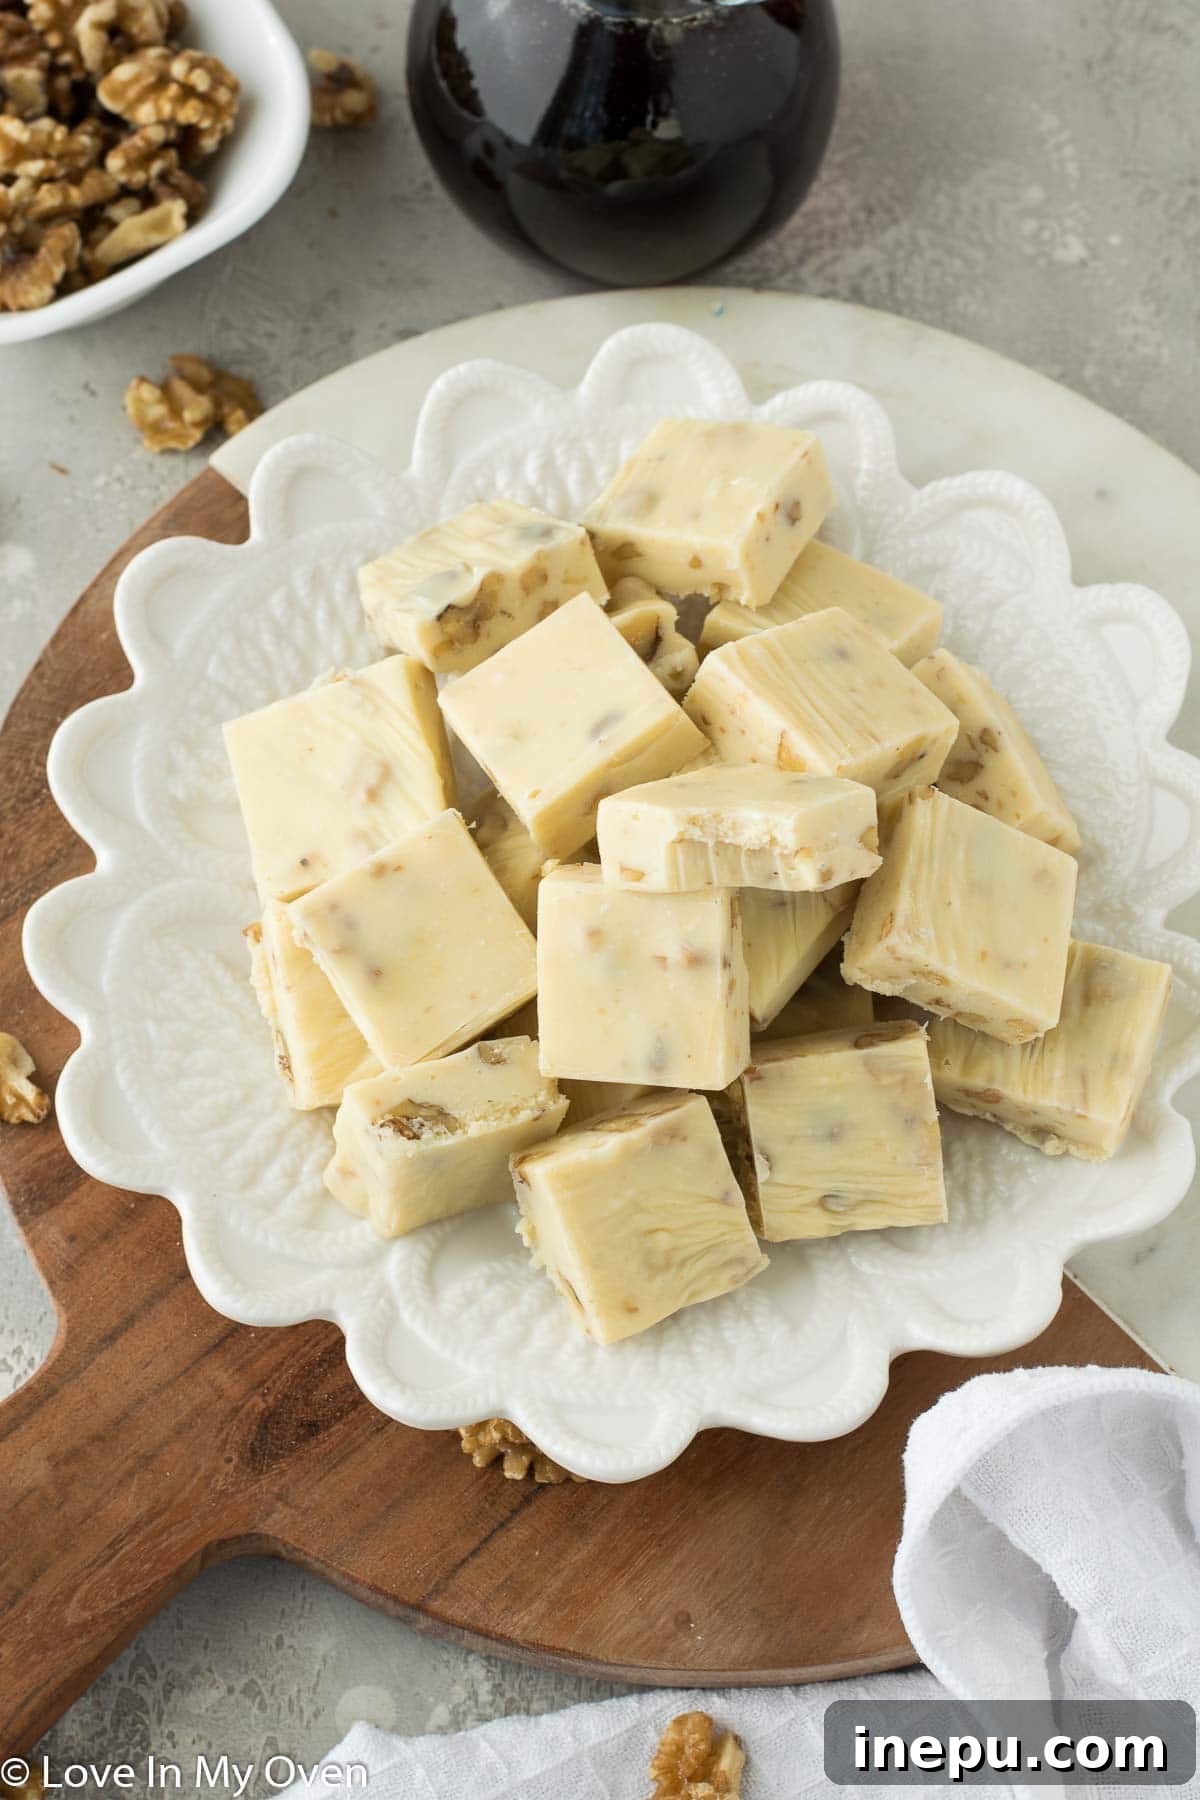
More Easy 3-Ingredient Treats to Try:
If you love simple, quick dessert recipes, here are some other fantastic 3-ingredient treats from the blog that you might enjoy:
- Refreshing Mint Oreo Mousse
- Decadent Nutella Brownies
- Irresistible Oreo Truffles
Print Recipe
Maple Walnut Fudge
5 Stars 4 Stars 3 Stars 2 Stars 1 Star
5 from 2 reviews
Author: Katherine | Love In My Oven
Total Time: 5 hours
Yield: 36 squares 1x
Description
With only a couple of ingredients and a little bit of time, this maple walnut fudge can be yours! You’ll love this super simple maple fudge! Perfect for gifting!
Ingredients
- 1 can (300mL) sweetened condensed milk
- 16 oz white chocolate chips (~3 cups)
- 1 tsp pure maple extract
- 1 cup chopped walnuts
- 1/8 tsp sea salt
Instructions
- Line an 8×8 baking pan with aluminum foil and spray it generously with nonstick spray. Set aside while you combine together the condensed milk and white chocolate chips in a small saucepan. Place the saucepan on the stove over medium heat, and stir regularly until the chocolate is completely melted and the mixture is smooth.
- Remove the saucepan from heat. Add in the maple extract and stir to combine, then add in the walnuts and the pinch of salt. Give everything another stir, then pour the mixture into the prepared baking pan. Smooth the top over with the back of a spoon, then place the pan into the fridge.
- Chill the fudge in the fridge for at least 4 hours, but preferably overnight. Remove the pan from the fridge, then use the overhanging aluminum foil to lift the fudge out of the pan and on to a cutting board. Cut the fudge into 36 equal pieces (or a size you desire). Store the fudge in the fridge or freezer.
Fudge will keep at room temperature for a day if you have it out on a serving tray, but it keeps best when cold. It can be stored in the fridge for up to 1 week or in the freezer for 2+ months.
Notes
For a vegan version, see the blog post above for specific ingredient substitutions and tips.
- Prep Time: 5 minutes
- Cook Time: 5 minutes
- Category: desserts
- Method: stovetop
- Cuisine: american