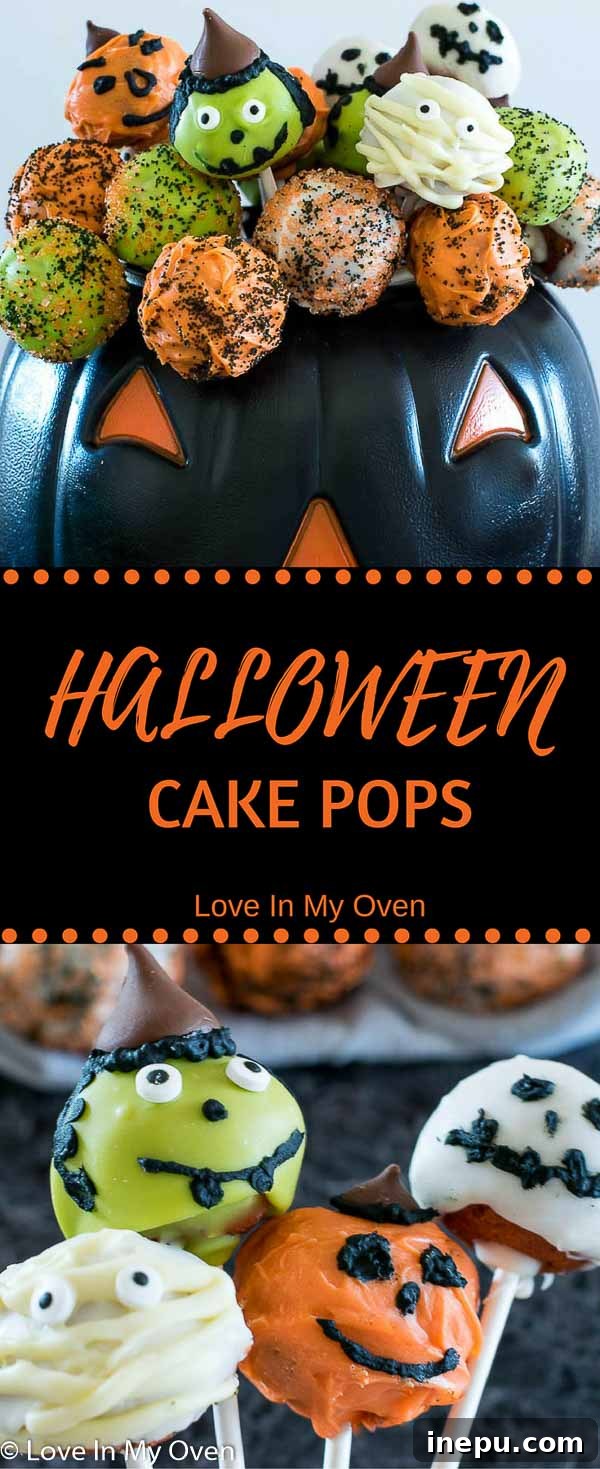
Spooky & Sweet: Crafting the Ultimate Halloween Cake Pops
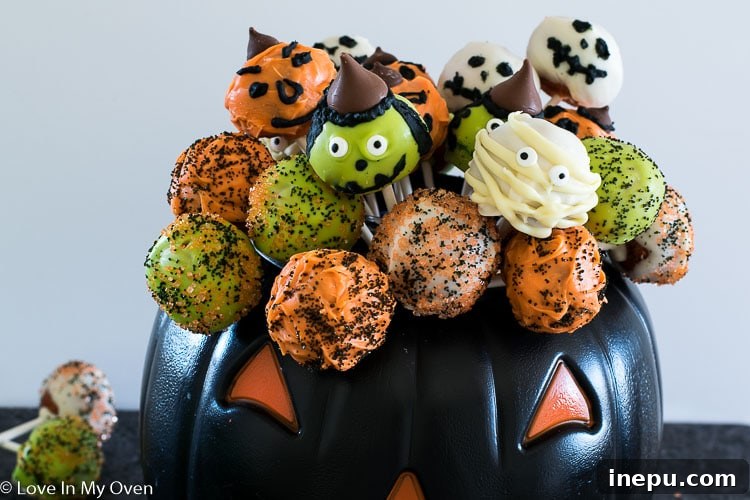
These Halloween cake pops are not just a treat; they’re an experience! Perfectly pumpkin-flavored with a delicious chocolate coating, they are sure to be the star of your Halloween celebrations. Treat your little ghosts and goblins to a handmade delight this season!
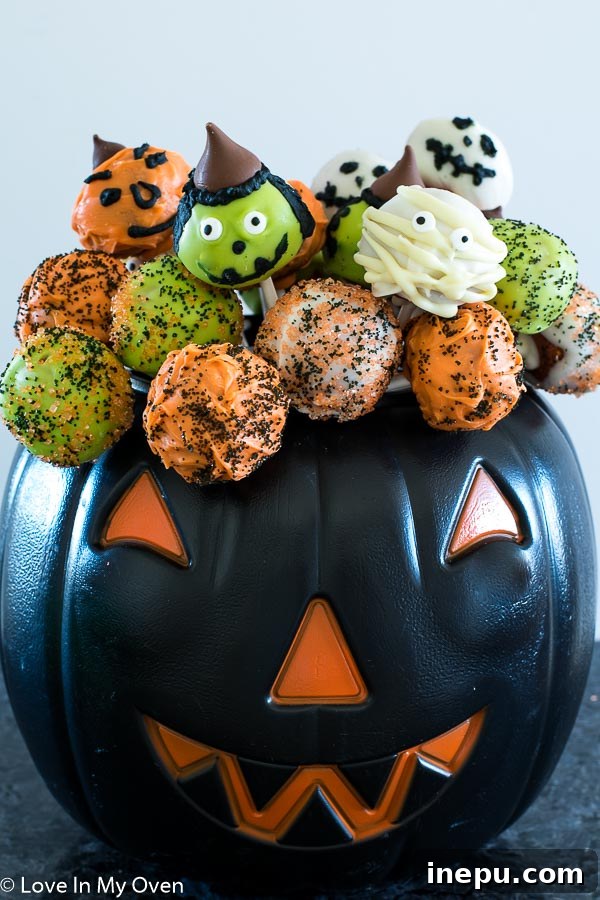
Halloween! It’s one of those holidays that truly sparks joy for many, myself included. While some revel in elaborate decorations and costume planning months in advance, others might find themselves scrambling last minute for a suitable outfit or a bag of candy. I’d place myself somewhere in the middle, perhaps a solid seven on the enthusiasm scale. I adore the spirit of it all – the imaginative costumes, the artistic pumpkin carving, the delightful trick-or-treating, the magically transformed houses, and the thrill of haunted tours.
Growing up, Halloween was a cherished annual tradition filled with wonderful memories. My family would dedicate an entire weekend to preparing for the festivities. We’d gather around, carving pumpkins with intricate designs, cutting out construction paper bats and pumpkins to adorn our windows, and crafting whimsical “ghosts” to hang from the trees, swaying eerily in the autumn breeze. Trick-or-treating with my siblings, and later with friends, was always an adventure, eagerly collecting bags of candy. I’ve also sported some truly memorable costumes over the years – a shiny robot, a giant gift, a hilarious double bubble, and even a “kit-KAT” (yes, pun intended!). Last year, Etienne and I embraced a classic with our Goldilocks and the Three Bears ensemble, which was a huge hit.
This year, the costume conundrum persists! With a dress-up dinner party just days away, we’re on the hunt for a quick yet creative couples’ idea. Any brilliant suggestions are more than welcome!
But while you ponder our sartorial dilemma, let’s shift our focus to something equally exciting and much more delicious: these irresistible Halloween cake pops!
What Exactly Are Cake Pops?
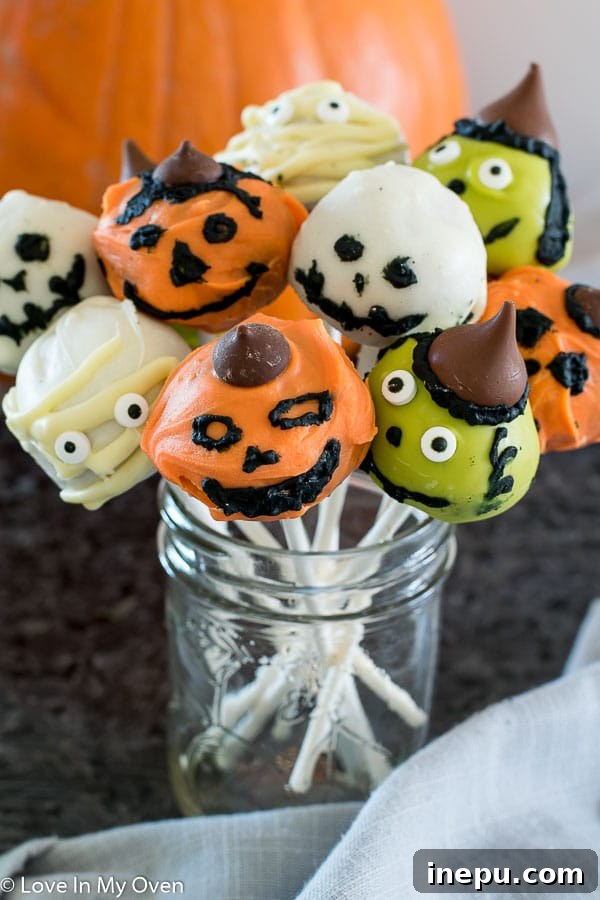
Cake pops are miniature delights that have taken the dessert world by storm, and for good reason! If you’ve never had the pleasure of making them, you’re in for a treat. At their core, cake pops are simply crumbled cake mixed with a creamy frosting, rolled into bite-sized balls, and then dipped into a luscious melted chocolate or candy coating. They’re surprisingly simple to make, and while decorating can be as elaborate as you wish, the basic process isn’t overly time-consuming.
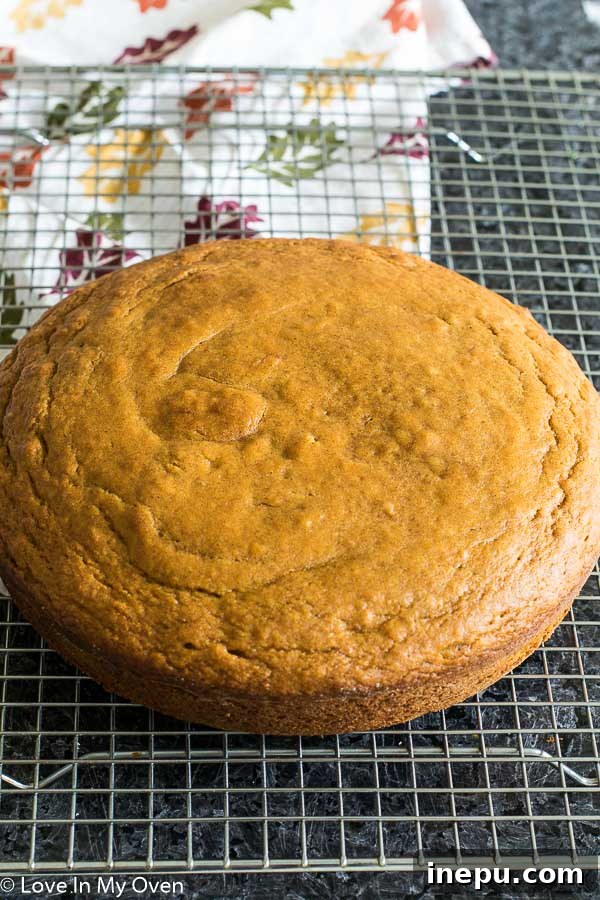
My first foray into cake pop creation was born out of a culinary “disaster.” I had two cake layers that completely crumbled upon removal from their pans, making them unusable for a traditional tiered cake. Instead of despairing, a brilliant idea sparked: cake pops! It’s the perfect solution for salvaging a broken cake – simply continue crumbling the cake, add some frosting, roll into balls, and voilà! You’ve transformed a setback into a dippable, delightful treat. No cake disaster on hand? No problem! For this recipe, I purposefully baked a beautiful pumpkin cake and then (gently) proceeded to crumble it, all for the sake of these adorable Halloween-themed creations.
Choosing the Perfect Frosting for Your Cake Pops
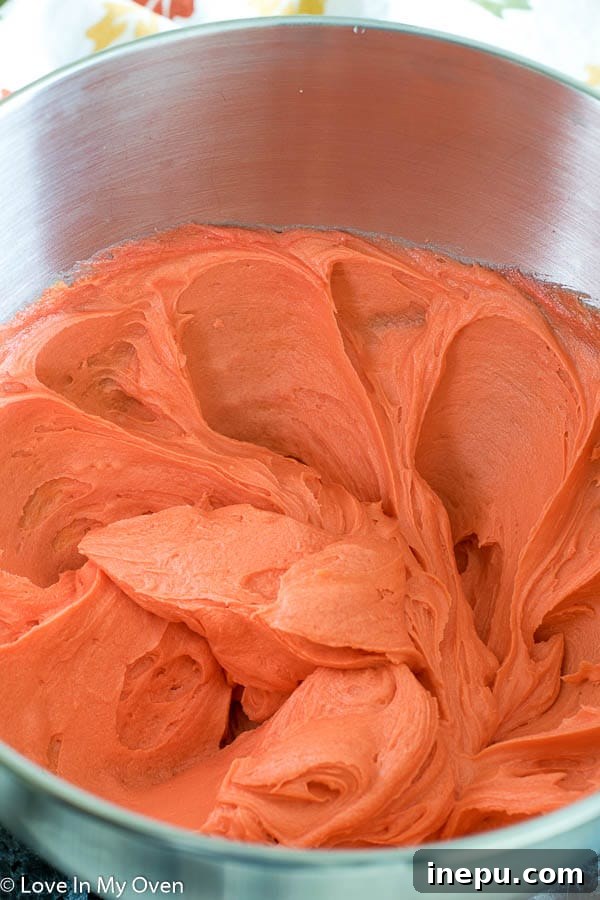
The type of frosting you choose plays a crucial role in both the flavor and consistency of your cake pops. While almost any frosting can work, I opted for a classic buttercream, dyed a vibrant orange to perfectly match our Halloween theme. The rich, buttery flavor of buttercream complements the pumpkin cake beautifully. However, a tangy cream cheese frosting would also be an absolutely delicious choice, adding a delightful counterpoint to the sweet cake and coating. Feel free to experiment with your favorite flavors!
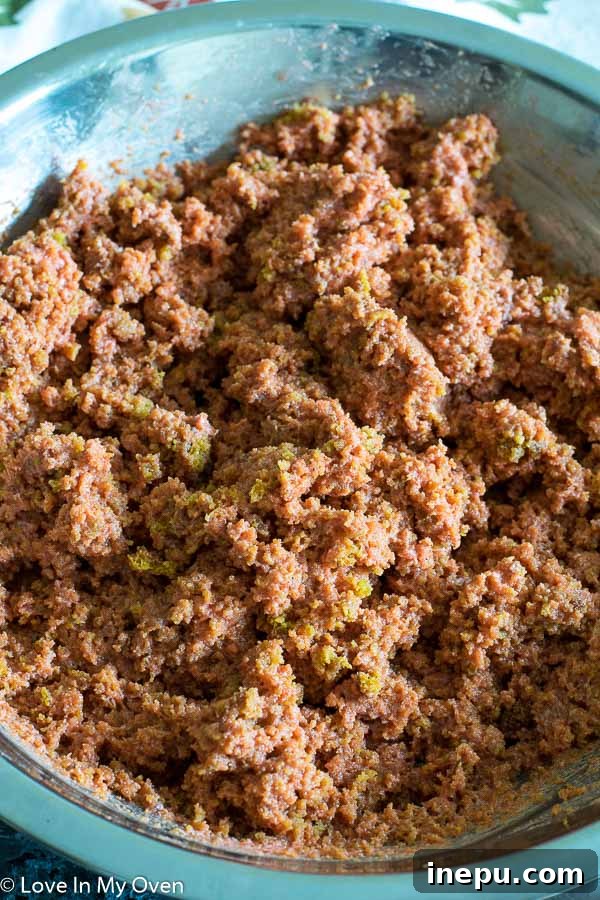
For convenience, especially if you’re new to cake pops or short on time, don’t hesitate to use a boxed cake mix and store-bought frosting. The key is to maintain similar ratios to what I’ve provided in the recipe. Adding too much frosting can result in soggy, difficult-to-handle cake pops, while too little might leave them dry and crumbly. The goal is a moist, pliable mixture that holds its shape well when rolled.
A crucial tip for working with the cake and frosting mixture: after combining, chill it in the refrigerator for about an hour before rolling into balls. This step makes the mixture much easier to handle, preventing it from sticking excessively to your hands and ensuring the balls come out firm and perfectly shaped. Trust me, this little trick makes a world of difference!
Selecting and Melting Your Chocolate Coating
For these festive Halloween cake pops, I used Wilton candy melts in vibrant orange, classic white, and spooky green. Candy melts are a popular choice for cake pops because they are specifically formulated to melt smoothly and set quickly, creating a flawless, professional-looking finish without the need for tempering. They also come in a wide array of colors, making them perfect for holiday-themed treats.
While candy melts are convenient, you can certainly use other types of chocolate. White chocolate is another excellent option for coloring and creating striking designs, though it can be a bit pricier if you’re making a large batch. Milk, dark, or semi-sweet chocolate can also be used, offering different flavor profiles. Regardless of your choice, the key is achieving the right consistency. Melt your chocolate until it’s fairly runny and smooth. Overheating chocolate can cause it to “seize up,” becoming thick, grainy, and almost impossible to dip. If this happens, don’t panic! A few drops of a neutral-flavored vegetable oil (like grapeseed or canola) stirred in quickly can often help to smooth it out and restore its dippable texture. Microwave melting should be done in short bursts (30-second increments at 60% power), stirring thoroughly after each interval, to prevent overheating.
Mastering the Art of Drying and Decorating Cake Pops
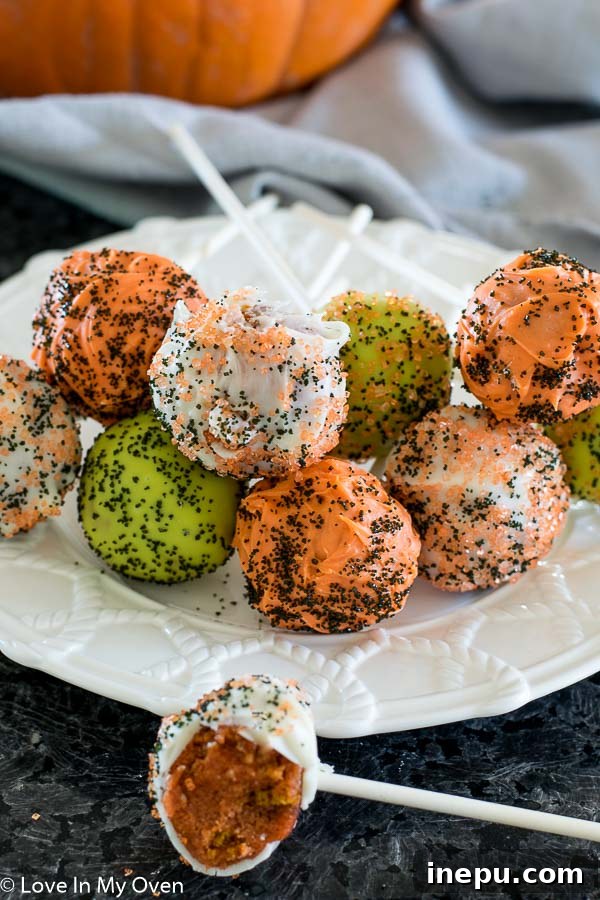
One of the most common challenges in making cake pops is how to dry them without flattening their perfectly round tops or causing the coating to pool. While you could lay them flat on a parchment-lined baking sheet, this will inevitably create a flat spot. My preferred method for drying cake pops is to gently poke tiny holes into the top of a cardboard box (an empty cereal box or shoe box works perfectly) and insert the cake pop sticks into these holes, allowing the pops to hang upside down. This ensures they dry evenly all around, maintaining their spherical shape. They typically take about an hour to fully dry, depending on the thickness of the coating and humidity levels.
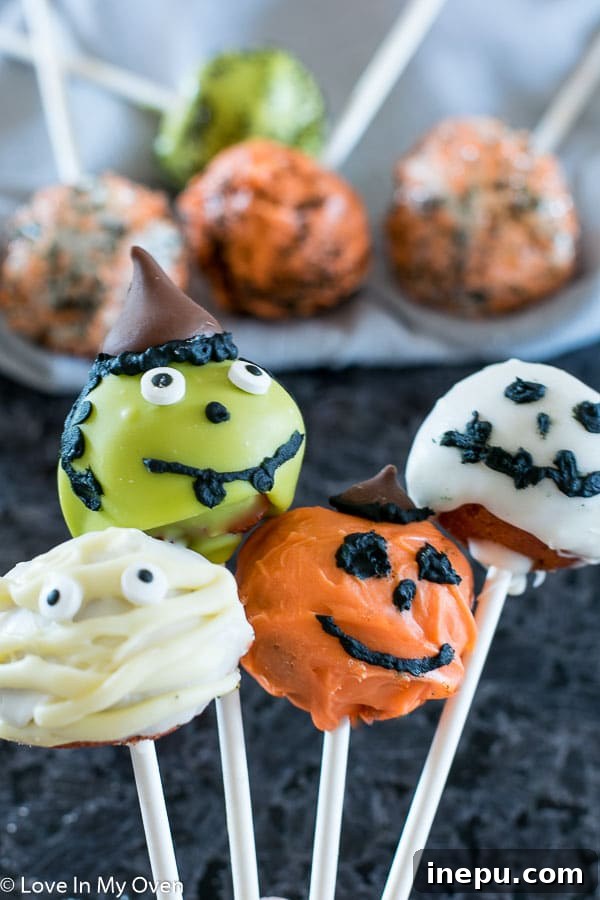
When it comes to decoration, timing is everything! Any sprinkles you wish to add must be applied immediately after dipping the cake pop, while the chocolate coating is still wet and tacky. For more intricate designs, like the skeleton faces on some of my Halloween cake pops, you can add them after the coating has completely set. Use a small amount of additional icing (either royal icing or a bit of the leftover buttercream) and a fine-tipped piping bag or even a toothpick to create your designs. Edible markers are another fantastic tool for adding fine details and expressions to your spooky characters.
The Perfect Treat for Any Occasion
Cake pops are incredibly versatile and make for a perfect gift, party favor, or delightful snack. Their individual size makes them inherently portion-controlled and easy to serve, eliminating the need for plates and forks. Whether you’re aiming for spooky, silly, or simply sweet, their customizable nature allows for endless creative possibilities. They can be adorned to match any theme, from elaborate holiday designs to simple sprinkles, making them a hit with both children and adults.
Once made, cake pops are surprisingly resilient. They will keep beautifully at room temperature for a couple of days, making them ideal for parties or bake sales. For extended freshness, store them in an airtight container in the refrigerator, where they’ll last much longer – typically 4-5 days. You can even freeze them, either before or after dipping, allowing you to prepare them well in advance. Just be sure to thaw the frozen balls in the fridge before dipping (if freezing undipped) or before serving (if freezing dipped).
So, the next time you find yourself with a crumbly cake, or simply craving a fun and engaging baking project, remember this method. These Halloween cake pops are more than just a recipe; they’re an invitation to get creative in the kitchen and bring a little extra joy and spookiness to your celebrations. Happy Halloweening!
If you love Halloween and the cozy flavors of fall as much as I do, be sure to explore my other fall-friendly recipes that capture the essence of the season:
- Peekaboo Pumpkin Chocolate Loaf
- Pumpkin Cake Cookies
- Salted Caramel Apple Rose Pie
- Apple-Cinnamon Gin Fizz
- Salted Caramel Apple Cake
Print Recipe

Halloween Cake Pops
5 from 1 review
- Author: Katherine
- Total Time: 2 hours 45 minutes
- Yield: 35-40 cake pops
Description
These Halloween cake pops are a fun way to treat your little ghosts and goblins this Halloween! Pumpkin cake pops with a delicious chocolate coating!
Ingredients
Pumpkin Cake
- 1 2/3 cup all-purpose flour
- 1 tsp baking powder
- 1/2 tsp baking soda
- 1/2 tsp salt
- 1 tsp cinnamon
- 1/4 tsp nutmeg
- 3/4 cup brown sugar, lightly packed
- 1/4 cup granulated sugar
- 2 large eggs, lightly beaten
- 1/2 cup oil (grapeseed, canola, avocado)
- 1 tsp pure vanilla extract
- 1 cup pure pumpkin (not the pie filling)
- 1/2 cup milk (dairy or non-dairy is fine)
Buttercream Icing
- 1/2 cup unsalted butter, softened to room temperature
- 1 1/2 to 1 3/4 cup icing (powdered) sugar
- 2 tsp whole milk or cream
- 1–2 drops food colouring (if desired)
Coating
- 3–4 cups candy melts
- Sprinkles and/or decorative icing (as needed)
Instructions
- Make the cake! Preheat the oven to 350 F and thoroughly grease and flour a 9″ cake pan.
- Combine the flour, baking soda, baking powder, salt, cinnamon and nutmeg in a medium mixing bowl. Set aside. In another large bowl, stir together the brown and white sugar, then add the eggs and oil and whisk to combine. Add the vanilla extract, and pumpkin and stir until combined.
- Add half the dry ingredients to the wet, stirring, then add half of the milk. Stir gently. Add the remaining dry ingredients, and the remaining milk. Stir until just combined. Pour the cake batter into the floured cake pan. Place in the oven for 40-45 minutes, or until a toothpick inserted in the center comes out clean. Allow the cake to cool in the pan for 10 minutes before inverting onto a wire rack and cooling completely.
- Once the cake has cooled, crumble it into small pieces in a large bowl, using your hands to break up any large chunks.
- Make the frosting! In the bowl of a stand mixer fitting with the paddle attachment, or using a handheld electric mixer, whip the butter until smooth, about 2 minutes. Add 1 1/2 cups of icing sugar, and the milk, with the mixer on low. Once the sugar is combined, turn the mixer to high and beat for a couple more minutes. Add the additional 1/4 icing sugar if the frosting does not seem stiff enough. Add the food colouring (if using) and beat for another minute until the colour is well incorporated.
- Measure out 1 1/2 cups of frosting and place it into the bowl with the crumbled cake. Use a large wooden spoon or your hands to fully incorporate the icing into the cake. If it is too crumbly, add up to 1/4 cup more frosting. Be careful, you don’t want to make it too moist! Chill the bowl for 1 hour in the refrigerator.
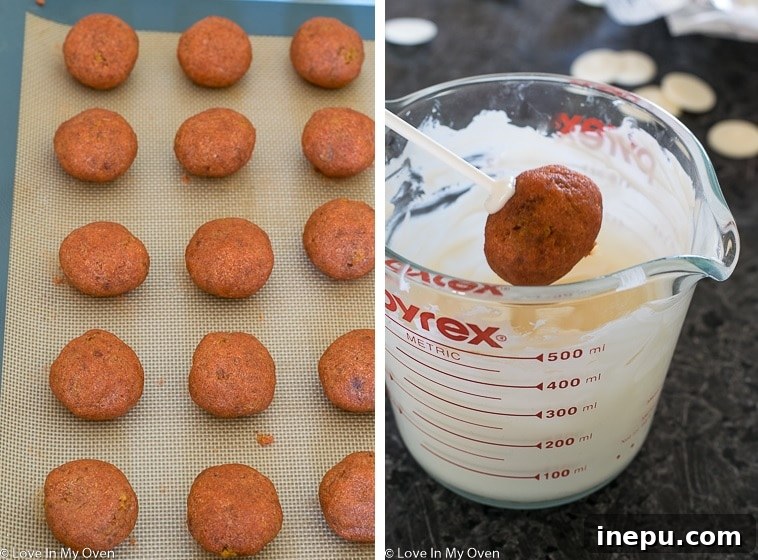
- Prepare a parchment-lined baking sheet. Using your hands, roll the cake mixture into approximately 40 balls, about 1 tbsp each. Place the prepared cake balls back into the fridge will you prepare the melted chocolate.
- I like to use a glass measuring cup (as pictured) to dunk my cake balls. I melt the chocolate in this cup, using the microwave. Be careful with the microwave, as overheating the chocolate will cause it to seize up and be virtually un-dunkable.* I like to heat it in 30 second increments, at 60% power, stirring in between until the chocolate is nice and smooth!
- Remove the cake balls. Take your cake pop stick, dip it in the melted chocolate, and insert it into the cake pop (be sure not to poke through the top)! Dunk the cake pop into the melted chocolate, gently tapping off the excess chocolate. Cover the coated pop in sprinkles if desired, then place right side up into a cardboard box (as described in the post above). Repeat with remaining cake pops.
- Cake pops take about 1 hour to dry, at which time you can decorate further or place in the fridge to enjoy for later!
Cake pops will keep at room temperature for 1-2 days, but are best if stored in the fridge. They’ll last for 4-5 days. You can also freeze them, prior to dipping or after. Thaw the balls in the fridge.
Notes
- If you’ve overheated your chocolate, try adding 1-2 tsp of vegetable (or grapeseed) oil and stirring it quickly to smooth out the texture.
- Prep Time: 1 hour
- Cook Time: 45 minutes