
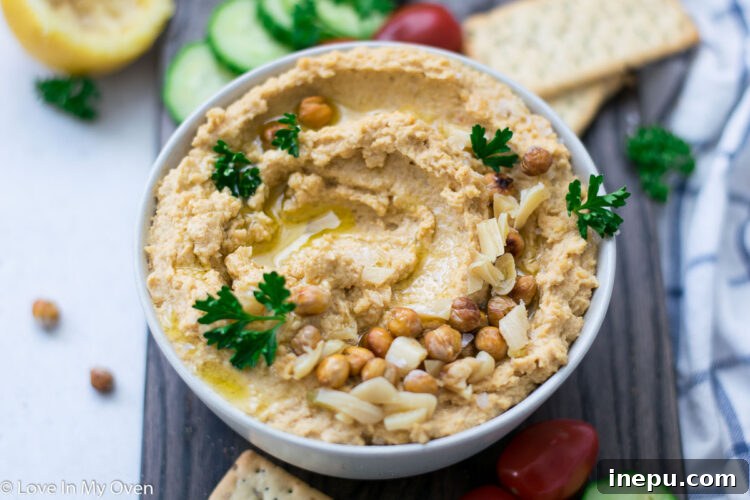
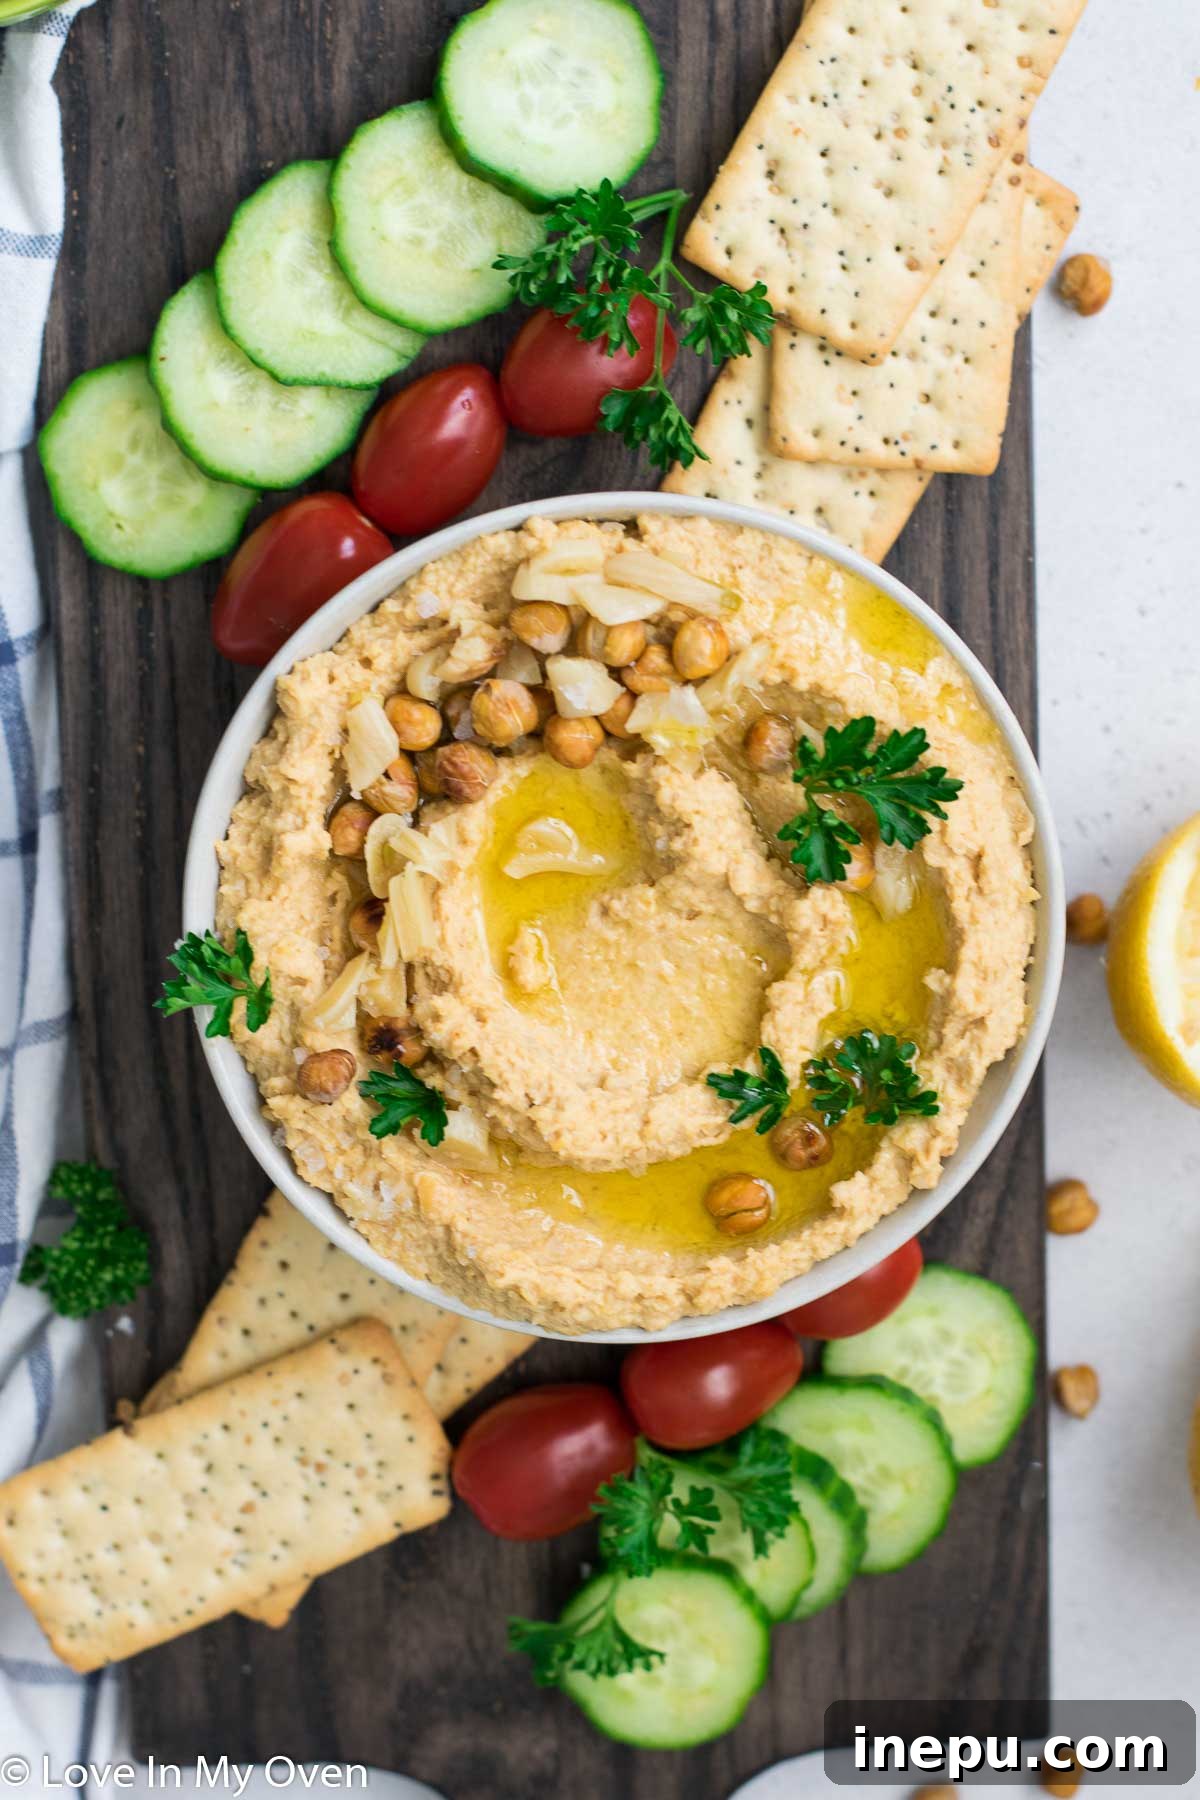
Creamy, smooth, and irresistibly delicious, this homemade roasted garlic hummus is the ultimate versatile dip. Perfect for pairing with fresh vegetables or crispy crackers, and an excellent spread for sandwiches and wraps, it’s a family favorite that even picky eaters will approve of!
*Please note* this post was originally published in 2017. It has since been thoroughly revised with an updated recipe and expanded text to provide even more valuable insights and tips.
The Ultimate Homemade Roasted Garlic Hummus: A Healthy & Delicious Dip for Every Occasion
There’s something undeniably satisfying about a good dip. Whether it’s the vibrant tang of salsa, the cool creaminess of tzatziki, the rich flavor of guacamole, or the wholesome goodness of hummus, these culinary delights bring joy to any table. My personal fondness for dips intensifies when they are crafted from healthy, nourishing ingredients, allowing me to indulge guilt-free. And when it comes to healthy and delicious, homemade hummus takes center stage, especially this incredible roasted garlic version.
Done the right way, hummus is a powerhouse of nutrition. Crafted primarily from garbanzo beans (also known as chickpeas), it’s abundantly rich in dietary fiber, plant-based protein, and essential iron. Beyond its immediate nutritional punch, studies have even indicated that regular consumption of chickpeas, a key ingredient in hummus, can contribute to lower cholesterol levels, promoting heart health. This makes homemade hummus not just a tasty treat, but a smart choice for a balanced and vibrant diet, fitting perfectly into Mediterranean eating patterns.
A Parent’s Secret Weapon: Kid-Approved Healthy Hummus
As a parent navigating the sometimes-challenging world of picky eaters, I’m constantly searching for innovative and delicious ways to introduce vital nutrients like iron and protein into my children’s diets. My two-year-old, for instance, exhibits a strong aversion to most meats, but thankfully, he has a fondness for legumes. This realization sparked my journey into experimenting with various hummus recipes, aiming to create something both nutritious and appealing.
My youngest son, at just seven months, was embarking on his baby-led weaning adventure when I first introduced him to this creamy dip. To my delight, he absolutely adored it! I initially offered it spread on a cracker, providing an easy-to-handle vehicle. However, it quickly became evident that the cracker was merely a convenient tool for him to scoop as much hummus as possible into his tiny mouth – often ending up in his hair, on his neck, and decorating his high chair. It was a messy success and a definite win for healthy eating! This experience solidified my belief in the power of this simple yet incredibly flavorful roasted garlic hummus recipe as a truly kid-friendly option.
How to Craft the Perfect Roasted Garlic Hummus: The Secret Ingredient Revealed
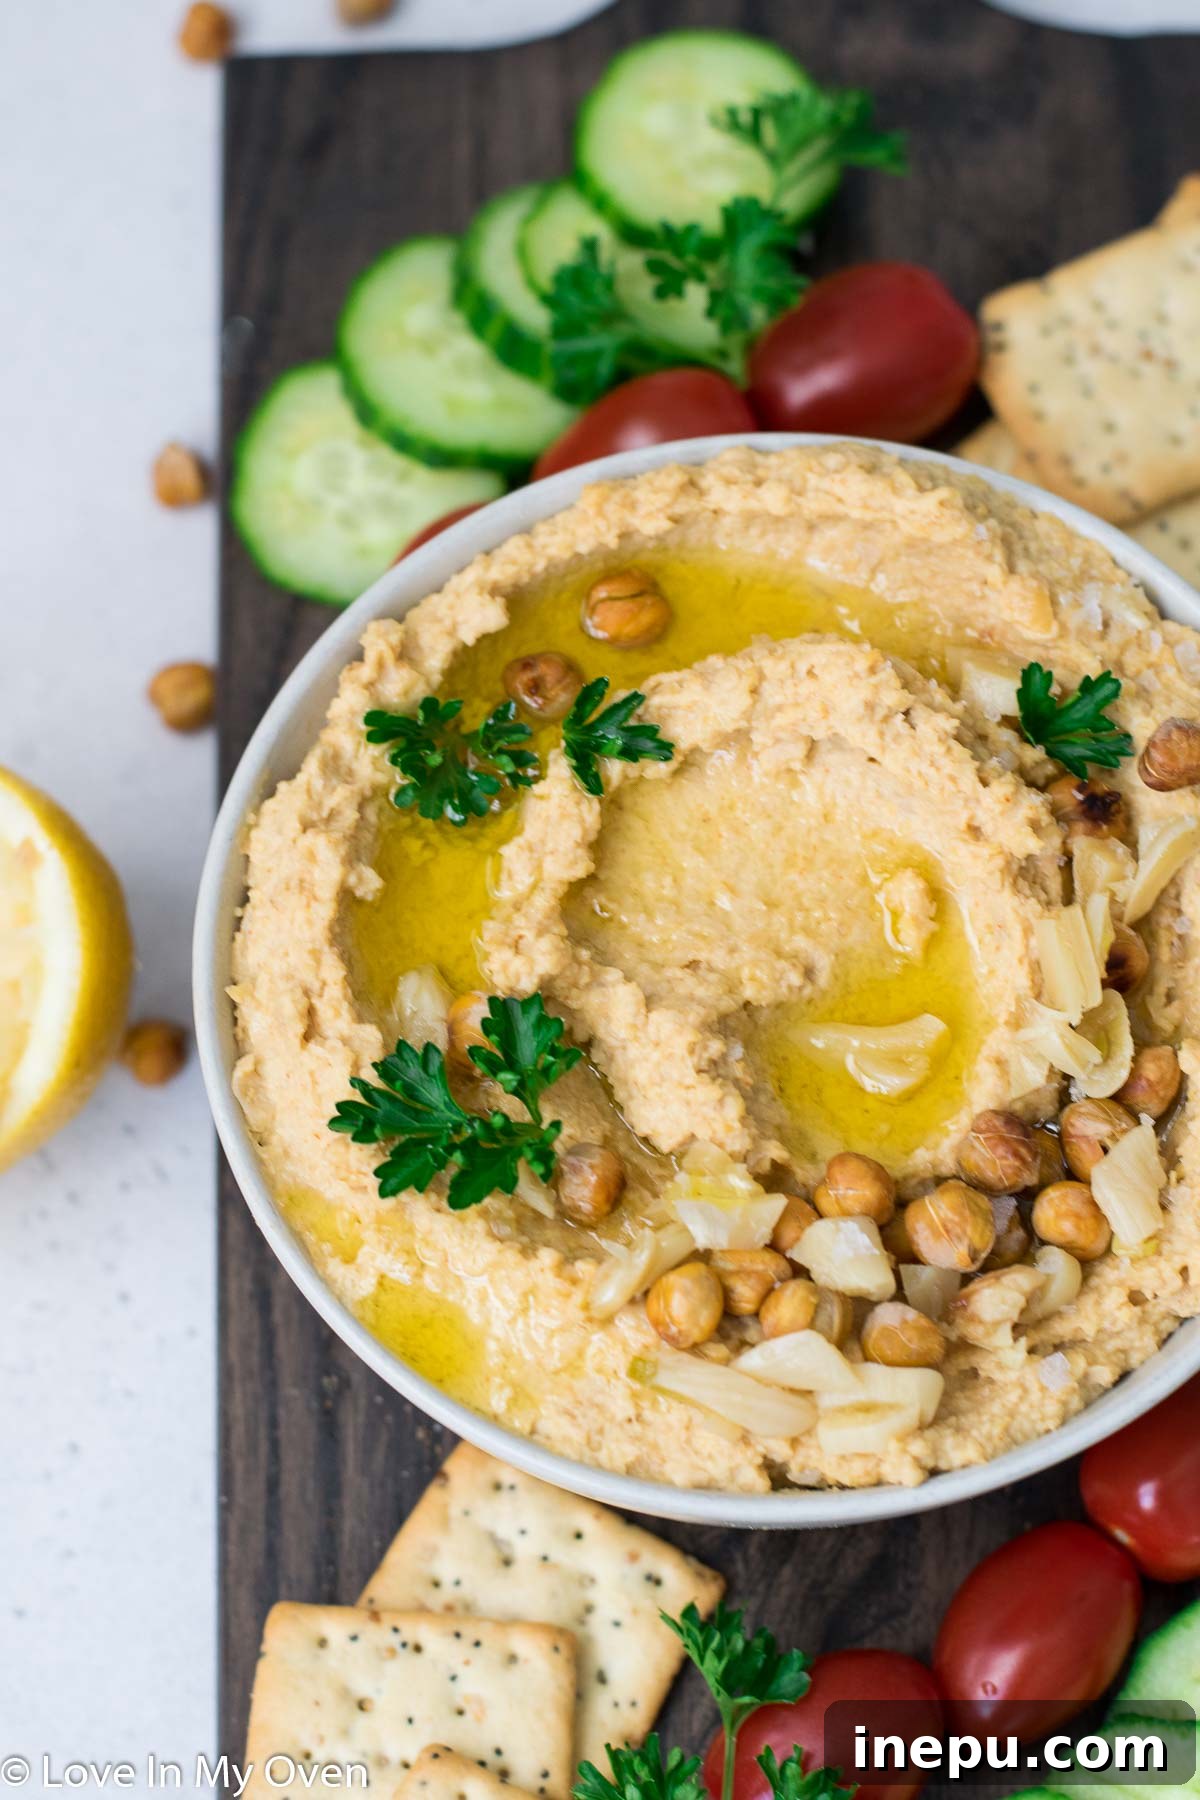
While there are countless ways to prepare hummus, the core components generally remain consistent. What truly elevates this recipe, in my opinion, is the unparalleled depth of flavor imparted by roasted garlic. Roasting garlic is not only incredibly simple but also a transformative technique in the kitchen, unlocking a sweet, mellow, and intensely aromatic profile that raw garlic simply can’t achieve. The sharp, pungent bite of raw garlic is replaced by a rich, caramelized sweetness, making the hummus incredibly smooth and appealing to a wider range of palates, especially children.
If you’re new to this game-changing method, you can learn how to roast garlic here. Trust me, it’s worth the minimal effort. The roasting process typically takes about 40 minutes, so it’s a great idea to prepare your roasted garlic in advance. The good news is that you can roast a larger batch of garlic and store the extra cloves in your fridge for up to a week, ensuring you always have this incredible flavor enhancer ready to go for your next hummus craving or other culinary adventures.
Essential Ingredients for Unforgettable Homemade Hummus
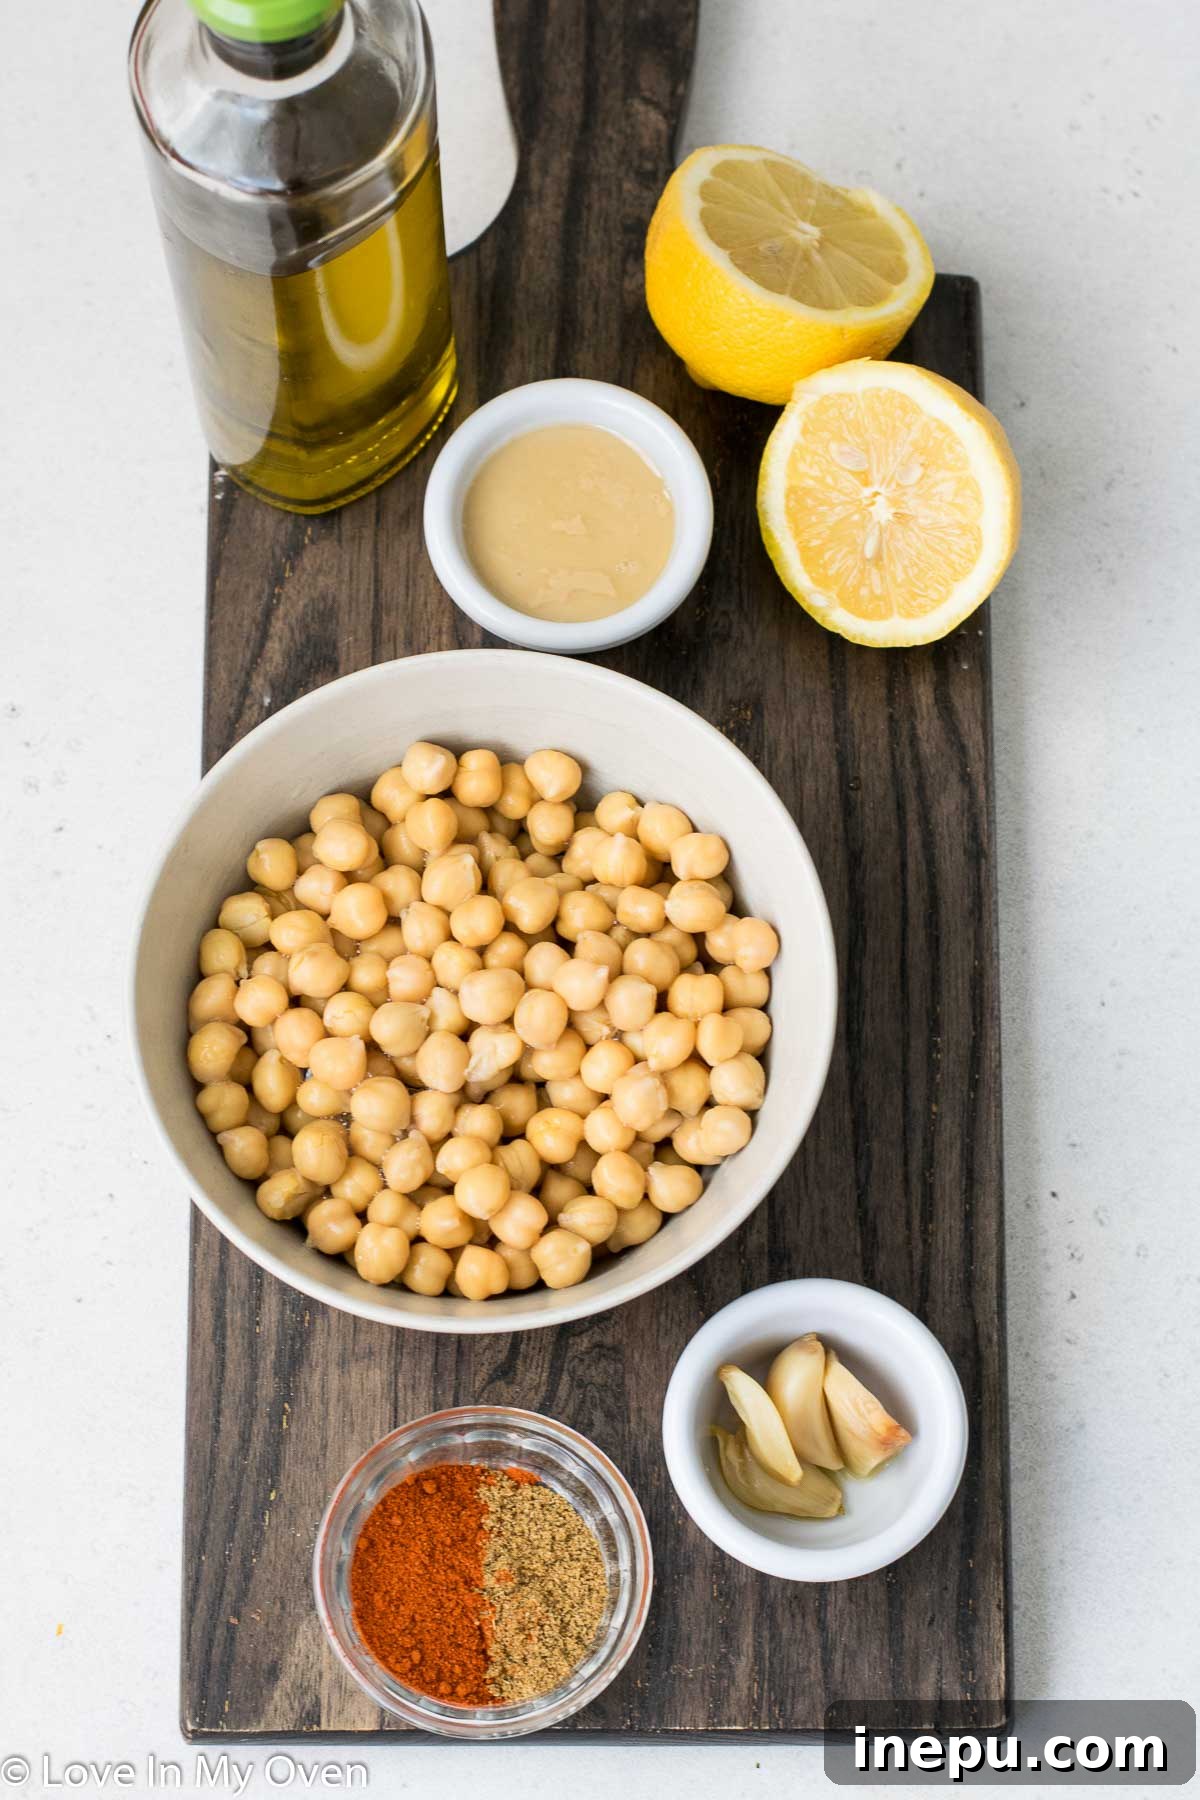
Beyond the star ingredient, roasted garlic, this easy hummus recipe calls for a handful of accessible and wholesome ingredients, each playing a crucial role in the final flavor and texture:
- Canned Chickpeas: The foundation of any great hummus. Ensure they are thoroughly drained and rinsed under cold water to remove excess sodium and any starchy residue, which helps achieve the smoothest texture.
- Fresh Lemon: Always opt for a real, ripe lemon. Its fresh, bright acidity is crucial for balancing the richness of the hummus and adding a vibrant zest that bottled lemon juice simply cannot replicate.
- Tahini: This rich sesame paste is a non-negotiable for truly authentic, incredibly creamy hummus. It adds a wonderful nutty depth of flavor and contributes significantly to the signature smooth consistency. It’s the secret to that velvety texture!
- High-Quality Olive Oil: Extra virgin olive oil lends a fruity, slightly peppery note and helps achieve that luxurious, silky mouthfeel. Choose a good quality oil for the best results, as its flavor will shine through.
- Smoked Paprika: A touch of smoked paprika not only adds a beautiful reddish hue but also a subtle smokiness and warmth that complements the roasted garlic wonderfully.
- Ground Cumin: Cumin is a staple spice in Mediterranean cuisine and provides an earthy, warm aroma that perfectly enhances the overall flavor profile of the hummus.
- Sea Salt: Essential for seasoning and bringing out all the complex flavors of the other ingredients. Adjust to your personal preference.
The Magic of Tahini: A Must-Have for Authentic Hummus
Many quick or simplified hummus recipes might suggest skipping tahini, or substituting it with other ingredients. However, I cannot emphasize enough how vital tahini is for achieving truly authentic, rich, and wonderfully creamy hummus. Tahini, a paste made from finely ground sesame seeds, introduces a distinctive nutty undertone that is fundamental to hummus’s classic flavor. More importantly, it contributes immensely to the creamy, silky texture that defines a truly great homemade hummus. While I don’t use tahini daily, I always make sure to keep a small jar on hand specifically for my hummus preparations – it’s that important for achieving perfection!
Step-by-Step Guide to Silky Smooth Roasted Garlic Hummus
Making this roasted garlic hummus is incredibly simple, especially with the help of a food processor or a high-speed blender. Here’s how you achieve that perfect consistency and flavor in just a few easy steps:
- Prepare the Base: Begin by combining the thoroughly drained and rinsed chickpeas, your luscious roasted garlic cloves, and the freshly squeezed lemon juice in the bowl of your food processor.
- Initial Pulse: Pulse the mixture a few times until the chickpeas are mostly mashed and broken down into a chunky paste. This initial step helps to create a foundational texture and ensures all ingredients are well combined before adding the liquids.
- Incorporate the Flavor Enhancers: Next, add the tahini, olive oil, smoked paprika, ground cumin, and sea salt to the food processor.
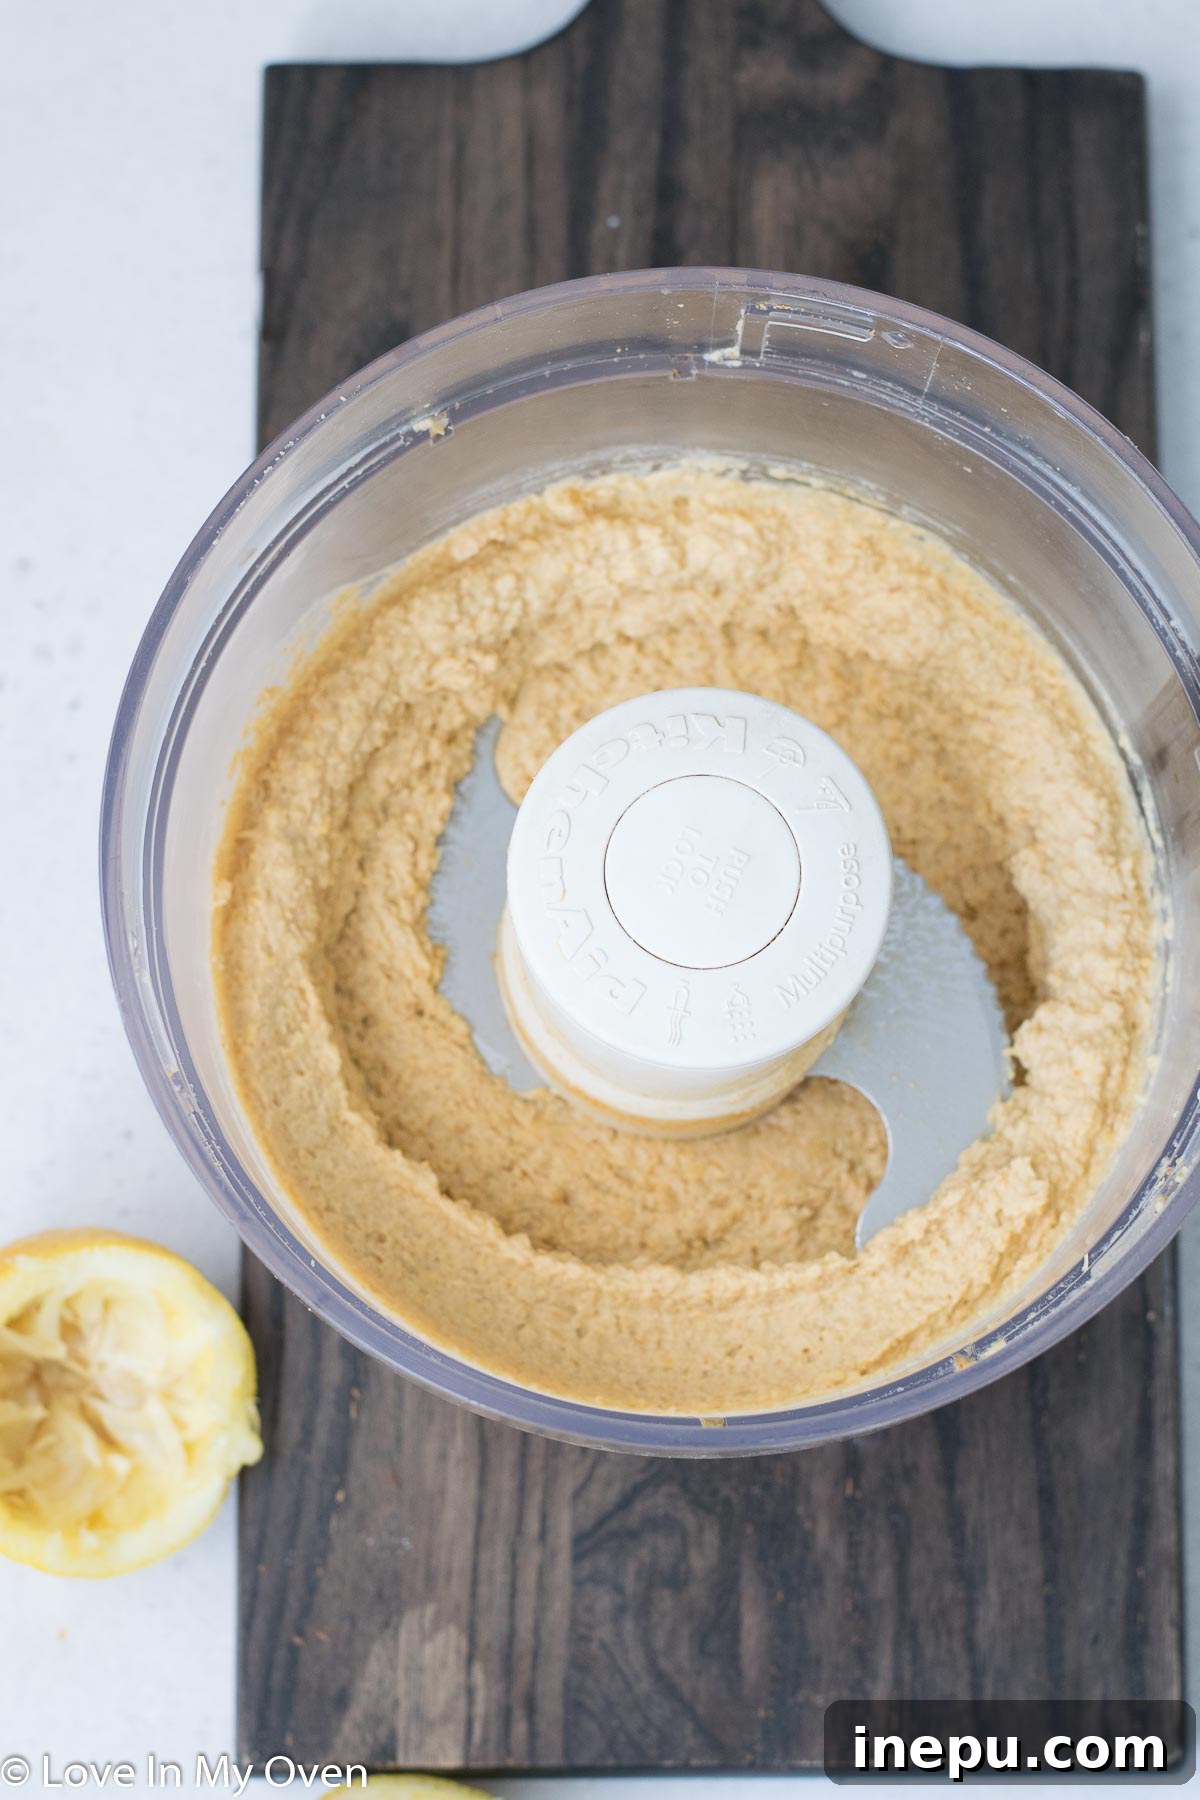
- Blend to Perfection: Process the mixture on high speed, allowing it to blend continuously until it transforms into a wonderfully smooth, creamy, and uniform dip. Scrape down the sides of the bowl as needed to ensure all ingredients are fully incorporated.
- Achieving Your Ideal Smoothness: I personally prefer my hummus exceptionally smooth and velvety, almost like silk. If you find your hummus isn’t quite smooth enough to your liking, simply add a tiny bit of cold water, one teaspoon at a time, while the food processor is still running. Continue blending and adding water until you reach your desired consistency. Don’t rush this step; patience here is key to a truly luxurious hummus.
- Serve and Enjoy: Transfer the finished hummus to a serving dish. For best flavor, I recommend letting it sit for a few minutes to allow the flavors to meld before serving.
Creative Ways to Enjoy Your Roasted Garlic Hummus
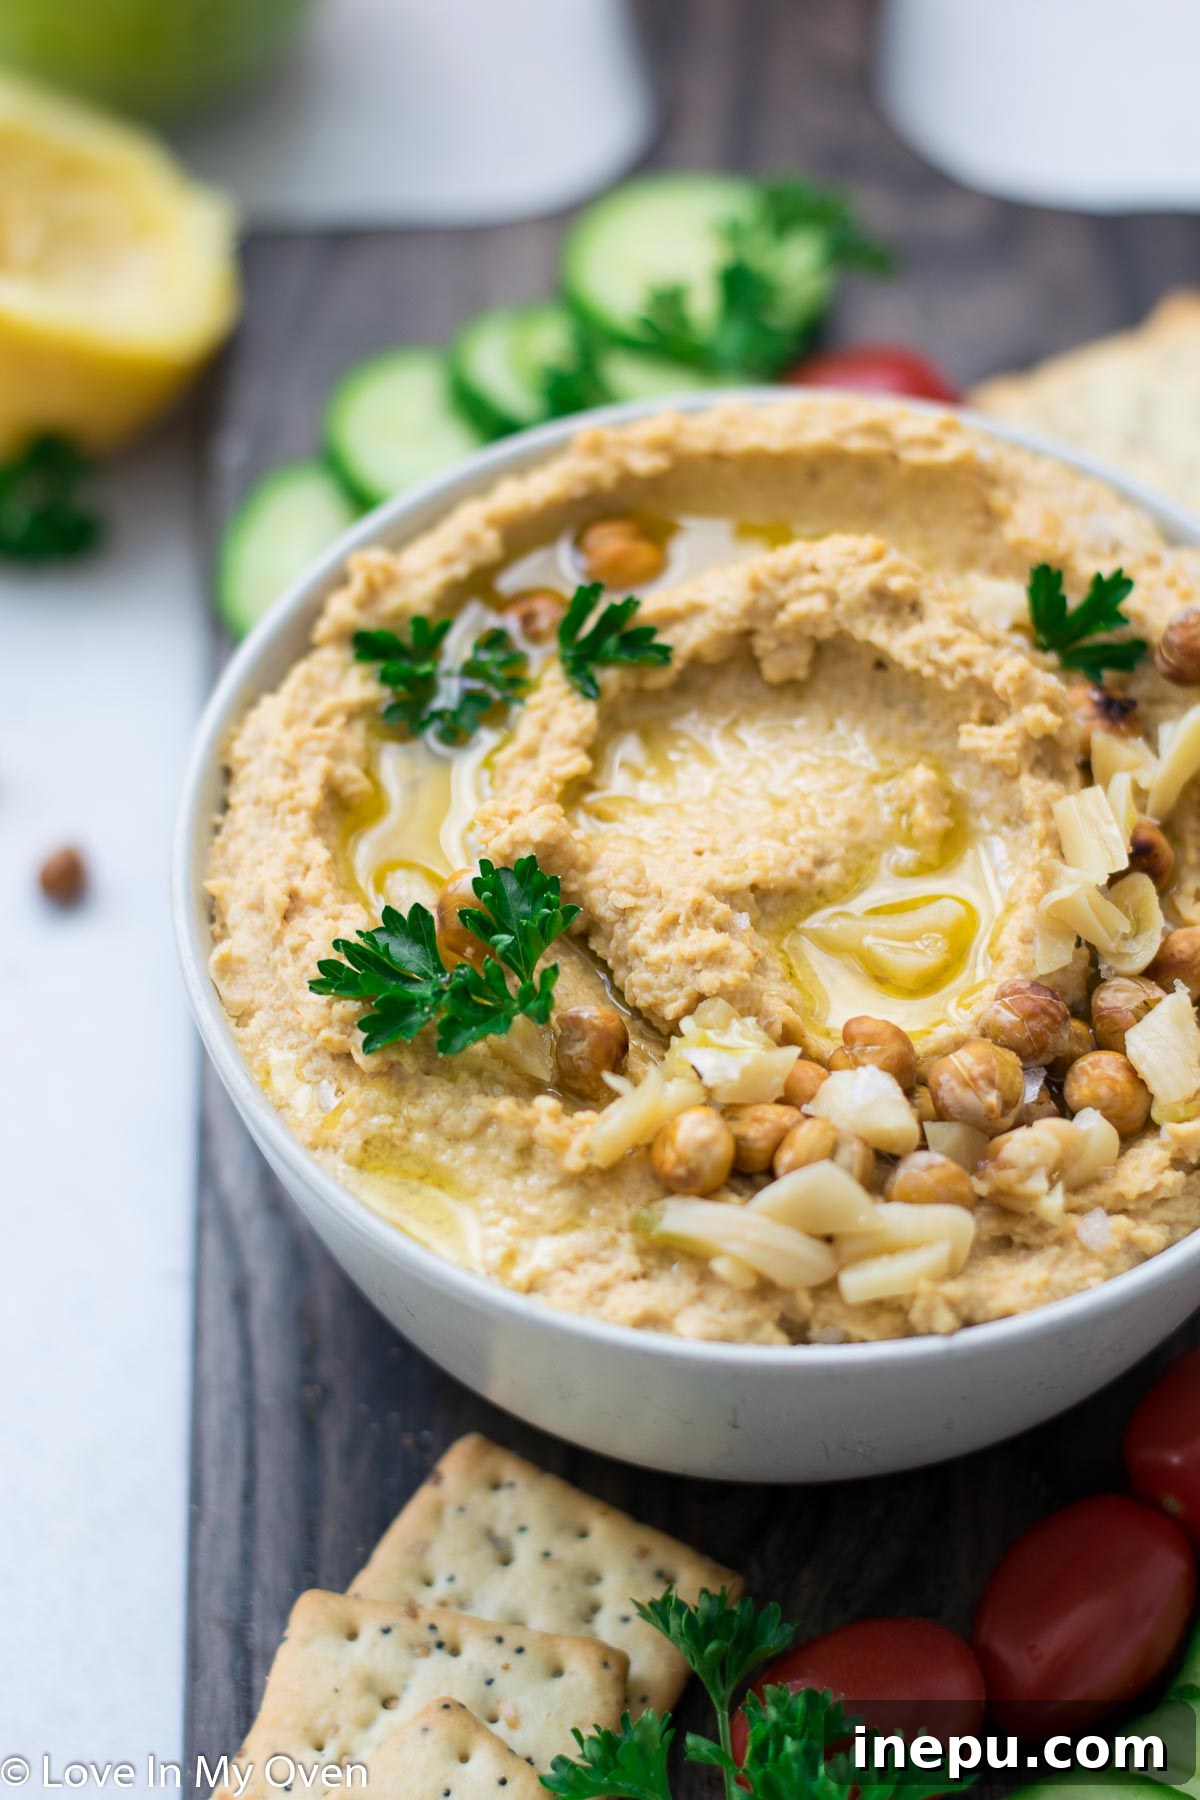
This roasted garlic hummus isn’t just a dip; it’s a versatile culinary superstar that can elevate countless dishes. Its rich, garlicky flavor and creamy texture make it suitable for almost anything, from simple snacks to hearty meals!
- The Ultimate Pita Stuffing: For a quick, satisfying, and incredibly flavorful lunch, I love to generously stuff warm pita bread with this hummus, adding a medley of fresh veggies like sliced cucumbers, bell peppers, cherry tomatoes, crisp lettuce, and a sprinkle of tangy feta cheese. It’s a complete and wholesome Mediterranean-inspired meal.
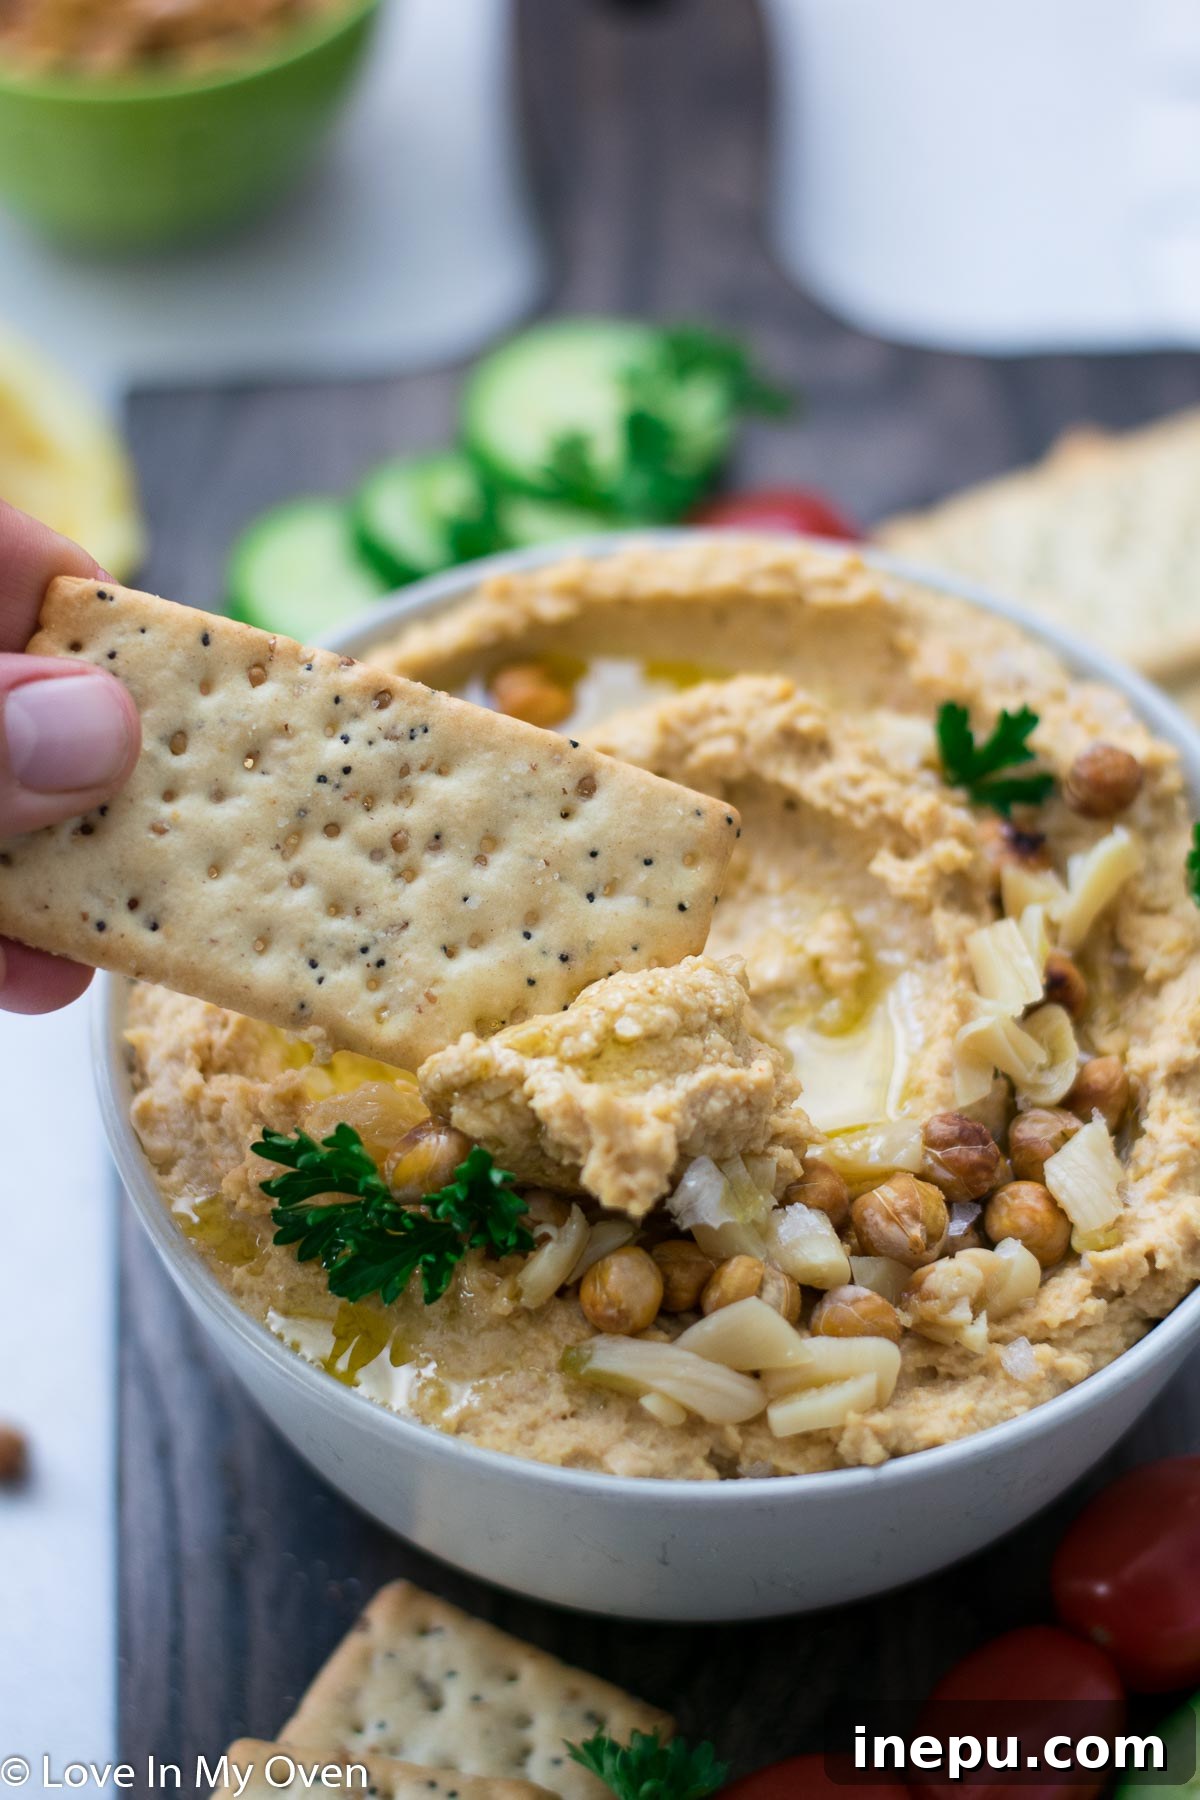
- Classic Appetizer or Healthy Snack: Serve it as a delightful appetizer or a healthy snack for your family and guests. Pair it with an assortment of vibrant raw vegetables like crisp carrot sticks, crunchy celery, colorful bell pepper strips, cucumber slices, or even crunchy whole-grain crackers. For an extra special treat, try it with my spinach parmesan crackers – a match made in heaven!
- Sandwich and Wrap Enhancer: Forget mayonnaise or other less healthy spreads. This roasted garlic hummus is a fantastic, nutritious alternative for your burger buns, grilled cheese sandwiches, or any type of wrap. It adds moisture, deep flavor, and a satisfying boost of plant-based protein, making your everyday meals healthier and more delicious.
- Beyond the Basics: Get creative! Spread it thinly on avocado toast for a flavor boost, dollop it generously onto grain bowls or salads for added creaminess, use it as a flavorful base for flatbread pizzas, or thin it slightly with a little extra lemon juice or water to create a delicious and healthy salad dressing. The possibilities are truly endless with this quick and easy hummus recipe.
However you choose to enjoy it, this homemade roasted garlic hummus is more than just a dip; it’s a wonderful, nutritious snack or meal component that the entire family will love. It’s simple to make, incredibly flavorful, and packed with wholesome goodness, proving that healthy eating can also be incredibly delicious and satisfying.
Frequently Asked Questions About Homemade Hummus
- Can I use dried chickpeas instead of canned for this recipe?
- Absolutely! While canned chickpeas are incredibly convenient and work perfectly well, using dried chickpeas (soaked overnight and then cooked until very tender) can yield an even creamier and more flavorful hummus. Just ensure they are cooked thoroughly before blending for optimal smoothness.
- How long does homemade roasted garlic hummus last in the fridge?
- When stored in an airtight container in the refrigerator, this roasted garlic hummus will stay fresh and delicious for up to 5-7 days. Always perform a quick check for any off-smells or discoloration before consuming, especially after a few days.
- Can I freeze hummus?
- Yes, hummus freezes surprisingly well! To freeze, transfer it to an airtight freezer-safe container, leaving a little headspace at the top as it may expand slightly. You can even drizzle a thin layer of olive oil on top before freezing; this helps to preserve its freshness and prevents a dry surface. Thaw overnight in the refrigerator before serving. The texture might change slightly upon thawing, but it will still be delicious and perfectly enjoyable.
- What if my hummus isn’t smooth enough after blending?
- The key to achieving super smooth hummus is patience during the blending process and sometimes a little extra liquid. Continue processing the mixture, adding 1 teaspoon of cold water at a time, until you reach your desired creamy consistency. For an ultra-silky texture, some advanced hummus makers even suggest peeling the skins off the chickpeas before blending, but this is an optional and more time-consuming step.
More Delicious Appetizers and Snacks to Try
If you loved this healthy and flavorful roasted garlic hummus, you might also enjoy these other fantastic appetizer and snack recipes from the blog. They are perfect for entertaining or simply enjoying at home:
- Spicy Roasted Red Pepper Hummus: A vibrant and zesty twist on classic hummus with a kick.
- Sweet Potato Fries with Creamy Dill Dip: A healthier alternative to traditional fries, paired with a refreshing dip.
- Irresistible Queso Fundido with Chorizo: A rich and savory cheesy dip perfect for game nights or gatherings.
Print Recipe
Roasted Garlic Hummus
5 Stars 4 Stars 3 Stars 2 Stars 1 Star
No reviews
Author: Katherine
Total Time: 5 minutes (+ 40 mins for roasting garlic)
Yield: 2 cups 1x
Description
This creamy, smooth, and utterly delicious homemade roasted garlic hummus is a delightful dip that’s loved by everyone, including kids! It’s perfect for dipping fresh vegetables or crispy crackers, or as a flavorful spread on your favorite sandwiches and wraps.
Ingredients
Scale
- 1 (14 oz) can of garbanzo beans (chickpeas), rinsed and drained thoroughly
- 4–5 cloves roasted garlic (see notes for roasting instructions if needed)
- Juice of 1/2 fresh lemon (approximately 2 tbsp)
- 3 tbsp tahini (sesame paste)
- 3 tbsp extra virgin olive oil
- 1/2 tsp smoked paprika
- 2 tsp ground cumin
- 1/2 tsp sea salt (or to taste)
- 2–3 tsp cold water, if necessary, for desired consistency
Instructions
- Thoroughly rinse and drain the garbanzo beans, then transfer them into a food processor (or a high-speed blender). Add the roasted garlic cloves and the fresh lemon juice. Pulse the mixture a few times until the chickpeas are mostly mashed and broken down.
- Next, add the tahini, olive oil, smoked paprika, ground cumin, and sea salt to the food processor. Process on high speed until the hummus reaches a consistently smooth and creamy texture. If you desire an even silkier hummus, gradually add cold water, one teaspoon at a time, while the processor is running, until your preferred smoothness is achieved.
- Transfer the finished hummus to a serving dish. For best flavor, let it sit for a few minutes before serving.
Storage: Homemade hummus will keep well in an airtight container in the refrigerator for up to 1 week.
Notes & Variations
- Presentation: For a beautiful presentation, drizzle a little extra olive oil over the top of the hummus and sprinkle with a pinch of smoked paprika before serving.
- Extra Creamy Hummus: For an even creamier and richer texture, try adding 1/4 cup of plain Greek yogurt along with the tahini and olive oil. This adds a lovely tang and extra creaminess.
- Spicy Kick: If you enjoy a bit of heat, incorporate 1/2 to 1 teaspoon of chili powder (or a pinch of cayenne pepper) along with the paprika and cumin for a delicious spicy roasted garlic hummus.
- Roasting Garlic: To roast garlic, simply cut the top 1/4 inch off a head of garlic, drizzle with olive oil, wrap in foil, and bake at 400°F (200°C) for 35-45 minutes until cloves are soft and golden. Squeeze out the roasted cloves to use in the recipe.
- Prep Time: 5 minutes
- Category: Snacks, Dips, Appetizers
- Method: Food Processor / Blender
- Cuisine: Mediterranean, Middle Eastern