
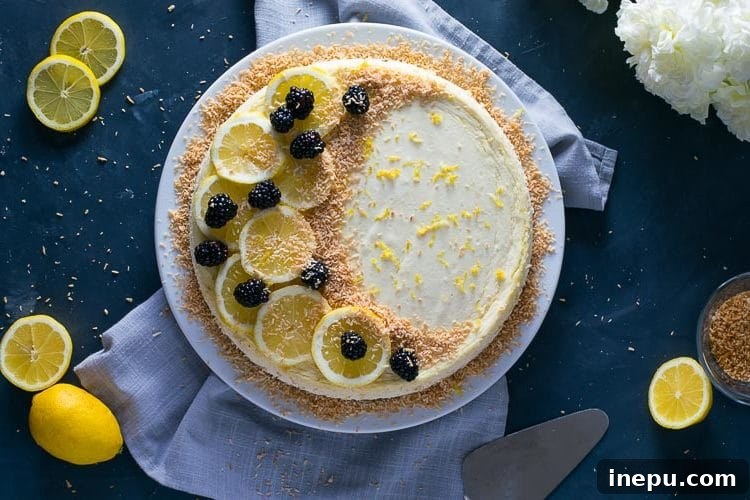
Ultimate Keto Coconut Lemon Cheesecake: Creamy, Low-Carb, & Grain-Free Perfection
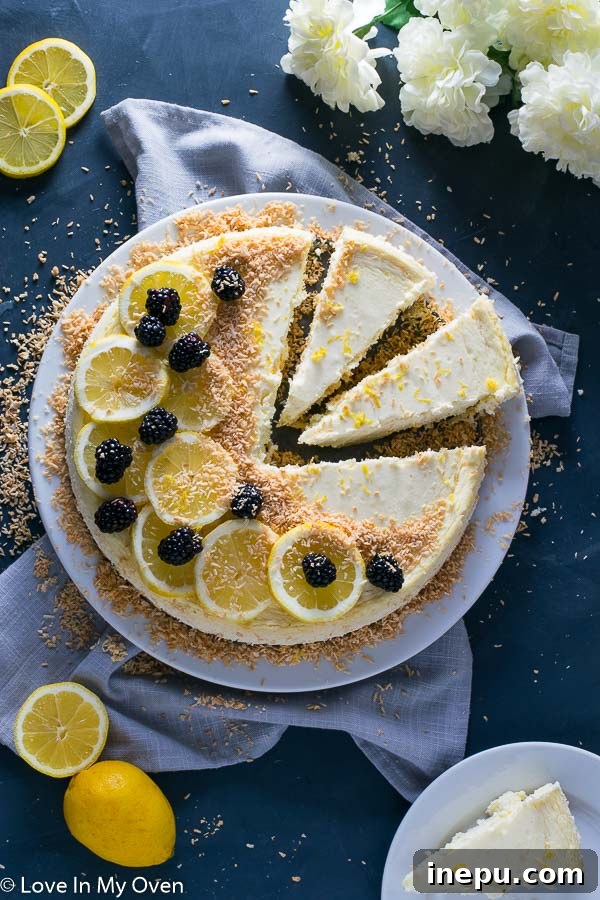
Indulge in this exquisitely rich, velvety, and irresistibly tangy low-carb lemon cheesecake, featuring a perfectly crisp, grain-free almond flour crust and a delightful toasted coconut topping. Whether you’re committed to a keto lifestyle or simply seeking a healthier, delicious dessert, this recipe is guaranteed to become a cherished favorite!
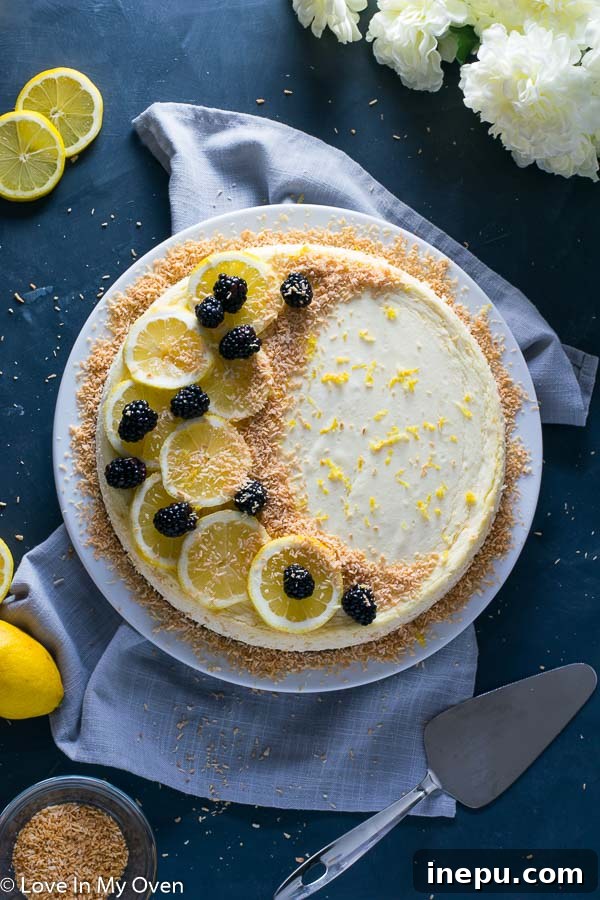
Crafting the Perfect Low-Carb Lemon Cheesecake Experience
Welcome to a culinary journey that promises pure dessert bliss without the carb overload! For too long, the idea of a truly decadent cheesecake on a low-carb or keto diet seemed like a distant dream. Many recipes compromise on texture, flavor, or simply don’t deliver that satisfying richness we all crave. But what if I told you that you could enjoy a luscious, tangy, and profoundly creamy lemon cheesecake, complete with a fantastic grain-free crust, that perfectly fits your dietary goals?
This Keto Coconut Lemon Cheesecake is more than just a recipe; it’s a revelation. It combines the bright, zesty notes of fresh lemon with the subtle, tropical sweetness of toasted coconut, all nestled atop a buttery, almond flour crust. It’s designed to be deeply satisfying, proving that healthy eating doesn’t mean sacrificing flavor or indulgence. Forget dry, crumbly bases or artificial aftertastes – this cheesecake is an experience in itself, a perfect blend of texture and taste that will impress even the most discerning palates.
I’ve always had a profound love for cheesecake, but for the longest time, I hesitated to bring a recipe to the blog. The fear of cracks, the intimidation of the “water bath” method, and the quest for that elusive perfect texture kept me at bay. However, after countless experiments and a deep dive into cheesecake science, I’m thrilled to share my perfected technique that ensures a flawless, crack-free, and incredibly smooth cheesecake every single time. Get ready to add this showstopper to your dessert repertoire!
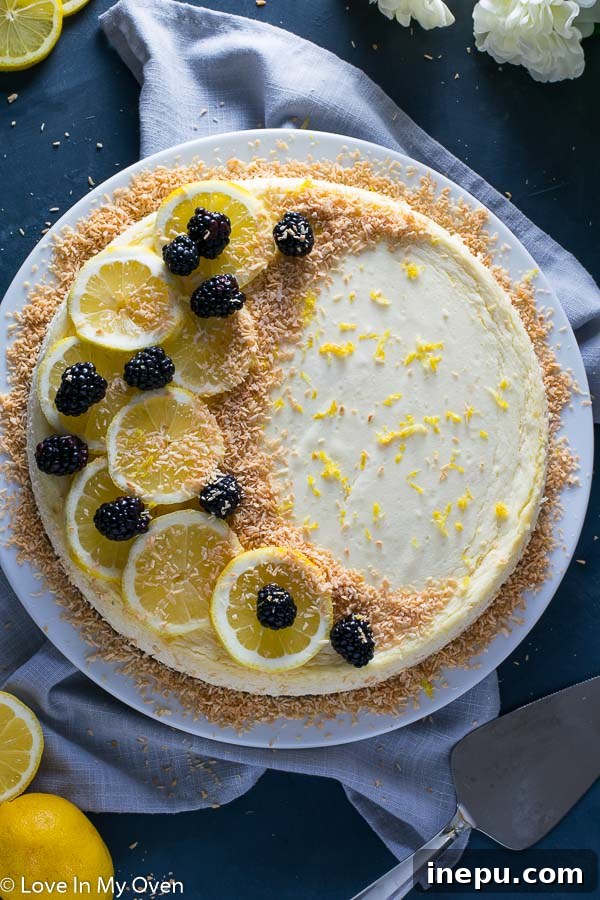
Demystifying the Water Bath: A Simpler Path to Perfection
When it comes to baking a truly exceptional cheesecake, many traditional recipes call for a water bath. This method involves carefully wrapping your springform pan in several layers of aluminum foil and placing it into a larger pan filled with water. The idea is that the steam from the water bath creates an evenly moist environment, preventing the cheesecake from drying out, cracking, and ensuring a silky-smooth texture. While effective in theory, in practice, it often leads to frustration.
How many times have you meticulously wrapped your pan, only to find dreaded water seeping in, resulting in a soggy, ruined crust? It’s a common baking nightmare! The soggy bottom is an absolute no-go, especially for a delicate low-carb crust. That’s why I’ve developed a foolproof alternative that delivers all the benefits of a water bath without any of the risks.
My Go-To Water Bath Alternative for Perfect Cheesecake
Instead of submerging your cheesecake pan directly in water, I recommend a much simpler and equally effective technique. Place your cheesecake pan on a sturdy wire rack, and then set this rack into a shallow baking pan filled with just a couple of inches of water. The key here is that the water should NOT touch the bottom of your cheesecake pan. This clever setup allows the steam to circulate around the cheesecake, providing that crucial moist heat without the risk of water infiltration. You still get the gentle, even baking and luscious texture, but your almond flour crust remains perfectly crisp and golden.
The Ultimate Trick for Preventing Cheesecake Cracks
Beyond the water bath dilemma, another common hurdle for cheesecake bakers is preventing those unsightly cracks that can mar an otherwise perfect dessert. The secret lies in the cooling process. Rapid temperature changes are the primary culprit behind cheesecake cracking. To combat this, I swear by one simple yet incredibly effective trick:
Once your cheesecake is finished baking and the center is just slightly jiggly (it will set further as it cools), turn off your oven. Crucially, open the oven door an inch or two, and let the cheesecake cool down slowly inside the oven for at least an hour, or even up to two hours. This gradual reduction in temperature allows the cheesecake to cool and set without undergoing a sudden shock, which is what causes cracks. Only after this slow-cooling process should you transfer it to the refrigerator for its final chill. This method guarantees a beautifully smooth, unblemished surface every time!
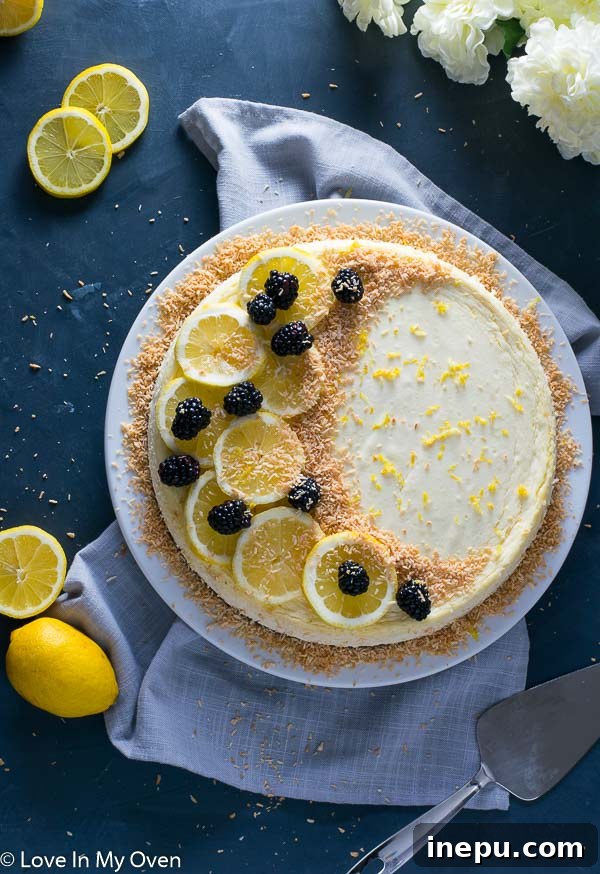
Understanding What Makes This Cheesecake Keto and Low-Carb
Creating delicious, keto-friendly desserts can sometimes feel like a puzzle, requiring clever substitutions and careful ingredient choices. However, cheesecake, in its very essence, is a naturally keto-compatible dessert. At its heart, it’s a rich, full-fat creation, which aligns perfectly with the principles of a ketogenic diet. The main adjustments needed are for the crust and the sweetener.
The Keto-Friendly Building Blocks:
- Grain-Free Crust: Traditional cheesecakes often feature a graham cracker or cookie crust, which is high in carbs and gluten. For this recipe, we utilize a blend of almond flour and unsweetened shredded coconut. Almond flour is a fantastic low-carb, gluten-free alternative that provides a wonderful texture and nutty flavor, while the coconut adds a subtle sweetness and a delightful chewiness. Together, they form a robust and flavorful base.
- Sugar-Free Sweetener: The most significant change for a keto cheesecake is replacing granulated sugar with a suitable low-carb sweetener. I personally prefer granulated erythritol (like Swerve) because it measures cup-for-cup like sugar and has a clean taste. What I particularly love about this lemon cheesecake is how the bright, tangy citrus flavor brilliantly masks any potential aftertaste that some sweeteners can have. With less than a cup of sweetener in the entire cheesecake, you get just the right amount of sweetness without overpowering the natural flavors or spiking blood sugar. If you’re not following a keto diet, feel free to substitute with regular granulated sugar in the same amount.
- Full-Fat Dairy: Cream cheese, sour cream, and butter are naturally rich in fat and low in carbohydrates, making them ideal ingredients for a keto diet. These full-fat components contribute to the incredibly creamy texture and rich flavor that is characteristic of a truly great cheesecake.
This recipe is a testament to how easily you can adapt classic desserts to fit a low-carb lifestyle without sacrificing an ounce of flavor or satisfaction. It’s a delightful treat that everyone can enjoy, regardless of their dietary preferences!
Explore More Keto & Low-Carb Dessert Delights
If you’ve fallen in love with this Keto Coconut Lemon Cheesecake and are looking for more delicious low-carb options, I have a growing collection of keto-friendly desserts on the blog that you might enjoy. Each one is crafted to be both satisfying and compliant with your low-carb journey:
- Keto Peanut Butter Cookies: A classic comfort food, reimagined for a keto diet. Chewy, rich, and utterly delicious.
- Healthy Blueberry Pie: Enjoy the sweet burst of blueberries in a healthier, low-sugar pie.
- Grain-Free Chocolate Coconut Tart: A decadent chocolate and coconut combination in a delightful tart form.
- Sunny Citrus Tart: Another bright and zesty treat, perfect for citrus lovers looking for a low-carb option.
I hope these recipes bring as much joy to your kitchen as this lemon cheesecake has. Happy baking!
Print Recipe

Low Carb Lemon Cheesecake
5 Stars
4 Stars
3 Stars
2 Stars
1 Star
5 from 9 reviews
- Total Time: 1 hour 20 minutes
- Yield: 6–8 servings 1x
- Diet: Gluten Free, Keto, Low Carb
Description
Whether you’re on a keto diet or not, you will LOVE this rich, creamy, low carb lemon cheesecake made with a grain-free almond flour crust and garnished with toasted coconut!
Ingredients
Scale
Crust
- 1 cup almond flour
- 1 cup unsweetened shredded coconut*
- 1/3 cup unsalted butter, melted
Filling
- 3 blocks (24oz) cream cheese, full-fat, softened
- 5 tbsp unsalted butter, room temperature, softened
- 3/4 cup granulated sweetener* (such as erythritol or Swerve)
- 3 large eggs, room temperature
- 3/4 cup sour cream, full-fat
- 1 tsp pure vanilla extract
- 1 large lemon (juice and zest)
- 1/2 cup unsweetened shredded coconut (optional, for topping)*
Instructions
- Preheat your oven to 350 F (175 C). Lightly spray a 9-inch springform pan with non-stick cooking spray or line the bottom with parchment paper for easy removal. In a medium bowl, combine the almond flour, unsweetened shredded coconut, and melted unsalted butter. Mix until well combined and the mixture resembles coarse crumbs. Press this mixture firmly and evenly into the bottom of the prepared springform pan. Bake in the preheated oven for 10 minutes, or until the crust is lightly golden brown and fragrant. Remove from oven and allow the crust to cool completely while you prepare the cheesecake filling.
- In the bowl of a stand mixer fitted with the paddle attachment (or using a handheld electric mixer), combine the softened full-fat cream cheese and room temperature unsalted butter. Beat on medium-high speed for approximately 3 minutes, or until the mixture is light, fluffy, and completely smooth, with no lumps. Add the granulated sweetener and continue to mix for another minute, ensuring it is fully incorporated. Reduce the mixer speed to low. Add the eggs one at a time, mixing just until each egg is combined before adding the next. Be careful not to overmix the eggs, as this can introduce too much air, leading to cracks. Scrape down the sides of the bowl with a spatula as needed to ensure everything is well blended. Finally, add the full-fat sour cream, pure vanilla extract, and the zest and juice of one lemon. Mix on low speed just until combined and smooth. Pour the luscious filling into the cooled crust in the prepared springform pan. Gently smooth the top with your spatula.
- Prepare your water bath alternative: Place a wire rack on top of a larger, shallow roasting pan. Carefully place the cheesecake-filled springform pan on top of the wire rack. Fill the shallow pan with approximately 2 inches of hot water, ensuring the water does not touch the bottom of the cheesecake pan. This creates a steamy environment. Carefully transfer the entire setup (roasting pan with water, rack, and cheesecake) to the preheated oven. Bake for 40-45 minutes, or until the edges are set and the center of the cheesecake is mostly firm but still has a slight jiggle when gently shaken.
- Once baked, turn off the oven. Open the oven door by about an inch or two to allow for gradual cooling. Let the cheesecake cool down inside the oven for a minimum of 1-2 hours. This slow cooling process is crucial for preventing cracks. After cooling in the oven, remove the cheesecake and allow it to cool completely at room temperature before transferring it to the refrigerator. Chill the cheesecake for at least 4 hours, or preferably overnight, to allow it to fully set. Before serving, garnish with optional toasted unsweetened shredded coconut.
Leftovers of this exquisite cheesecake will keep beautifully in an airtight container in the fridge for 3-4 days. For longer storage, the cheesecake can also be frozen for up to 2 months. To freeze, ensure it is completely chilled, then wrap individual slices or the whole cheesecake tightly in plastic wrap, followed by a layer of aluminum foil. Thaw in the refrigerator before serving.
Notes
- For the best texture in this recipe, when referring to “shredded coconut,” I am specifically using medium-shredded, unsweetened coconut.
- I personally use Swerve brand granulated sweetener, which is primarily erythritol. You can confidently substitute this with any other granulated sugar alcohol-based sweetener that measures like sugar, or simply use regular granulated sugar if you are not adhering to a keto or low-carb diet.
- To toast your unsweetened shredded coconut for garnish: Spread it evenly in a single layer on a parchment-lined baking sheet. Bake in an oven preheated to 375 F (190 C) for approximately 3-4 minutes. Keep a close eye on it, as coconut can brown very quickly. Remove once it achieves a lovely light golden-brown color and has a fragrant aroma.
- Prep Time: 20 minutes
- Cook Time: 1 hour
- Category: Dessert
- Method: Oven Bake
- Cuisine: American