
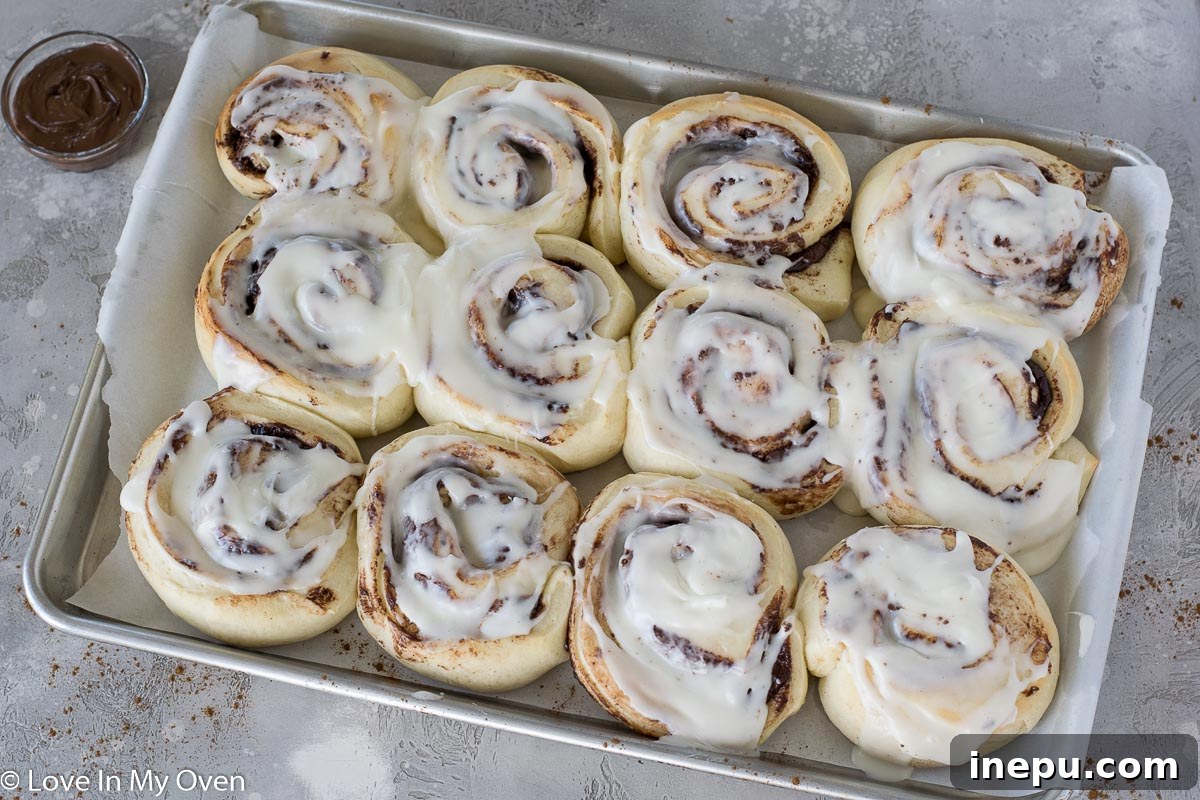
Indulge in the ultimate breakfast delight with these incredibly rich and gooey Nutella cinnamon rolls. Each bite offers a swirl of hazelnut chocolate perfection, topped with a luscious, smooth cream cheese frosting. Prepare to fall in love with this decadent treat!
Decadent Nutella Cinnamon Rolls with Cream Cheese Frosting
As the leaves begin to change and a gentle crispness fills the air, there’s an undeniable urge to warm up the kitchen and fill the home with the comforting aroma of freshly baked goods. While many of my recipes often lean towards healthier options, sometimes a truly indulgent treat is exactly what the soul craves. And when it comes to pure, unadulterated comfort baking, nothing beats a classic cinnamon roll – especially when it’s taken to the next level with creamy Nutella!
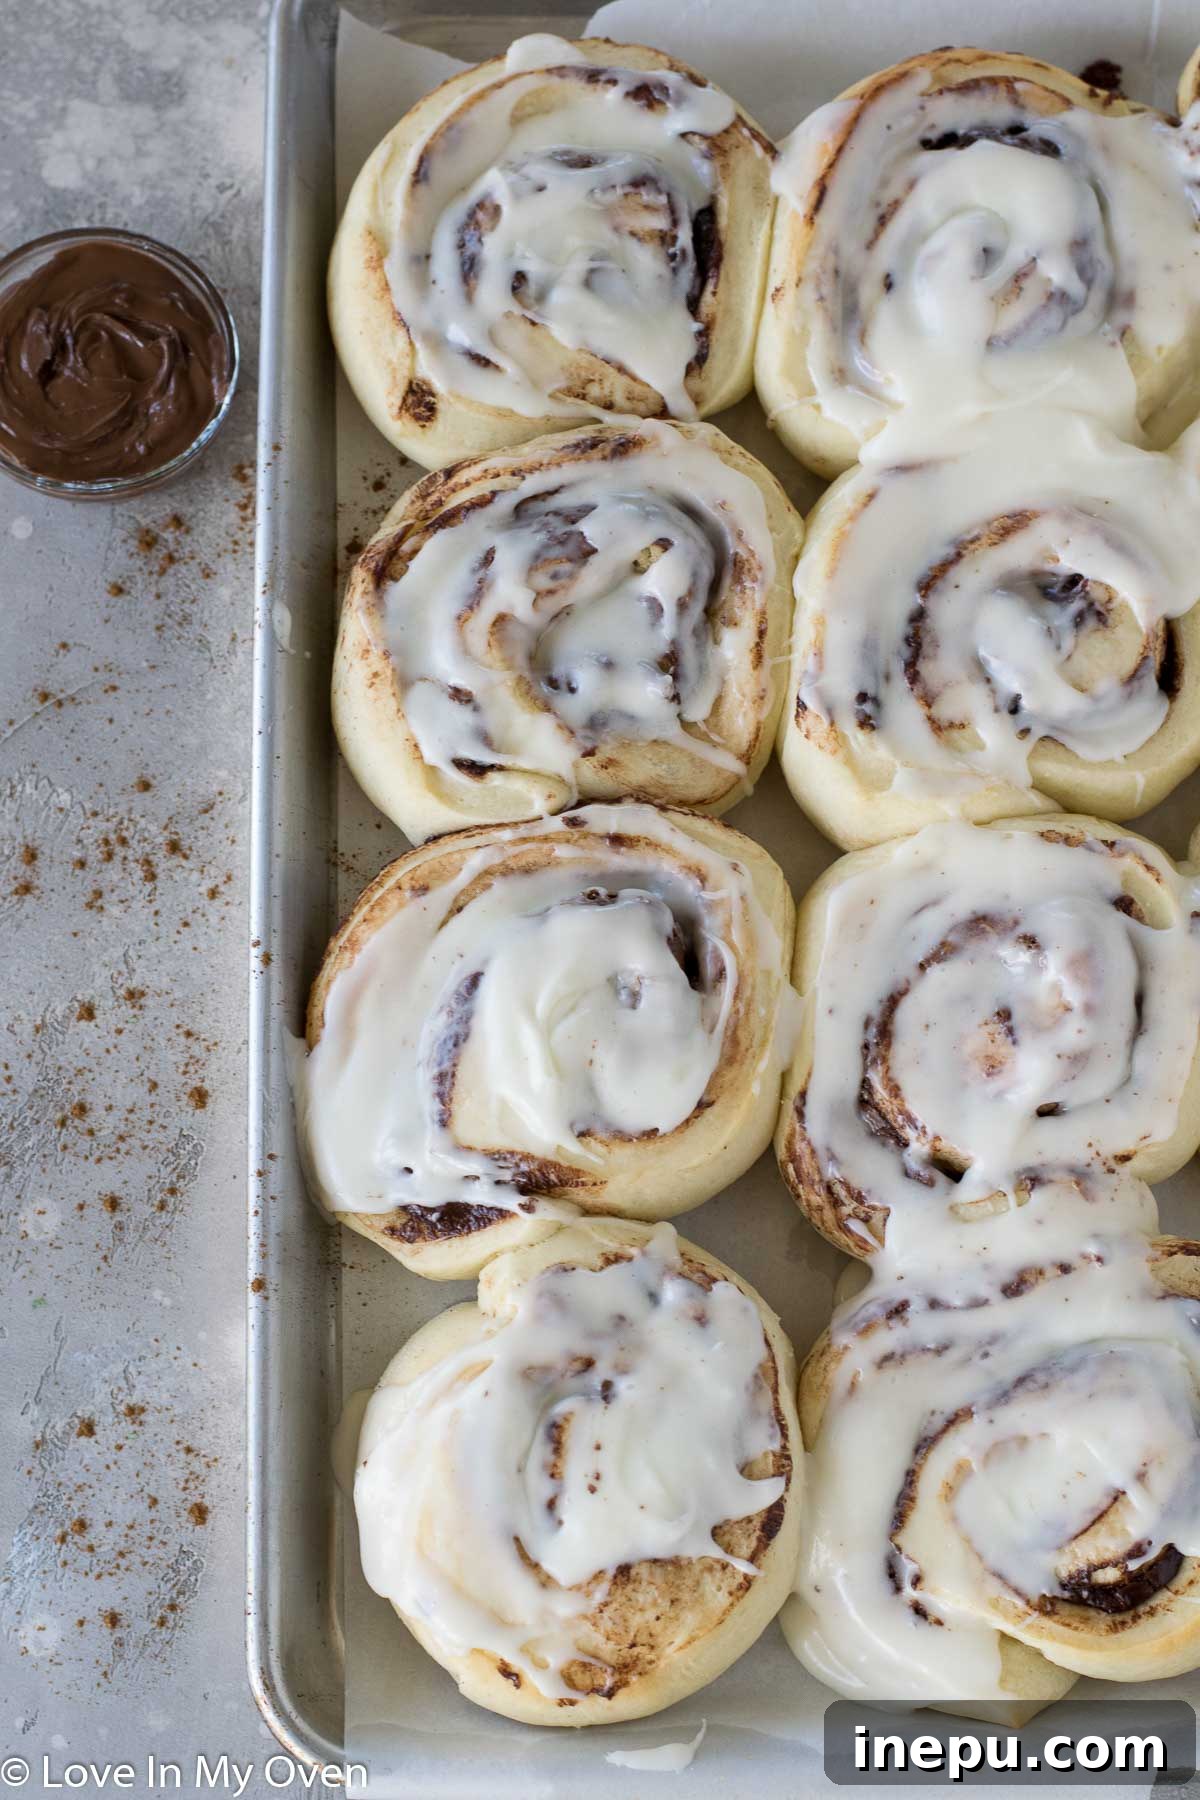
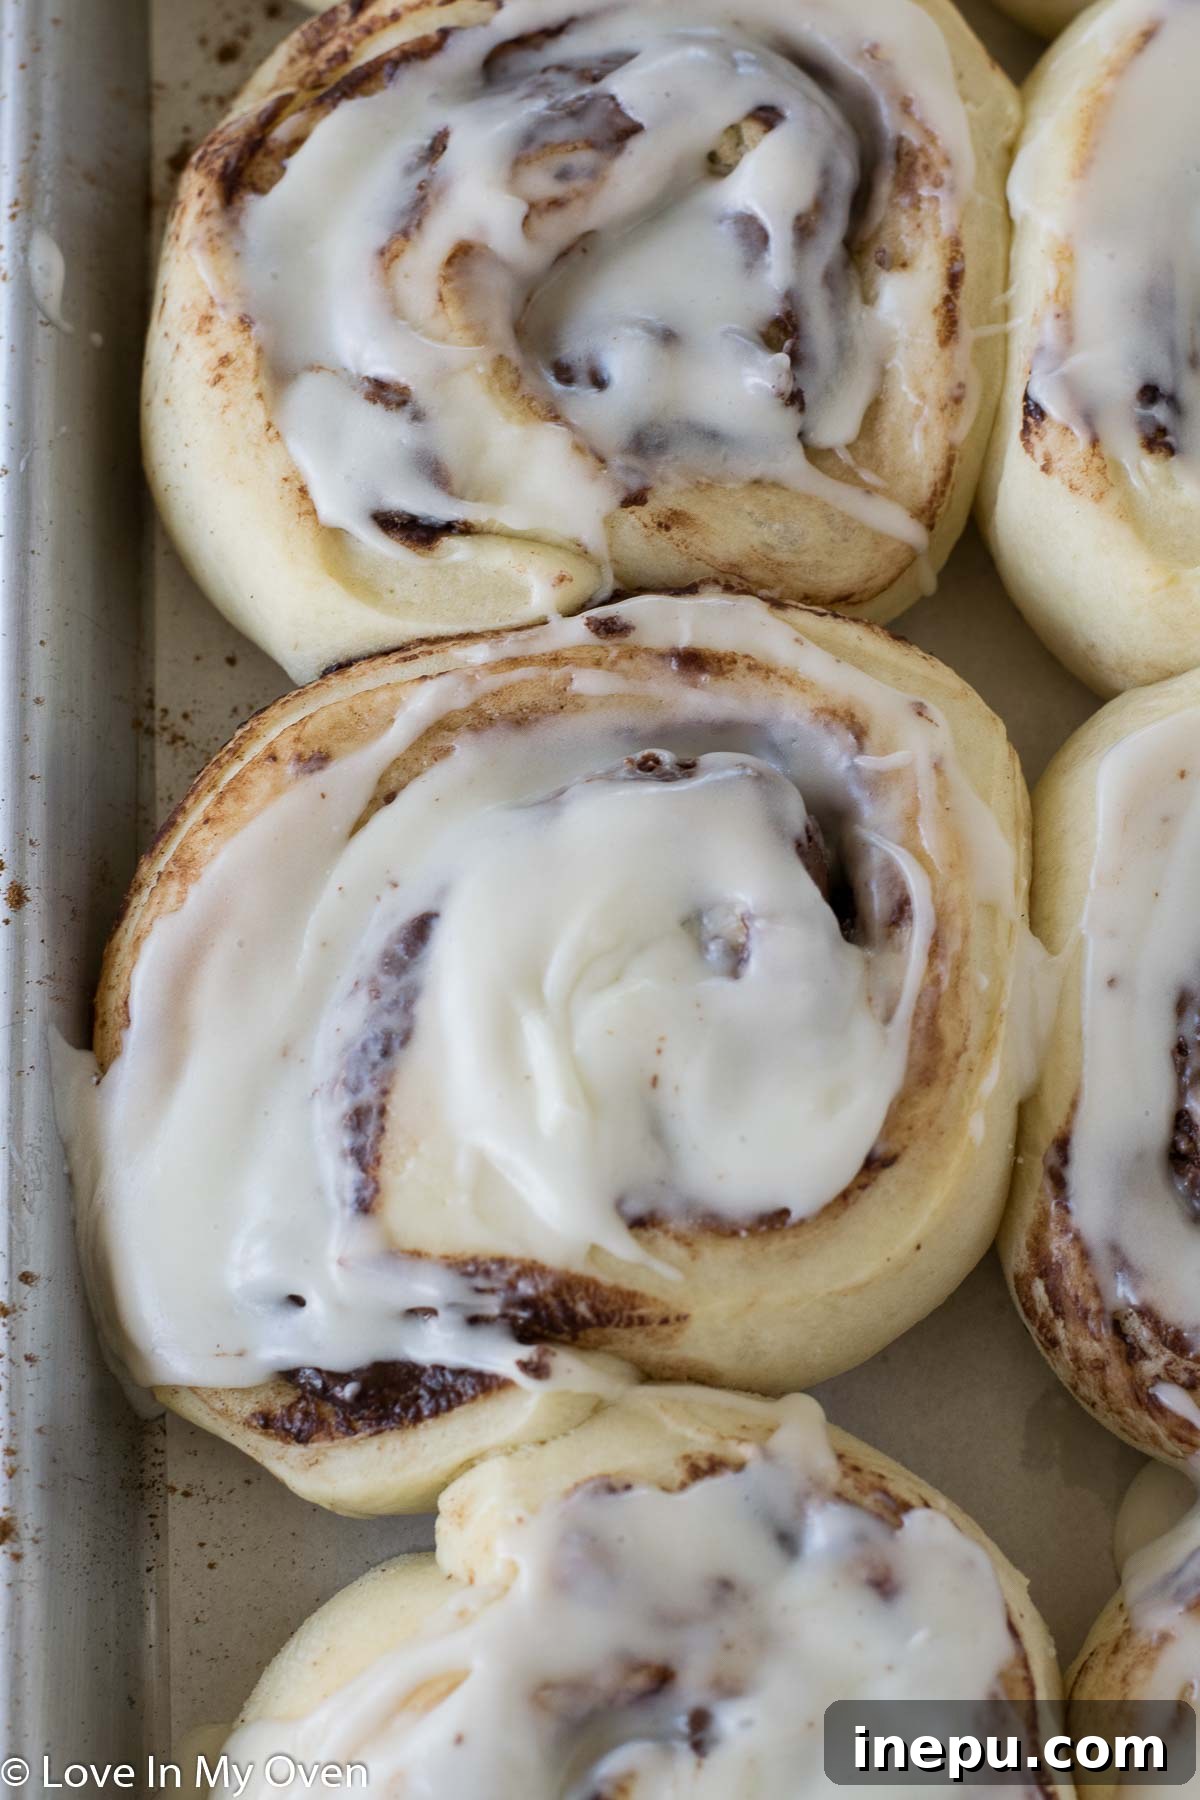
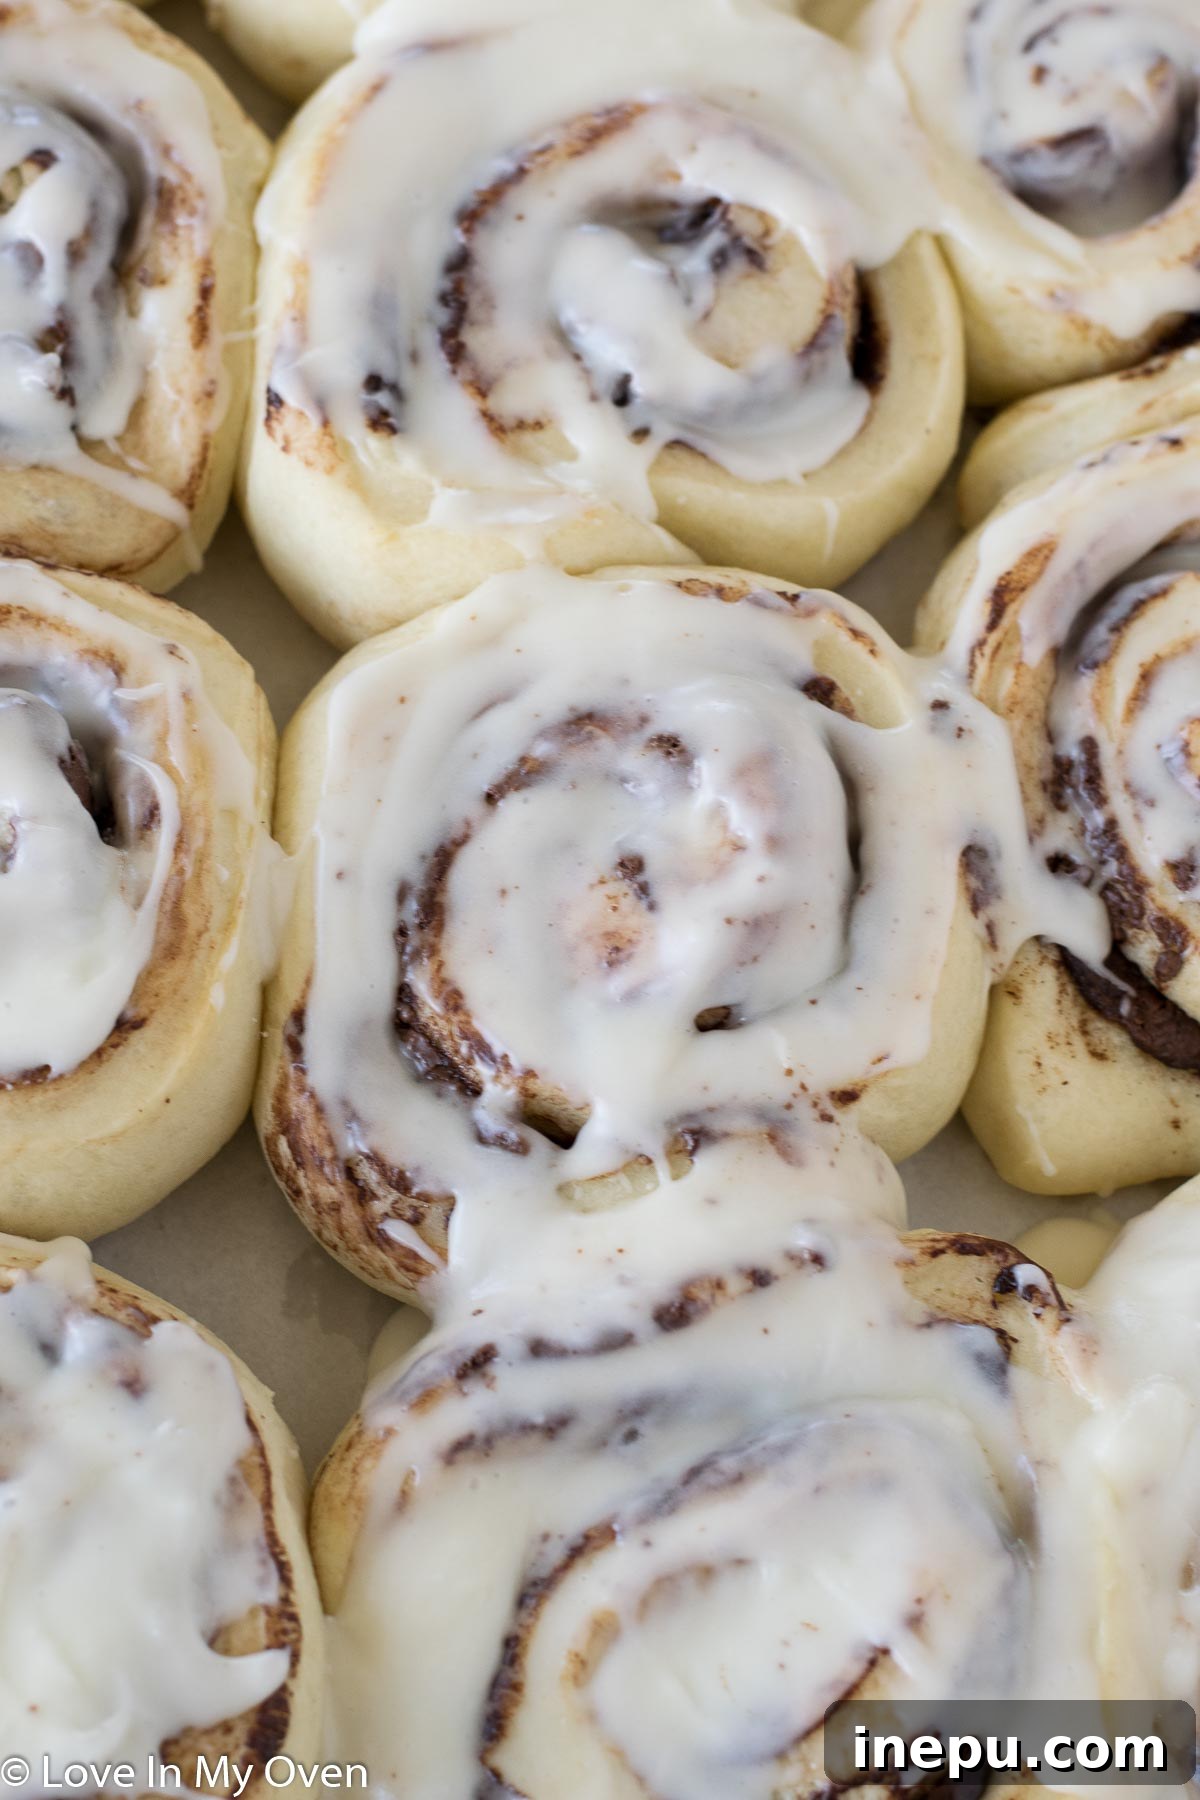
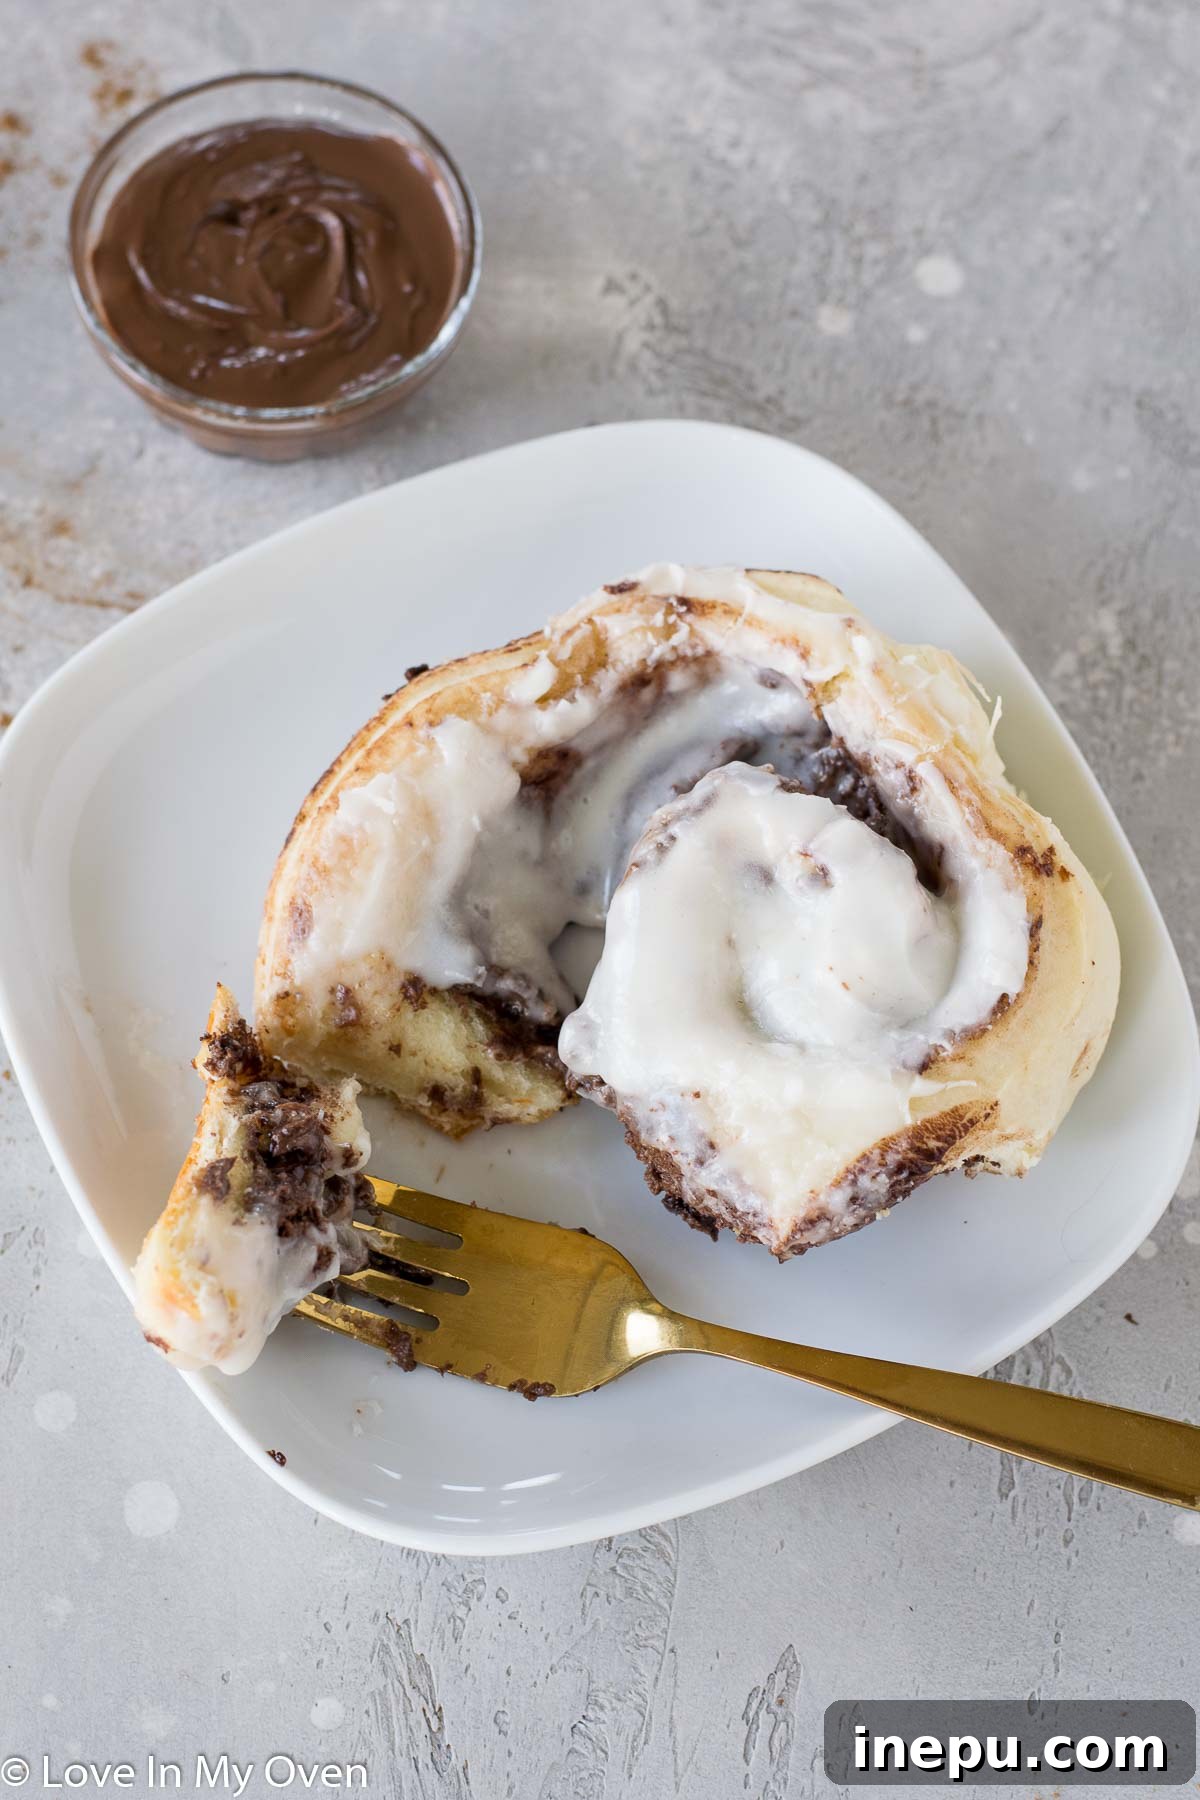
My family, much like many others, has a profound love affair with cinnamon rolls. They’re a special weekend indulgence, a perfect accompaniment to a chilly morning, or simply a delightful way to treat ourselves. These aren’t your average, everyday cinnamon buns. We’re talking about soft, buttery dough, generous swirls of rich Nutella and warm cinnamon, all crowned with a thick, tangy, and utterly irresistible cream cheese frosting. It’s breakfast decadence at its absolute finest, and these Nutella cinnamon rolls deliver on every promise of gooey, sweet perfection.
This recipe ensures a buttery, soft dough that rises beautifully, creating light and fluffy rolls that are practically cloud-like. The filling is a delightful fusion of classic cinnamon spice with the beloved hazelnut-chocolate spread, Nutella, making these rolls truly unique and unforgettable. Whether you’re an experienced baker or new to working with yeast, this detailed guide will walk you through each step, ensuring a successful and incredibly satisfying baking experience.
Essential Ingredients for Perfect Nutella Cinnamon Rolls
Crafting these extraordinary Nutella cinnamon rolls requires a few key ingredients, each playing a vital role in achieving that signature soft texture and rich flavor. Here’s what you’ll need:
- Whole Milk
- Granulated Sugar
- Active Dry Yeast
- Unsalted Butter
- Eggs
- Salt
- All-Purpose Flour
- Cinnamon
- Nutella
Let’s take a closer look at some of these ingredients and why they are important:
Whole Milk: For the most luxurious and tender dough, whole milk is highly recommended. Its fat content contributes significantly to the richness and softness of the rolls. While you could technically substitute with a lower-fat or non-dairy milk, the results won’t be quite as decadent. Buttermilk can also be used without any changes to the recipe, adding a subtle tang that complements the sweetness. However, avoid skim milk as it lacks the necessary fat for optimal texture.
Active Dry Yeast: This is the magic ingredient that makes our rolls light and fluffy. Ensuring your yeast is fresh and active is crucial. When mixed with warm milk and a touch of sugar, it should foam up, indicating it’s alive and ready to work its magic. If it doesn’t foam, your yeast might be expired, and it’s best to start again with a new batch.
Unsalted Butter: Butter is essential for both the dough and the filling. Using unsalted butter allows you to control the overall saltiness of the recipe. Ensure it’s softened to room temperature for easier incorporation into the dough and for spreading smoothly in the filling.
All-Purpose Flour: Standard all-purpose flour provides the right balance of gluten to give the rolls their structure without making them tough. While you might be tempted to incorporate whole wheat flour for a healthier twist, for truly decadent cinnamon rolls, sticking to all-purpose flour will yield the best results in terms of tenderness and rise.
Nutella: The star of the show! While I’ve successfully experimented with homemade hazelnut spread, for that signature rich and indulgent flavor, classic store-bought Nutella truly shines. If you’re conscious about palm oil, several brands now offer delicious palm oil-free chocolate hazelnut spreads, like the Kraft chocolate hazelnut spread. For a fun variation, you can also use other nut butters such as peanut butter (imagine a Reese’s-inspired roll with a peanut butter and Nutella swirl!) or almond butter.
For the Irresistible Cream Cheese Frosting
No cinnamon roll is complete without a generous slather of creamy, dreamy frosting. Here’s what you’ll need for the perfect topping:
- Full-Fat Cream Cheese
- Powdered Sugar
- Whole Milk or Heavy Cream
- Pinch of Salt
This classic cream cheese frosting is what truly elevates these Nutella rolls. Its tangy sweetness perfectly balances the richness of the rolls. Make sure your full-fat cream cheese is softened to room temperature for a lump-free, smooth consistency. For those who prefer a simpler glaze, a basic vanilla glaze could work, but the cream cheese frosting is highly recommended for the ultimate experience. Feel free to adjust the amount of milk or cream to achieve your desired frosting thickness.
Step-by-Step Instructions for Easy Nutella Cinnamon Rolls
Don’t be intimidated by baking with yeast! It’s a straightforward process, and I’ll guide you through each step. Once you master it, a whole world of delicious yeasted breads and rolls will open up to you!
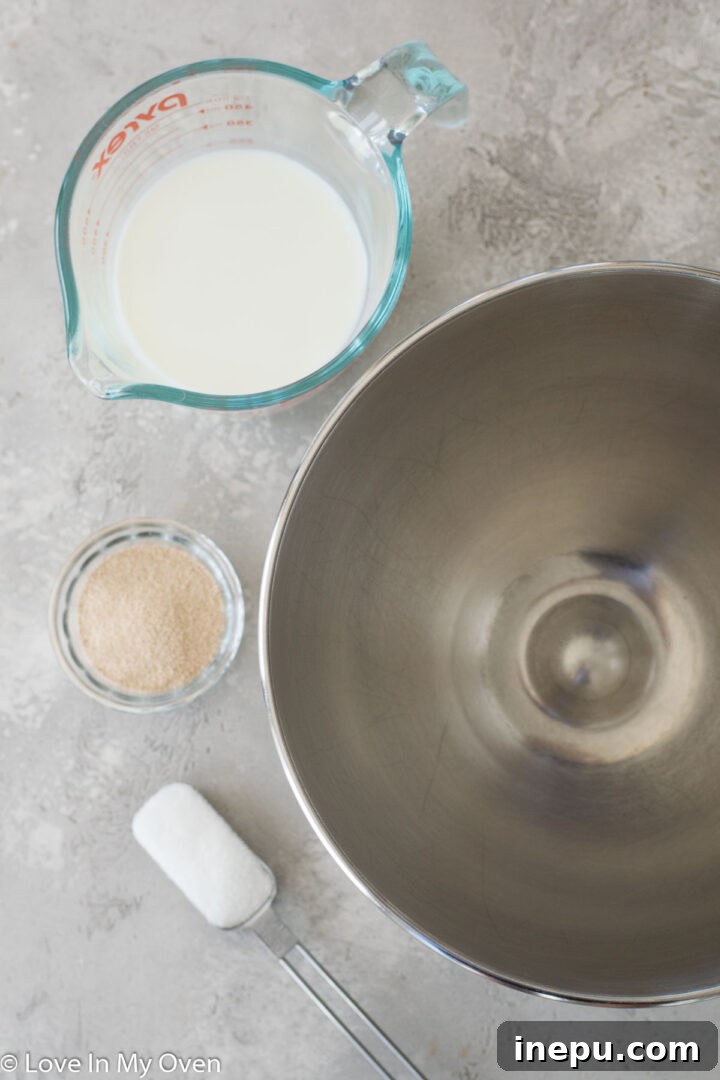
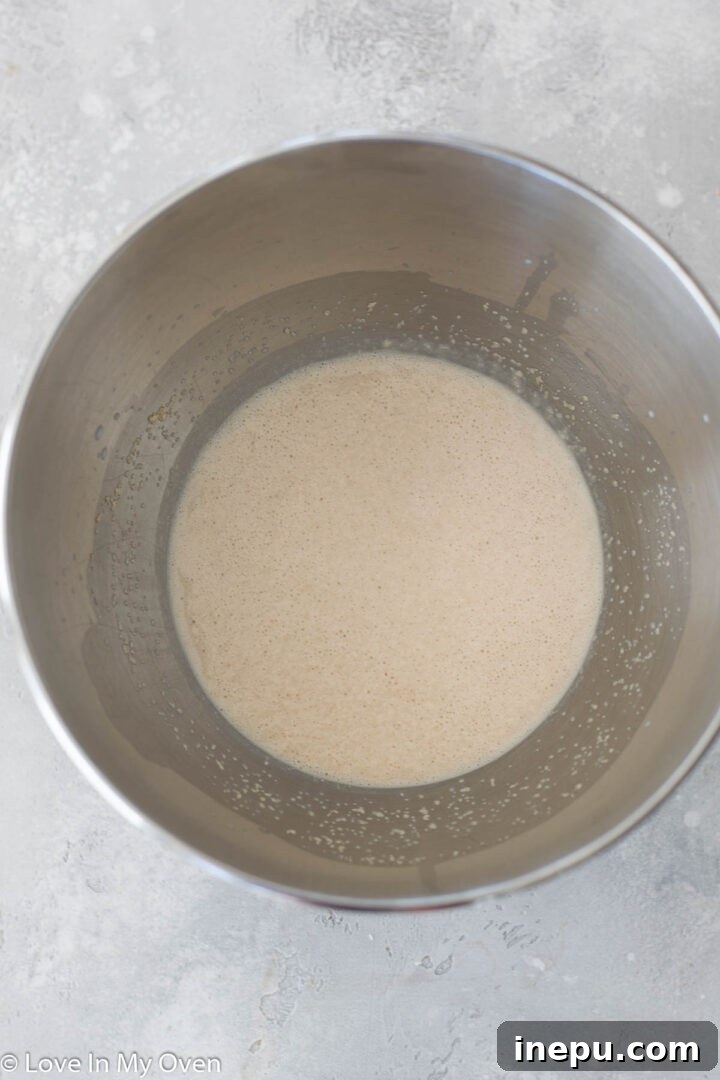
- Activate the Yeast: Begin by gently warming whole milk in the microwave for about 30 seconds, or until it’s comfortably warm to the touch (around 105-115°F or 40-46°C), but not boiling hot. Pour the warm milk into the bowl of a stand mixer. Stir in 1 tablespoon of granulated sugar and all of the active dry yeast. Whisk them together lightly, then cover the bowl with a clean kitchen towel or plastic wrap. Let this mixture sit for 5-10 minutes. During this time, the yeast should activate and become foamy. If you don’t see any foam, your yeast may not be active, and it’s best to discard the mixture and try again with fresh yeast.
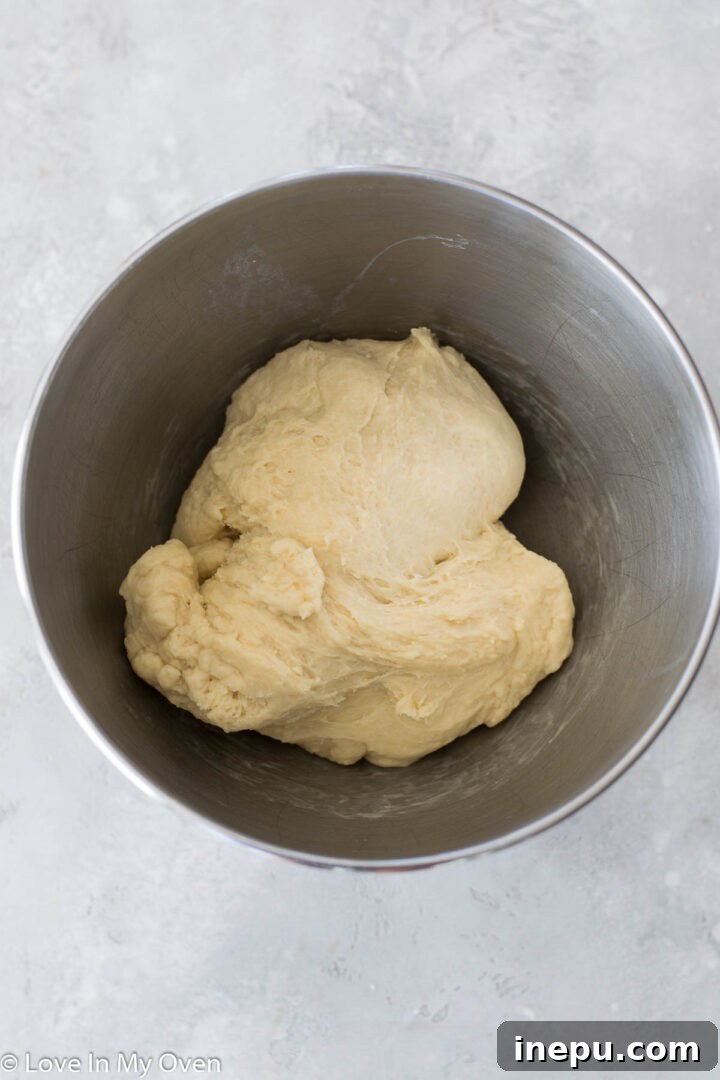
- Prepare the Dough Base: Once the yeast is foamy, add the remaining granulated sugar (1/3 cup) and 1/2 cup of softened unsalted butter to the yeast mixture in the stand mixer bowl. Attach the dough hook. Mix on low speed until the butter is slightly broken up and combined. Then, with the mixer still running on low, add the two large eggs one at a time, ensuring each is fully incorporated before adding the next. Stir in 1 cup of all-purpose flour and the 1/2 teaspoon of salt. Continue mixing on low until the ingredients just start to come together.
- Knead the Dough: Gradually add the remaining 3 cups of all-purpose flour, one cup at a time, mixing on low speed until each addition is fully incorporated and the dough begins to form. Once all the flour is added, increase the mixer speed to medium. Knead the dough for about 3-5 minutes, or until it becomes smooth, elastic, and easily pulls away from the sides of the bowl. If the dough is still excessively sticky after a couple of minutes of kneading, add a tiny bit more flour, one tablespoon at a time, until it reaches the desired consistency.
- Prepare the Pan and Roll Out the Dough: Once the dough has doubled in size, gently punch it down to release the air (this is surprisingly therapeutic!). Prepare a baking pan by lining it with parchment paper. A 9×13-inch pan works well, but for rolls with a bit more breathing room and less squishing, an 11×17-inch baking sheet is ideal. On a lightly floured surface, roll out the dough into a large rectangle, approximately 12 inches by 18 inches.
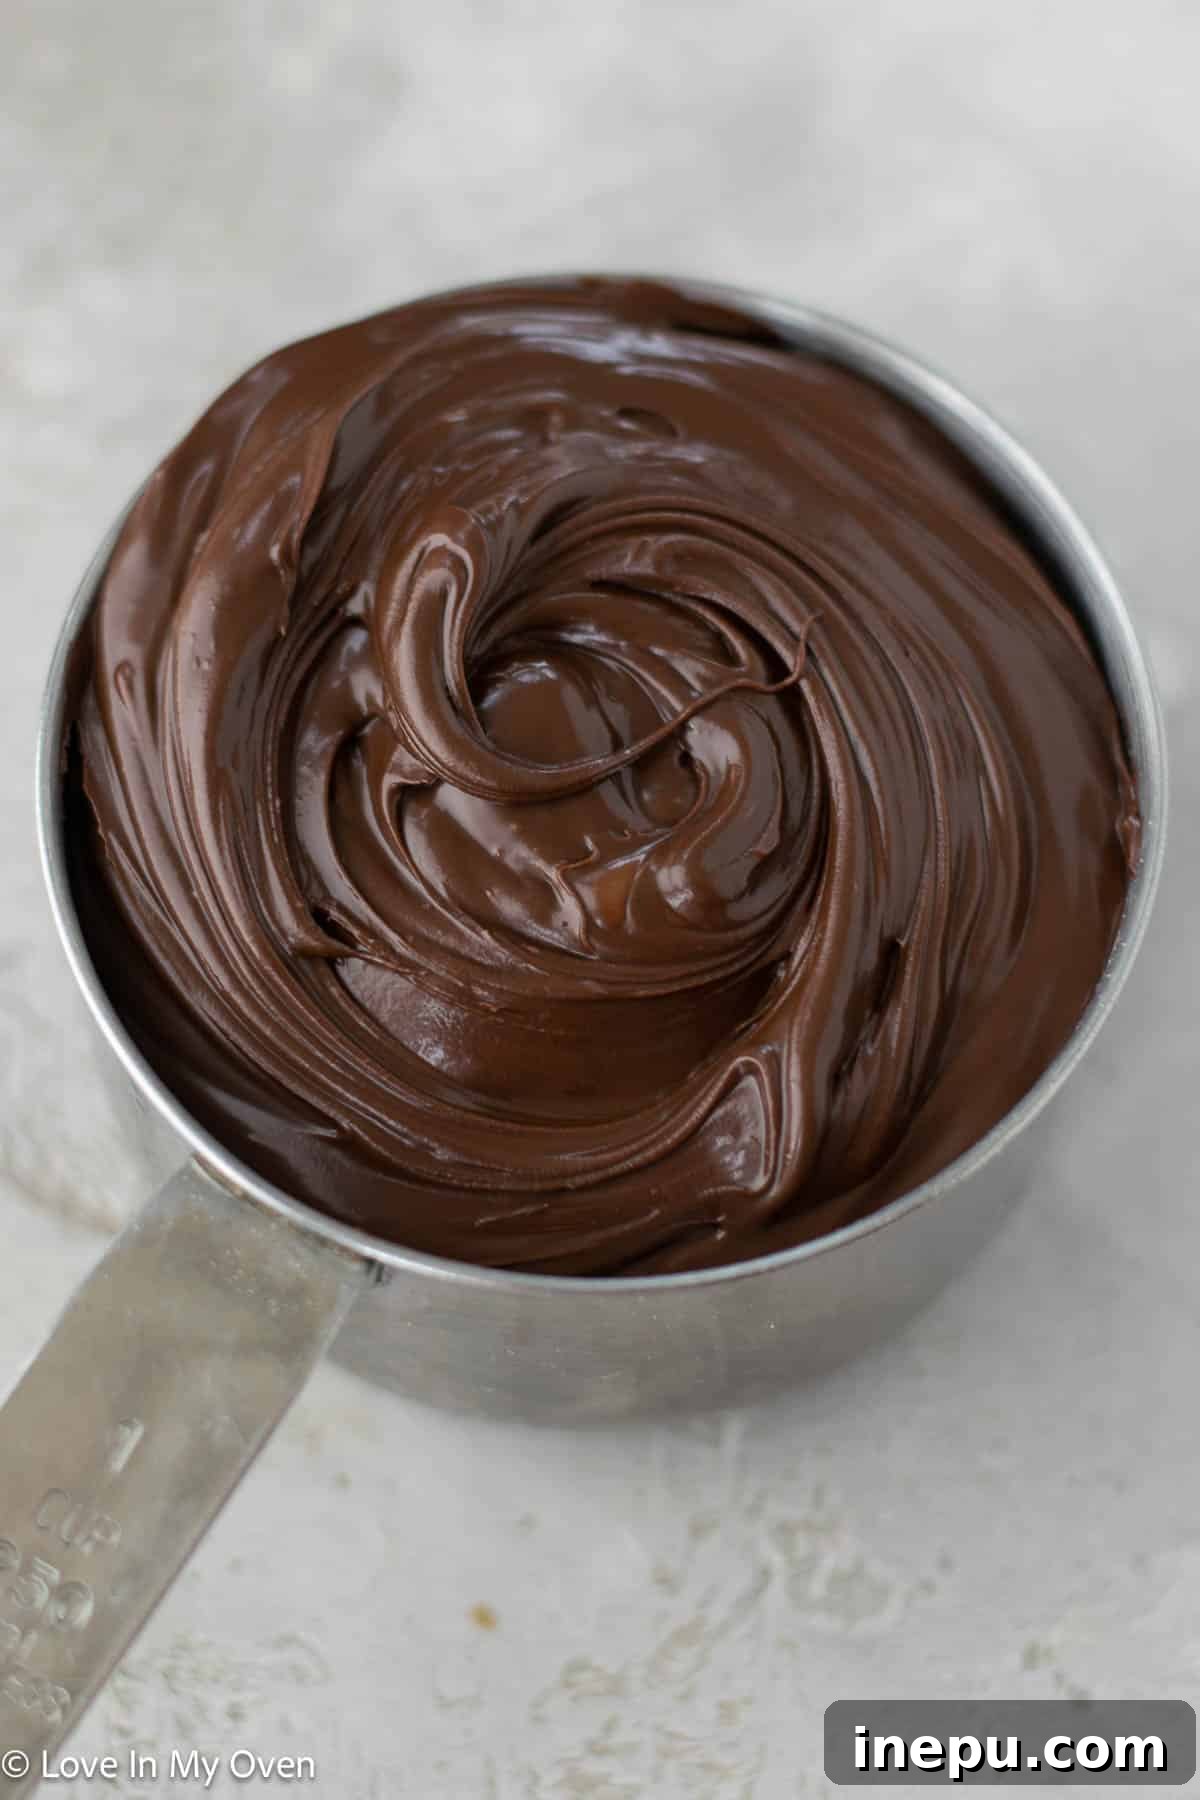
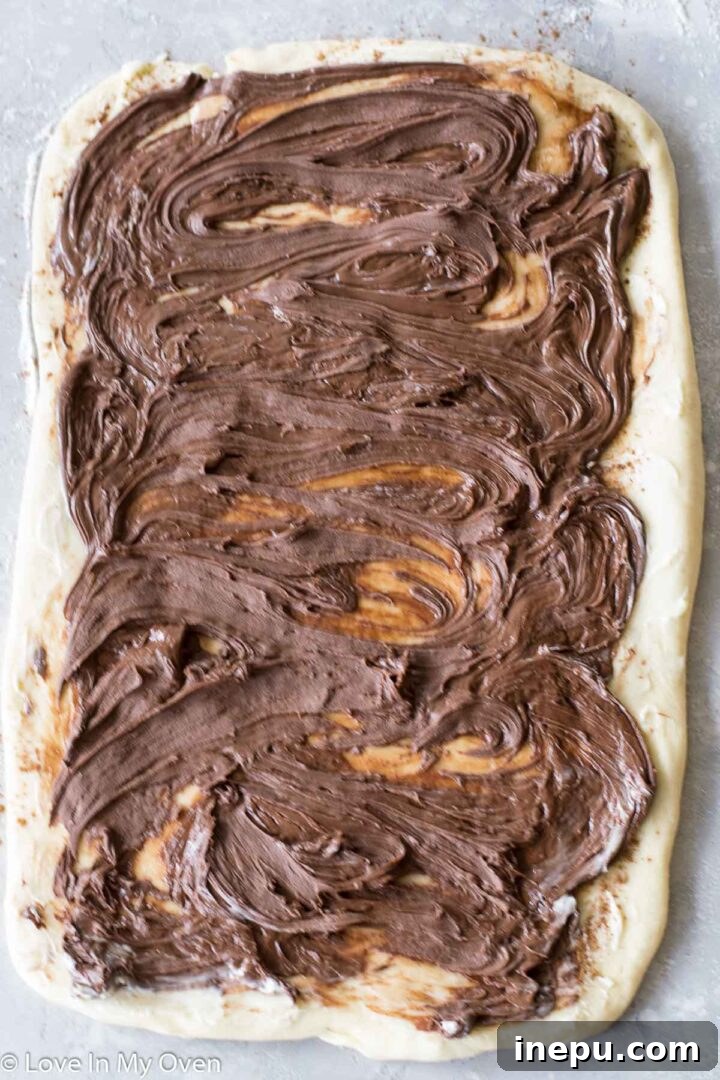
- Add the Filling: Evenly spread the remaining 1/4 cup of softened unsalted butter all over the rolled-out dough, leaving about an inch border along the edges. Sprinkle the 1 tablespoon of ground cinnamon generously over the butter. Now for the star: Dollop the entire 1 cup of creamy Nutella in various spoonfuls across the buttered and cinnamon-dusted dough. Use the back of a spoon or an offset spatula to gently spread the Nutella evenly over the dough, again leaving about an inch border on the long edges.
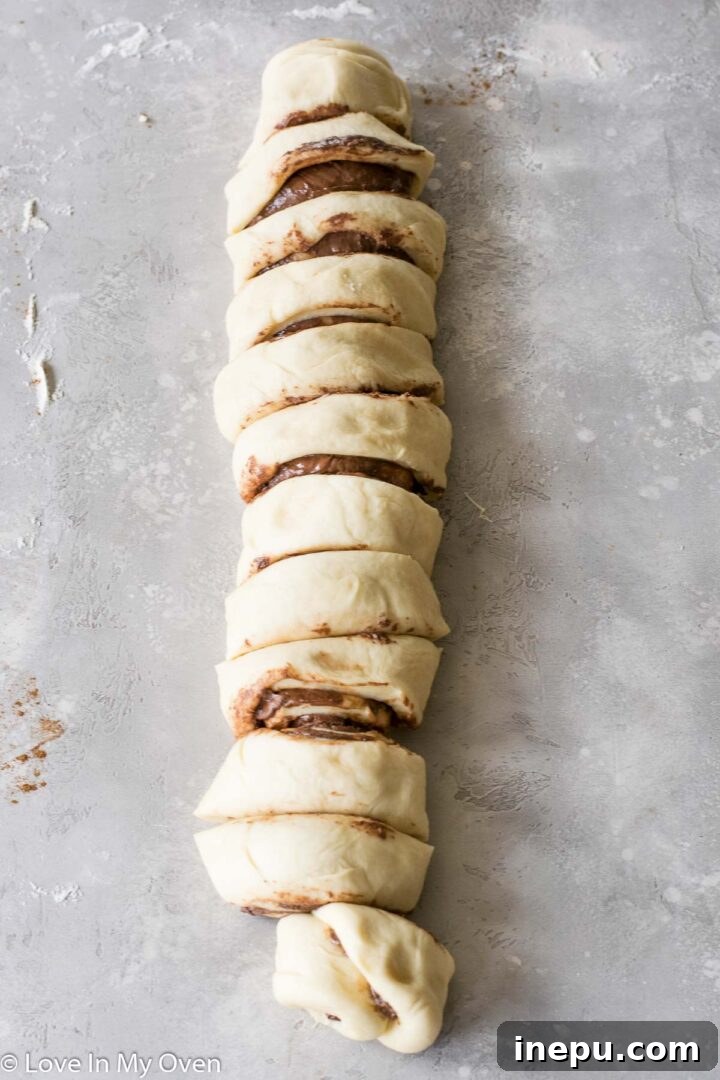
- Shape and Slice the Rolls: Starting from one of the longer 18-inch edges, tightly roll up the dough into a log. Aim for a snug roll to create those beautiful, even swirls. Once rolled, use a sharp knife or unflavored dental floss to slice the log into 12 even rolls. A good technique is to cut the roll in half first, then cut each half in half again to create four equal sections. Then, slice each quarter into three even rolls.
- Bake the Rolls: Once the Nutella cinnamon rolls are beautifully puffed, preheat your oven to 350°F (175°C). Bake the uncovered rolls for approximately 25 minutes. Keep an eye on them; if they start to brown too quickly after about 15 minutes, loosely cover the pan with a piece of aluminum foil to prevent over-browning. The rolls are done when they are golden brown on top and baked through in the center. Remove them from the oven and let them cool in the pan for about 5 minutes before frosting.
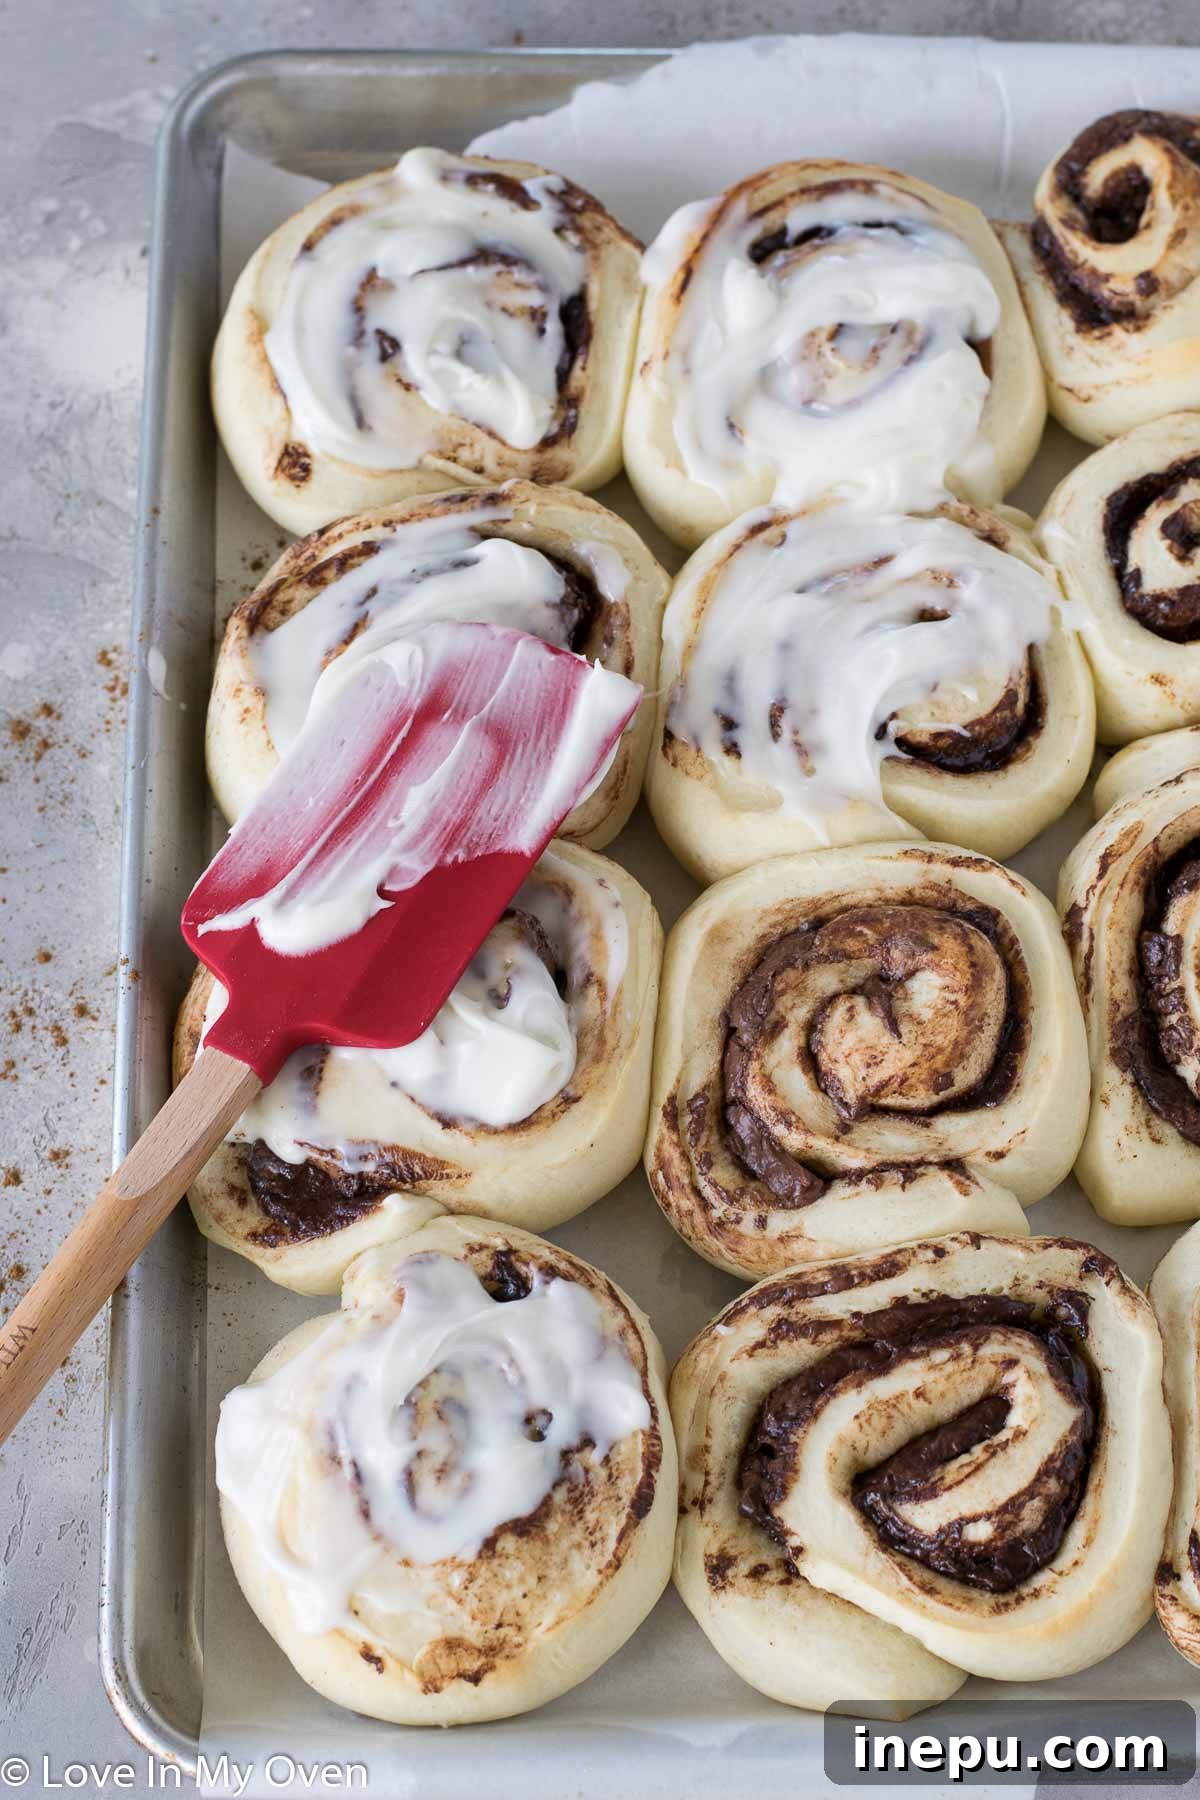
- Prepare and Frost: While the rolls are cooling slightly, prepare your cream cheese frosting. In the bowl of a stand mixer fitted with the paddle attachment, beat the softened full-fat cream cheese until it’s perfectly smooth and creamy. Gradually add the powdered sugar, starting on low speed to avoid a cloud of sugar. Next, pour in 2-3 tablespoons of whole milk or heavy cream and a pinch of salt. Mix until everything is well combined and the frosting is smooth and spreadable. If the frosting seems too thick, add an additional tablespoon of liquid until it reaches your desired consistency. Use an offset spatula or the back of a spoon to generously smear the decadent cream cheese frosting all over the warm Nutella cinnamon rolls. Serve immediately and enjoy every gooey, sweet bite!
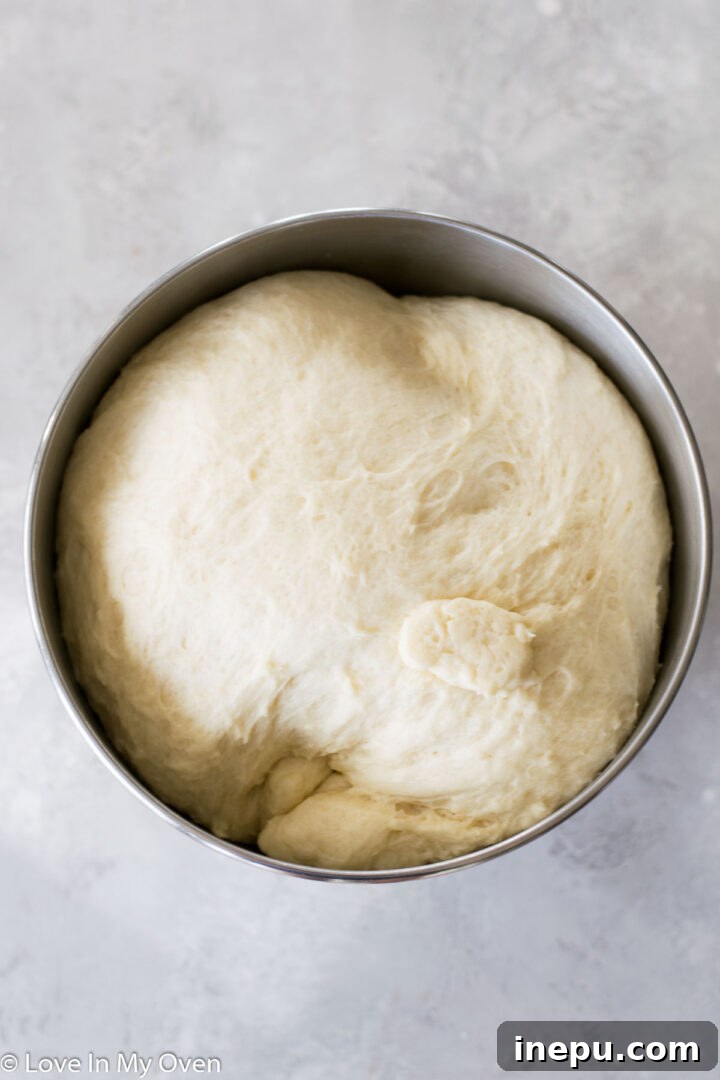
First Rise: Lightly grease a large mixing bowl (or you can use your stand mixer bowl). Place the kneaded dough into the greased bowl, turning it once or twice to coat it lightly with oil. Cover the bowl tightly with plastic wrap or a clean kitchen towel. Allow the dough to rise in a warm place for 1 to 2 hours, or until it has doubled in size.
Tip for Rising: If your kitchen is cool, you can create a warm environment for your dough. Turn your oven to its “keep warm” setting (or the lowest temperature) for a few minutes, then turn it off. Place the covered dough in the slightly warm oven to rise. This gentle warmth helps the yeast thrive.
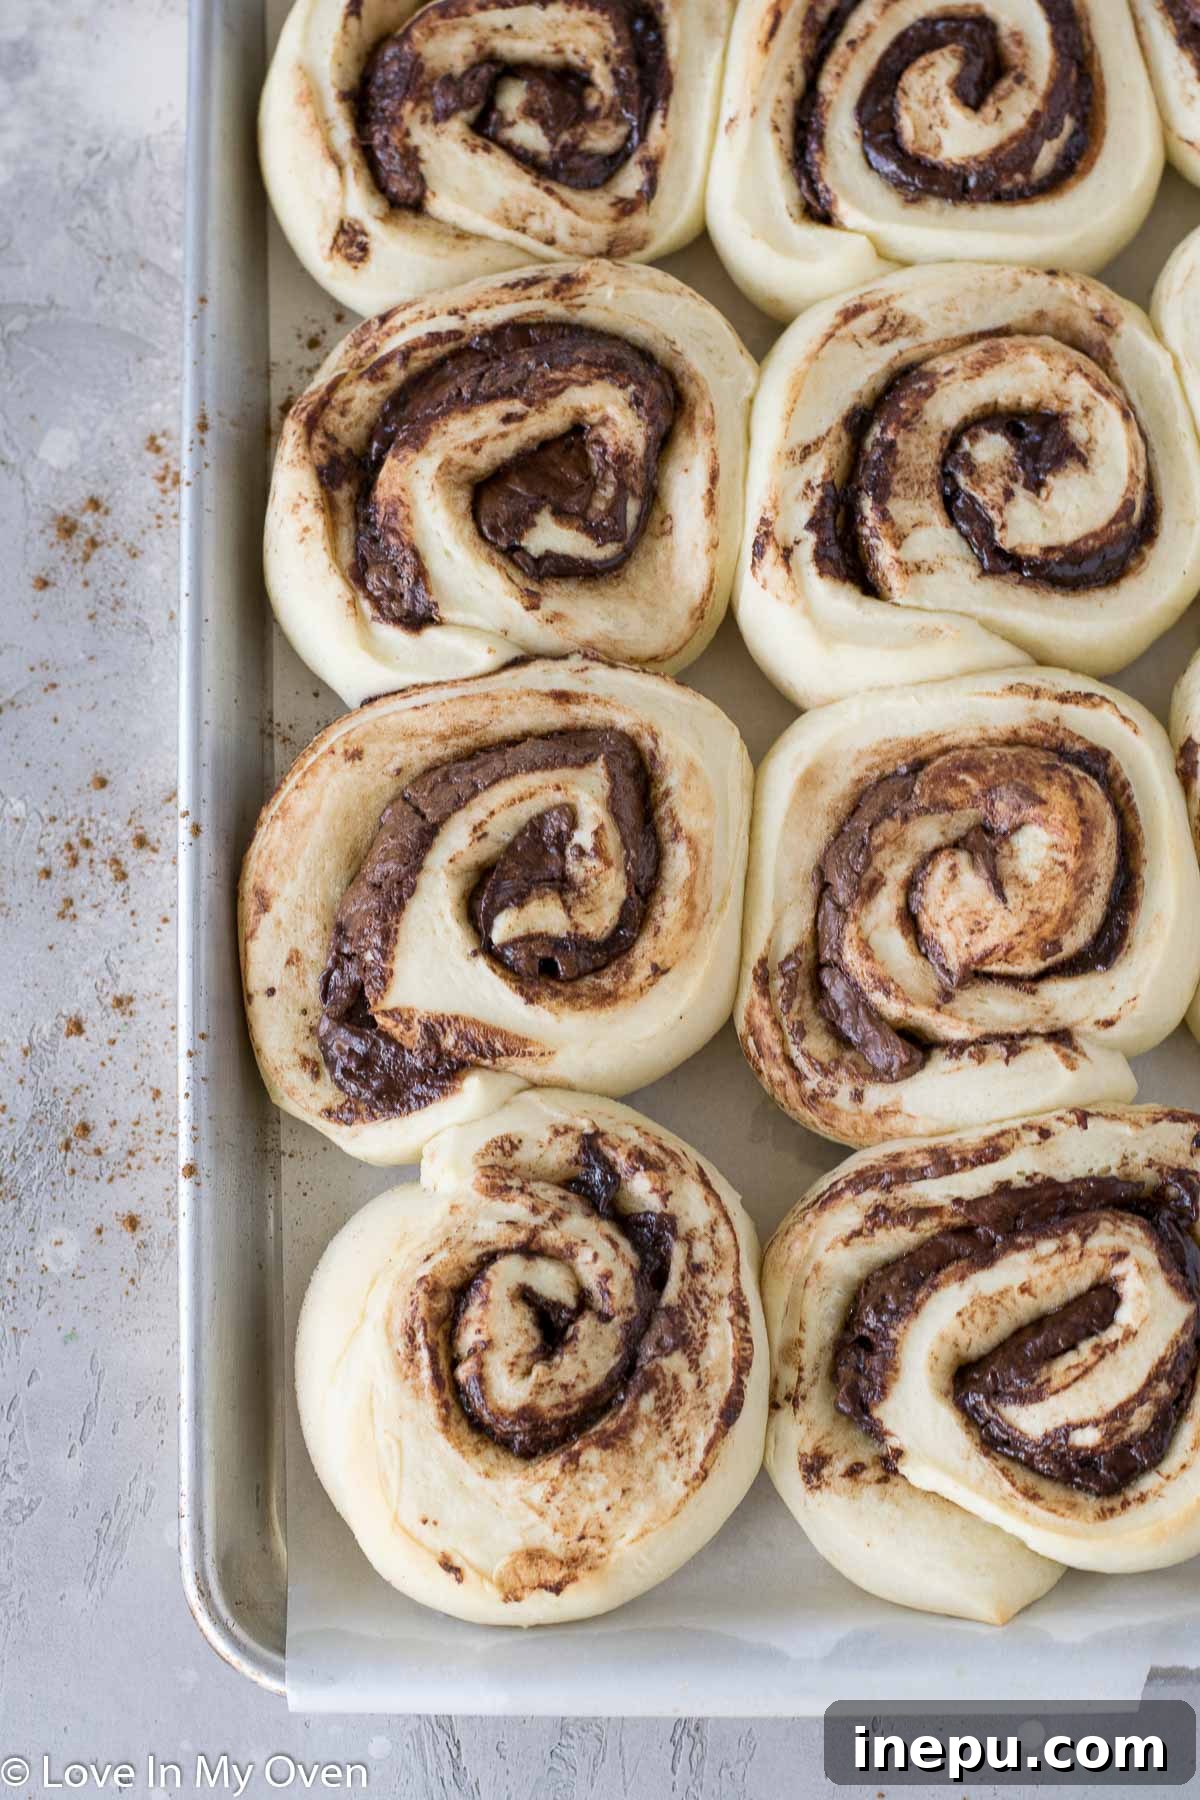
Second Rise (Proofing): Arrange the sliced rolls face up on the prepared baking pan, leaving a little space between each one for expansion. Cover the rolls tightly with plastic wrap (lightly sprayed with cooking spray to prevent sticking), aluminum foil, or a clean dishcloth. Let them rise again in a warm spot for about 1 to 1.5 hours, or until they have visibly puffed up and nearly doubled in size. This second rise is crucial for light and airy rolls.
Make-Ahead: Overnight Nutella Cinnamon Rolls
For ultimate convenience, especially if you want warm, fresh cinnamon rolls for breakfast without an early start, this recipe can easily be prepared overnight. This method allows the rolls to undergo a slow, cold rise in the refrigerator, often leading to a more developed flavor and an incredibly tender texture.
To prepare these rolls overnight, follow the recipe instructions up to step 6, where you have sliced the rolls and placed them on your prepared baking sheet for the second rise. Instead of letting them rise at room temperature, cover the baking pan tightly with plastic wrap or aluminum foil. Make sure it’s airtight to prevent the dough from drying out. Then, place the covered rolls in the refrigerator overnight (for 8-12 hours).
The next morning, about 1.5 to 2 hours before you plan to bake them, remove the pan from the fridge. Keep the rolls covered and let them sit at room temperature on your counter. During this time, they will finish their final rise, becoming soft and puffy. Once they’ve risen sufficiently, proceed with baking them as usual, starting from step 7 of the instructions. This way, you can wake up, pop them in the oven, and have fresh, warm Nutella cinnamon rolls ready for breakfast in just two hours!
Tips for Success and Variations
- Don’t Over-Flour: While it’s tempting to add more flour if the dough is sticky, too much flour can lead to dry, tough rolls. Add flour sparingly, only a tablespoon at a time, until the dough is just slightly tacky but no longer sticking excessively to the bowl.
- Room Temperature Ingredients: Ensure your butter, eggs, and cream cheese are at room temperature. This helps them incorporate smoothly into the dough and frosting, preventing lumps and ensuring an even texture.
- Even Spreading: When spreading the Nutella, try to make it as even as possible. This ensures every bite of your roll has a consistent swirl of hazelnut goodness.
- Sharp Knife for Slicing: Using a very sharp knife or even unflavored dental floss will give you clean cuts for your rolls, maintaining their shape and beautiful swirls.
- Storage: Leftover cinnamon rolls can be stored in an airtight container at room temperature for up to 2-3 days, or in the refrigerator for up to a week. Reheat gently in the microwave or oven for best results.
- Freezing: These Nutella cinnamon rolls freeze beautifully, either baked or unbaked.
- Unbaked: After the second rise, place the entire pan in the freezer until the rolls are solid. Then, transfer the frozen rolls to a freezer-safe bag. When ready to bake, place them back on a parchment-lined pan, let them thaw overnight in the fridge, and then rise at room temperature for 1-2 hours before baking.
- Baked: Once baked and cooled (before frosting), wrap individual rolls tightly in plastic wrap and then aluminum foil. Freeze for up to 1-2 months. Thaw at room temperature and warm up before frosting and serving.
These Nutella cinnamon rolls are truly a special treat, perfect for any occasion when you need a little extra sweetness and comfort. They combine the best of a classic cinnamon roll with the irresistible flavor of hazelnut chocolate, creating a memorable baking experience and an even more memorable indulgence.
Other Delicious Breads and Loaves You Might Love:
If you enjoyed this recipe, be sure to explore more delightful baking ideas from the blog:
- Chocolate Coconut Banana Bread
- Star Lemon Lavender Bread
- Raspberry Chocolate Banana Bread
- 30 Minute Dinner Rolls
And for more ways to enjoy your favorite hazelnut spread, check out these other irresistible Nutella recipes:
- Nutella Muffins
- 3 Ingredient Nutella Brownies
- Nutella Walnut Granola
Print Recipe

Nutella Cinnamon Rolls
4.9 from 8 reviews
- Author: Katherine | Love In My Oven
- Total Time: 1 hour
- Yield: 12 rolls
Description
These ooey gooey Nutella cinnamon rolls are the most decadent delicious breakfast treat! Topped with a smooth cream cheese frosting, you’ll love these Nutella rolls!
Ingredients
- 1 cup whole milk
- 1 tbsp + 1/3 cup granulated sugar
- 1 1/2 tbsp active dry yeast
- 3/4 cup unsalted butter, divided, softened to room temperature
- 2 large eggs, room temperature
- 1/2 tsp salt
- 4 cups all-purpose flour
- 1 tbsp ground cinnamon
- 1 cup creamy Nutella
Cream Cheese Frosting
- 2 oz full-fat cream cheese, softened to room temperature
- 1 cup powdered sugar
- 2–3 tbsp whole milk or heavy cream
- pinch of salt
Instructions
- Start by warming the milk in the microwave for about 30 seconds until just hot but not boiling. Alternatively, use a saucepan on the stove. Add the milk to the bowl of a stand mixer, along with 1 tbsp of granulated sugar and all of the yeast. Whisk to combine, then cover with a clean cloth and let it rest for 5 minutes or until foamed up. If it does not foam up, toss the mixture and start again with fresh yeast.
- Add in the remaining sugar along with 1/2 cup of softened butter and mix in the bowl until the butter is slightly broken up. I always use the dough hook attachment for this part. With the mixer running on low, add the eggs, one at a time. Then add in the salt plus 1 cup of flour and mix on low until things start to come together.
- With the mixer continuing to run on low, add in the remaining flour, one cup at a time, until fully incorporated. Turn the mixer up to medium speed and mix until the dough easily pulls away from the sides of the bowl. If it is still sticking after a couple of minutes, add a bit more flour, one tablespoon at a time until it no longer sticks to the sides. Turn the mixer up to medium-high and knead the dough for another 3 minutes. Spray a large mixing bowl or the stand mixer bowl with nonstick spray and place the dough inside, turning it around a few times to lightly grease it. Cover the bowl tightly with plastic wrap or a towel, allowing it to rise for 1-2 hours or until doubled in size.*
- Once doubled in size, prepare a baking pan by lining it with parchment paper. You can use a 9 x 13″ pan, or my favorite, a 11 x 17″ baking sheet to avoid squishing the buns too much. On a floured surface, roll out the dough to a 12 x 18″ rectangle. Smear the remaining 1/4 cup of softened butter all over the dough, leaving an inch of border on the sides, then sprinkle the cinnamon on top.
- Drop the Nutella by a spoonful at a time on top of the buttery dough, then use the back of the spoon to spread the Nutella all around the dough, leaving about an inch border on the sides. Roll up the dough tightly using the long edge, to create an 18″ roll. Next, slice the roll into 12 even rolls using a sharp knife. I like to cut the roll in half, then half again to create 4 equal pieces. Then I slice each 1/4 of dough into even thirds.
- Place the rolls on the prepared baking sheet, spacing them apart evenly. Cover the rolls tightly again with plastic wrap or aluminum foil, or a clean towel. Allow the rolls to rise again for about 1 hour and a half, or until puffy and doubled in size. For overnight rise instructions, see notes below**
- Preheat the oven to 350 F. Place the rolls in the oven for about 25 minutes, or until browned and baked through in the center. Loosely place a piece of aluminum foil over the rolls at the 15 minute mark to avoid them browning too much. Remove the rolls from the oven and let them cool for about 5 minutes before frosting (or enjoy them plain)!
- Prepare the cream cheese frosting. In the bowl of a stand mixer fitted with the paddle attachment, beat the softened cream cheese until smooth. Add in the powdered sugar, along with 2 tbsp of milk or cream and a pinch of salt and slowly mix again until combined. If the frosting isn’t whipping up nicely, add another tablespoon of liquid until the right consistency is reached. Use a spatula to smear the frosting all over the rolls before serving!
Notes
*If your kitchen is not that warm, turn the oven to “keep warm” and then turn it off after a few minutes, then use that warm space to allow the dough to rise
**To make these overnight, cover the rolls as in step 6 but then store them overnight in the fridge. About 2 hours before you’re wanting to eat the rolls, remove the rolls from the fridge and proceed with letting the rolls rise until soft and puffy, continuing with step 7.
- Prep Time: 30 minutes
- Cook Time: 30 minutes
- Category: rolls
- Method: oven bake
- Cuisine: american