
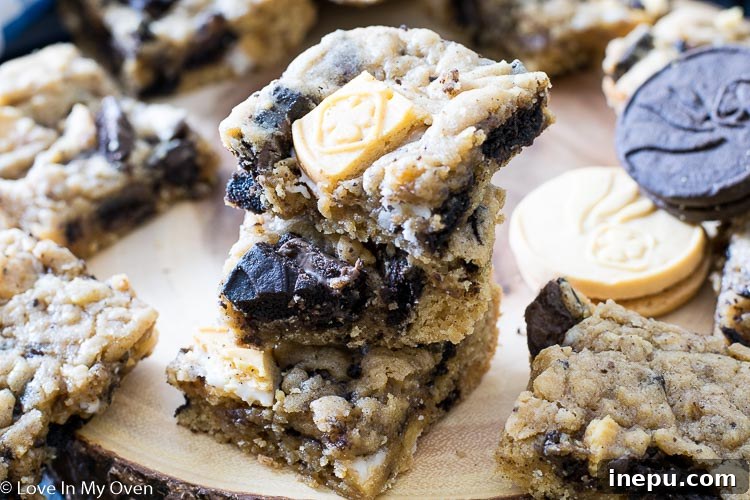
The Ultimate Girl Guide Cookie Bars Recipe: Soft, Chewy, and Irresistibly Delicious
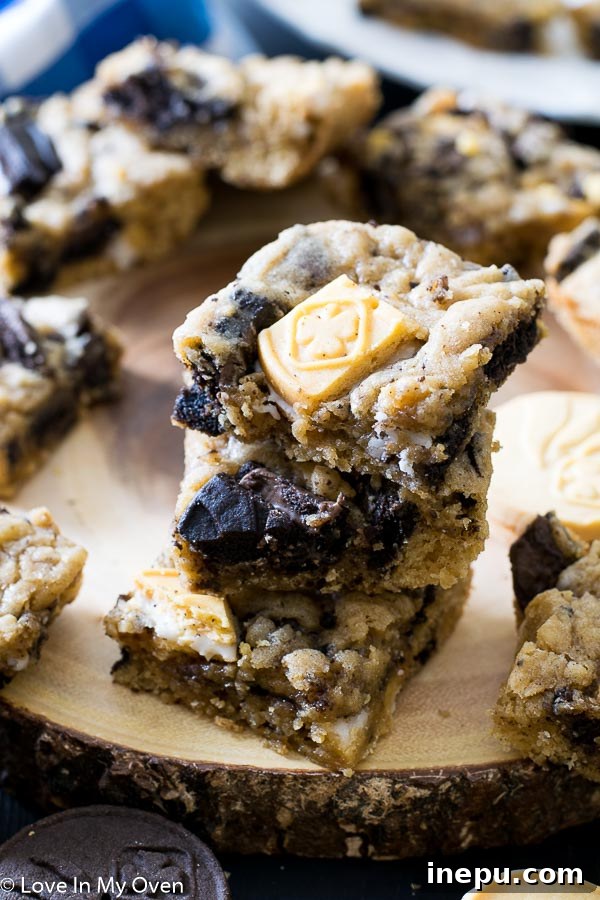
Get ready to indulge in a truly spectacular treat! This recipe for homemade Girl Guide Cookie Bars is not just a dessert; it’s a celebration of classic flavors and a delightful twist on beloved Canadian cookies. Imagine soft, incredibly chewy cookie bars, generously studded with chunks of rich chocolate and creamy vanilla Girl Guide cookies, creating a symphony of textures and tastes in every bite. Whether you’re a long-time fan of these iconic cookies or looking for a crowd-pleasing dessert that’s easy to make and impossible to resist, these bars are guaranteed to become a new favorite in your baking repertoire. They are perfect for potlucks, family gatherings, bake sales, or simply a sweet treat to brighten your day.
*A note on this recipe: This post was originally published in 2017. While the recipe for these beloved Girl Guide Cookie Bars remains perfectly delicious and unchanged, I’ve recently updated the text to provide more helpful tips, clearer instructions, and a fresh perspective for my wonderful readers. Enjoy!
Hello, wonderful bakers and sweet tooth enthusiasts! I hope you’ve had a fantastic week, and for those who enjoyed a long weekend like me, I trust it was filled with joy and delicious food. Mine was spent at a vibrant family reunion in the picturesque town of Drumheller, and it was truly a blast. Often, the phrase “family reunion” can evoke a slight cringe or a sympathetic “Oh, I’m sorry for you” look. But I’m lucky enough to have an amazing family, and I genuinely mean that – not just because I suspect many of them are reading this post. Ha!
It was heartwarming to watch my son, Oscar, play with his cousins, bouncing around with endless energy fueled by sugar and junk food, having the absolute best time. Little Wally was just as thrilled, his big smiles and enthusiastic kicks speaking volumes about his enjoyment. These moments of connection and shared laughter are what make life truly special.
Our gathering was held to celebrate what would have been my Grandpa’s 100th birthday. Throughout the weekend, I discovered some fascinating new details about him – he was quite the entrepreneurial spirit! And, perhaps most charmingly, he played the accordion. Seriously, who could dislike someone who plays the accordion? It’s these unique stories and traditions that weave the rich tapestry of our family history.
As is tradition for family potlucks, everyone contributed a dish. And to no one’s surprise, my contribution was dessert. After all, what’s a family celebration without something sweet to share?
What Are Girl Guide Cookies? A Canadian Staple
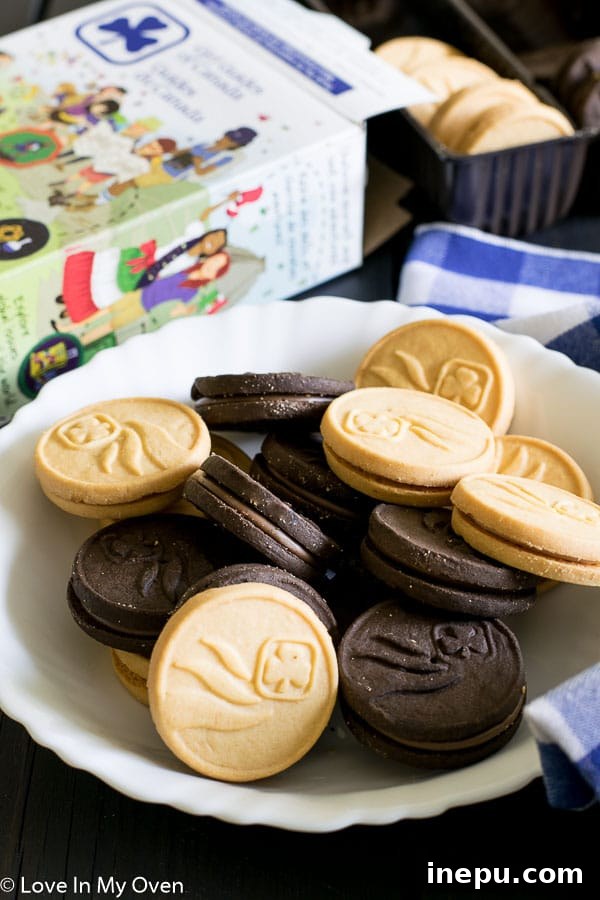
For a while now, I’ve been eager to develop a recipe featuring Girl Guide cookies. If you’re from Canada, you know these cookies are practically a foundational element of our diet – eagerly anticipated and savored each year. For my American friends, our Girl Guides are the equivalent of your Girl Scouts. While I can’t definitively compare the exact flavors of Canadian Girl Guide cookies to their American Girl Scout counterparts, I can tell you unequivocally that ours are absolutely, wonderfully delicious. DEE-licious! It’s truly impossible for me to resist those wide-eyed girls who come to my doorstep, passionately asking me to support their initiatives by buying a box (or five) of their delightful cookies.
Girl Guide cookies in Canada typically come in a couple of classic varieties. The most iconic are the chocolate and vanilla sandwich cookies – a perfect balance of creamy filling and crisp cookie. During certain times of the year, you might also find the beloved mint cookies, which are equally irresistible. These cookies aren’t just a treat; they’re a part of the Canadian cultural fabric, evoking nostalgia and a sense of community support. Buying them is a ritual, a small act that helps fund incredible programs for young girls across the country, teaching them leadership, resilience, and valuable life skills. And let’s be honest, it’s also a fantastic excuse to stock up on some seriously tasty cookies!
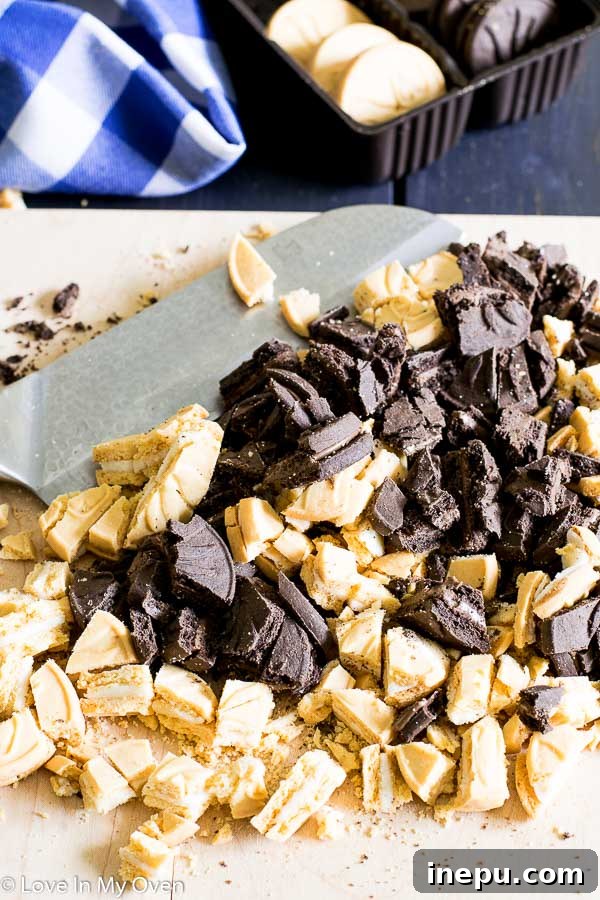
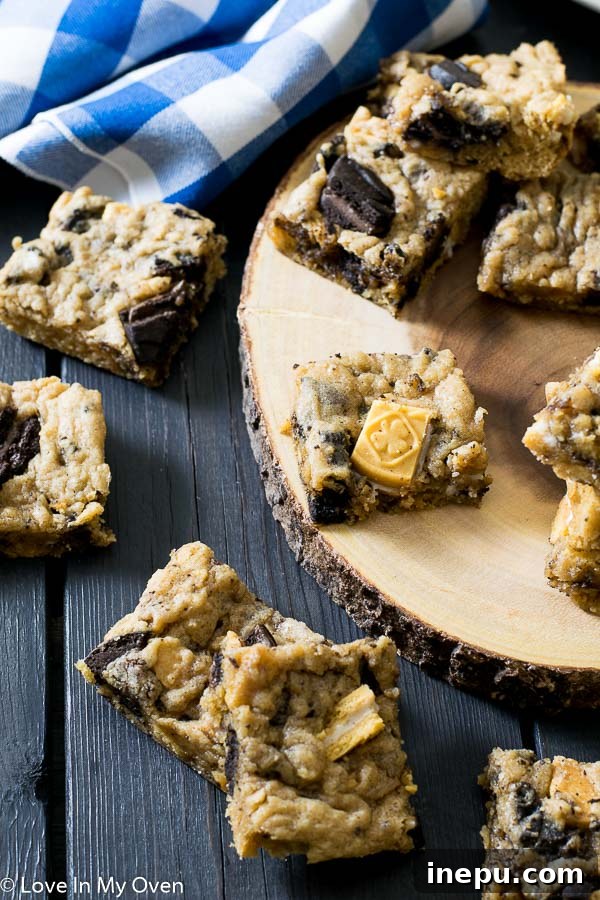
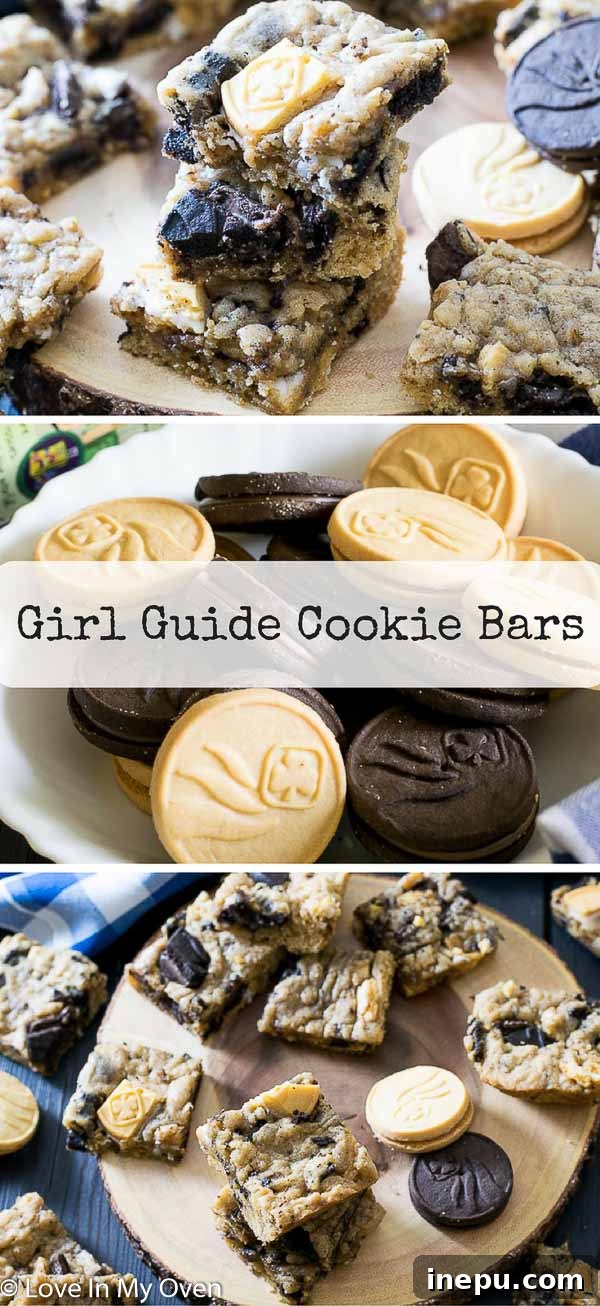
I decided the best way to elevate these already amazing cookies was to crush them up and incorporate them into a batch of easy-to-make cookie bars. Cookie bars are fantastic for so many reasons: they’re quick to prepare, incredibly portable, and effortlessly scalable – perfect for feeding a large crowd or simply ensuring you have enough for a few days of delightful snacking. Plus, as you’ve probably guessed, they are also – you guessed it – DEE-licious! These bars are wonderfully soft and chewy, bursting with delightful cookie chunks that add both flavor and texture. What’s not to love about a dessert that’s so versatile and utterly satisfying? The batch I made for my family was slightly under-baked, resulting in an extra soft and gooey texture, and I make absolutely no apologies for that! Sometimes, a little extra chewiness is exactly what you need.
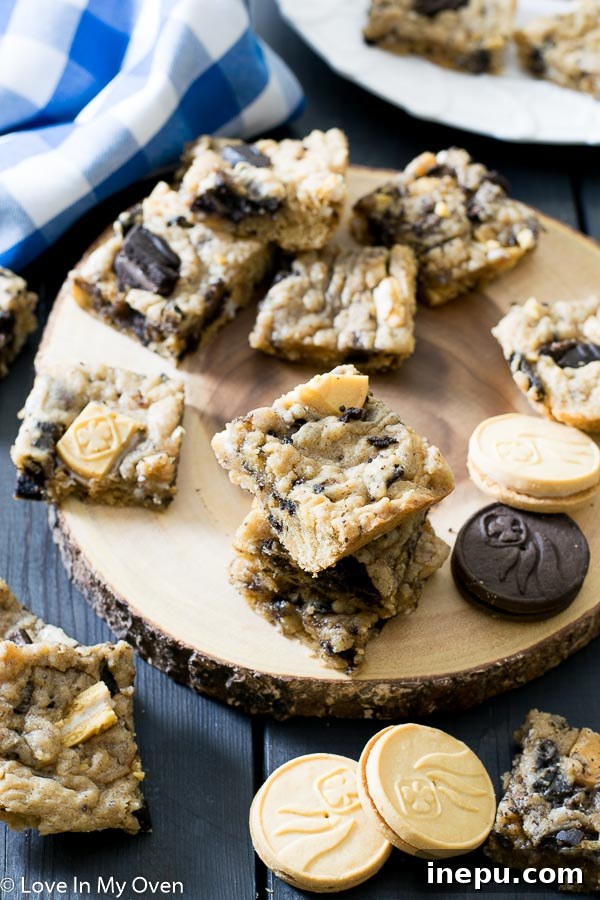
Crafting Your Own Girl Guide Cookie Bars: A Simple Guide
Making these Girl Guide Cookie Bars is a straightforward process that yields incredibly satisfying results. The magic begins with creaming together softened butter and rich brown sugar until the mixture is light and fluffy. Brown sugar is key here, contributing to the bars’ signature chewy texture and deep, caramel-like flavor. Next, two large, room-temperature eggs are incorporated one at a time, ensuring everything is beautifully emulsified. For an extra boost of luxurious flavor, I love adding vanilla bean paste. It provides a more intense, authentic vanilla presence with those delightful little specks, but if you don’t have it on hand, a good quality vanilla extract will work perfectly fine.
Now, for a secret ingredient that elevates the chewiness of these cookie bars: cornstarch. Whisking just a teaspoon of cornstarch into your dry ingredients—all-purpose flour, baking powder, and a pinch of salt—makes a noticeable difference, guaranteeing a wonderfully tender and chewy bite. Once your dry ingredients are perfectly combined, they’re slowly added to the wet mixture, mixing until just incorporated to avoid overworking the dough. The grand finale involves gently folding in the star of the show: the crushed Girl Guide cookies. I typically use about 16 cookies, but feel free to adjust this amount based on how “cookie-fied” you desire your bars to be. More cookies mean more delightful chunks!
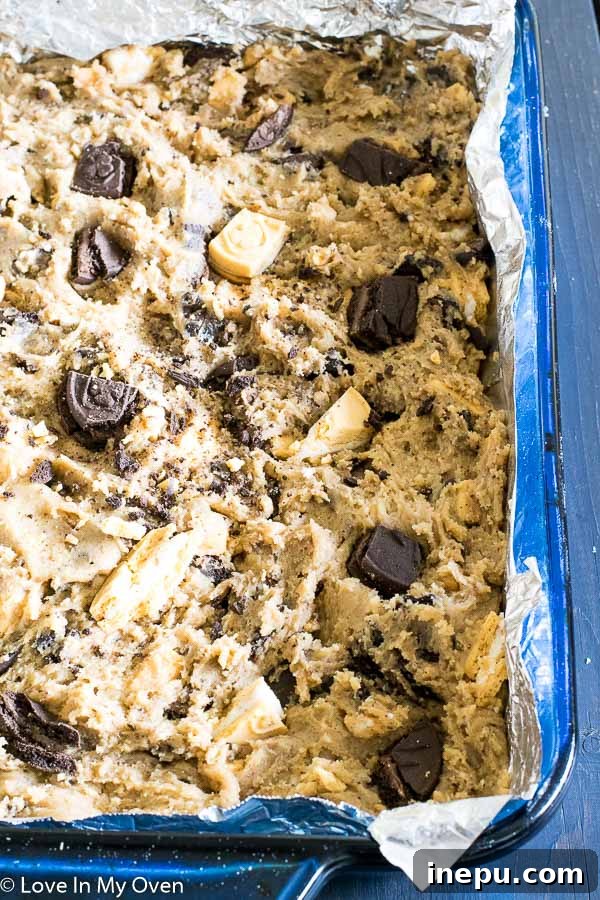
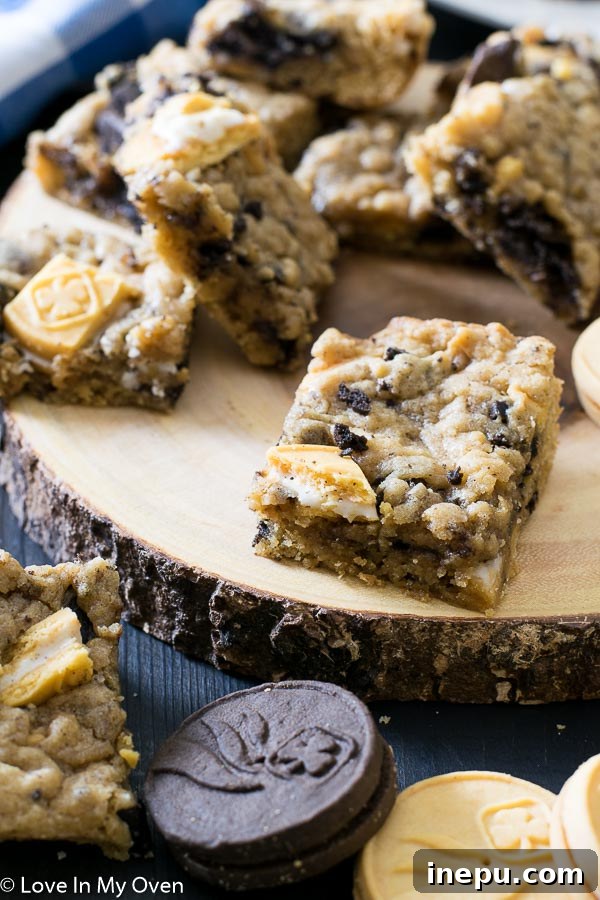
Once your dough is ready, it’s pressed evenly into a prepared 9×13 inch pan. For easy removal and clean-up, I highly recommend lining the pan with aluminum foil, leaving enough overhang on the sides to create “handles” later. A quick spray with non-stick cooking spray ensures nothing sticks. Bake the bars for approximately 20-22 minutes. As I mentioned, I prefer mine slightly under-baked at around 20 minutes, which results in an incredibly soft, gooey, and irresistible texture. After baking, allow the bars to cool in the pan for at least 15-20 minutes before using the foil overhang to lift them out. Then, slice them into 24 perfect pieces, or adjust the size to your preference – this recipe offers plenty of room for customization!
Customization and Storage Tips
While I adore the classic chocolate and vanilla combination from the Girl Guide cookies in these bars, the beauty of this recipe lies in its adaptability. You can easily substitute the Girl Guide cookies with other sandwich cookies you love, such as Oreos, or even your favorite Girl Scout cookies if you’re an American baker. Imagine these bars with Thin Mints, Samoas, or Tagalongs! Beyond cookie variations, consider adding other mix-ins like chocolate chips (milk, dark, or white), chopped nuts for extra crunch, or even a drizzle of caramel or white chocolate over the top once cooled. The possibilities are endless, allowing you to tailor these bars to any craving or occasion.
These versatile cookie bars are perfect for any gathering. Their portability and crowd-pleasing flavor make them an ideal candidate for potlucks, picnics, school events, or even just a cozy night in. They travel well and are always a hit. Once baked and cooled, the bars can be stored in an airtight container at room temperature for up to two weeks, remaining wonderfully soft and chewy. If you want to plan ahead or have an abundance, they also freeze beautifully for up to two months. Simply thaw them at room temperature when you’re ready to enjoy a delicious reminder of those iconic cookies.
Don’t forget to stay connected! Have you subscribed to my newsletter yet? It’s the best way to get every new recipe, baking tip, and kitchen adventure straight to your inbox, so you never miss out on delicious inspiration!
Looking for more delightful treats? Here are some other delicious cookie and bar recipes you might enjoy:
- Salted Chewy Brownie Cookies
- Caramel-Stuffed Chocolate Chip Oatmeal Cookies
- Browned Butter Reese’s Pieces Cookies
- Coconut Caramel Bliss Bars
Girl Guide Cookie Bars
5 Stars 4 Stars 3 Stars 2 Stars 1 Star
5 from 2 reviews
Author: Katherine
Total Time: 35 minutes
Yield: 24 cookie bars 1x
Description
This is my FAVORITE Girl Guide cookie recipe! Soft and chewy cookie bars studded with delicious chocolate and vanilla Girl Guide cookie chunks.
Ingredients
Scale
- 2/3 cup butter, room temperature
- 1 cup brown sugar, packed
- 2 large eggs, room temperature
- 1 tbsp vanilla bean paste (or vanilla extract)
- 2 cups all-purpose flour
- 1 1/2 tsp baking powder
- 1 tsp cornstarch
- 1/2 tsp salt
- 16 Girl Guide cookies*, crushed/chopped into small pieces
Instructions
- Preheat the oven to 350 F (175 C) and line a 9×13 inch pan with aluminum foil. Leave enough foil hanging over the sides so you can easily grab and lift the bars out of the pan later. Spray the foil with non-stick cooking spray and set the pan aside. This step makes removal and cleanup a breeze.
- In a large bowl, whisk together the all-purpose flour, baking powder, cornstarch, and salt until well combined. Set aside.
- In the bowl of a stand mixer fitted with the paddle attachment (or using a hand mixer), cream together the softened butter and packed brown sugar until the mixture is light and fluffy, about 2-3 minutes. With the mixer running on low speed, add the eggs one at a time, mixing well after each addition. Scrape down the sides of the bowl with a spatula as needed to ensure everything is fully incorporated. Finally, add in the vanilla bean paste (or vanilla extract) and mix until just combined.
- With the mixer still running on low speed, slowly add the whisked dry ingredients to the wet ingredients. Mix until the flour streaks have just disappeared and the mixture is fully incorporated, being careful not to overmix. Using a spatula, gently fold in the crushed or chopped Girl Guide cookies until they are evenly distributed throughout the batter.
- Press the cookie bar batter evenly into the prepared 9×13 inch pan. Use the back of a spoon or your hands (lightly floured, if sticky) to ensure a smooth, level top. Bake for 20-22 minutes.* The edges should be lightly golden, and the center might still look slightly soft.
- Once baked, remove the pan from the oven and let the bars cool in the pan for at least 15-20 minutes. This cooling time is crucial for the bars to set. After partial cooling, grab the foil overhang and carefully lift the entire slab of cookie bars out of the pan. Place them on a cutting board or wire rack. Allow them to cool completely before cutting them into 24 squares (or your desired size).
These delicious Girl Guide Cookie Bars will keep well at room temperature in a sealed airtight container for up to 2 weeks. For longer storage, you can freeze them for up to 2 months. Thaw at room temperature before serving.
Notes
- You can easily substitute Girl Guide cookies for any other type of sandwich cookie that can be crushed, such as Oreos, or various Girl Scout cookie flavors for an American twist.
- For an extra soft and gooey texture, I recommend taking the bars out at the 20-minute mark. If you prefer a firmer bar, bake for the full 22 minutes.
- Ensure your butter and eggs are at room temperature for optimal creaming and a smooth batter.
- Crush your cookies to your liking – a mix of fine crumbs and larger chunks adds wonderful texture.
- Prep Time: 15 minutes
- Cook Time: 20 minutes
- Category: cookies
- Method: bake
- Cuisine: canadian
Pin these delightful Girl Guide Cookie Bars for the next time you need a crowd-pleasing, take-along dessert!
Shop today’s recipe essentials for seamless baking!
Wilton Recipe Right Non-Sti…Shop on Amazon Oxo Good Grips 3-piece Sili…Shop on Amazon Reynolds Wrap Aluminum Foil…Shop on Amazon Pyrex Essentials (3-Piece) …Shop on Amazon