
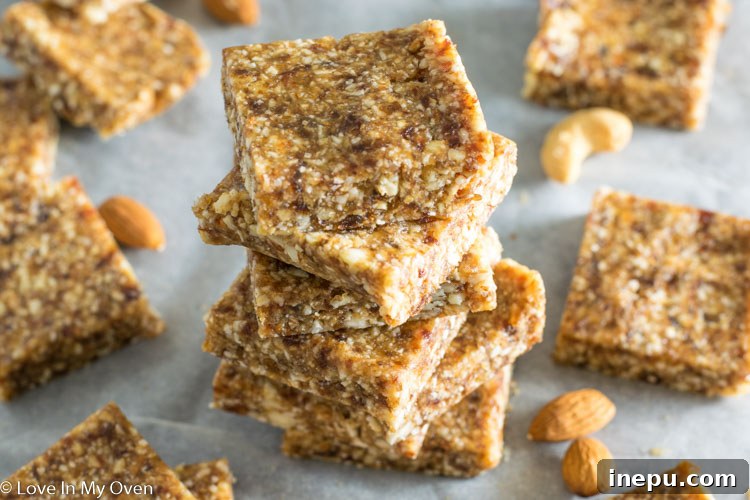
These copycat coconut cream Larabars are, in my opinion, the pinnacle of Larabar flavors! Once you experience the simplicity and superior taste of homemade Larabars, you’ll find it hard to go back to store-bought versions.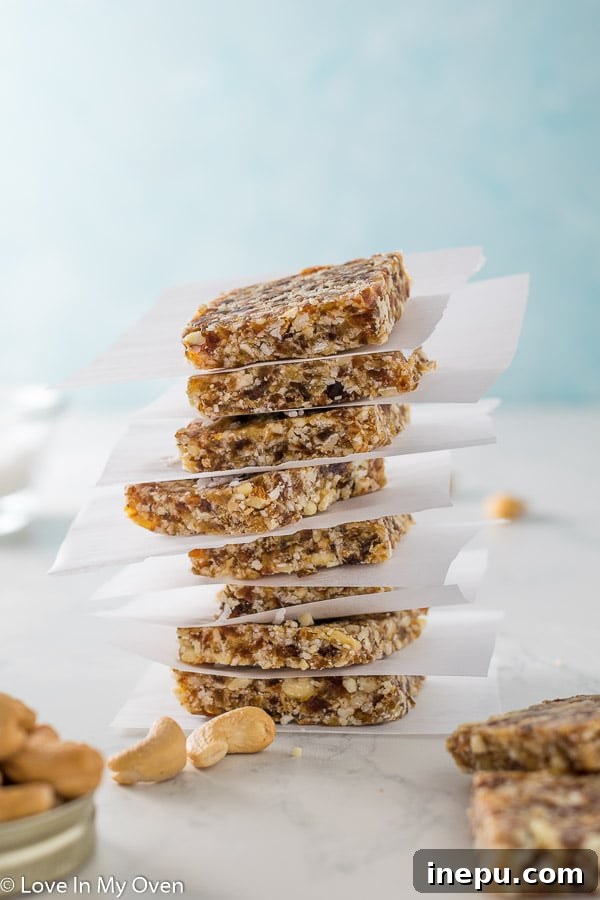
Craft Your Own: The Ultimate Homemade Coconut Cream Larabars Recipe
Sunday afternoons often stand out as a highlight of the week. After the demands of a busy work schedule – which certainly includes the constant energy of “Momming” – and typically some weekend fun, Sunday offers a precious window. It’s when my family and I embrace a slower pace, enjoying leisurely walks, indulging in a generous Sunday brunch, and for me, it’s prime time for batch baking for the week ahead. As I’ve shared before, and will undoubtedly mention again, I am an enthusiastic snacker. My day revolves around healthy, satisfying bites!
Having a diverse array of nutritious, filling, and readily available snacks in the fridge is essential for both myself and the kids, helping us power through all our weekly activities. I’m excited to share a collection of my favorite snack creations with you. While I often rotate various healthy bars and cookies in and out, a few core recipes remain constant staples in our home. Among these cherished constants, the undisputed star of today’s post is none other than the sensational Coconut Cream Larabars!
This post has been updated from its original publication in January 2017. The beloved recipe and core content remain the same, but I’ve refreshed the photos to inspire even more healthy snacking.
Understanding Larabars: Simplicity Meets Nutrition
Larabars represent a truly ingenious invention in the world of healthy snacking. They are celebrated for their remarkable simplicity, unparalleled convenience, and undeniably delicious taste, all while being crafted from wholesome, healthy ingredients that are easy to pronounce and recognize. These original bars set a high standard for clean eating, often featuring just a handful of natural components. However, while store-bought Larabars are certainly a great option, they can sometimes be a little on the sweet side and often come with a significant price tag. This realization spurred me to embark on a culinary journey to create my own version at home.
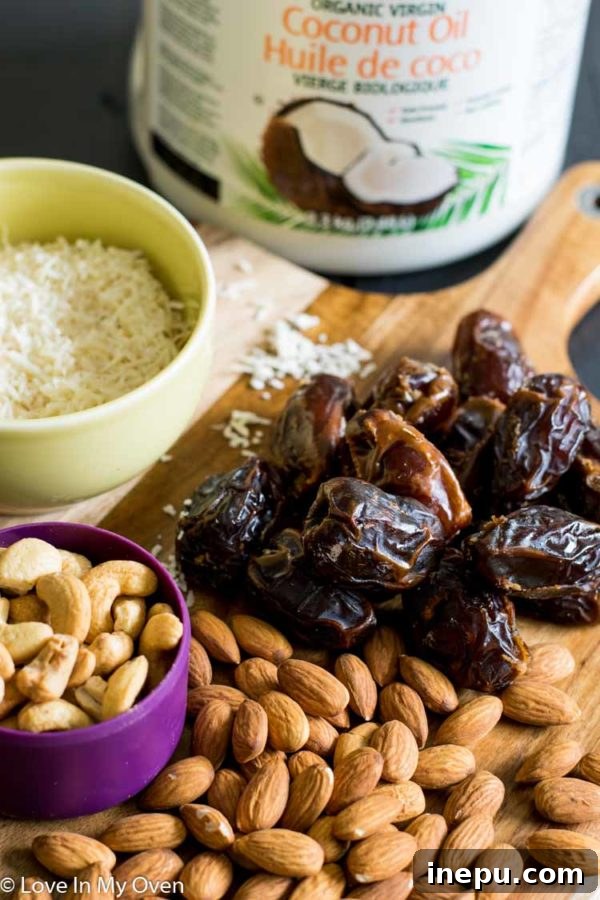
At their core, Larabars typically consist of a few fundamental ingredients that contribute to their unique texture, flavor, and nutritional profile:
- A blend of various nuts, commonly including nutrient-dense cashews, hearty almonds, and sometimes pecans, providing healthy fats and protein.
- Soft, caramel-like Medjool dates, which serve as the primary natural sweetener and binder.
- A touch of coconut oil, adding a subtle richness and helping to hold the bars together.
Different flavors expand upon this base, incorporating other natural elements like rich cocoa powder for a chocolatey twist, vibrant dried fruits for added tang, or creamy nut butter for an extra layer of flavor and texture. The beauty of these bars lies in their minimalist approach, proving that you don’t need a long list of obscure ingredients to create something truly satisfying and good for you.
Why Homemade Larabars Are a Game Changer for Healthy Eating
Embracing the world of homemade snacks, especially copycat Larabars, brings a multitude of benefits that extend far beyond simply saving a few dollars. It’s about taking control of what you and your family consume, ensuring every bite contributes positively to your well-being. Firstly, the **cost-effectiveness** is undeniable. Store-bought health bars, while convenient, can quickly add up, making healthy snacking an expensive habit. Crafting them at home with bulk ingredients significantly reduces this expense, making nutritious options accessible.
Secondly, and perhaps most importantly, is the **control over ingredients**. When you make your own Larabars, you dictate exactly what goes into them. This means you can:
- **Avoid unwanted additives:** Say goodbye to preservatives, artificial flavors, and questionable sweeteners often found in processed foods.
- **Manage sugar levels:** While dates are naturally sweet, you can adjust the ratio to suit your preference, ensuring they’re sweet enough without being overwhelmingly so.
- **Cater to dietary needs and allergies:** Easily modify nut types for allergies, ensure they are vegan or gluten-free, or incorporate specific superfoods to boost nutritional value.
Beyond the practicalities, there’s an immense satisfaction in creating something wholesome and delicious from scratch. Homemade Larabars boast a **freshness and superior flavor profile** that pre-packaged alternatives simply can’t match. The natural oils and flavors of the nuts and dates are vibrant, offering a truly delightful sensory experience. For families, involving children in the snack-making process can also be a wonderful **educational and bonding activity**, teaching them about healthy ingredients and the joys of cooking. Ultimately, homemade Larabars empower you to fuel your body with clean, nutritious energy that tastes fantastic, all on your own terms.
Why Coconut Cream Larabars Reign Supreme
Among the vast array of Larabar flavors, the Coconut Cream variety consistently emerges as our family’s absolute favorite. There’s something uniquely captivating about the tropical sweetness and creamy texture that sets it apart. The beauty of homemade Larabars is that their inherent simplicity makes experimenting with different flavor combinations incredibly easy and enjoyable. However, the allure of coconut cream remains unmatched.
These bars strike a perfect balance, offering a delightful sweetness that truly feels like a treat for both kids and adults, yet they are entirely free from any added refined sugars. The natural sweetness is derived exclusively from Medjool dates, which, despite being naturally high in sugar, provide a wealth of additional benefits. Dates are an excellent source of dietary fiber, promoting digestive health, and are packed with essential minerals like potassium and magnesium, vital for various bodily functions. This makes them a smart and wholesome choice for satisfying sweet cravings without the guilt often associated with processed sugary snacks. The universal appeal of this flavor profile ensures everyone in our household eagerly anticipates the next batch.
Mastering the Art of Homemade Coconut Cream Larabars
Crafting these irresistible copycat Coconut Cream Larabars is a straightforward process, primarily relying on the efficiency of a food processor. It’s a no-bake wonder that comes together quickly with minimal fuss. To begin, you’ll place your chosen nuts – in this case, a blend of almonds and cashews – along with the unsweetened shredded coconut into the bowl of your food processor. The key here is to pulse the ingredients rather than just letting the machine run continuously. This controlled pulsing ensures the nuts are finely chopped, resembling a coarse meal, without inadvertently transforming them into a thick nut butter. While nut butter isn’t the worst outcome, it’s not the desired consistency for these bars.
I specifically opt for unsweetened shredded coconut because the Medjool dates contribute more than enough natural sweetness to the mixture on their own. This prevents the bars from becoming overly sweet and allows the pure, fresh flavors to shine. Once your nuts and coconut are finely processed to the right consistency, you’ll move on to the next crucial step.
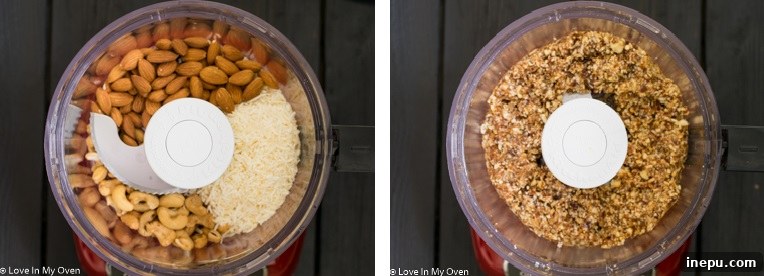
The next step involves adding the star binder: the pitted Medjool dates. Along with the dates, you’ll incorporate solid coconut oil and a small amount of water. With all ingredients in the food processor, pulse and process the mixture for approximately 2-3 minutes. During this time, the dates will break down and combine with the nuts and coconut, creating a cohesive, soft, and sticky dough. It should be firm enough to hold its shape when pressed, yet pliable. Once your dough has reached this perfect consistency, it’s ready to be transferred to your prepared baking pan.
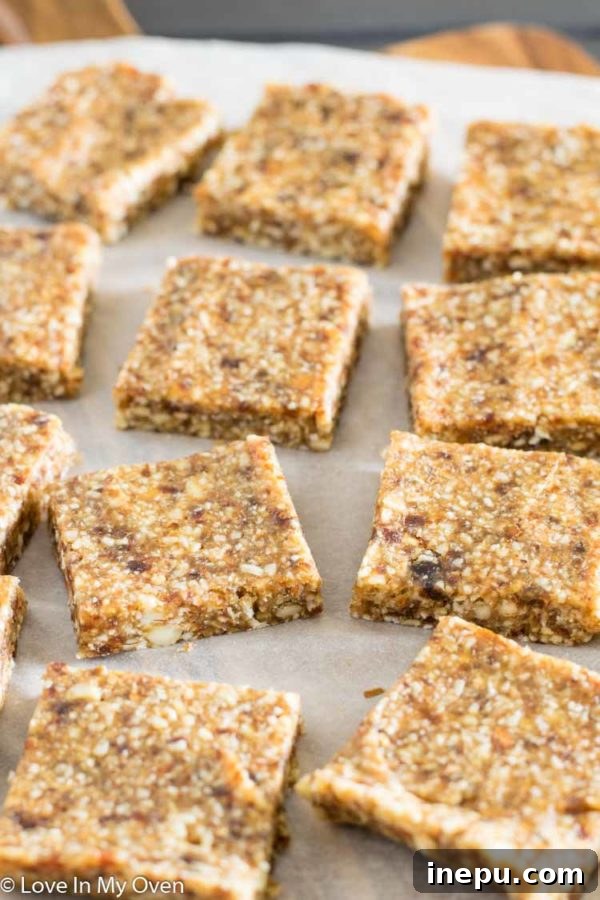
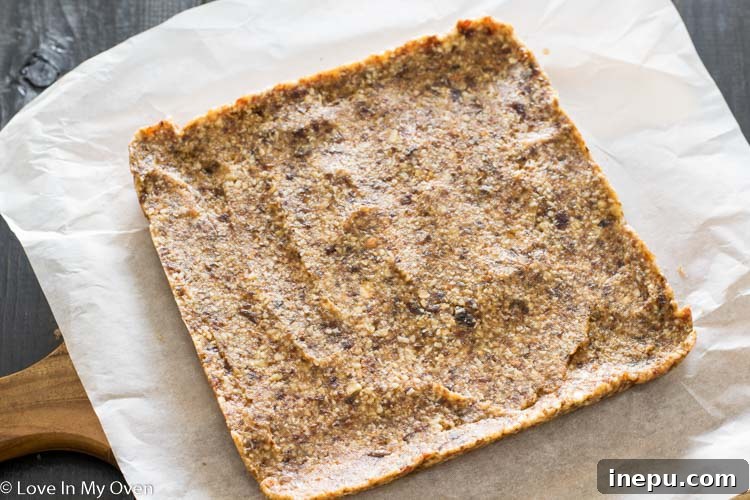
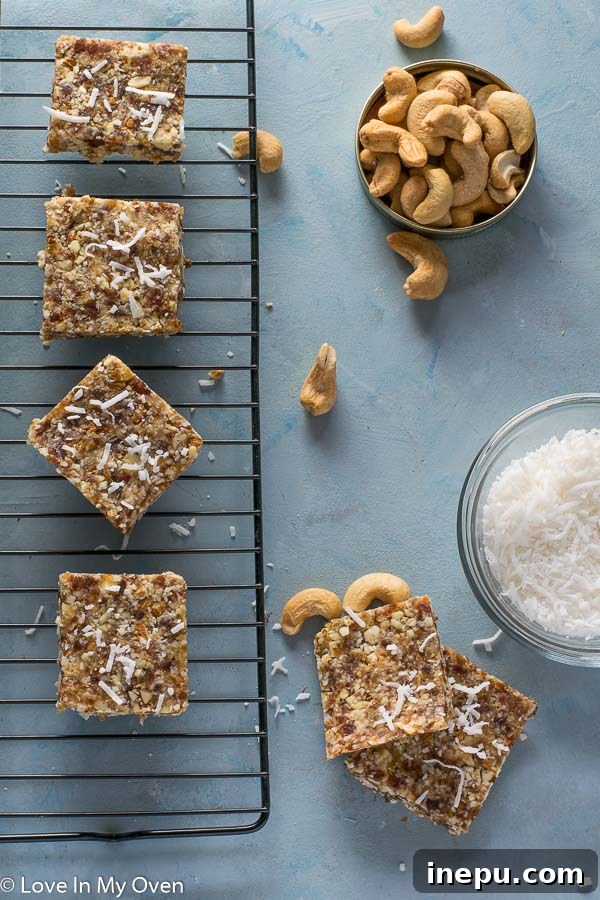
Press the freshly made dough firmly and evenly into an 8×8 inch baking pan that has been meticulously lined with parchment paper. This parchment paper lining is an essential trick, as it greatly facilitates the easy removal of the entire slab of bars once they have set. After pressing the dough into a compact, smooth layer, pop the pan into the refrigerator for about an hour. This chilling period is crucial as it allows the coconut oil to solidify and the ingredients to bind together firmly, ensuring clean, perfect cuts. After an hour, your homemade Larabars will be ready to be sliced, unwrapped, and enjoyed!
Storage and Shelf Life: Keeping Your Homemade Larabars Fresh
One of the fantastic advantages of making your own Coconut Cream Larabars is their excellent shelf life, allowing for convenient meal prep and healthy snacking throughout the week. If you’re planning to store them for individual grab-and-go treats, wrapping each bar tightly in plastic wrap (saran wrap) is an ideal method. Alternatively, for batch storage, keeping them all together in an airtight container works perfectly well. When stored either way in the refrigerator, these delicious bars will maintain their freshness and delightful texture for a couple of weeks.
However, based on personal experience in our household, I can almost guarantee they won’t last that long – they tend to disappear quickly! I always recommend keeping them in the fridge, as the cooler temperature helps to maintain their firm consistency and prevents the coconut oil from softening too much, especially in warmer environments. That said, when I pack these bars in lunches for work or school, they hold up remarkably well at room temperature for the day, making them an incredibly practical and portable snack option.
For those who love to plan ahead or have a larger family, these Larabars are also fantastic candidates for freezing. Although I haven’t personally frozen them, their ingredient profile suggests they would freeze beautifully. You could easily double or even triple a batch and freeze them for up to 2 months. To enjoy, simply thaw them overnight in the fridge, and they’ll be as good as freshly made. This makes them an excellent candidate for bulk preparation, ensuring you always have a healthy snack on hand!
Unleashing Creativity: Your Larabar, Your Way
The beauty of this Coconut Cream Larabar recipe lies in its versatility. Consider it a foundational blueprint for endless delicious, healthy snack creations. Once you’ve mastered the basic technique, feel empowered to unleash your culinary creativity and customize your Larabars to suit any craving or dietary preference. Here are some inspiring ideas to get you started:
- **Chocolate Lover’s Delight:** For a rich and indulgent twist, incorporate 1-2 tablespoons of unsweetened cocoa powder or cacao nibs into the food processor with the nuts and coconut. You could also fold in a handful of mini chocolate chips at the very end.
- **Zesty Citrus Burst:** Add the finely grated zest of one lemon or lime along with a teaspoon of fresh juice to brighten the flavor profile and add a refreshing tang.
- **Berry Goodness:** Introduce dried cranberries, blueberries, or cherries (ensure they are unsweetened or naturally sweetened) for a chewy texture and fruity flavor.
- **Spiced Warmth:** Infuse your bars with cozy spices like cinnamon, nutmeg, ginger, or a hint of cardamom for an autumnal or holiday-inspired treat.
- **Nutty Variations:** Don’t feel limited to almonds and cashews. Experiment with pecans, walnuts, or even macadamia nuts for different textures and flavor nuances. For nut-free options, sunflower seeds or pumpkin seeds can be used, though the texture might vary slightly.
- **Protein Boost:** Incorporate a scoop of your favorite unflavored or vanilla protein powder to make these bars an even more substantial post-workout or energy-sustaining snack.
- **Extra Texture:** Mix in some chia seeds, flax seeds, or hemp hearts for an added nutritional punch and subtle crunch.
The possibilities are truly endless! Feel free to combine these ideas or invent your own unique flavor combinations. Enjoy the process of creating healthy, personalized snacks that cater perfectly to your taste buds and nutritional needs. Happy snacking, everyone!
Concluding Thoughts: Embrace the Joy of Healthy Snacking
In conclusion, these homemade Coconut Cream Larabars offer a compelling reason to ditch the store-bought versions and dive into the satisfying world of DIY healthy snacks. Their ease of preparation, combined with the superior taste and control over ingredients, makes them an unbeatable choice for anyone seeking nutritious, convenient, and delicious fuel.
Whether you’re a busy parent, a fitness enthusiast, or simply someone who appreciates clean eating, these no-bake energy bars fit seamlessly into any lifestyle. They embody the perfect balance of natural sweetness, healthy fats, and sustained energy, proving that wholesome food can be both simple to make and incredibly enjoyable. So, gather your ingredients, fire up your food processor, and prepare to elevate your snacking game with these phenomenal Coconut Cream Larabars. Your taste buds, your wallet, and your body will thank you!
Explore More Wholesome Snack Ideas
If you’re continually looking for more healthy and delicious snack inspiration, be sure to explore my dedicated category for granola bars. Or, consider trying a few of these other fantastic recipes:
- M&M Granola Bars
- No-Bake Chocolate Coconut Balls
- Nut-Free Chewy Granola Bars
- Breakfast Cookies
And for another unique energy boost, don’t miss these amazing Teff Bars by my friend Girl Heart Food!
Coconut Cream Larabars
★
★
★
★
★
5 from 1 review
- Total Time: 1 hour 10 minutes
- Yield: 16 bars
Description
These copycat coconut cream Larabars are a delightful and healthy snack, offering the irresistible flavor of your favorite store-bought bars with the goodness of homemade ingredients. Once you experience the ease and superior taste of crafting these no-bake energy bars at home, you’ll be hooked!
Ingredients
- 3/4 cup almonds (raw, unsalted)
- 1/4 cup cashews (raw, unsalted)
- 3/4 cup coconut (unsweetened, shredded)
- 1.5 cups pitted Medjool dates (about 16)
- 1.5 tbsp coconut oil, solid
- 2 tbsp water
Instructions
- Line an 8×8 inch baking pan with parchment paper, ensuring a slight overhang on the sides for easy removal later.
- In a food processor, combine the almonds, cashews, and unsweetened shredded coconut. Pulse the mixture until the nuts are finely chopped and resemble a coarse meal. Be careful not to over-process, as you want to avoid turning it into a nut butter at this stage.
- Add the pitted Medjool dates, solid coconut oil, and water to the food processor with the nut mixture. Continue to pulse and process for 2-3 minutes. The mixture should come together into a soft, sticky dough that easily clumps when pressed.
- Transfer the dough to the prepared baking pan. Using a large wooden spoon or your hands (lightly dampened to prevent sticking), press the dough firmly and evenly into the pan, ensuring it fills all corners and creates a compact, smooth layer.
- Place the pan into the refrigerator for approximately 1 hour. This chilling period allows the bars to firm up, making them easier to cut and ensuring they hold their shape.
- Once chilled, remove the pan from the fridge. Use the parchment paper overhang to lift the entire slab of dough out of the pan. Place it on a cutting board and cut into 16 evenly sized bars.
Notes
- Feel free to experiment with the nut combination. You can use all almonds, all cashews, or any preferred mix. Pecans or walnuts also work well for different flavor profiles.
- For a richer chocolate flavor, add 1-2 tablespoons of unsweetened cocoa powder to the food processor with the nuts.
- If your dates are very dry, you might need to add an extra tablespoon of water to achieve the right dough consistency.
- Prep Time: 10 minutes
- Category: snacks
- Method: food processor, no-bake