
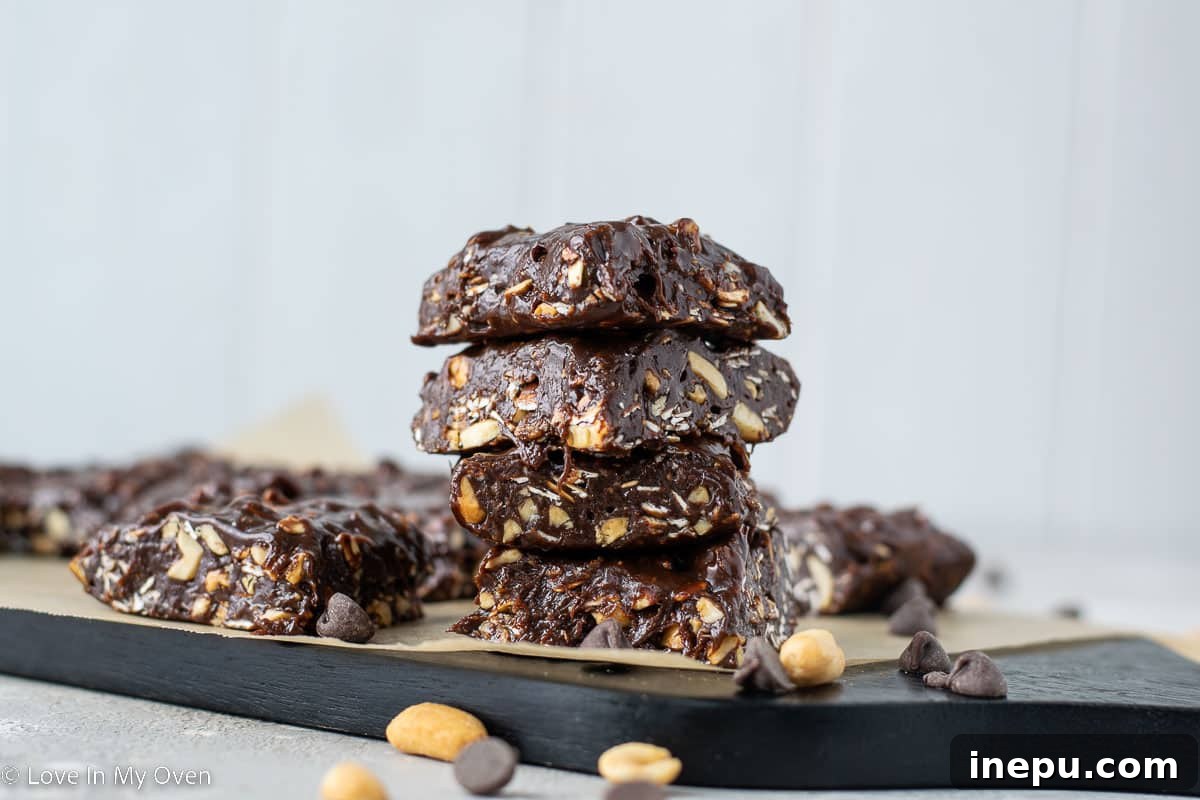
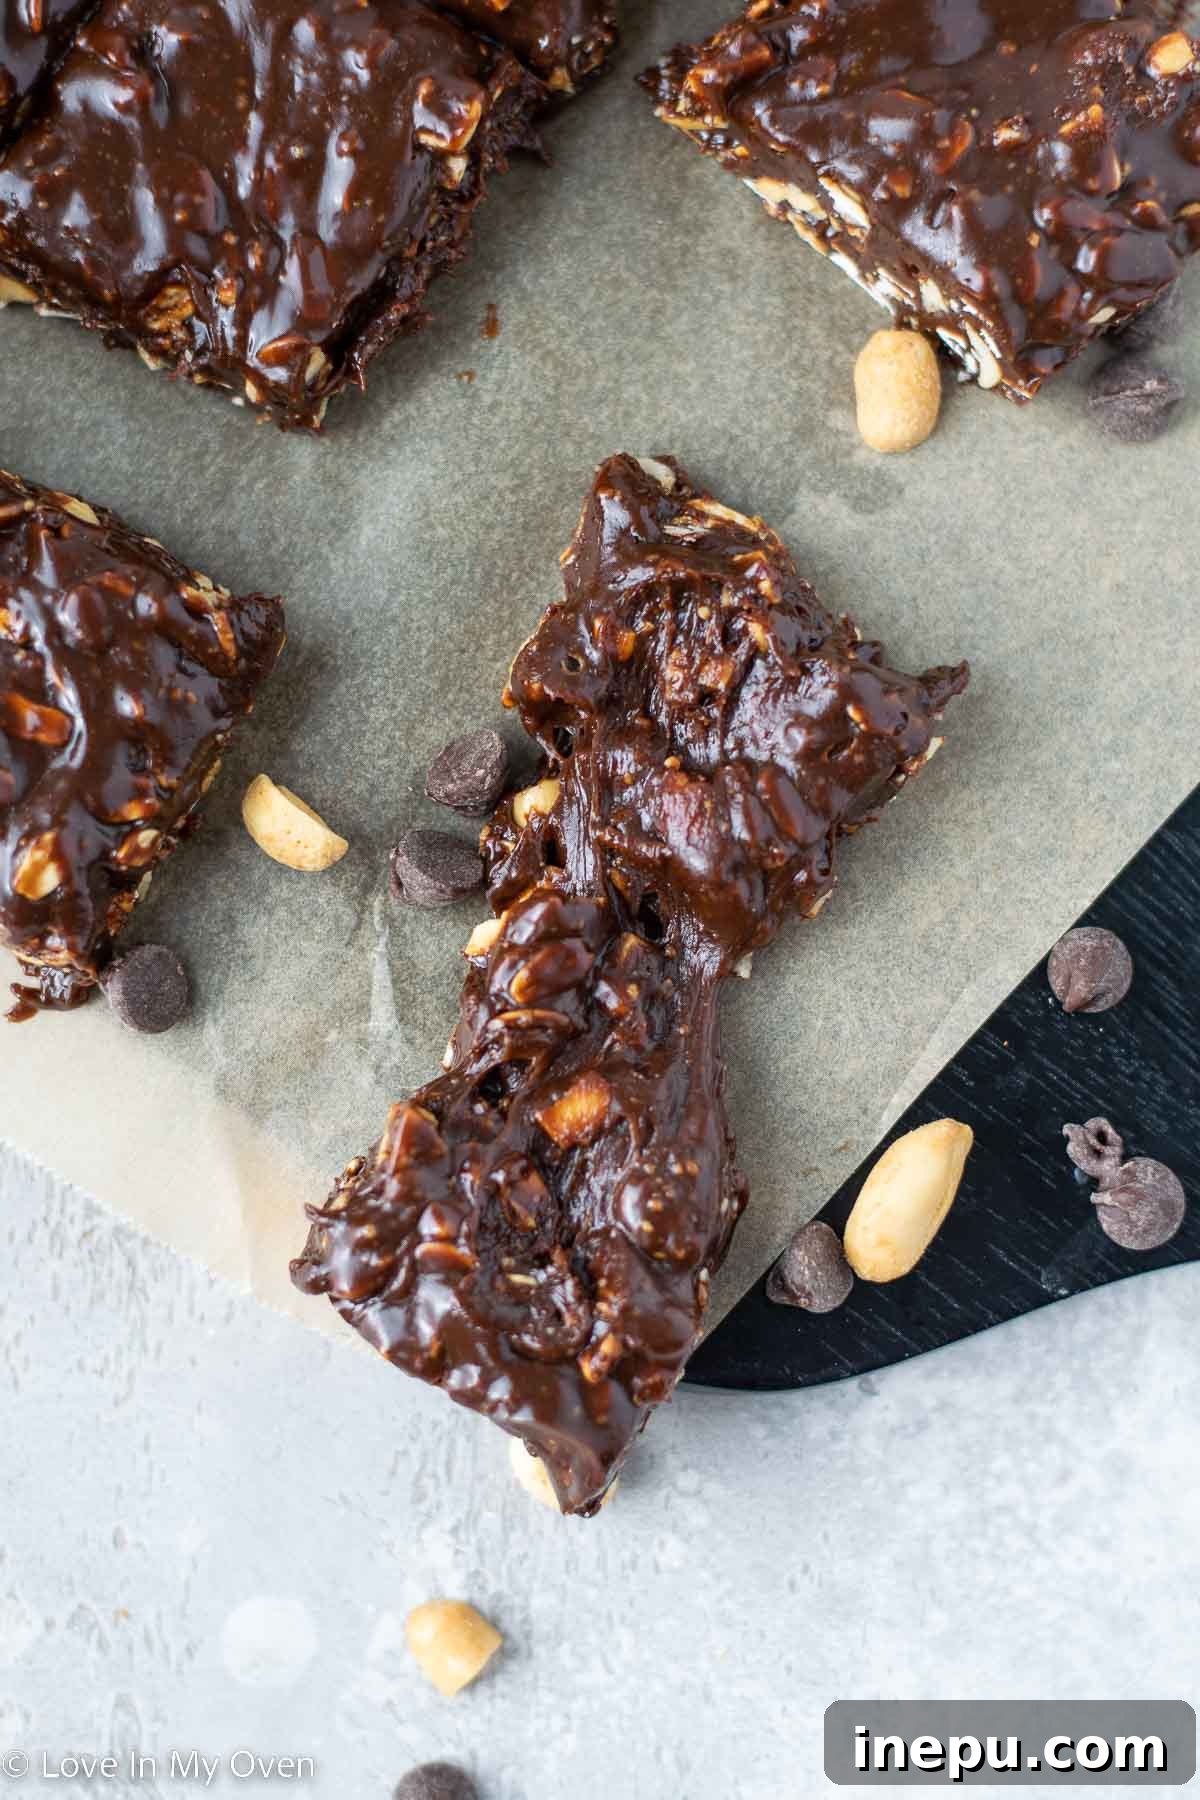
Indulge in the nostalgic delight of a classic Canadian treat, reimagined for a healthier lifestyle! This homemade Eat-more bar recipe, featuring wholesome date syrup as its primary sweetener, is everything you’ve been searching for and more. Sweet, perfectly salty, and wonderfully chewy, these healthier Eat-more bars are utterly addictive and destined to become a new family favorite. Forget guilt, embrace the gourmet homemade experience!
What Are Eat-more Bars? A Canadian Classic Reimagined
For those unfamiliar, the original Eat-more bar is a beloved Canadian creation by Hershey, often described as a “dark chocolate toffee chew” bar. This iconic candy is a delightful blend of rich dark chocolate, sticky, chewy toffee, and crunchy peanuts, delivering an irresistible texture and flavor profile that truly lives up to its name – you’ll always want to eat more! While a staple across Canada, these unique bars tend to fly under the radar in many other parts of the world, especially for our US readers.
There’s a special kind of satisfaction that comes from recreating cherished treats in your own kitchen. Not only does it allow for complete control over the ingredients, but it also presents the perfect opportunity to introduce a healthier twist without ever compromising on that authentic, crave-worthy flavor. This recipe for homemade Eat-more bars embodies that philosophy, transforming a classic into a wholesome indulgence.
The Healthier Edge: Homemade vs. Store-Bought
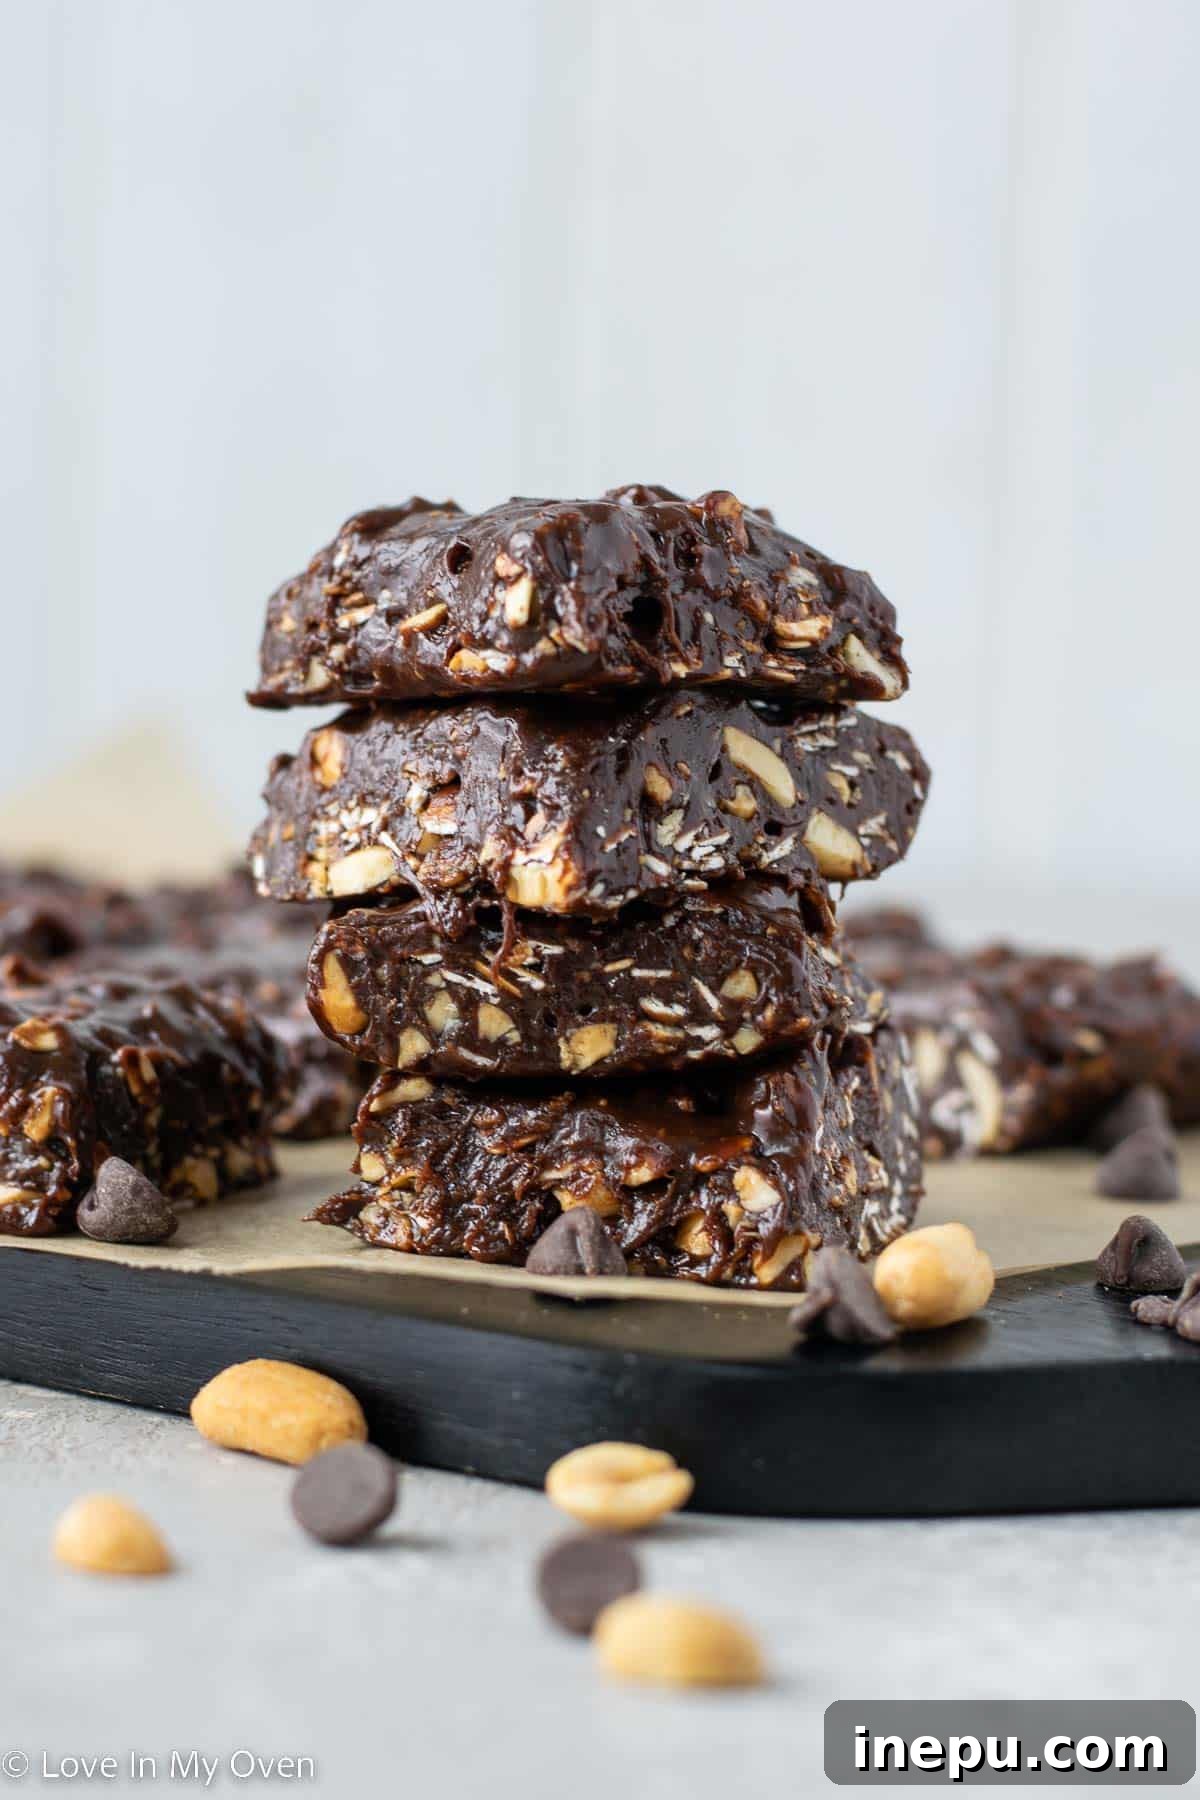
Beyond the sheer joy and personal accomplishment of crafting your own confections, making these Eat-more bars at home automatically grants them a significant health advantage. When you opt for homemade, you eliminate the mystery ingredients, artificial additives, and strange preservatives often found in commercially produced candies. This recipe takes that commitment to health a step further by incorporating two key ingredient swaps:
- **Date syrup** replaces traditional corn syrup
- **All-natural smooth peanut butter** ensures pure, unadulterated flavor
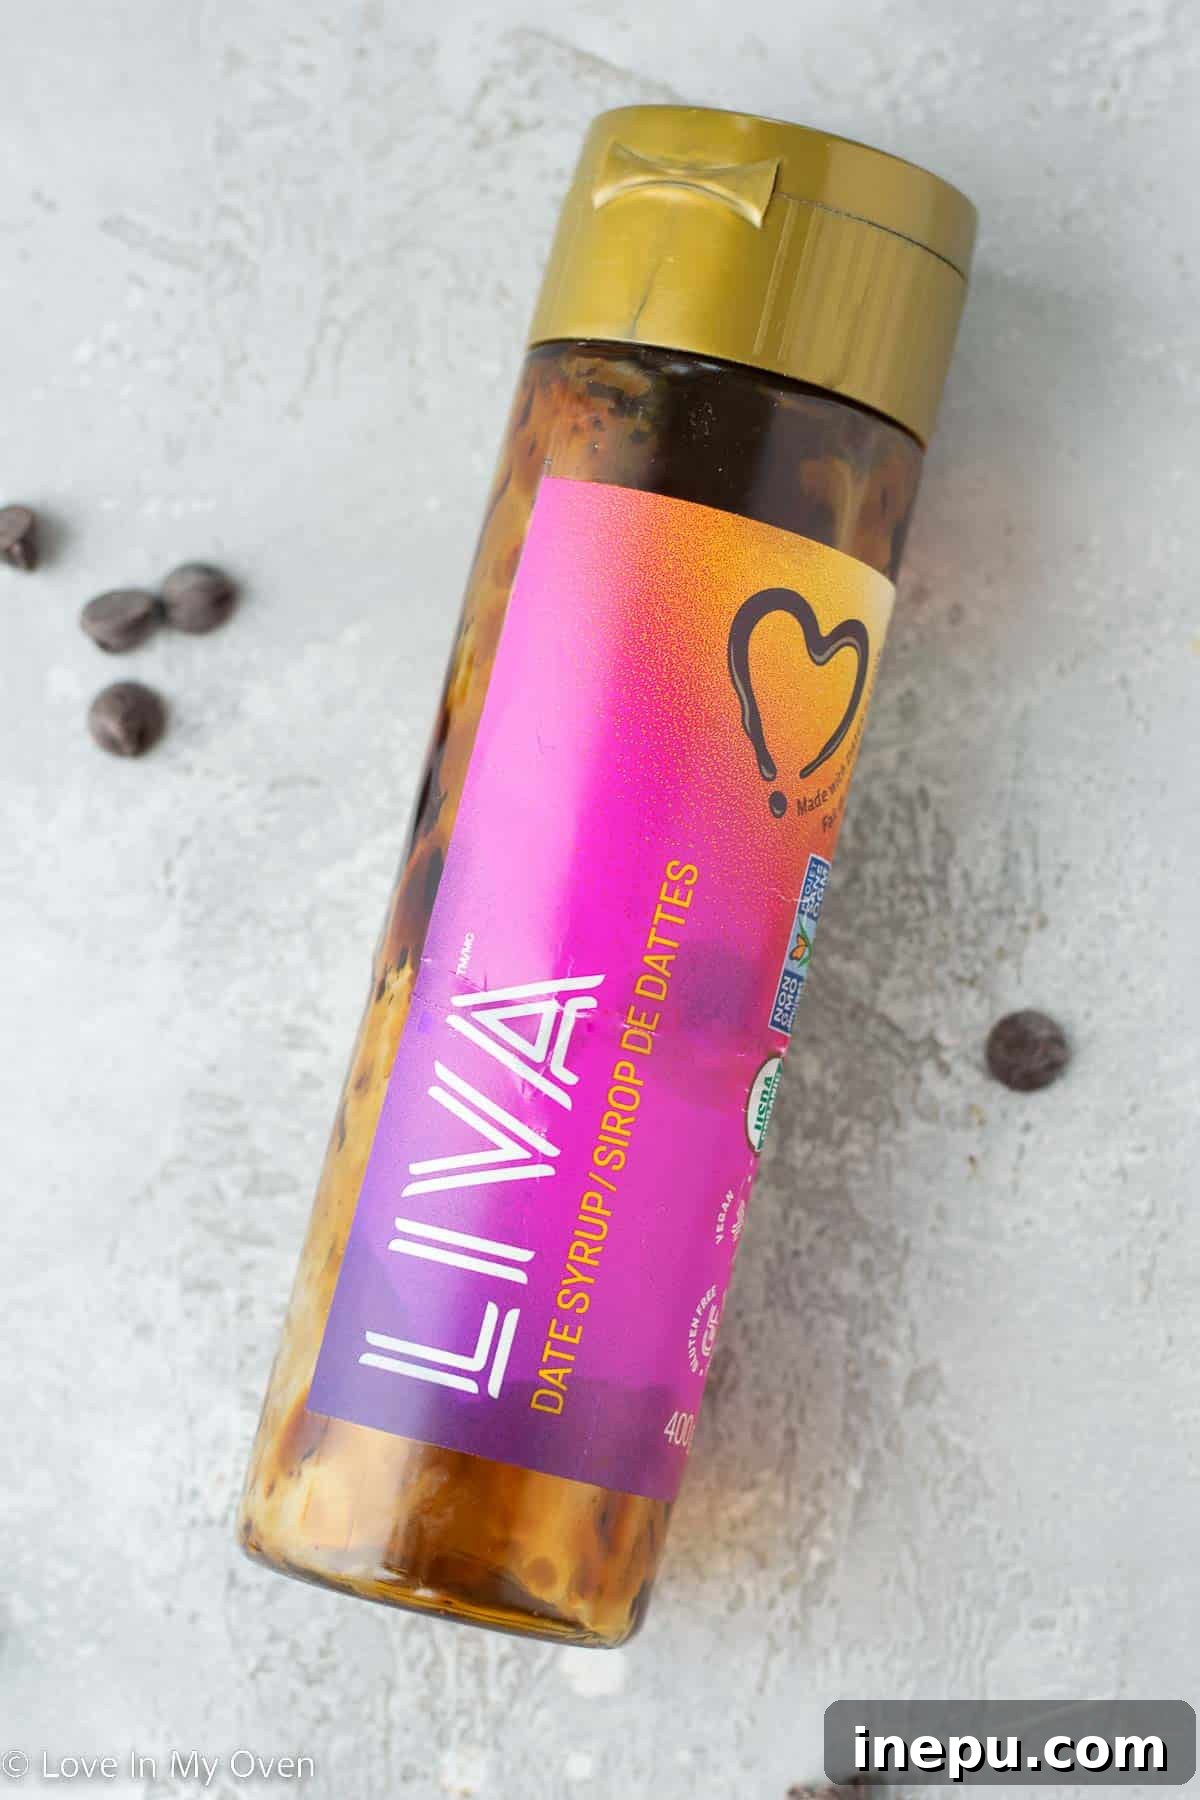
Our go-to date syrup, like LIVA, is a fantastic, natural sweetener derived purely from dates. It’s not only vegan and nut-free, making it suitable for a wider range of dietary needs, but it also boasts a lower glycemic index and contains naturally occurring vitamins and minerals absent in refined sugars. Date syrup offers a rich, caramel-like sweetness that perfectly complements the chocolate and peanut flavors, making it an ideal, natural alternative for sweetening your treats.
Gathering Your Ingredients: Simple, Wholesome, Delicious
You’ll be delighted by how few and simple the ingredients are for these incredibly satisfying no-bake chocolate bars. Unlike the lengthy, often unpronounceable ingredient lists found on commercial candy wrappers, our easy snack recipe relies on pantry staples for maximum flavor and minimal fuss.
- **Quality Chocolate Chips:** Opt for dark chocolate chips to get that authentic “dark chocolate” toffee chew flavor. If you’re aiming for a vegan treat, be sure to use dairy-free chocolate chips.
- **Date Syrup:** This is the star sweetener! Its natural sweetness and viscosity are crucial for both flavor and the signature chewy texture.
- **All-Natural Peanut Butter:** Choose a smooth variety with only peanuts (and perhaps salt) as ingredients. This provides the creamy base and rich, nutty flavor without added sugars or oils.
- **Rolled Oats:** These add a wonderful chewiness and a touch of wholesome fiber, contributing to the bar’s satisfying texture.
- **Chopped Peanuts:** Essential for the classic Eat-more crunch and intensified peanut flavor.
- **Pure Vanilla Extract:** A splash of pure vanilla enhances all the other flavors, adding a warm, aromatic depth to the bars.
Choosing high-quality ingredients not only ensures the best taste but also contributes to the overall “healthier” aspect of these homemade bars. Each component plays a vital role in achieving that perfect balance of sweet, salty, and chewy.
Crafting Your Homemade Eat-more Bars: A Step-by-Step Guide
Making these homemade Eat-more bars is incredibly straightforward and requires no baking, making them perfect for a quick and easy dessert or snack. Follow these simple steps to create your own batch of deliciousness:
- **Prepare Your Pan:** Begin by lining an 8×8 inch baking pan with parchment paper. This crucial step will make it incredibly easy to remove the bars once they’ve chilled, preventing any sticking. Set the prepared pan aside.
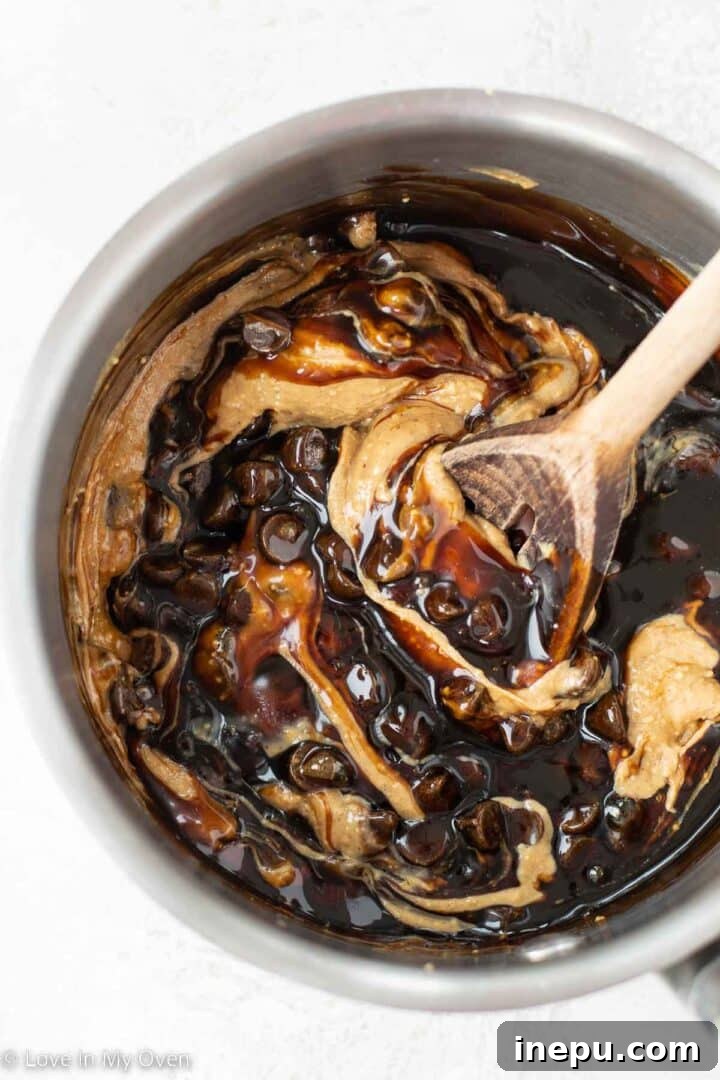
- **Melt the Base:** In a small saucepan, combine your chocolate chips, date syrup, and all-natural peanut butter. Place the saucepan over low-medium heat on your stovetop. Stir the mixture continuously to ensure the ingredients melt evenly and smoothly, preventing the chocolate from scorching. Continue stirring until the chocolate is thoroughly melted and the entire mixture is glossy and well combined. Once smooth, immediately remove the saucepan from the heat.
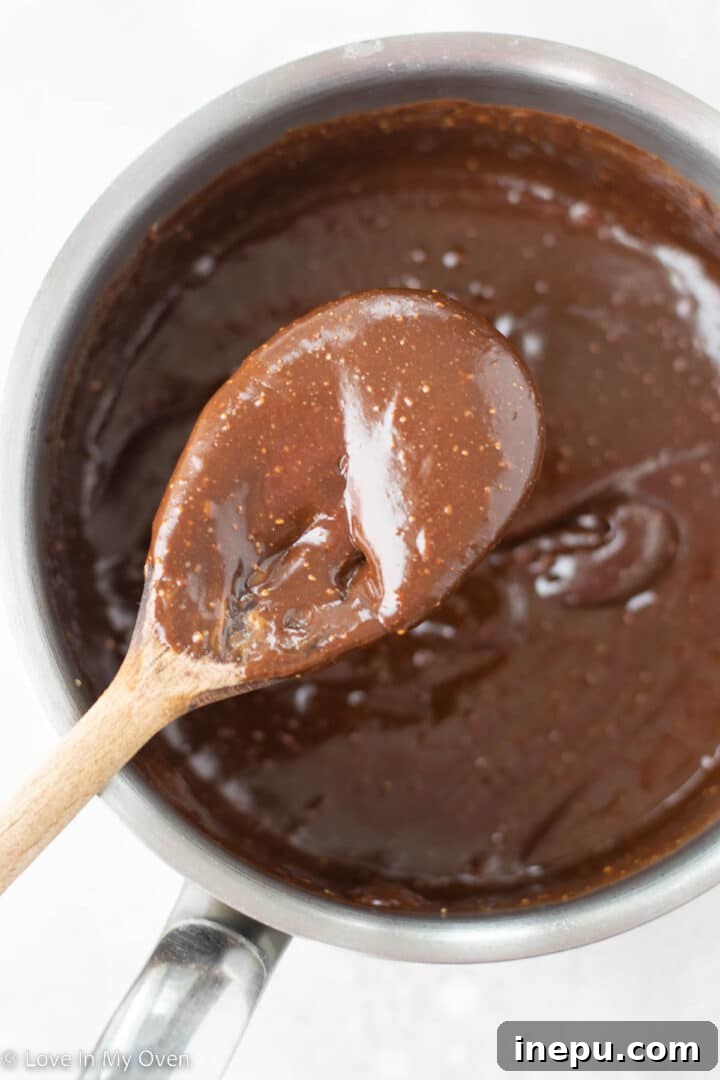
3. **Incorporate Dry Ingredients:** Once the chocolate mixture is removed from the heat, quickly stir in the rolled oats, chopped peanuts, and pure vanilla extract. Mix everything thoroughly until the oats and peanuts are evenly coated and distributed throughout the sticky chocolate base. The mixture will be quite thick and sticky at this point, which is exactly what you want.
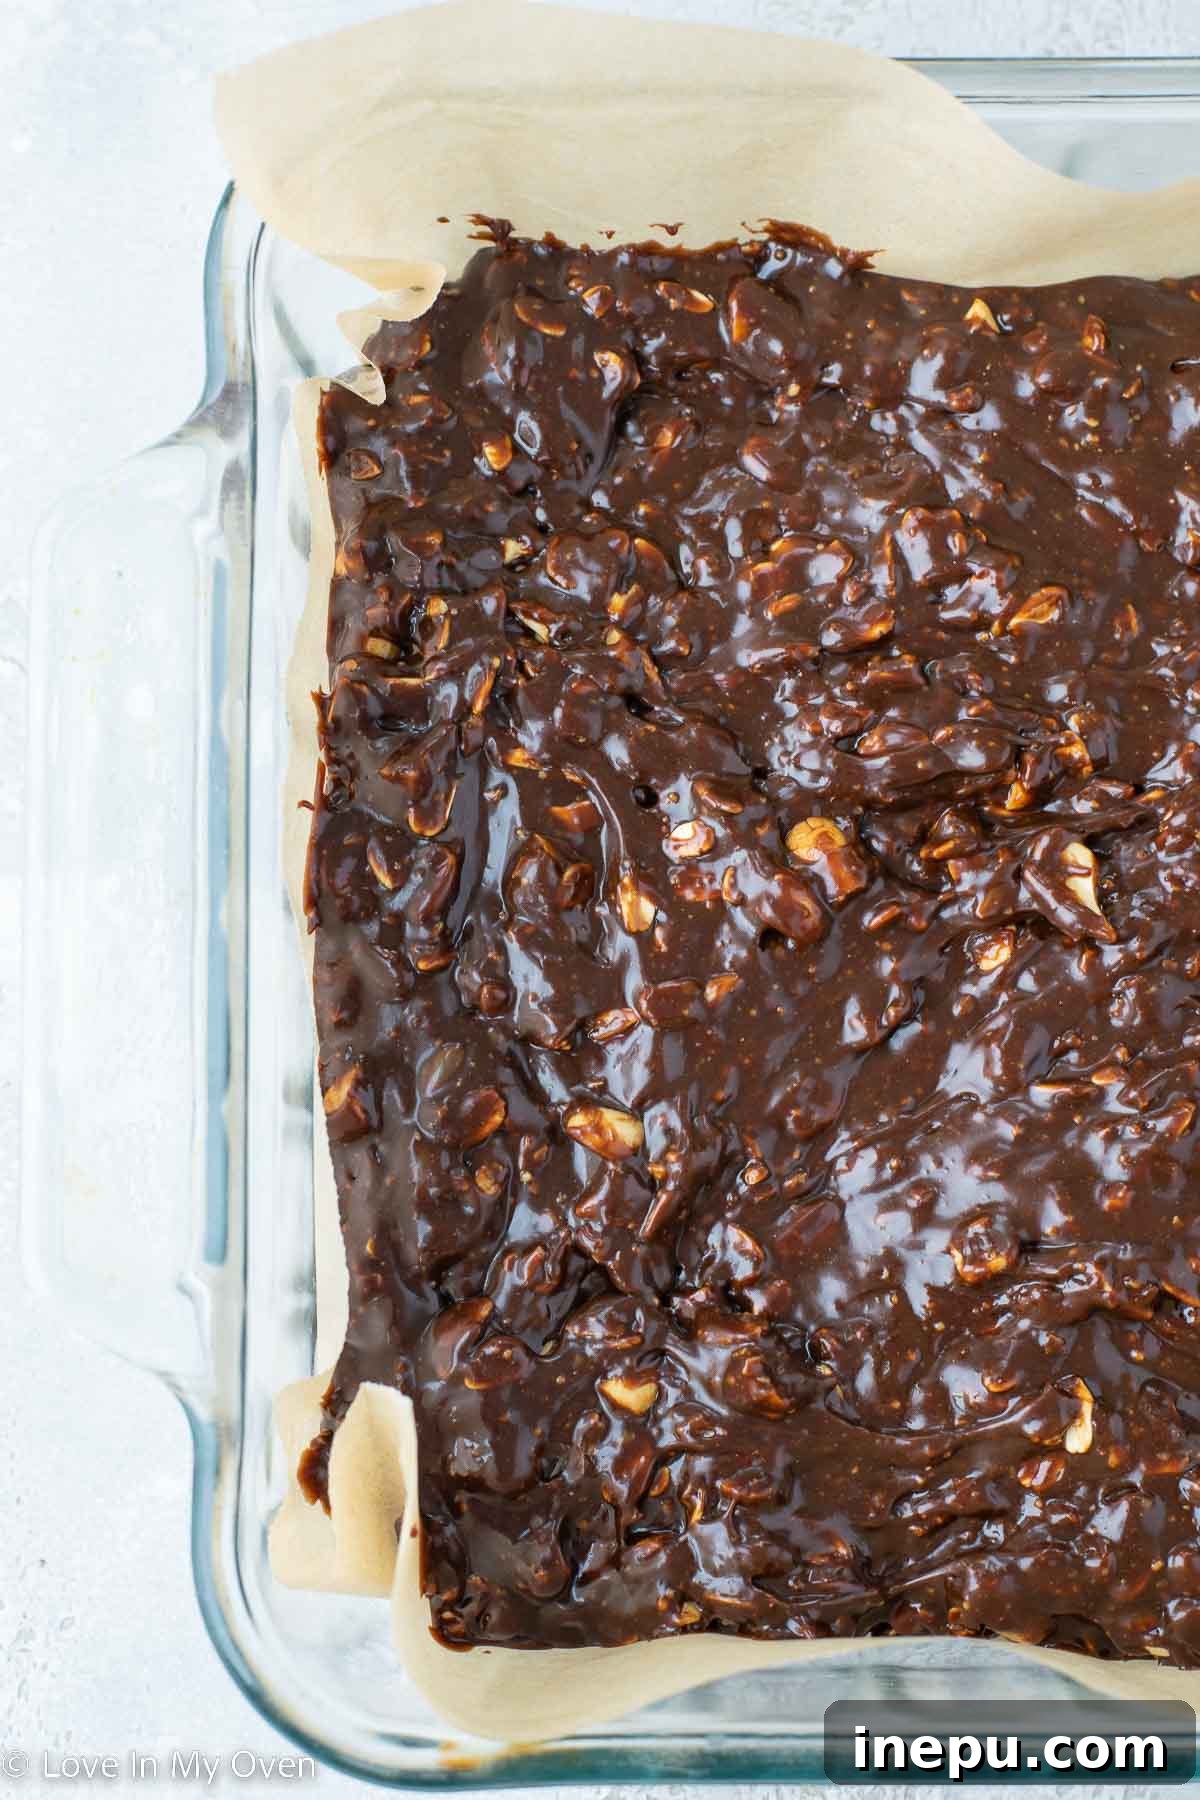
4. **Press into Pan:** Carefully transfer the entire mixture into your prepared 8×8 inch pan. Using a spatula (a slightly greased one helps prevent sticking) or even your hands (lightly dampened), smooth out the mixture as best you can, pressing it firmly and evenly into the pan. This ensures uniform bars.
5. **Chill to Perfection:** Place the pan in the refrigerator for a minimum of 4-5 hours. This chilling time is essential for the bars to set properly and achieve their firm, chewy texture. Patience is key here!
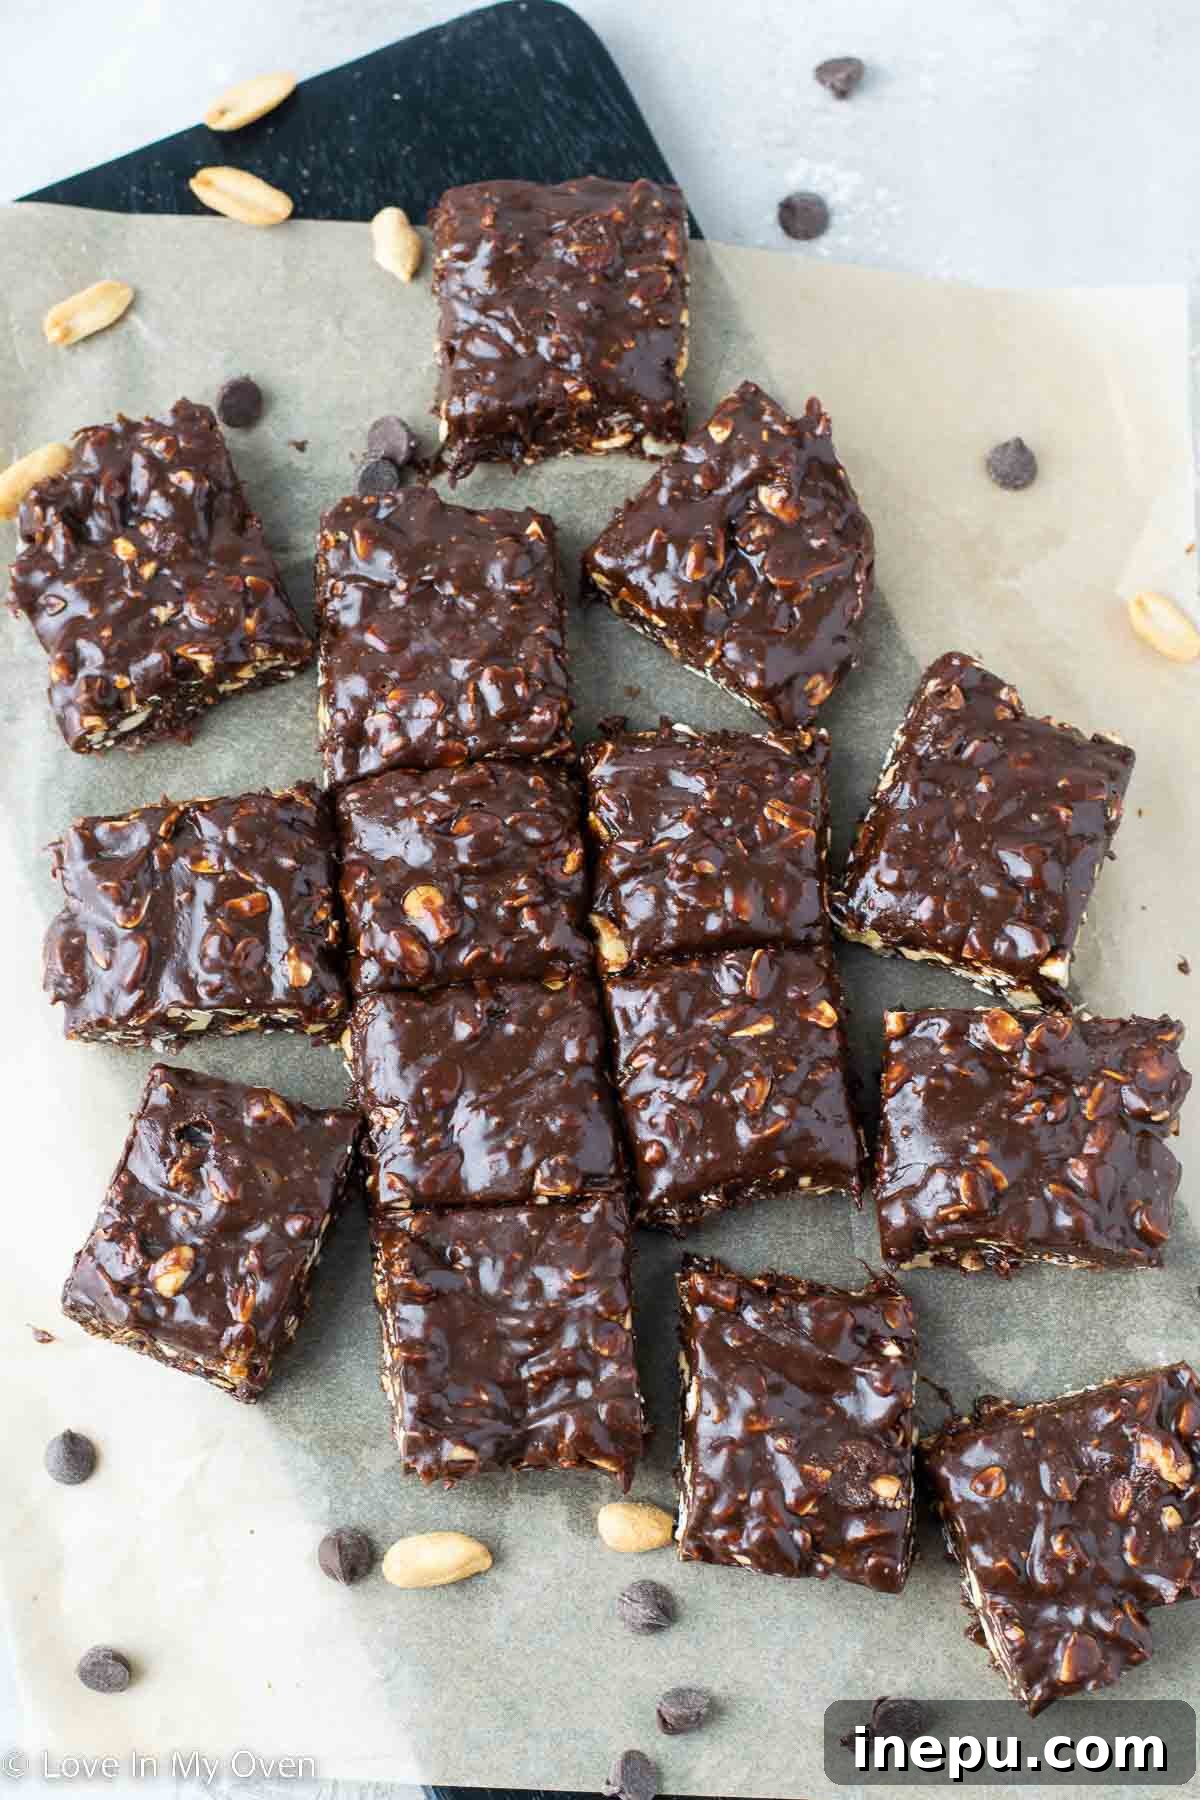
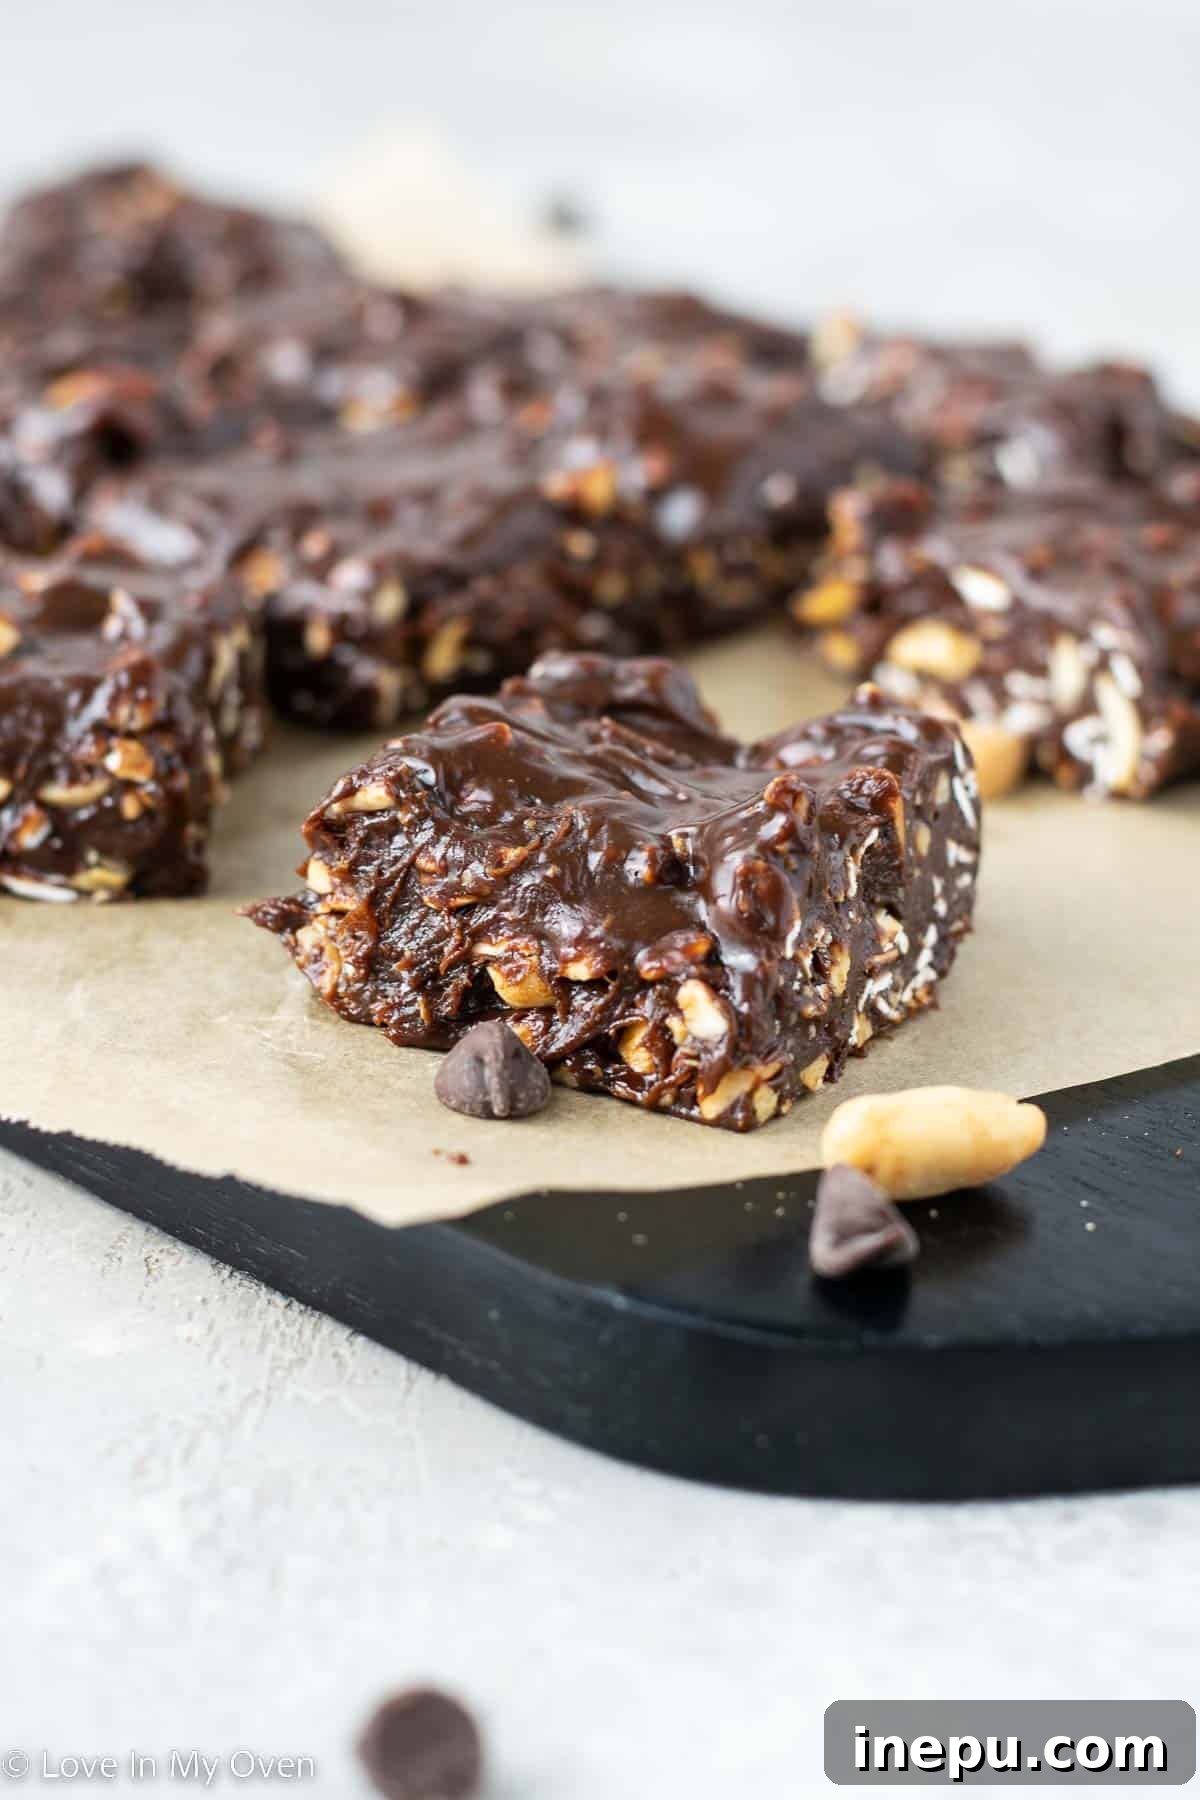
6. **Slice and Serve:** Once thoroughly chilled and firm, remove the pan from the fridge. Lift the bars out using the parchment paper. Place them on a cutting board and, using a sharp, warm knife (you can warm it under hot water and wipe it dry), cut the slab into 16 evenly sized squares. Wipe your knife clean between cuts for the cleanest edges. Now, your delicious healthier Eat-more bars are ready to enjoy!
Storage Tips for Freshness and Enjoyment
These delectable bars are best kept cool to maintain their texture and freshness. Store your homemade Eat-more bars in an airtight container in the refrigerator. They will remain fresh and perfectly chewy for up to 2 weeks. If you plan to stack them, placing a small piece of parchment paper between layers will prevent them from sticking together.
For longer-term storage, these bars are also freezer-friendly! Simply transfer them to an airtight freezer-safe container, and they will keep well for up to 2 months. To enjoy from the freezer, you can either thaw them overnight in the refrigerator or, if you’re like many who enjoy them cold, eat them straight from the freezer for a delightful, fudge-like treat!
Dietary-Friendly: Gluten-Free and Vegan Options
One of the fantastic aspects of this recipe is its inherent flexibility to accommodate various dietary needs. Yes, these homemade Eat-more bars are naturally gluten-free! While oats are naturally gluten-free, always ensure you’re using certified gluten-free rolled oats to avoid any cross-contamination if you have a severe gluten sensitivity or celiac disease. Furthermore, making them vegan is incredibly simple: just ensure you use dairy-free chocolate chips. This makes them a wonderful and inclusive recipe, perfect for sharing with friends and family who have food intolerances or adhere to plant-based diets.
Date Syrup Substitutions: What to Expect
While date syrup is highly recommended for its health benefits and unique flavor, we understand it can sometimes be a bit tricky to find. If you’re unable to source date syrup, there are alternatives, though they may slightly alter the final texture and taste of your bars. You can absolutely use traditional corn syrup in its place; this will likely yield a similar chewy consistency, though it lacks the nutritional benefits and natural sweetness profile of date syrup. Alternatively, you could try using honey. However, be aware that honey tends to be thinner and may result in bars that are not quite as firm as those made with date syrup or corn syrup. Experimentation is always welcome in the kitchen, but for the closest authentic texture and the added health benefits, date syrup remains the ideal choice for these healthier Eat-more bars.
Explore More Homemade Candy Creations You’ll Love!
If you’ve fallen in love with the simplicity and deliciousness of these homemade Eat-more bars, then you’re in for a treat! Recreating your favorite candies at home is a rewarding experience, and we have plenty of other candy recipes that are just as simple and sweet. Expand your homemade candy repertoire with these delightful options:
- Homemade Bounty Bars: Indulge in rich chocolate and tender, sweet coconut with this easy copycat recipe.
- Dark Chocolate Mini Peanut Butter Cups: A healthier spin on a classic, these mini cups are packed with decadent chocolate and creamy peanut butter goodness.
- Homemade Chocolate and Strawberry Marshmallows: Light, fluffy, and bursting with fresh flavors, these marshmallows are a delightful homemade treat.
Print Recipe
Healthier Homemade Eat-more Bars
No reviews
-
Author:
Katherine | Love In My Oven -
Total Time:
15 minutes -
Yield:
16 bars
Description
Using healthier date syrup as a sweetener, this homemade eat-more bar recipe is the one you’ve been looking for! It’s sweet, salty and chewy and totally addictive!
Ingredients
- 1 1/4 cups chocolate chips
- 3/4 cup date syrup*
- 1/2 cup natural peanut butter
- 1/2 cup rolled oats
- 1 cup chopped peanuts
- 1 tsp pure vanilla extract
Instructions
- Line an 8×8 baking pan with parchment paper and set aside. In a small saucepan, add the chocolate chips, date syrup and peanut butter. Heat the mixture over low-medium heat on the stove, stirring continuously, until the chocolate is completely melted and the mixture is smooth. Remove from heat.
- Stir in the rolled oats, chopped peanuts and vanilla extract and combine thoroughly. Empty the mixture into the prepared pan and smooth it out the best you can! Place the pan in the fridge for 4-5 hours to chill.
- Remove the bars from the fridge and cut them into 16 squares.
Store the bars in the fridge, in an airtight container for up to 2 weeks. If you’re stacking the bars, place parchment paper in between the layers to prevent sticking.
The bars will also last in the freezer, in an airtight container, for up to 2 months. Thaw them overnight in the fridge!
Notes
*If you can’t find date syrup you can substitute for corn syrup or honey
- Prep Time: 10 minutes
- Cook Time: 5 minutes
- Category: candy
- Method: stovetop
- Cuisine: canadian