
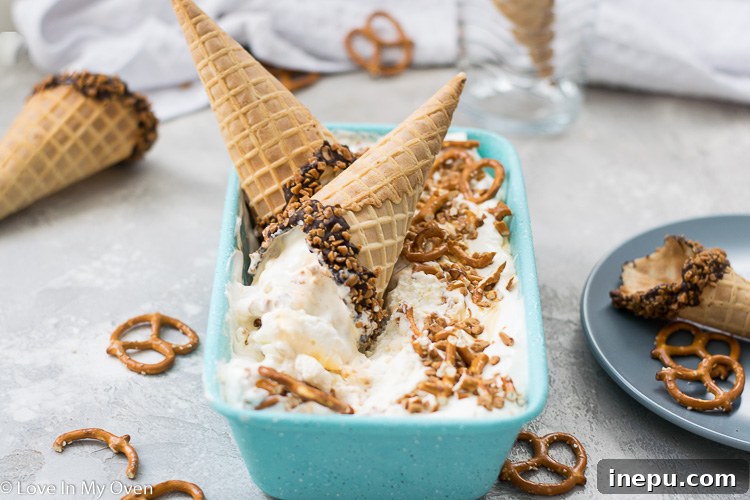
Discover your new favorite frozen treat: a delightful no-churn salted caramel pretzel ice cream that perfectly balances sweet and salty. You’ll absolutely love this irresistible homemade dessert!
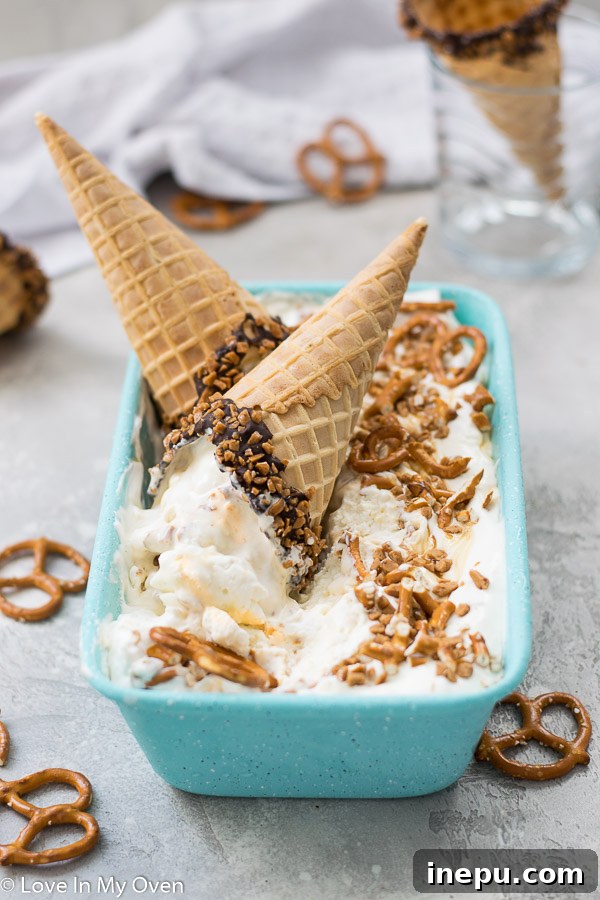
The Ultimate No-Churn Salted Caramel Pretzel Ice Cream
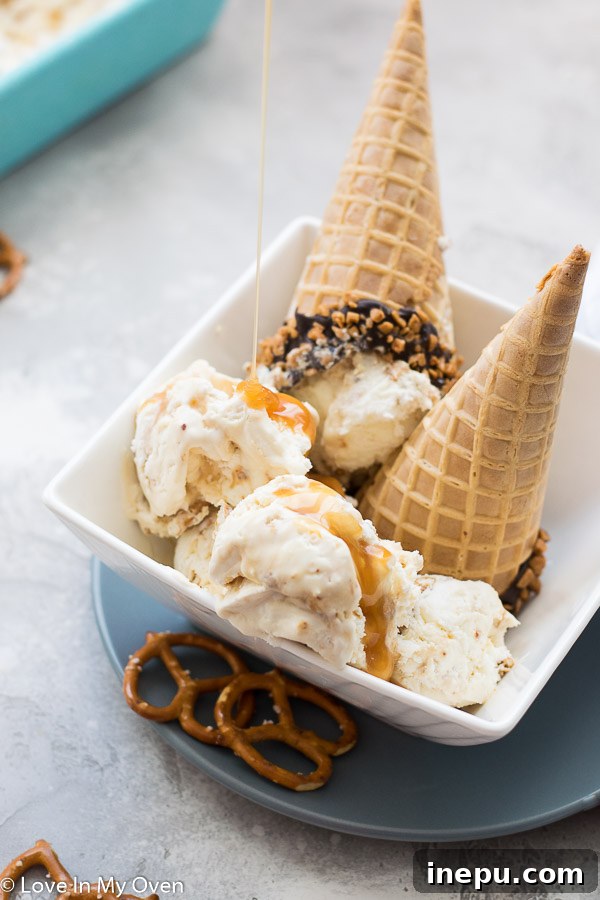
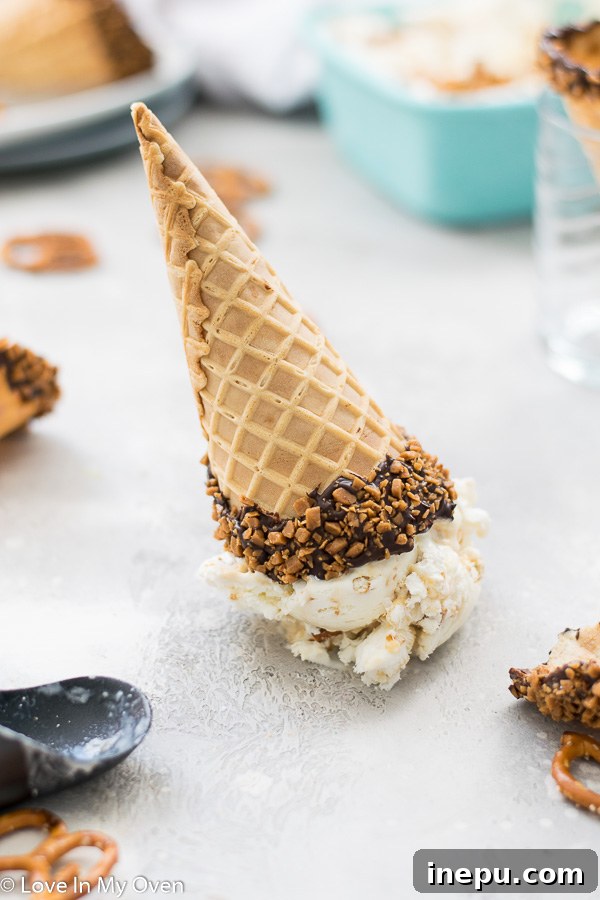
If you’re anything like me, your love for salted caramel runs deep. It’s a flavor that hits all the right notes – that perfect dance between rich sweetness and a hint of savory salt. So, it should come as no surprise that I’ve poured that adoration into creating what I believe is the most irresistible no-churn ice cream imaginable: Salted Caramel Pretzel Ice Cream. This isn’t just any ice cream; it’s a sublime creation featuring a velvety smooth base, crunchy toffee bits, delightfully salty pretzel pieces, and generous ribbons of luscious salted caramel sauce. It’s the kind of comfort food you’ll crave, whether you’re celebrating a special occasion or simply unwinding after a long day.
Life can be a whirlwind, full of exciting transitions and unexpected challenges. Sometimes, all you need is a scoop (or two!) of something wonderfully decadent to bring a moment of pure bliss. For me, that’s often this very ice cream. It’s an instant mood lifter, a sweet escape that reminds you of the simple joys in life. And with summer days approaching, or simply a desire for a year-round treat, knowing how to whip up such a delightful dessert without an ice cream maker is an absolute game-changer. Get ready to impress your taste buds and everyone around you with this incredibly easy and utterly delicious recipe.
What Exactly is No-Churn Ice Cream?
For those new to the world of homemade frozen desserts, “no-churn” might sound too good to be true. But trust me, it’s a revolutionary concept that allows anyone to create incredibly creamy, rich ice cream without the need for an expensive ice cream maker. If you’re a seasoned no-churn enthusiast, feel free to skip ahead, but for the uninitiated, prepare to have your dessert-making world transformed!
The beauty of no-churn ice cream lies in its simplicity and accessibility. The basic formula is elegantly straightforward, typically requiring just two core ingredients for the base: heavy whipping cream and sweetened condensed milk. When whipped to perfection, heavy cream incorporates air, creating a light, fluffy texture. This is then gently folded into sweetened condensed milk, which provides both sweetness and a crucial fat content that prevents the ice cream from forming large, icy crystals as it freezes. The result? A remarkably smooth, dense, and luxuriously creamy ice cream that rivals traditional churned varieties. This method opens up a universe of flavor possibilities and mix-in combinations, making gourmet ice cream accessible to every home kitchen.
Crafting Your Perfect No-Churn Salted Caramel Pretzel Ice Cream
Creating this irresistible Salted Caramel Pretzel Ice Cream is a straightforward process, demanding minimal effort for maximum reward. The key is in preparing your components and then layering them artfully to ensure every spoonful is packed with flavor and texture. Here’s a detailed breakdown to guide you:
The Magic Base: Whipped Cream and Condensed Milk
Begin by focusing on the heart of any no-churn recipe: the creamy base. In a large bowl, ideally a chilled one for best results, pour your heavy whipping cream. Using a stand mixer fitted with a whisk attachment (or a hand mixer), beat the cream on high speed until stiff peaks form. This means when you lift the whisk, the peaks of cream stand upright and hold their shape firmly. Be careful not to over-whip, as this can turn it into butter!
Once your cream is perfectly whipped, gently remove the bowl from the mixer. Now, the sweetened condensed milk comes into play. Slowly and gently fold the condensed milk into the whipped cream using a rubber spatula. The goal is to combine the two mixtures thoroughly without deflating the air you’ve incorporated into the cream. Use an over-and-under motion until no streaks of condensed milk remain, resulting in a smooth, unified, and wonderfully airy base.
The Essential Mix-Ins: Salted Caramel, Pretzels, and Toffee Bits
Before you start layering, ensure all your delightful mix-ins are ready. You’ll need a generous amount of chopped pretzels for that signature salty crunch, and a handful of Skor toffee bits (or your favorite crunchy toffee) for an added layer of sweetness and texture. And of course, the star of the show: salted caramel sauce. I always find that homemade salted caramel sauce elevates the flavor profile to another level, offering a depth and richness that is hard to beat. However, if time is of the essence, a high-quality store-bought salted caramel sauce will work beautifully as well. Just ensure it’s slightly warmed for easier drizzling.
Layering for Ultimate Flavor and Texture
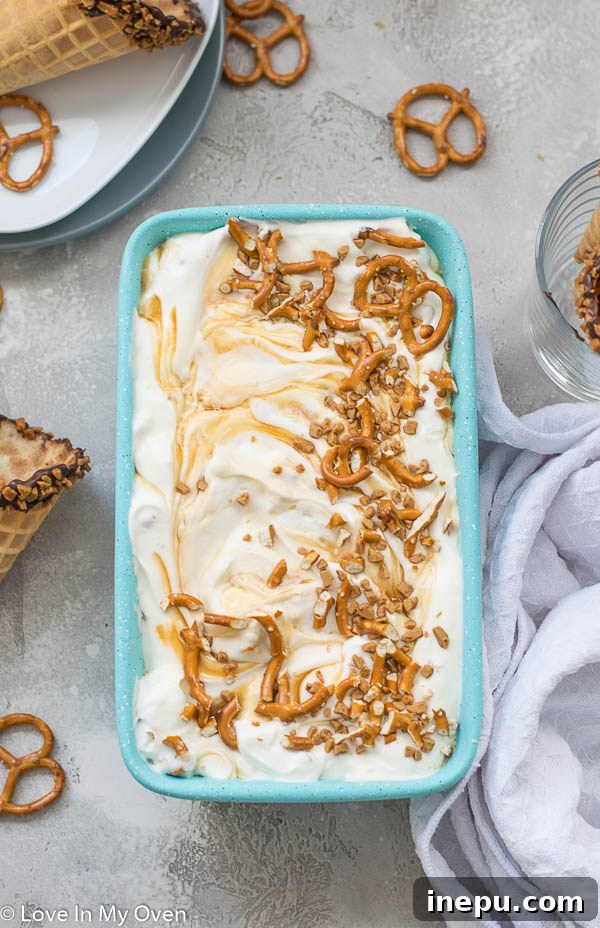
Now comes the fun part: assembling your masterpiece. Choose a freezer-safe container with a lid – a loaf pan or an airtight plastic container works perfectly. Start by spooning about a third of your creamy whipped cream mixture into the bottom of the container, spreading it evenly. Then, drizzle a few generous tablespoons of salted caramel sauce over this layer. Sprinkle a handful of your chopped pretzels and toffee bits evenly over the caramel. Using a knife or a small spatula, gently swirl the layers together a few times. Don’t overmix; you want to create beautiful ribbons and pockets of flavor, not a uniform blend.
Repeat this layering process two more times: another third of the ice cream base, more caramel, pretzels, and toffee bits, followed by a gentle swirl. Finish with the remaining ice cream mixture, a final flourish of salted caramel sauce, and extra pretzel pieces on top for a visually appealing and extra-crunchy topping. This layering technique ensures that every scoop you take will have a perfect balance of creamy ice cream, chewy caramel, and crunchy surprises.
Freezing to Perfection
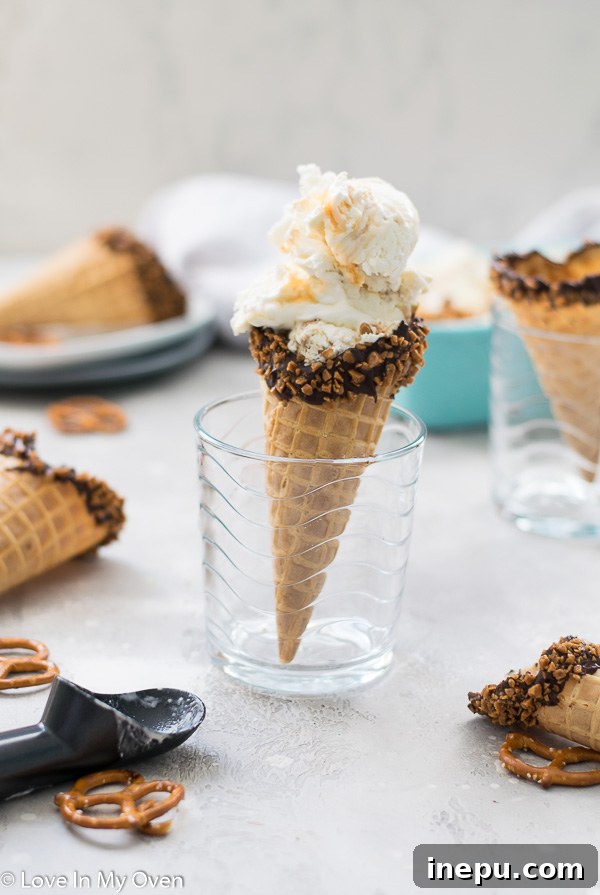
Once assembled, cover your container tightly with a lid or plastic wrap, making sure it’s airtight to prevent ice crystals from forming on the surface. Place it in the freezer for a minimum of 4-5 hours, or preferably overnight, to allow the ice cream to firm up completely. The longer it freezes, the harder it will become, so if you’re serving it after an extended freeze, let it sit out at room temperature for 5-10 minutes to soften slightly for easier scooping. Then, scoop, serve, and savor every glorious bite of your homemade, salty-sweet perfection!
Frequently Asked Questions About No-Churn Ice Cream
Can I use light condensed milk for this recipe?
Yes, absolutely! Lightened sweetened condensed milk will work just as effectively as the regular version in this no-churn ice cream recipe. The key ingredient is the sweetened condensed milk itself, which provides the necessary sugar and thickeners to create the creamy texture. However, it’s crucial to understand that sweetened condensed milk is *not* the same as evaporated milk. Evaporated milk is unsweetened and much thinner, lacking the sugar content and viscosity required for a successful no-churn base. Substituting evaporated milk will result in an icy, runny mixture that won’t set into ice cream, so always double-check your labels!
How long will no-churn ice cream last in the freezer?
Just like store-bought ice cream, your homemade no-churn creation will last a good amount of time in the freezer. For optimal freshness, flavor, and texture, aim to consume it within the first two weeks. Beyond that, while still safe to eat, its texture can begin to change, potentially becoming icier or harder. To maximize its shelf life and prevent freezer burn, always store your ice cream in an airtight, freezer-safe container. This protects it from absorbing odors from other foods in the freezer and maintains its creamy consistency. While it can technically last for up to two months (or even longer), you’ll find it’s most delicious and easy to scoop in those initial days after freezing.
Why is my no-churn ice cream icy?
If your no-churn ice cream turns out icy, there are a few common culprits. Firstly, ensure you’re using heavy whipping cream and not a lighter cream or evaporated milk. The fat content in heavy cream is crucial for creaminess. Secondly, make sure you whip the heavy cream until it forms stiff peaks; under-whipped cream won’t incorporate enough air, leading to a denser, icier texture. Thirdly, ensure your sweetened condensed milk is properly folded in without overmixing, which can deflate the air from the cream. Lastly, an airtight container is essential during freezing to prevent ice crystals from forming on the surface. Following these tips will help guarantee a silky, smooth result every time.
I genuinely hope you give this incredible recipe a try. If you’re as devoted to no-churn ice creams as I am, this Salted Caramel Pretzel version is an absolute must-make. Its unique blend of flavors and textures makes it a standout dessert that’s perfect for any occasion.
Enjoy your delightful creation!
Explore More Ice Cream Delights
If you’re now hooked on the magic of homemade ice cream, especially the no-churn variety, be sure to check out some of my other favorite ice cream recipes:
- The Best No-Churn Ice Cream Recipes
- No-Churn Birthday Cake Ice Cream
- Vegan Chocolate Ice Cream
Print Recipe
No-Churn Salted Caramel Pretzel Ice Cream
5 Stars
4 Stars
3 Stars
2 Stars
1 Star
5 from 12 reviews
- Author: Katherine | Love In My Oven
- Total Time: 10 minutes
- Yield: 1 pint 1x
Description
One of my favorite uses for salted caramel sauce, this salted caramel pretzel ice cream is a no-churn ice cream that you will absolutely love! Salty and sweet!
Ingredients
Scale
- 1 3/4 cups heavy whipping cream
- 1 can (300mL) sweetened condensed milk
- 1/3 cup salted caramel (homemade or store-bought)
- 1/2 cup chopped pretzels
- 1/4 cup toffee bits (I used Skor)
Instructions
- In the bowl of a stand mixer fitted with the whisk attachment (or using a hand mixer), beat the heavy whipping cream on high speed until stiff peaks begin to form. Remove the bowl from the stand, and using a rubber spatula, gently fold in the sweetened condensed milk until well combined and no streaks remain.
- Layer the ice cream mixture into a freezer-safe container (such as a loaf pan) as follows: spoon about 1/3 of the ice cream mixture into the bottom, followed by a few generous tablespoons of salted caramel sauce. Sprinkle a few tablespoons of chopped pretzels and toffee bits over the caramel. Use a knife or small spatula to gently swirl these layers together a bit.
- Repeat the layering process (ice cream mixture, salted caramel, pretzels, toffee bits, gentle swirl) in the same order two more times until all ingredients are emptied into the container. For an extra flourish, top the final layer with additional salted caramel sauce and pretzel pieces, if desired.
- Cover the container tightly with a lid or plastic wrap to ensure it’s airtight. Place it in the freezer for at least 4-5 hours, or preferably overnight, until the ice cream is firm. Scoop and enjoy your homemade delight!
Leftover ice cream will keep fresh in the freezer for up to 2 months (or longer) as long as it is stored in an airtight container to prevent freezer burn and maintain its creamy texture.
- Prep Time: 10 minutes
- Category: ice cream
- Method: no-churn
- Cuisine: american