
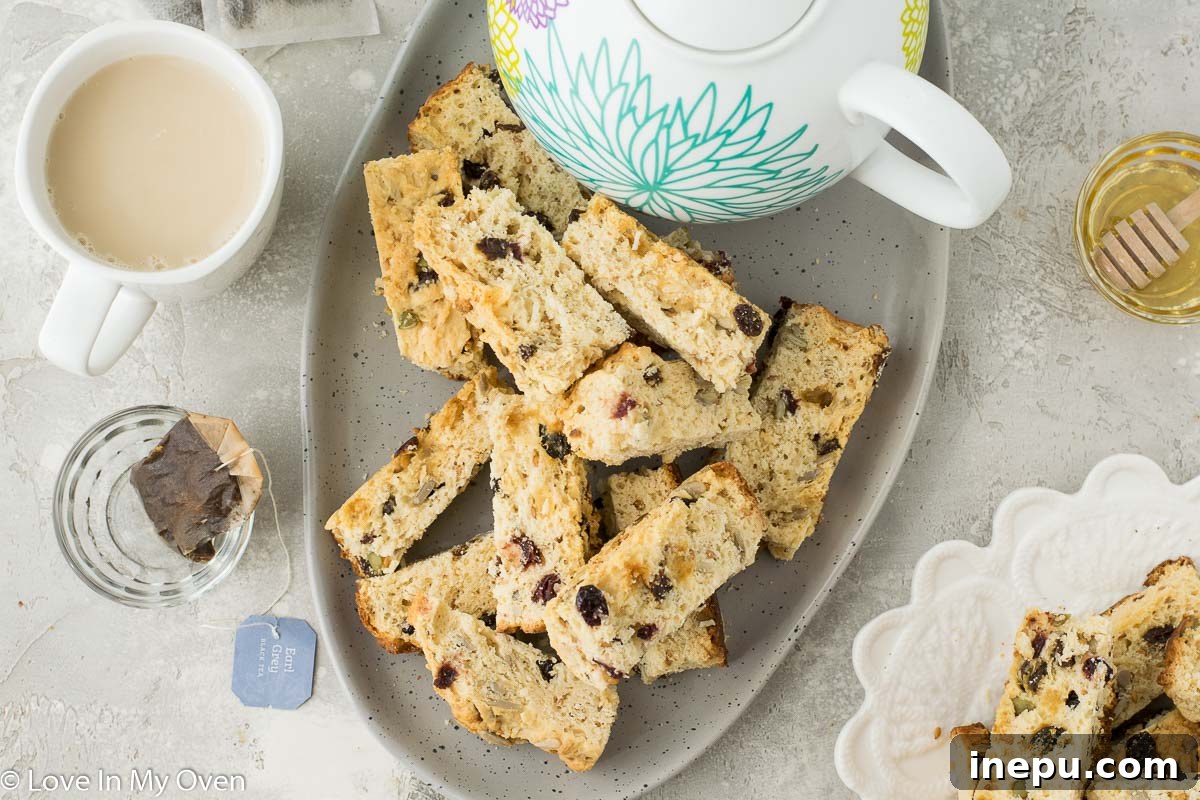
Indulge in the comforting tradition of South African Buttermilk Rusks! This incredibly easy, customizable recipe brings the authentic taste of homemade rusks right to your kitchen. If you cherish dipping these delightful, twice-baked biscuits into your morning coffee or tea, but find store-bought versions elusive, your search for the perfect recipe ends here.
For those familiar with my culinary adventures, it’s no secret that my marriage to a South African often inspires me to explore the rich flavors of South African cuisine. Among the many treasured dishes, buttermilk rusks held a special place on my list of recipes to master. Living far from South Africa, finding authentic rusks in a typical Canadian grocery store is virtually impossible. This scarcity often meant relying on friends or family to bring them over, or simply doing without. That longing, combined with a passion for baking, finally led me to perfect this winning recipe, ensuring a steady supply of these beloved treats for my husband – and now, for you!
There’s an undeniable charm in making something from scratch, especially when it evokes such strong cultural memories and satisfies a craving for a taste of home. This recipe isn’t just about baking; it’s about connecting with a tradition, embracing simplicity, and creating moments of comfort with every dunk. Prepare to fill your home with the inviting aroma of freshly baked rusks, a scent that promises warmth and a touch of South African hospitality.
What Exactly Are South African Buttermilk Rusks?
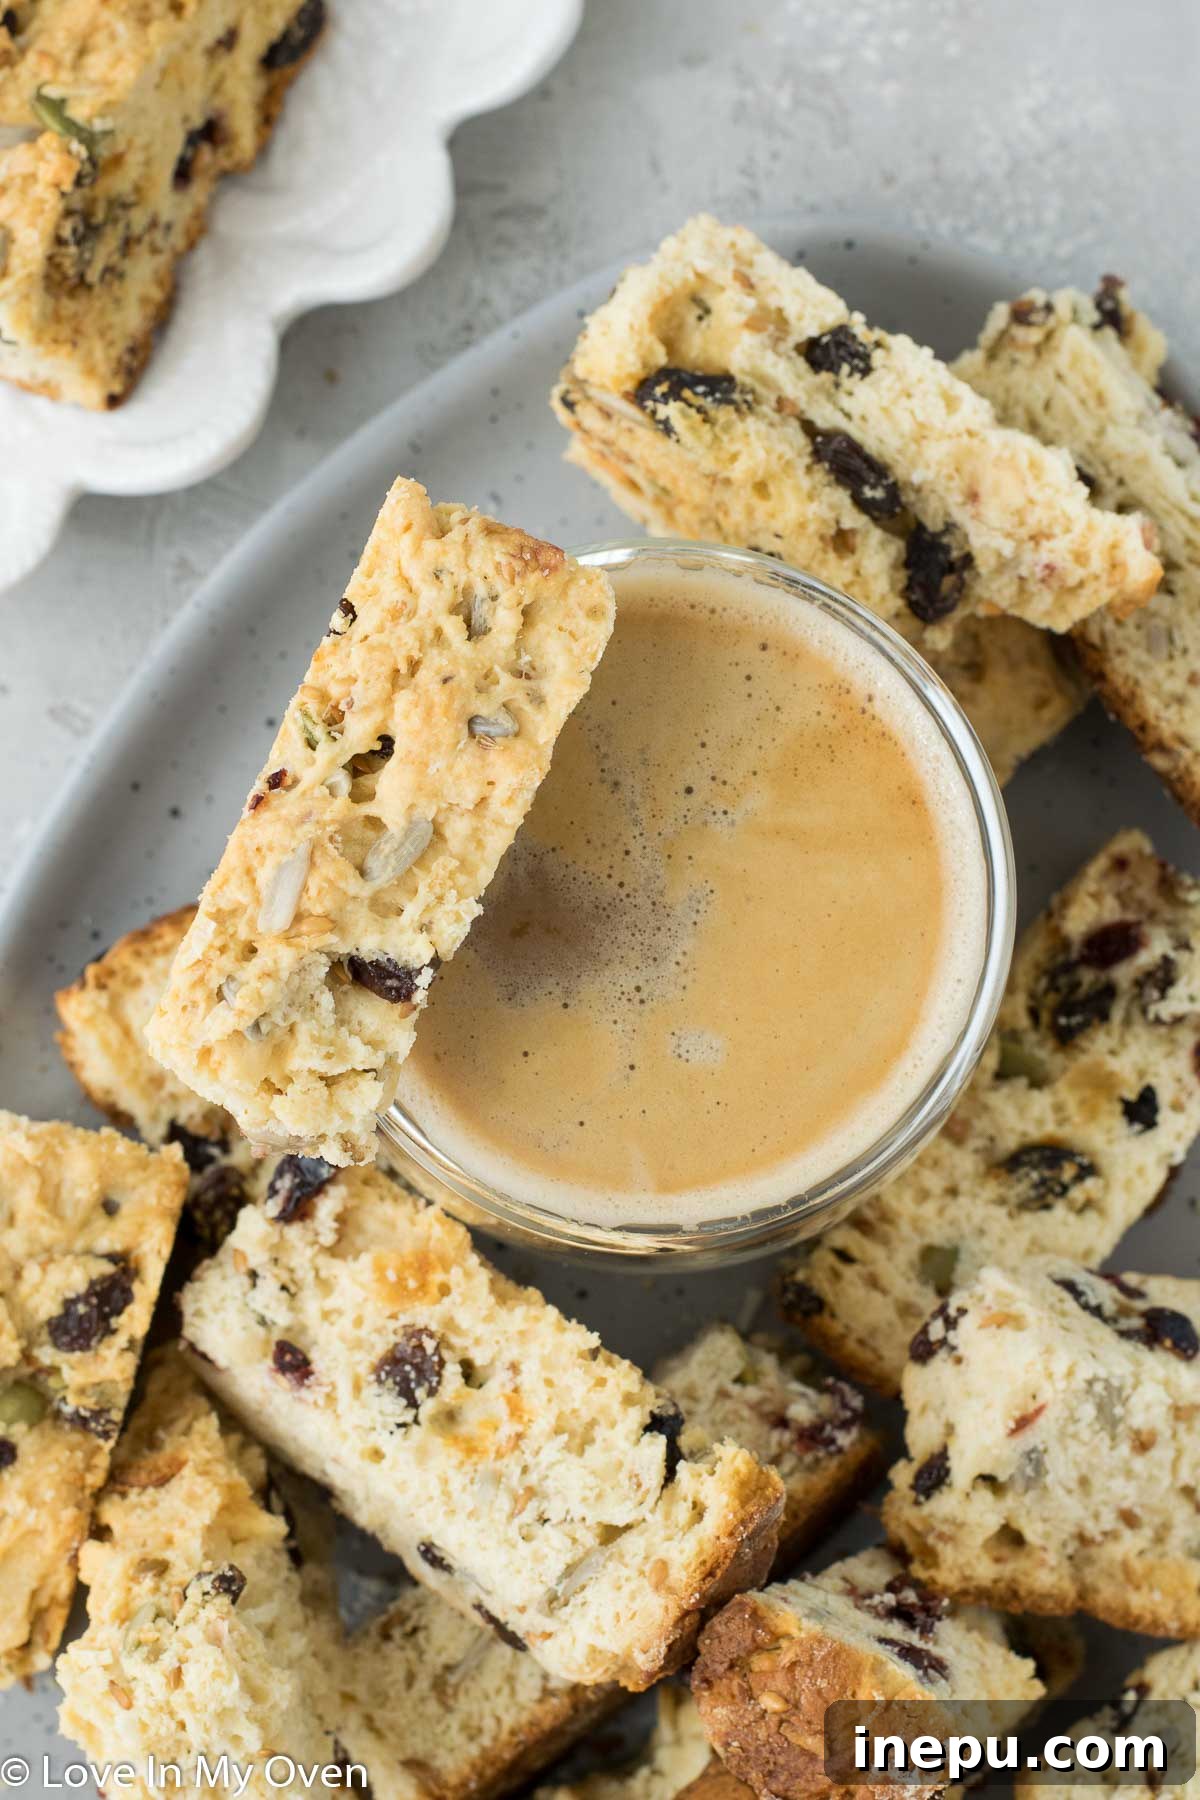
At their core, a South African rusk is a dry, biscuit-like snack, deeply rooted in the country’s culinary heritage. Much like Italian biscotti, rusks are famously “twice-baked,” a process that lends them their signature crispness and extended shelf-life. However, while sharing the twice-baked method, rusks possess a distinctly different character, making them truly unique.
The history of rusks dates back to the early Dutch settlers and the Voortrekkers, pioneers who needed durable, non-perishable food items for long journeys across the vast South African landscape. Baking large loaves of bread and then drying them out was a practical solution, transforming fresh bread into a robust, travel-friendly staple. Over time, this necessity evolved into a beloved tradition, with buttermilk rusks becoming a household favorite, particularly as a morning ritual or a comforting accompaniment to a hot beverage.
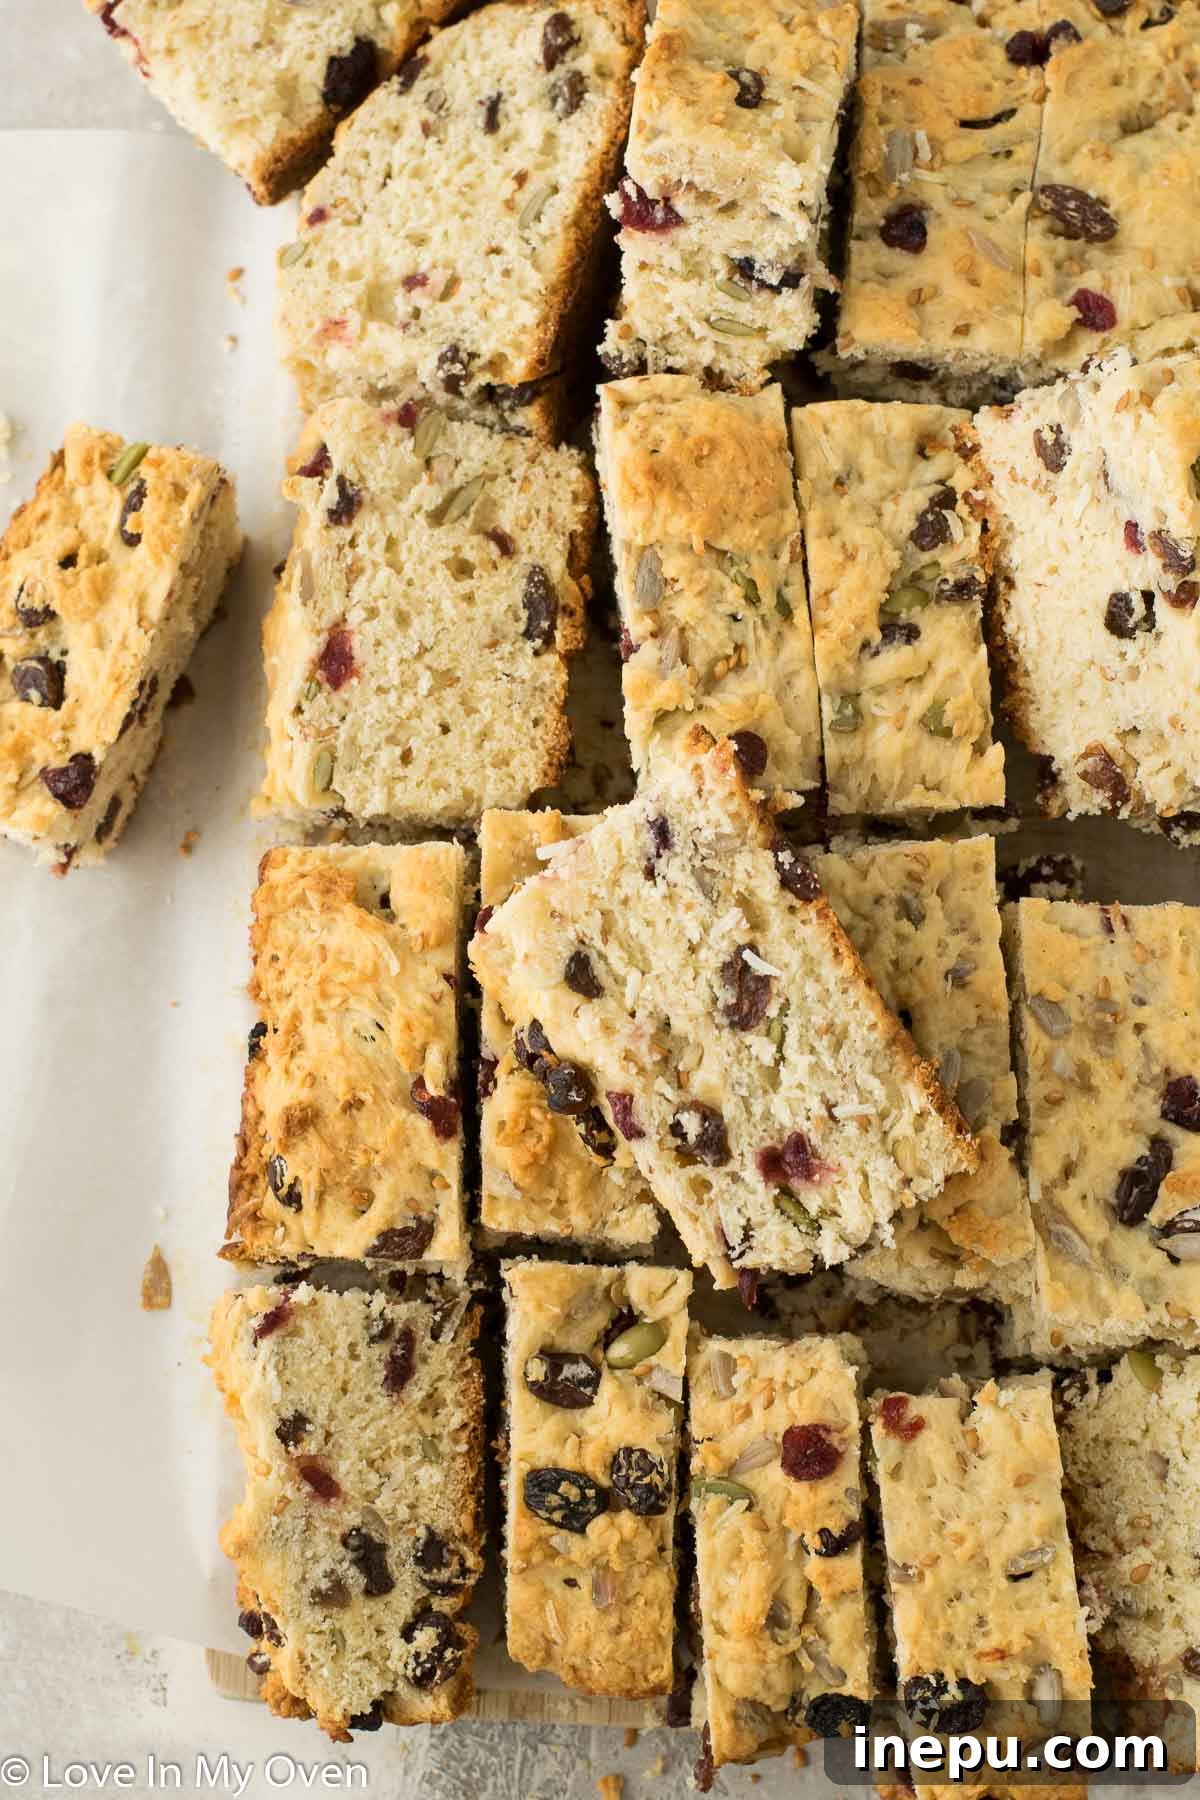
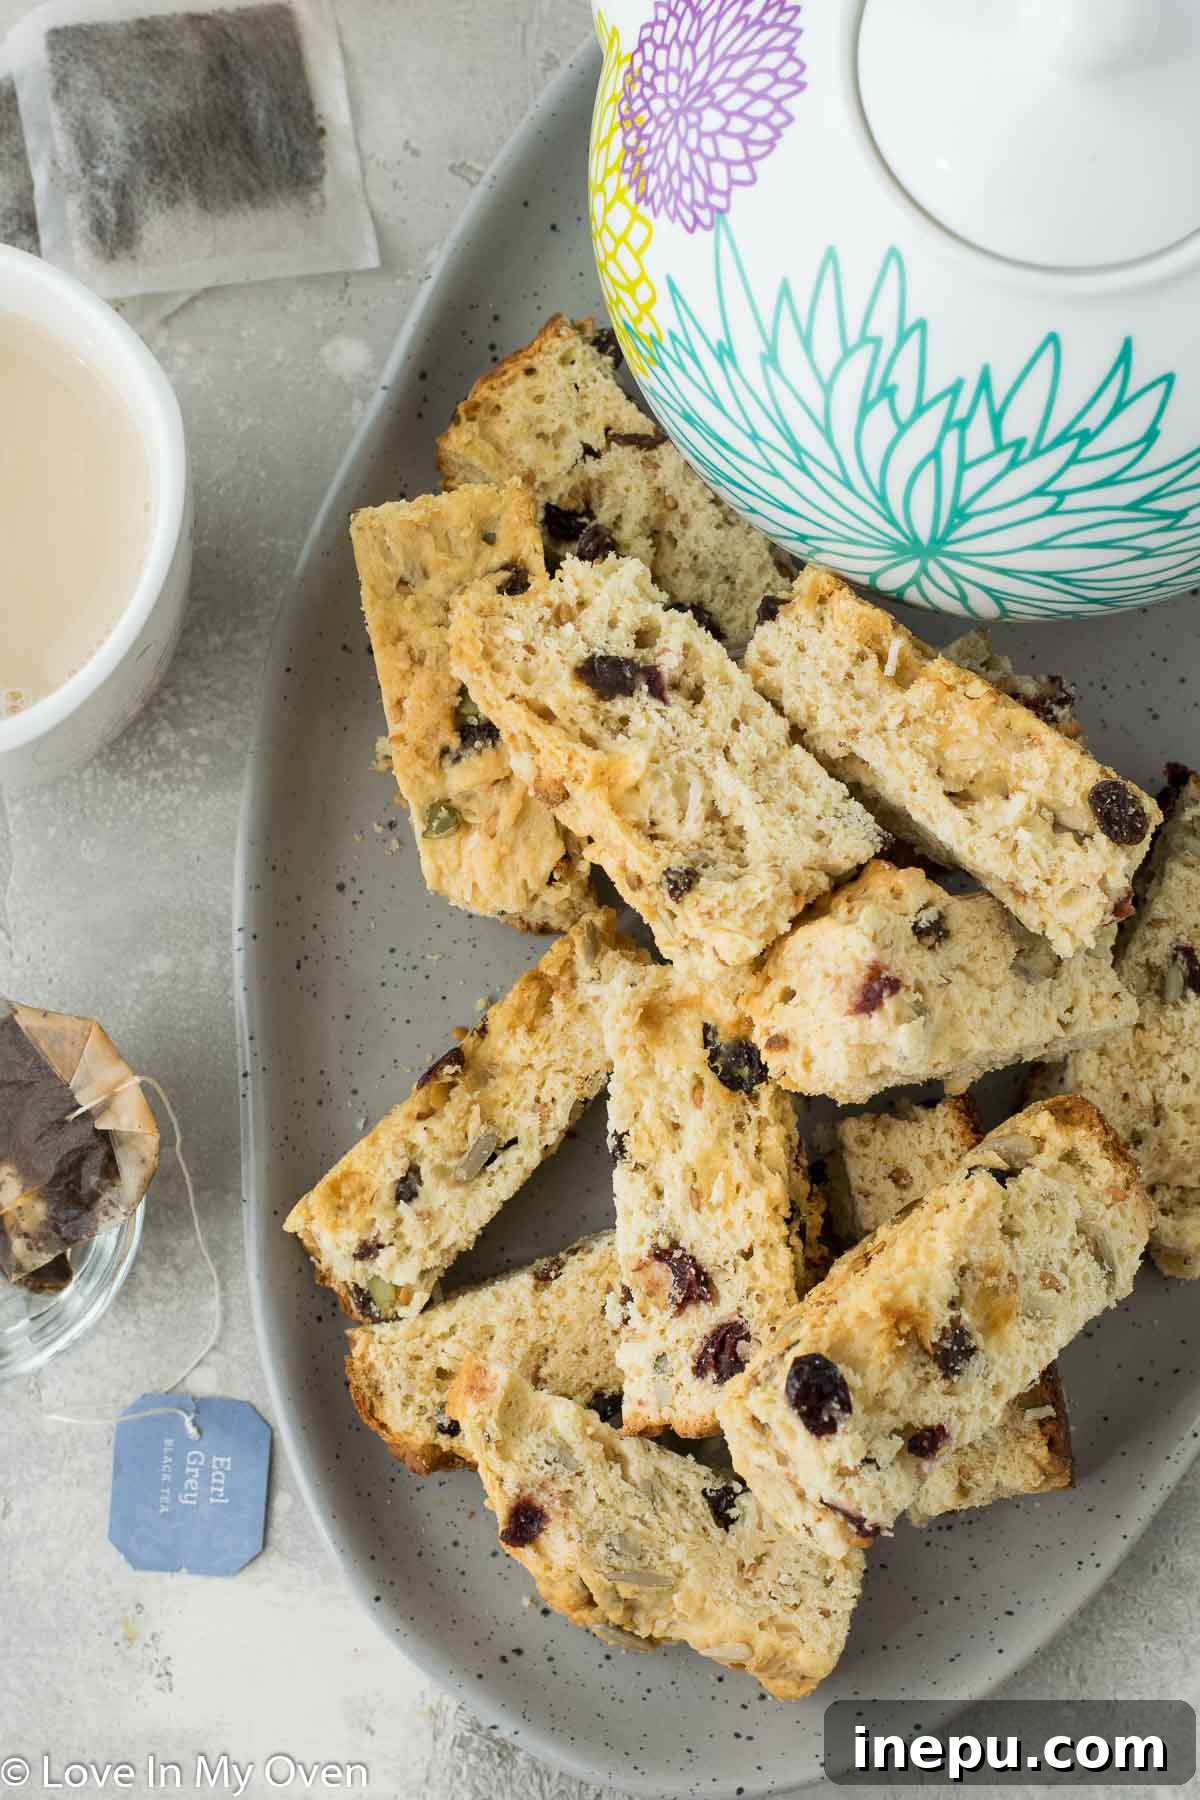
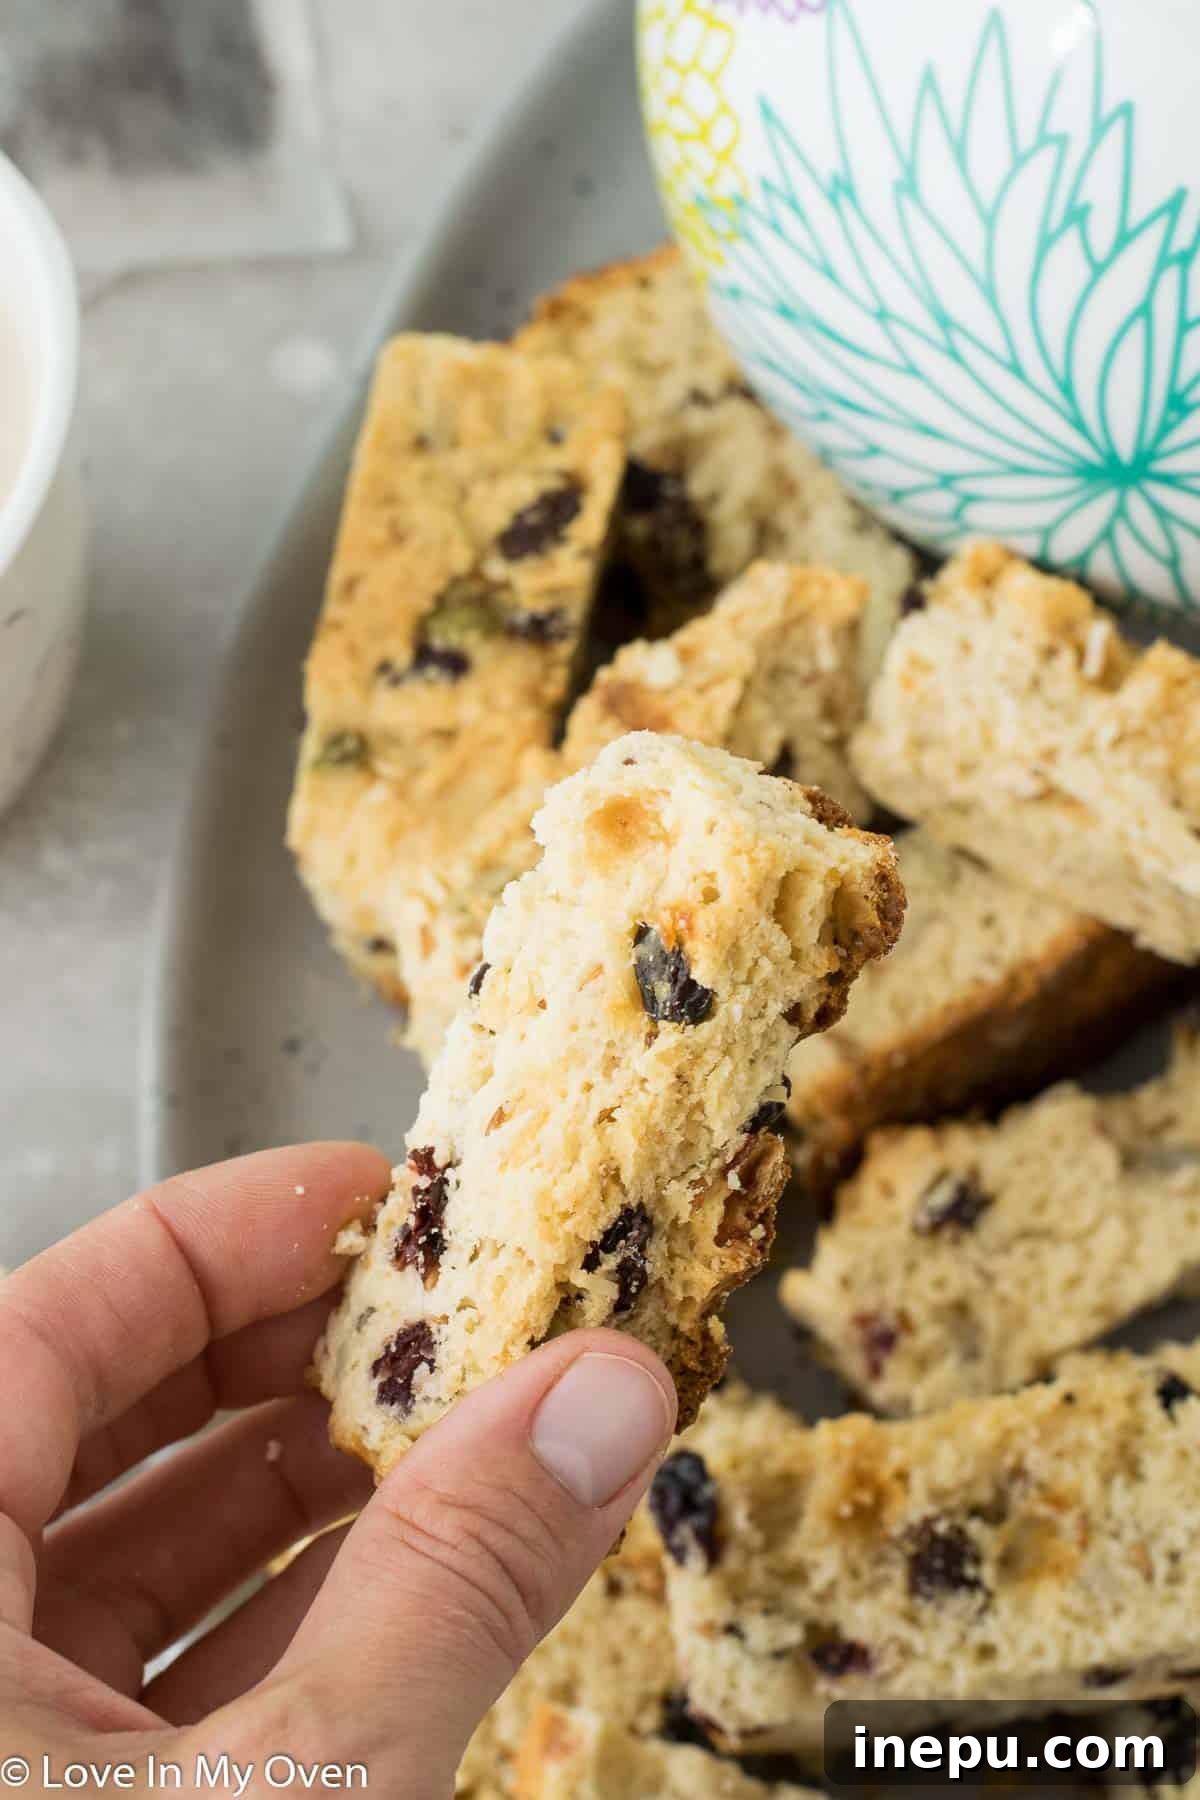
Visually, rusks are typically more rustic and robust than their elegant biscotti counterparts. While biscotti are often long, slender, and uniformly shaped, rusks embrace a more free-form, chunkier appearance, as evident in the photos. They are cut less precisely, often into thicker, shorter pieces, which perfectly suits their primary purpose: dunking. This dense, absorbent texture is what makes rusks ideal for soaking up coffee, tea, or milk, softening slightly while retaining a satisfying bite.
Flavor-wise, traditional buttermilk rusks offer a subtle tang from the buttermilk, a gentle sweetness, and often a hint of aniseed, which is a classic addition. The combination of these elements creates a comforting and familiar taste that is deeply cherished across South Africa. In essence, rusks are the quintessential dunkable treat, designed to be savored slowly, one dip at a time.
The Simple Ingredients for Authentic Rusks (and How to Customize Them)
Despite the slightly long list, the beauty of this South African buttermilk rusk recipe lies in its simplicity and the use of readily available pantry staples. Each ingredient plays a crucial role in achieving the perfect balance of flavor and texture, from the dense, comforting crumb to the satisfying crunch.
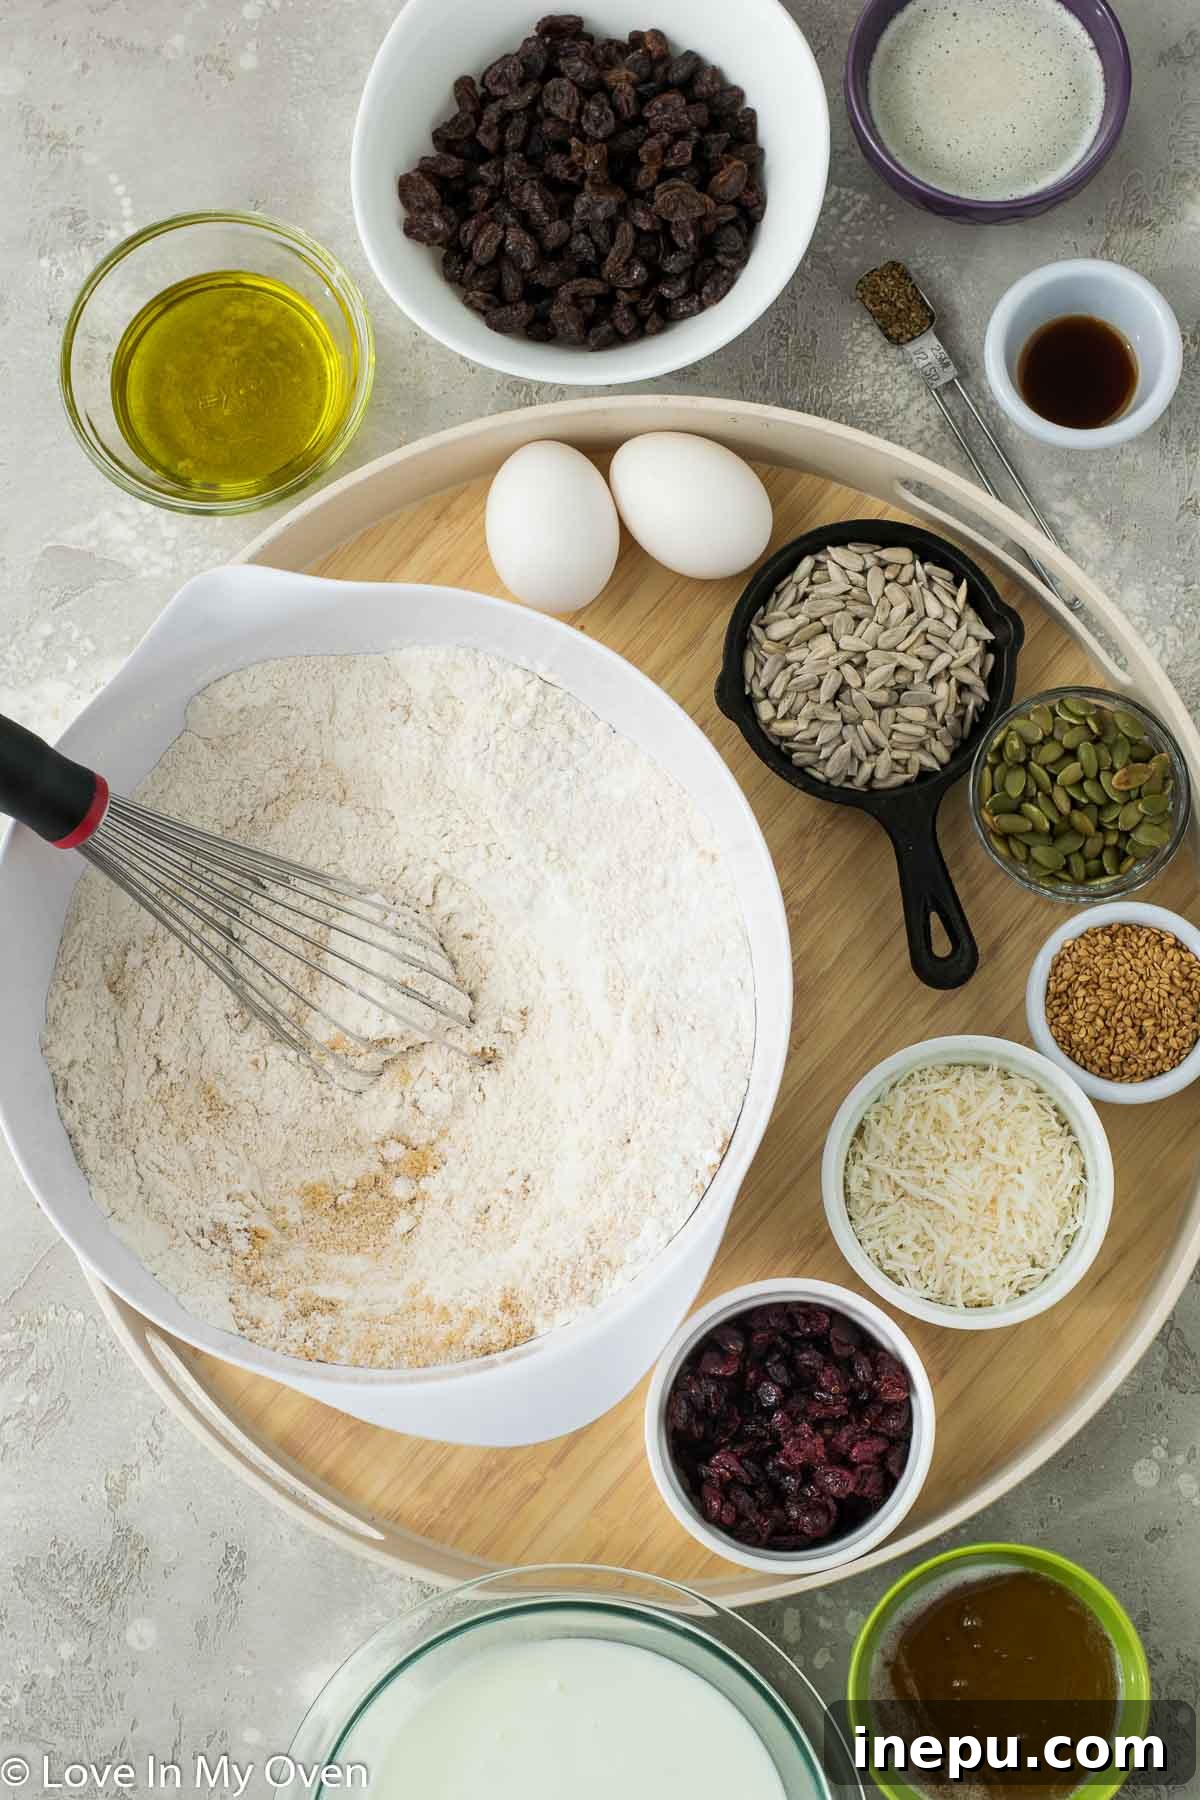
Here’s what you’ll need for this incredibly flavorful batch of rusks:
- All-Purpose Flour: The foundation of our rusks, providing structure.
- Baking Powder: Our leavening agent, giving the rusks their initial rise and a tender crumb before dehydration.
- Salt: Essential for balancing the sweetness and enhancing all other flavors.
- Brown Sugar: Adds a rich, subtle sweetness and contributes to the moistness of the dough.
- Anise Seed: A traditional and highly recommended addition that imparts a distinct, warm, licorice-like flavor characteristic of authentic South African rusks.
- Raisins & Craisins: These dried fruits add bursts of natural sweetness and a chewy texture.
- Sunflower Seeds, Flaxseeds, Pumpkin Seeds: A nutritious trio that provides a wonderful crunch and earthy flavor, adding depth and interest to each bite.
- Shredded Coconut: Offers a delightful texture and a hint of tropical sweetness.
- Melted Butter: Contributes richness and a buttery flavor. Ensure it’s slightly cooled before mixing with eggs.
- Honey: Adds a unique, complex sweetness and helps create a tender texture.
- Eggs: Act as a binder, adding richness and helping with the structure of the dough.
- Oil (e.g., Avocado Oil): Further enhances moisture and tenderness.
- Buttermilk: The star ingredient! It provides the characteristic tangy flavor and reacts with the baking powder to tenderize the dough. (Don’t worry if you don’t have it, we’ll cover a homemade substitute below.)
- Vanilla Extract: A touch of vanilla enhances the overall aroma and flavor profile.
Customization is Key!
One of the best aspects of this recipe is its incredible flexibility. If you’re not a fan of certain seeds or dried fruits, or simply don’t have them on hand, feel free to get creative:
- Swap dried fruits: Try chopped dried apricots, dates, or even candied orange peel for different flavor notes.
- Experiment with nuts: Chopped almonds, walnuts, or pecans can add a lovely crunch.
- Adjust spices: While aniseed is traditional, a pinch of cinnamon or cardamom could add a different dimension.
- Double up: If you love sunflower seeds, feel free to add more and omit another ingredient.
The possibilities are endless, allowing you to tailor these rusks perfectly to your taste preferences. Just ensure the total volume of your add-ins remains similar to maintain the correct dough consistency.
Step-by-Step Guide: Crafting Your Homemade Buttermilk Rusks
Making these authentic buttermilk rusks is a rewarding process, broken down into two essential baking stages. Follow these detailed steps for a batch of perfectly crunchy and flavorful rusks.
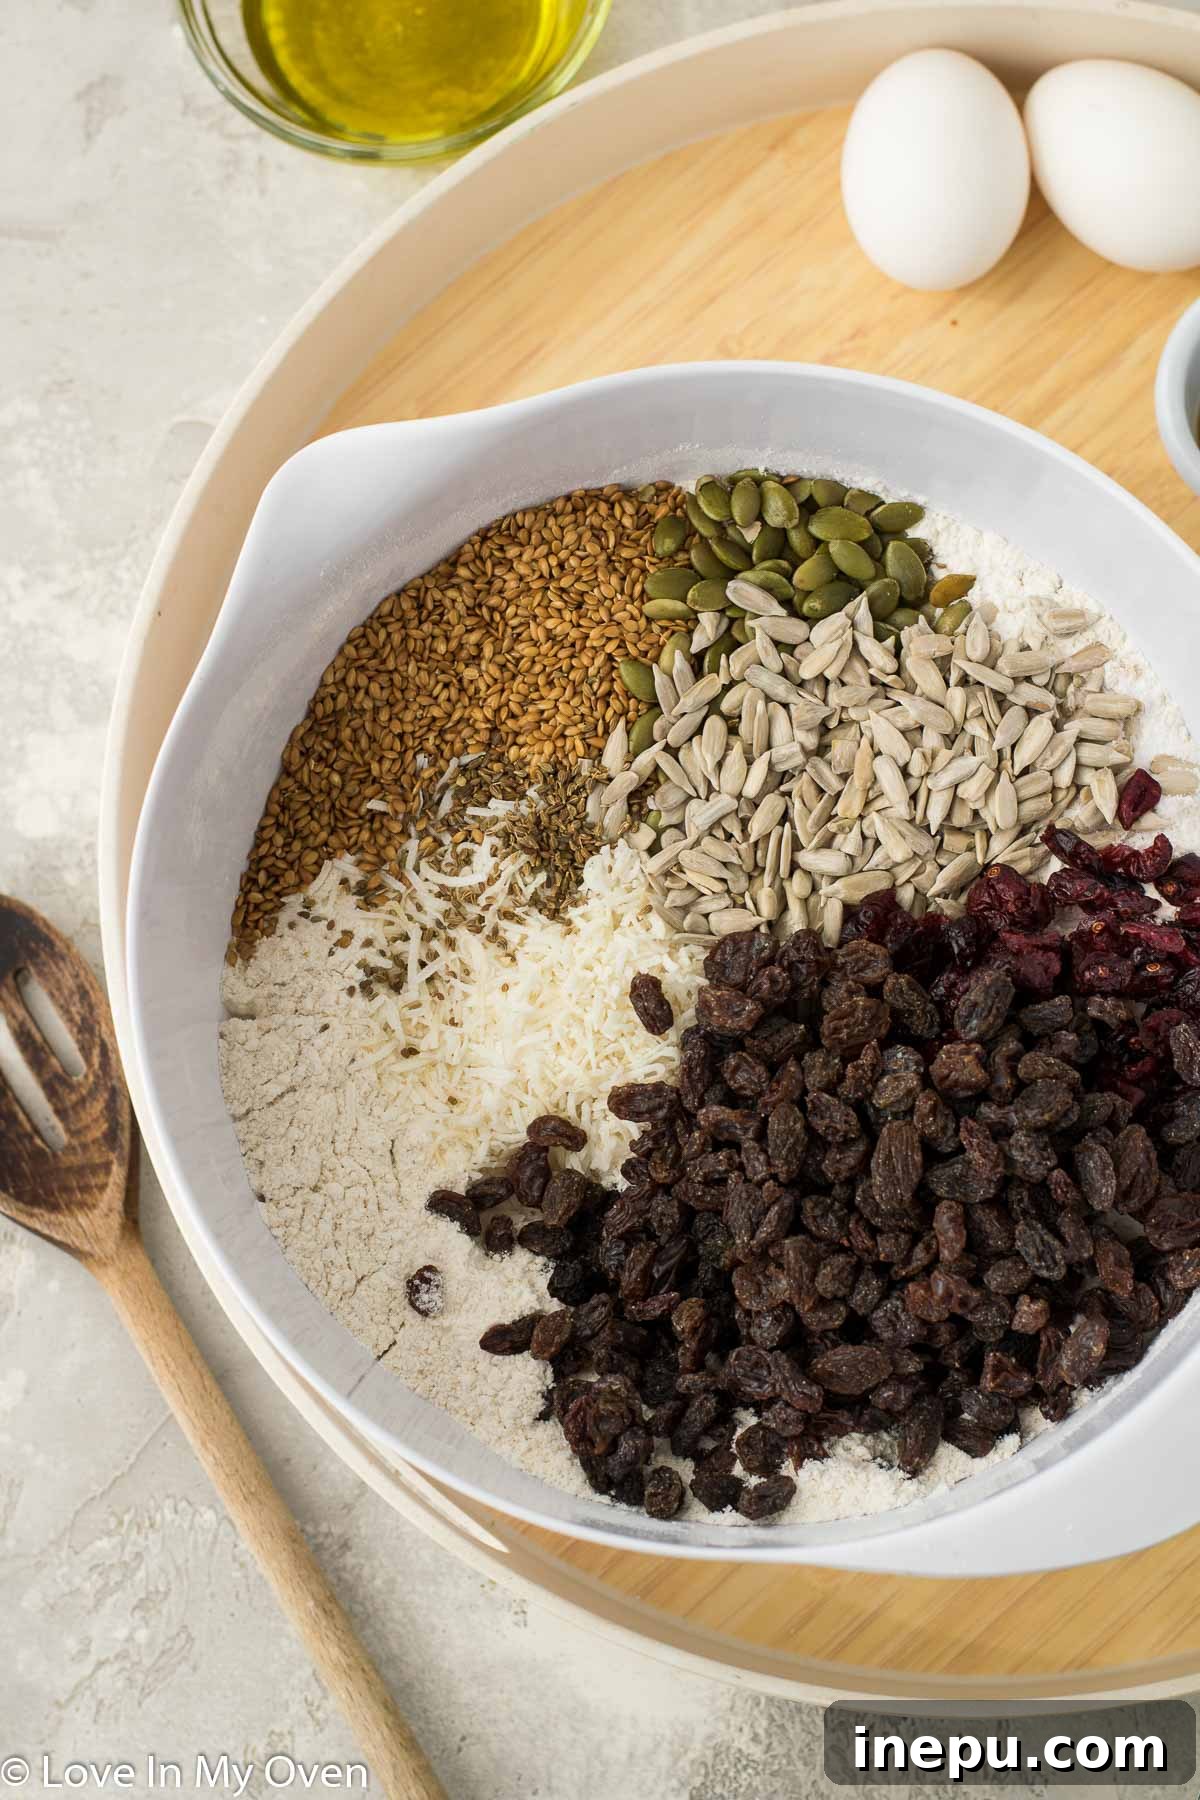
- Prepare Your Oven and Dry Ingredients: Start by preheating your oven to 350°F (175°C). Line a standard 9×13 inch (approximately 23×33 cm) deep rectangular baking pan with parchment paper, allowing a slight overhang on the sides. This overhang will be your best friend for lifting the baked loaf later. In a very large mixing bowl, thoroughly whisk together the all-purpose flour, baking powder, salt, brown sugar, and anise seed until well combined. Next, add in your chosen “extras”: the raisins, craisins, sunflower seeds, shredded coconut, flaxseeds, and pumpkin seeds. Give it another good stir with a large wooden spoon to ensure all the dry ingredients and add-ins are evenly distributed.
- Combine the Wet Ingredients: In a separate, medium-sized bowl, whisk together the honey with the eggs until light and frothy. Now, carefully add the melted butter. It’s crucial here to ensure your melted butter has cooled slightly; if it’s too hot, it can scramble the eggs. Once the butter is incorporated, stir in the oil, buttermilk, and finally, the vanilla extract. Continue whisking until the mixture is completely smooth and uniform.
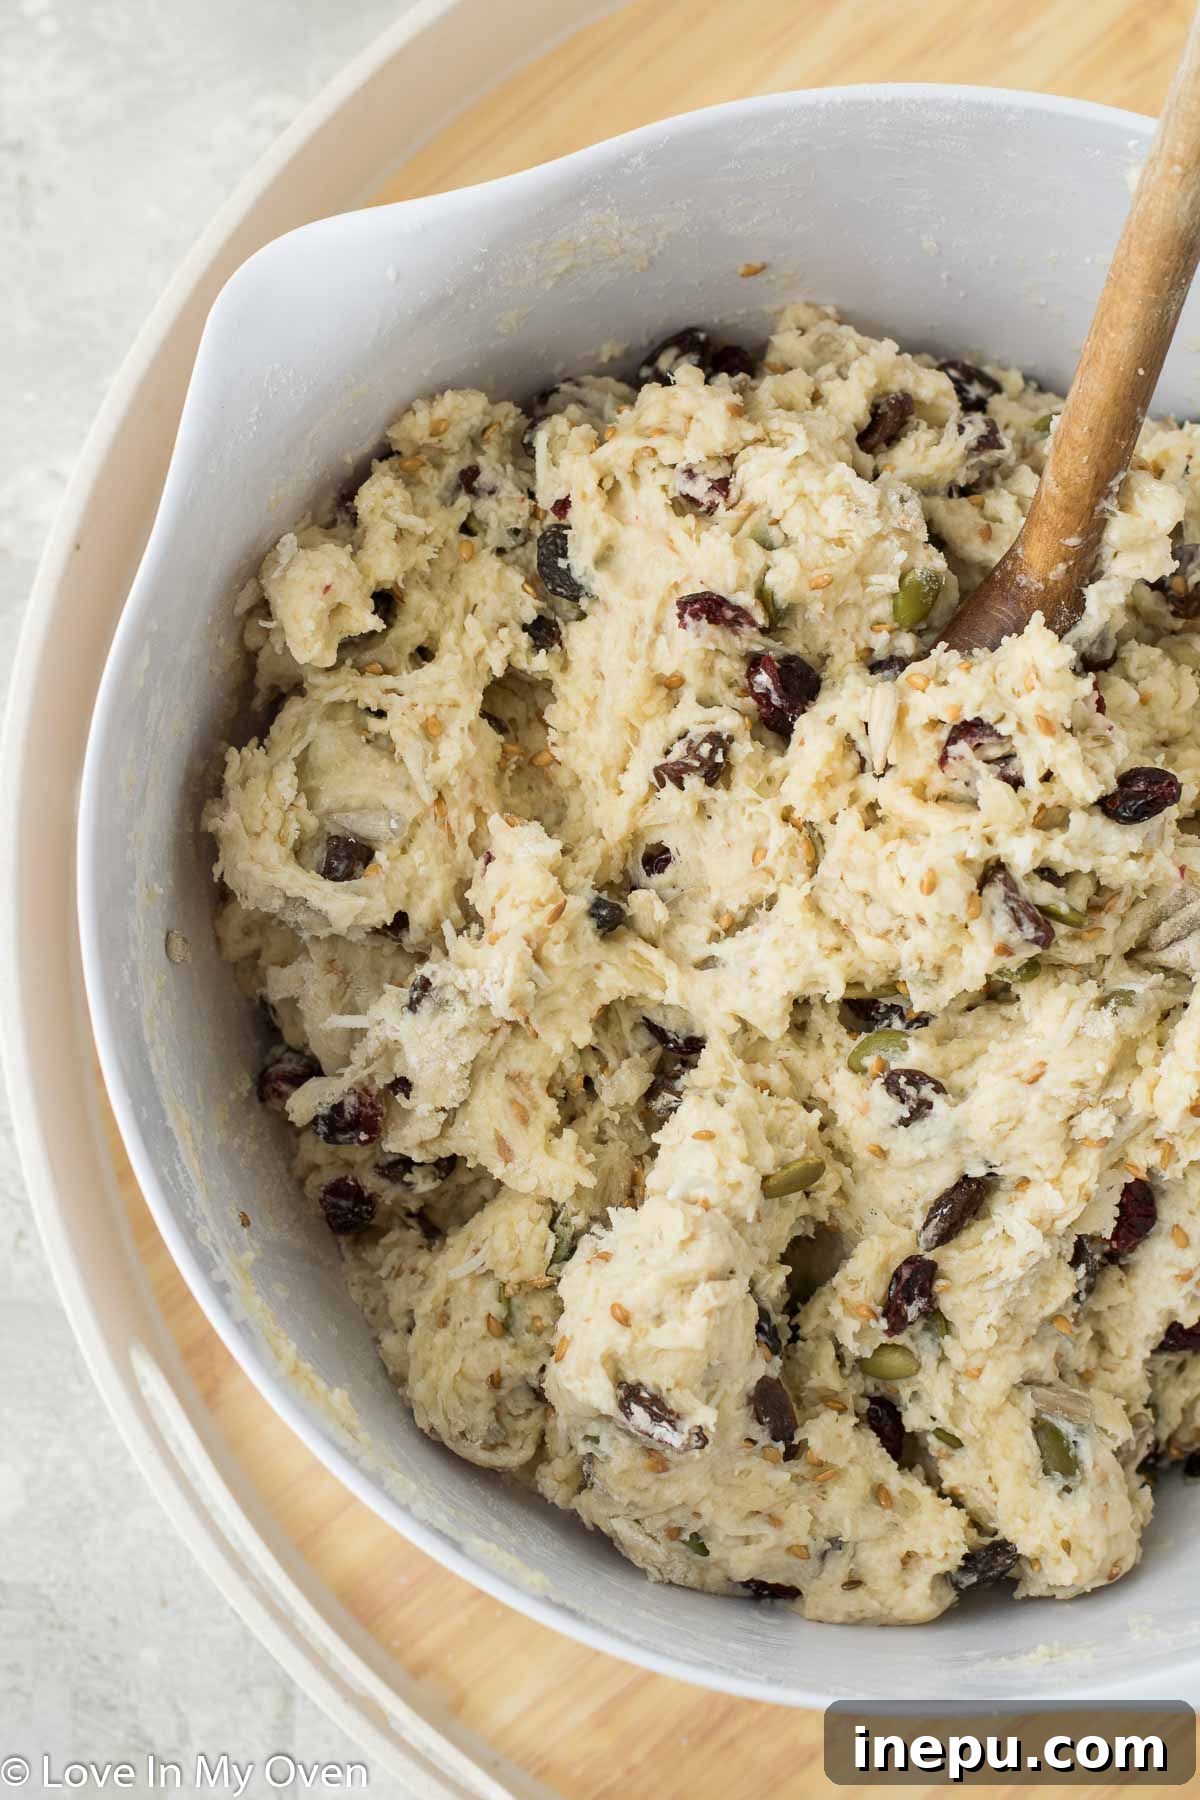
- Bringing the Dough Together: Slowly pour the wet ingredients into the prepared dry ingredients. Using your large wooden spoon, stir until everything is just combined. The dough will be quite thick and sticky, which is exactly what we’re looking for! Continue mixing until there are absolutely no dry flour streaks remaining. Because rusks are meant to be dense, you don’t need to worry about overmixing at this stage. If, however, your dough appears excessively dry and floury, add a small amount of extra buttermilk, one tablespoon at a time, until it reaches the desired consistency with no dry patches.
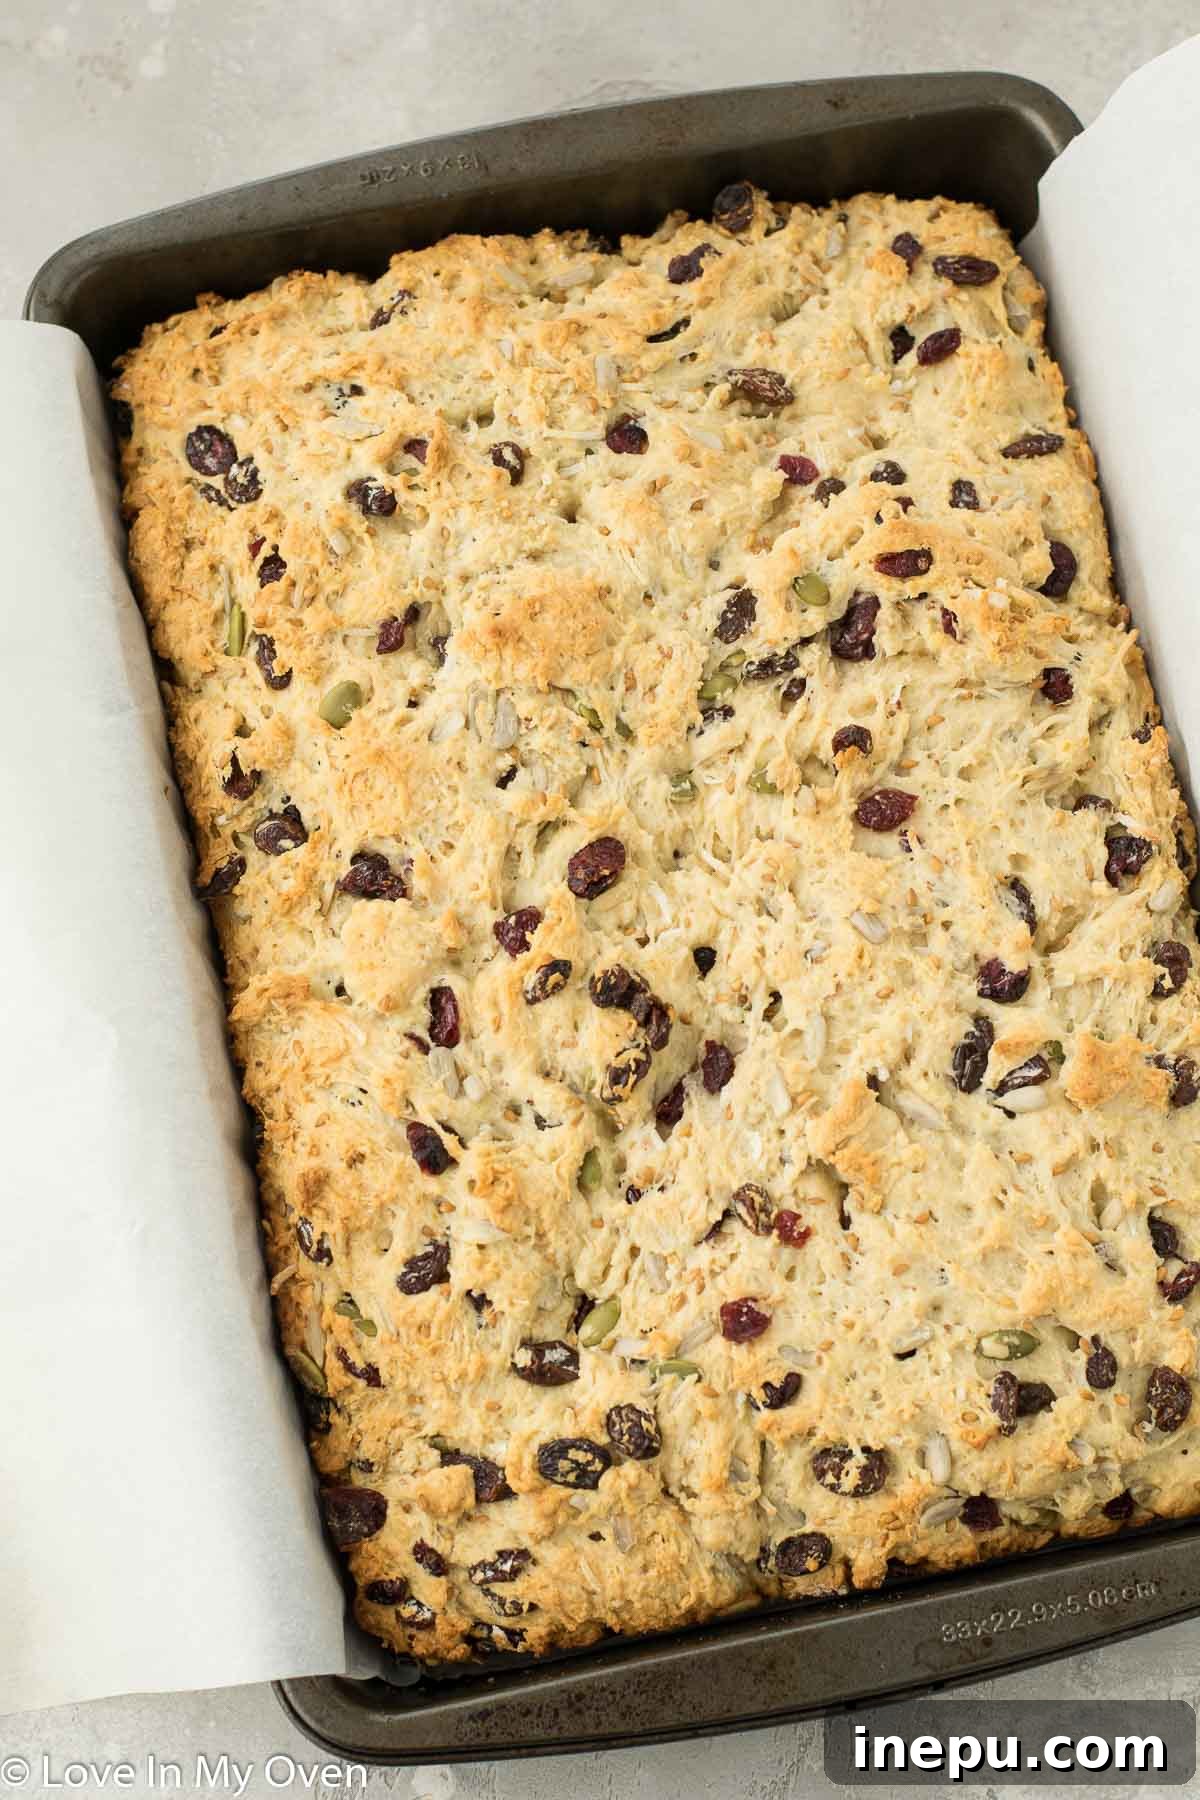
- First Bake (The Loaf): Transfer the thick dough into your parchment-lined baking pan. Using a spatula or the back of your spoon, smooth out the top as evenly as possible. Place the pan into your preheated oven and bake for approximately 40 minutes, or until the edges are lightly browned and the center is set. This initial bake forms the base loaf that will later be cut into individual rusks.
- Cooling and Cutting: Once the first bake is complete, remove the pan from the oven and allow the loaf to cool completely in the pan for about an hour. This step is crucial, as attempting to cut a warm loaf will result in crumbling. After cooling, use the parchment paper overhang to gently lift the entire rusk loaf out of the pan and onto a sturdy cutting board. Using a sharp knife, cut the loaf into smaller, rustic pieces. Precision isn’t necessary; aim for about 24-25 pieces, but you can make them slightly smaller or larger according to your preference.
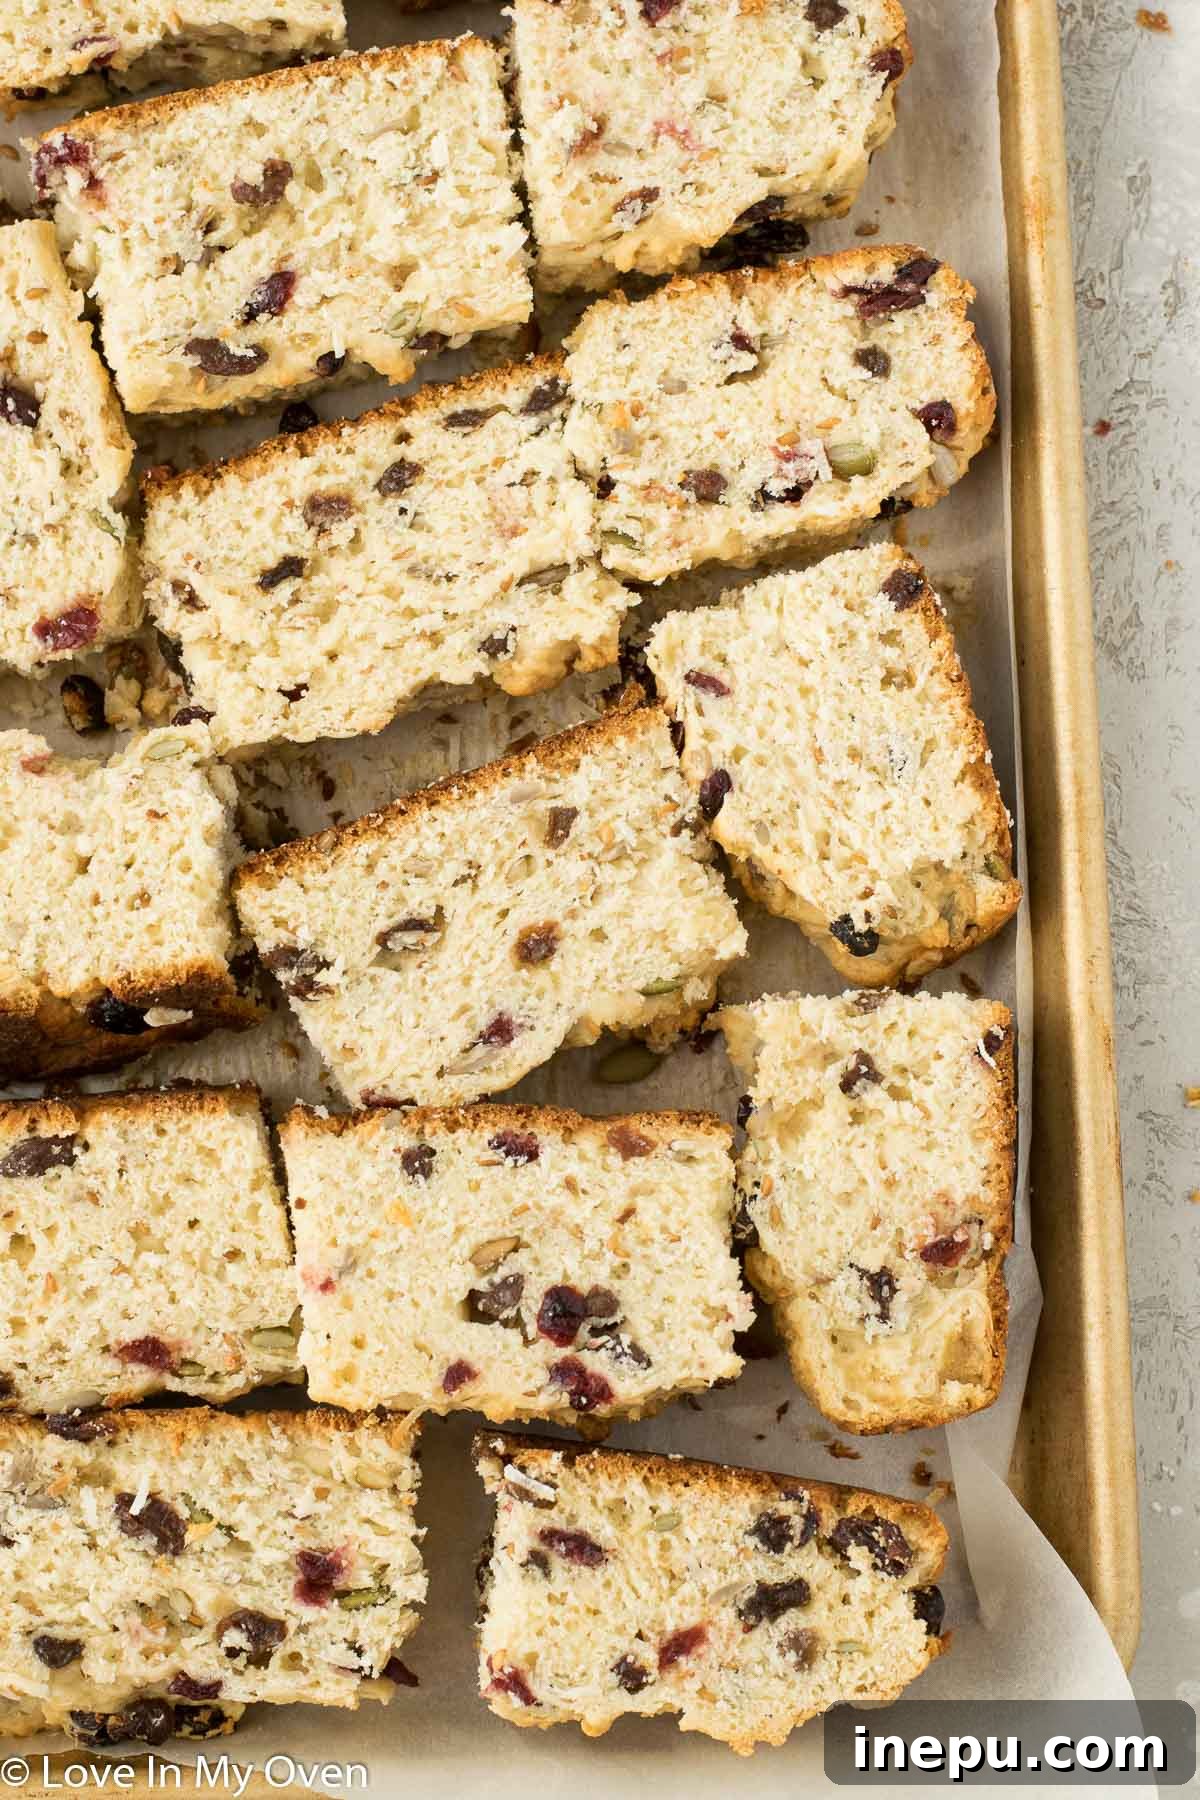
- Second Bake (The Dehydration Process): Arrange the individual cut rusk pieces on their sides on a fresh parchment-lined baking sheet. You can often reuse the same parchment paper from the first bake if it’s clean enough. Don’t worry if the rusks touch each other slightly; they will not expand significantly. Now, turn your oven temperature way down to a very low 175°F (80°C). Place the baking sheet into the oven and allow the rusks to “bake” (more accurately, dehydrate) for 5-6 hours, or until they are completely dried out and feel hard and crisp. The goal here is to remove all moisture, ensuring their longevity and signature texture.
- Final Cool Down and Storage: Once the rusks are thoroughly dried, remove them from the oven and let them cool down completely on the baking sheet. This ensures they achieve maximum crispness. Once cooled, transfer your homemade South African buttermilk rusks into an airtight container.
Rusks will keep exceptionally well at room temperature for 3-4 weeks in an airtight container, or up to 3 months in the freezer. Enjoy your delicious, homemade taste of South Africa!
How Long Do These Buttermilk Rusks Last? (Storage & Freezing Tips)
One of the many wonderful qualities of rusks, stemming from their historical origins as a preserved food, is their impressive shelf-life. Thanks to the meticulous twice-baking and dehydration process, these cookies are inherently designed to be hard and dry, meaning they keep exceptionally well.
Room Temperature Storage: Once your rusks have completely cooled after their second bake, store them in an airtight container at room temperature. A dry, cool pantry is ideal. Under these conditions, your homemade buttermilk rusks can last safely for at least 3 to 4 weeks, if not longer. In our home, they rarely last that long, but you can be confident that they’ll stay fresh and crunchy for a considerable period, ready for your next coffee break or snack time.
Freezing for Extended Freshness: For even longer storage, rusks are perfectly freezer-friendly! To freeze, place the completely cooled rusks in a freezer-safe, airtight container or a heavy-duty freezer bag. They can be stored in the freezer for up to 3 months without compromising their quality. When you’re ready to enjoy them, simply take them out of the freezer and let them thaw overnight on the kitchen counter. They’ll return to their original delicious, crunchy state, ready for dunking.
This excellent keeping quality makes rusks a fantastic make-ahead treat, perfect for gifting or ensuring you always have a comforting snack on hand.
Do You Have to Use Buttermilk for This Recipe? (Buttermilk Substitutes)
While the recipe specifically calls for buttermilk, and it undoubtedly contributes a unique tangy flavor and aids in the rusks’ tender rise during the first bake, you don’t necessarily have to run to the store if you don’t have it on hand. You can easily make your own effective buttermilk substitute at home with just two ingredients:
Homemade Buttermilk Substitute: Combine 1 3/4 cups of regular milk (dairy or non-dairy, though whole milk works best for richness) with 1 1/2 tablespoons of either fresh lemon juice or white vinegar. Stir the mixture gently and let it sit for 5-10 minutes. During this time, the milk will begin to curdle slightly, developing the characteristic acidity of buttermilk. This acidic reaction is crucial as it interacts with the baking powder, providing the necessary leavening and tenderness to your rusks. Once it looks slightly thickened and curdled, it’s ready to be used in the recipe just like regular buttermilk.
While this homemade version works wonderfully, using actual buttermilk will always provide the most authentic flavor and texture. However, the substitute is a reliable alternative that will still yield delicious results.
Can You Use a Different Shaped Pan for This Recipe?
Yes, absolutely! While a 9×13 inch rectangular baking pan is recommended for its standard size and ease of cutting, you can certainly adapt the recipe to other pan shapes. The key consideration is the thickness of the dough, which will affect the initial baking time and potentially the drying time.
- For an 8×8 inch (20×20 cm) square pan: This will result in a thicker loaf, so you might need to increase the initial baking time by a few minutes, perhaps up to 45-50 minutes, ensuring the center is fully cooked before cutting.
- For a larger pan (e.g., 10×15 inch jelly roll pan): If you use a pan significantly larger than the recommended 9×13, the dough will spread thinner. In this case, you will need to reduce the initial bake time. Aim for approximately 30-35 minutes, or until the edges are just lightly browned.
Regardless of the pan size you choose, always keep an eye on the rusks during the first bake. The goal is a firm loaf with lightly browned edges. Use a toothpick inserted into the center to ensure it comes out clean, indicating the loaf is cooked through. Adjustments are easy to make once you understand how your oven and pan size impact the baking process.
What Do You Serve South African Rusks With? (The Art of Dunking)
The tradition of eating South African rusks is inextricably linked to the act of dunking. This isn’t just a casual habit; it’s an art form, a ritual that enhances the entire experience of savoring these delightful biscuits.
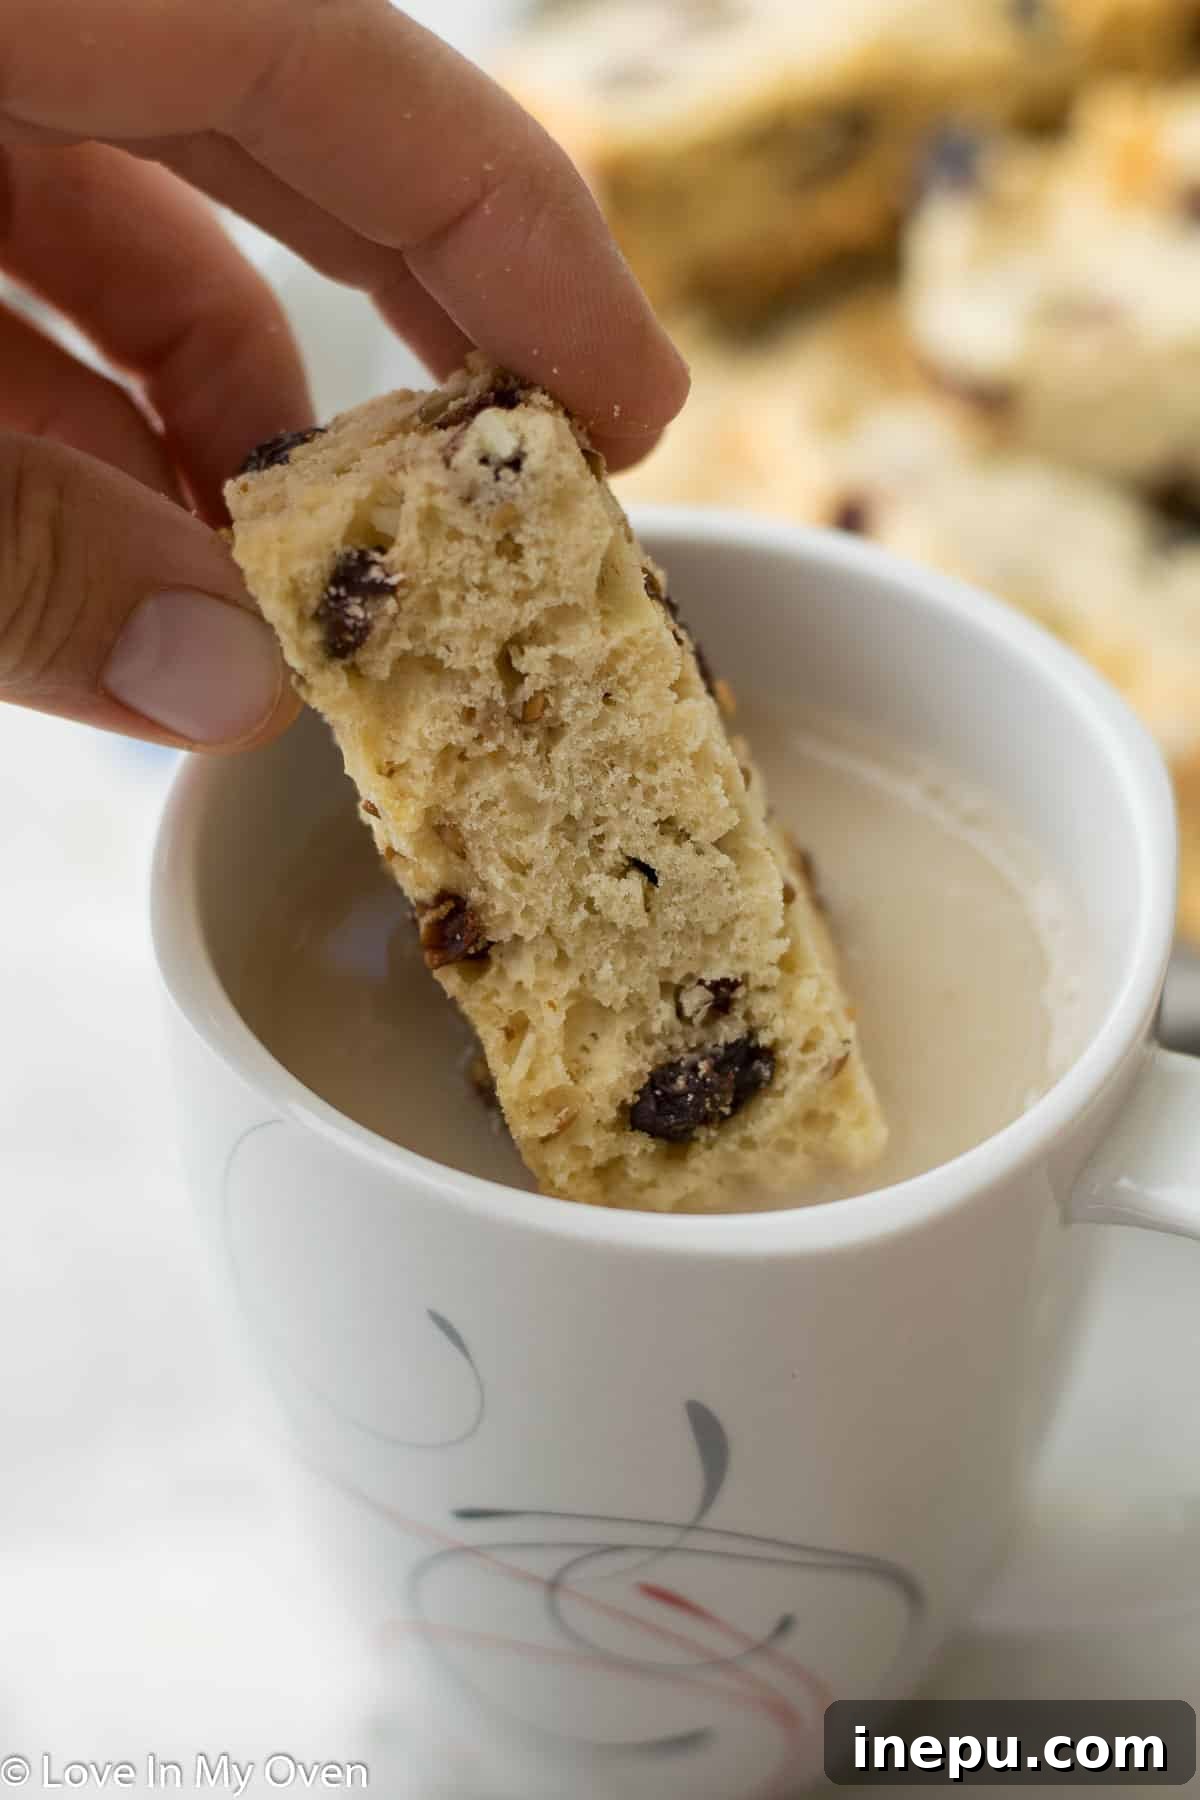
My husband, like many South Africans, insists that the absolute best way to enjoy these rusks is to immerse them in a steaming cup of coffee. The rusk slowly absorbs the rich liquid, softening slightly around the edges while maintaining a satisfying, crumbly core. This allows the flavors of the coffee and the rusk to meld beautifully, creating a comforting and incredibly satisfying bite.
However, the versatility of rusks extends far beyond just coffee:
- With Hot Tea: A warm cup of rooibos tea, a popular South African brew, or any black tea makes for an equally delightful pairing. The rusks complement the tea’s warmth without overpowering its flavor.
- Warm Milk: For a comforting evening treat or a gentle start to the day, dipping rusks into warm milk is a timeless pleasure.
- Cold Milk: My kids, with their own unique preferences, love dunking rusks into cold milk. It’s a quick and refreshing way to enjoy them, especially as an after-school snack.
- On Their Own: Even without a beverage, rusks are a terrific standalone snack. Their inherent crunch and subtle sweetness make them perfectly enjoyable on their own, especially if you appreciate a hearty, dry biscuit.
Whether it’s for breakfast, a mid-morning break, an afternoon pick-me-up, or an evening comfort, a South African rusk and a warm drink are a match made in heaven. It’s a moment of quiet indulgence, a pause in the day to simply enjoy.
Explore More Delightful Dunkable Cookies from Our Blog:
If you love the concept of a satisfying dunkable treat, you’re in for a treat! After mastering these buttermilk rusks, why not explore other similar delights perfect for your favorite hot beverage? Here are some of our other cherished recipes that promise to deliver that same comforting experience:
- Lemon Poppy Seed Biscotti: Bright, zesty, and perfectly crisp, these biscotti are a delightful citrusy twist on the classic.
- Double Chocolate Peppermint Biscotti: For the chocolate lovers, this festive and indulgent option combines rich cocoa with a refreshing hint of peppermint.
- Chocolate Dipped Almond Vanilla Biscotti: A classic combination of nutty almond and sweet vanilla, elevated with a luxurious chocolate coating for an extra special treat.
Each of these recipes offers a unique flavor profile and a satisfying crunch, making them perfect companions for your coffee, tea, or milk. Happy baking and happy dunking!
Print Recipe

South African Buttermilk Rusks
5 Stars 4 Stars 3 Stars 2 Stars 1 Star
5 from 1 review
Author: Katherine | Love In My Oven
Total Time: 6 hours
Yield: 25 rusks
Description
These buttermilk South African rusks are a super easy recipe with customizable options! If you love dipping buttermilk rusks into your coffee but just want to make your own, look no further!
Ingredients
- 5 cups all-purpose flour
- 2 tbsp baking powder
- 1 1/4 tsp salt
- 1/2 cup brown sugar
- 1/2 tsp star anise
- 1 cup raisins
- 1/4 cup craisins
- 1/3 cup sunflower seeds
- 1/4 cup whole flaxseeds
- 1/4 cup pumpkin seeds
- 1/2 cup shredded coconut
- 2 eggs
- 1/2 cup honey
- 1/2 cup unsalted butter, melted and slightly cooled
- 1/3 cup avocado oil
- 1 3/4 cup buttermilk*
- 1 tsp pure vanilla extract
Instructions
- Preheat the oven to 350 F and line a 9 x 13 standard baking pan with parchment paper, leaving a bit of overhang on the sides. In a large mixing bowl, whisk together the flour, baking powder, salt, brown sugar and anise in a large bowl. Add in the raisins, craisins, sunflower seeds, flaxseeds, pumpkin seeds and shredded coconut. Stir to combine with a large wooden spoon.
- In a separate bowl, whisk together the eggs with the honey, then add the melted butter (ensure the butter is not too hot or it’ll cook the eggs). Add in the oil, buttermilk and then vanilla. Whisk until completely smooth.
- Slowly add the wet ingredients to the prepared dry ingredients. The dough will be very thick and sticky, but you should not have any remaining dry flour streaks once you’ve combined it all together. If the dough seems too dry, add a small amount of extra buttermilk until there is no remaining dry flour.
- Empty the dough into the prepared baking pan. Smooth out the top as best as you can, and then place the pan into the oven for about 40 minutes or until the edges are only slightly browned.
- Remove the pan from the oven to cool completely, about an hour. Then use the sides of the parchment to lift the rusks out of the pan and on to a cutting board. Use a sharp knife to cut into 24 or 25 smaller pieces. It does not have to be precise.
- Lay the cut rusks on their side on another parchment-lined baking sheet. I usually just use the same parchment I had used in the first bake. Don’t worry about the rusks touching one another.
- Turn the oven temperature way down to 175 F and then place the baking sheet inside. Keep the rusks inside the oven for 5-6 hours or until completely dried. Once completely dry, let the rusks cool down and then store them in an airtight container.
Rusks will keep at room temperature for 3-4 weeks in an airtight container, or up to 3 months in the freezer.
Notes
*See post above on how to make your own buttermilk
- Prep Time: 20 minutes
- Cook Time: 6 hours
- Category: breakfast
- Method: oven bake
- Cuisine: south african